Removing a Kitchen Sink Side Sprayer
A kitchen sink side sprayer is a useful addition to any kitchen, providing a convenient way to wash dishes and clean the sink. However, there may come a time when you need to remove the sprayer for maintenance or replacement. Removing a kitchen sink side sprayer may seem like a daunting task, but with the right tools and knowledge, it can be done easily. In this article, we will guide you through the process of removing a kitchen sink side sprayer, step-by-step.


Removing a Kitchen Sink Side Sprayer


How to Remove a Kitchen Sink Side Sprayer
The first step in removing a kitchen sink side sprayer is to gather all the necessary tools. You will need an adjustable wrench, pliers, and a pair of scissors. It is also recommended to have a bucket or towel nearby to catch any water that may leak out during the process.
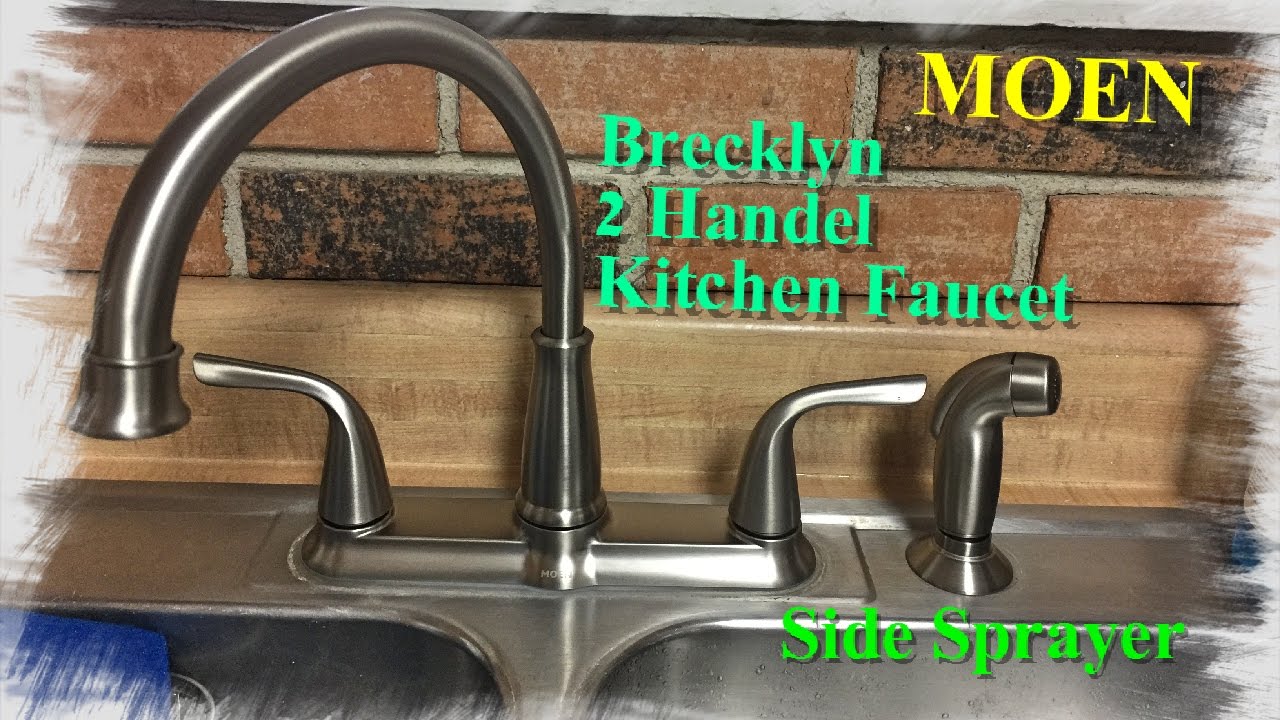
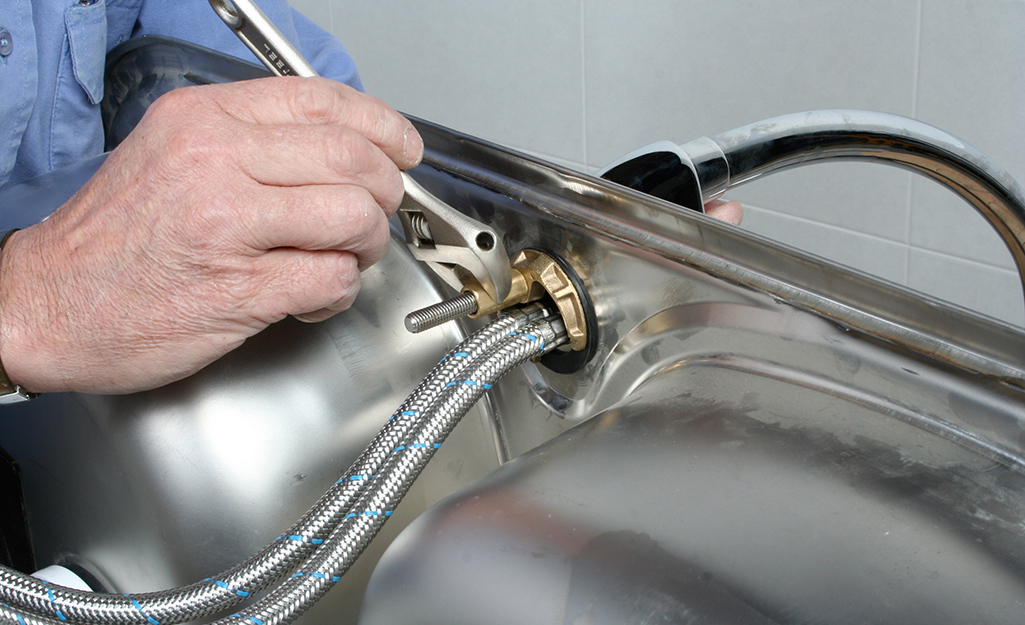
Next, locate the sprayer hose under the sink. It will be connected to the sprayer head and the water supply line. Use the pliers to loosen the nut connecting the sprayer hose to the sprayer head. Once the nut is loose, you can pull the sprayer head off the hose.
Now, locate the other end of the hose where it connects to the water supply line. Use the adjustable wrench to loosen the nut and disconnect the hose from the water supply. Be careful not to damage the water supply line in the process.


How to Remove a Kitchen Sink Side Sprayer


Step-by-Step Guide to Removing a Kitchen Sink Side Sprayer
Step 1: Gather all necessary tools - adjustable wrench, pliers, and scissors.
Step 2: Loosen the nut connecting the sprayer hose to the sprayer head using pliers.
Step 3: Remove the sprayer head from the hose.
Step 4: Use the adjustable wrench to loosen the nut connecting the hose to the water supply line.
Step 5: Disconnect the hose from the water supply line.


Step-by-Step Guide to Removing a Kitchen Sink Side Sprayer


DIY: Removing a Kitchen Sink Side Sprayer
If you are a DIY enthusiast, removing a kitchen sink side sprayer is a task you can easily do yourself. Just follow the steps outlined above and be sure to take your time and be careful when handling the tools and water supply line.
Additionally, you can save money by removing the sprayer yourself instead of hiring a professional plumber. However, if you are unsure or uncomfortable with the process, it is always best to seek help from a professional.

DIY: Removing a Kitchen Sink Side Sprayer

Removing a Kitchen Sink Side Sprayer: Tips and Tricks
Here are some tips and tricks to keep in mind when removing a kitchen sink side sprayer:
- Before removing the sprayer, turn off the water supply to avoid any accidental leaks or spills.
- If the sprayer hose is stuck, use a lubricant or warm water to loosen it.
- Take note of how the sprayer hose is connected to the water supply line so you can easily reattach it later.
- Use a towel or bucket to catch any water that may leak out during the process.


Removing a Kitchen Sink Side Sprayer: Tips and Tricks

Easy Ways to Remove a Kitchen Sink Side Sprayer
Removing a kitchen sink side sprayer may seem like a daunting task, but with the right tools and knowledge, it can be done easily. Just follow the steps outlined in this article and you will have your sprayer removed in no time.
Remember to take your time and be careful when handling the tools and water supply line. And if you encounter any difficulties, don't hesitate to seek help from a professional plumber.


Easy Ways to Remove a Kitchen Sink Side Sprayer
/25089301983_c5145fe85d_o-58418ef15f9b5851e5f392b5.jpg)


Removing a Kitchen Sink Side Sprayer: Common Mistakes to Avoid
While removing a kitchen sink side sprayer is a relatively simple task, there are some common mistakes that people make which can lead to issues. Some of these mistakes include:
- Forgetting to turn off the water supply before removing the sprayer.
- Using excessive force and damaging the water supply line.
- Not taking note of how the sprayer hose is connected, making it difficult to reattach later.
By being aware of these common mistakes, you can avoid them and successfully remove your kitchen sink side sprayer without any problems.


Removing a Kitchen Sink Side Sprayer: Common Mistakes to Avoid


Tools You'll Need to Remove a Kitchen Sink Side Sprayer
In order to remove a kitchen sink side sprayer, you will need the following tools:
- Adjustable wrench
- Pliers
- Scissors
These tools are easily accessible and can be found at most hardware or home improvement stores.


Tools You'll Need to Remove a Kitchen Sink Side Sprayer


Removing a Kitchen Sink Side Sprayer: Safety Precautions to Take
Before starting the process of removing a kitchen sink side sprayer, it is important to take some safety precautions. These include:
- Turning off the water supply to avoid any accidental leaks or spills.
- Wearing protective gloves to avoid any injuries from the tools or water supply line.
- Being careful when handling the adjustable wrench and pliers to avoid any injuries.
By taking these safety precautions, you can ensure a smooth and safe removal of your kitchen sink side sprayer.


Removing a Kitchen Sink Side Sprayer: Safety Precautions to Take


Expert Tips for Removing a Kitchen Sink Side Sprayer
If you are still unsure about removing a kitchen sink side sprayer, here are some expert tips to keep in mind:
- Lubricate the sprayer hose if it is stuck to make it easier to remove.
- Use warm water to loosen the sprayer hose if lubricant is not available.
- Take your time and be patient, rushing can lead to mistakes and accidents.
By following these expert tips, you can confidently remove your kitchen sink side sprayer without any issues.
Expert Tips for Removing a Kitchen Sink Side Sprayer


Why Removing a Kitchen Sink Side Sprayer Can Improve Your House Design

The Importance of House Design
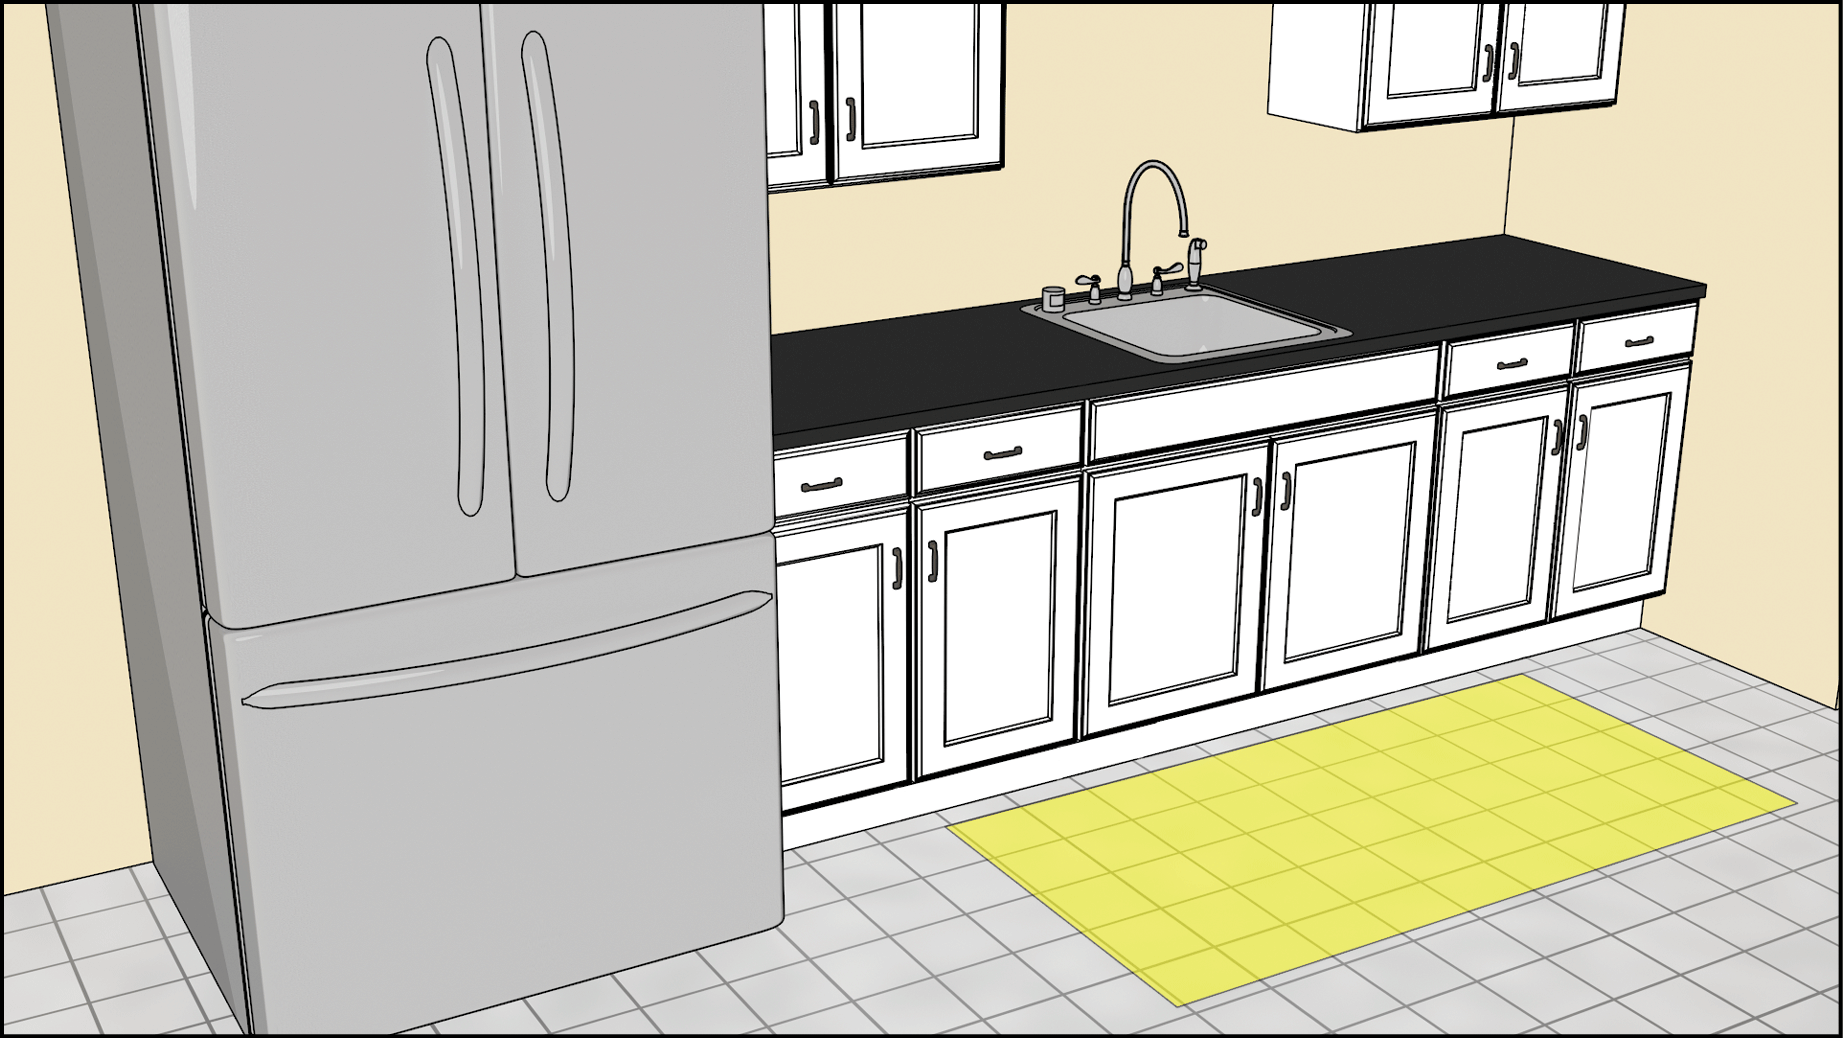
 When it comes to creating a beautiful and functional home, every detail matters. From the furniture to the color scheme, each element can contribute to the overall aesthetic and feel of a space. One often overlooked aspect of house design is the kitchen sink side sprayer. While it may seem like a small and insignificant feature, removing it can actually have a big impact on the overall design of your kitchen.
The Problem with Kitchen Sink Side Sprayers
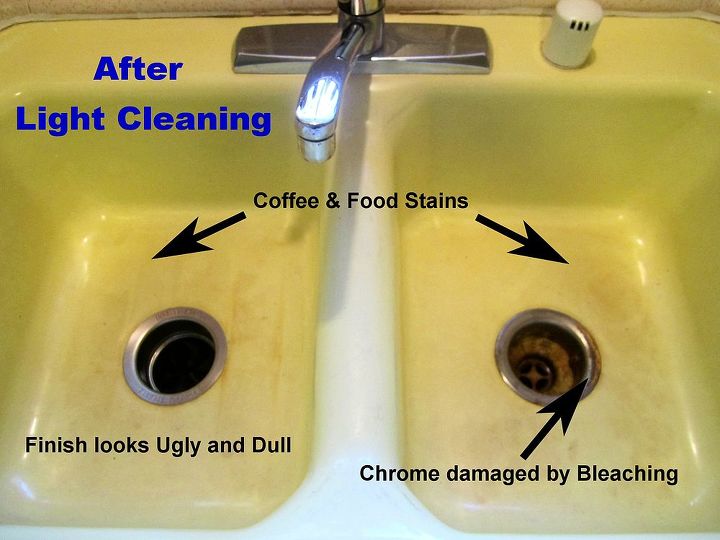
 Kitchen sink side sprayers are commonly found in older homes and are used to help with cleaning and washing dishes. However, over time, they can become worn out and start leaking or spraying water in the wrong direction. Not only is this frustrating, but it can also damage your kitchen cabinets and countertops. Additionally, the sprayer can take up valuable space on your countertop, making it look cluttered and unappealing.
The Benefits of Removing a Kitchen Sink Side Sprayer
 By removing the kitchen sink side sprayer, you can instantly improve the design and functionality of your kitchen. Without the sprayer, you will have more space on your countertop, making it easier to keep clean and organized. This can also open up new possibilities for creative and stylish storage solutions, such as adding a decorative tray or a small herb garden. Removing the sprayer can also give your sink area a sleek and streamlined look, which can make your kitchen feel more modern and updated.
Featured Keywords: remove kitchen sink side sprayer, house design
By removing the kitchen sink side sprayer, you can instantly improve the design and functionality of your kitchen. Without the sprayer, you will have more space on your countertop, making it easier to keep clean and organized. This can also open up new possibilities for creative and stylish storage solutions, such as adding a decorative tray or a small herb garden. Removing the sprayer can also give your sink area a sleek and streamlined look, which can make your kitchen feel more modern and updated.
Featured Keywords: remove kitchen sink side sprayer, house design
Enhancing the Aesthetic of Your Kitchen
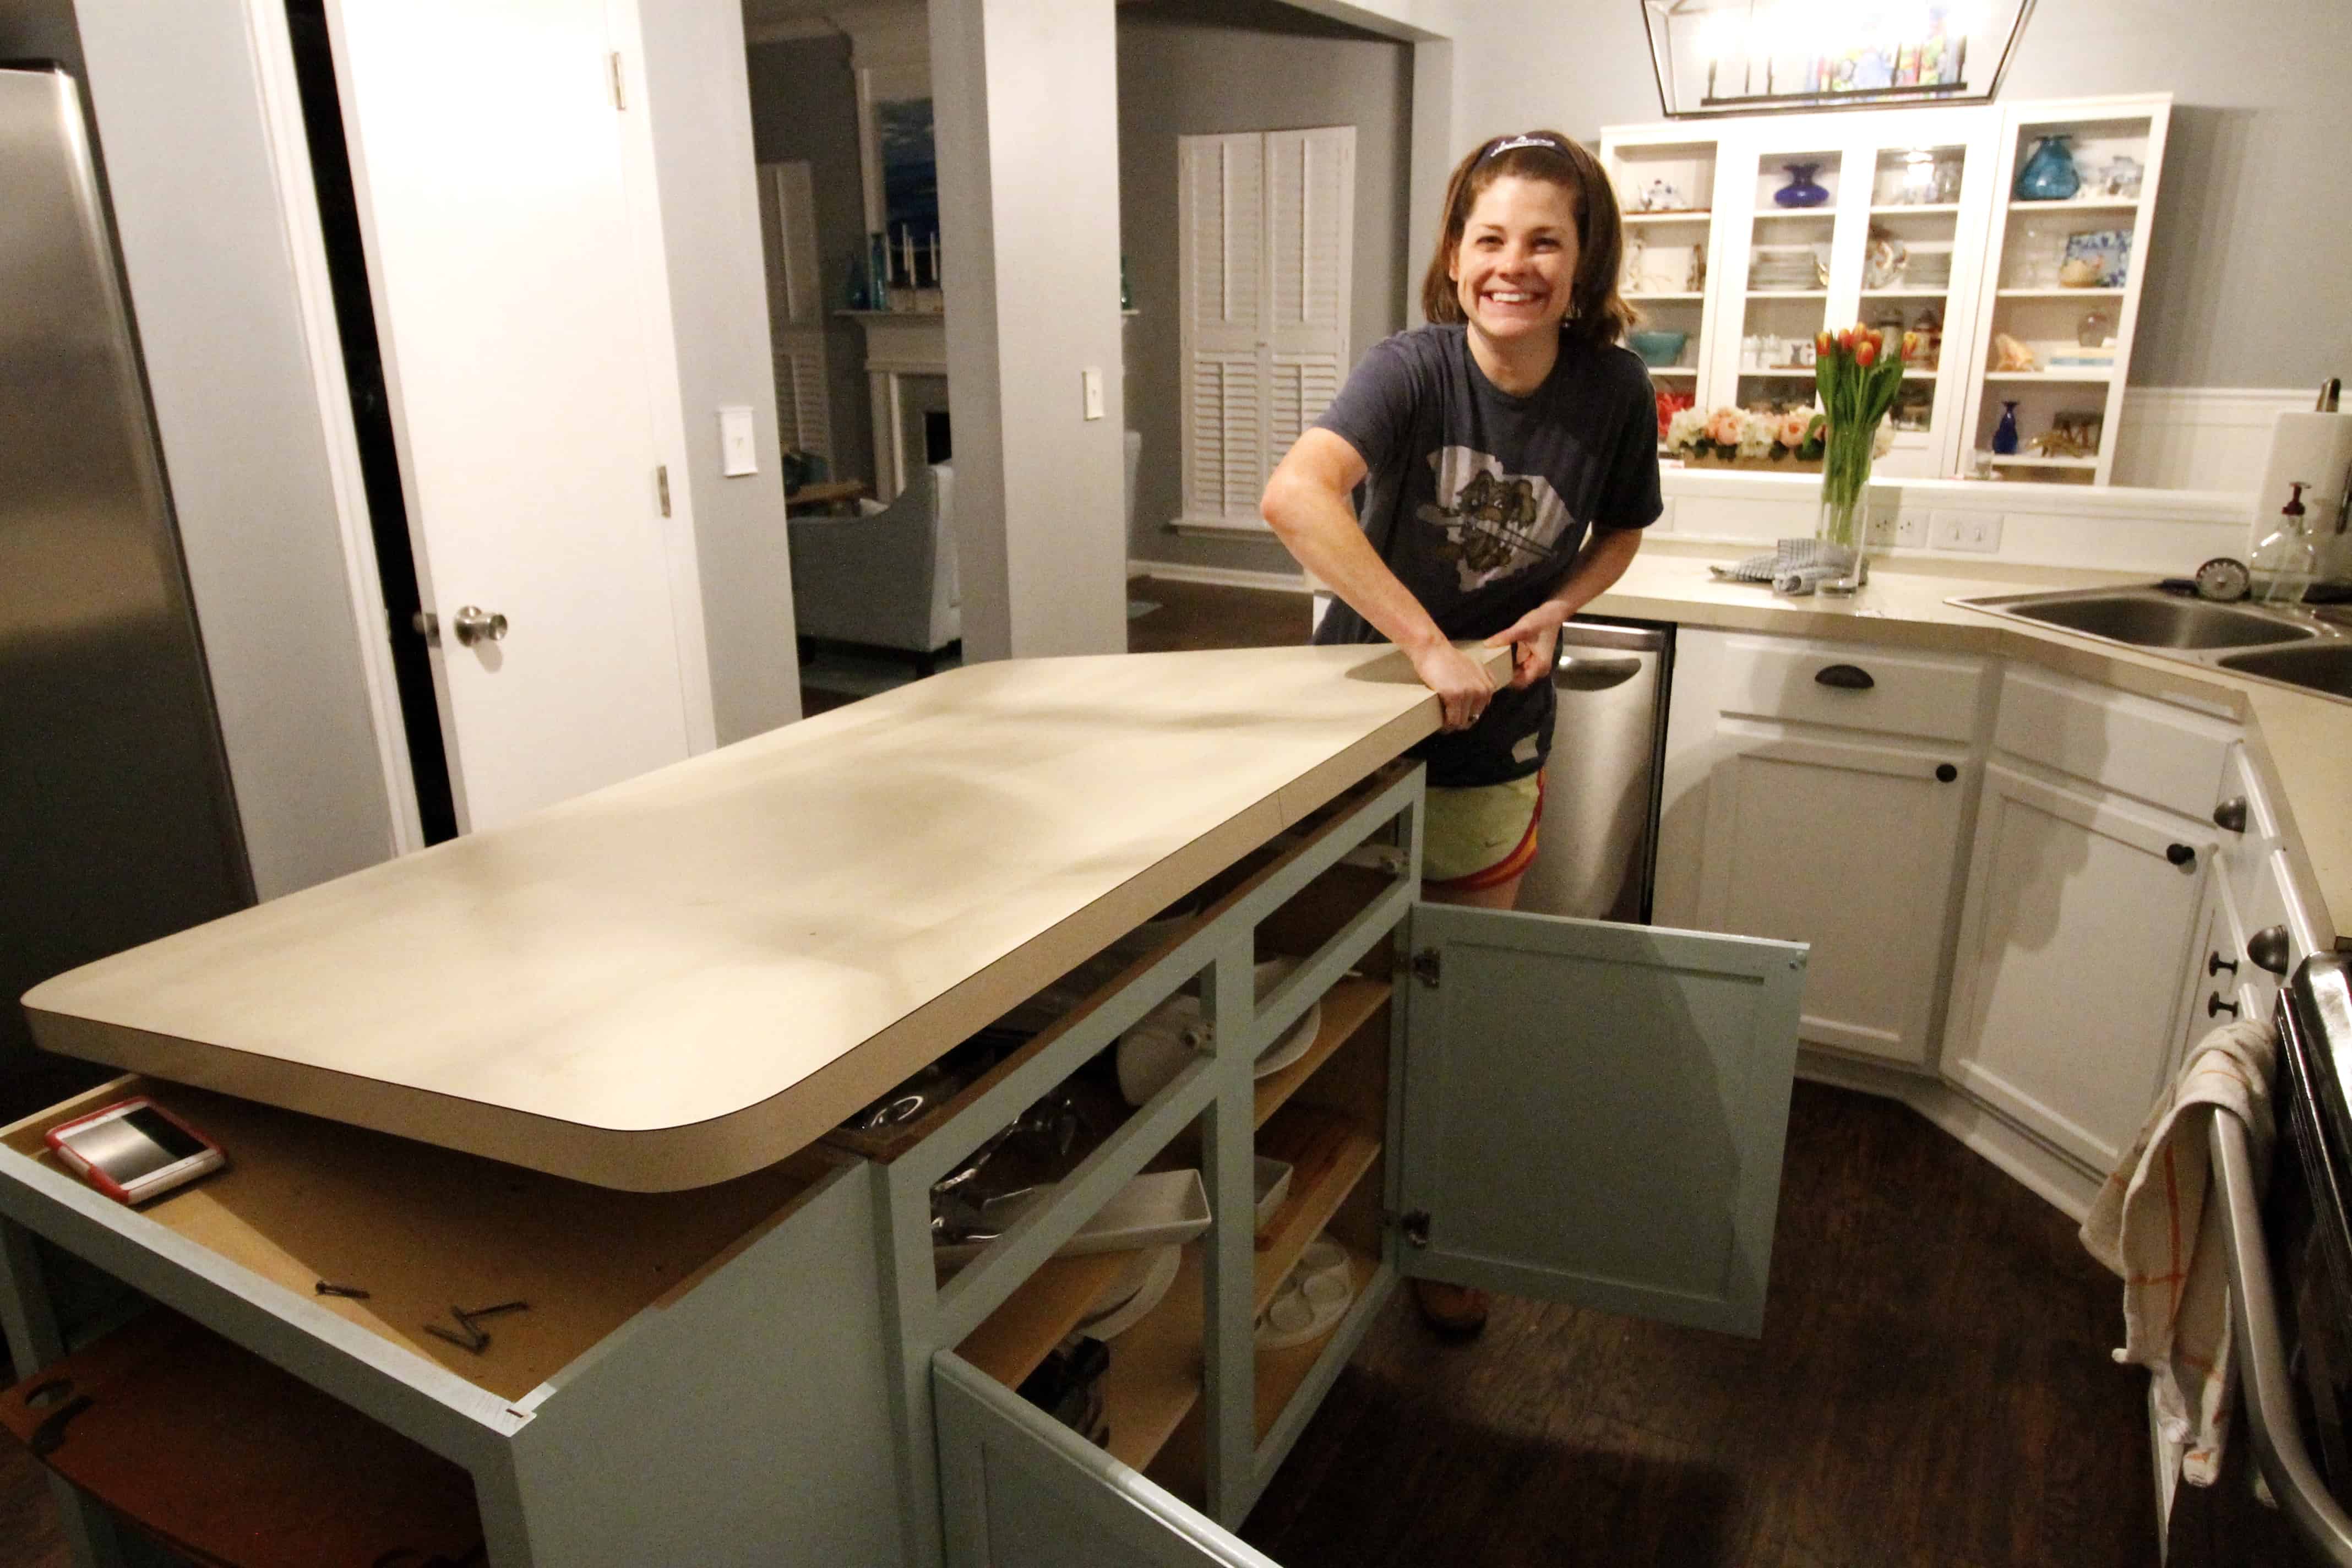
 With the kitchen sink side sprayer gone, you will have a more open and spacious area to work with. This can give you the opportunity to add new design elements, such as a statement backsplash or a beautiful faucet. You can also choose to install a larger and more functional sink, making it easier to wash larger pots and pans. These changes can not only improve the look of your kitchen, but also make it more convenient and enjoyable to use.
Conclusion
 Removing a kitchen sink side sprayer may seem like a small and insignificant change, but it can have a big impact on your house design. By creating a more functional and aesthetically pleasing space, you can enhance the overall look and feel of your kitchen. So if you're looking to update and improve your home, don't overlook the potential benefits of removing a kitchen sink side sprayer.
Related Main Keywords: functional home, kitchen sink, design elements, statement backsplash, faucet
Removing a kitchen sink side sprayer may seem like a small and insignificant change, but it can have a big impact on your house design. By creating a more functional and aesthetically pleasing space, you can enhance the overall look and feel of your kitchen. So if you're looking to update and improve your home, don't overlook the potential benefits of removing a kitchen sink side sprayer.
Related Main Keywords: functional home, kitchen sink, design elements, statement backsplash, faucet