Removing kitchen sink sealant can be a daunting task, but with the right tools and techniques, it can be done easily. Whether you are renovating your kitchen or simply want to replace your old sealant, it is important to know the proper steps to remove it without causing any damage. In this guide, we will discuss the top 10 ways to remove kitchen sink sealant and help you achieve a clean and smooth surface.How to Remove Kitchen Sink Sealant
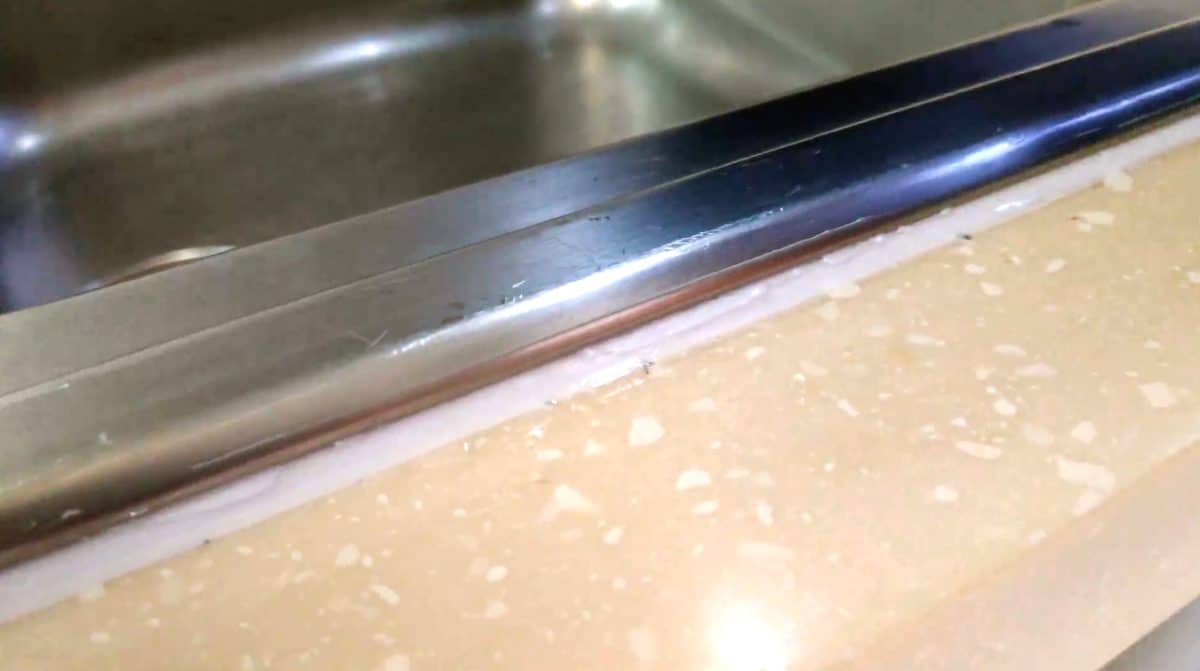
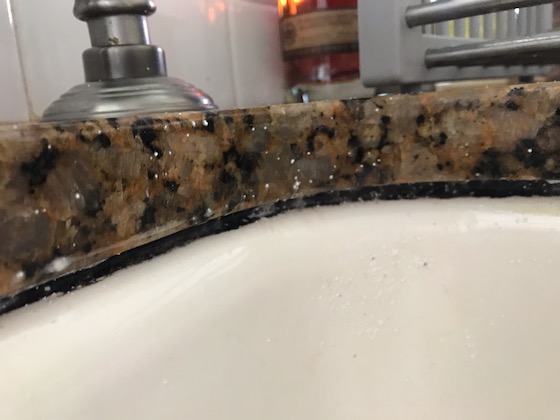
Kitchen sink sealant is used to seal the gap between the sink and the countertop, preventing water from seeping in and causing damage. Over time, this sealant can become discolored, cracked, or moldy, making it necessary to remove and replace it. Here are some effective ways to remove kitchen sink sealant.Removing Kitchen Sink Sealant
If you are someone who loves to tackle home improvement projects on your own, then you may want to try removing the sealant yourself. This can save you money and give you a sense of accomplishment. However, it is important to take the necessary precautions and follow the steps carefully to avoid any mishaps.DIY Kitchen Sink Sealant Removal
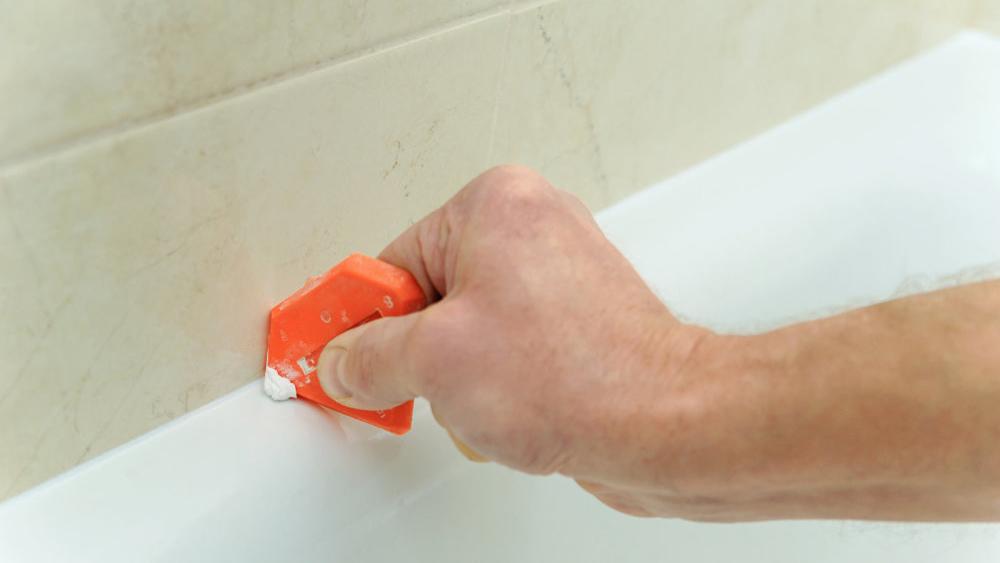
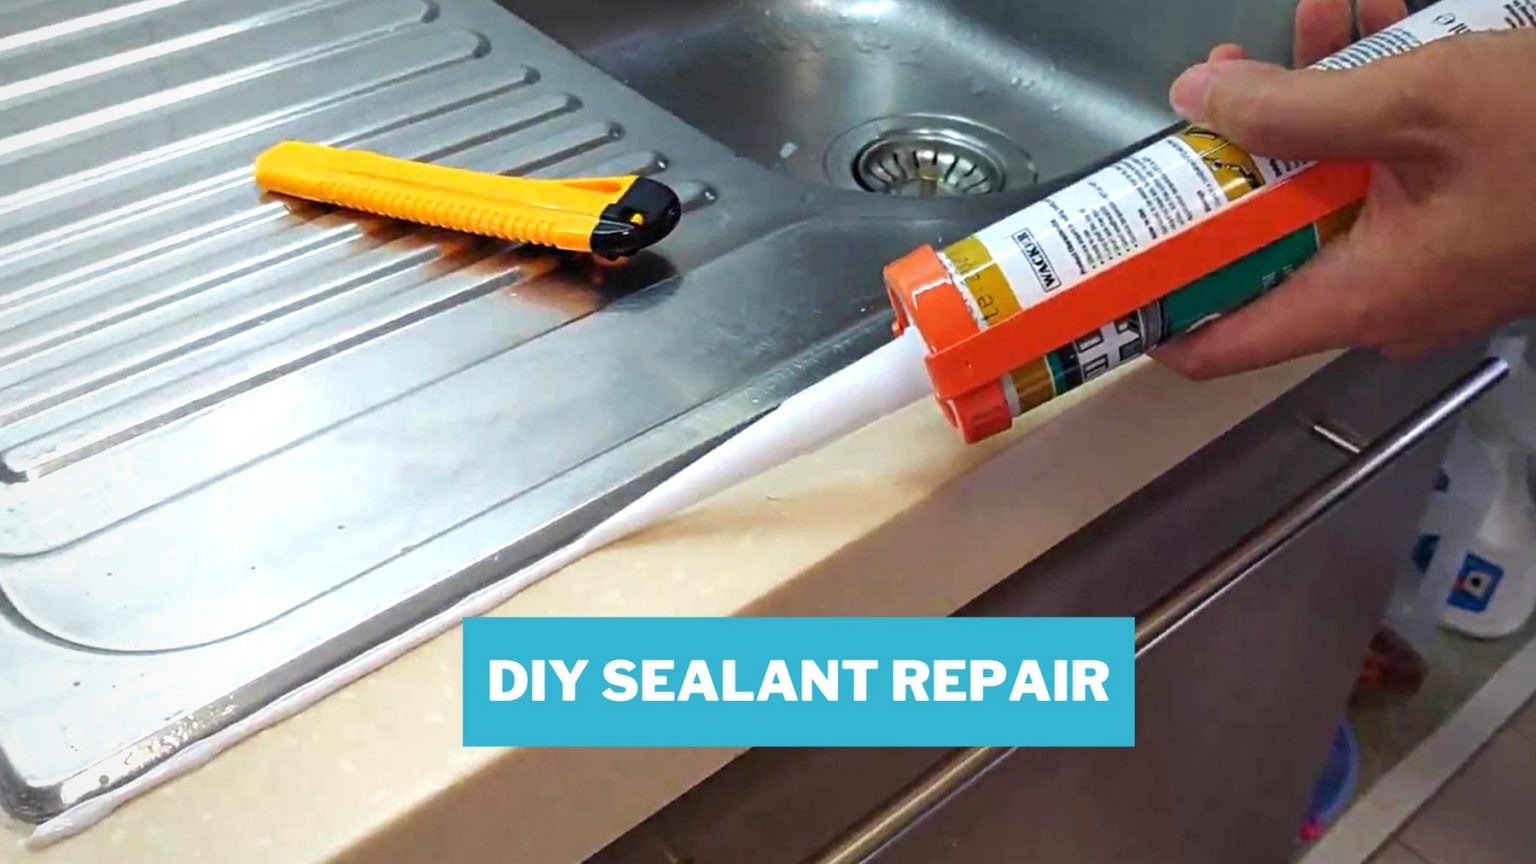
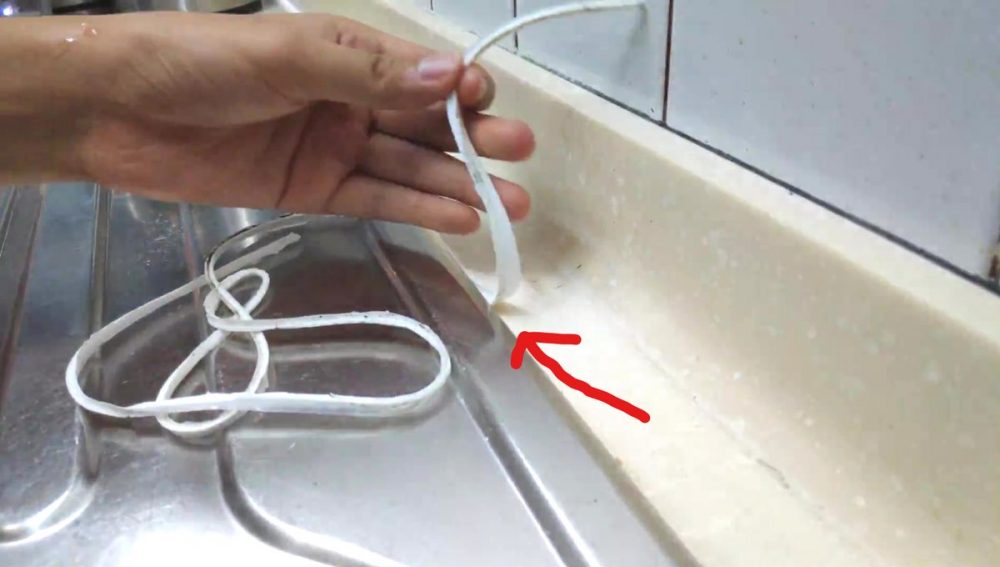
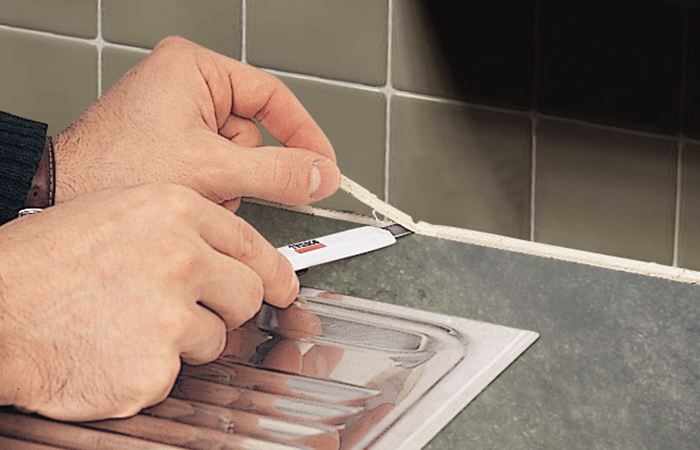
Step 1: Gather your tools - Before you begin, make sure you have all the necessary tools for the job. You will need a utility knife, a caulk removal tool, a scraper, a sponge, and a cleaning solution. Step 2: Soften the sealant - Use a caulk softener to loosen the sealant and make it easier to remove. Follow the instructions on the product and wait for the recommended time before proceeding. Step 3: Scrape off the sealant - Use a scraper or a putty knife to gently scrape off the softened sealant. Be careful not to damage the sink or the countertop. Step 4: Remove any remaining residue - Use a caulk removal tool or a utility knife to remove any remaining residue. Make sure to clean the tool regularly to avoid spreading the residue. Step 5: Clean the area - Once all the sealant has been removed, use a sponge and a cleaning solution to thoroughly clean the area. Step 6: Let it dry - Allow the area to dry completely before applying new sealant.Step-by-Step Guide for Removing Kitchen Sink Sealant
There are several methods for removing kitchen sink sealant, and the best one for you will depend on your specific situation. Some other effective methods include using a heat gun, a caulk remover gel, or a specialized caulk removal tool. It is important to choose the method that is most suitable for your needs.Best Methods for Removing Kitchen Sink Sealant
If your kitchen sink sealant is old and stubborn, it may require a bit more effort to remove. In this case, you can try using a combination of methods, such as softening the sealant with a caulk softener and then using a scraper to remove it. You may also want to consider seeking professional help if you are not confident in your skills.Removing Old Kitchen Sink Sealant
Aside from the methods mentioned above, there are a few other tricks you can try to make the sealant removal process easier. One tip is to use a hairdryer to heat up the sealant, making it easier to scrape off. Another tip is to use a toothbrush or an old toothbrush to scrub off any remaining residue.Effective Ways to Remove Kitchen Sink Sealant
Here are some additional tips to keep in mind when removing kitchen sink sealant: - Always wear protective gear, such as gloves and safety glasses, when working with chemicals or tools. - Test the caulk softener or any other product on a small, inconspicuous area before using it on the entire sealant. - Work slowly and carefully to avoid damaging the sink or the countertop. - If the sealant is too difficult to remove, consider seeking professional help.Kitchen Sink Sealant Removal Tips
Silicone sealant is commonly used in kitchen sinks, and it can be a bit trickier to remove compared to other types of sealant. To remove silicone sealant, you can use a silicone caulk remover or a specialized silicone sealant remover. These products are designed specifically for silicone sealant and are more effective in softening and removing it.Removing Silicone Sealant from Kitchen Sink
When removing kitchen sink sealant, it is important to prioritize safety and take the necessary precautions. Make sure to read and follow the instructions on any products you use, and avoid using sharp tools that can cause injury. If you are not comfortable with the process, it is best to seek professional help to ensure the job is done safely and effectively. Removing kitchen sink sealant may seem like a daunting task, but with the right tools and techniques, it can be done efficiently. By following the steps and tips outlined in this guide, you can achieve a clean and smooth surface for your new sealant. Remember to prioritize safety and choose the method that works best for your specific situation. Happy renovating!How to Safely Remove Kitchen Sink Sealant
How to Effectively Remove Kitchen Sink Sealant: A Step-by-Step Guide

Why Should You Remove Kitchen Sink Sealant?
 When it comes to house design, the kitchen is often considered the heart of the home. It's a space where we cook, eat, and spend time with loved ones. As such, it is important to keep this area clean and well-maintained. However, over time, the sealant around your kitchen sink may become worn out and start to peel off. This can not only create an unsightly appearance but also lead to water leaks and mold growth. Therefore, it is crucial to regularly remove old sealant and replace it with new, fresh sealant. In this article, we will guide you through the process of removing kitchen sink sealant effectively and efficiently.
Step 1: Gather Your Tools
 Before starting the removal process, it is important to gather all the necessary tools. This will save you time and frustration in the long run. Some of the essential tools you will need include a utility knife, a silicone sealant remover, a scraper, and a cloth.
Step 2: Protect Your Work Area
 Removing sealant can be a messy process, so it is important to protect your work area. Lay down some old towels or sheets to catch any debris that may fall. This will make the clean-up process much easier.
Step 3: Soften the Sealant
 Using a silicone sealant remover, carefully apply it to the sealant and leave it to soften for about 30 minutes. This will make the removal process much easier and prevent any damage to your sink or countertop.
Step 4: Scrape off the Old Sealant
 After the sealant has softened, use a scraper or utility knife to carefully scrape off the old sealant. Be sure to use gentle pressure to avoid scratching your sink or countertop.
Step 5: Clean the Area
Step 6: Apply New Sealant
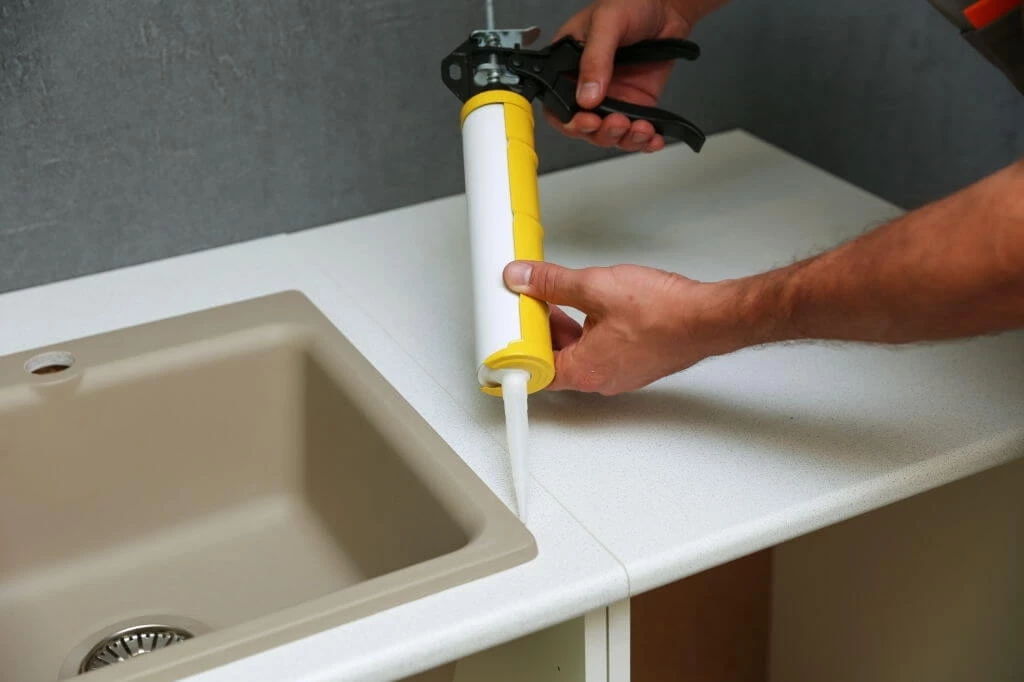
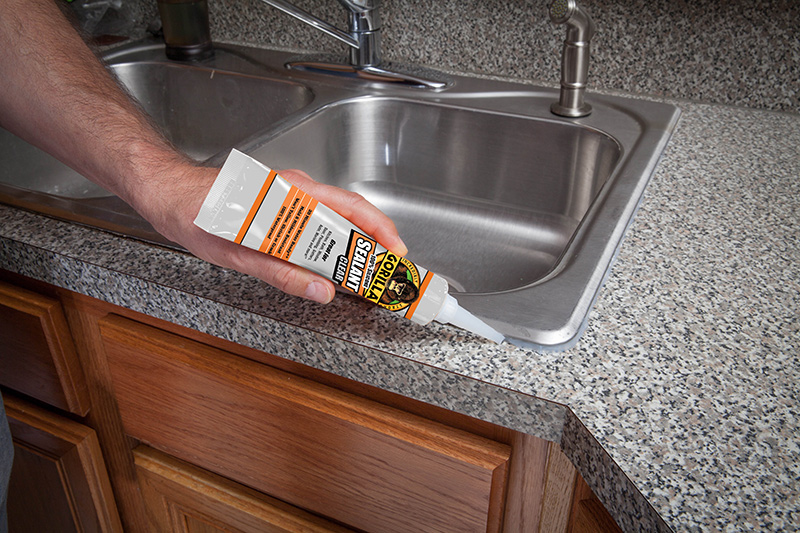
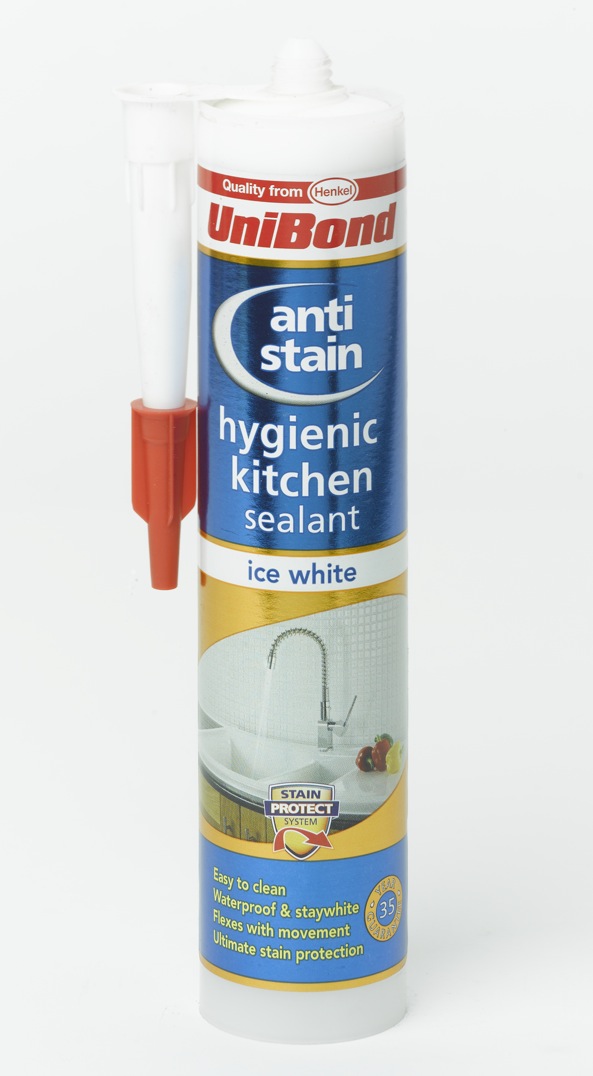
 After the area is clean and dry, it is time to apply the new sealant. Using a caulk gun, carefully apply the new sealant in a straight line, making sure to cover any gaps or cracks. Smooth out the sealant with your finger or a damp cloth for a clean finish.
Step 7: Let it Dry
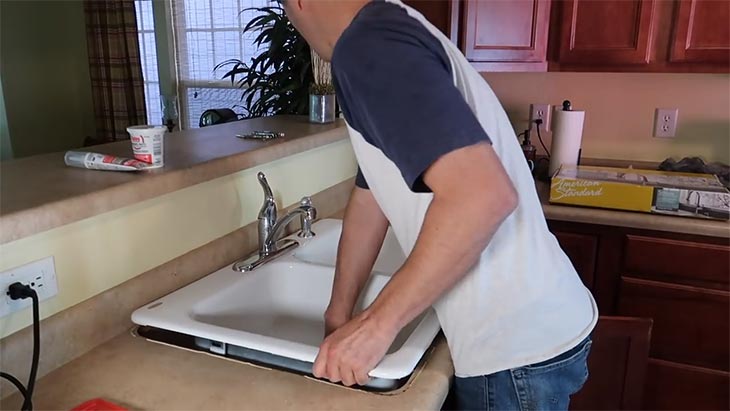 Allow the new sealant to dry for at least 24 hours before using your sink or countertop. This will ensure that the sealant has fully cured and will provide a strong, waterproof seal.
Conclusion
 In conclusion, removing kitchen sink sealant is an important part of maintaining a clean and functional kitchen. By following these simple steps, you can easily remove old sealant and replace it with new, fresh sealant, ensuring your kitchen remains in top condition. Remember to regularly check and replace old sealant to prevent any future issues.
