How to Remove a Kitchen Sink Hose
If you're experiencing a leaky or clogged kitchen sink hose, it may be time to remove and replace it. This may seem like a daunting task, but with the right tools and knowledge, it can be a simple and quick DIY project. In this guide, we'll walk you through the steps to remove your kitchen sink hose and get your sink working like new again.
How to Replace a Kitchen Sink Hose
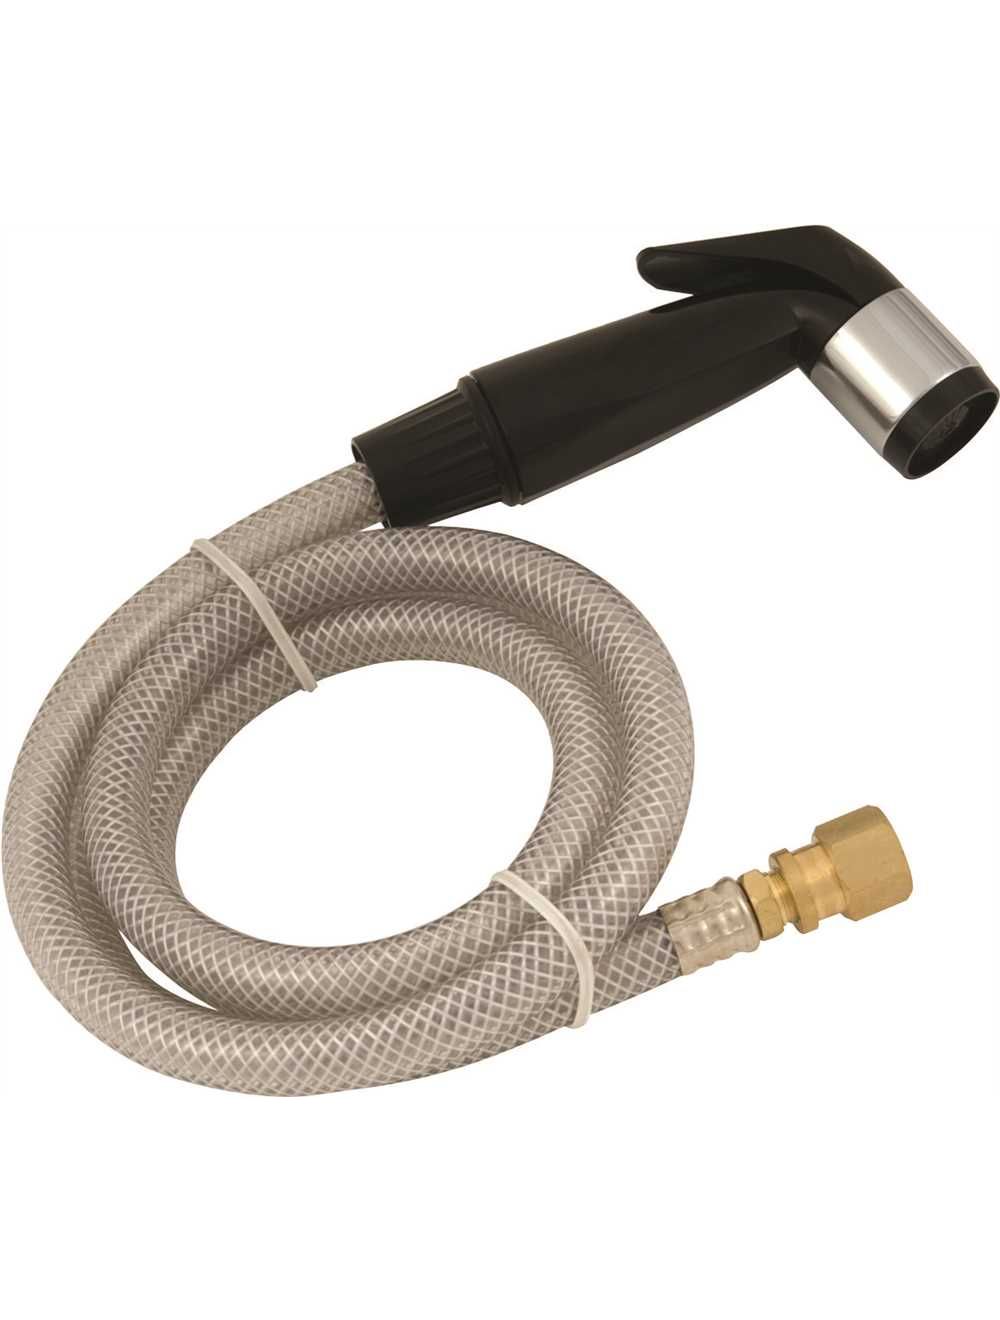
Before we get started on removing the kitchen sink hose, let's cover the basics of replacing it. The first step is to determine what type of hose you have. There are two main types: a pull-out or pull-down hose and a side spray hose. Once you know which type you have, you can purchase a replacement hose from your local hardware store.
Removing a Kitchen Sink Hose: Step-by-Step Guide
Step 1: Turn off the water supply - Before you begin working on your kitchen sink hose, make sure to turn off the water supply. This will prevent any water from spilling out while you work.
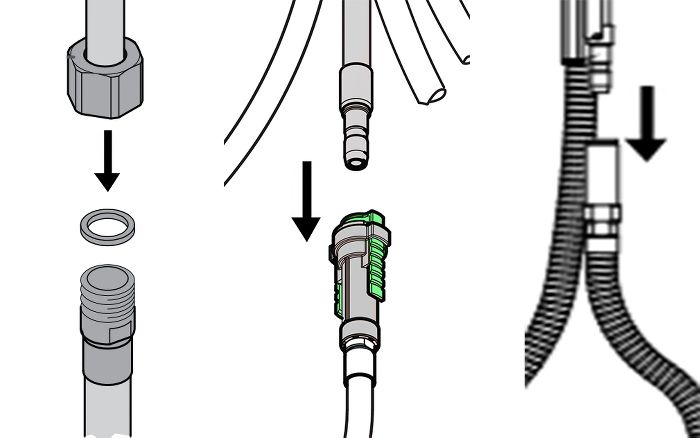
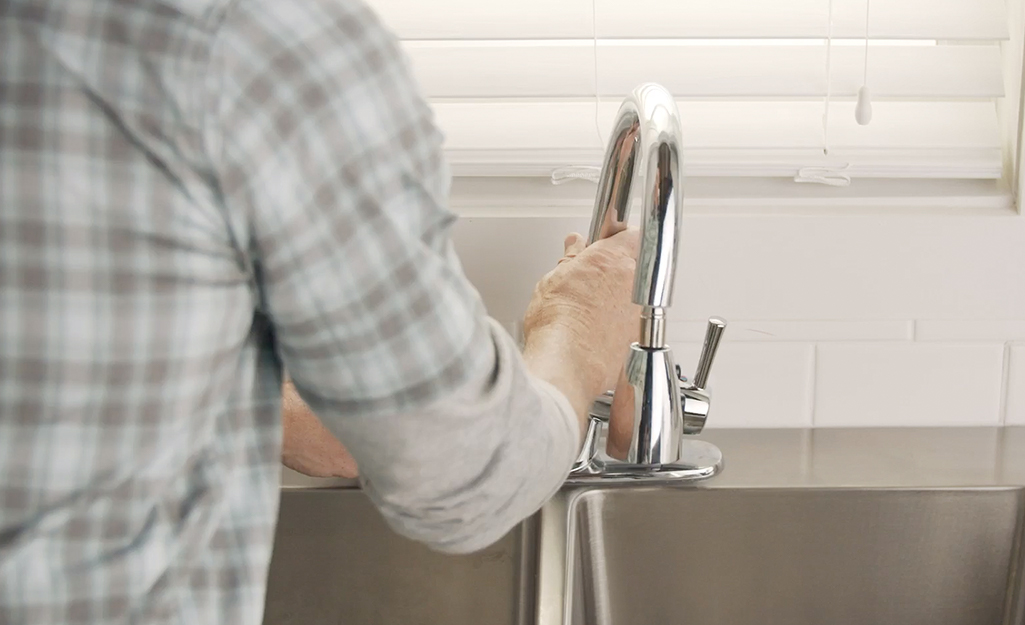
Step 2: Disconnect the old hose - Locate the connection point between the hose and the water supply valve. Use a pair of pliers to loosen and remove the hose from the valve. Then, disconnect the other end of the hose from the faucet.
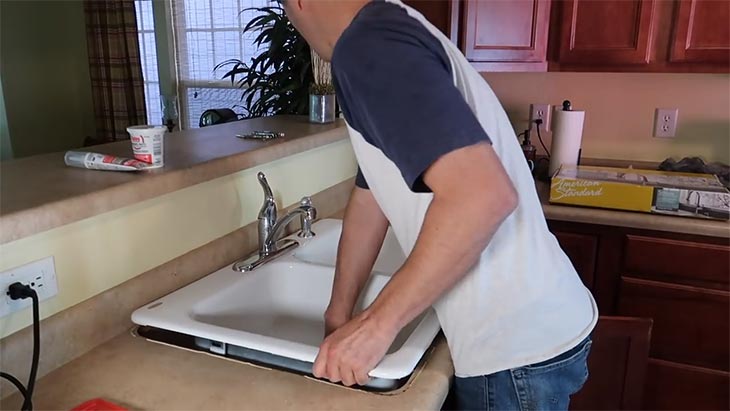
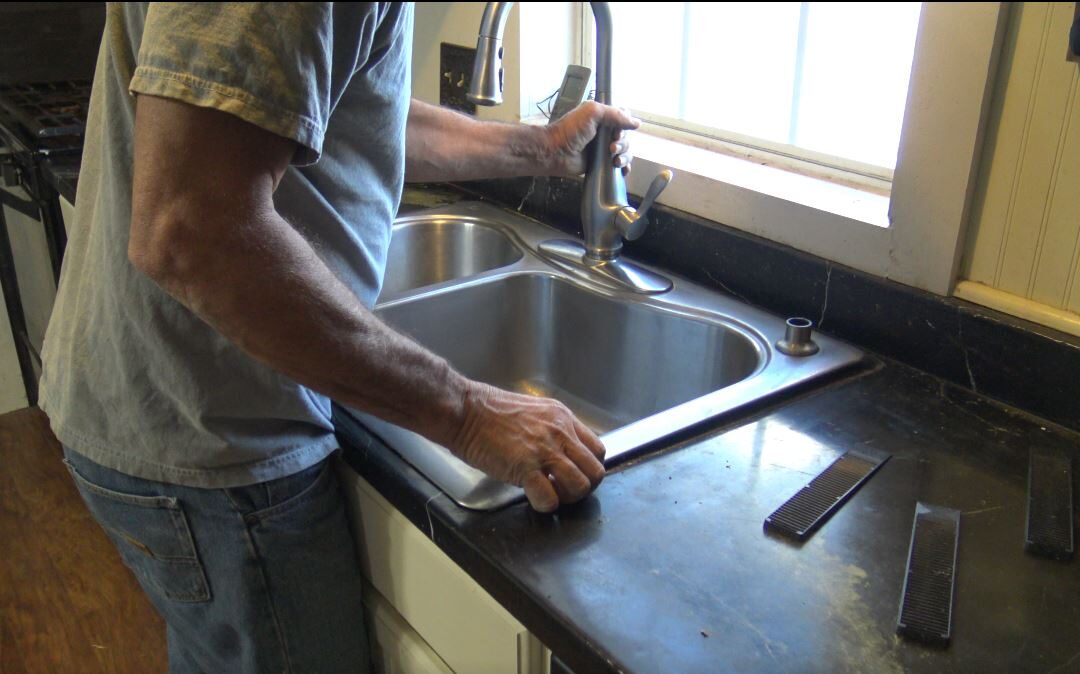
Step 3: Remove the hose from the sink - With the hose disconnected, you can now remove it from the sink. This may require unscrewing any mounting hardware that is holding the hose in place.
Step 4: Clean the area - Before installing the new hose, make sure to clean the area where the old hose was located. This will ensure a secure and leak-free connection.
Step 5: Install the new hose - Following the instructions provided with your new hose, install it in the same manner as the old one. Make sure to secure it tightly to prevent any leaks.
DIY: Removing a Kitchen Sink Hose
Removing a kitchen sink hose can be a DIY project that saves you time and money. By following the steps outlined above, you can easily remove and replace your kitchen sink hose without having to call a professional plumber.
Removing a Kitchen Sink Hose: Tips and Tricks
- Make sure to turn off the water supply before starting the removal process.
- Keep track of any nuts, bolts, or other small pieces during the removal process to ensure you have everything you need to install the new hose.
- Clean the area and use plumber's tape when installing the new hose to prevent any leaks.
Removing a Kitchen Sink Hose: Common Mistakes to Avoid
- Not turning off the water supply before starting the removal process.
- Not keeping track of small pieces during the removal process.
- Not properly cleaning the area before installing the new hose.
Removing a Kitchen Sink Hose: Tools You'll Need
- Pair of pliers
- Adjustable wrench
- Screwdriver
- Plumber's tape
- New kitchen sink hose
Removing a Kitchen Sink Hose: Safety Precautions
- Always turn off the water supply before starting any work on your kitchen sink.
- Wear protective gloves when working with plumbing tools.
Removing a Kitchen Sink Hose: Troubleshooting
If you encounter any difficulties during the removal process, refer to the instructions provided with your new kitchen sink hose. If you are still having issues, it may be best to call a professional plumber for assistance.
Removing a Kitchen Sink Hose: Final Steps and Clean-Up
After successfully removing and replacing your kitchen sink hose, turn the water supply back on and make sure there are no leaks. If everything looks good, clean up any tools and materials used during the process and enjoy your newly functioning kitchen sink!
The Benefits of Removing Your Kitchen Sink Hose

Improve Functionality and Aesthetics
 The kitchen sink is one of the most used areas in any household, making it vulnerable to wear and tear. Over time, the hose attached to the sink can become clogged, damaged, or tangled, hindering its functionality. As a result, it can become challenging to clean dishes or fill up larger pots and containers. However, by removing the kitchen sink hose, you can improve the overall functionality of your sink. Without the hose, you will have more space to maneuver and clean, making daily tasks more efficient and less frustrating.
Not only does removing the kitchen sink hose improve functionality, but it can also enhance the aesthetics of your kitchen. Hoses often come in a standard, unappealing design, which can clash with your kitchen's overall style. By removing it, you can create a more streamlined and sleek look for your sink, enhancing the overall appearance of your kitchen. Additionally, without the hose, you can add a soap dispenser or other accessories that will only add to the design of your sink.
Prevent Potential Hazards
 Another essential benefit of removing your kitchen sink hose is the prevention of potential hazards. Over time, the hose can become worn out and develop cracks or leaks, which can lead to water damage and even mold growth. This not only poses a health hazard but can also be costly to repair. By removing the hose, you eliminate the risk of these potential hazards, saving you time, money, and stress in the long run.
Moreover, removing the hose also eliminates the risk of accidents in the kitchen. Long hoses can get tangled, causing someone to trip and fall. This is especially dangerous if there are children or elderly individuals in the household. By removing the hose, you can create a safer environment in your kitchen for everyone.
In conclusion, removing the kitchen sink hose has numerous benefits that can improve the functionality, aesthetics, and safety of your kitchen. It is a simple and cost-effective solution to common sink problems, making it a worthwhile investment for any homeowner. So, next time you're cleaning your sink and struggling with the hose, consider removing it for a better and more efficient kitchen experience.

