The kitchen is often referred to as the heart of the home, and lighting plays a crucial role in creating a warm and inviting atmosphere. However, over time, even the best kitchen lighting fixtures can become dull and outdated. One of the most common kitchen light fixtures is the dome light, which is designed to provide overall illumination to the room. If you are looking to update your kitchen's look or replace a broken light bulb, you may need to remove the kitchen dome light cover. Here's how to do it in a few easy steps.How to Remove a Kitchen Dome Light Cover
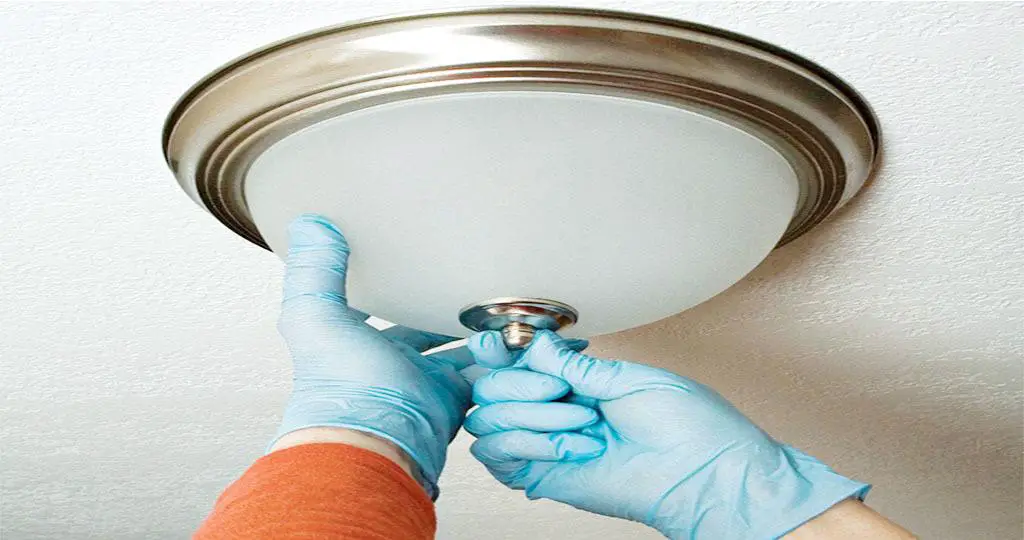
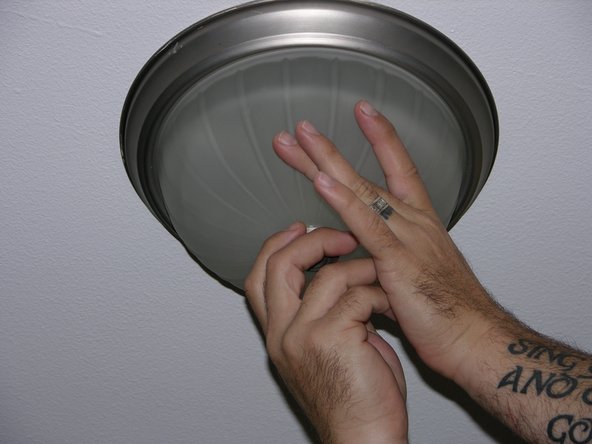
Before you start, make sure to turn off the power to the light fixture by flipping the circuit breaker or turning off the light switch. This will prevent any electrical accidents from occurring while you work. Once the power is off, follow these steps to safely remove the kitchen dome light cover: Step 1: Gather your tools - Before you begin, make sure you have all the necessary tools handy. This includes a ladder or step stool, a flathead screwdriver, and a pair of work gloves. Step 2: Locate and remove the screws - Most kitchen dome light covers are held in place by screws. Use a flathead screwdriver to carefully unscrew and remove the screws from the cover. Be sure to place the screws in a safe place so you don't lose them. Step 3: Support the cover - Once the screws are removed, you will need to hold the cover in place with one hand while you remove the final screw. Alternatively, you can ask someone to hold the cover for you while you work. Step 4: Remove the cover - With the screws removed, gently lower the cover and carefully remove it from the fixture. Be sure to keep a firm grip on the cover to prevent it from slipping and breaking. Step 5: Remove the light bulb - This is a good time to replace the light bulb if needed. Carefully unscrew and remove the old bulb, and replace it with a new one if necessary. Step 6: Clean the cover - Before reattaching the cover, take the opportunity to clean it with a mild soap and water solution. This will help remove any dust or dirt that may have accumulated over time. Step 7: Reattach the cover - Once the cover is clean, reattach it to the fixture by carefully placing it back in its original position and securing it with the screws. Step 8: Turn the power back on - Once you have reattached the cover and double-checked that all screws are securely in place, you can turn the power back on and test the light to ensure it is working properly.Removing a Kitchen Dome Light Cover: A Step-by-Step Guide
Removing a kitchen dome light cover is a relatively simple task that can be done as a DIY project. However, if you are uncomfortable working with electrical fixtures or are unsure about any step in the process, it is always best to consult a professional electrician for assistance.DIY: Removing a Kitchen Dome Light Cover
Here are a few tips and tricks to keep in mind when removing a kitchen dome light cover: Tip #1: When working with electrical fixtures, always remember to turn off the power before starting any work. Tip #2: If the cover is stuck, try gently tapping it with a soft mallet to loosen it. Tip #3: Wear work gloves to protect your hands from any sharp edges or debris. Tip #4: If you are unsure about any step in the process, do not hesitate to seek professional help.Removing a Kitchen Dome Light Cover: Tips and Tricks
For a quick and easy recap, here is a step-by-step guide to removing a kitchen dome light cover: Step 1: Turn off the power Step 2: Gather your tools Step 3: Locate and remove the screws Step 4: Support the cover Step 5: Remove the cover Step 6: Remove the light bulb Step 7: Clean the cover Step 8: Reattach the cover Step 9: Turn the power back onStep-by-Step Guide to Removing a Kitchen Dome Light Cover
Before attempting to remove a kitchen dome light cover, here are a few things you should know: Fact #1: Kitchen dome light covers are typically held in place by screws. Fact #2: The power must be turned off before attempting to remove the cover. Fact #3: It is important to support the cover while removing the screws to prevent it from falling and breaking.Removing a Kitchen Dome Light Cover: What You Need to Know
If you are short on time or simply want a quick and easy way to remove a kitchen dome light cover, here is a simple method you can try: Step 1: Place a towel or cloth over the cover to protect it from scratches or damage. Step 2: Use a flathead screwdriver to carefully pry the cover off the fixture. Step 3: Once the cover is free, gently lower it and remove it from the fixture.Quick and Easy Way to Remove a Kitchen Dome Light Cover
Here are a few common mistakes to avoid when removing a kitchen dome light cover: Mistake #1: Forgetting to turn off the power before starting work. Mistake #2: Using too much force and accidentally breaking the cover. Mistake #3: Not supporting the cover while removing the screws, causing it to fall and break.Removing a Kitchen Dome Light Cover: Common Mistakes to Avoid
The tools you will need to remove a kitchen dome light cover include: Tool #1: A ladder or step stool Tool #2: A flathead screwdriver Tool #3: Work glovesRemoving a Kitchen Dome Light Cover: Tools You'll Need
Safety should always be a top priority when working on any home improvement task. Here are a few tips to help you safely remove a kitchen dome light cover: TIP #1: Turn off the power before starting any work. TIP #2: Wear work gloves to protect your hands from any sharp edges or debris. TIP #3: Ask for help if needed, especially when working with a heavy or awkwardly shaped cover. With these easy steps and tips, you can easily remove a kitchen dome light cover and give your kitchen a fresh new look. Just remember to work carefully and safely, and seek professional help if needed. Happy DIY-ing!How to Safely Remove a Kitchen Dome Light Cover
Why You Should Consider Removing Your Kitchen Dome Light Cover

Improve the Aesthetics of Your Kitchen
 One of the main reasons why people choose to remove their kitchen dome light cover is to improve the overall look and feel of their kitchen. A kitchen dome light cover can often be bulky and outdated, making the kitchen feel dated and uninviting. By removing the cover, you can create a more open and modern space that is both functional and appealing. Plus, without the cover, you can experiment with different light fixtures and styles to truly customize your kitchen's design.
Maximize Natural Lighting
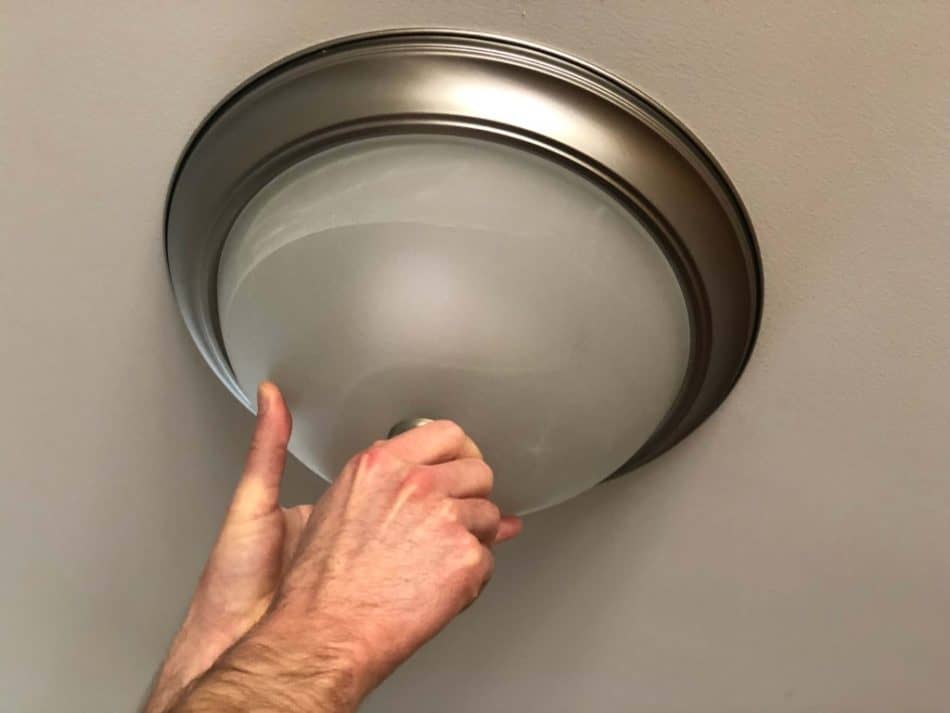 Another benefit of removing your kitchen dome light cover is the ability to maximize natural lighting in your kitchen. Natural light not only makes a space feel brighter and more spacious, but it also has numerous health benefits, including boosting mood and productivity. With the cover removed, you can take advantage of any natural light sources in your kitchen, such as windows or skylights, to create a bright and airy atmosphere.
Easier Maintenance and Cleaning
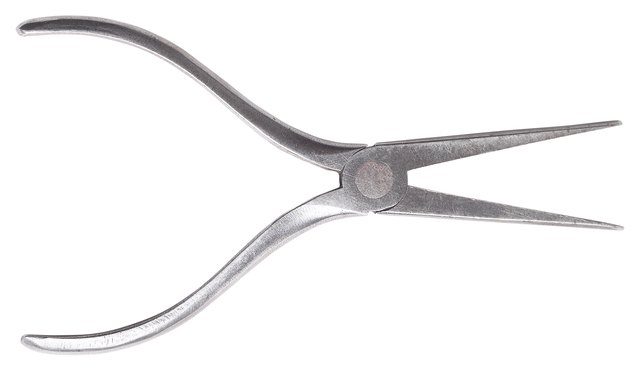 Kitchen dome light covers can be a hassle to clean and maintain. They can collect dust and grime, making them look dull and unattractive. By removing the cover, you eliminate this extra step in your cleaning routine and make it easier to keep your kitchen looking pristine. You can simply wipe down the light fixture itself and have one less thing to worry about in terms of upkeep.
Customize Your Lighting Experience
 Removing your kitchen dome light cover also allows you to customize your lighting experience. With the cover in place, you are limited to the type and direction of light that is emitted. By removing the cover, you can choose from a variety of light fixtures that can be placed strategically for optimal lighting in different areas of your kitchen. You can also experiment with different types of bulbs, such as LED or dimmable, to create the perfect ambiance for any occasion.
In conclusion, removing your kitchen dome light cover is a simple and effective way to elevate the design and functionality of your kitchen. It allows for more natural light, easier maintenance, and the ability to customize your lighting experience. So, if you're looking to give your kitchen a quick and cost-effective makeover, consider removing your kitchen dome light cover today.


