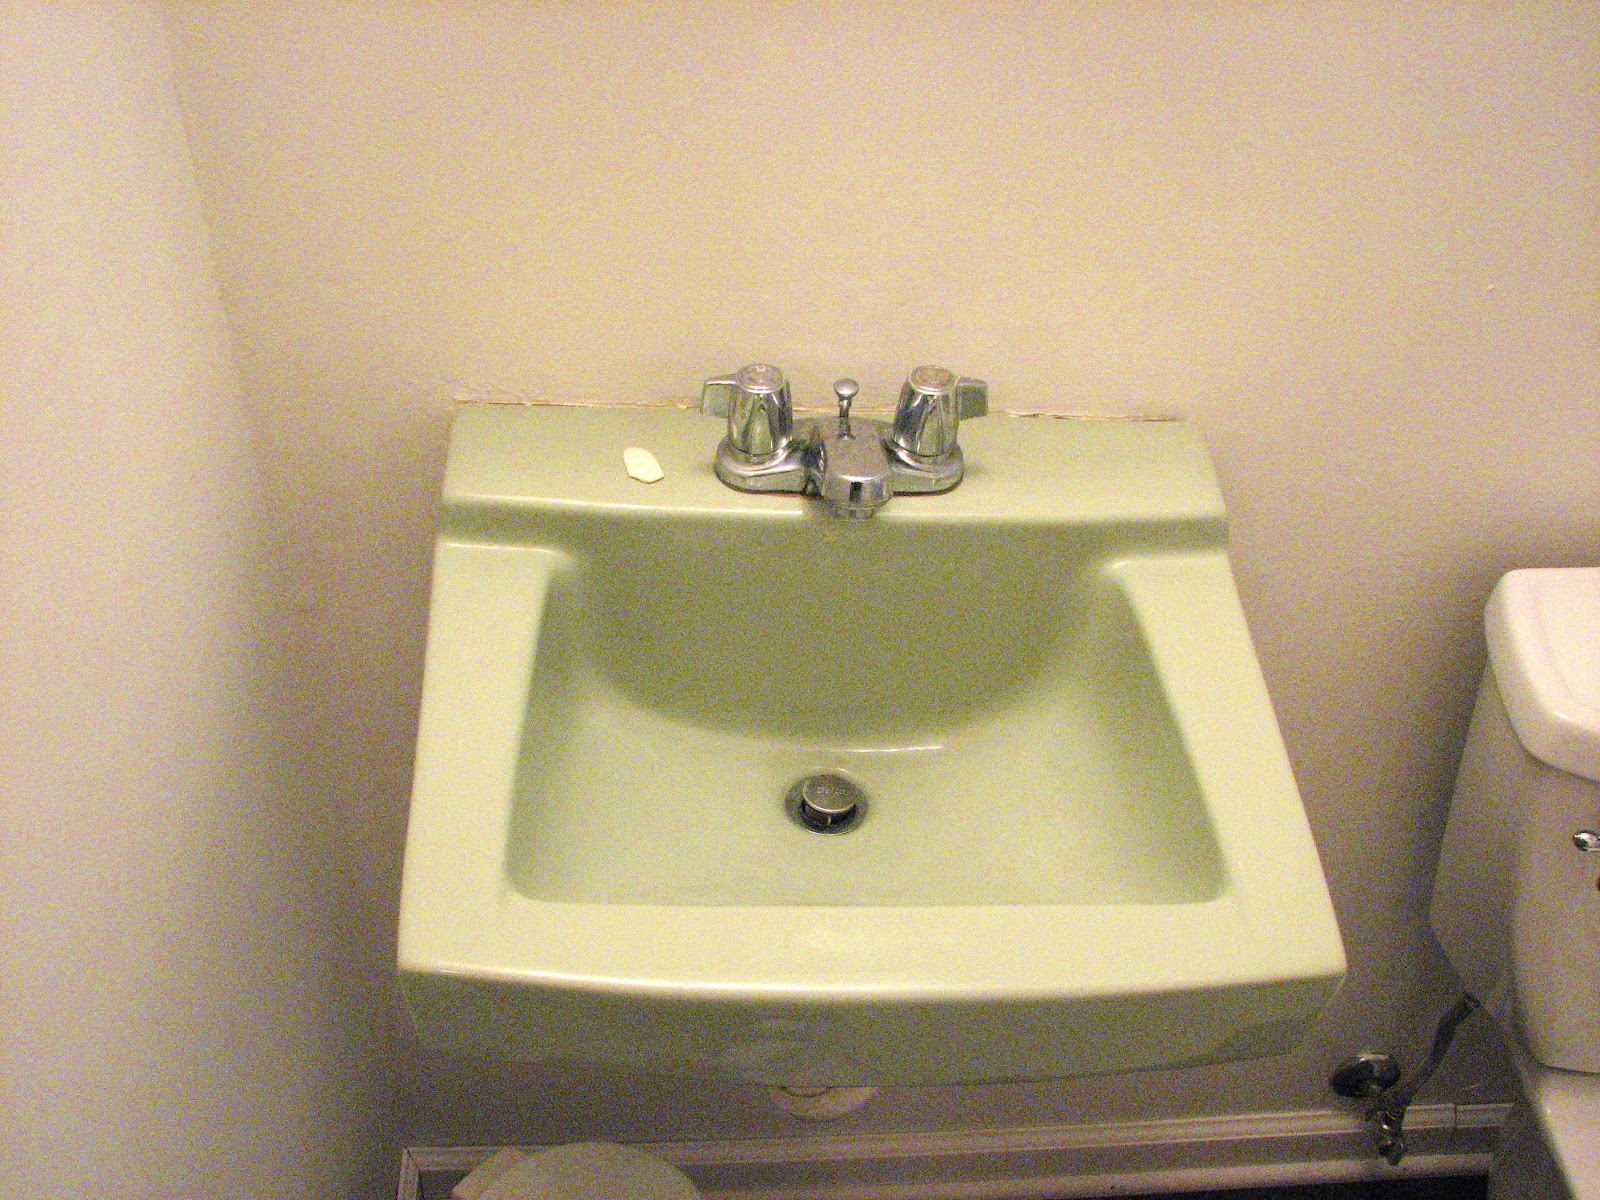
The bathroom sink is an essential part of any bathroom, and over time, the silicone sealant around it can become old, discolored, and even moldy. This not only looks unsightly but can also lead to water leaks and damage to your bathroom. Removing the old silicone and replacing it with a fresh seal is a simple DIY project that can give your bathroom a much-needed refresh. In this article, we will discuss the top 10 ways to remove bathroom sink silicone and achieve a professional-looking finish.How to Remove Bathroom Sink Silicone


How to Remove Bathroom Sink Silicone


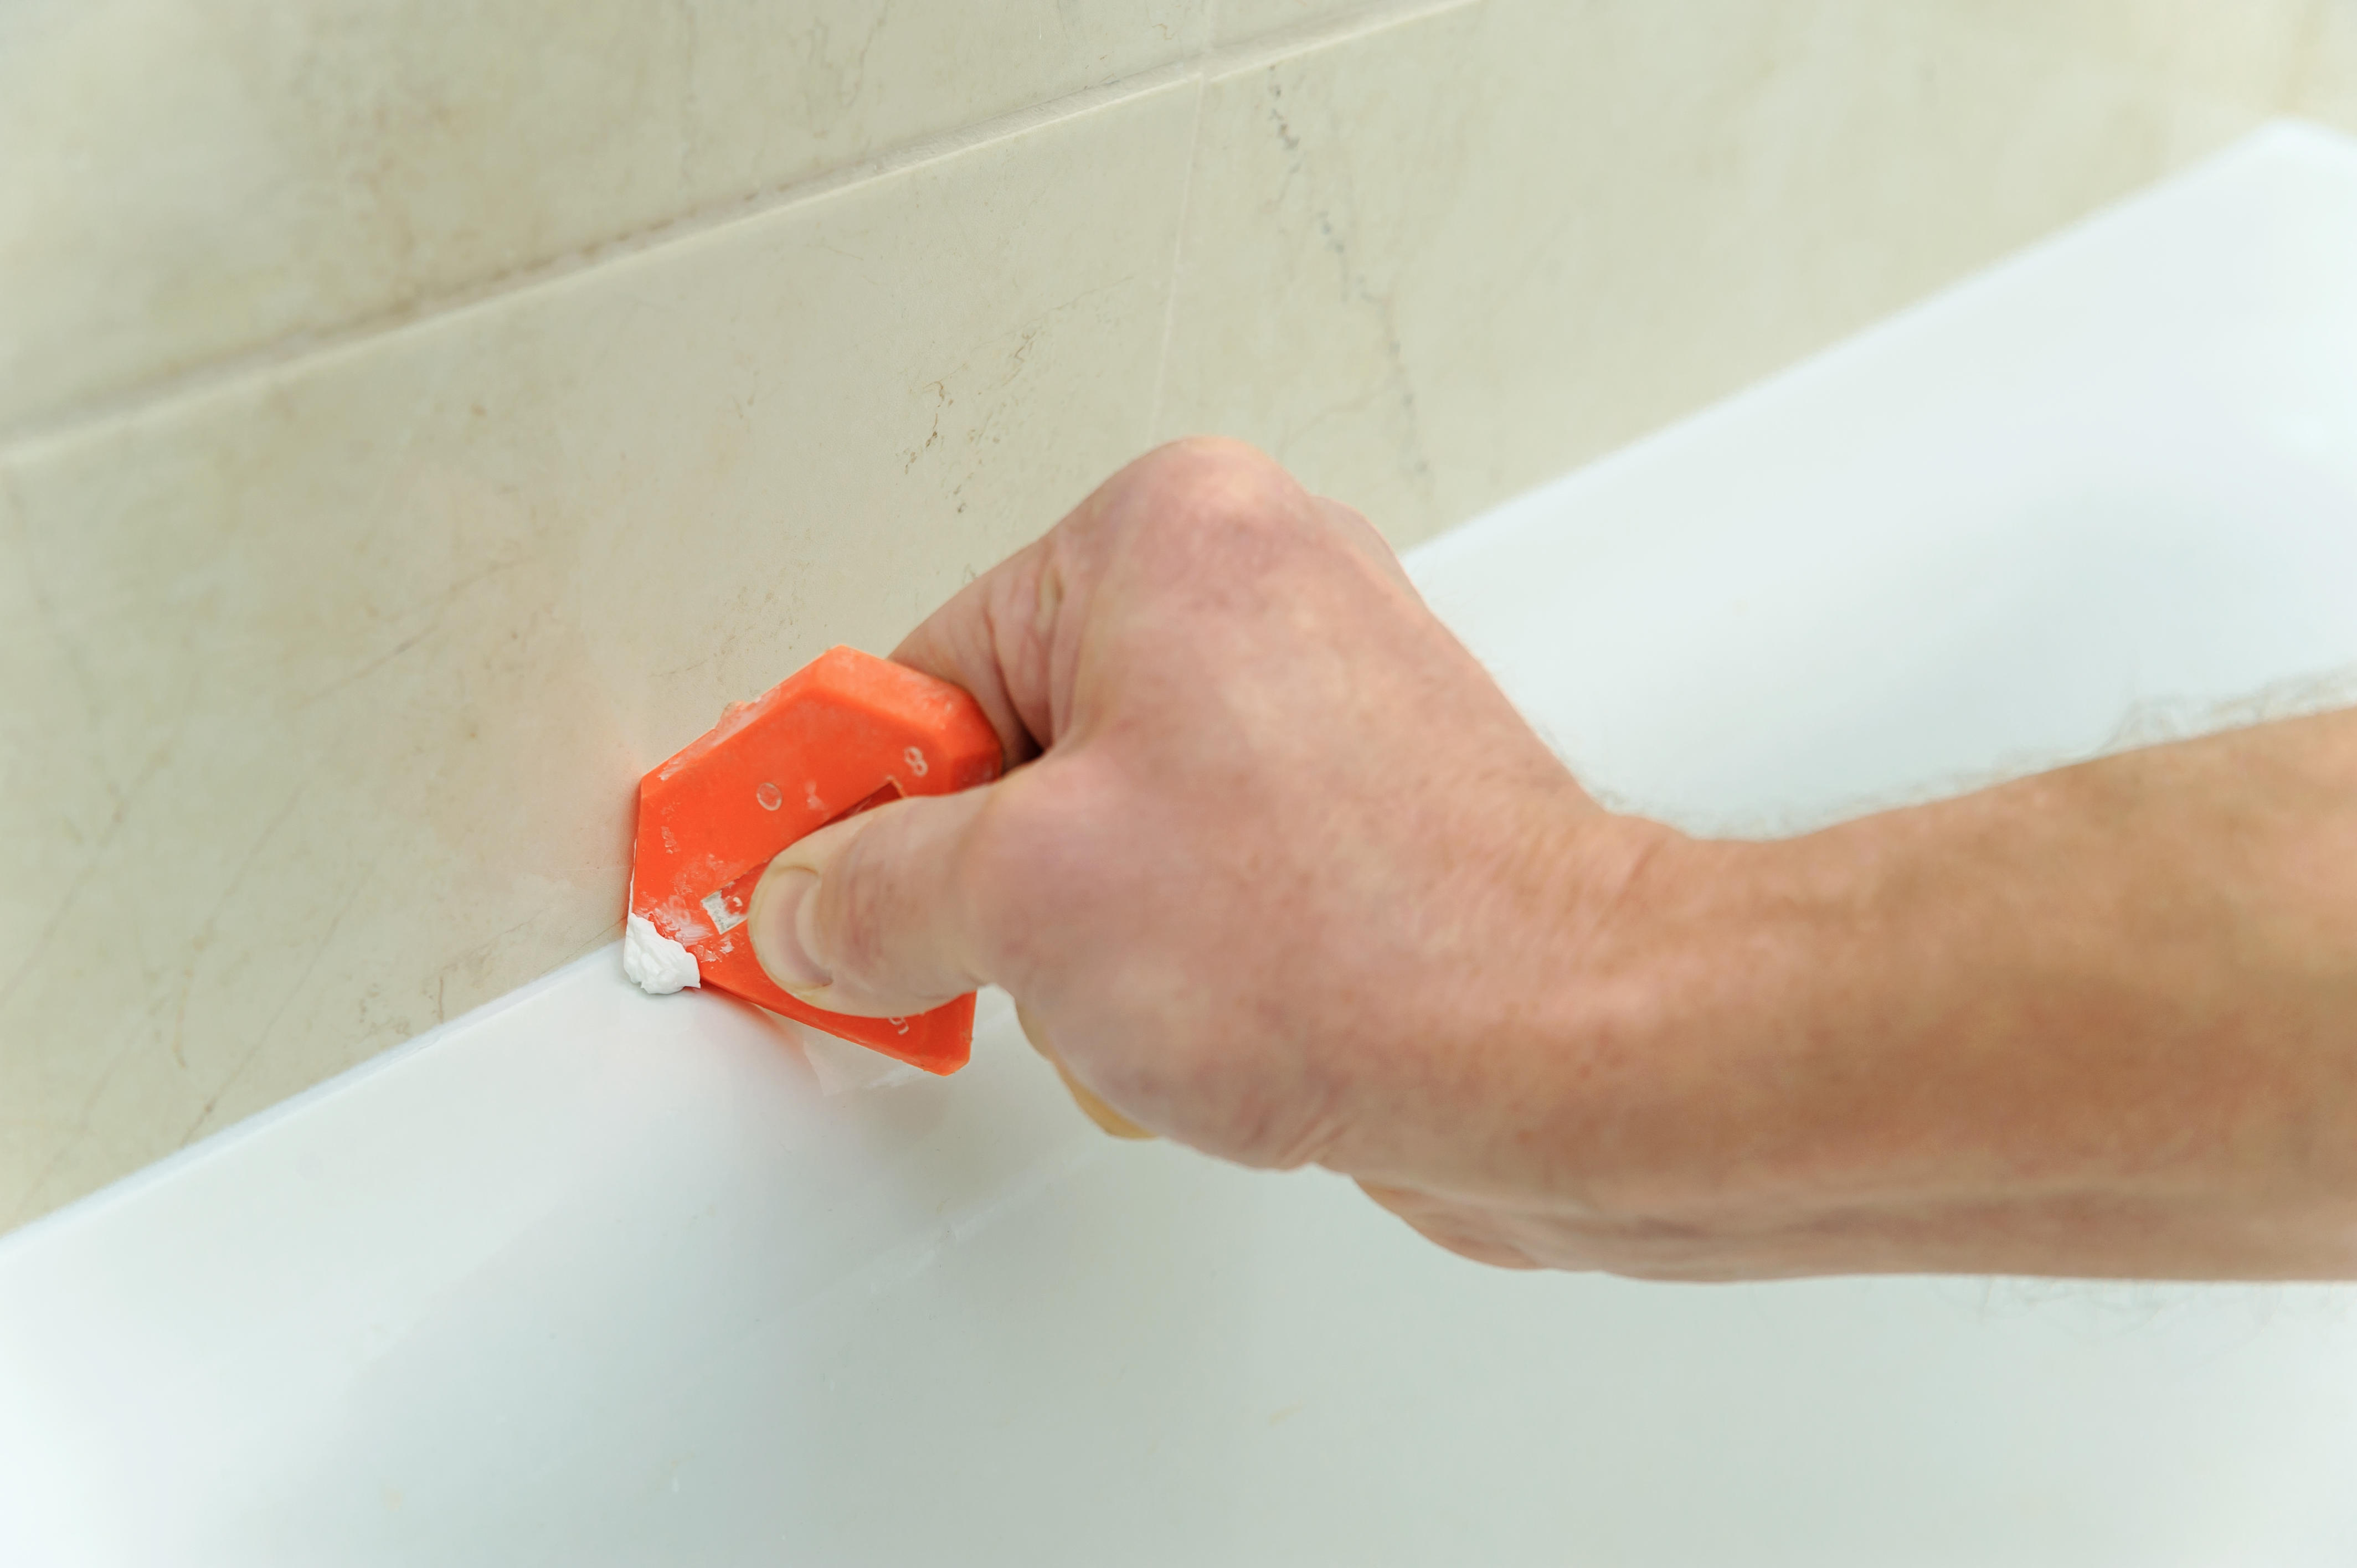
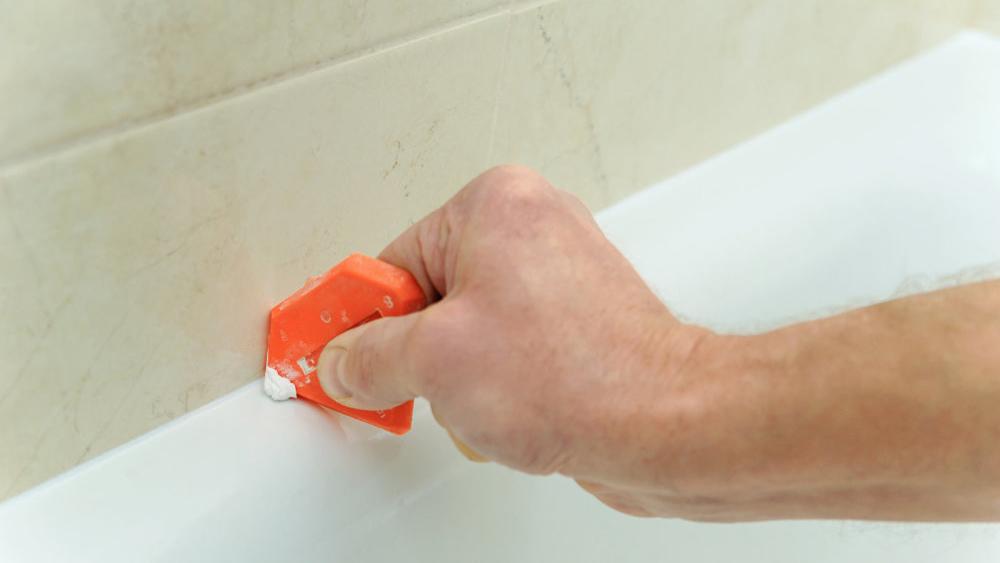
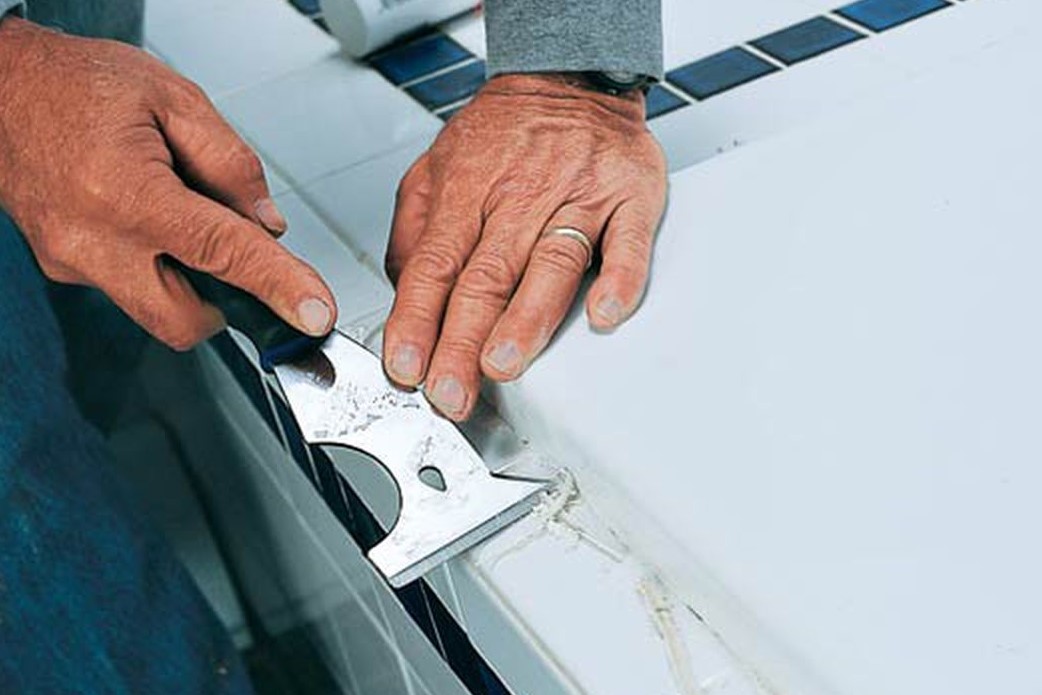
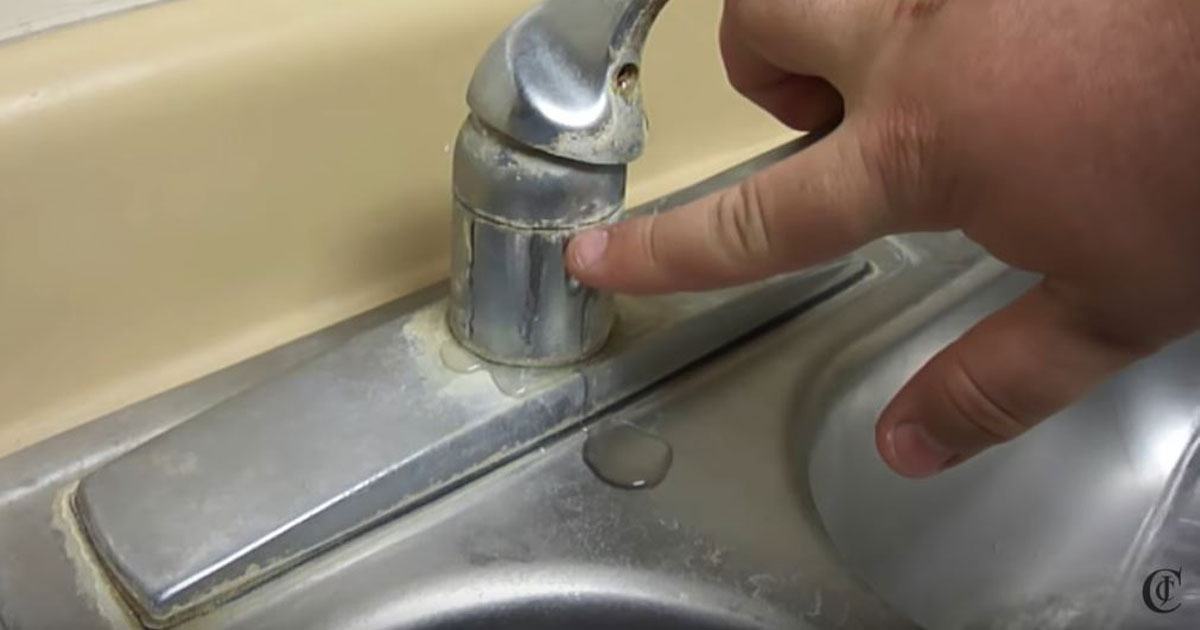
Silicone caulk is a popular choice for sealing bathroom sinks due to its waterproof and mold-resistant properties. However, over time, it can break down and become difficult to remove. To remove silicone caulk from your bathroom sink, you will need a few basic tools and some patience. Start by using a razor blade or utility knife to score the caulk and create an entry point. Then, use a caulk removal tool or scraper to carefully remove the caulk from the sink. Be sure to wear gloves and work slowly to avoid damaging the sink or hurting yourself.Removing Silicone Caulk from Bathroom Sink


Removing Silicone Caulk from Bathroom Sink


If you prefer a more natural approach, there are several DIY methods for removing silicone from your bathroom sink. One option is to mix equal parts baking soda and white vinegar to create a paste. Apply the paste to the silicone and let it sit for a few hours before scrubbing it off with a toothbrush or scrub brush. Another method is to use a combination of lemon juice and salt. The acid in the lemon juice helps to break down the silicone, while the salt acts as an abrasive to help scrub it off.DIY: Removing Silicone from Bathroom Sink


DIY: Removing Silicone from Bathroom Sink


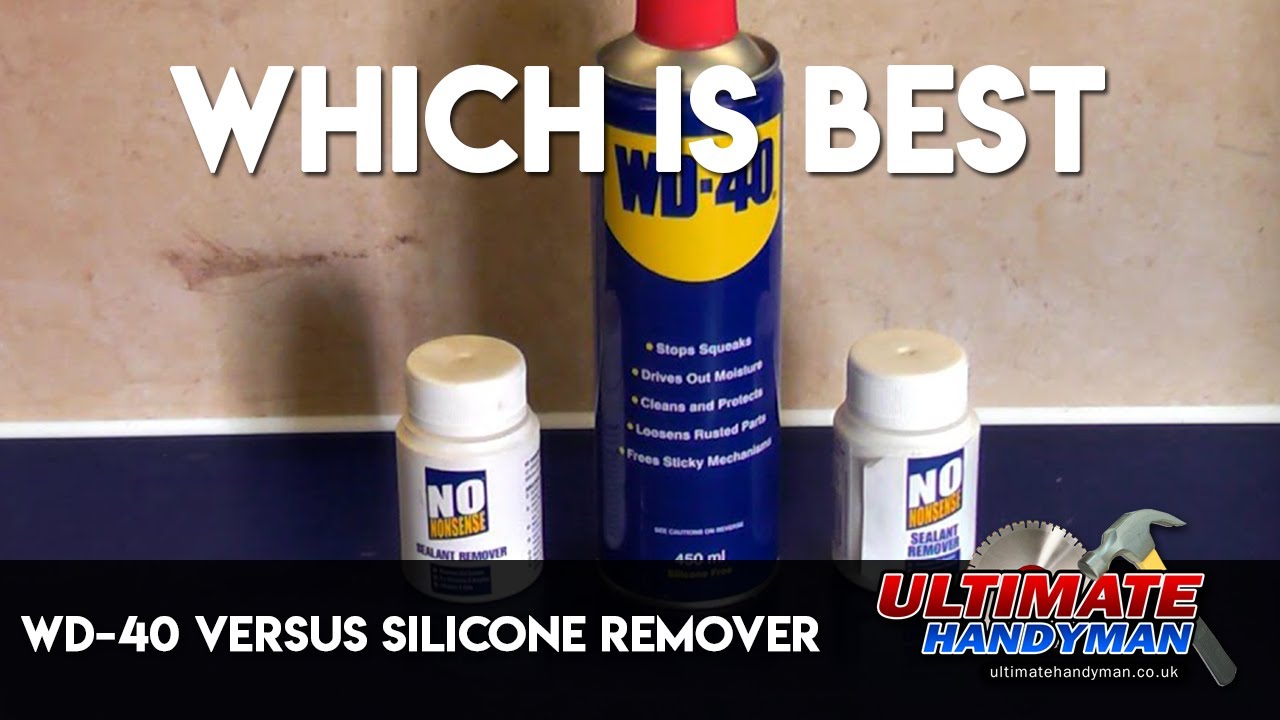
While DIY methods can be effective, they may not always work for stubborn or old silicone. In these cases, it may be best to use a commercial silicone remover. These products are specifically designed to break down and dissolve silicone, making it easier to remove. They are available in gel or liquid form and can be applied with a brush or spray bottle. Follow the instructions on the product and be sure to wear gloves and work in a well-ventilated area.Best Methods for Removing Bathroom Sink Silicone


Best Methods for Removing Bathroom Sink Silicone


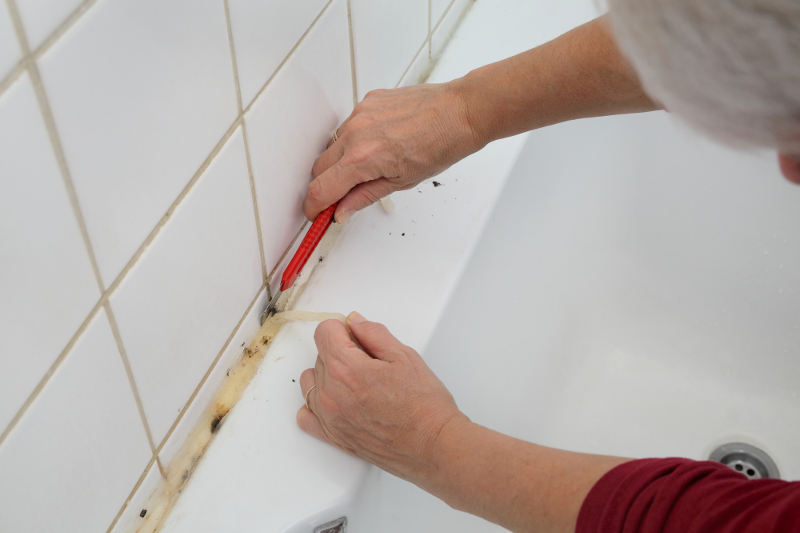
Old silicone can be more challenging to remove as it may have hardened and bonded to the sink. In this case, you may need to use a combination of methods to remove it. Start by using a caulk removal tool or scraper to loosen and remove as much of the silicone as possible. Then, use a commercial silicone remover or DIY solution to dissolve the remaining silicone. You may need to repeat this process a few times until all the silicone is removed.Removing Old Silicone from Bathroom Sink


Removing Old Silicone from Bathroom Sink


If you are new to DIY projects, removing bathroom sink silicone may seem daunting. However, with the right tools and techniques, it can be a straightforward and satisfying task. Here is a step-by-step guide to help you through the process: Step 1: Gather all the necessary tools and materials, including a razor blade or utility knife, caulk removal tool or scraper, gloves, and a commercial silicone remover or DIY solution. Step 2: Begin by scoring the silicone with a razor blade or utility knife. This will create an entry point for you to start removing the caulk. Step 3: Use a caulk removal tool or scraper to carefully remove the silicone from the sink. Work slowly and be mindful not to damage the sink or hurt yourself. Step 4: If the silicone is stubborn, apply a commercial silicone remover or DIY solution and let it sit for a few hours to dissolve the silicone. Step 5: Once the silicone is loose, use a toothbrush or scrub brush to scrub it off the sink. Step 6: If necessary, repeat the process until all the silicone is removed.Step-by-Step Guide to Removing Bathroom Sink Silicone


Step-by-Step Guide to Removing Bathroom Sink Silicone


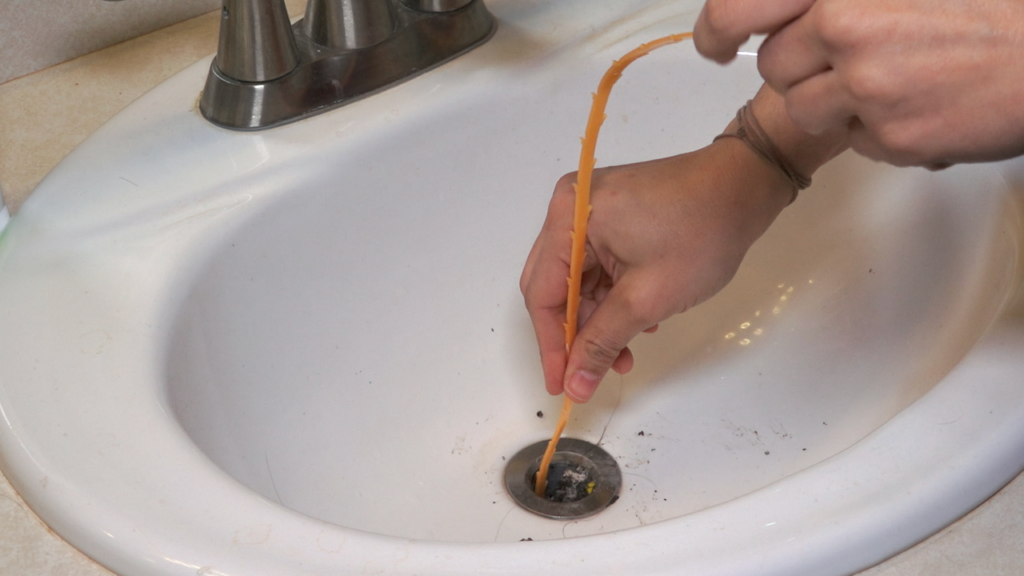
Aside from using a commercial silicone remover or DIY solution, there are other effective ways to remove silicone from your bathroom sink. One method is to use a hairdryer to soften the silicone and make it easier to remove. Simply heat the silicone for a few minutes, then use a caulk removal tool or scraper to remove it. Another option is to use a steamer to loosen and soften the silicone before scraping it off.Effective Ways to Remove Silicone from Bathroom Sink


Effective Ways to Remove Silicone from Bathroom Sink


Silicone sealant is commonly used to seal the gaps between the bathroom sink and countertop. Over time, this sealant can become old and discolored, making your sink look dull and unappealing. To remove silicone sealant from your bathroom sink, follow the same steps as removing silicone caulk. However, be sure to use a caulk removal tool or scraper specifically designed for removing sealant, as it may be thicker and more difficult to remove.Removing Silicone Sealant from Bathroom Sink


Removing Silicone Sealant from Bathroom Sink


Removing silicone caulk from your bathroom sink can be a messy and time-consuming process, but with these tips, you can make it a little easier: Tip 1: Protect the surrounding area by covering it with plastic or tape before starting the removal process. Tip 2: Use a caulk removal tool or scraper with a rounded edge to avoid damaging the sink or countertop. Tip 3: If using a commercial silicone remover, be sure to choose one that is safe for your sink material. Tip 4: Work slowly and carefully, especially if you are using a razor blade or utility knife to score the silicone. Tip 5: Use a toothbrush or scrub brush to remove any remaining residue after the silicone is scraped off.Tips for Removing Silicone Caulk from Bathroom Sink


Tips for Removing Silicone Caulk from Bathroom Sink


Stubborn bathroom sink silicone can be frustrating, but with the right techniques and tools, you can remove it successfully. If the methods mentioned above do not work, you may need to resort to using a power tool, such as a rotary tool or oscillating tool, to cut through the silicone. However, this should be a last resort, as it can be dangerous and may cause damage to your sink or countertop. In conclusion, removing bathroom sink silicone is a DIY project that can give your bathroom a fresh and clean look. With the right tools and techniques, you can remove the old silicone and replace it with a new seal, ensuring a waterproof and mold-free sink for years to come.Removing Stubborn Bathroom Sink Silicone


Removing Stubborn Bathroom Sink Silicone


Why Removing Bathroom Sink Silicone is Important for a Clean and Functional Bathroom
The Importance of Proper Bathroom Maintenance
 Maintaining a clean and functional bathroom is crucial for any household. Not only does it promote good hygiene and prevent the spread of germs, but it also creates a comfortable and inviting space for guests. One area that often gets neglected in bathroom maintenance is the silicone around the sink. Over time, this sealant can become discolored, cracked, or even grow mold, making it not only unsightly but also a breeding ground for bacteria. That's why it's important to regularly remove and replace the bathroom sink silicone to keep your bathroom clean and functional.
The Benefits of Removing Bathroom Sink Silicone
 Improved Aesthetics:
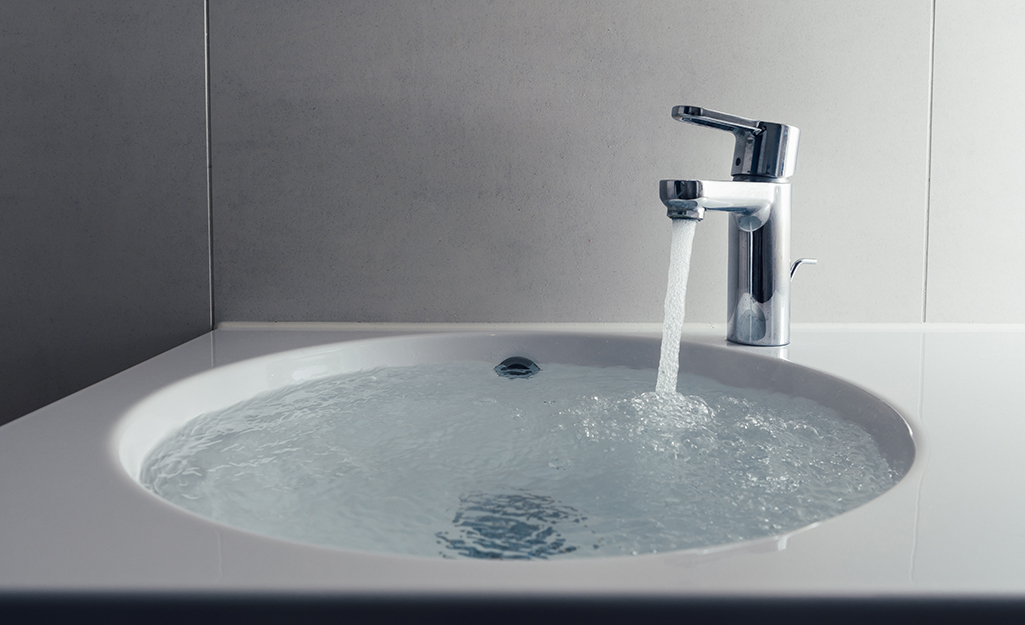
As mentioned earlier, the silicone around your bathroom sink can become discolored and cracked over time. This can make your entire bathroom look old and dirty, even if the rest of the space is sparkling clean. By removing and replacing the silicone, you can instantly improve the overall appearance of your bathroom.
Prevents Mold and Mildew:
The bathroom is a damp and humid environment, making it the perfect breeding ground for mold and mildew. The silicone around your sink is no exception and can easily become a haven for these unwanted guests. By regularly removing and replacing the silicone, you can prevent the growth of mold and mildew, which can be harmful to your health.
Ensures Proper Functionality:
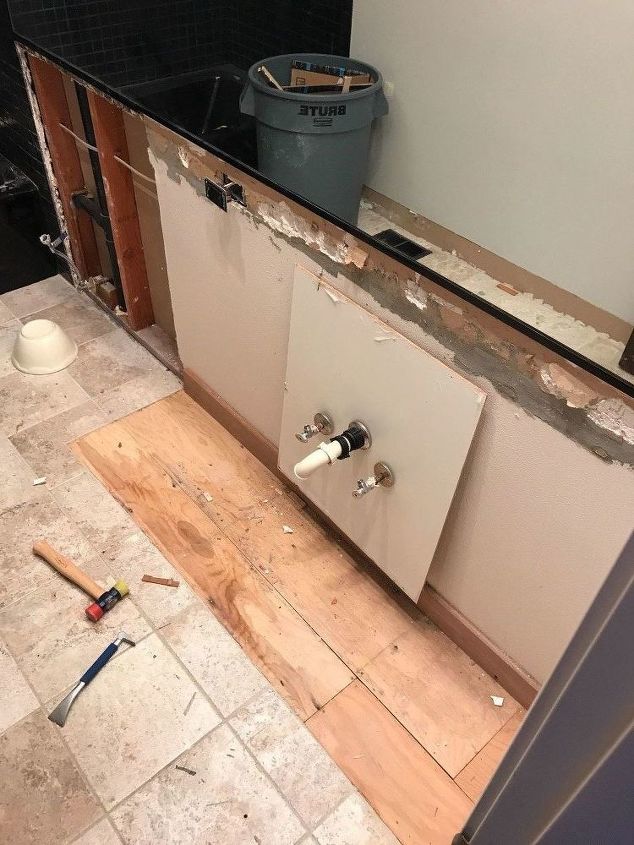
Another reason to remove and replace bathroom sink silicone is to ensure proper functionality. Over time, the sealant can become cracked and lose its effectiveness, causing water to leak and potentially damaging your bathroom. By replacing the old silicone with a new seal, you can ensure that your sink is properly sealed and functioning as it should.
Improved Aesthetics:
As mentioned earlier, the silicone around your bathroom sink can become discolored and cracked over time. This can make your entire bathroom look old and dirty, even if the rest of the space is sparkling clean. By removing and replacing the silicone, you can instantly improve the overall appearance of your bathroom.
Prevents Mold and Mildew:
The bathroom is a damp and humid environment, making it the perfect breeding ground for mold and mildew. The silicone around your sink is no exception and can easily become a haven for these unwanted guests. By regularly removing and replacing the silicone, you can prevent the growth of mold and mildew, which can be harmful to your health.
Ensures Proper Functionality:
Another reason to remove and replace bathroom sink silicone is to ensure proper functionality. Over time, the sealant can become cracked and lose its effectiveness, causing water to leak and potentially damaging your bathroom. By replacing the old silicone with a new seal, you can ensure that your sink is properly sealed and functioning as it should.
How to Remove Bathroom Sink Silicone
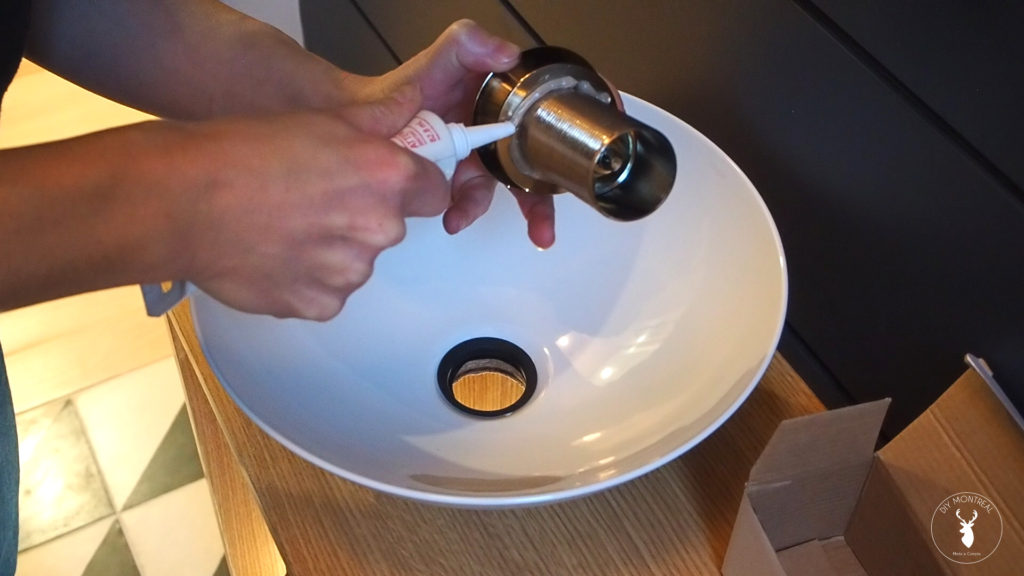
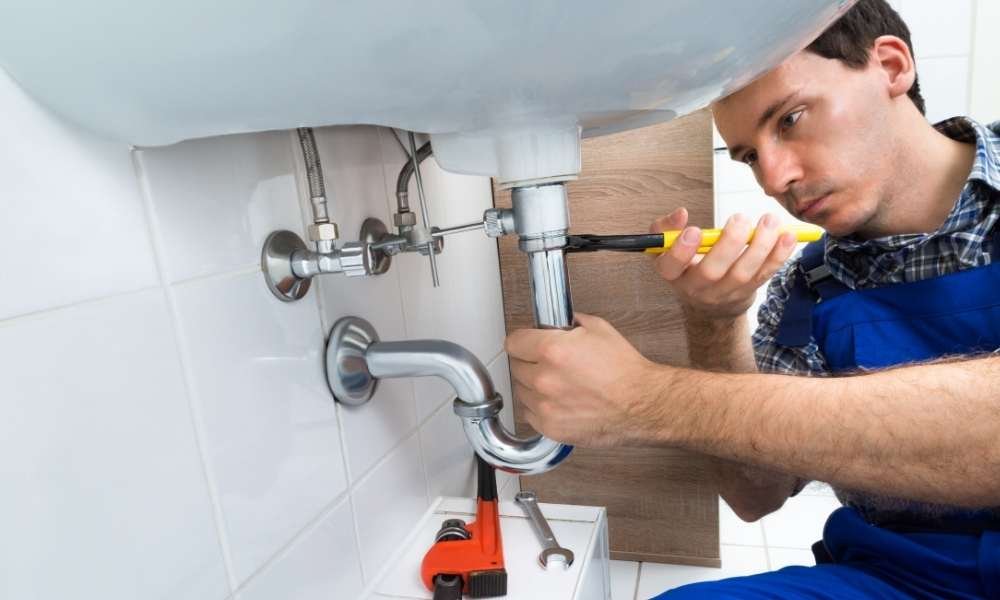
 Now that we understand the importance of removing bathroom sink silicone, let's discuss how to do it properly. The first step is to gather all the necessary tools, including a utility knife, scraper, putty knife, and silicone remover. Once you have everything you need, use the utility knife to carefully cut away the old silicone around the sink. Then, use the scraper or putty knife to gently remove any remaining sealant. Finally, use the silicone remover to thoroughly clean the area before applying new silicone.
In Conclusion
 Regularly removing and replacing the silicone around your bathroom sink is an essential part of proper bathroom maintenance. It not only improves the appearance of your bathroom but also prevents the growth of mold and ensures proper functionality. By following the proper steps and using the right tools, you can easily remove and replace the bathroom sink silicone for a clean and functional bathroom. So don't neglect this important task and make it a regular part of your bathroom cleaning routine.