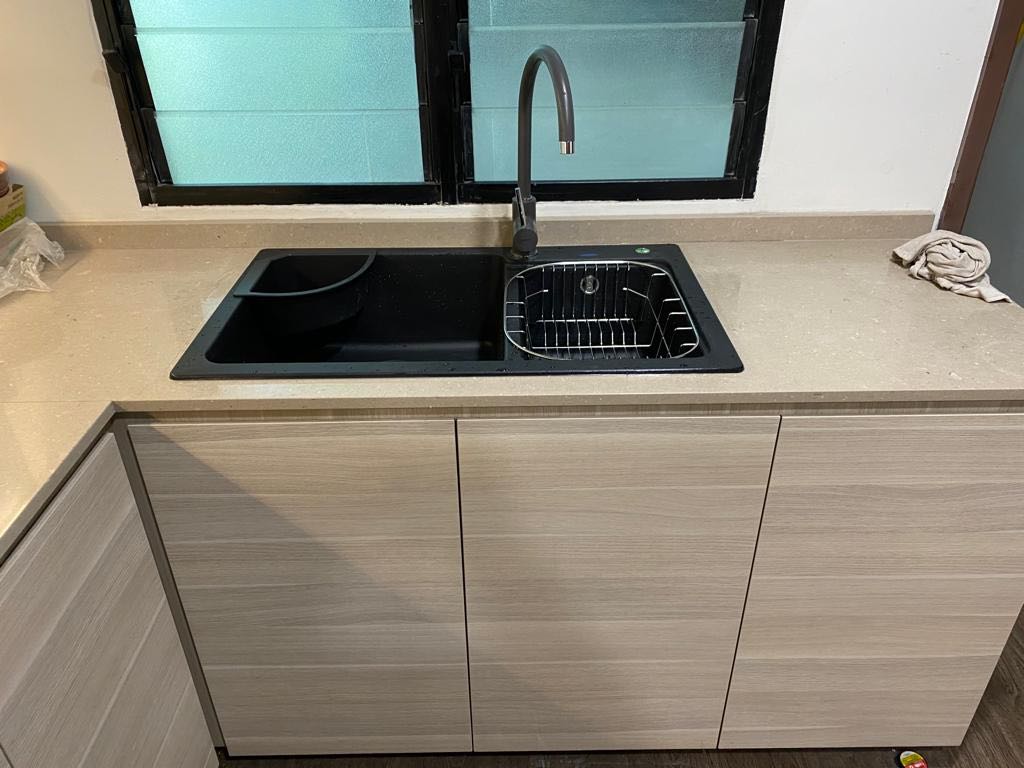
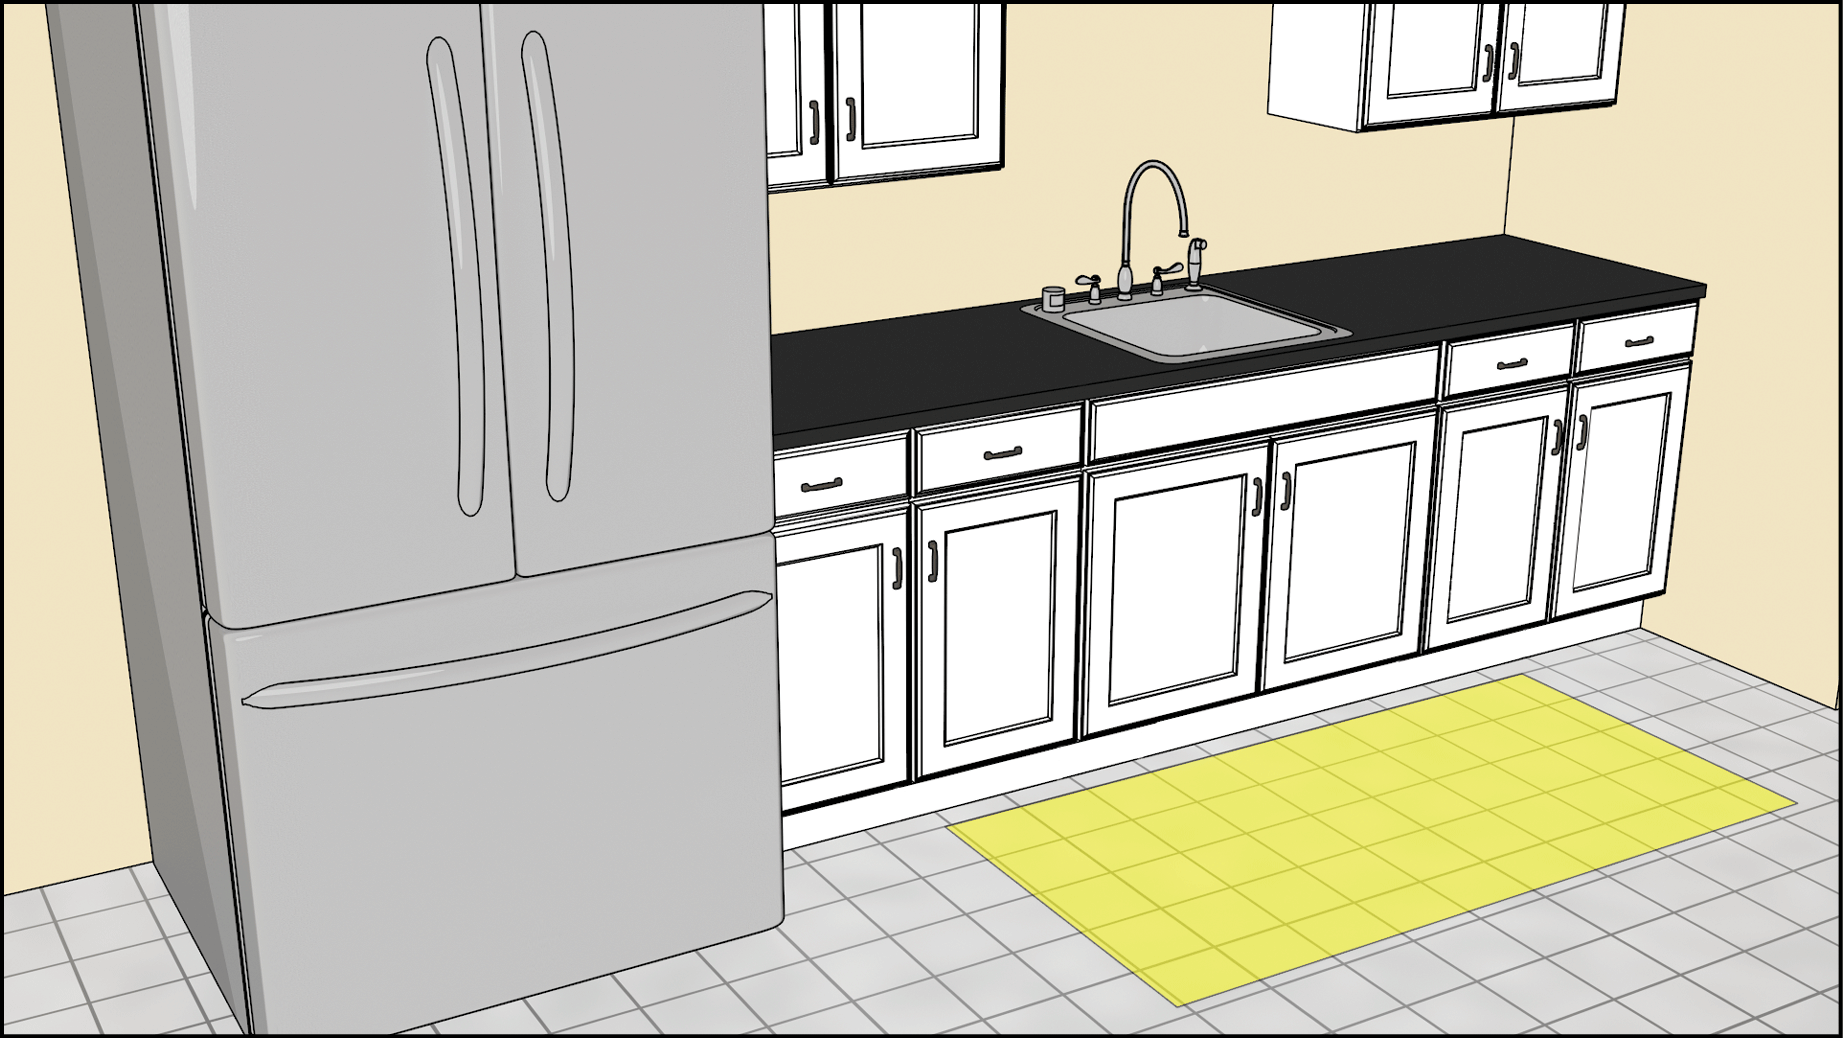
If you've noticed that your kitchen sink side sprayer is not functioning properly or has completely stopped working, it may be time to reinstall it. This task may seem daunting, but with the right tools and knowledge, you can easily tackle it yourself. In this guide, we'll walk you through the steps of reinstalling a kitchen sink side sprayer so that you can have it working like new again.How to Reinstall a Kitchen Sink Side Sprayer


How to Reinstall a Kitchen Sink Side Sprayer


Before we dive into the steps, it's important to gather all the necessary tools and materials. You will need a basin wrench, adjustable wrench, plumber's tape, and a new sprayer head and hose if needed. Once you have everything, you can follow these simple steps to reinstall your kitchen sink side sprayer.Reinstalling a Kitchen Sink Side Sprayer: A Step-by-Step Guide


Reinstalling a Kitchen Sink Side Sprayer: A Step-by-Step Guide


To begin, you'll need to disconnect the old sprayer from the sink. Start by turning off the water supply to the sink and unscrewing the sprayer head from the hose. Next, use the basin wrench to loosen the nut holding the sprayer hose to the faucet. Once the hose is detached, remove the mounting nut that holds the sprayer in place and pull the hose out from under the sink.DIY: How to Reinstall a Kitchen Sink Side Sprayer


DIY: How to Reinstall a Kitchen Sink Side Sprayer


When purchasing a new sprayer head and hose, make sure to get the correct size and type for your faucet. It's also a good idea to clean the area where the sprayer head attaches to the hose to ensure a tight seal. Additionally, using plumber's tape on the threads of the hose and faucet can help prevent leaks.Reinstalling a Kitchen Sink Side Sprayer: Tips and Tricks


Reinstalling a Kitchen Sink Side Sprayer: Tips and Tricks

A common mistake when reinstalling a kitchen sink side sprayer is not properly tightening all the connections. This can lead to leaks or a loose sprayer head that may detach while in use. It's important to double check that all connections are secure before turning the water supply back on.Reinstalling a Kitchen Sink Side Sprayer: Common Mistakes to Avoid

Reinstalling a Kitchen Sink Side Sprayer: Common Mistakes to Avoid


As mentioned before, you will need a basin wrench, adjustable wrench, plumber's tape, and a new sprayer head and hose if needed. It's also helpful to have a rag or towel on hand to clean up any water that may spill during the process.Reinstalling a Kitchen Sink Side Sprayer: Tools and Materials You'll Need


Reinstalling a Kitchen Sink Side Sprayer: Tools and Materials You'll Need


Now that you have all the necessary tools and materials, you can follow these simple steps to successfully reinstall your kitchen sink side sprayer: Step 1: Turn off the water supply to the sink. Step 2: Unscrew the sprayer head from the hose. Step 3: Use the basin wrench to loosen the nut holding the sprayer hose to the faucet. Step 4: Remove the mounting nut holding the sprayer in place. Step 5: Pull the hose out from under the sink. Step 6: Attach the new sprayer head to the hose. Step 7: Apply plumber's tape to the threads of the hose and faucet. Step 8: Reattach the hose to the faucet and tighten with the basin wrench. Step 9: Secure the sprayer in place with the mounting nut. Step 10: Screw the new sprayer head onto the hose. Step 11: Turn the water supply back on and test the sprayer to ensure it is working properly.Step-by-Step Guide to Reinstalling a Kitchen Sink Side Sprayer

Step-by-Step Guide to Reinstalling a Kitchen Sink Side Sprayer


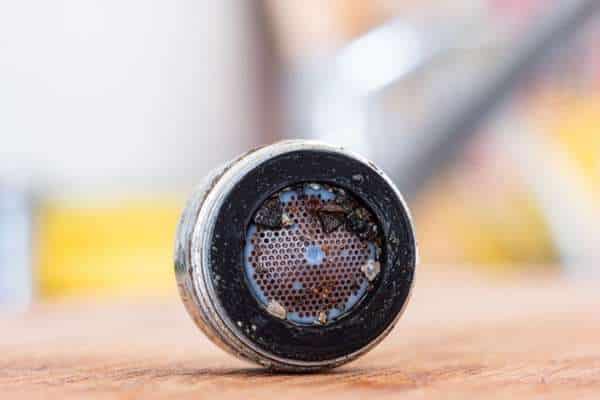
If you encounter any issues during the process, such as leaks or a faulty sprayer, here are some troubleshooting steps you can take: Leaking sprayer head: This could be due to not properly tightening the connections or a damaged sprayer head. Double check all connections and if the issue persists, consider replacing the sprayer head. Leaking hose: If the hose is leaking at the faucet connection, try using more plumber's tape or replacing the hose altogether. Low water pressure: This could be due to a clogged sprayer head or a faulty diverter valve. Try cleaning the sprayer head or replacing the diverter valve.Reinstalling a Kitchen Sink Side Sprayer: Troubleshooting Common Issues

Reinstalling a Kitchen Sink Side Sprayer: Troubleshooting Common Issues


If you need to disconnect and reinstall your kitchen sink side sprayer, follow the same steps as above but in reverse order. Make sure to properly tighten all connections to avoid any issues.How to Properly Disconnect and Reinstall a Kitchen Sink Side Sprayer

How to Properly Disconnect and Reinstall a Kitchen Sink Side Sprayer


When working with plumbing, it's important to take safety precautions to avoid any accidents or injuries. Make sure to turn off the water supply and wear protective gear, such as gloves and safety glasses, to prevent any potential hazards. In conclusion, reinstalling a kitchen sink side sprayer may seem like a daunting task, but with the right tools and knowledge, it can easily be done yourself. By following these steps and taking necessary safety precautions, you can have your kitchen sink side sprayer working like new again in no time.Reinstalling a Kitchen Sink Side Sprayer: Important Safety Precautions
Reinstalling a Kitchen Sink Side Sprayer: Important Safety Precautions

Replacing the Side Sprayer in Your Kitchen Sink

Step 3: Reinstalling the Side Sprayer
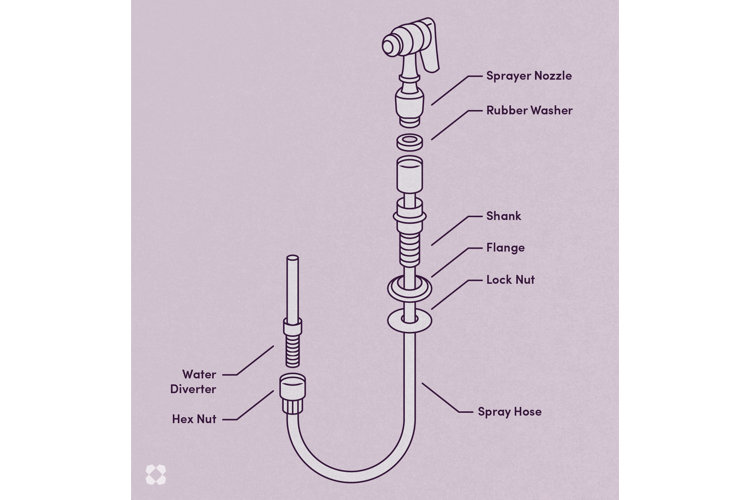
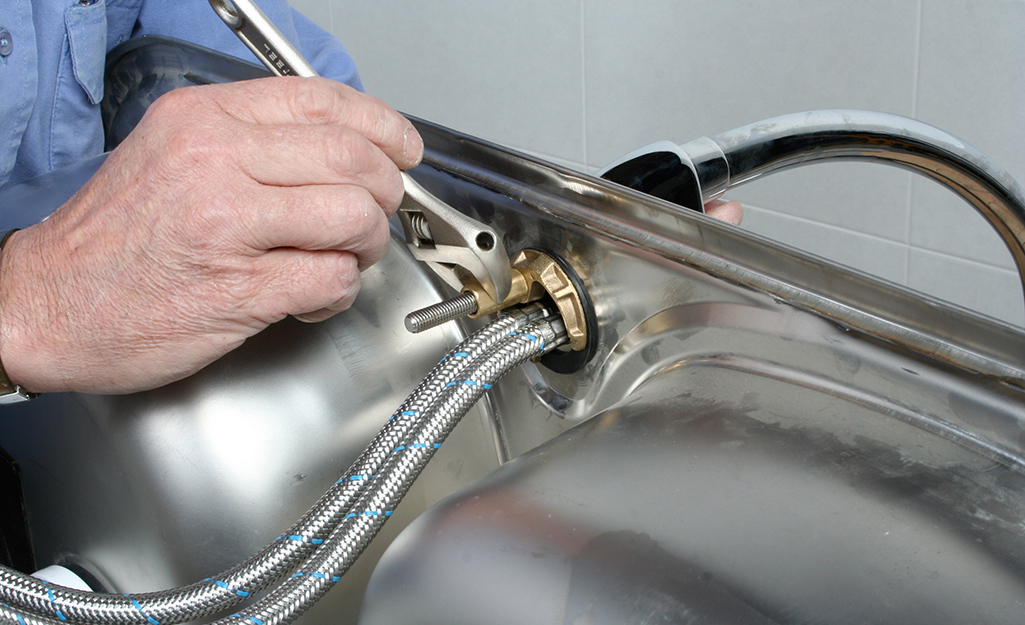
 Now that you have successfully removed the old side sprayer, it's time to install the new one. Start by placing the rubber gasket onto the threaded end of the sprayer hose. Then, insert the threaded end into the hole on the underside of the sink.
Next, go back under the sink and use your adjustable wrench to tighten the mounting nut onto the sprayer hose. Make sure it is secure and does not leak when the water is turned on.
Once the sprayer is securely in place, connect the other end of the hose to the water supply. If your new sprayer came with a new coupling, use that instead of the old one. Hand tighten the coupling, and then use your pliers to give it a final twist.
Before turning on the water, make sure all connections are tight and there are no leaks. If everything looks good, turn on the water supply and test out your new side sprayer. If there are any issues, make sure to check all connections and tighten them as needed.
Now that you have successfully removed the old side sprayer, it's time to install the new one. Start by placing the rubber gasket onto the threaded end of the sprayer hose. Then, insert the threaded end into the hole on the underside of the sink.
Next, go back under the sink and use your adjustable wrench to tighten the mounting nut onto the sprayer hose. Make sure it is secure and does not leak when the water is turned on.
Once the sprayer is securely in place, connect the other end of the hose to the water supply. If your new sprayer came with a new coupling, use that instead of the old one. Hand tighten the coupling, and then use your pliers to give it a final twist.
Before turning on the water, make sure all connections are tight and there are no leaks. If everything looks good, turn on the water supply and test out your new side sprayer. If there are any issues, make sure to check all connections and tighten them as needed.
Step 4: Finishing Touches
 Once your new side sprayer is installed and working properly, it's time to do some final touches. If your sink had a decorative cover for the sprayer hole, make sure to put it back in place. You can also replace any decorative caps on the base of the sprayer if they were removed during the installation process.
Finally, clean up any debris or tools from under the sink and wipe down the area. Your kitchen sink should now have a fully functional and updated side sprayer. Enjoy the convenience and added functionality it brings to your daily kitchen tasks.
If you want to give your kitchen sink a complete makeover, consider upgrading your faucet and other fixtures to match the new side sprayer. This simple change can make a big impact on the overall design and functionality of your kitchen.
Now that you have successfully reinstalled your kitchen sink side sprayer, you can confidently tackle any other DIY projects in your home. Remember to always follow safety precautions and consult a professional if you are unsure about any steps in the process. Happy renovating!
Once your new side sprayer is installed and working properly, it's time to do some final touches. If your sink had a decorative cover for the sprayer hole, make sure to put it back in place. You can also replace any decorative caps on the base of the sprayer if they were removed during the installation process.
Finally, clean up any debris or tools from under the sink and wipe down the area. Your kitchen sink should now have a fully functional and updated side sprayer. Enjoy the convenience and added functionality it brings to your daily kitchen tasks.
If you want to give your kitchen sink a complete makeover, consider upgrading your faucet and other fixtures to match the new side sprayer. This simple change can make a big impact on the overall design and functionality of your kitchen.
Now that you have successfully reinstalled your kitchen sink side sprayer, you can confidently tackle any other DIY projects in your home. Remember to always follow safety precautions and consult a professional if you are unsure about any steps in the process. Happy renovating!