Refinishing your kitchen sink can give your entire kitchen a fresh new look without the hefty price tag of a full renovation. It's a budget-friendly DIY project that can be easily done in a weekend. By following these steps, you can transform your old and worn out kitchen sink into a shiny and new focal point of your kitchen.How to Refinish a Kitchen Sink


How to Refinish a Kitchen Sink


If you're up for the challenge of refinishing your own kitchen sink, there are a few things you need to know before getting started. First, make sure you have all the necessary tools and materials. These include a scrub brush, sandpaper, primer, and a high-quality refinishing kit specifically designed for sinks. You can find these kits at your local hardware store or online.DIY Kitchen Sink Refinishing


DIY Kitchen Sink Refinishing


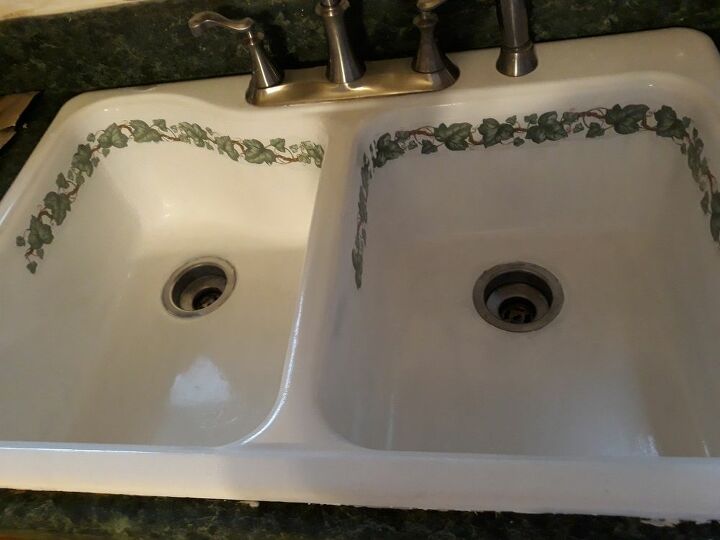
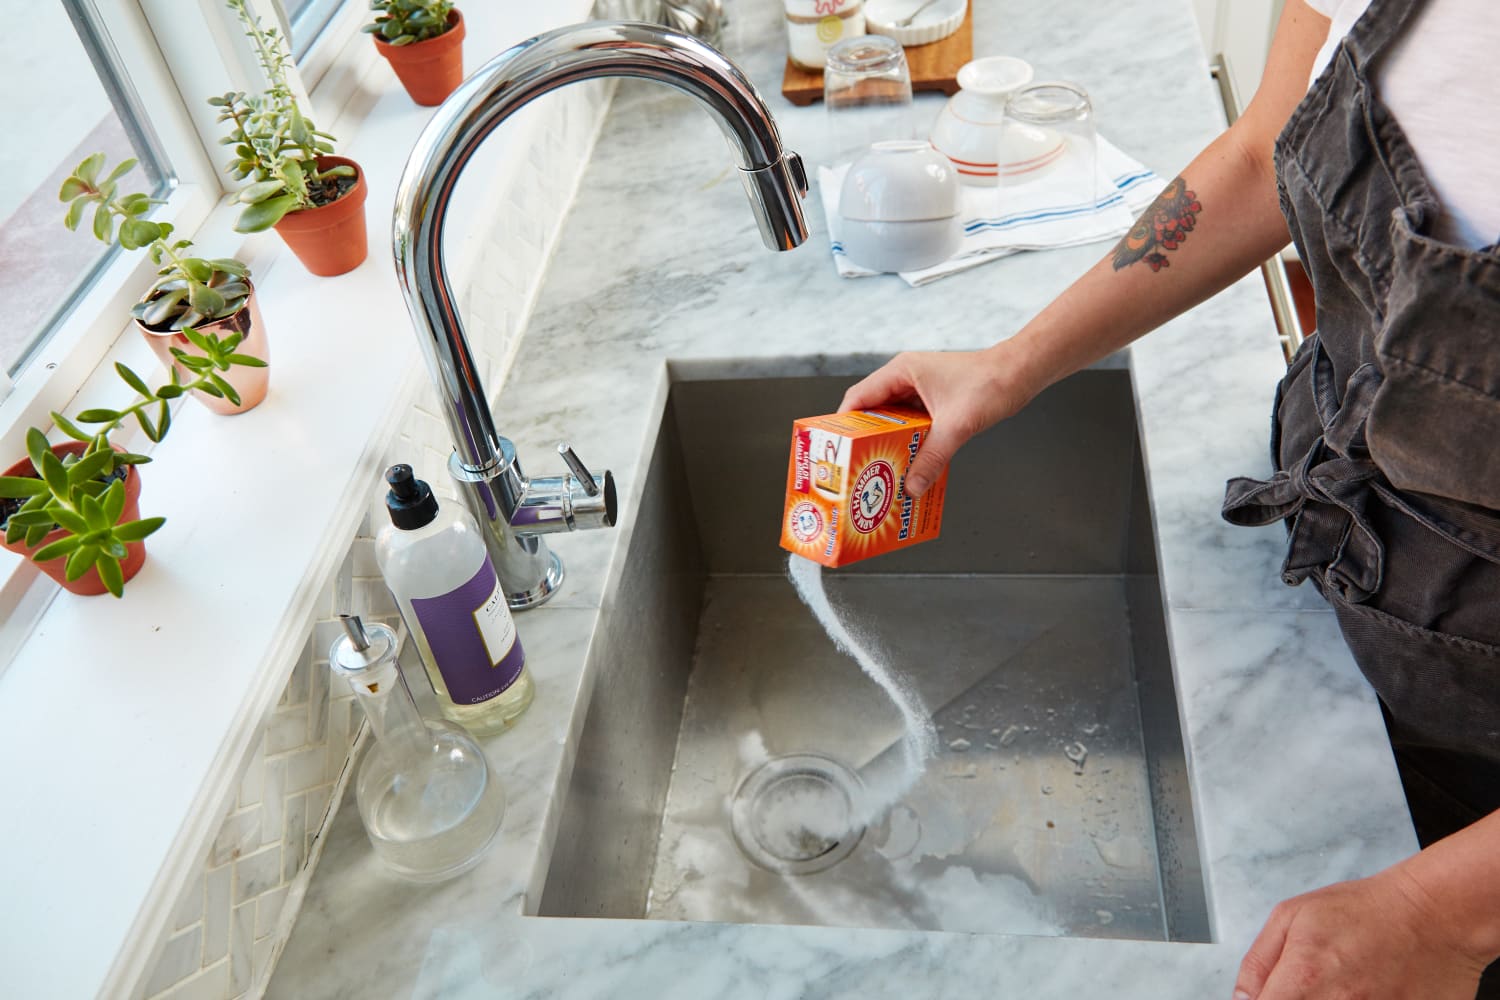
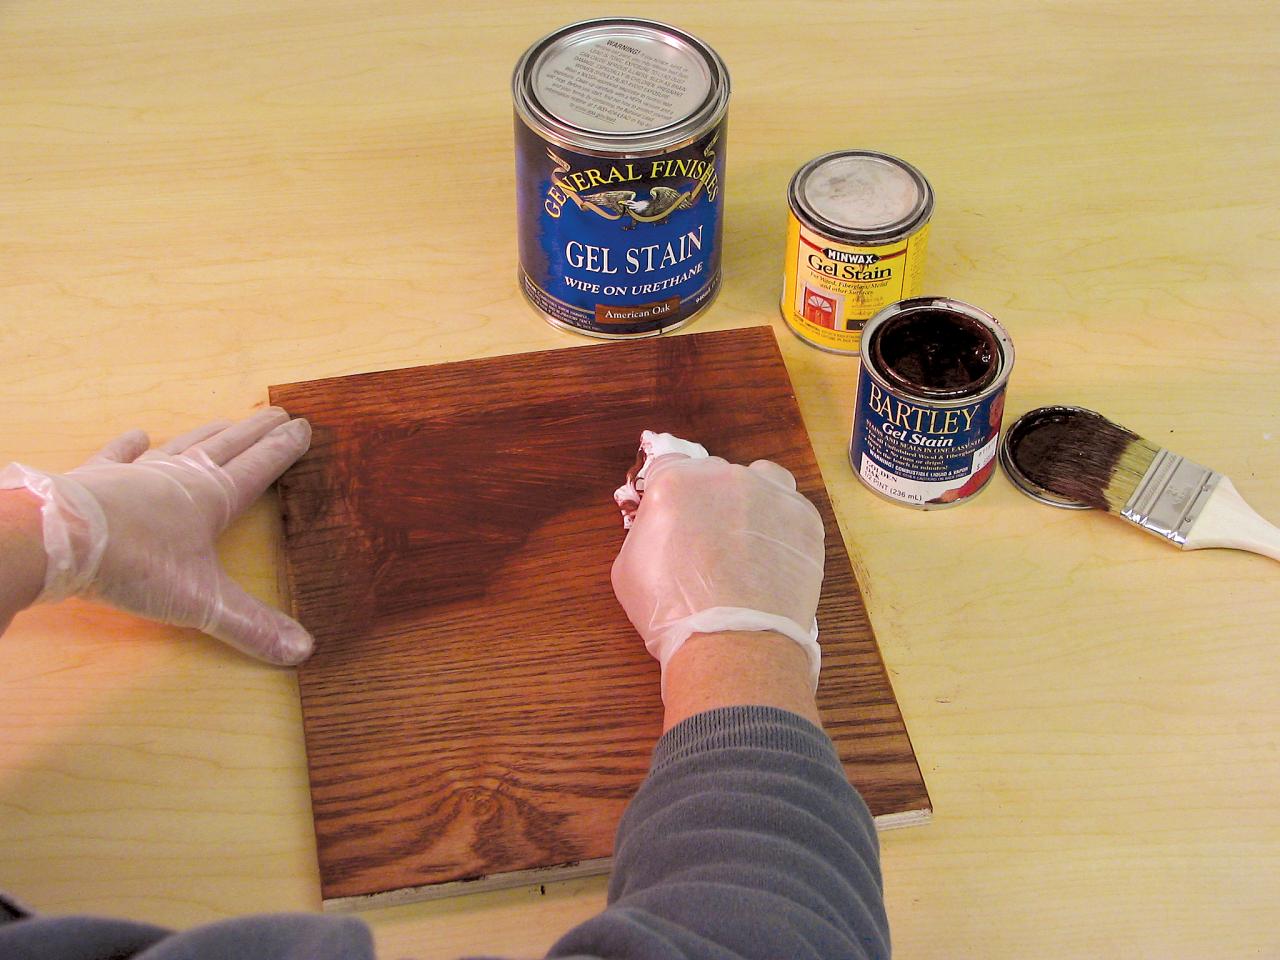
Step 1: Clean and prep the sink. Before refinishing, it's important to thoroughly clean your sink. Use a scrub brush and a mild cleanser to remove any dirt, grime, or stains. Rinse the sink with water and let it dry completely. Once dry, sand the surface of the sink with fine-grit sandpaper to create a rough surface for the primer to adhere to. Step 2: Apply the primer. Use a high-quality bonding primer specifically made for sinks. Apply the primer in thin, even coats using a brush or roller. Allow the primer to dry completely between coats, usually about 30 minutes. Step 3: Apply the refinishing paint. Once the primer is dry, it's time to apply the refinishing paint. This paint is specially formulated to bond to the sink's surface and create a durable finish. Apply the paint in thin, even coats, and let it dry completely between coats. You may need to apply multiple coats to achieve the desired finish. Step 4: Let the sink cure. Once you've applied the final coat of refinishing paint, allow the sink to cure for at least 24 hours. This will ensure that the paint has fully adhered to the surface and will provide a long-lasting finish.Step-by-Step Guide for Refinishing a Kitchen Sink


Step-by-Step Guide for Refinishing a Kitchen Sink


:no_upscale()/cdn.vox-cdn.com/uploads/chorus_asset/file/19495086/drain_0.jpg)


When refinishing your kitchen sink, there are a few tips and tricks that can help make the process easier and ensure a professional-looking finish. First, make sure to wear gloves and a mask to protect yourself from the chemicals in the refinishing kit. Also, be sure to follow the instructions on the kit carefully to achieve the best results. Lastly, make sure to properly ventilate the area you're working in to avoid inhaling any fumes.DIY Kitchen Sink Refinishing: Tips and Tricks


DIY Kitchen Sink Refinishing: Tips and Tricks


Refinishing your kitchen sink is a cost-effective way to update your kitchen without breaking the bank. A DIY refinishing project can cost as little as $50, compared to hundreds or even thousands of dollars for a new sink. By following the steps above, you can achieve a professional-looking finish at a fraction of the cost.Refinishing a Kitchen Sink on a Budget


Refinishing a Kitchen Sink on a Budget


Before starting your kitchen sink refinishing project, it's important to have all the necessary materials and tools. Here's a list of what you'll need: - A scrub brush - Sandpaper (fine-grit) - Mild cleanser - Bonding primer - Refinishing paint - Paintbrush or roller - Gloves and maskDIY Kitchen Sink Refinishing: Materials and Tools


DIY Kitchen Sink Refinishing: Materials and Tools

Like any DIY project, refinishing your kitchen sink has its own set of pros and cons. The pros include a cost-effective way to update your kitchen, the ability to customize the color and finish of your sink, and the satisfaction of completing the project yourself. However, some cons include the time and effort it takes to properly prep and refinish the sink, and the possibility of not achieving a professional-looking finish if not done correctly.Refinishing a Kitchen Sink: Pros and Cons


Refinishing a Kitchen Sink: Pros and Cons


As with any DIY project, there are common mistakes that can happen when refinishing a kitchen sink. These include not properly prepping the sink, not following the instructions on the refinishing kit, and not allowing enough time for the sink to cure before using it. To avoid these mistakes, make sure to thoroughly clean and prep the sink, carefully follow the instructions on the kit, and allow the sink to cure for at least 24 hours before using it.DIY Kitchen Sink Refinishing: Common Mistakes to Avoid


DIY Kitchen Sink Refinishing: Common Mistakes to Avoid


If you prefer to avoid using chemicals in your home, there are alternative options for refinishing your kitchen sink. One method is using an epoxy resin coating, which is safe and non-toxic. This method involves cleaning and sanding the sink, then applying the epoxy coating in thin, even layers. While this method may take longer and require more coats, it's a safe and effective way to refinish your kitchen sink.How to Refinish a Kitchen Sink Without Chemicals

How to Refinish a Kitchen Sink Without Chemicals


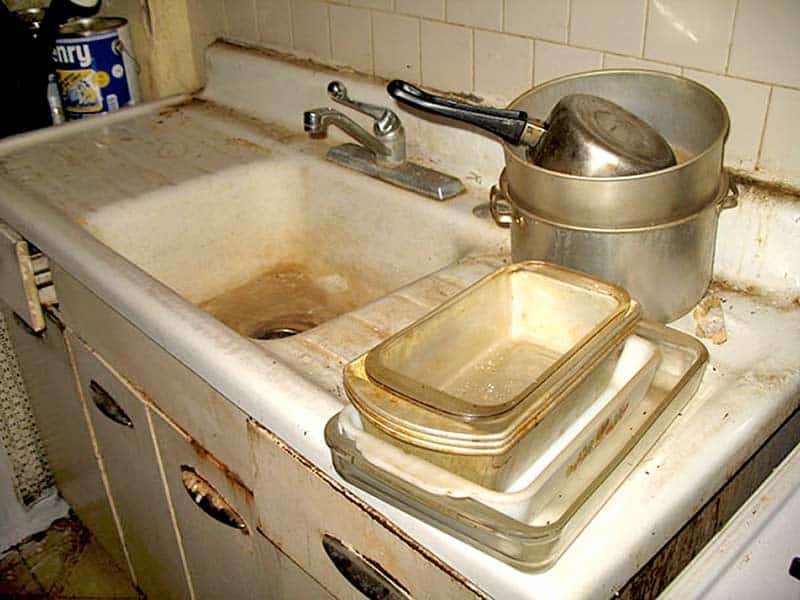
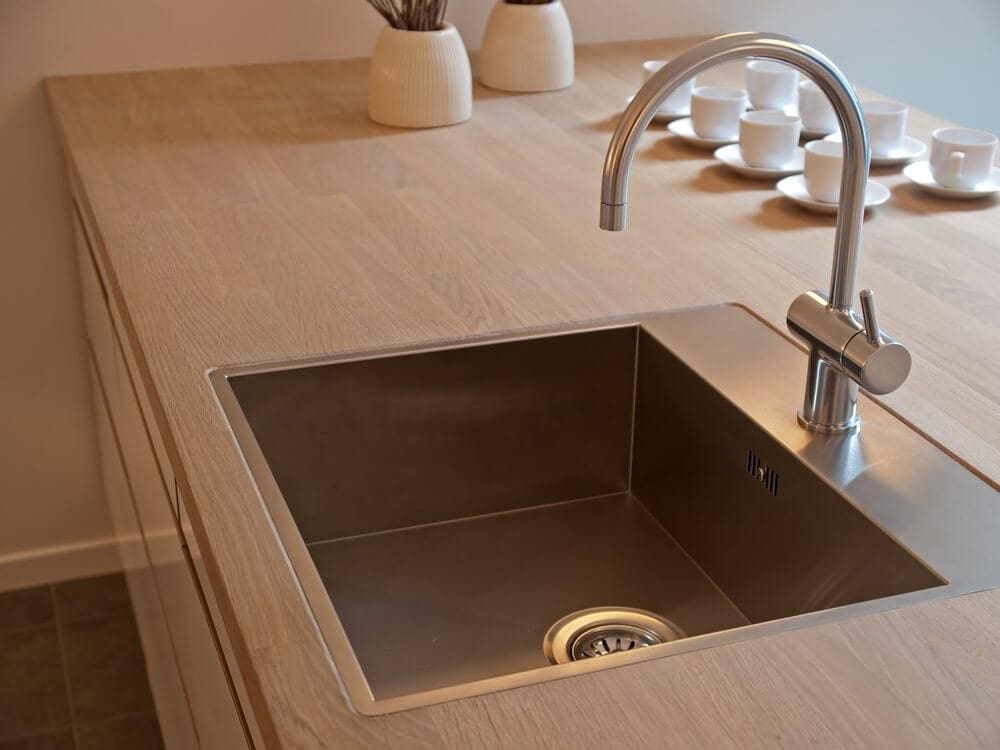
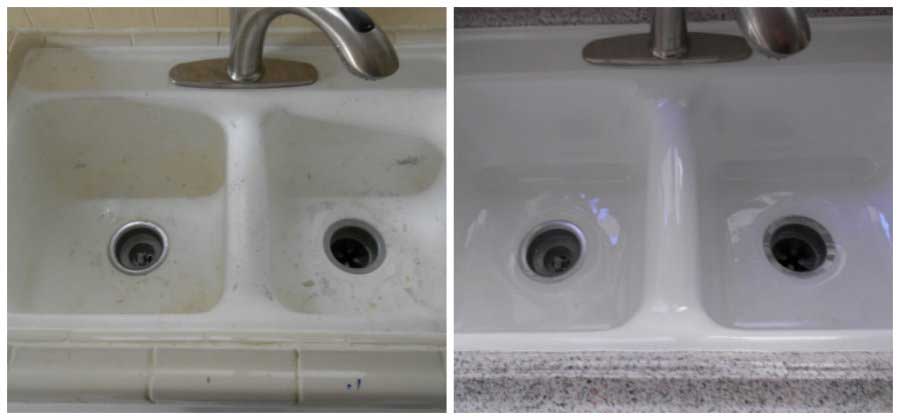
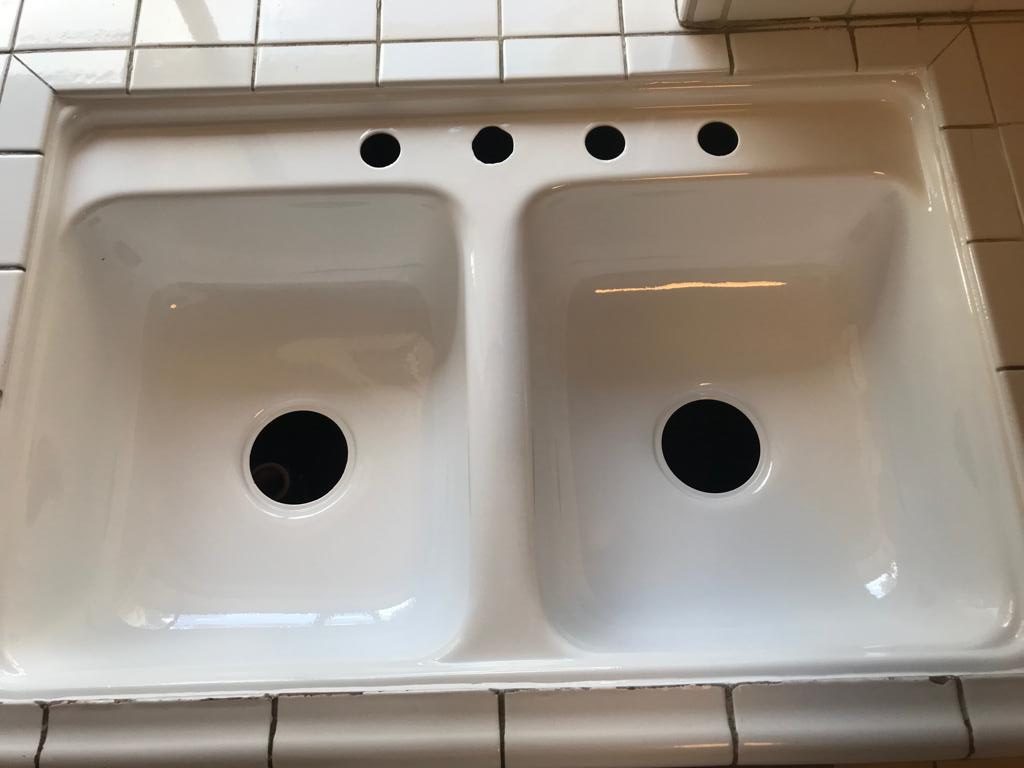
The best part about refinishing a kitchen sink is seeing the transformation from an old and worn out sink to a shiny and new focal point in your kitchen. With the right prep and materials, you can achieve professional-looking results that will make your sink look like new again. So why spend hundreds of dollars on a new sink when you can easily and affordably refinish your current one?Refinishing a Kitchen Sink: Before and After Results


Refinishing a Kitchen Sink: Before and After Results


:max_bytes(150000):strip_icc()/IMAGE-3-Sink-3-56a4a2d95f9b58b7d0d7f025.jpg)
Transform Your Kitchen with a DIY Sink Refinish

Why Refinishing Your Kitchen Sink is a Game-Changer
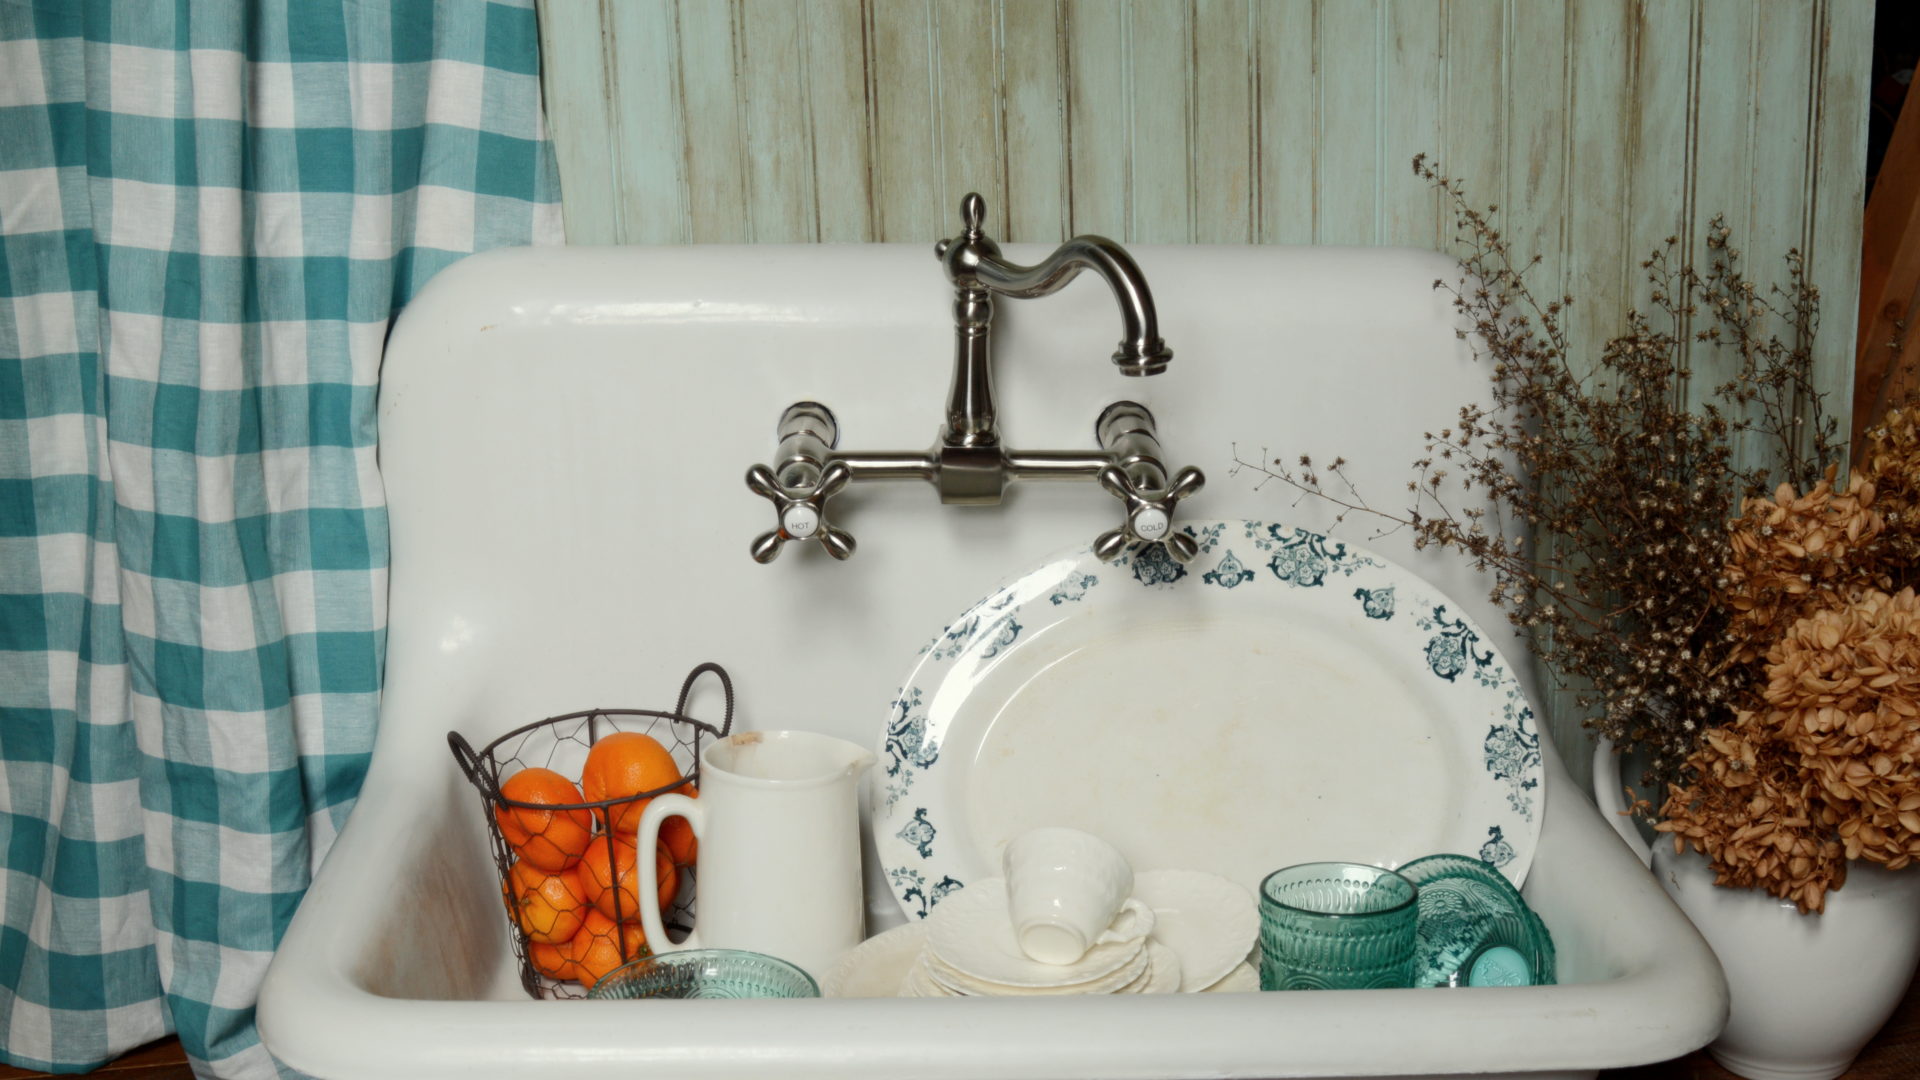 Refinishing your kitchen sink may not be the first thing that comes to mind when considering a home renovation project. However, it is a budget-friendly and effective way to give your kitchen a fresh new look. Over time, kitchen sinks can become dull, scratched, and stained, making the entire kitchen appear outdated. By refinishing your sink, you can revitalize the entire space and create a beautiful focal point that will impress your guests and make you fall in love with your kitchen all over again.
Benefits of a DIY Sink Refinish
 Refinishing your kitchen sink on your own may seem like a daunting task, but the benefits far outweigh the effort. Not only is it more cost-effective than replacing your entire sink, but it also allows you to customize the color and finish to your liking. Additionally, a DIY sink refinish can be completed in just a few simple steps, making it a quick and easy project with minimal disruption to your daily routine.
Gather Your Supplies
 Before beginning your DIY sink refinish, make sure you have all the necessary supplies. This includes a sink refinishing kit, sandpaper, painter's tape, and a paintbrush or roller. Be sure to also wear protective gear, such as gloves and a face mask, to avoid any potential hazards.
Step-by-Step Guide
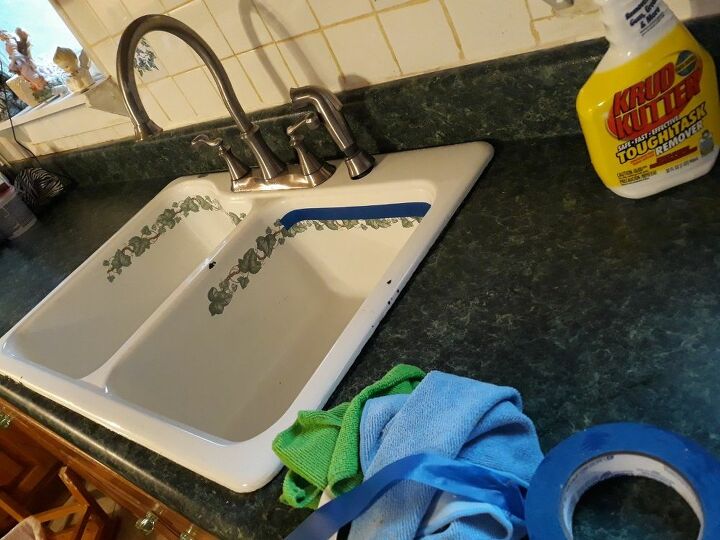
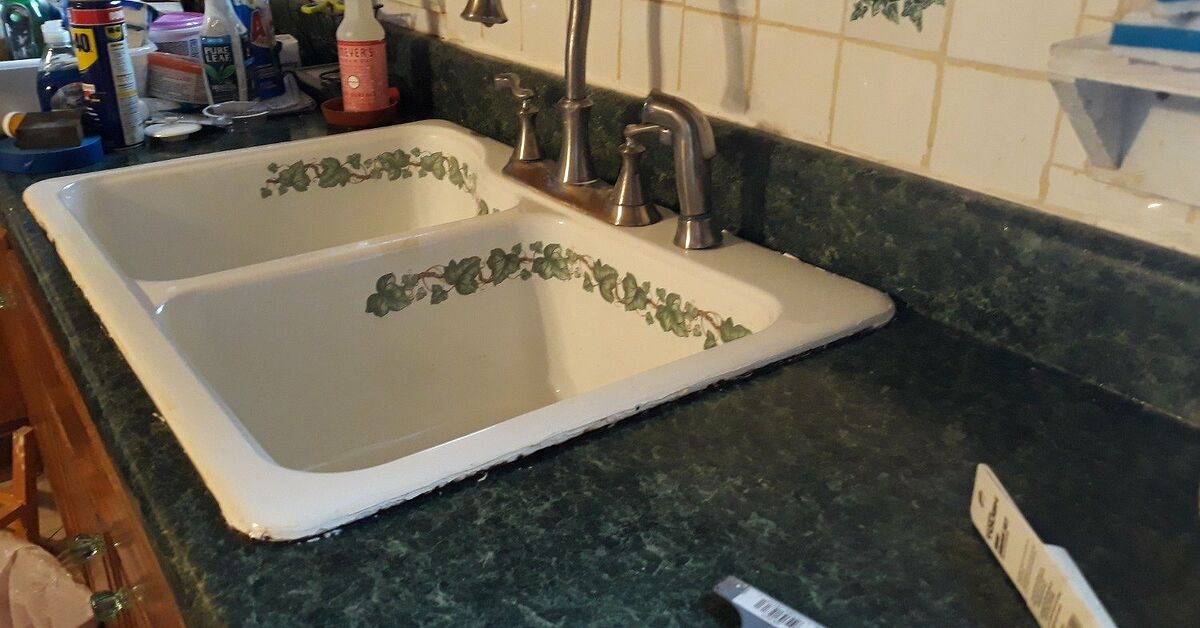
 1. Start by thoroughly cleaning your sink with a degreaser and rinsing it with water.
2. Use sandpaper to roughen the surface of the sink, which will help the new finish adhere better.
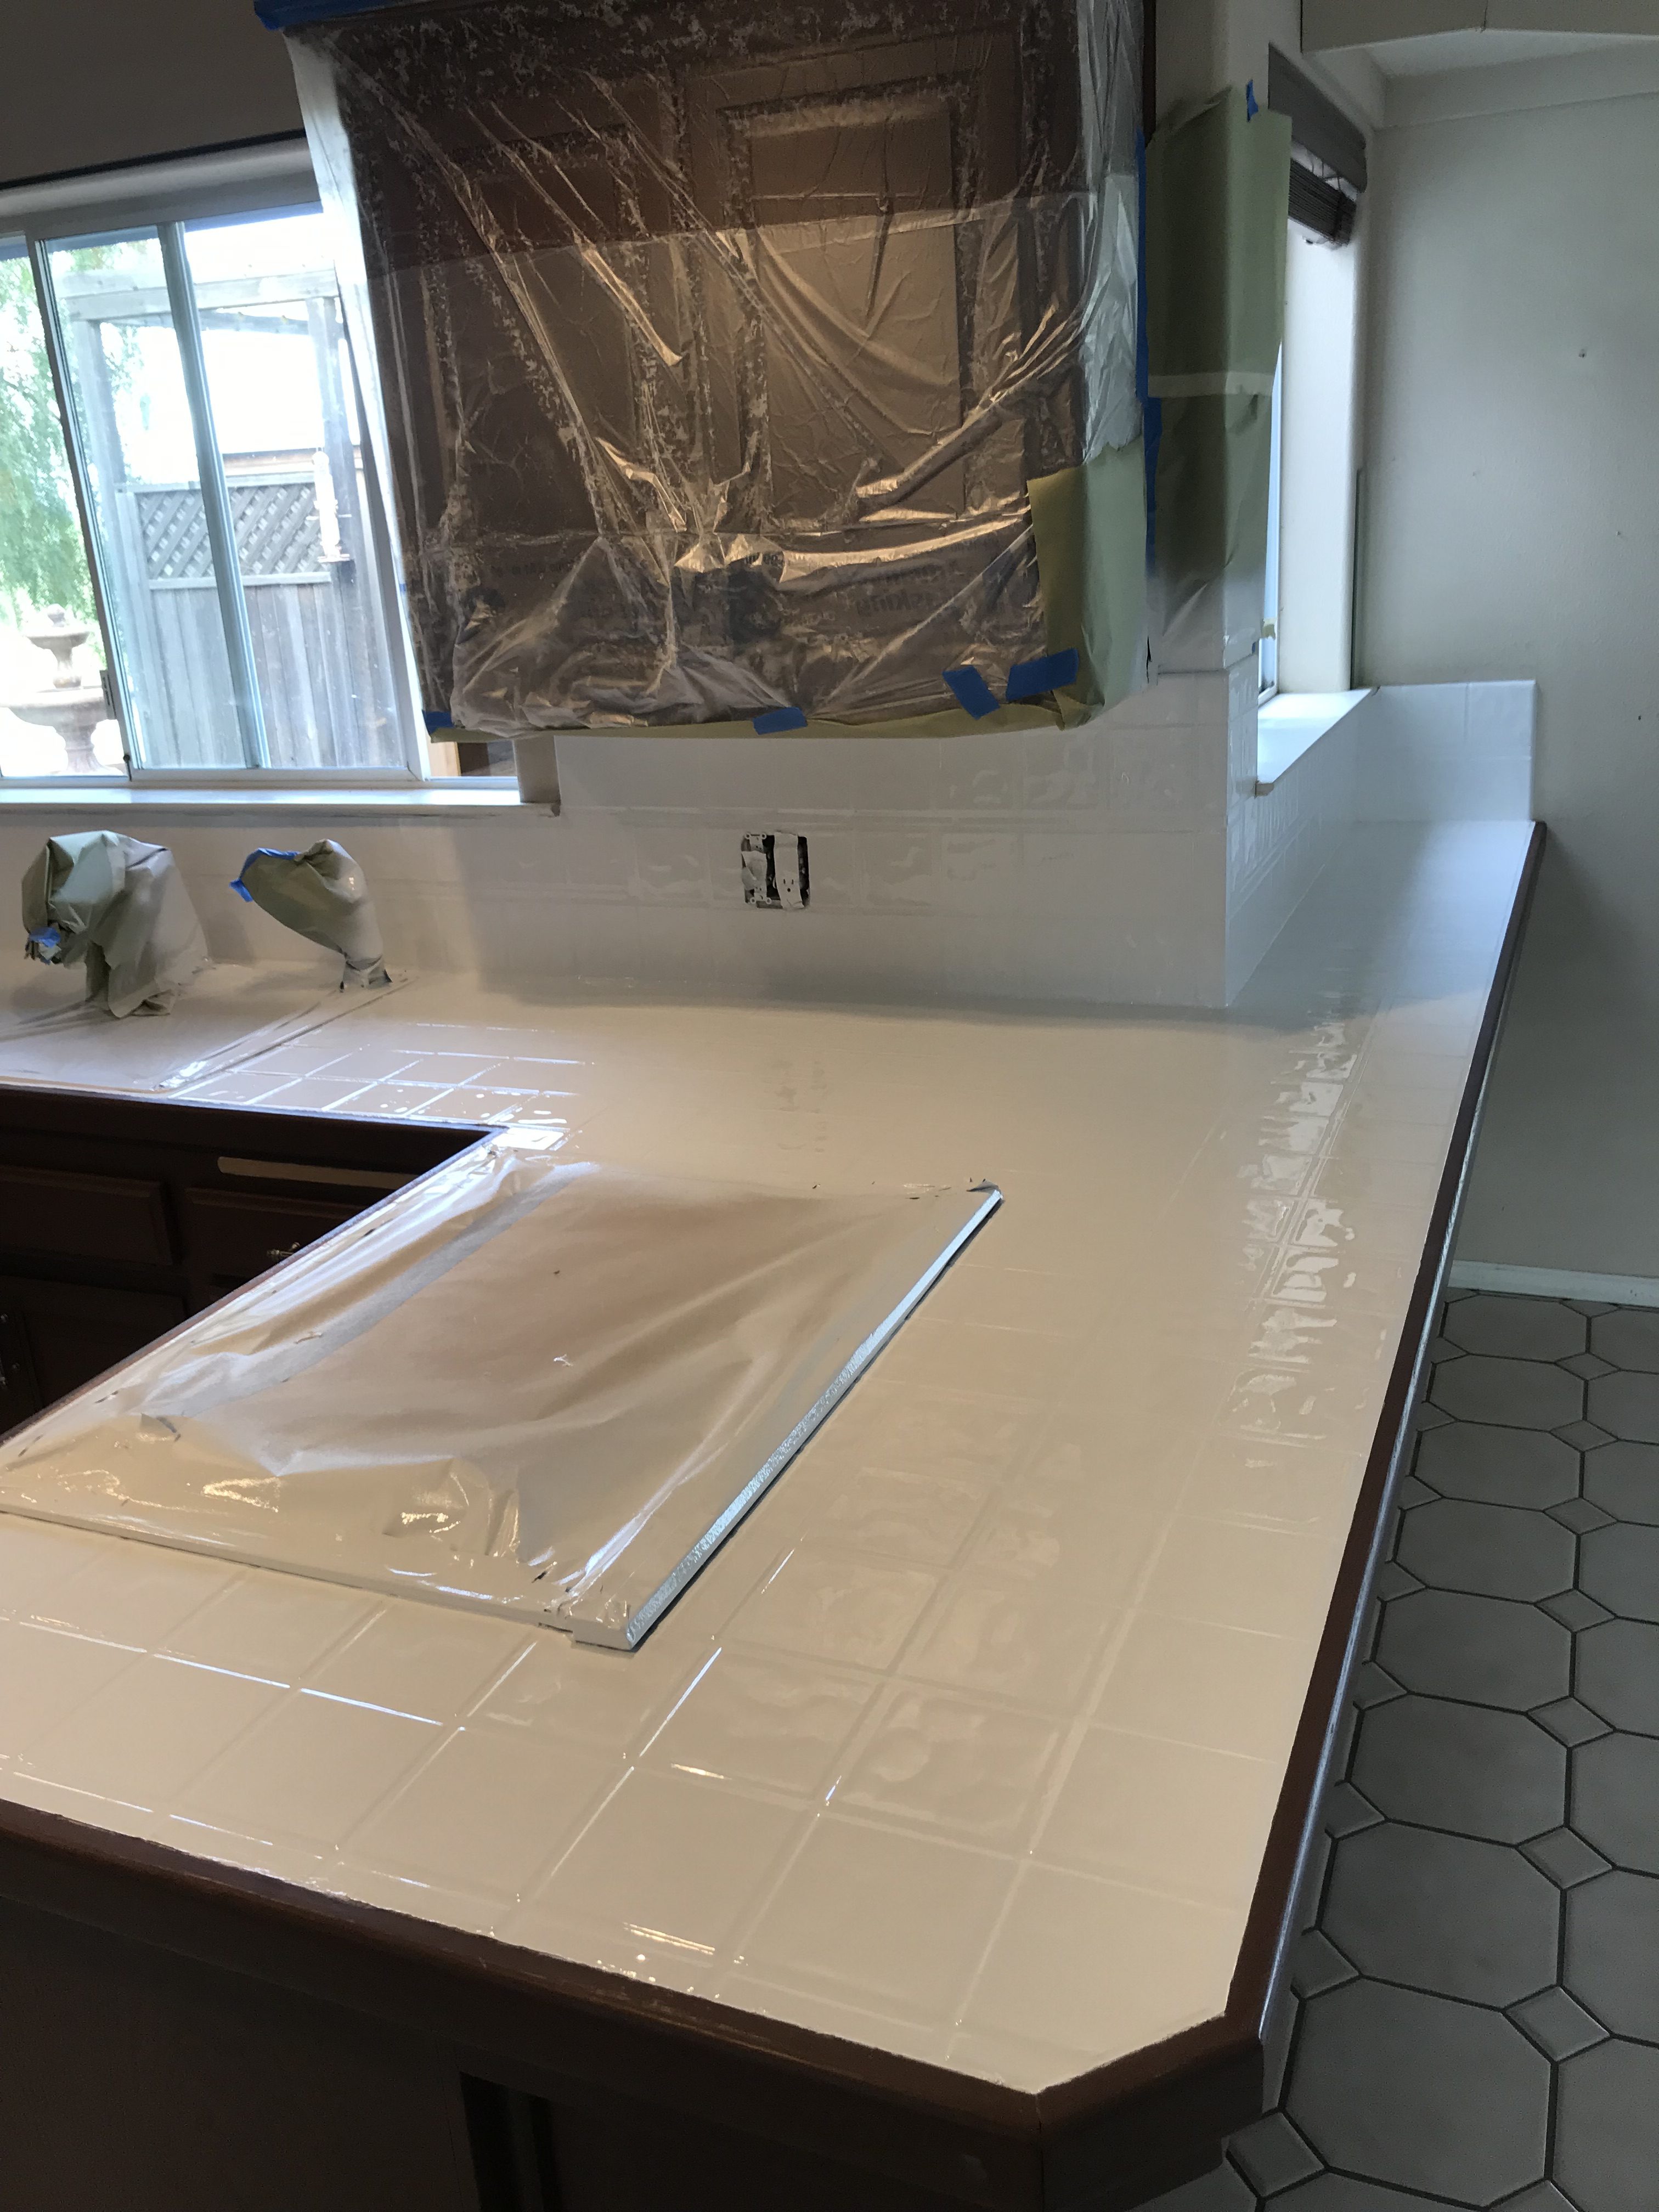
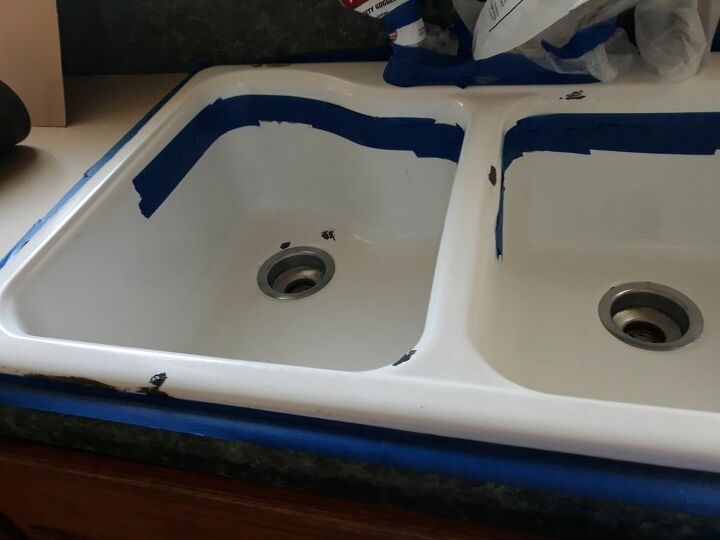
3. Apply painter's tape around the edges of the sink to protect your countertops and walls.
4. Mix the refinishing solution according to the instructions on the kit.
5. Using a paintbrush or roller, apply the first coat of refinishing solution in smooth, even strokes.
6. Allow the first coat to dry completely before applying a second coat.
7. Once the second coat is dry, remove the painter's tape and clean up any drips or spills.
8. Let the sink cure for the recommended amount of time before using it again.
1. Start by thoroughly cleaning your sink with a degreaser and rinsing it with water.
2. Use sandpaper to roughen the surface of the sink, which will help the new finish adhere better.
3. Apply painter's tape around the edges of the sink to protect your countertops and walls.
4. Mix the refinishing solution according to the instructions on the kit.
5. Using a paintbrush or roller, apply the first coat of refinishing solution in smooth, even strokes.
6. Allow the first coat to dry completely before applying a second coat.
7. Once the second coat is dry, remove the painter's tape and clean up any drips or spills.
8. Let the sink cure for the recommended amount of time before using it again.
The Final Result
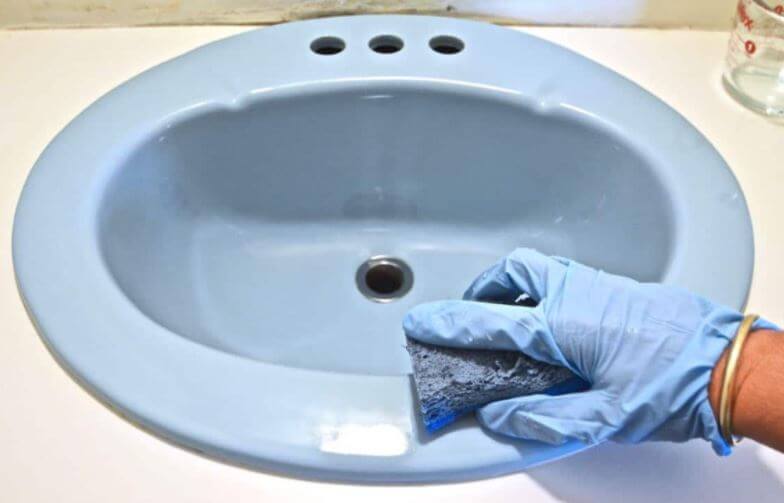
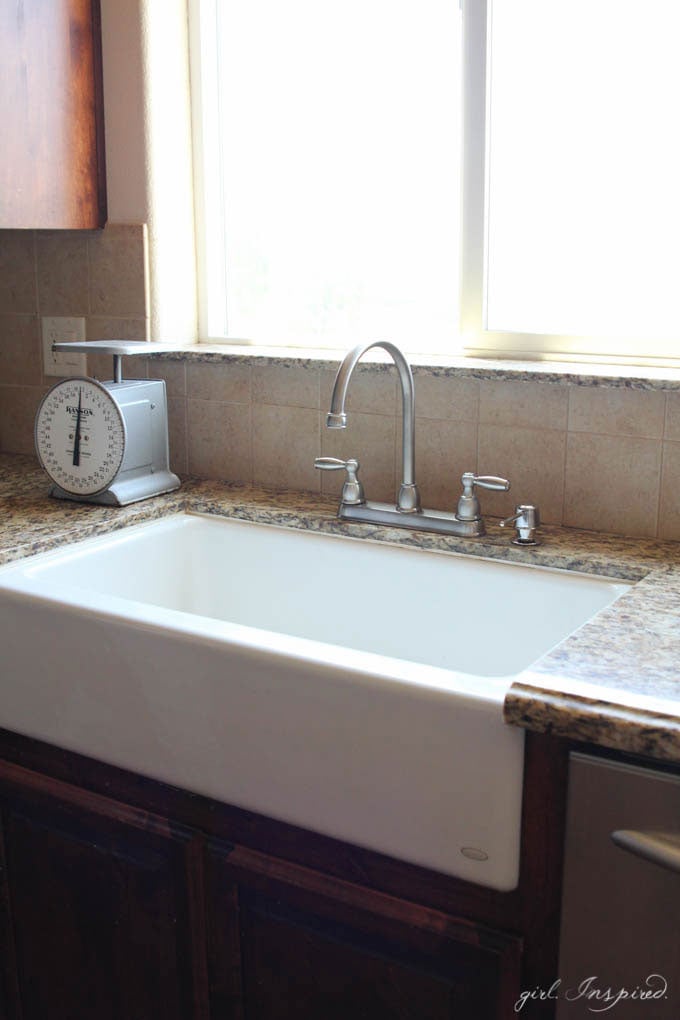
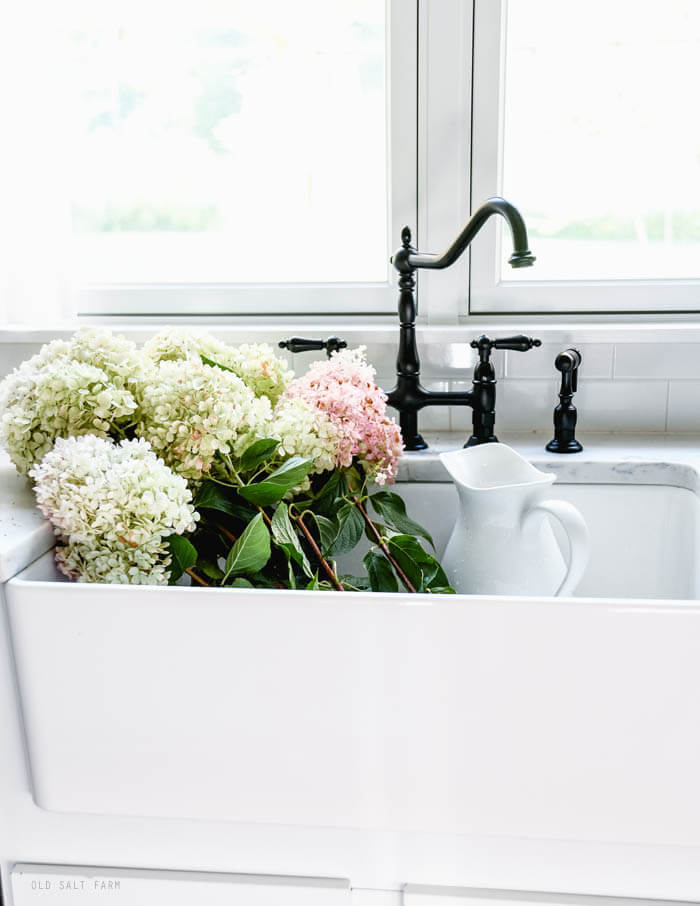
/IMAGE-1-Sink-1-56a4a2d95f9b58b7d0d7f01f.jpg) The end result of your DIY sink refinish will be a beautiful, glossy sink that looks brand new. You can choose to keep the same color or opt for a new one to completely transform the look of your kitchen. With proper maintenance, your refinished sink can last for several years, making it a worthwhile investment for any homeowner.
Refinishing your kitchen sink is a simple and cost-effective way to upgrade your kitchen and add value to your home. With just a few supplies and some easy steps, you can achieve a professional-looking finish that will make your kitchen feel like new again.
Don't be afraid to take on this DIY project and see the amazing results for yourself. Happy refinishing!
The end result of your DIY sink refinish will be a beautiful, glossy sink that looks brand new. You can choose to keep the same color or opt for a new one to completely transform the look of your kitchen. With proper maintenance, your refinished sink can last for several years, making it a worthwhile investment for any homeowner.
Refinishing your kitchen sink is a simple and cost-effective way to upgrade your kitchen and add value to your home. With just a few supplies and some easy steps, you can achieve a professional-looking finish that will make your kitchen feel like new again.
Don't be afraid to take on this DIY project and see the amazing results for yourself. Happy refinishing!