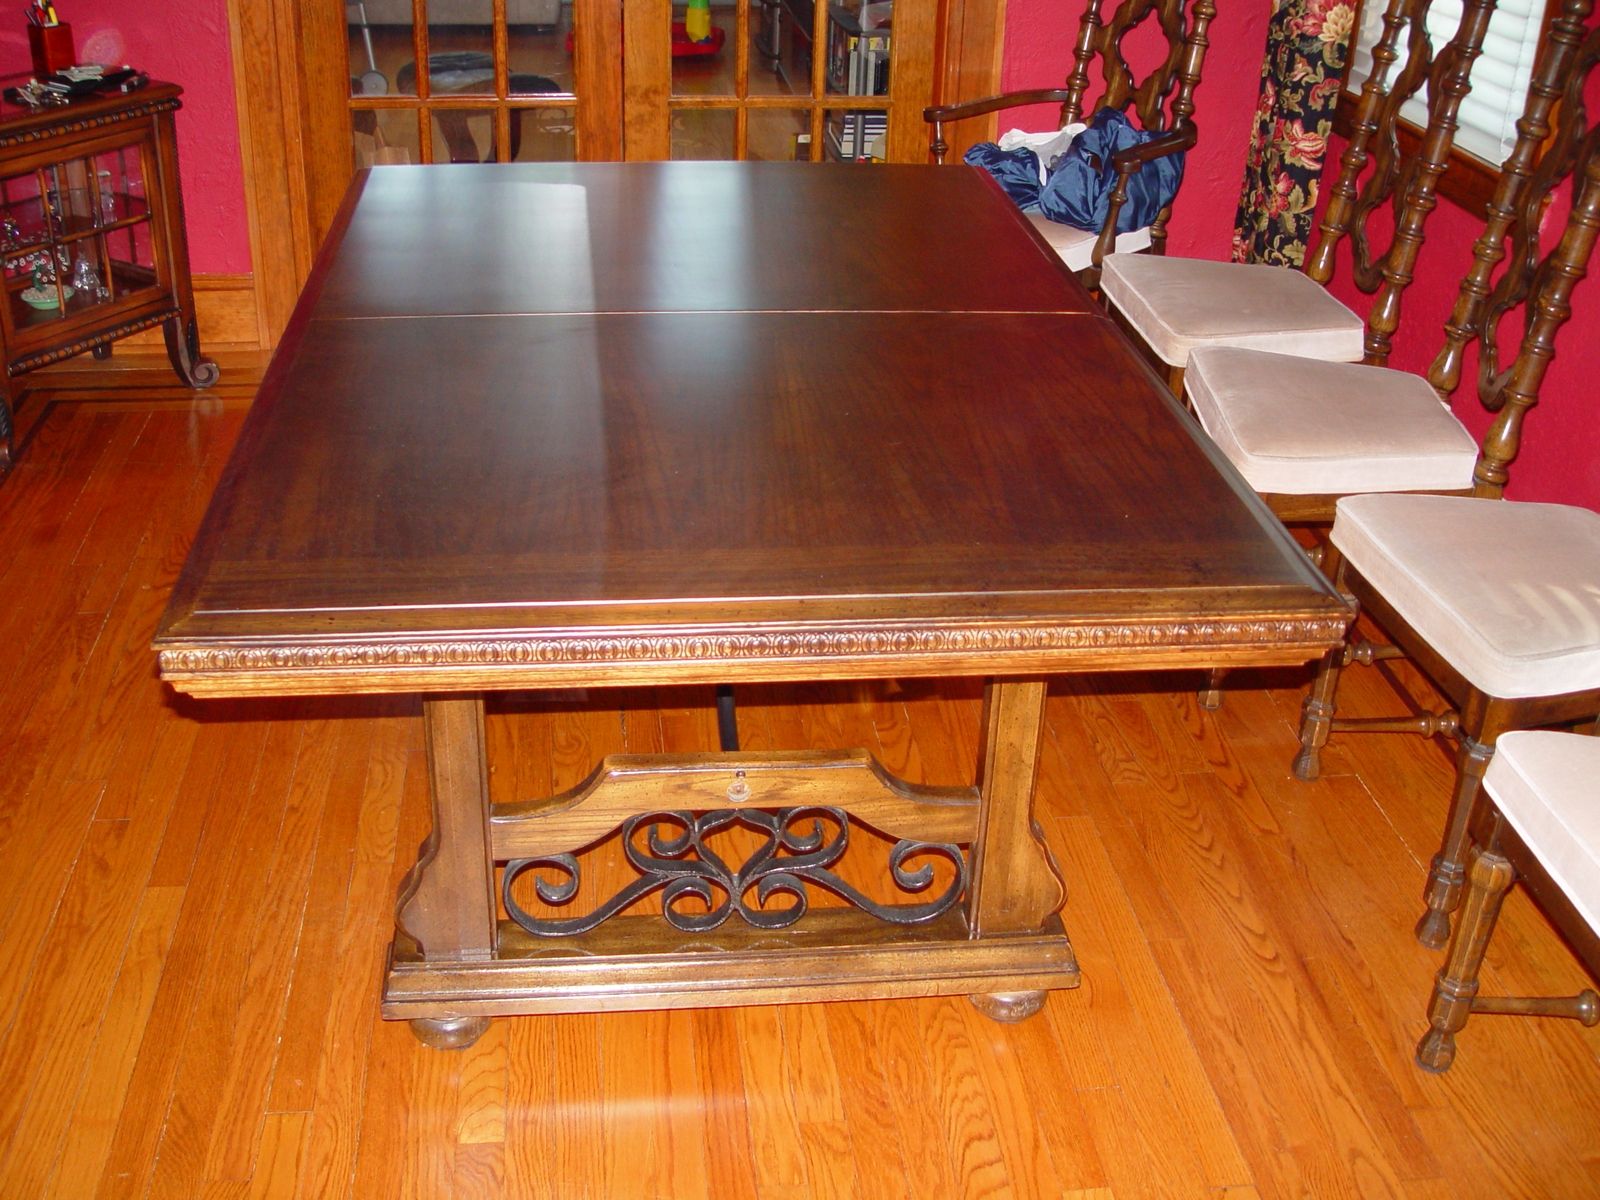
Refinishing a dining room table can be a daunting task, but with the right tools and techniques, it can also be a rewarding and cost-effective way to give your dining room a fresh new look. Whether your table is an old family heirloom or a thrift store find, refinishing it can bring new life to your dining space. In this guide, we will take you through the process of refinishing a dining room table in 7 easy steps.Refinishing a Dining Room Table: A Step-by-Step Guide


Refinishing a Dining Room Table: A Step-by-Step Guide


Before you begin, make sure you have all the necessary supplies and tools. These may include sandpaper, stain, sealant, paintbrushes, screwdriver, and protective gear. Once you have all your materials, follow these 7 steps to refinish your dining room table:How to Refinish a Dining Room Table in 7 Steps

How to Refinish a Dining Room Table in 7 Steps


The first step in refinishing a dining room table is to remove the old finish. This can be done using a paint stripper or by sanding the surface of the table. If using a paint stripper, follow the instructions carefully and make sure to wear gloves and a mask. If sanding, start with a coarse sandpaper and gradually work your way to a finer grit.Step 1: Remove Old Finish


DIY Dining Room Table Refinishing: Tips and Tricks


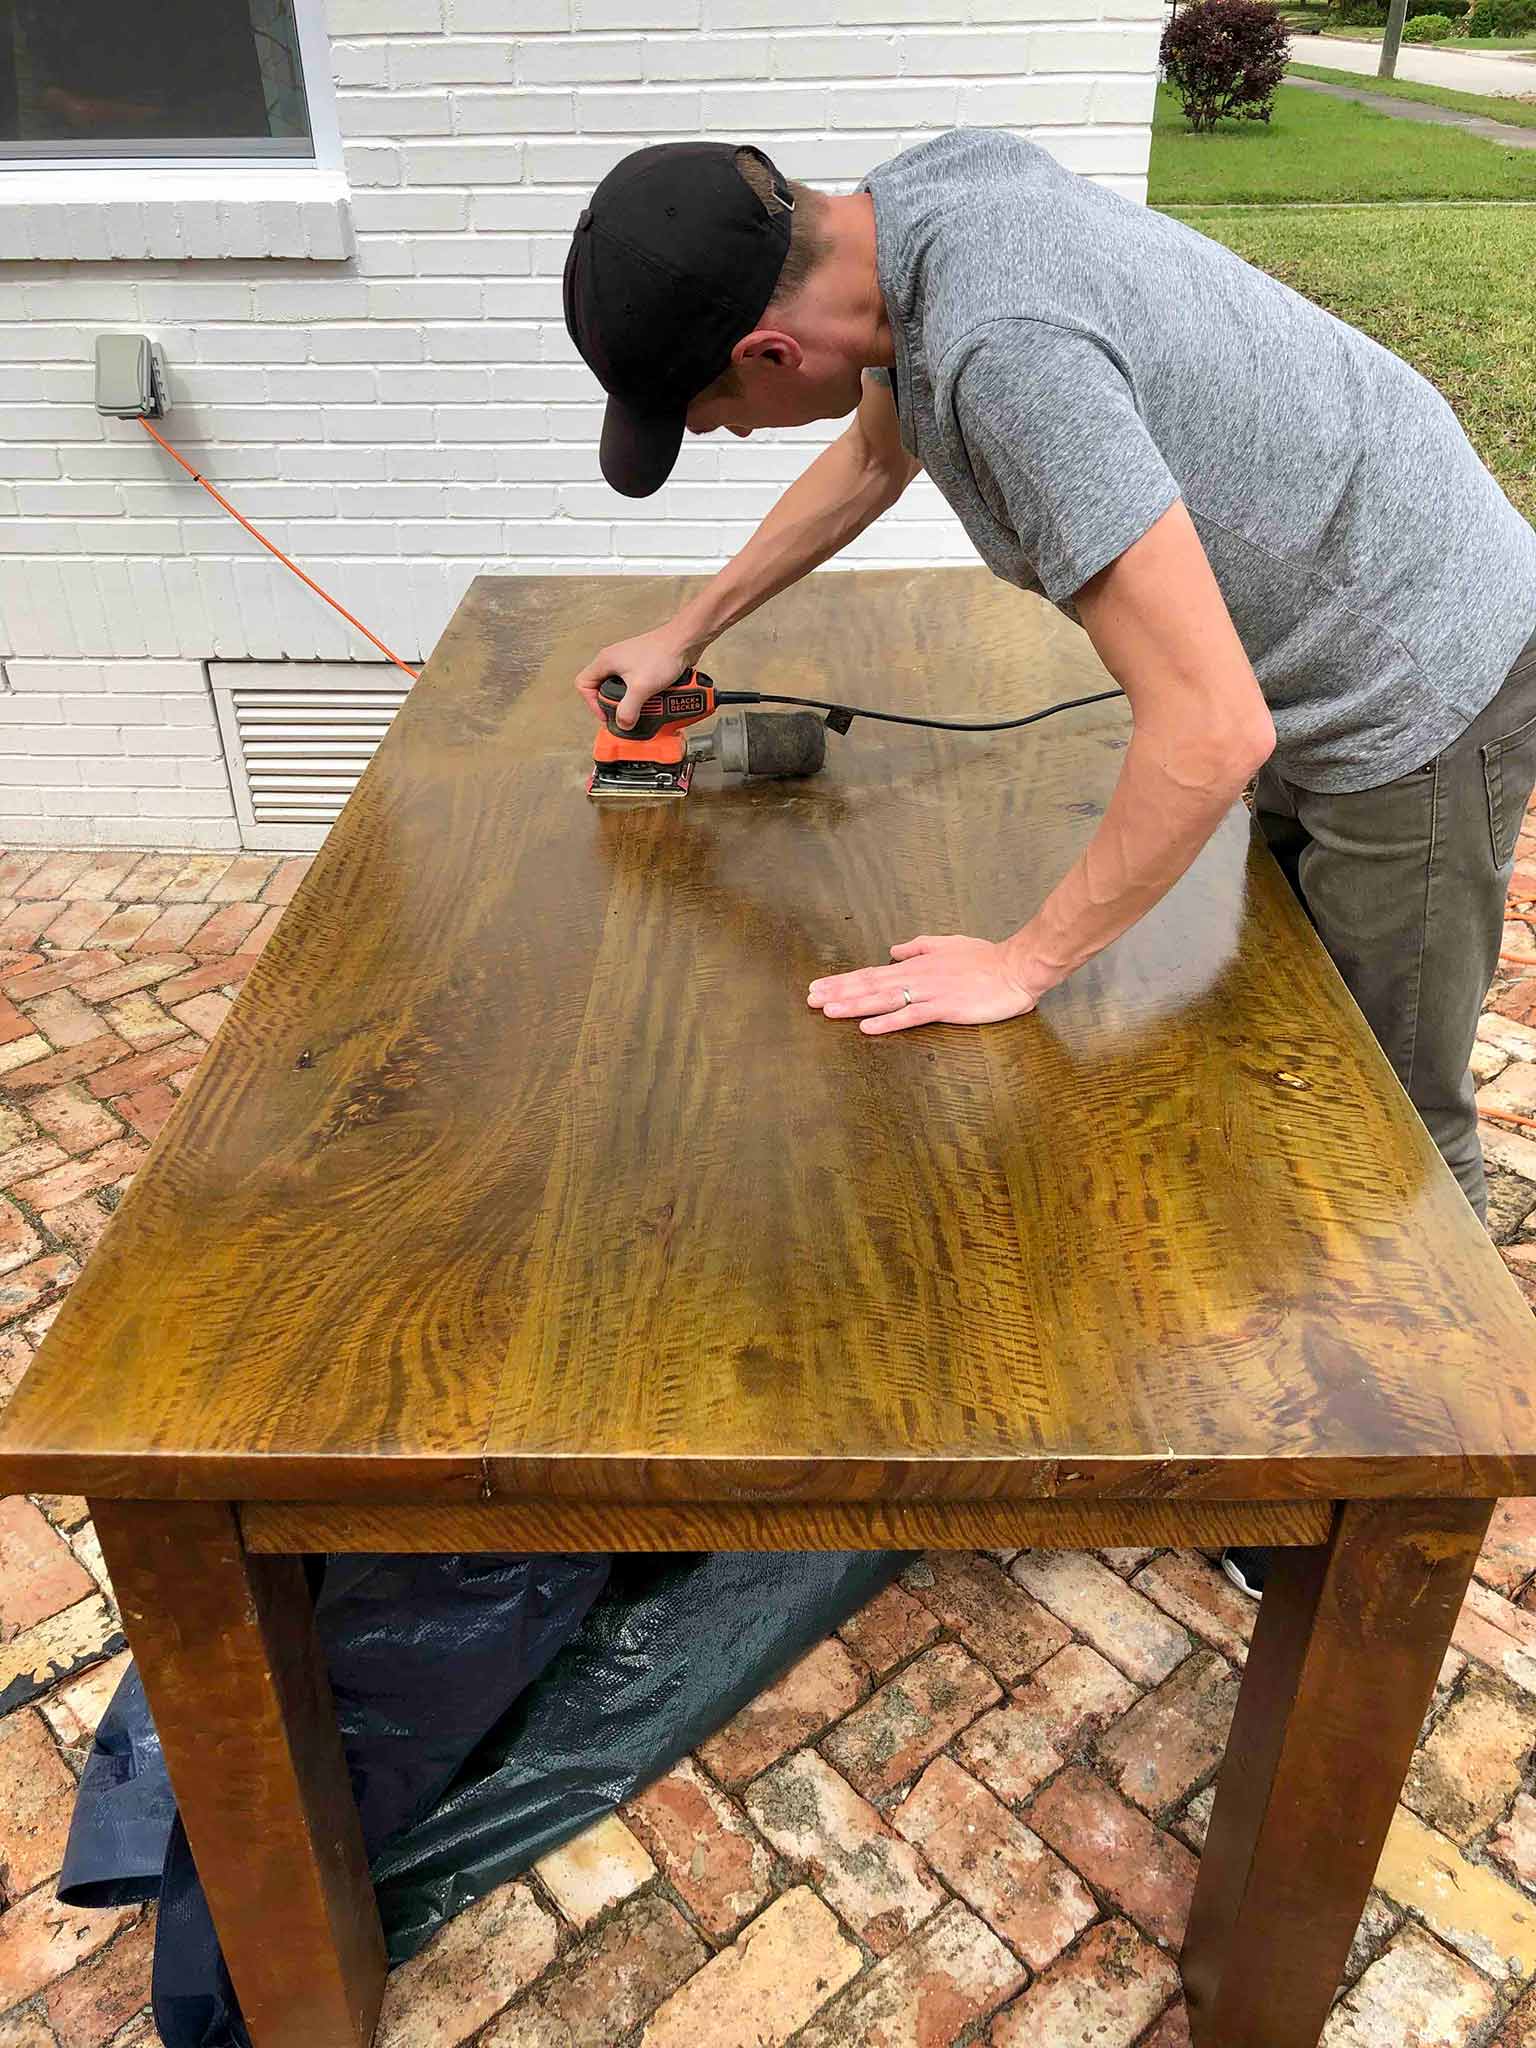
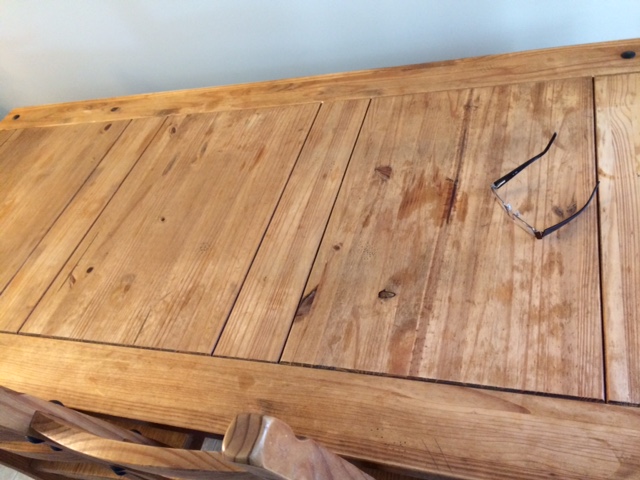
Once the old finish is removed, it's time to sand the table. This will help to smooth out any imperfections and prepare the surface for staining. Use a medium-grit sandpaper and sand in the direction of the wood grain. Make sure to sand all surfaces of the table, including the legs and any intricate details.Step 2: Sand the Table

Refinishing a Dining Room Table: Supplies You'll Need

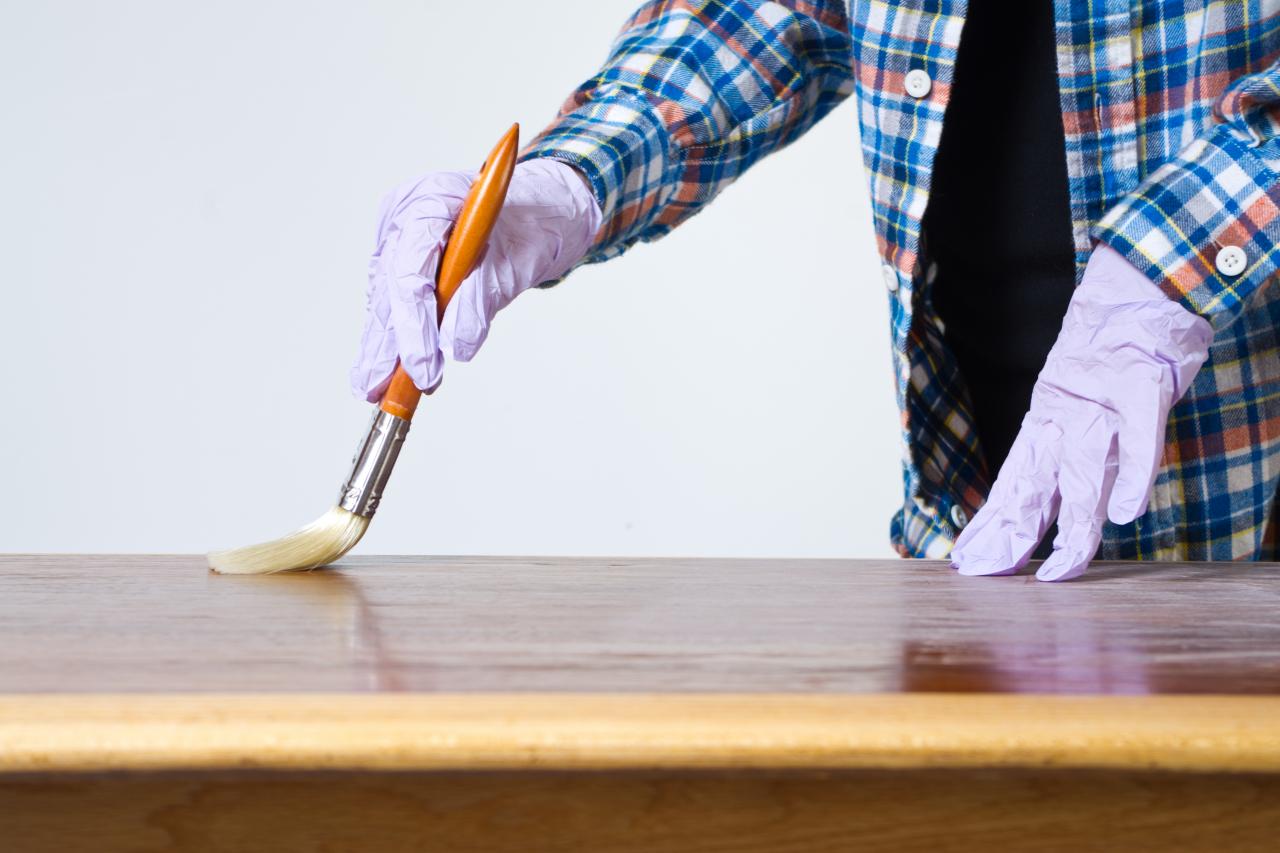
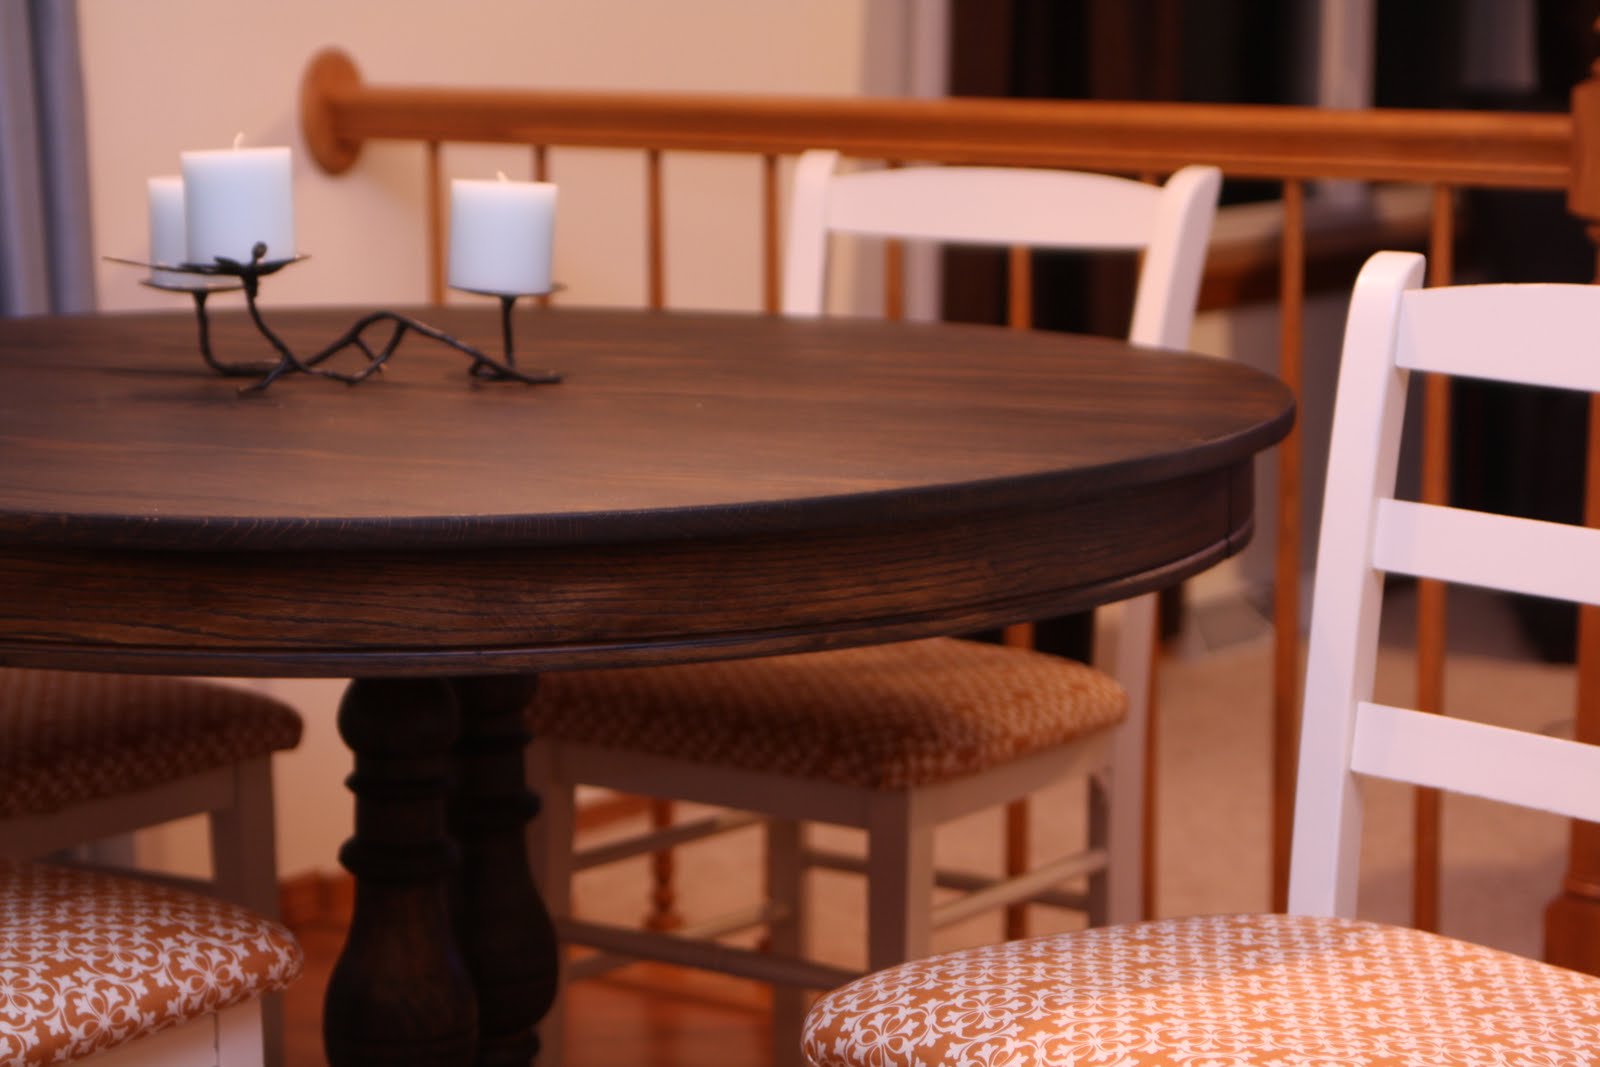
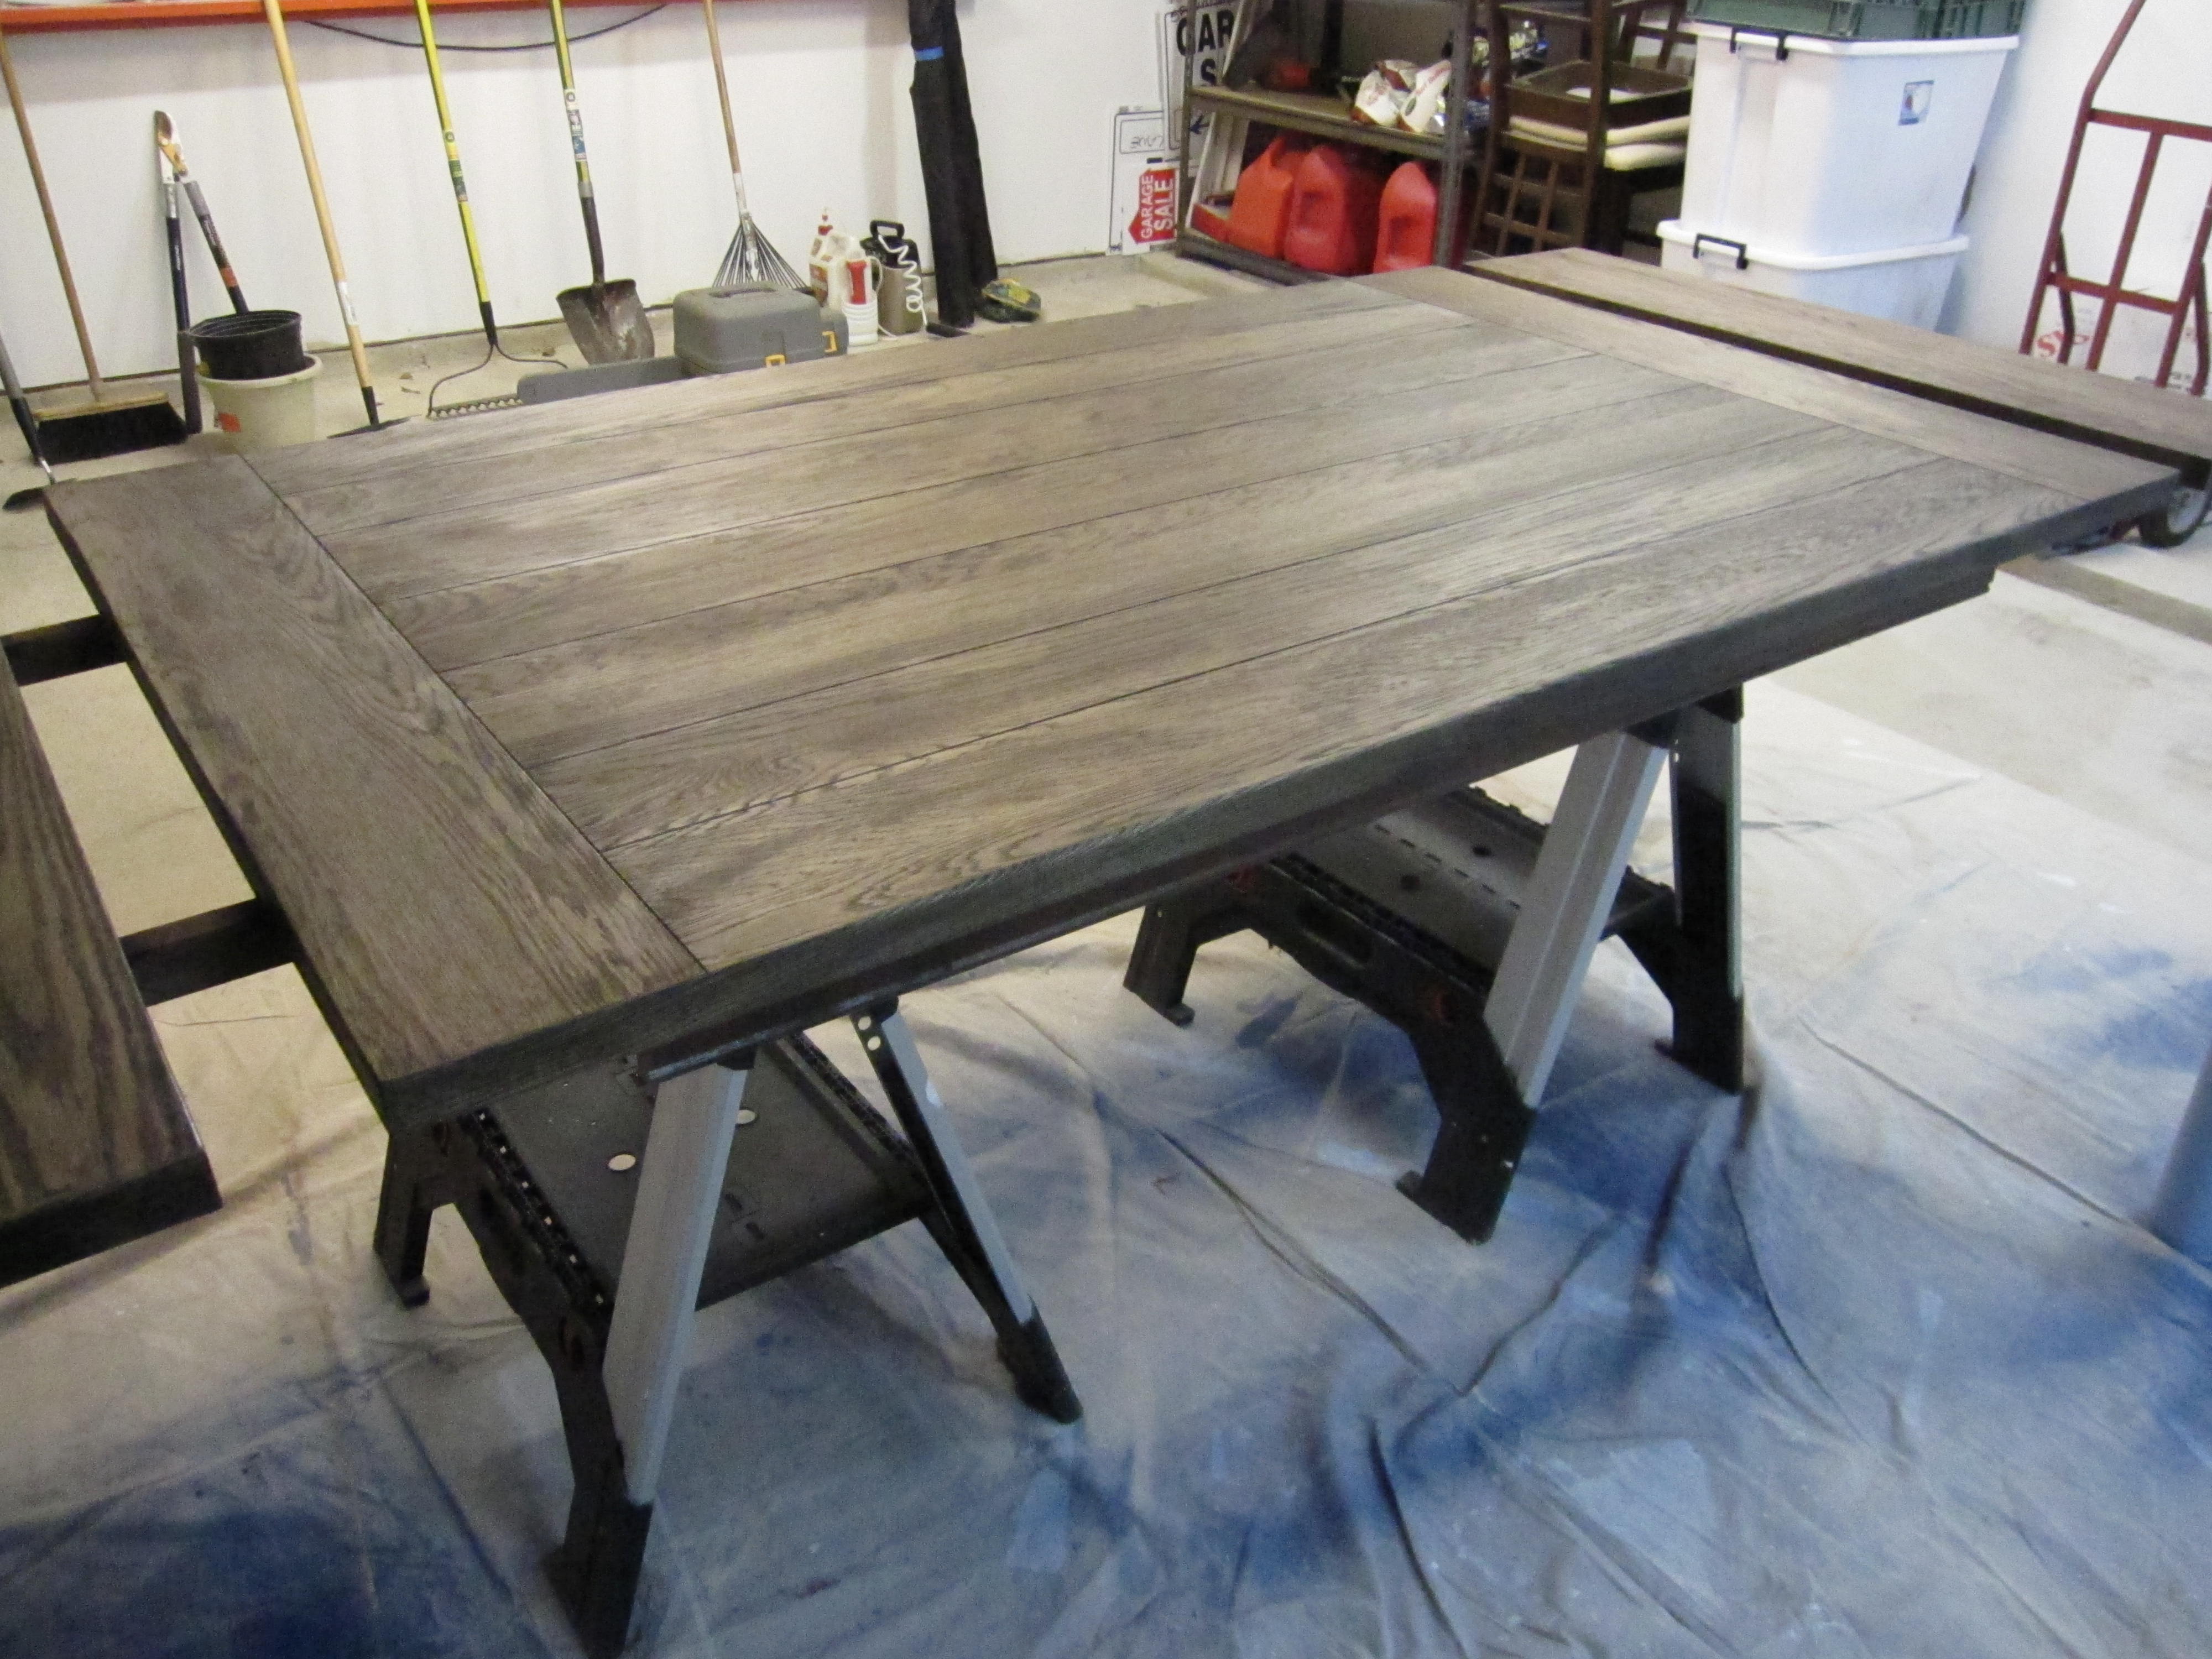
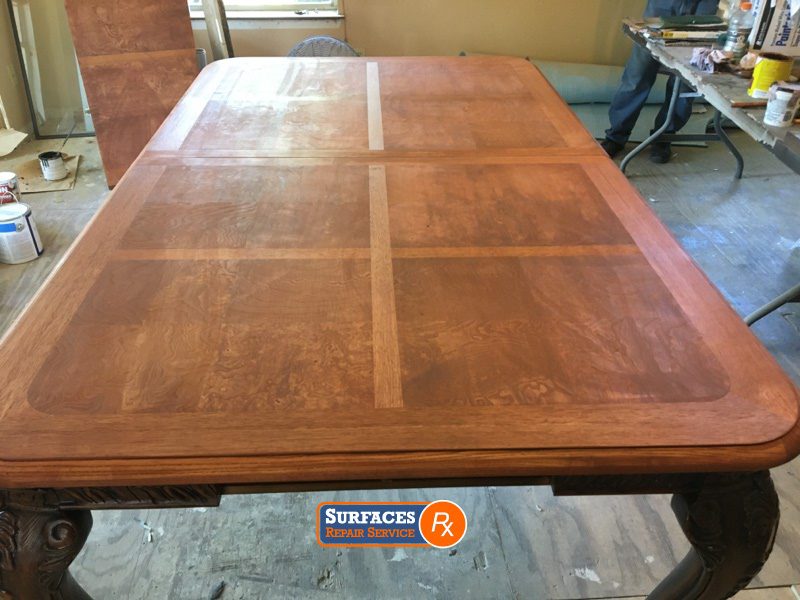
Now comes the fun part – staining the table. Choose a stain that matches your desired color and apply it evenly with a paintbrush. Be sure to test the stain on a small, inconspicuous area of the table first to ensure you like the color. Apply multiple coats if necessary to achieve your desired shade. Let the stain dry completely before moving on to the next step.Step 3: Stain the Table


Refinishing a Dining Room Table: Sanding Techniques


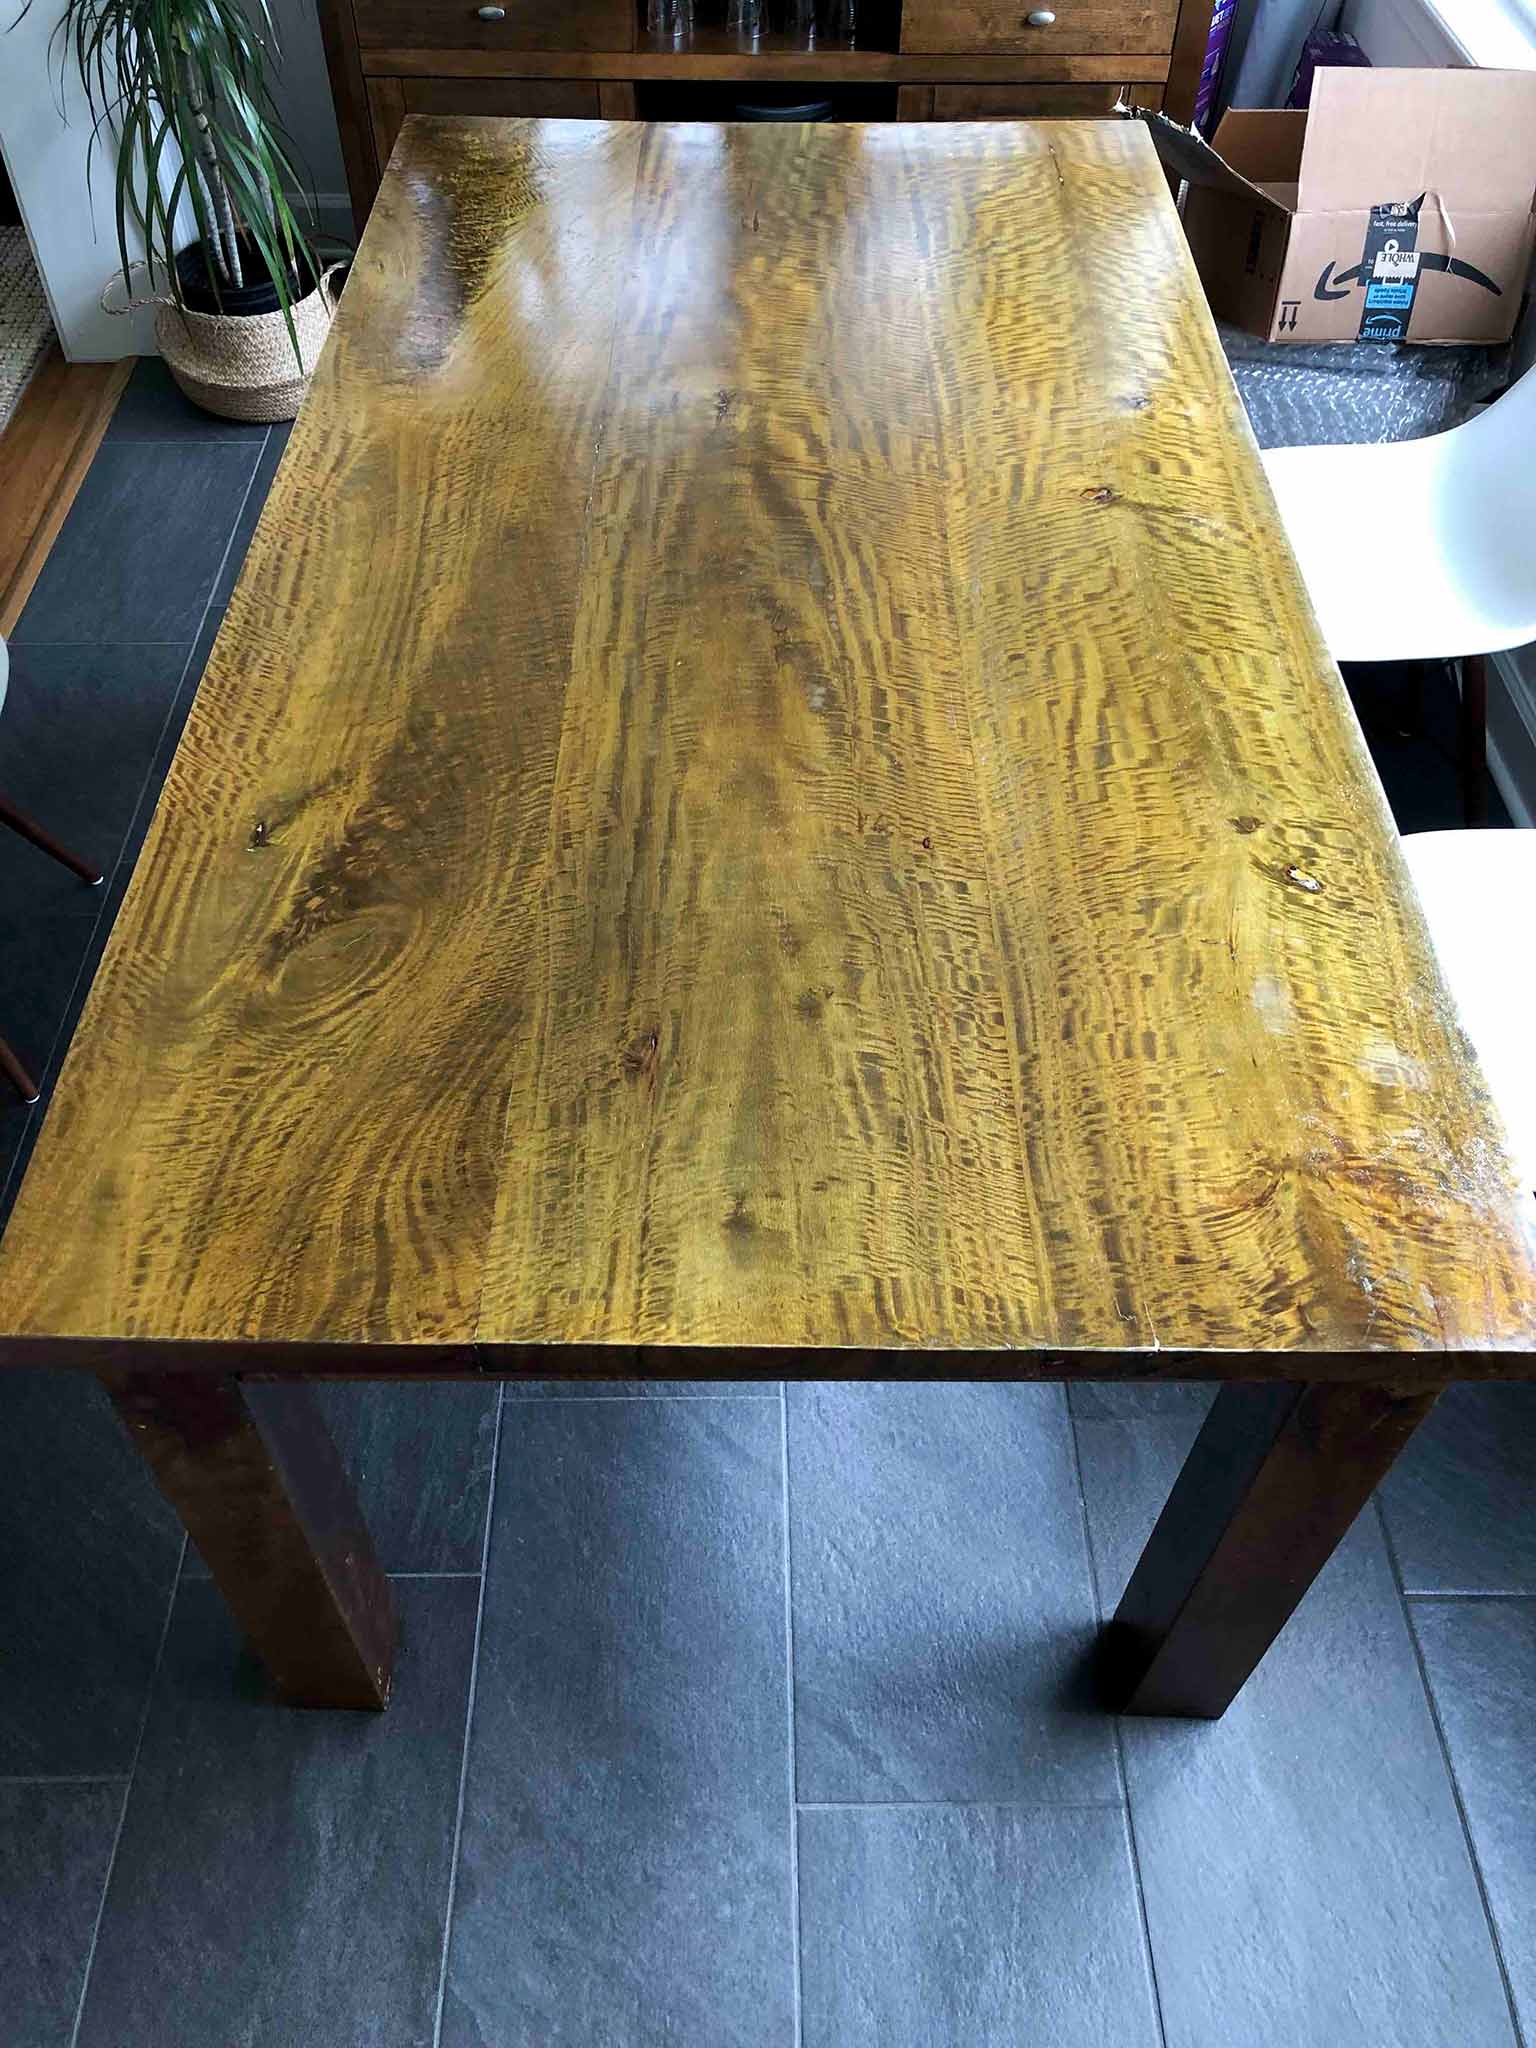
Once the stain is dry, it's time to protect your newly stained table with a sealant. A polyurethane sealant is a popular choice as it provides a durable and water-resistant finish. Apply the sealant using a clean paintbrush, following the instructions on the product for the recommended number of coats.Step 4: Apply a Sealant


Staining a Dining Room Table: A Beginner's Guide


If you want to protect the tabletop from scratches and spills, you can add a layer of polycrylic on top of the sealant. This will provide an extra layer of protection and give your table a glossy finish. Apply the polycrylic using a paintbrush, being careful to avoid drips or brushstrokes.Step 5: Protect the Tabletop


How to Refinish a Dining Room Table Without Sanding


If your table has any hardware, such as hinges or handles, now is the time to reattach them. Use a screwdriver to carefully screw the hardware back into place. This step is often overlooked, but it can make a big difference in the overall appearance of your dining room table.Step 6: Reattach Hardware

Refinishing a Dining Room Table: Choosing the Right Finish
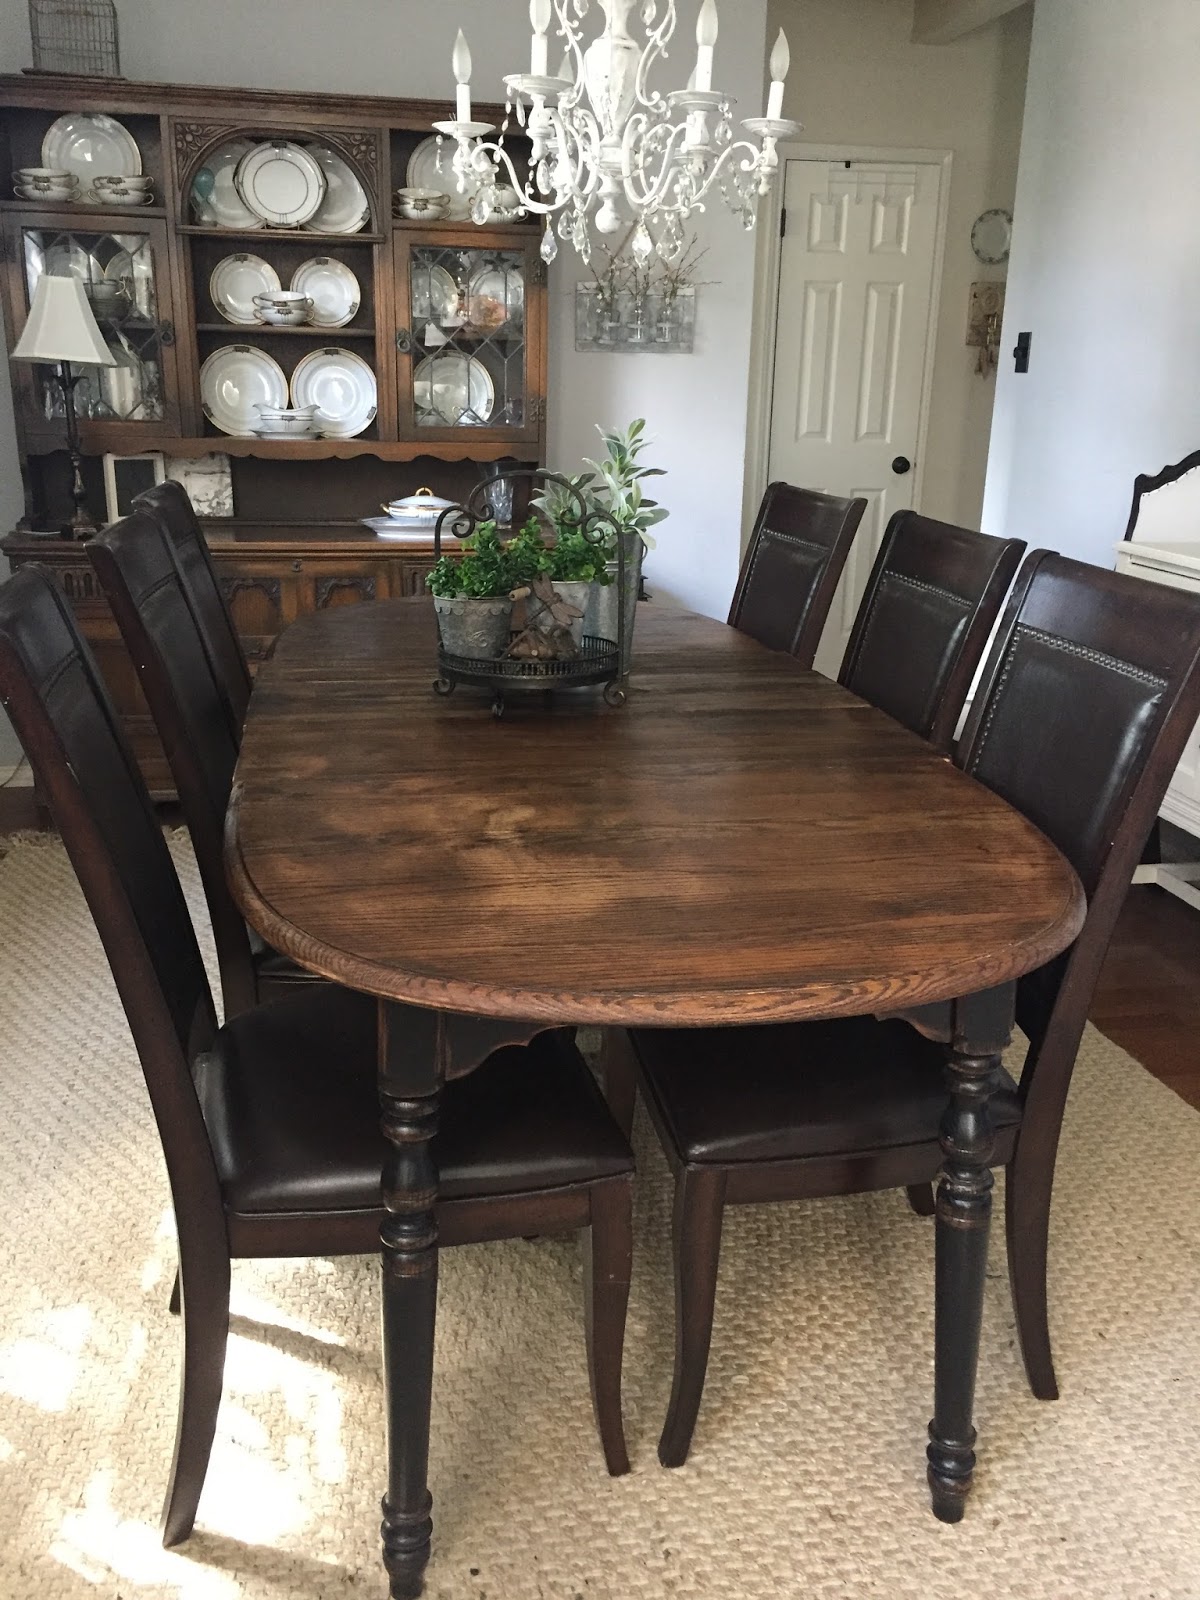
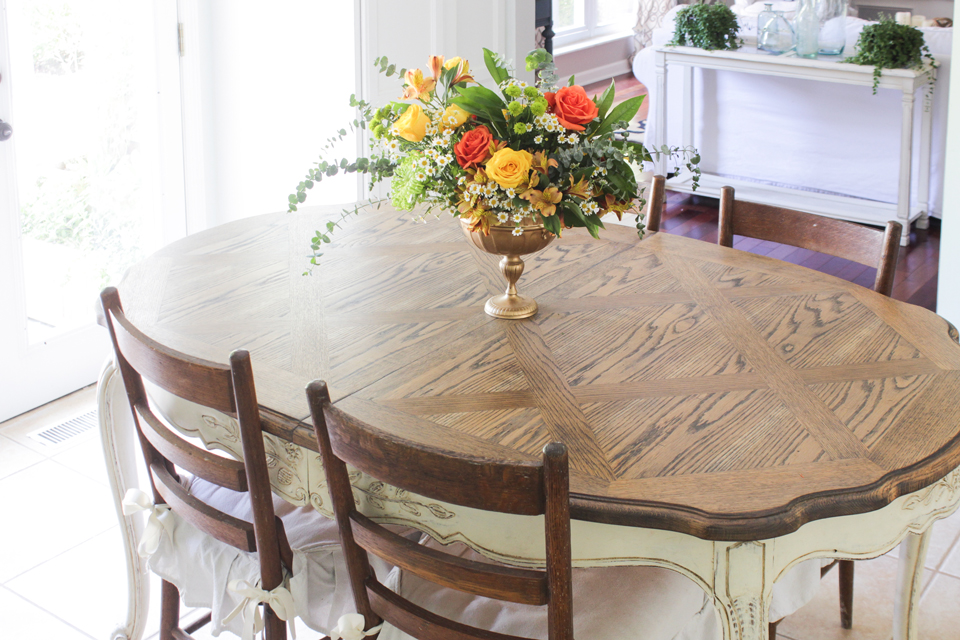
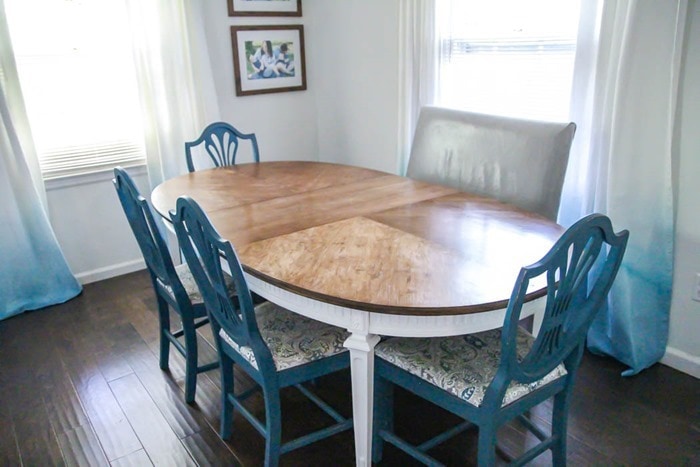
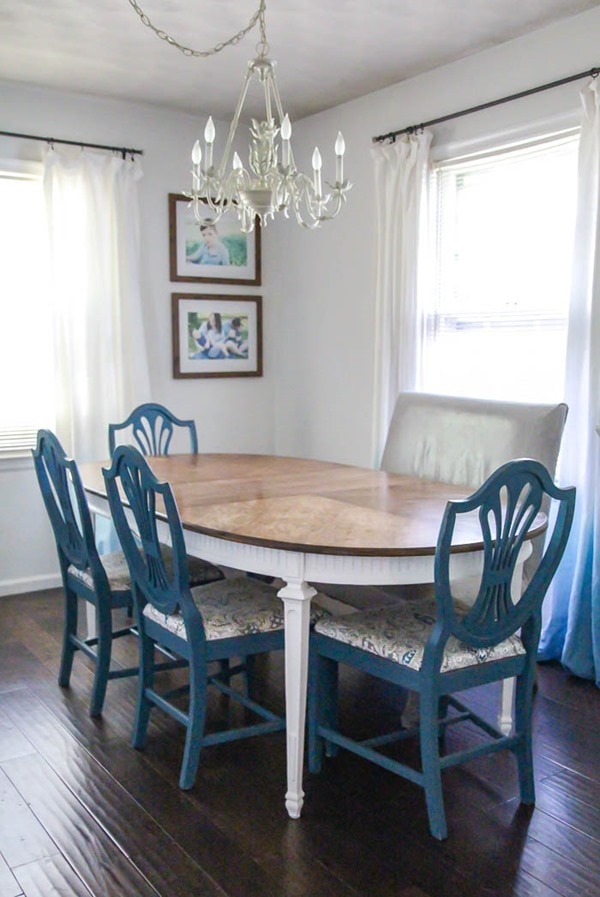
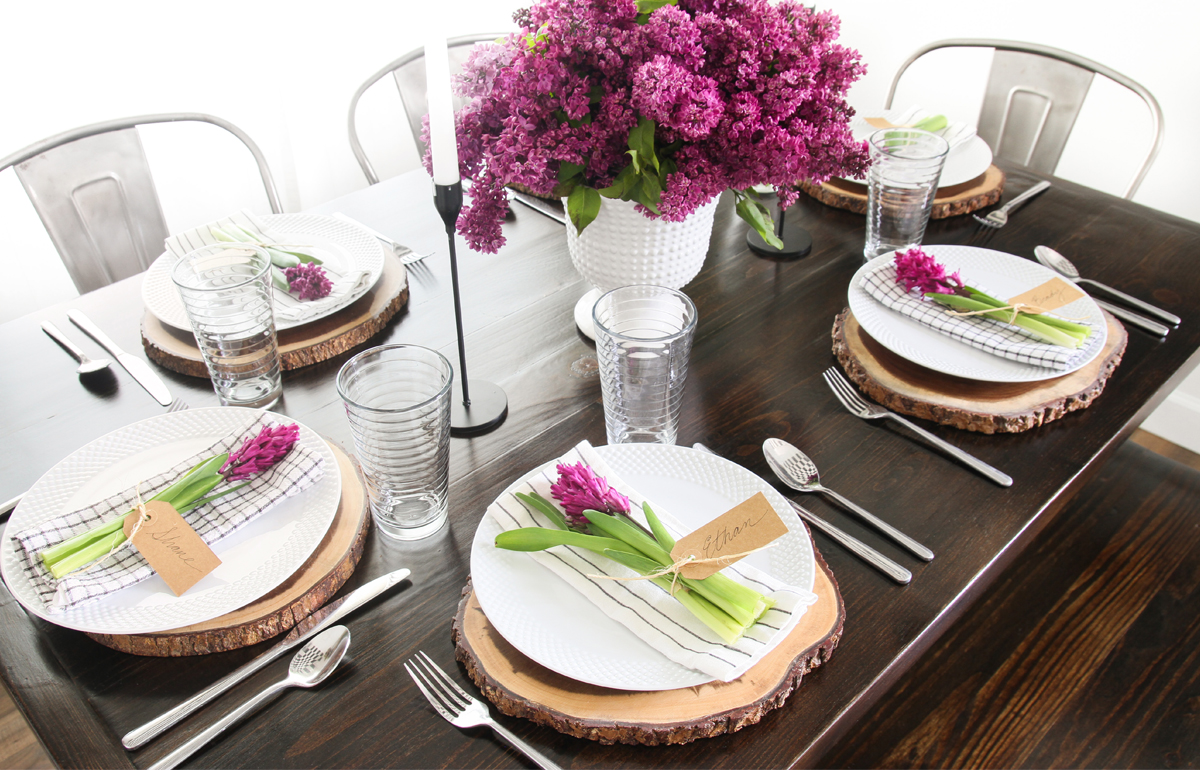
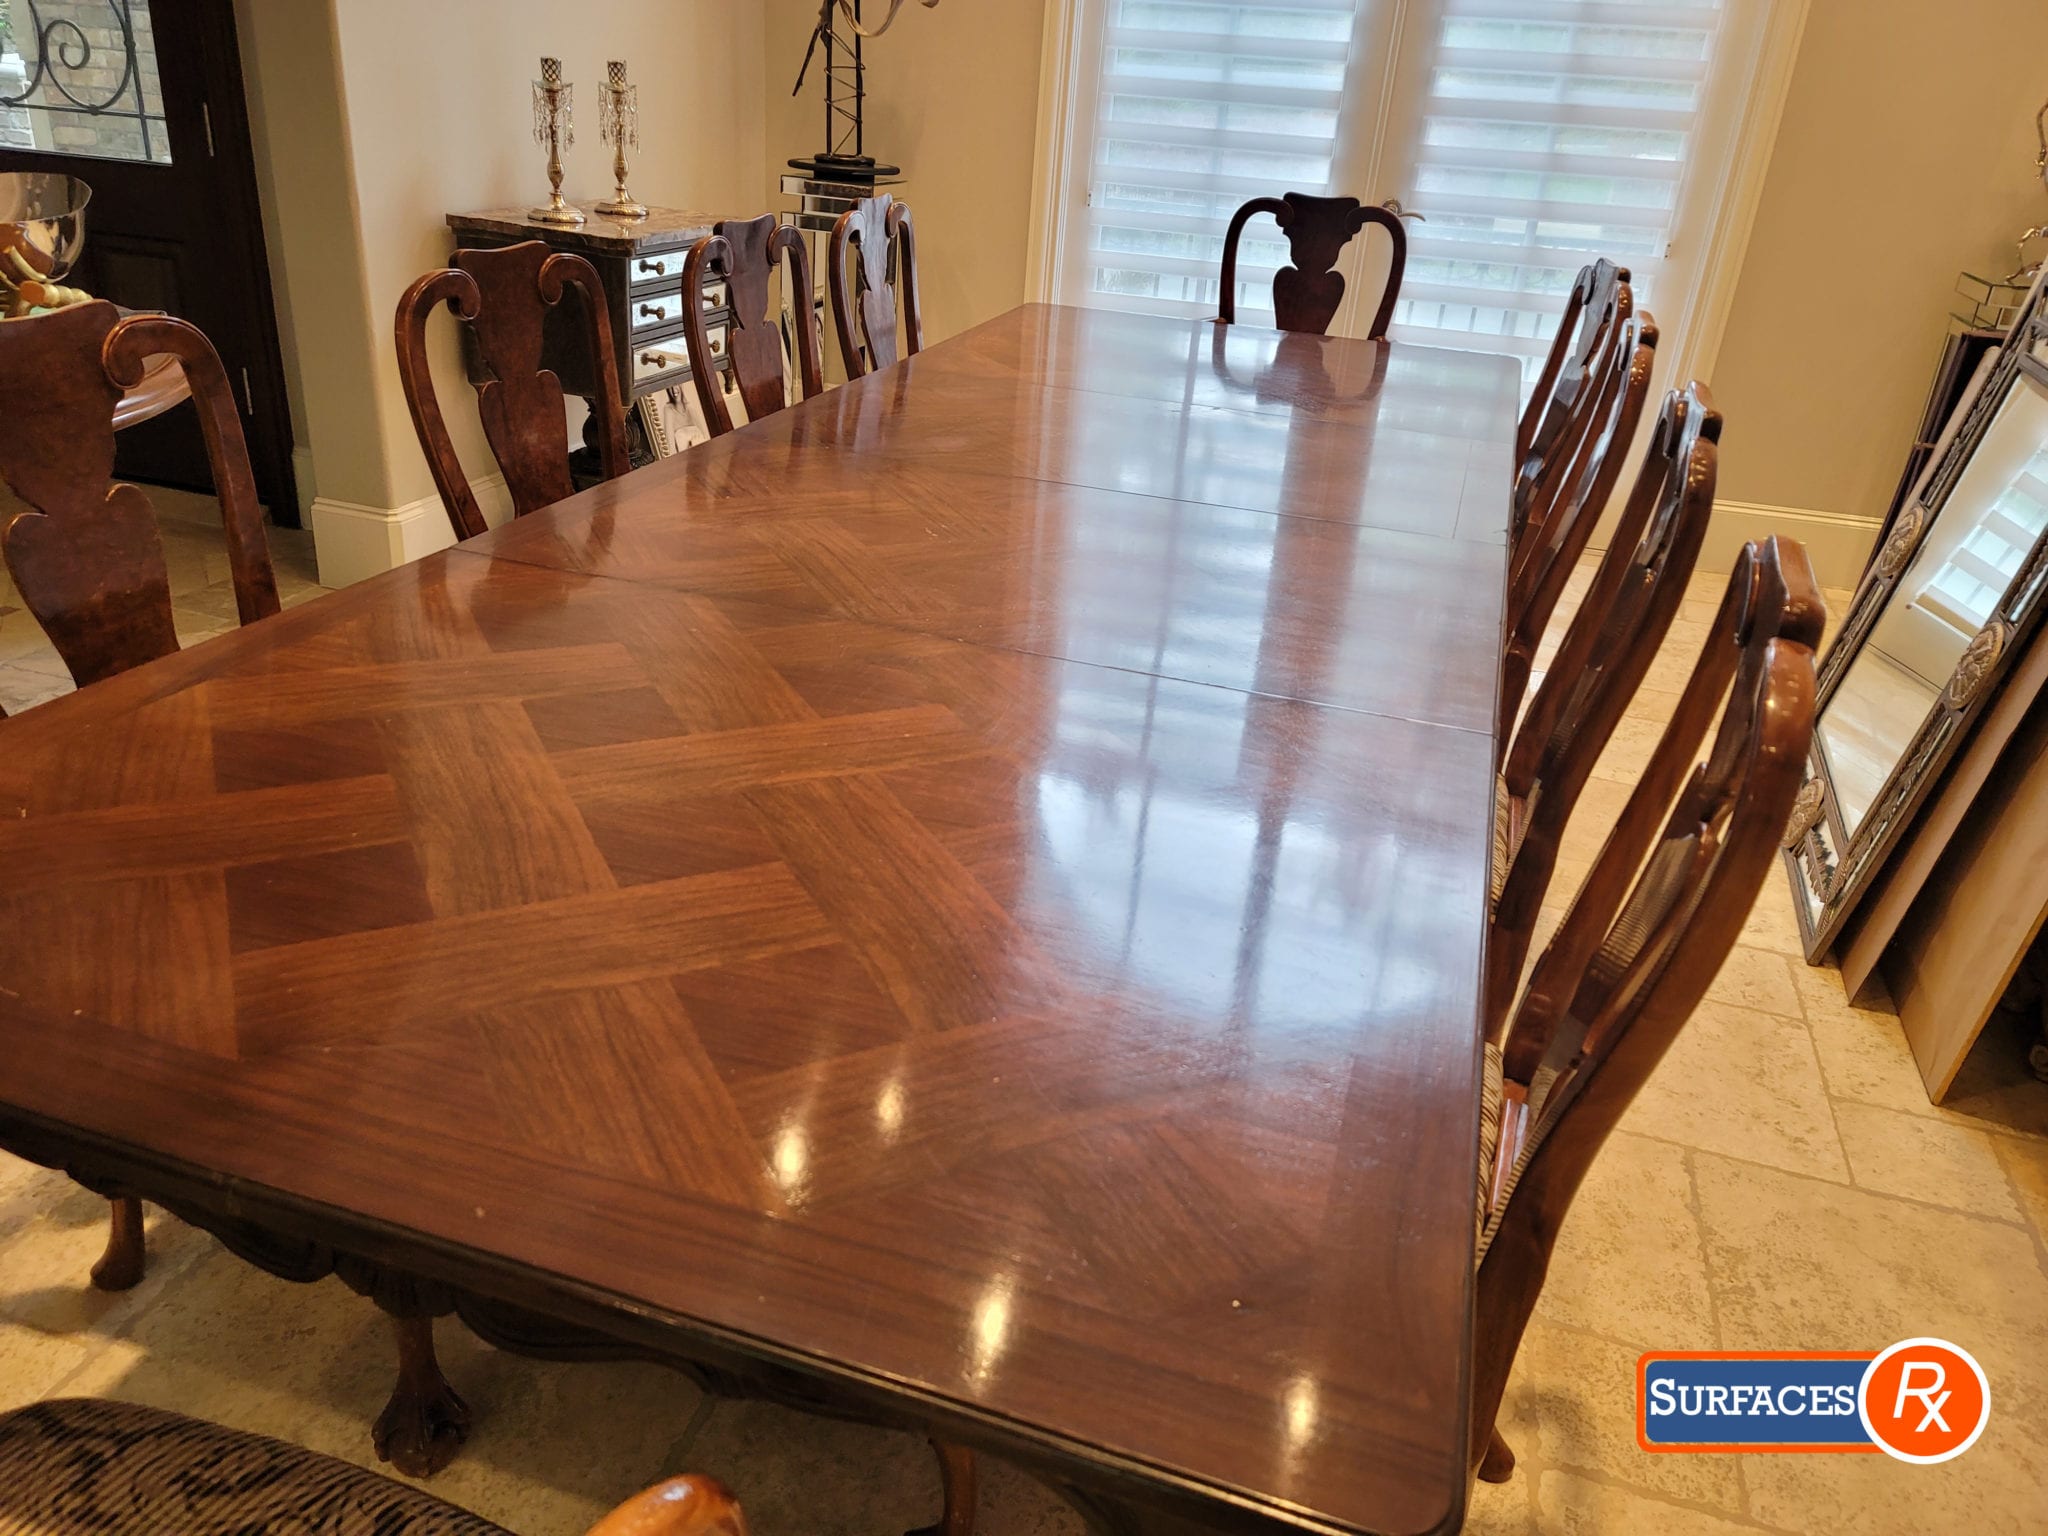
After all your hard work, it's time to sit back and enjoy your newly refinished dining room table. Consider adding a centerpiece or a new set of chairs to complete the new look. You can also take before and after photos to see the amazing transformation your table has undergone.Step 7: Enjoy Your Newly Refinished Table
Refinishing a Dining Room Table: Common Mistakes to Avoid
Refinishing a dining room table is not a task that should be rushed. It requires time, patience, and attention to detail. Here are a few tips and tricks to help make the process smoother:DIY Dining Room Table Refinishing: Tips and Tricks
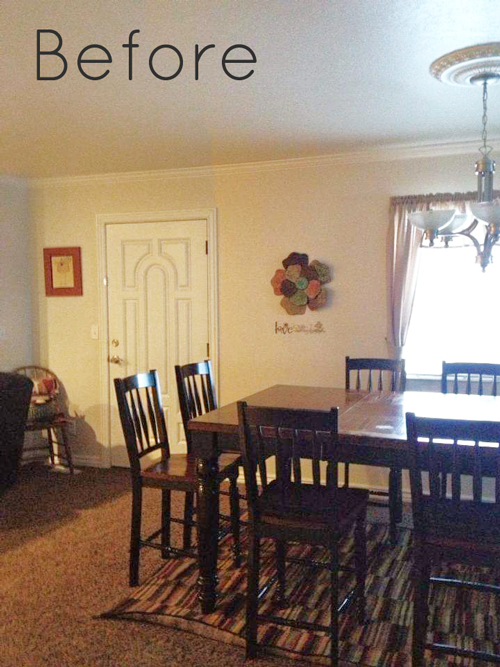

Before and After: Stunning Dining Room Table Refinishing Projects


Refinishing a Dining Room Table: A Simple Guide to Transforming Your Space
 Refinishing a dining room table can be a daunting task, but with the right tools and techniques, it can also be a rewarding and budget-friendly way to transform your living space. A dining room table is often the centerpiece of a home, and a well-refinished table can bring new life to your dining room. Whether you have an old, worn-out table or just want to change the look of your current one, refinishing is a great option. In this article, we will walk you through the steps of refinishing a dining room table, from preparation to the final coat of finish.
Gather Your Supplies
 Before diving into the refinishing process, it's important to gather all the necessary supplies. You will need sandpaper, wood stain, paintbrushes, a drop cloth, and a clear finish. Make sure to choose a stain and finish that is compatible with the type of wood your table is made of. You may also want to invest in a paint stripper if your table has a thick layer of old paint or stain that needs to be removed.
Preparation is Key
 Preparation is the most crucial step in refinishing a dining room table. Start by removing any old finish or paint using a paint stripper or sandpaper. Then, clean the surface of the table with a wood cleaner to remove any dirt, grime, or residue. Once the table is clean and dry, use a fine-grit sandpaper to smooth out any imperfections and create a smooth surface for the new finish to adhere to.
Stain and Finish
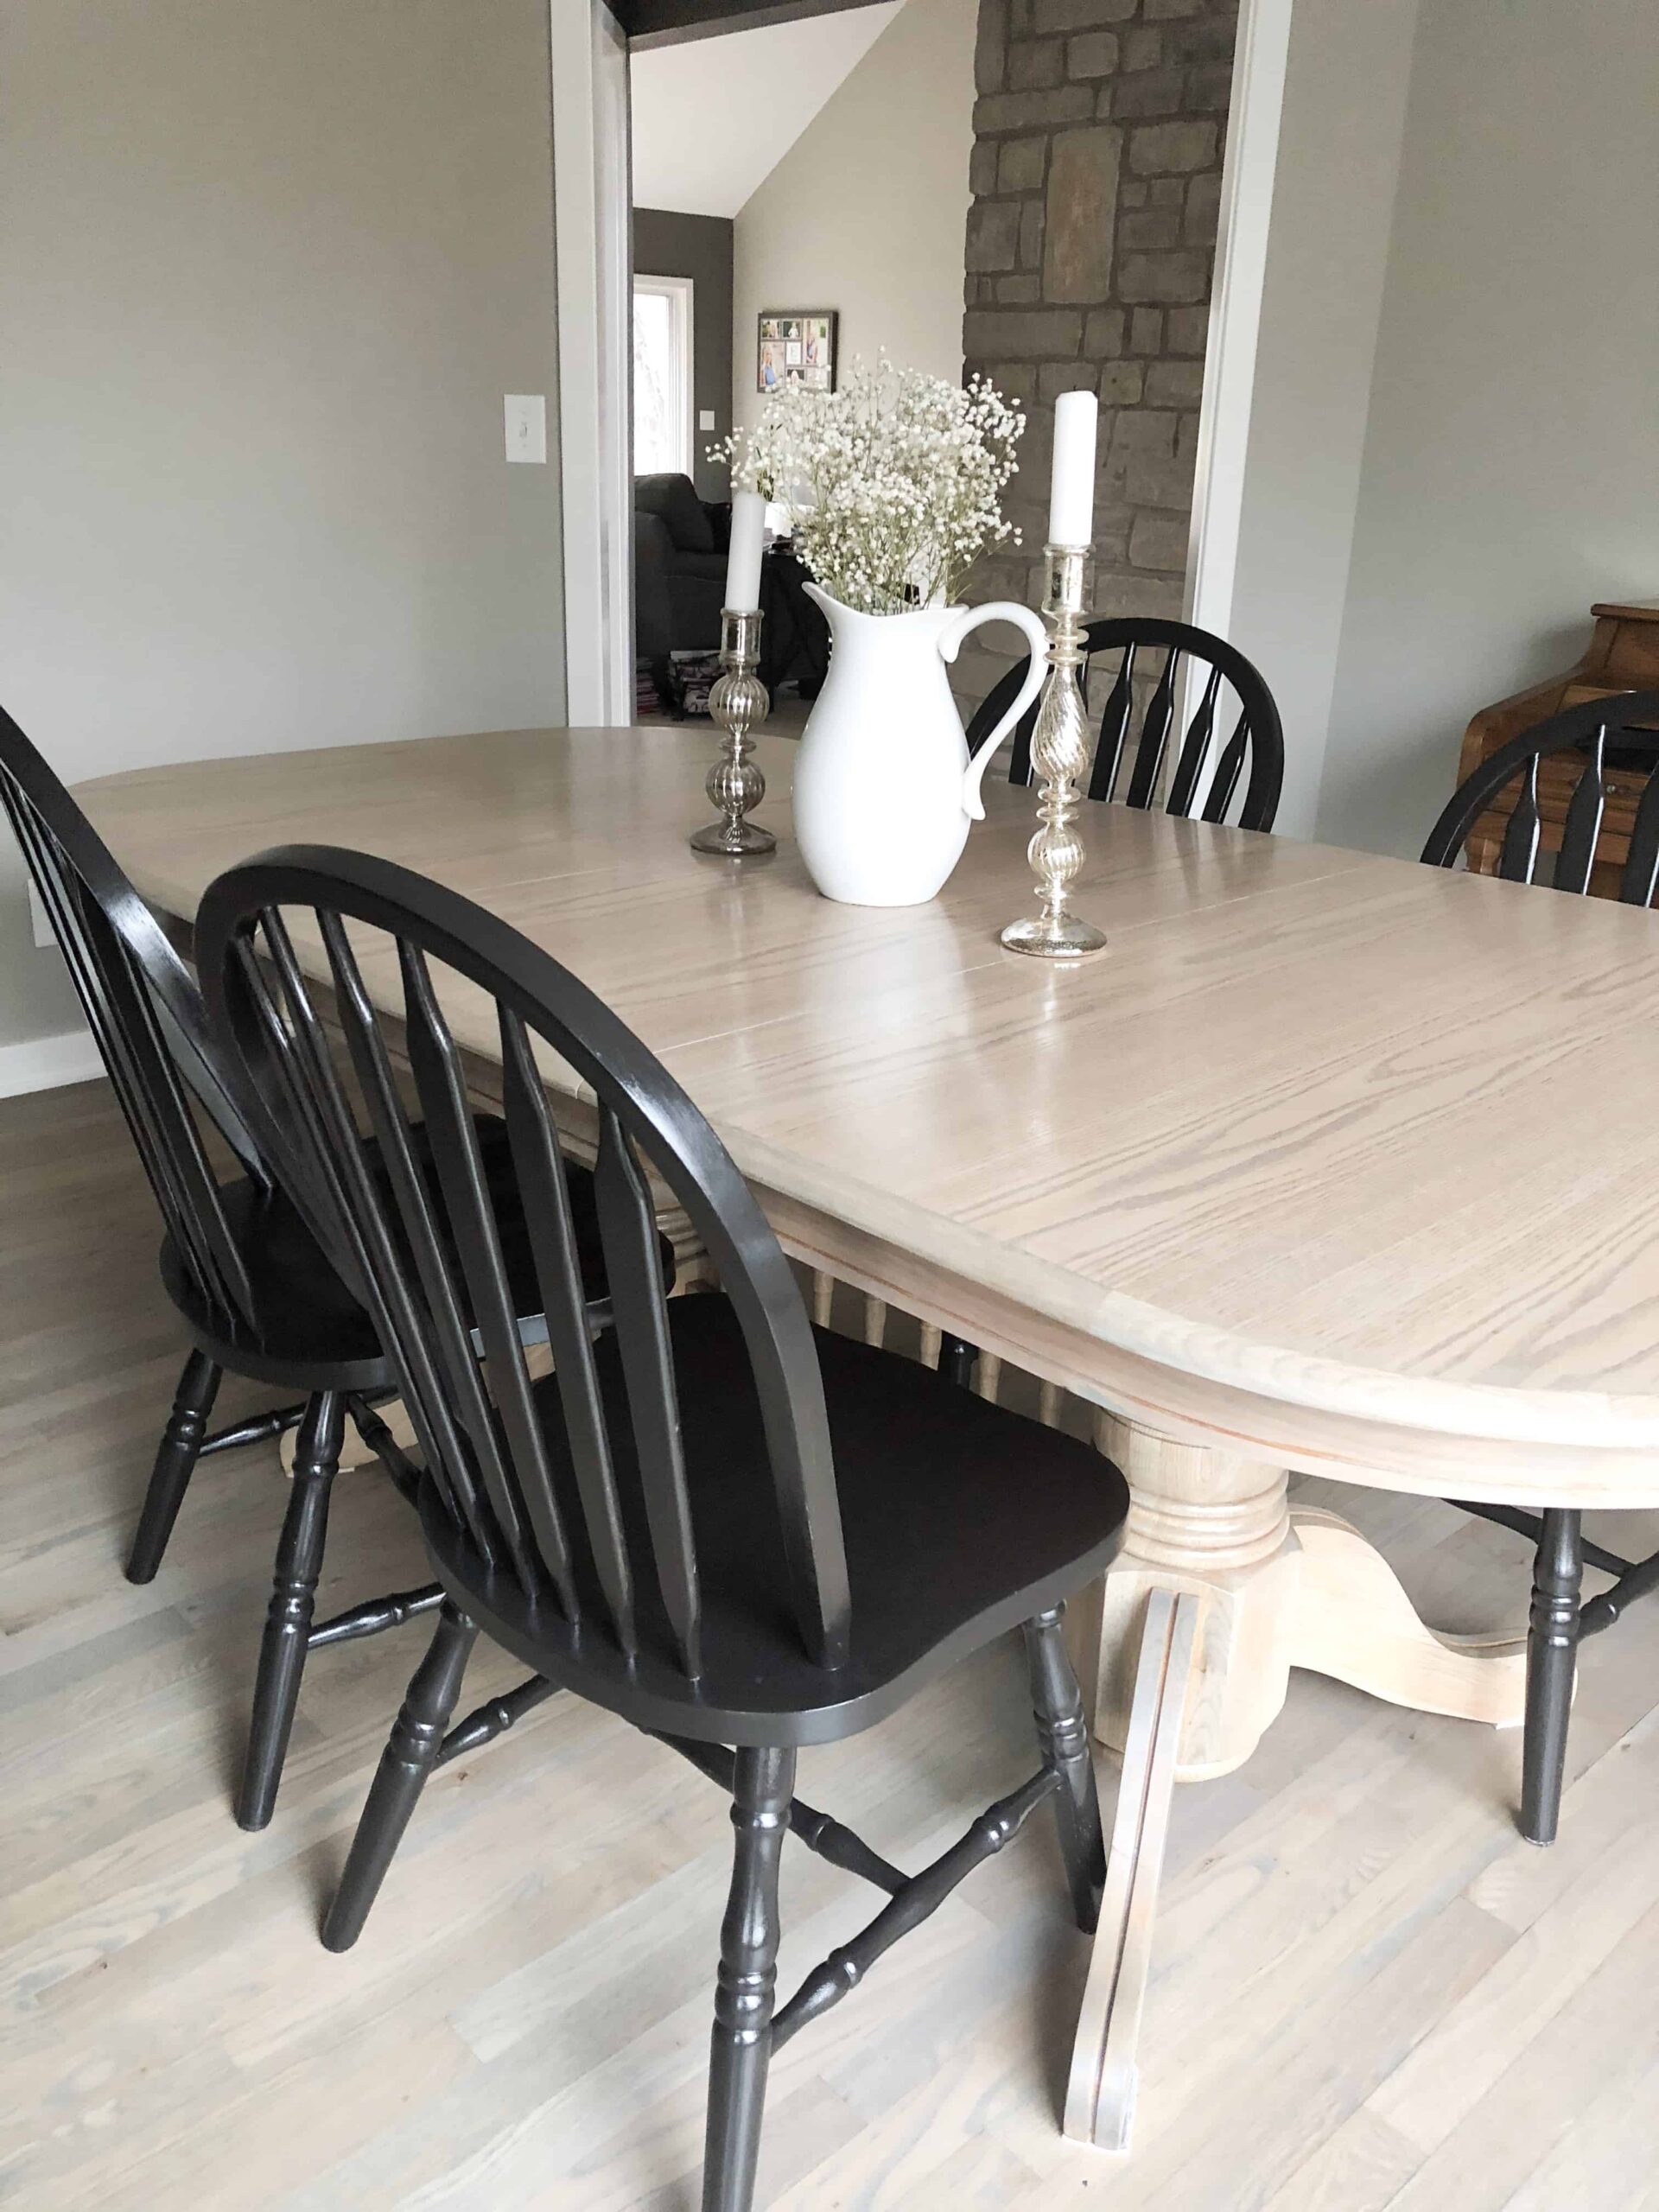
 Now comes the fun part – staining and finishing your table. Using a clean paintbrush, apply a coat of wood stain in the direction of the wood grain. Let the stain sit for a few minutes before wiping off the excess with a clean cloth. For a darker finish, you can apply multiple coats of stain, letting each coat dry completely before applying the next. Once the stain is dry, apply a coat of clear finish to protect the wood and give it a glossy sheen.
Final Touches
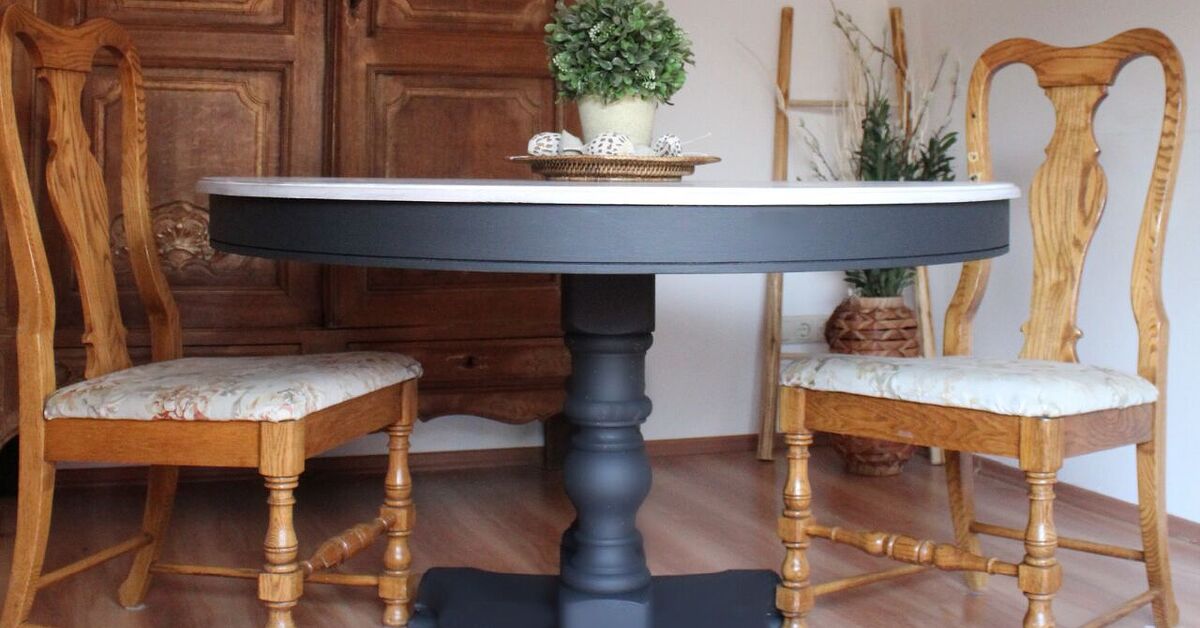
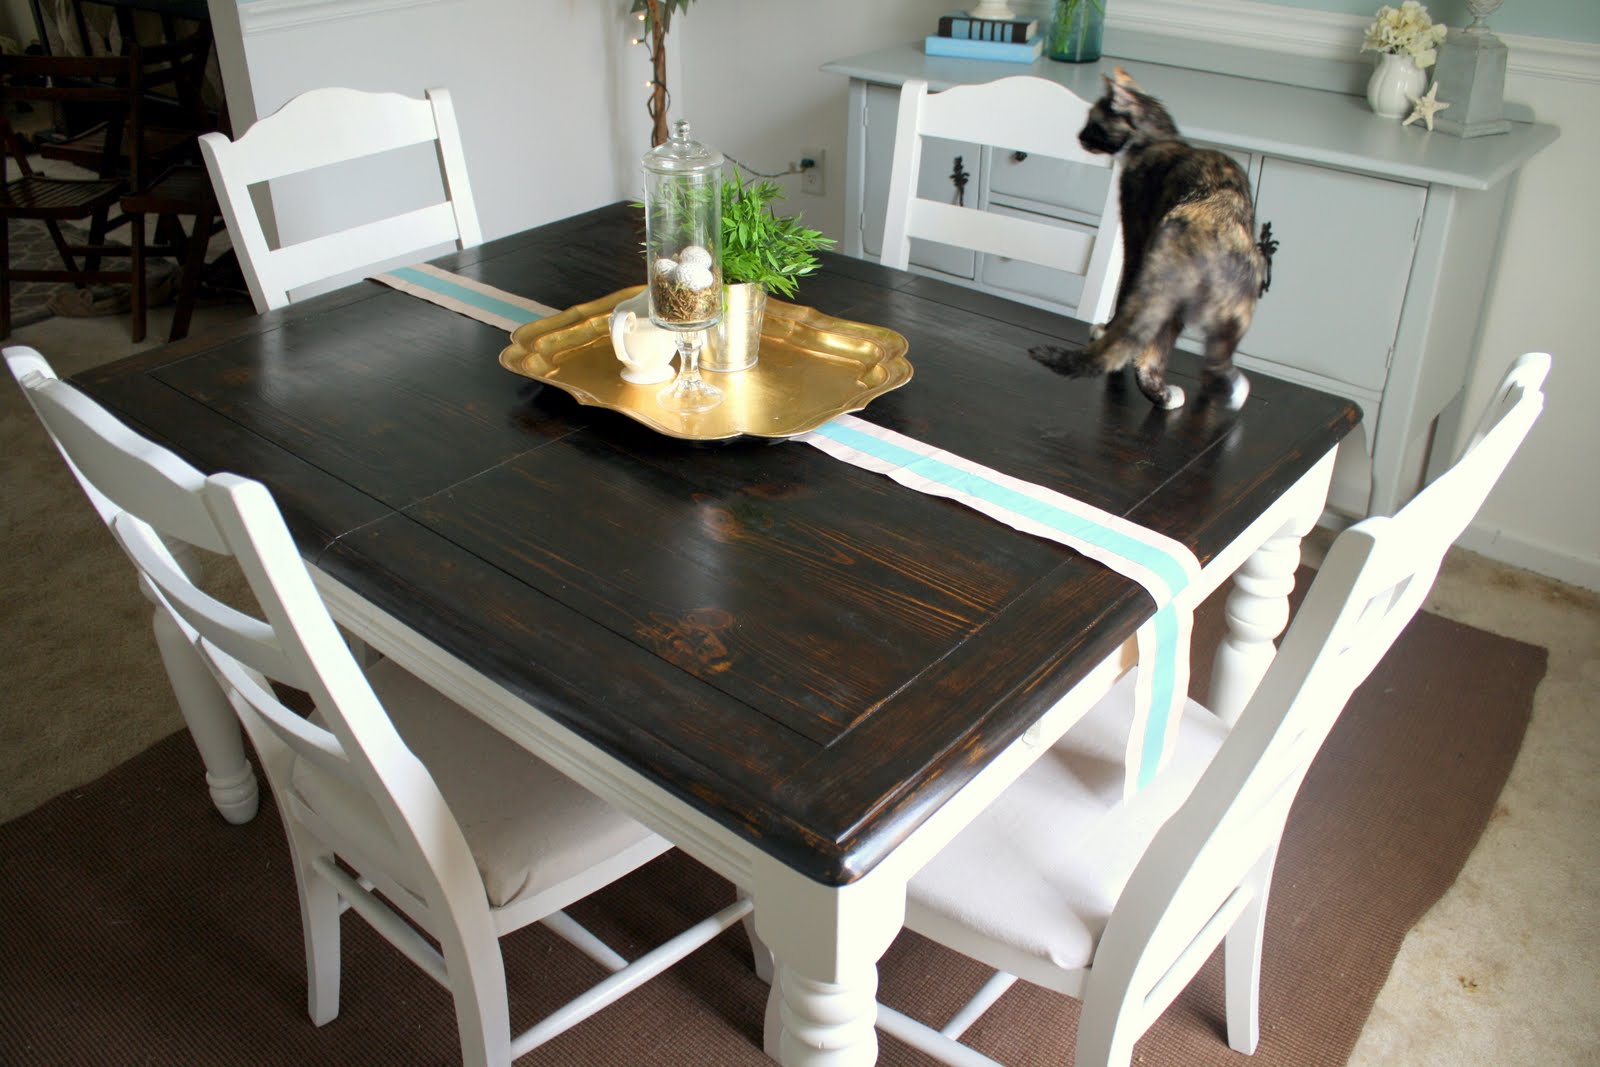
 After the final coat of finish has dried, you can add some final touches to your refinished dining room table. You can choose to distress the edges of the table for a rustic look, or add a stencil design for some extra flair. You can also switch out the table legs or add new hardware to give your table a completely new look.
Conclusion
 Refinishing a dining room table is a cost-effective and rewarding way to transform your living space. With the right tools and techniques, you can give your old, worn-out table a new lease on life. By following these simple steps, you can create a beautiful and customized dining room table that will be the envy of all your guests. So why wait? Roll up your sleeves and get ready to refinish your dining room table today!