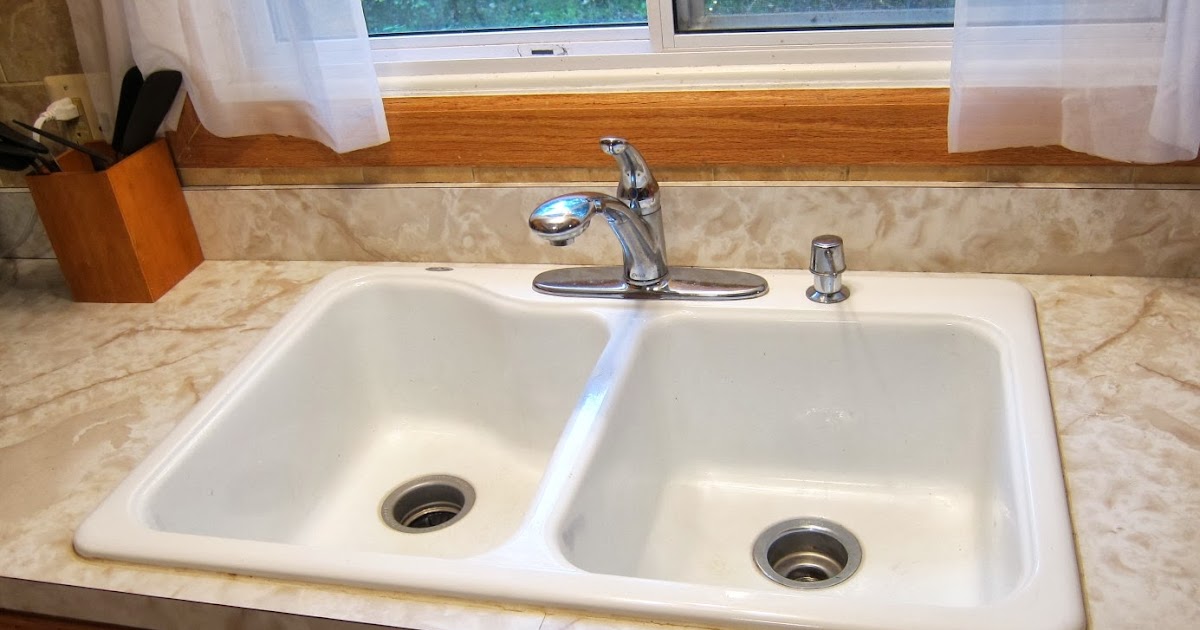
The kitchen sink is one of the most used and important fixtures in any home. It sees a lot of wear and tear, from washing dishes to food prep, and over time, the caulk around the edges can become worn and cracked. This not only looks unsightly, but it can also lead to water damage and mold growth. That's why it's important to regularly recaulk your kitchen sink. Here's how to do it.How to Recaulk a Kitchen Sink


How to Recaulk a Kitchen Sink


.jpg)

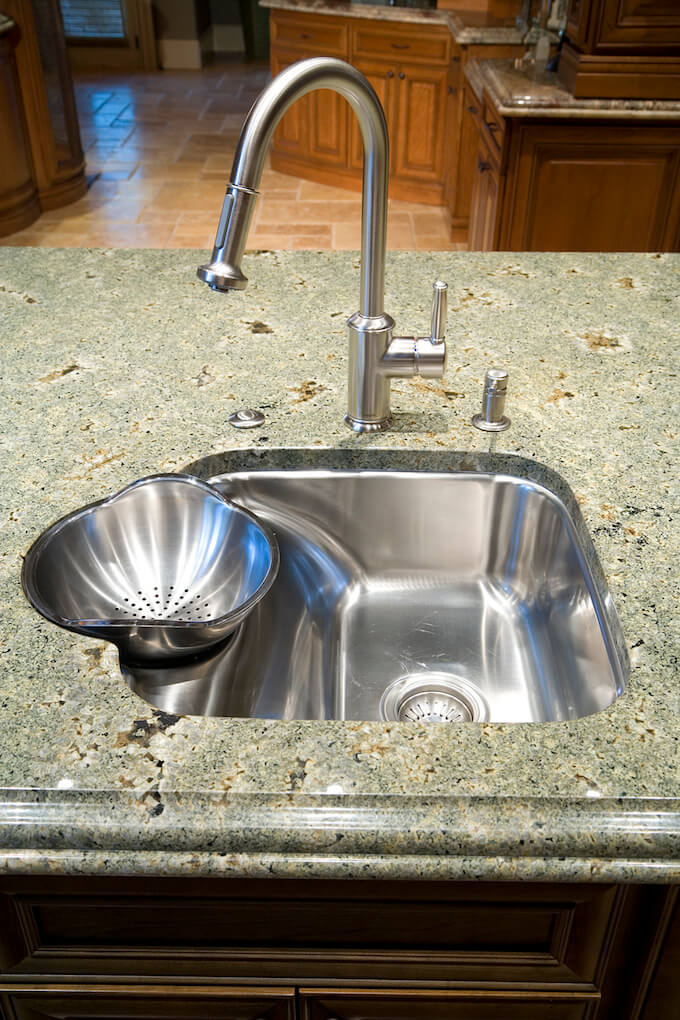
When it comes to recaulking your kitchen sink, it's important to choose the right caulk for the job. Silicone caulk is the best option for kitchen sinks because it is waterproof, flexible, and resistant to mold and mildew. Look for a kitchen-specific silicone caulk that is labeled as "kitchen and bath" or "mold and mildew resistant" for the best results.Best Caulk for Kitchen Sink


Best Caulk for Kitchen Sink


.jpg)


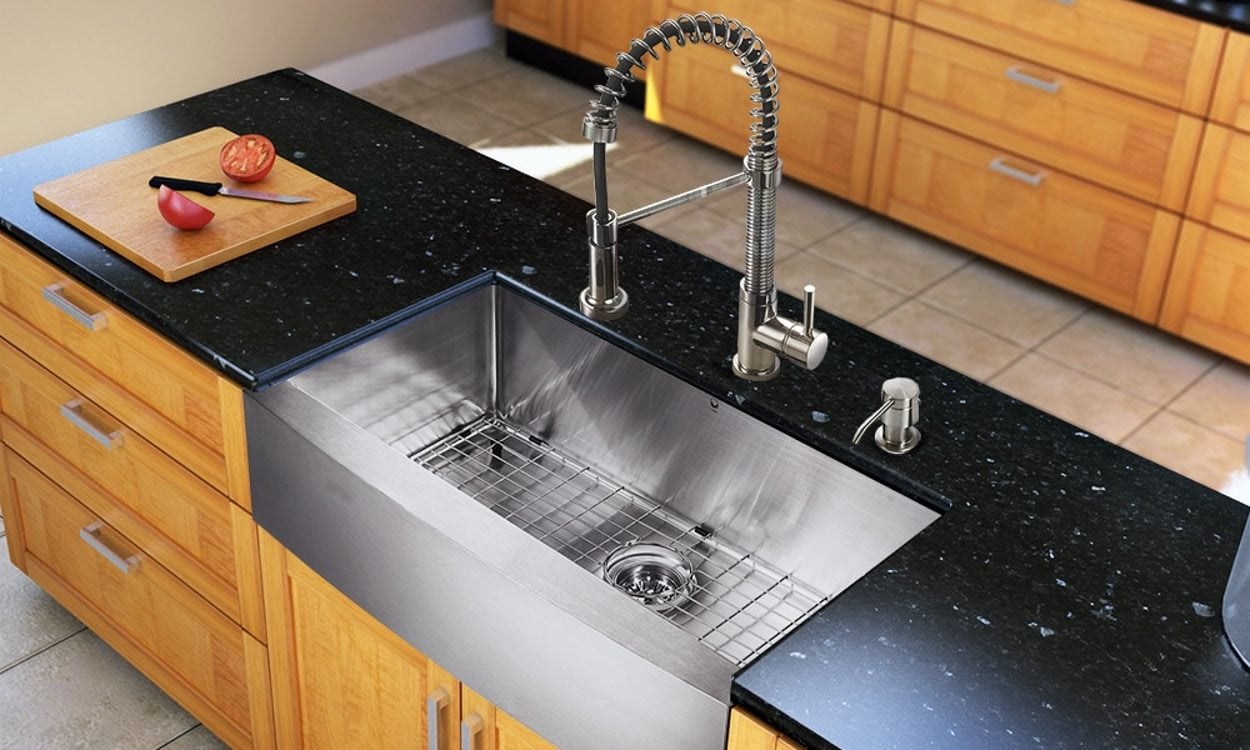
The process of recaulking a kitchen sink is relatively simple and can be done in a few easy steps. First, remove any old caulk using a caulk removal tool or a putty knife. Then, thoroughly clean the area around the sink with a mixture of equal parts water and white vinegar to remove any residue or mold. Next, cut the tip of the caulk tube at a 45-degree angle and apply a thin, even bead of caulk along the edge of the sink. Smooth out the caulk with your finger or a caulk smoother, and wipe away any excess with a damp cloth. Finally, let the caulk dry for 24 hours before using the sink.Steps for Recaulking a Kitchen Sink


Steps for Recaulking a Kitchen Sink


Recaulking a kitchen sink is a simple home maintenance task that can easily be done as a DIY project. With the right materials and a little bit of time, you can have your kitchen sink looking like new again. Just follow the steps outlined above and make sure to choose a high-quality caulk for the best results. However, if you don't feel comfortable doing it yourself, don't hesitate to hire a professional for the job.DIY Kitchen Sink Recaulking


DIY Kitchen Sink Recaulking


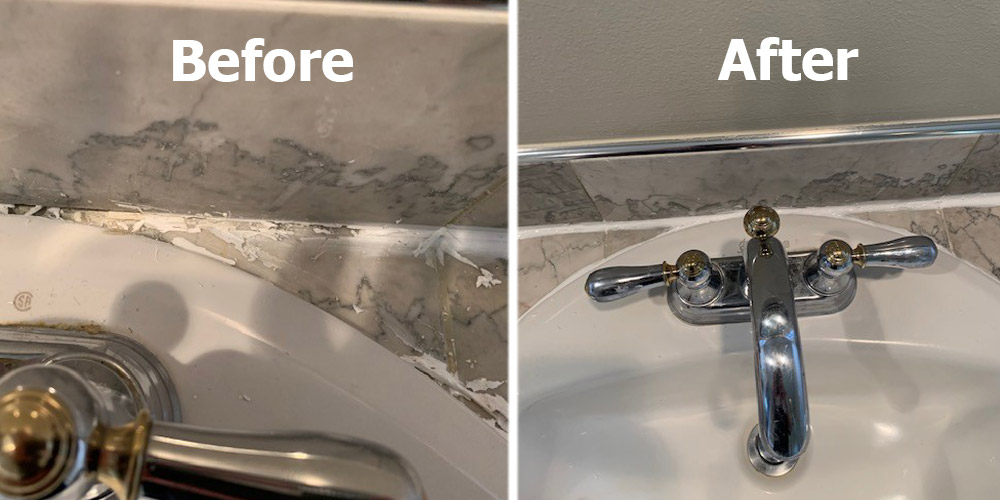
It's important to know when it's time to recaulk your kitchen sink to prevent any potential water damage or mold growth. Signs that it's time to recaulk include visible cracks or gaps in the caulk, discoloration or mold growth, and water leaking through the edges of the sink. It's also a good idea to recaulk every few years as part of your regular home maintenance routine.When to Recaulk a Kitchen Sink


When to Recaulk a Kitchen Sink

Here are a few helpful tips to keep in mind when recaulking your kitchen sink:Tips for Recaulking a Kitchen Sink


Tips for Recaulking a Kitchen Sink


If you're looking for some top-rated products to help with your kitchen sink recaulking project, here are a few options to consider:Products for Recaulking a Kitchen Sink
Products for Recaulking a Kitchen Sink


If you're not comfortable recaulking your kitchen sink yourself or simply don't have the time, hiring a professional is a great option. A professional will have the experience and tools necessary to recaulk your sink quickly and effectively, saving you time and effort. Plus, they can also inspect for any other potential issues with your sink and address them before they become bigger problems.Professional Kitchen Sink Recaulking Services


Professional Kitchen Sink Recaulking Services


As mentioned earlier, it's a good idea to recaulk your kitchen sink every few years as part of your regular home maintenance routine. However, if you notice any signs of wear or damage, it's important to address it as soon as possible to prevent any potential water damage.How Often to Recaulk a Kitchen Sink


How Often to Recaulk a Kitchen Sink


While recaulking a kitchen sink is a relatively simple task, there are a few common mistakes that people make that can affect the final result. Some of these mistakes include not removing all of the old caulk, using the wrong type of caulk, applying too much caulk, and not smoothing out the caulk properly. By being aware of these mistakes, you can avoid them and achieve a professional-looking finish for your kitchen sink. In conclusion, recaulking your kitchen sink is an important part of maintaining your home and preventing any potential water damage or mold growth. With the right materials and techniques, you can easily recaulk your kitchen sink as a DIY project, or hire a professional for a hassle-free experience. Just remember to regularly check and replace the caulk every few years to keep your sink in top condition.Common Mistakes When Recaulking a Kitchen Sink


Common Mistakes When Recaulking a Kitchen Sink

The Importance of Recaulking Your Kitchen Sink
What is Caulking?
 Caulking is the process of sealing joints and gaps between two surfaces, typically done with a waterproof material. It is commonly used in the kitchen and bathroom to prevent water from seeping into cracks and causing damage. Over time, caulking can deteriorate and lose its effectiveness, which is why it is important to regularly
recaulk
your kitchen sink.
Caulking is the process of sealing joints and gaps between two surfaces, typically done with a waterproof material. It is commonly used in the kitchen and bathroom to prevent water from seeping into cracks and causing damage. Over time, caulking can deteriorate and lose its effectiveness, which is why it is important to regularly
recaulk
your kitchen sink.
Why Recaulk Your Kitchen Sink?
 The kitchen sink is one of the most heavily used areas in a home, and as a result, it is constantly exposed to water and moisture. This can cause the caulk to crack, shrink, or become discolored, creating an unsightly and potentially hazardous situation. If left unaddressed, water can seep into these gaps and cause damage to the surrounding areas, including the countertop and cabinets.
Recaulking
your kitchen sink is not only important for aesthetic purposes, but also for the overall maintenance and longevity of your kitchen. By keeping the caulk in good condition, you can prevent water damage and potential mold growth, which can be costly and time-consuming to fix.
The kitchen sink is one of the most heavily used areas in a home, and as a result, it is constantly exposed to water and moisture. This can cause the caulk to crack, shrink, or become discolored, creating an unsightly and potentially hazardous situation. If left unaddressed, water can seep into these gaps and cause damage to the surrounding areas, including the countertop and cabinets.
Recaulking
your kitchen sink is not only important for aesthetic purposes, but also for the overall maintenance and longevity of your kitchen. By keeping the caulk in good condition, you can prevent water damage and potential mold growth, which can be costly and time-consuming to fix.
How to Recaulk Your Kitchen Sink
 Before starting the
recaulking
process, it is important to properly prepare the area. This includes thoroughly cleaning the sink and removing any old caulk or residue. Once the surface is clean and dry, you can begin applying the new caulk. It is recommended to use a high-quality silicone caulk, as it is flexible and waterproof.
Start by cutting the tip of the caulk tube at a 45-degree angle, then apply a thin and even line of caulk along the joint between the sink and countertop. Use a caulk smoothing tool or your finger to smooth out the caulk and remove any excess. Let the caulk dry according to the manufacturer's instructions before using the sink again.
Before starting the
recaulking
process, it is important to properly prepare the area. This includes thoroughly cleaning the sink and removing any old caulk or residue. Once the surface is clean and dry, you can begin applying the new caulk. It is recommended to use a high-quality silicone caulk, as it is flexible and waterproof.
Start by cutting the tip of the caulk tube at a 45-degree angle, then apply a thin and even line of caulk along the joint between the sink and countertop. Use a caulk smoothing tool or your finger to smooth out the caulk and remove any excess. Let the caulk dry according to the manufacturer's instructions before using the sink again.
When to Recaulk Your Kitchen Sink
 It is recommended to
recaulk
your kitchen sink every 1-2 years, or as soon as you notice any signs of wear and tear. This could include cracks, discoloration, or shrinking of the caulk. By regularly maintaining your kitchen sink, you can prevent any potential damage and keep your kitchen looking fresh and clean.
In conclusion,
recaulking
your kitchen sink is an important aspect of house design and maintenance. By taking the time to properly
recaulk
your kitchen sink, you can prevent water damage, maintain the aesthetics of your kitchen, and prolong the lifespan of your kitchen fixtures.
It is recommended to
recaulk
your kitchen sink every 1-2 years, or as soon as you notice any signs of wear and tear. This could include cracks, discoloration, or shrinking of the caulk. By regularly maintaining your kitchen sink, you can prevent any potential damage and keep your kitchen looking fresh and clean.
In conclusion,
recaulking
your kitchen sink is an important aspect of house design and maintenance. By taking the time to properly
recaulk
your kitchen sink, you can prevent water damage, maintain the aesthetics of your kitchen, and prolong the lifespan of your kitchen fixtures.