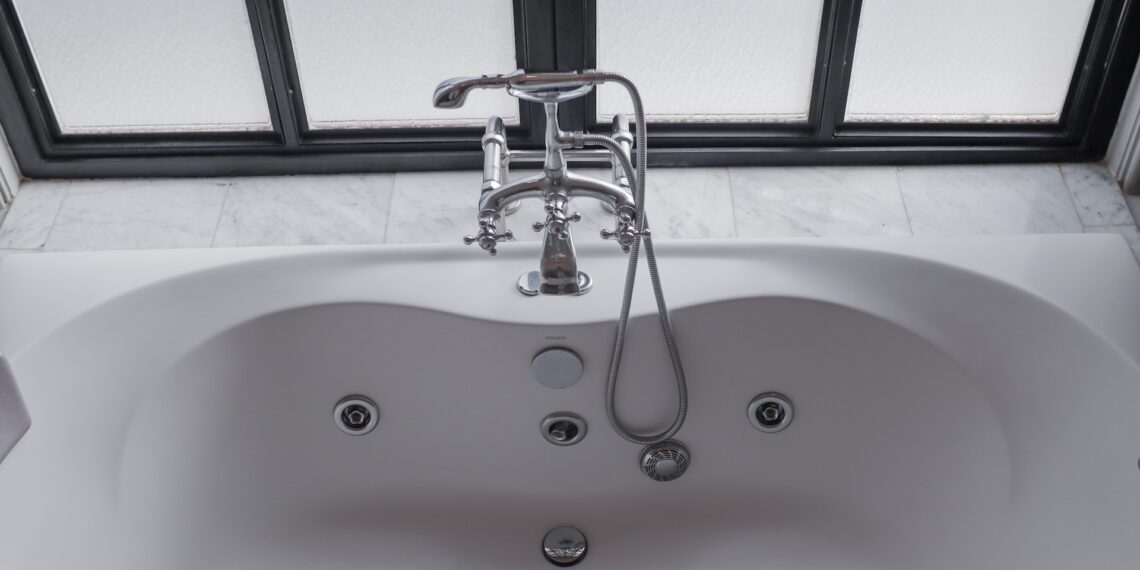
Is your bathroom vanity starting to look dingy and outdated? Are you noticing water leaks or mold growth around the edges? It may be time to re-caulk your bathroom vanity. This simple and affordable DIY project can instantly refresh the look of your bathroom and prevent future damage. Follow our step-by-step guide to re-caulking your bathroom vanity and achieve a professional finish in no time.Re-caulking a bathroom vanity: A step-by-step guide


Re-caulking a bathroom vanity: A step-by-step guide


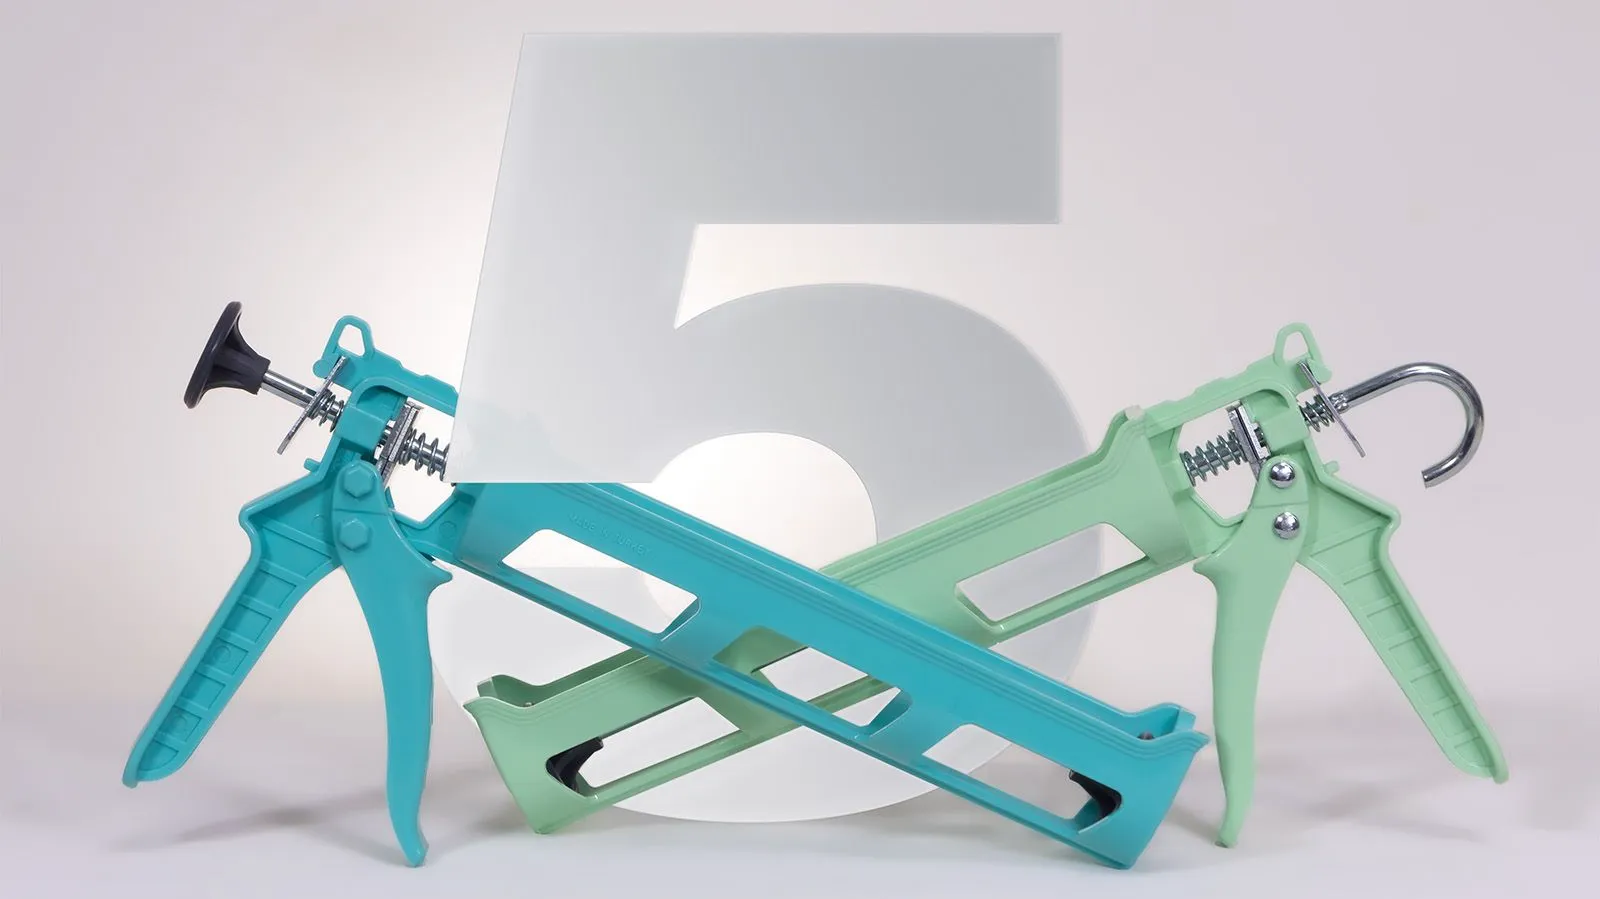
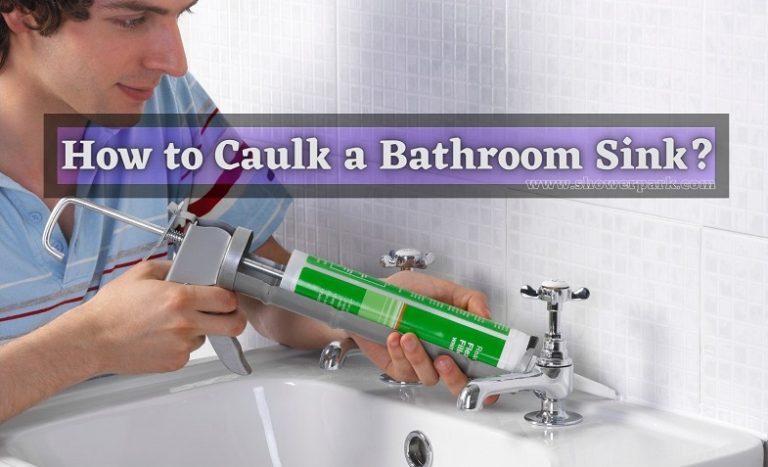
Re-caulking your bathroom vanity doesn't have to be a daunting task. Follow these five easy steps to get the job done quickly and efficiently: Step 1: Prepare the area Step 2: Choose your caulk Step 3: Cut the caulk tube Step 4: Apply the caulk Step 5: Let it dryHow to re-caulk a bathroom vanity in 5 easy steps
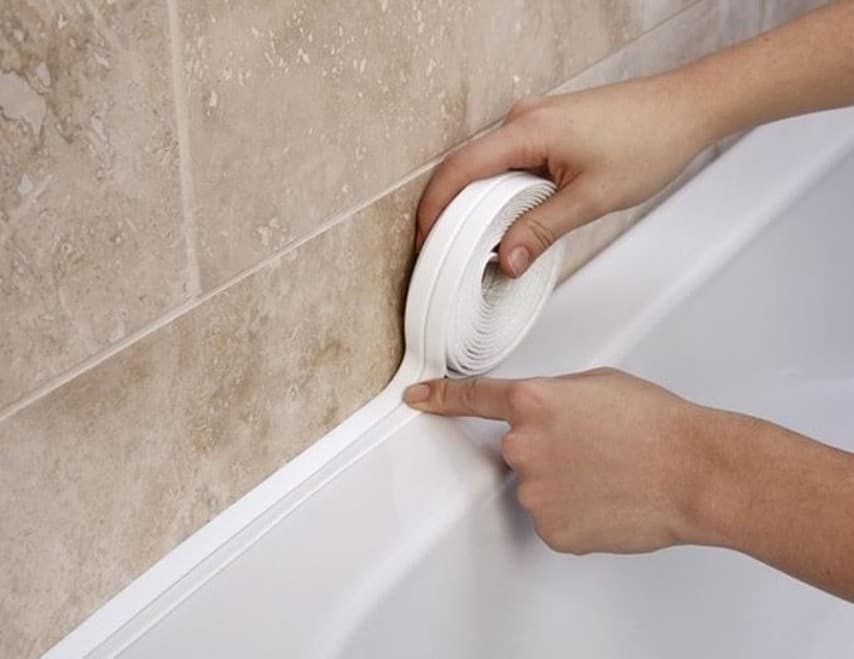
Before you begin, make sure to thoroughly clean the area around your vanity. Remove any old caulk and clean the surface with a mixture of warm water and dish soap. Dry the area completely before moving on to the next step.
There are various types of caulks available, but for bathroom vanities, silicone caulk is the best option. It is durable, waterproof, and mold-resistant. Choose a color that matches your vanity for a seamless finish.
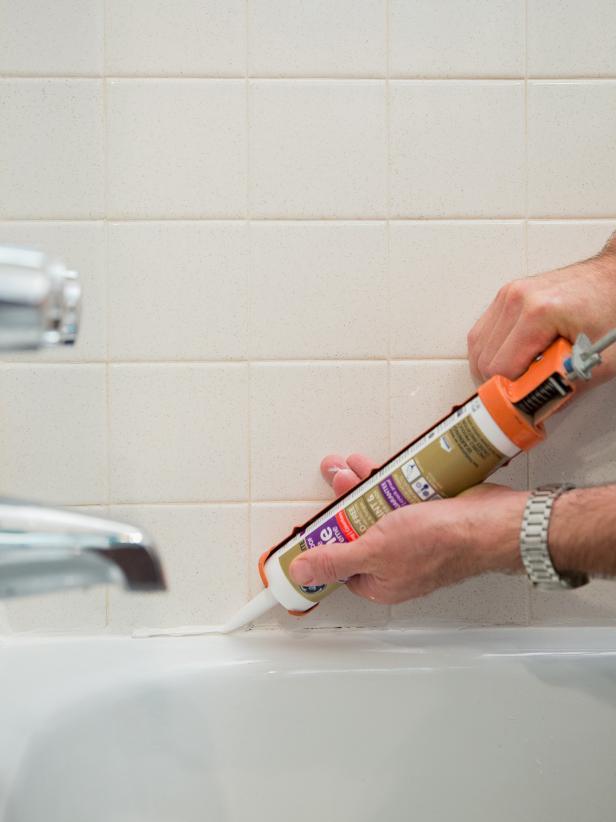
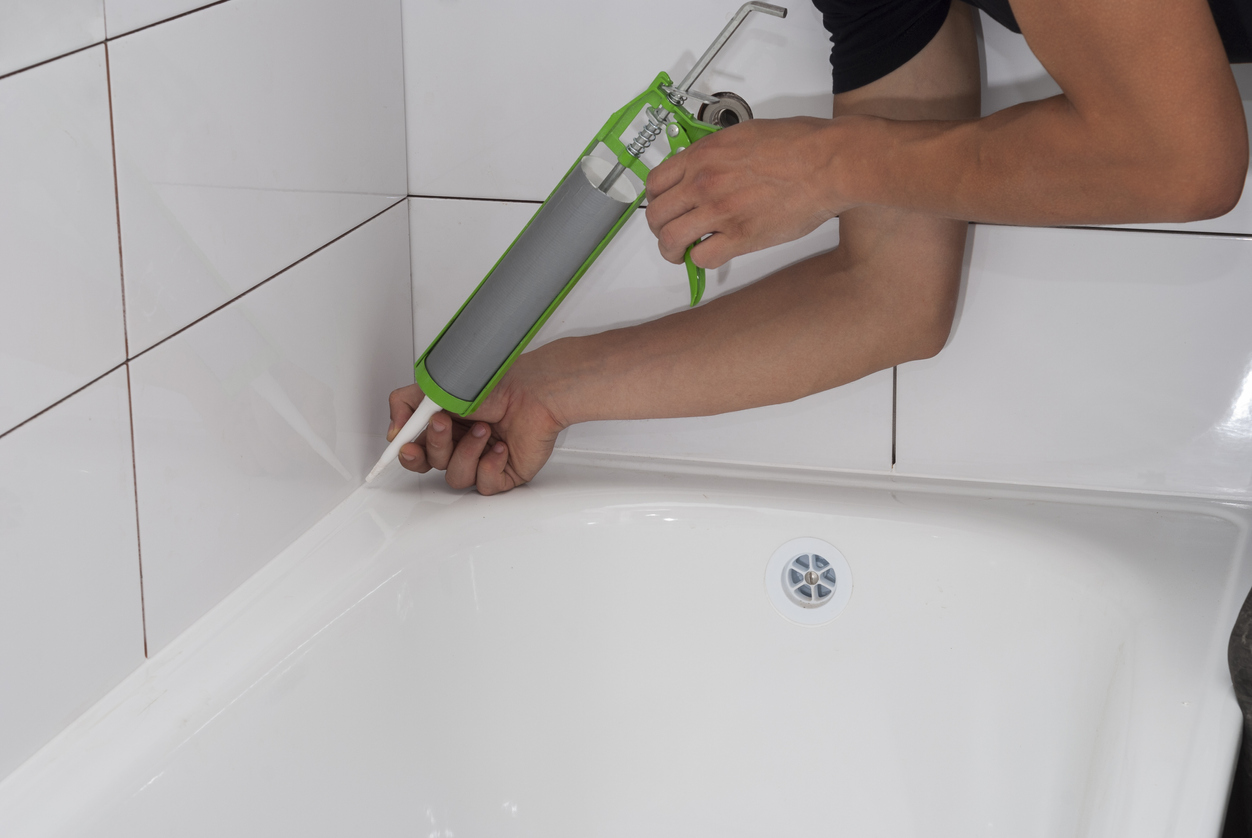
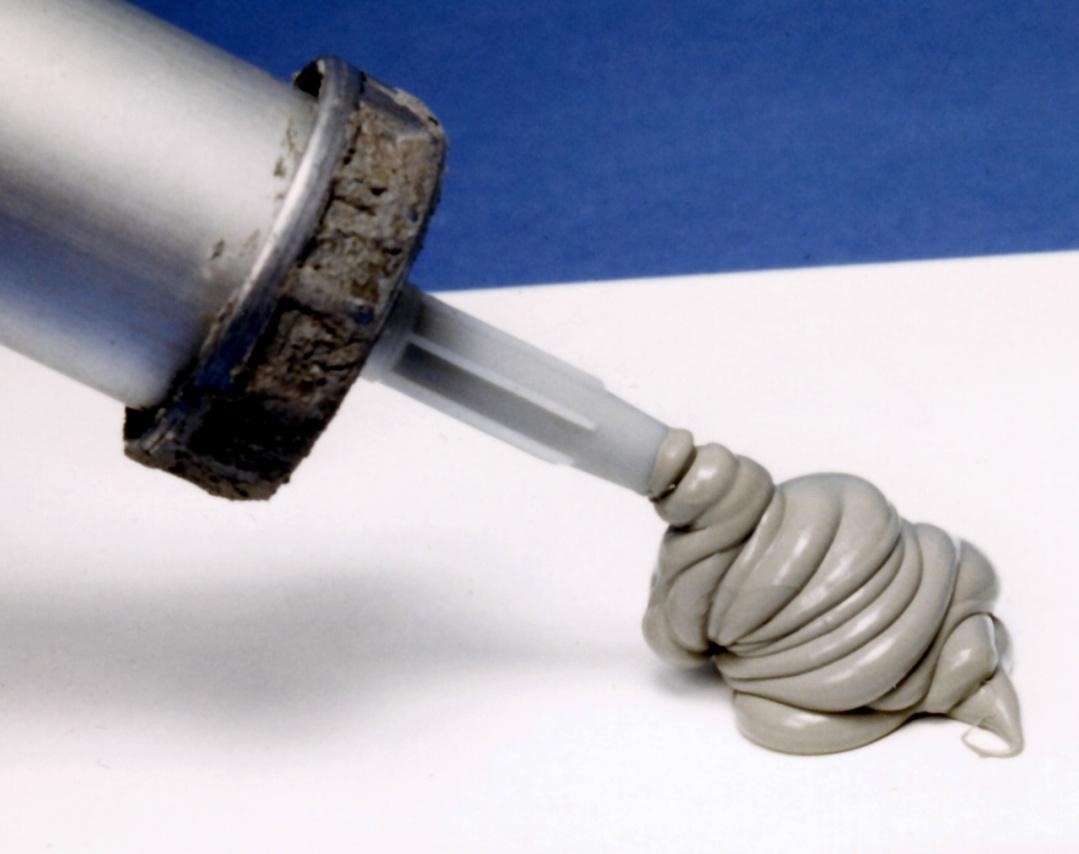
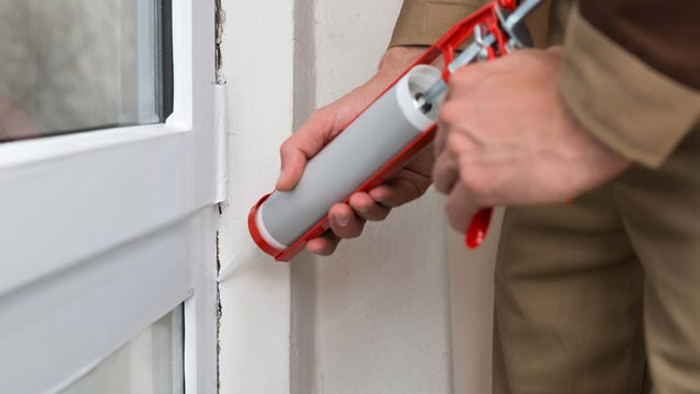
Using a caulk gun, cut the tip of the caulk tube at a 45-degree angle. The opening should be small enough to fit into the gaps between your vanity and the wall.
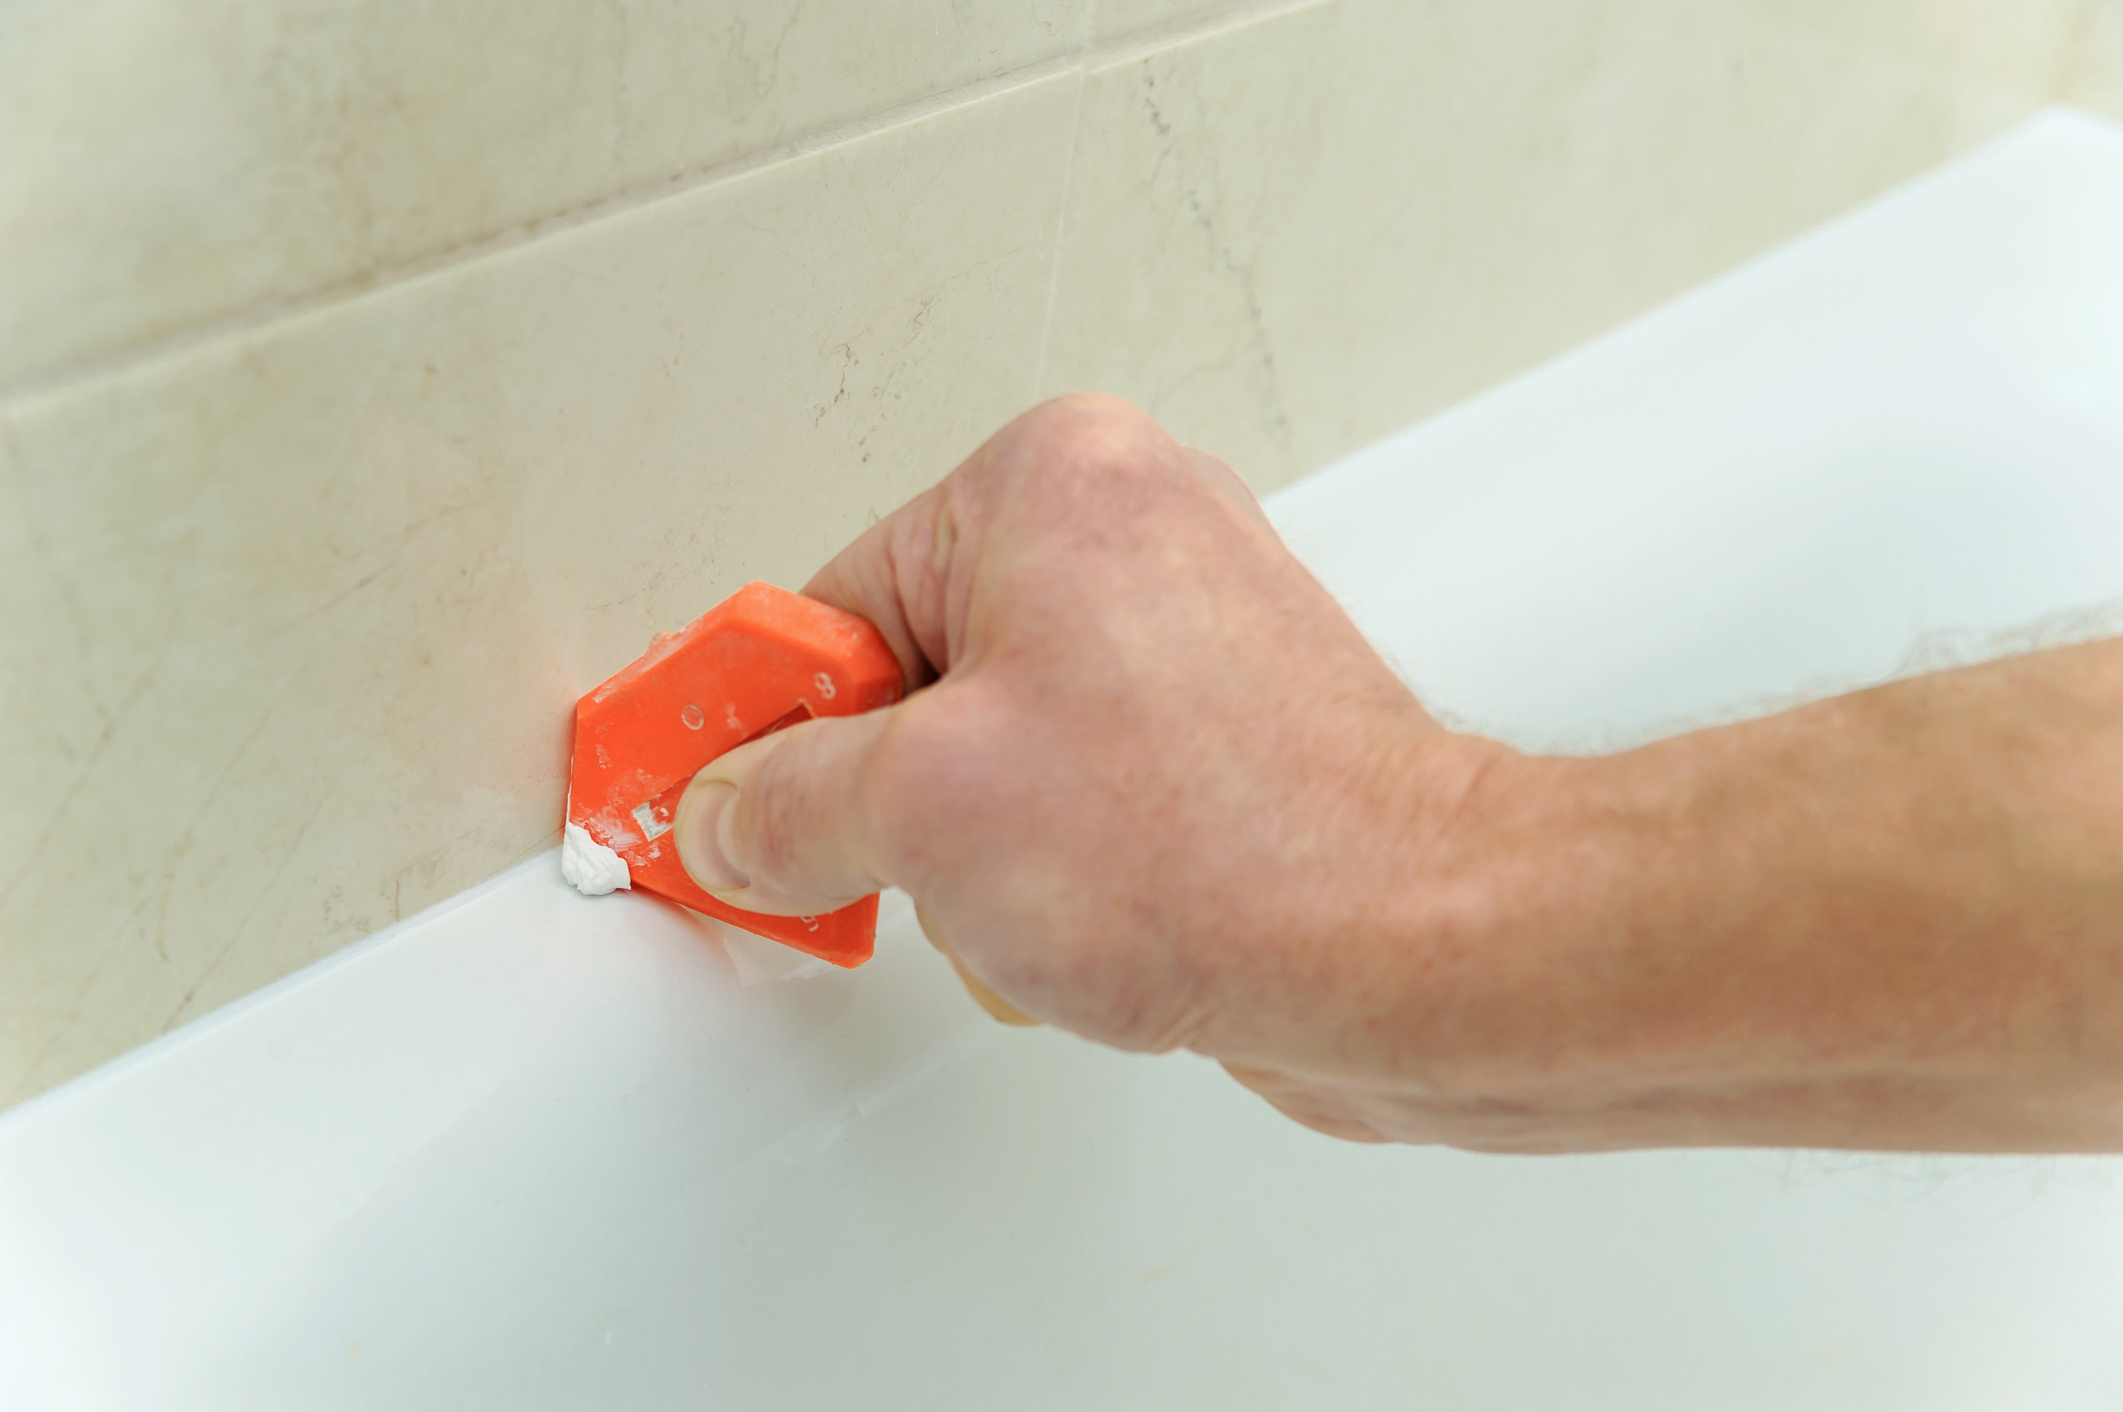
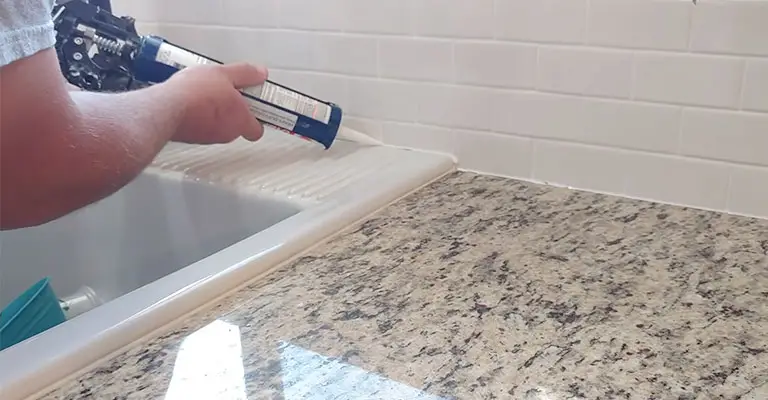
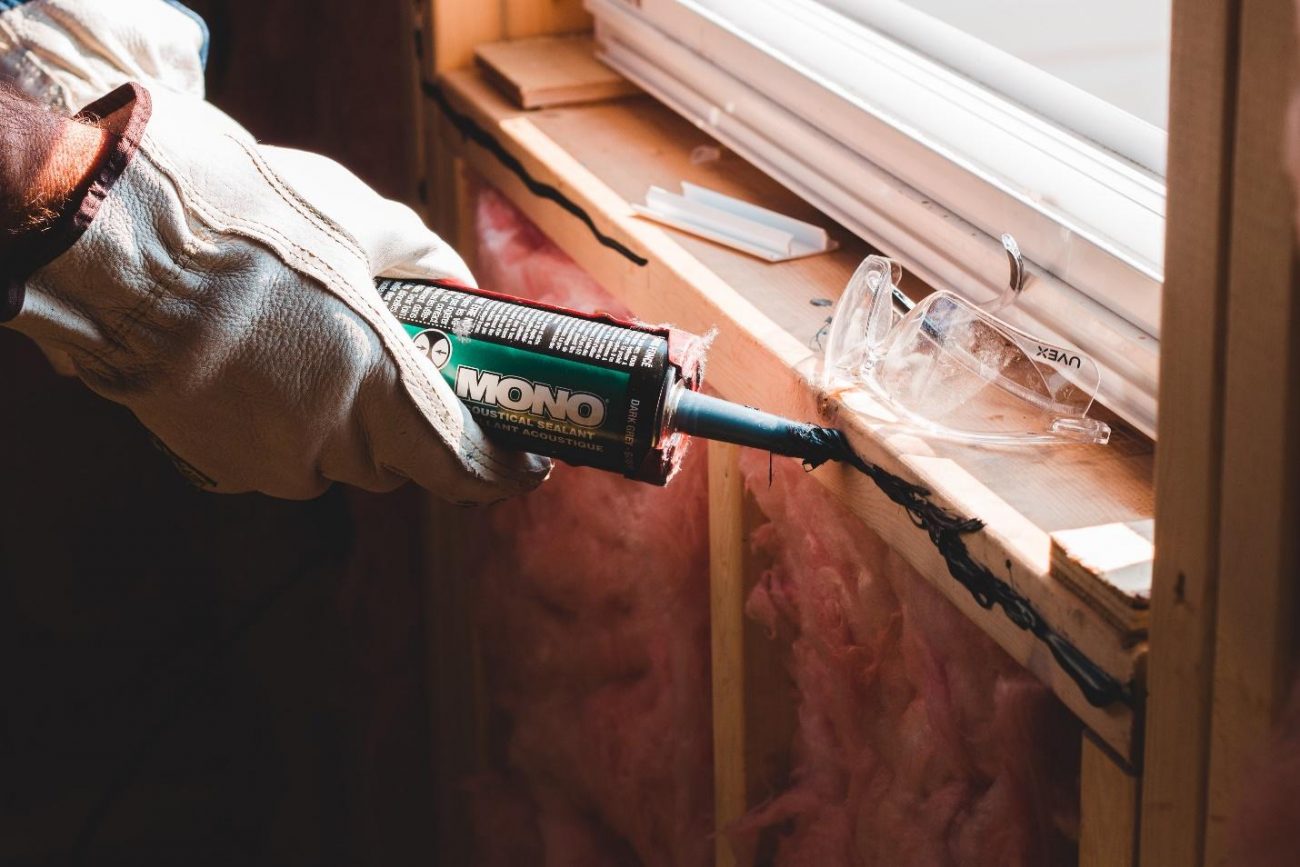
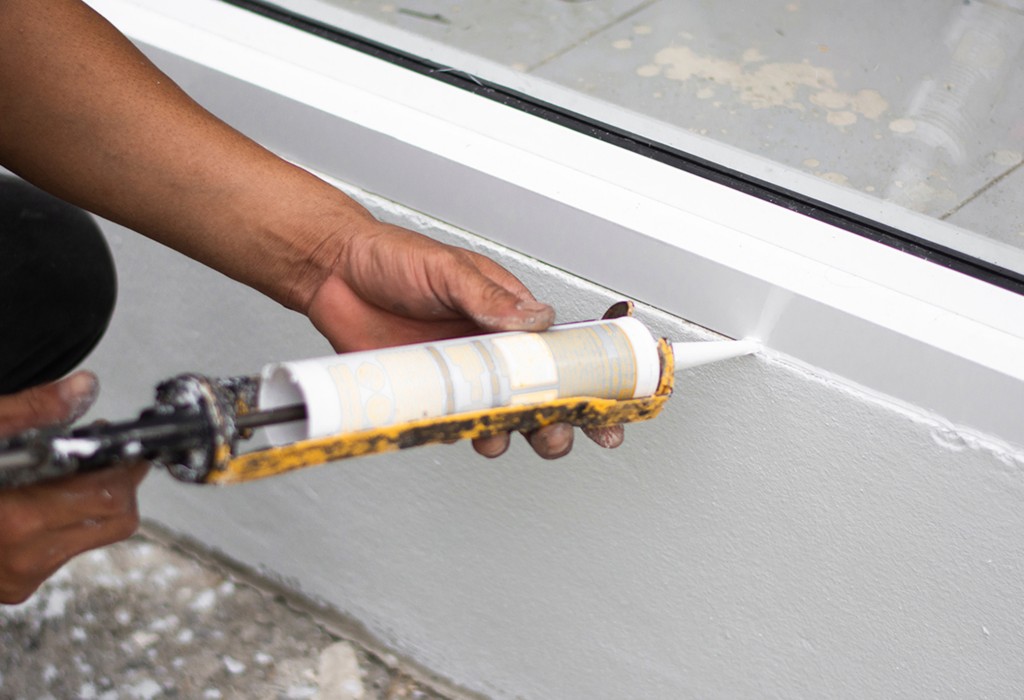
Holding the caulk gun at a 45-degree angle, slowly and steadily run a thin bead of caulk along the edges of your vanity. Use your finger or a caulk smoothing tool to smooth out the caulk and remove any excess. It's important to work quickly before the caulk starts to dry.
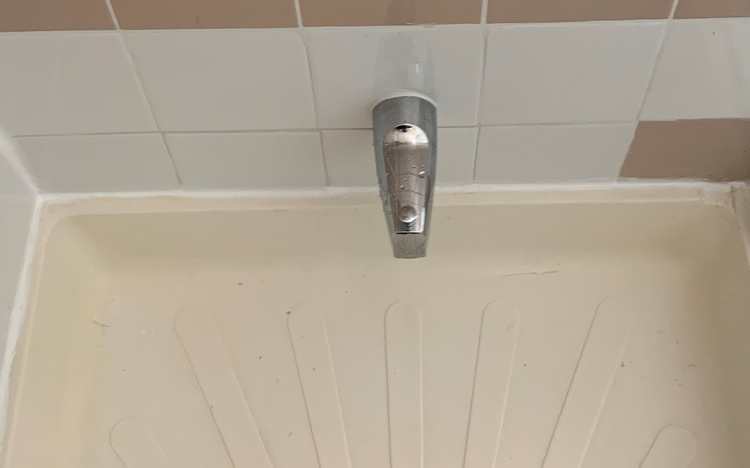
Allow the caulk to dry completely before using your vanity. This can take anywhere from 4 to 24 hours depending on the brand and type of caulk you use. Once dry, your bathroom vanity will have a fresh, new look.
How to re-caulk a bathroom vanity in 5 easy steps


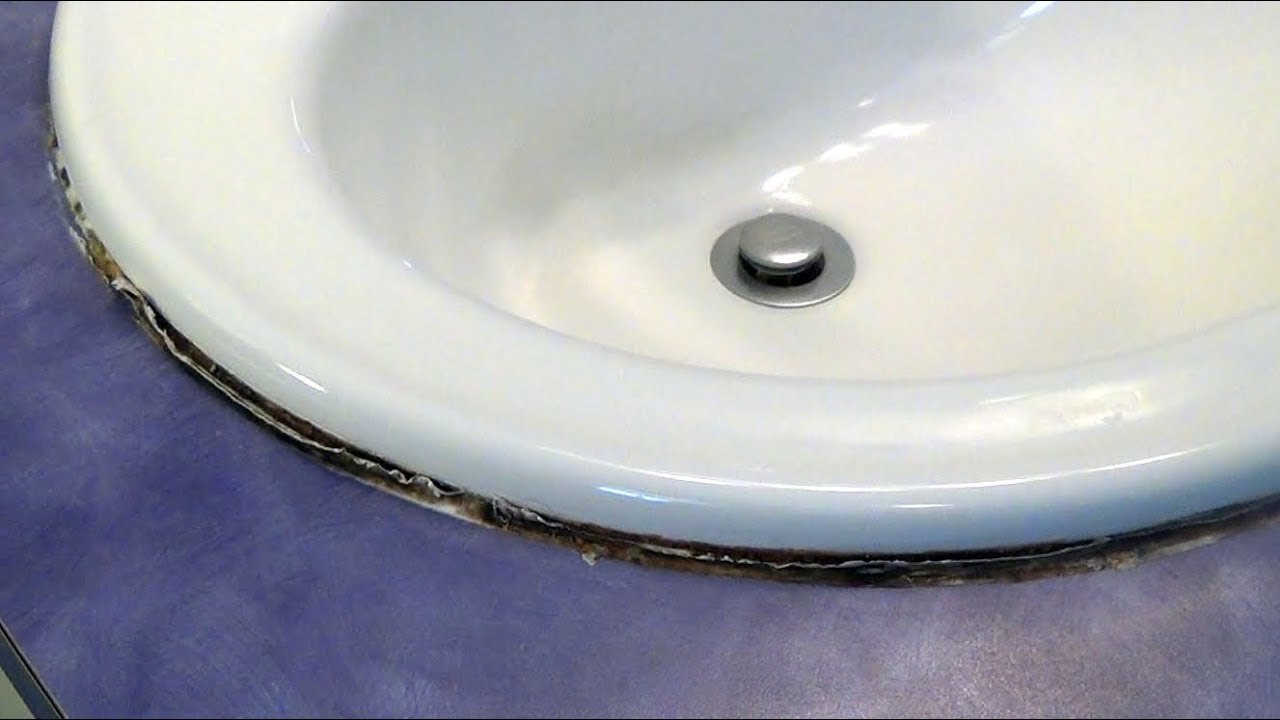
A properly caulked bathroom vanity not only looks aesthetically pleasing but also serves important functional purposes. Here are some reasons why re-caulking your bathroom vanity is crucial: Prevents water damage Prevents mold growth Improves hygieneThe importance of re-caulking your bathroom vanity
Caulk acts as a barrier between your vanity and the wall, preventing water from seeping in and causing damage. Without proper caulking, water can leak into the wall or floor, leading to expensive repairs.
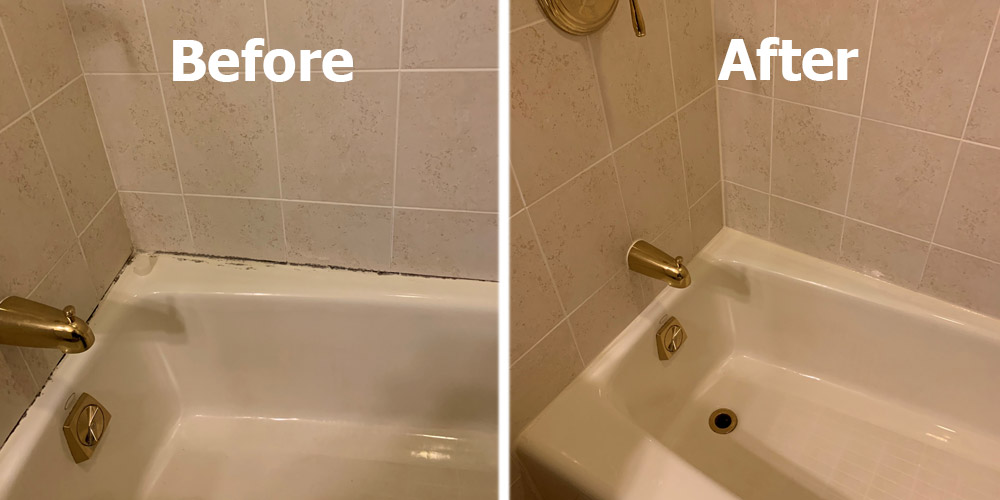
Mold thrives in damp and humid environments, making your bathroom vanity a prime target. Re-caulking regularly can prevent moisture from seeping in and prevent mold growth, keeping your bathroom clean and healthy.
Caulk seals any gaps or cracks around your vanity, preventing bacteria and germs from accumulating in hard-to-reach areas. This makes it easier to clean and maintain a hygienic bathroom.


The importance of re-caulking your bathroom vanity


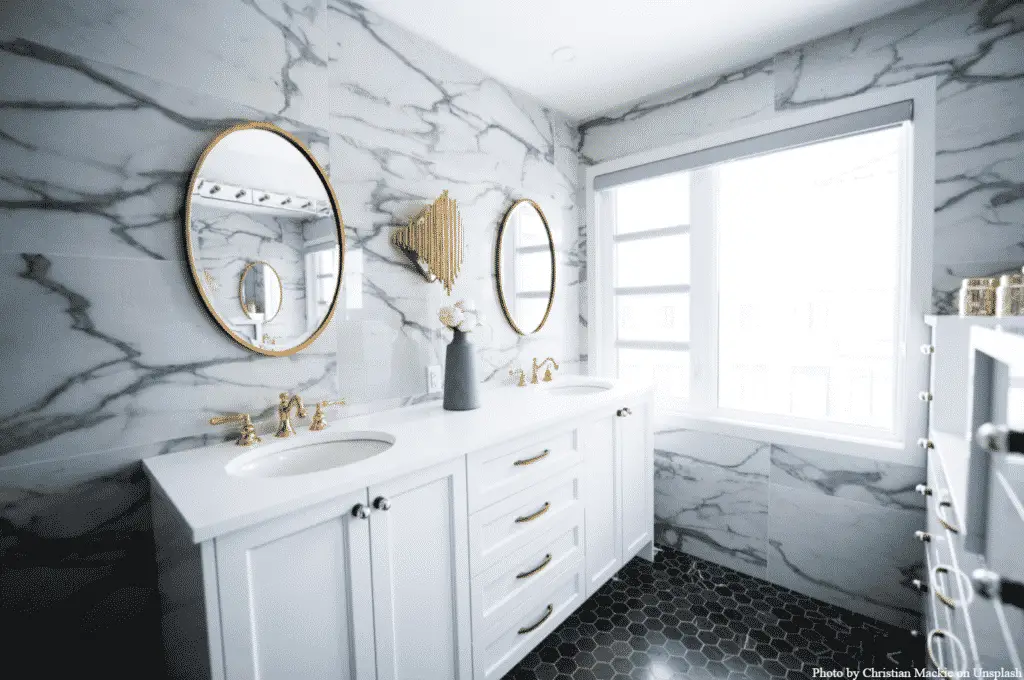
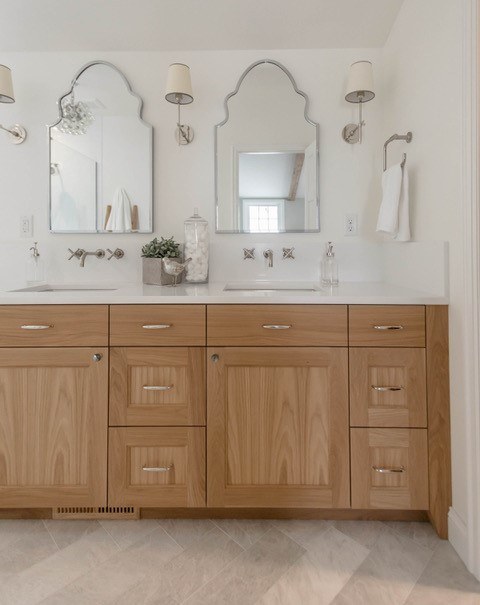
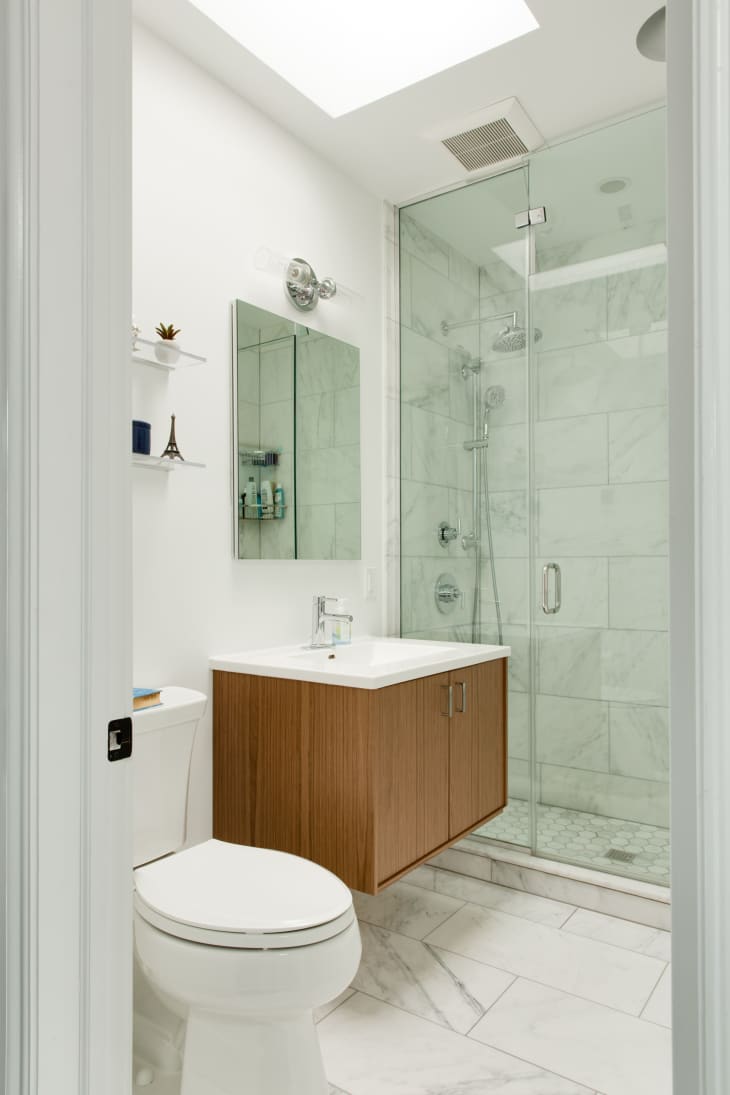
Re-caulking your bathroom vanity is a simple DIY project that can instantly give your bathroom a fresh, new look. You don't need any special skills or tools, just a little bit of time and patience. Plus, doing it yourself can save you money on hiring a professional. With just a few supplies and our step-by-step guide, you can transform your bathroom vanity into a sleek and modern feature in your bathroom.DIY: Re-caulking your bathroom vanity for a fresh look


DIY: Re-caulking your bathroom vanity for a fresh look


/cherry-diy-bathroom-vanity-594414da5f9b58d58a099a36.jpg)


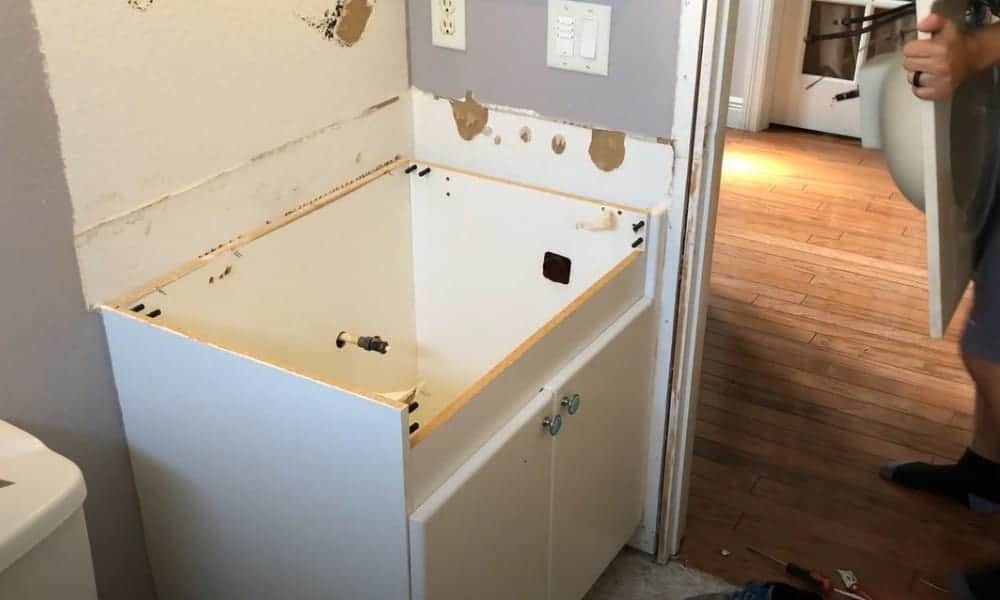
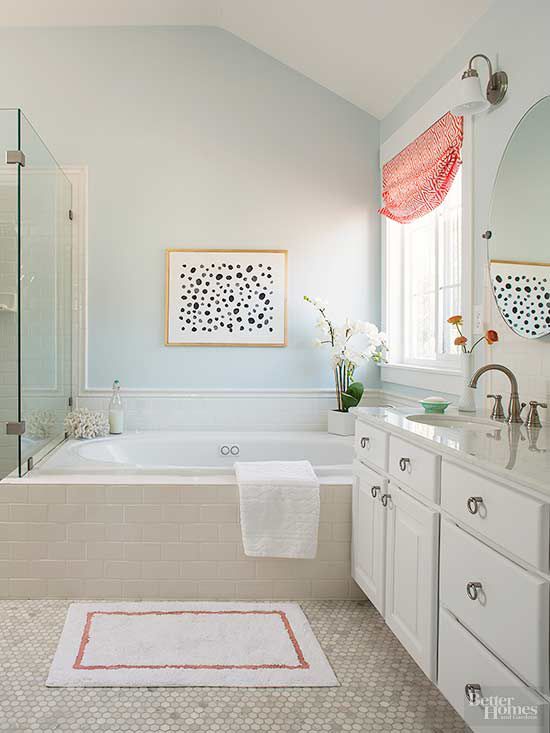
If your bathroom vanity is old and worn out, you may be wondering if it's time to replace it instead of re-caulking. While replacing may seem like the better option, it can be costly and time-consuming. Re-caulking, on the other hand, is a quick and affordable alternative that can make your old vanity look brand new. Unless your bathroom vanity is severely damaged or outdated, re-caulking is usually the better option. It can save you time, money, and the hassle of a full replacement.Re-caulking vs. replacing your bathroom vanity: Which is the better option?


Re-caulking vs. replacing your bathroom vanity: Which is the better option?


When it comes to re-caulking your bathroom vanity, using a high-quality caulk is essential for a professional finish. Here are some top caulk brands that are known for their durability and effectiveness: 1. GE Silicone II Caulk 2. DAP Kwik Seal Plus Caulk 3. Sashco Big Stretch CaulkTop caulk brands for re-caulking your bathroom vanity
This caulk is specifically designed for bathroom and kitchen use, making it perfect for re-caulking your bathroom vanity. It offers excellent adhesion and is mold and mildew resistant.
This caulk is ideal for beginners as it is easy to work with and has a low odor. It also has a fast-drying formula, allowing you to use your bathroom vanity sooner.
This caulk is known for its flexibility and can withstand extreme temperature changes without cracking or shrinking. It's also mold and mildew resistant, making it perfect for bathrooms.


Top caulk brands for re-caulking your bathroom vanity


While re-caulking a bathroom vanity may seem like a simple task, there are some common mistakes that can lead to an unsatisfactory result. Here are some mistakes to avoid: Not cleaning the area properly Using the wrong caulk Not smoothing out the caulkCommon mistakes to avoid when re-caulking your bathroom vanity
Ensure that you thoroughly clean the area before applying new caulk. Any residue or old caulk left behind can affect the adhesion and durability of the new caulk.
As mentioned before, silicone caulk is the best option for bathroom vanities. Using the wrong type of caulk can lead to cracking, shrinking, and mold growth.
After applying the caulk, make sure to smooth it out with your finger or a caulk smoothing tool. This will ensure a professional finish and remove any excess caulk.


Common mistakes to avoid when re-caulking your bathroom vanity

The lifespan of caulk varies depending on the brand and type used, as well as the amount of usage and exposure to moisture. However, it is generally recommended to re-caulk your bathroom vanity every 3-5 years. If you notice any signs of damage or mold growth, it's best to re-caulk immediately rather than waiting for the recommended timeframe.How often should you re-caulk your bathroom vanity?

How often should you re-caulk your bathroom vanity?


Re-caulking a bathroom vanity may seem like a simple task, but there are some tips and tricks that can help you achieve a professional finish: Use painter's tape Apply caulk in small sections Use a caulk smoothing toolRe-caulking a bathroom vanity: Tips and tricks for a professional finish
If you're worried about getting caulk on your walls or vanity, use painter's tape to create a clean and straight line along the edges. This will also make cleanup easier.
To avoid the caulk drying out before you can smooth it, work in small sections. This will ensure a smooth and consistent finish.
Using a caulk smoothing tool can help you achieve a perfectly smooth finish without the mess of using your finger.


Re-caulking a bathroom vanity: Tips and tricks for a professional finish


Re-caulking your bathroom vanity may seem like a small and insignificant task, but it offers numerous benefits for your bathroom. By preventing water damage and mold growth, you can maintain a clean and hygienic space and save money on potential repairs.The benefits of re-caulking your bathroom vanity for a leak-free and mold-free space


The benefits of re-caulking your bathroom vanity for a leak-free and mold-free space


Why is Recaulking Your Bathroom Vanity Important?
 When it comes to maintaining your bathroom, one of the most important aspects to consider is the
caulking
around your
bathroom vanity
. This may seem like a small and insignificant task, but it can actually have a big impact on the overall look and functionality of your bathroom.
Caulking
is the process of filling in gaps and sealing joints to prevent water from seeping through. Over time,
caulking
can become worn, discolored, or even moldy, which not only affects the aesthetics of your bathroom but also poses a potential health hazard. Therefore, regularly recaulking your bathroom vanity is crucial for both the appearance and safety of your bathroom.
When it comes to maintaining your bathroom, one of the most important aspects to consider is the
caulking
around your
bathroom vanity
. This may seem like a small and insignificant task, but it can actually have a big impact on the overall look and functionality of your bathroom.
Caulking
is the process of filling in gaps and sealing joints to prevent water from seeping through. Over time,
caulking
can become worn, discolored, or even moldy, which not only affects the aesthetics of your bathroom but also poses a potential health hazard. Therefore, regularly recaulking your bathroom vanity is crucial for both the appearance and safety of your bathroom.
Prevents Water Damage
 One of the main reasons why recaulking your bathroom vanity is important is to prevent water damage. Over time, water can seep into the gaps in your
caulking
and cause damage to the walls, floor, and even the vanity itself. This can lead to costly repairs and renovations in the future. By regularly recaulking your bathroom vanity, you are ensuring that water cannot penetrate through and cause any damage. This is especially important in bathrooms that experience high levels of moisture, such as those with showers or bathtubs.
One of the main reasons why recaulking your bathroom vanity is important is to prevent water damage. Over time, water can seep into the gaps in your
caulking
and cause damage to the walls, floor, and even the vanity itself. This can lead to costly repairs and renovations in the future. By regularly recaulking your bathroom vanity, you are ensuring that water cannot penetrate through and cause any damage. This is especially important in bathrooms that experience high levels of moisture, such as those with showers or bathtubs.
Improves Aesthetics
 Another important reason to recaulk your bathroom vanity is to improve its overall appearance. As mentioned earlier,
caulking
can become discolored or even moldy over time, which can make your bathroom look dirty and unkempt. By recaulking, you are not only preventing any potential health hazards but also giving your bathroom a fresh and clean look. You can also use colored
caulk
to match the color of your vanity or bathroom tiles, further enhancing the overall aesthetic of your bathroom.
Another important reason to recaulk your bathroom vanity is to improve its overall appearance. As mentioned earlier,
caulking
can become discolored or even moldy over time, which can make your bathroom look dirty and unkempt. By recaulking, you are not only preventing any potential health hazards but also giving your bathroom a fresh and clean look. You can also use colored
caulk
to match the color of your vanity or bathroom tiles, further enhancing the overall aesthetic of your bathroom.
Ensures Proper Hygiene
 Recaulking your bathroom vanity is also important for maintaining proper hygiene in your bathroom. As
caulking
can become moldy and harbor bacteria, it can pose a risk to your health. Mold and bacteria can thrive in damp and dark environments, making your bathroom vanity an ideal breeding ground. By regularly recaulking, you are preventing any potential health hazards and ensuring a clean and hygienic environment in your bathroom.
Recaulking your bathroom vanity is also important for maintaining proper hygiene in your bathroom. As
caulking
can become moldy and harbor bacteria, it can pose a risk to your health. Mold and bacteria can thrive in damp and dark environments, making your bathroom vanity an ideal breeding ground. By regularly recaulking, you are preventing any potential health hazards and ensuring a clean and hygienic environment in your bathroom.
In Conclusion
 In summary, recaulking your bathroom vanity is an essential task for maintaining a functional, hygienic, and aesthetically pleasing bathroom. By regularly inspecting and recaulking your vanity, you can prevent water damage, improve the overall appearance of your bathroom, and ensure proper hygiene. It may seem like a small and simple task, but it can have a significant impact on the overall design and functionality of your bathroom. So don't overlook the importance of recaulking your bathroom vanity and make it a part of your regular bathroom maintenance routine.