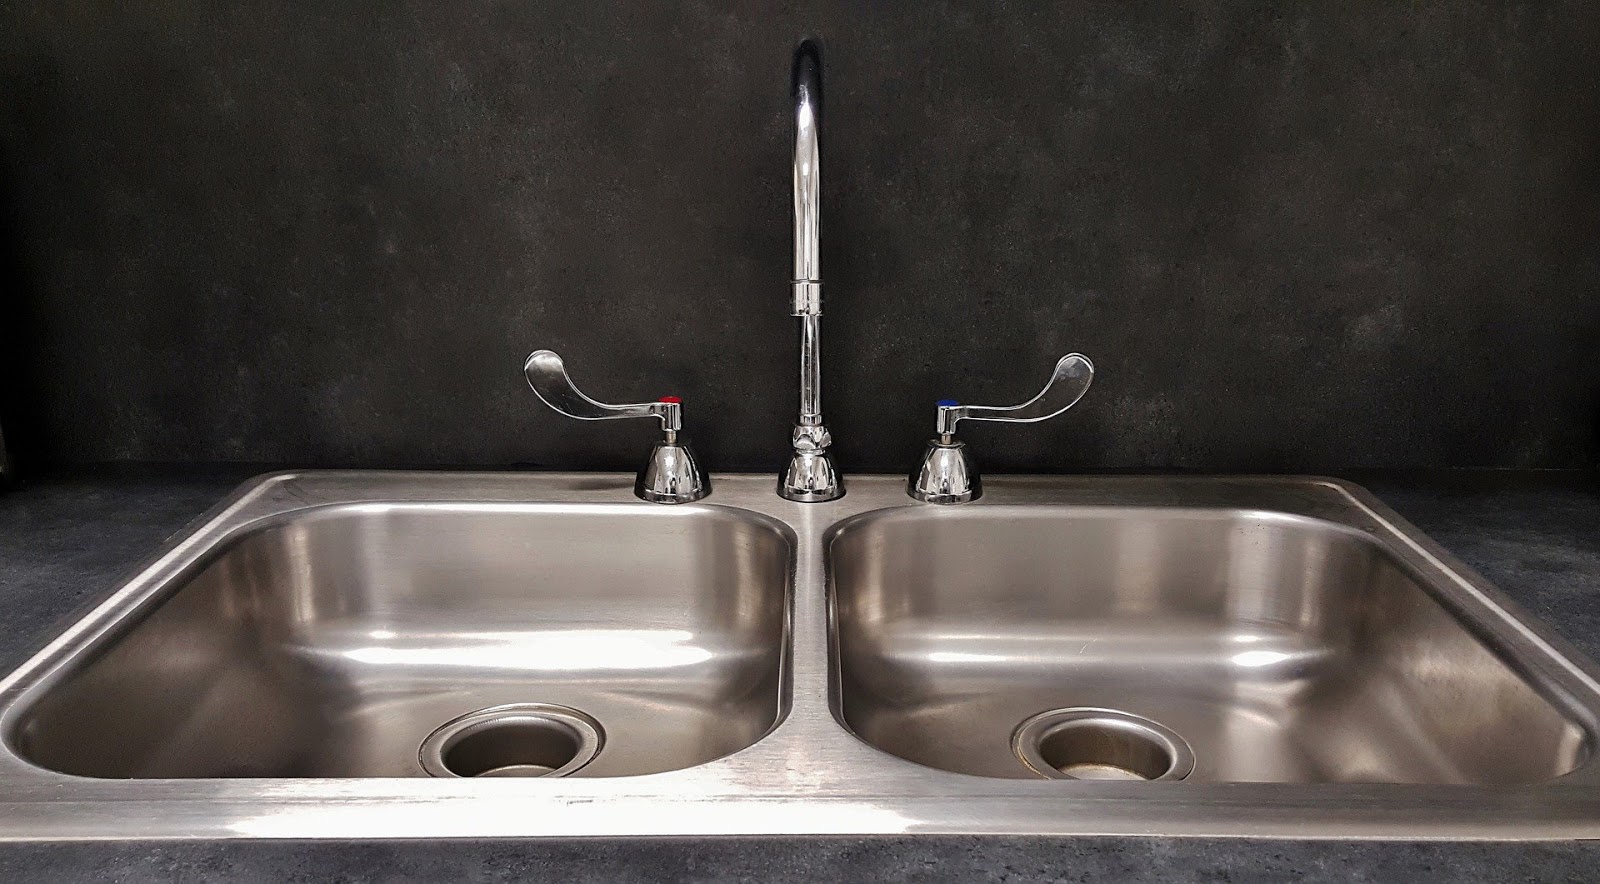
If you're looking to install a new kitchen sink or simply replacing your old one, it's important to know how to properly install a kitchen sink drain pipe. This is an essential component of your sink as it helps to dispose of waste water and prevents clogs. Follow these steps to ensure a successful installation: Step 1: Measure and cut the pipe to the correct length using a hacksaw. Before you start installing the drain pipe, you need to measure the distance between your sink and the main drain line. This will determine the length of the pipe you need. Make sure to measure accurately and use a hacksaw to cut the pipe to the correct length. Step 2: Attach the sink strainer to the sink. Take the sink strainer and place it into the drain hole in your sink. Use a wrench to tighten it in place. Make sure the strainer is secure and won't move around. Step 3: Connect the drain pipe to the sink strainer. Take the pipe you cut in step 1 and connect it to the sink strainer. Use a slip nut to secure the connection. Make sure the pipe is straight and aligned with the strainer. Step 4: Connect the other end of the pipe to the main drain line. Take the other end of the pipe and connect it to the main drain line. Again, use a slip nut to secure the connection. Make sure the pipe is straight and aligned with the main drain line. Step 5: Test for leaks. Turn on the water and let it run for a few minutes. Check for any leaks in the connections. If you notice any leaks, tighten the slip nuts until they are secure.How to Install a Kitchen Sink Drain Pipe


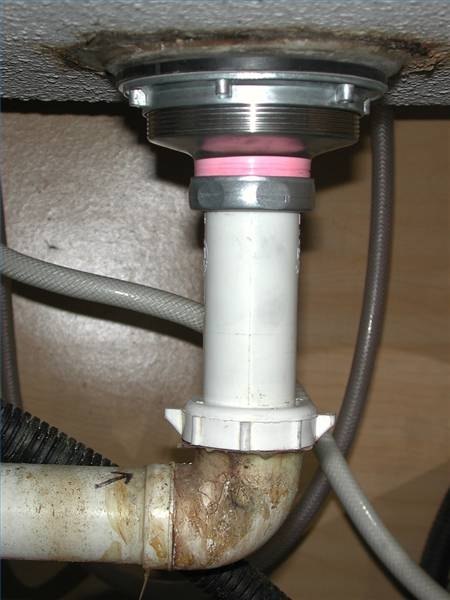
How to Install a Kitchen Sink Drain Pipe
:max_bytes(150000):strip_icc()/how-to-install-a-sink-drain-2718789-hero-24e898006ed94c9593a2a268b57989a3.jpg)


/how-to-install-a-sink-drain-2718789-hero-b5b99f72b5a24bb2ae8364e60539cece.jpg)
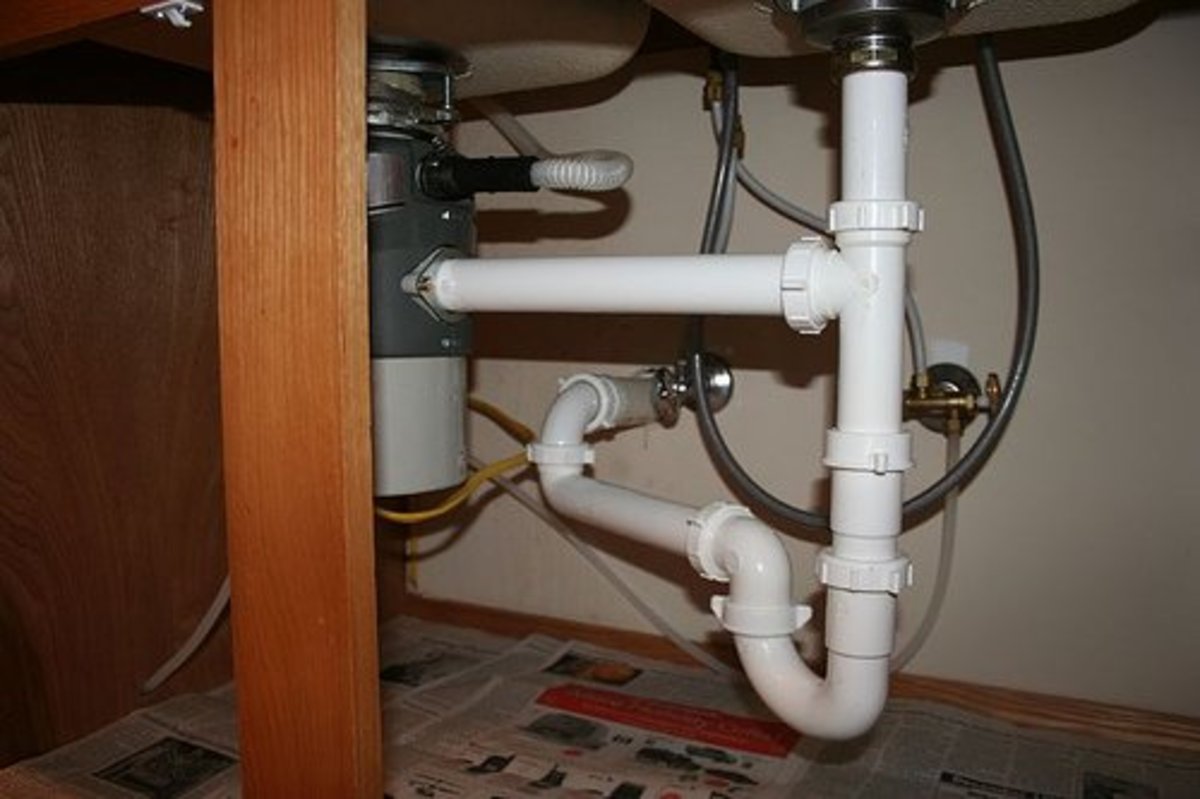
If your kitchen sink drain pipe is damaged or showing signs of wear and tear, it's important to replace it as soon as possible to prevent any further damage. Here's how to replace a kitchen sink drain pipe: Step 1: Remove the old drain pipe. Using a wrench, unscrew the slip nuts connecting the drain pipe to the sink strainer and the main drain line. Once the nuts are loose, you can remove the old drain pipe. Step 2: Measure and cut the new pipe to the correct length. Using a hacksaw, measure and cut the new drain pipe to the correct length, just like in the installation process. Step 3: Attach the new drain pipe to the sink strainer and main drain line. Follow the same steps as in the installation process to attach the new drain pipe to the sink strainer and main drain line. Make sure the connections are secure and there are no leaks. Step 4: Test for leaks. Turn on the water and let it run for a few minutes. Check for any leaks in the connections. If you notice any leaks, tighten the slip nuts until they are secure.How to Replace a Kitchen Sink Drain Pipe

How to Replace a Kitchen Sink Drain Pipe


A leaky kitchen sink drain pipe can be a frustrating and messy problem. Here's how you can fix it: Step 1: Determine the source of the leak. The first step in fixing a leaky drain pipe is to identify where the leak is coming from. Check all the connections and determine which one is causing the leak. Step 2: Tighten the slip nuts. If the leak is coming from a loose connection, use a wrench to tighten the slip nuts until they are secure. This should fix the leak. Step 3: Replace damaged gaskets. If the leak is coming from a damaged gasket, you will need to replace it. Remove the old gasket and replace it with a new one. Make sure to tighten the slip nuts after replacing the gasket. Step 4: Use plumber's tape. If the leak is coming from a threaded connection, you can use plumber's tape to seal the connection. Wrap the tape around the threads and then tighten the connection with a wrench.How to Fix a Leaky Kitchen Sink Drain Pipe


How to Fix a Leaky Kitchen Sink Drain Pipe


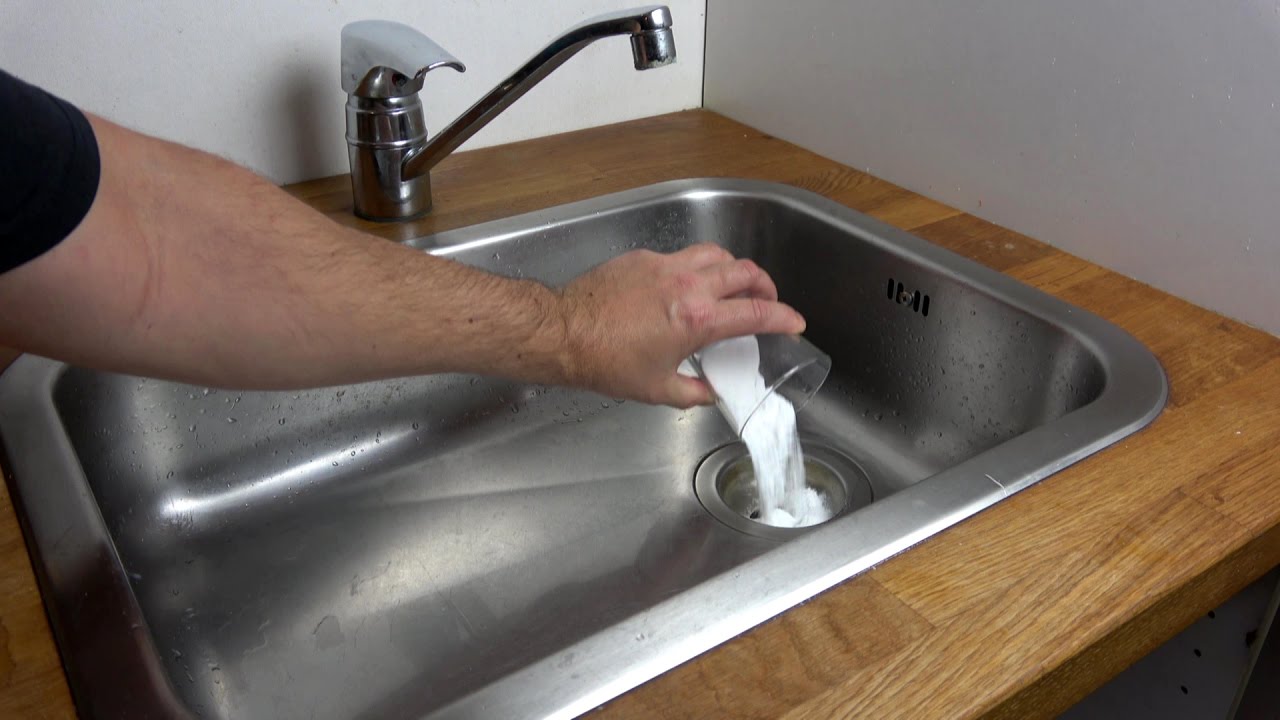
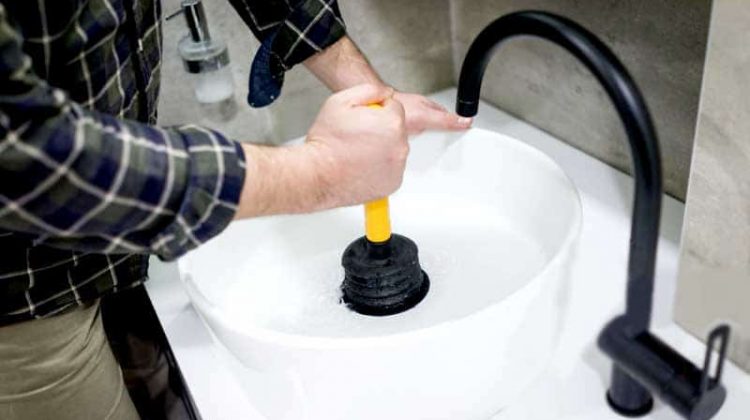
A clogged kitchen sink drain pipe is a common household problem that can be easily fixed. Here's how to unclog it: Step 1: Try using a plunger. If the clog is near the surface, you can try using a plunger to dislodge it. Place the plunger over the drain, making sure it covers the entire opening, and push down firmly. Repeat until the clog is cleared. Step 2: Use a plumbing snake. If the clog is deeper in the pipe, you can use a plumbing snake to clear it. Insert the snake into the drain and turn it clockwise to push through the clog. Once the clog is cleared, run water to flush it out. Step 3: Try a homemade solution. You can also try pouring a mixture of hot water, baking soda, and vinegar down the drain to break up the clog. Let it sit for a few minutes before running hot water down the drain.How to Unclog a Kitchen Sink Drain Pipe


How to Unclog a Kitchen Sink Drain Pipe
:max_bytes(150000):strip_icc()/freshen-and-unclog-drain-with-baking-soda-1900466-22-bbf940b70afa4d5abef0c54da23b1d3f.jpg)
:max_bytes(150000):strip_icc()/how-to-unclog-a-kitchen-sink-2718799_sketch_FINAL-8c5caa805a69493ab22dfb537c72a1b7.png)


:max_bytes(150000):strip_icc()/freshen-and-unclog-drain-with-baking-soda-1900466-18-1a5b5da01939471ca8f8823865bd1ce8.jpg)
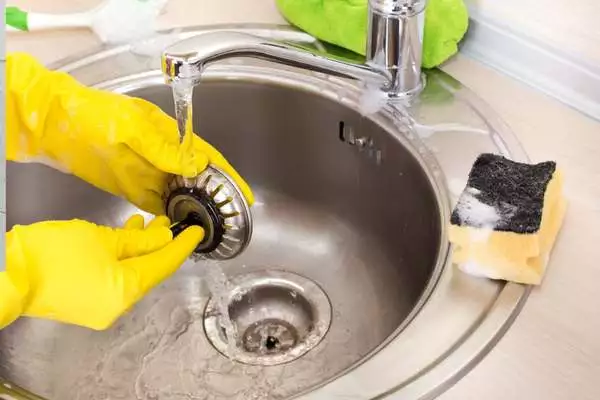
To keep your kitchen sink drain pipe in good condition, it's important to clean it regularly. Here's how: Step 1: Remove any visible debris. Start by removing any visible debris from the drain, such as food scraps or hair. Use a pair of gloves to protect your hands and a paper towel to remove the debris. Step 2: Pour boiling water down the drain. Boil a pot of water and pour it down the drain. This will help to loosen any buildup and flush it out. Step 3: Use a mixture of baking soda and vinegar. Mix equal parts baking soda and vinegar and pour it down the drain. Let it sit for a few minutes before flushing it out with hot water. This will help to eliminate any odors and break up any buildup. Step 4: Use a commercial drain cleaner. If you're dealing with a stubborn clog or buildup, you can use a commercial drain cleaner. Make sure to follow the instructions carefully and use caution when handling these products.How to Clean a Kitchen Sink Drain Pipe


How to Clean a Kitchen Sink Drain Pipe

:max_bytes(150000):strip_icc()/how-to-clean-a-kitchen-sink-and-drain-01-5660035-a1d8afe3894346f9a579e66c55e64b7d.jpg)

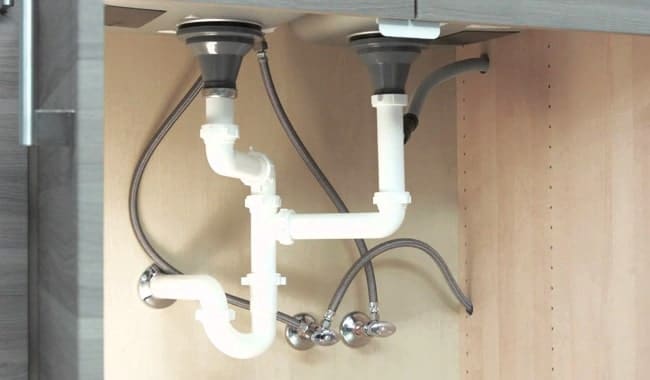
If your kitchen sink drain pipe is not aligned properly or is causing water to pool in the sink, you may need to adjust it. Here's how: Step 1: Loosen the slip nuts. Using a wrench, loosen the slip nuts connecting the drain pipe to the sink strainer and main drain line. Step 2: Adjust the pipe. Move the pipe until it is straight and aligned with the sink strainer and main drain line. Make sure to leave enough room for the slip nuts to be tightened. Step 3: Tighten the slip nuts. Once the pipe is in the correct position, use a wrench to tighten the slip nuts until they are secure.How to Adjust a Kitchen Sink Drain Pipe


How to Adjust a Kitchen Sink Drain Pipe


Properly sealing your kitchen sink drain pipe is important to prevent any leaks or water damage. Here's how: Step 1: Clean the connections. Before sealing the drain pipe, make sure to clean the connections to remove any residue or debris. This will ensure a tight seal. Step 2: Apply plumber's putty. Take a small amount of plumber's putty and roll it into a thin rope. Place the putty around the edge of the sink strainer where it meets the sink. Step 3: Attach the sink strainer to the sink. Place the sink strainer into the drain hole and press down firmly. The putty will create a watertight seal between the sink and the strainer. Step 4: Tighten the slip nuts. Using a wrench, tighten the slip nuts to secure the connection and create a tight seal.How to Seal a Kitchen Sink Drain Pipe


How to Seal a Kitchen Sink Drain Pipe


If you need to remove your kitchen sink drain pipe for any reason, it's important to do it correctly to avoid causing damage. Here's how: Step 1: Loosen the slip nuts. Using a wrench, loosen the slip nuts connecting the drain pipe to the sink strainer and main drain line. Step 2: Remove the pipe from the sink strainer. Once the slip nuts are loose, you can remove the pipe from the sink strainer. You may need to use a bit of force to pull it out. Step 3: Remove the pipe from the main drain line. Follow the same steps to remove the pipe from the main drain line. Again, you may need to use some force to pull it out.How to Remove a Kitchen Sink Drain Pipe

How to Remove a Kitchen Sink Drain Pipe


If you notice any leaks or loose connections in your kitchen sink drain pipe, it's important to tighten them as soon as possible. Here's how: Step 1: Identify the loose connection. Check all the connections in your drain pipe to determine which one is loose and causing the leak. Step 2: Tighten the slip nut. Using a wrench, tighten the slip nut until it is secure. Make sure not to overtighten as this can cause damage to the pipe or the connection. Step 3: Test for leaks. Turn on the water and let it run for a few minutes. Check for any leaks in the connection. If you notice any leaks, tighten the slip nut a bit more until the leak stops.How to Tighten a Kitchen Sink Drain Pipe


How to Tighten a Kitchen Sink Drain Pipe

/how-to-install-a-sink-drain-2718789-hero-24e898006ed94c9593a2a268b57989a3.jpg)


If your kitchen sink drain pipe is located in a cold area, such as a basement, it's important to insulate it to prevent freezing and potential damage. Here's how: Step 1: Measure the length of the pipe. Using a tape measure, measure the length of the drain pipe that needs to be insulated. Step 2: Cut the insulation to size. Using a utility knife, cut the insulation to the correct length. You may need to cut it to fit around any curves or bends in the pipe. Step 3: Place the insulation on the pipe. Slide the insulation onto the pipe, making sure it is fully covered and there are no gaps. Step 4: Secure the insulation in place. You can use duct tape or insulation tape to secure the insulation in place and create a tight seal. By following these steps, you can successfully install, replace, fix, clean, adjust, seal, remove, tighten, and insulate your kitchen sink drain pipe. Remember to regularly maintain your drain pipe to prevent any issues and ensure that your sink is functioning properly. If you encounter any major problems, it's best to call a professional plumber for assistance.How to Insulate a Kitchen Sink Drain Pipe

How to Insulate a Kitchen Sink Drain Pipe


Why Installing a Low Kitchen Sink Drain Pipe Trap is Essential for Your Home

The Importance of the Kitchen Sink Drain Pipe Trap
 When it comes to designing your dream home, every detail matters. From the color of the walls to the type of flooring, every decision can affect the overall look and functionality of your space. One often overlooked aspect of house design is the placement of the kitchen sink drain pipe trap. While it may seem like a minor detail, the location of this essential plumbing feature can greatly impact the efficiency and longevity of your sink.
The kitchen sink drain pipe trap is a small bend in the pipe that traps debris and prevents it from clogging your plumbing system.
It is typically located under the sink and can be easily accessed for regular cleaning and maintenance. However, many homeowners make the mistake of installing the drain pipe trap too high, which can lead to a host of problems.
When it comes to designing your dream home, every detail matters. From the color of the walls to the type of flooring, every decision can affect the overall look and functionality of your space. One often overlooked aspect of house design is the placement of the kitchen sink drain pipe trap. While it may seem like a minor detail, the location of this essential plumbing feature can greatly impact the efficiency and longevity of your sink.
The kitchen sink drain pipe trap is a small bend in the pipe that traps debris and prevents it from clogging your plumbing system.
It is typically located under the sink and can be easily accessed for regular cleaning and maintenance. However, many homeowners make the mistake of installing the drain pipe trap too high, which can lead to a host of problems.
The Benefits of a Low Kitchen Sink Drain Pipe Trap
:max_bytes(150000):strip_icc()/sink-drain-trap-185105402-5797c5f13df78ceb869154b5.jpg) Installing the kitchen sink drain pipe trap low is crucial for several reasons.
First and foremost, it ensures that any debris that goes down the drain will get caught in the trap, preventing it from clogging your pipes. This not only saves you from the hassle and expense of dealing with a clogged sink but also helps to maintain the overall health of your plumbing system.
Additionally, a low kitchen sink drain pipe trap allows for easier access and cleaning. As the trap is located closer to the bottom of the sink, you can easily remove it and clean out any trapped debris without having to disassemble the entire plumbing system. This not only saves you time and effort but also ensures that your sink remains clean and odor-free.
Installing the kitchen sink drain pipe trap low is crucial for several reasons.
First and foremost, it ensures that any debris that goes down the drain will get caught in the trap, preventing it from clogging your pipes. This not only saves you from the hassle and expense of dealing with a clogged sink but also helps to maintain the overall health of your plumbing system.
Additionally, a low kitchen sink drain pipe trap allows for easier access and cleaning. As the trap is located closer to the bottom of the sink, you can easily remove it and clean out any trapped debris without having to disassemble the entire plumbing system. This not only saves you time and effort but also ensures that your sink remains clean and odor-free.
How to Install a Low Kitchen Sink Drain Pipe Trap
 Installing a low kitchen sink drain pipe trap is a relatively simple process that can be done by a professional plumber or as a DIY project. The key is to ensure that the trap is installed at the correct height, typically no more than 4 inches from the bottom of the sink. This will allow for proper drainage while still trapping debris.
It is also important to choose a high-quality drain pipe trap that is durable and resistant to corrosion.
This will ensure that your plumbing system remains in good condition for years to come.
In conclusion, when it comes to designing your dream home, do not overlook the importance of a low kitchen sink drain pipe trap. Its proper placement can save you from plumbing problems and help maintain the cleanliness and functionality of your sink. So, whether you are building a new home or renovating your existing one, make sure to give this small but crucial detail the attention it deserves.
Installing a low kitchen sink drain pipe trap is a relatively simple process that can be done by a professional plumber or as a DIY project. The key is to ensure that the trap is installed at the correct height, typically no more than 4 inches from the bottom of the sink. This will allow for proper drainage while still trapping debris.
It is also important to choose a high-quality drain pipe trap that is durable and resistant to corrosion.
This will ensure that your plumbing system remains in good condition for years to come.
In conclusion, when it comes to designing your dream home, do not overlook the importance of a low kitchen sink drain pipe trap. Its proper placement can save you from plumbing problems and help maintain the cleanliness and functionality of your sink. So, whether you are building a new home or renovating your existing one, make sure to give this small but crucial detail the attention it deserves.
/bathroom-sink-523598998-5797c0dc5f9b58461f3d5c23.jpg)