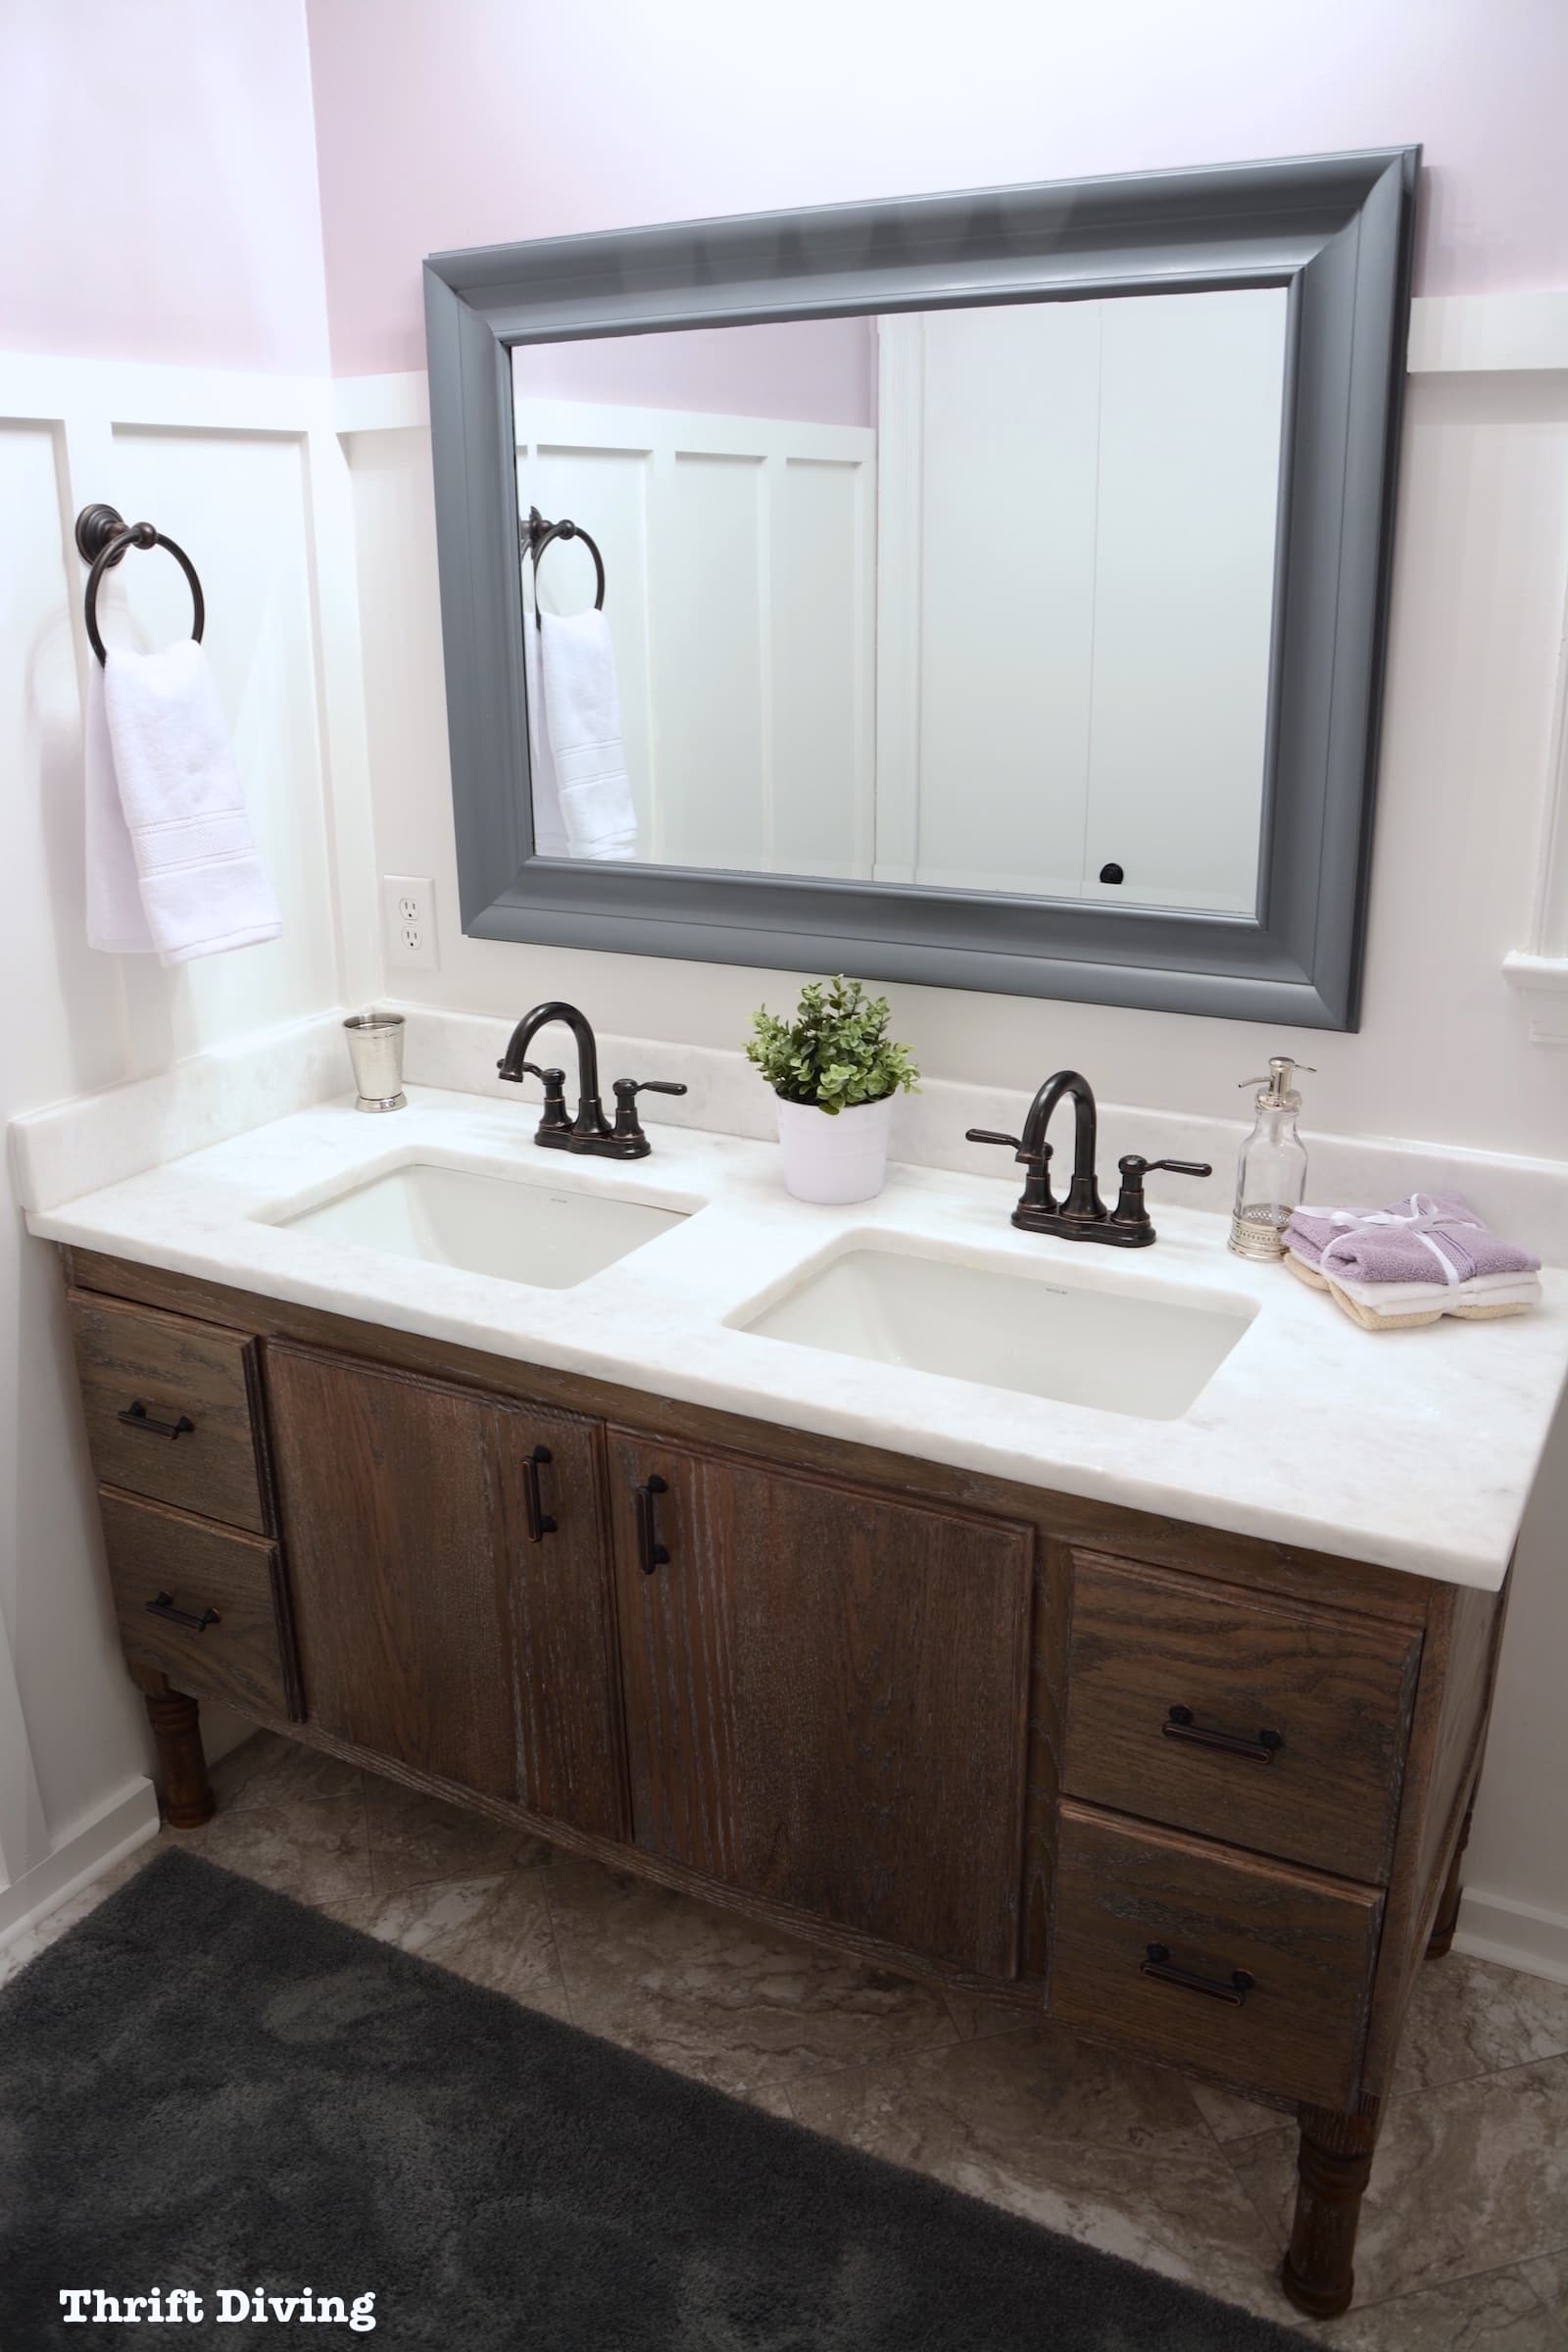
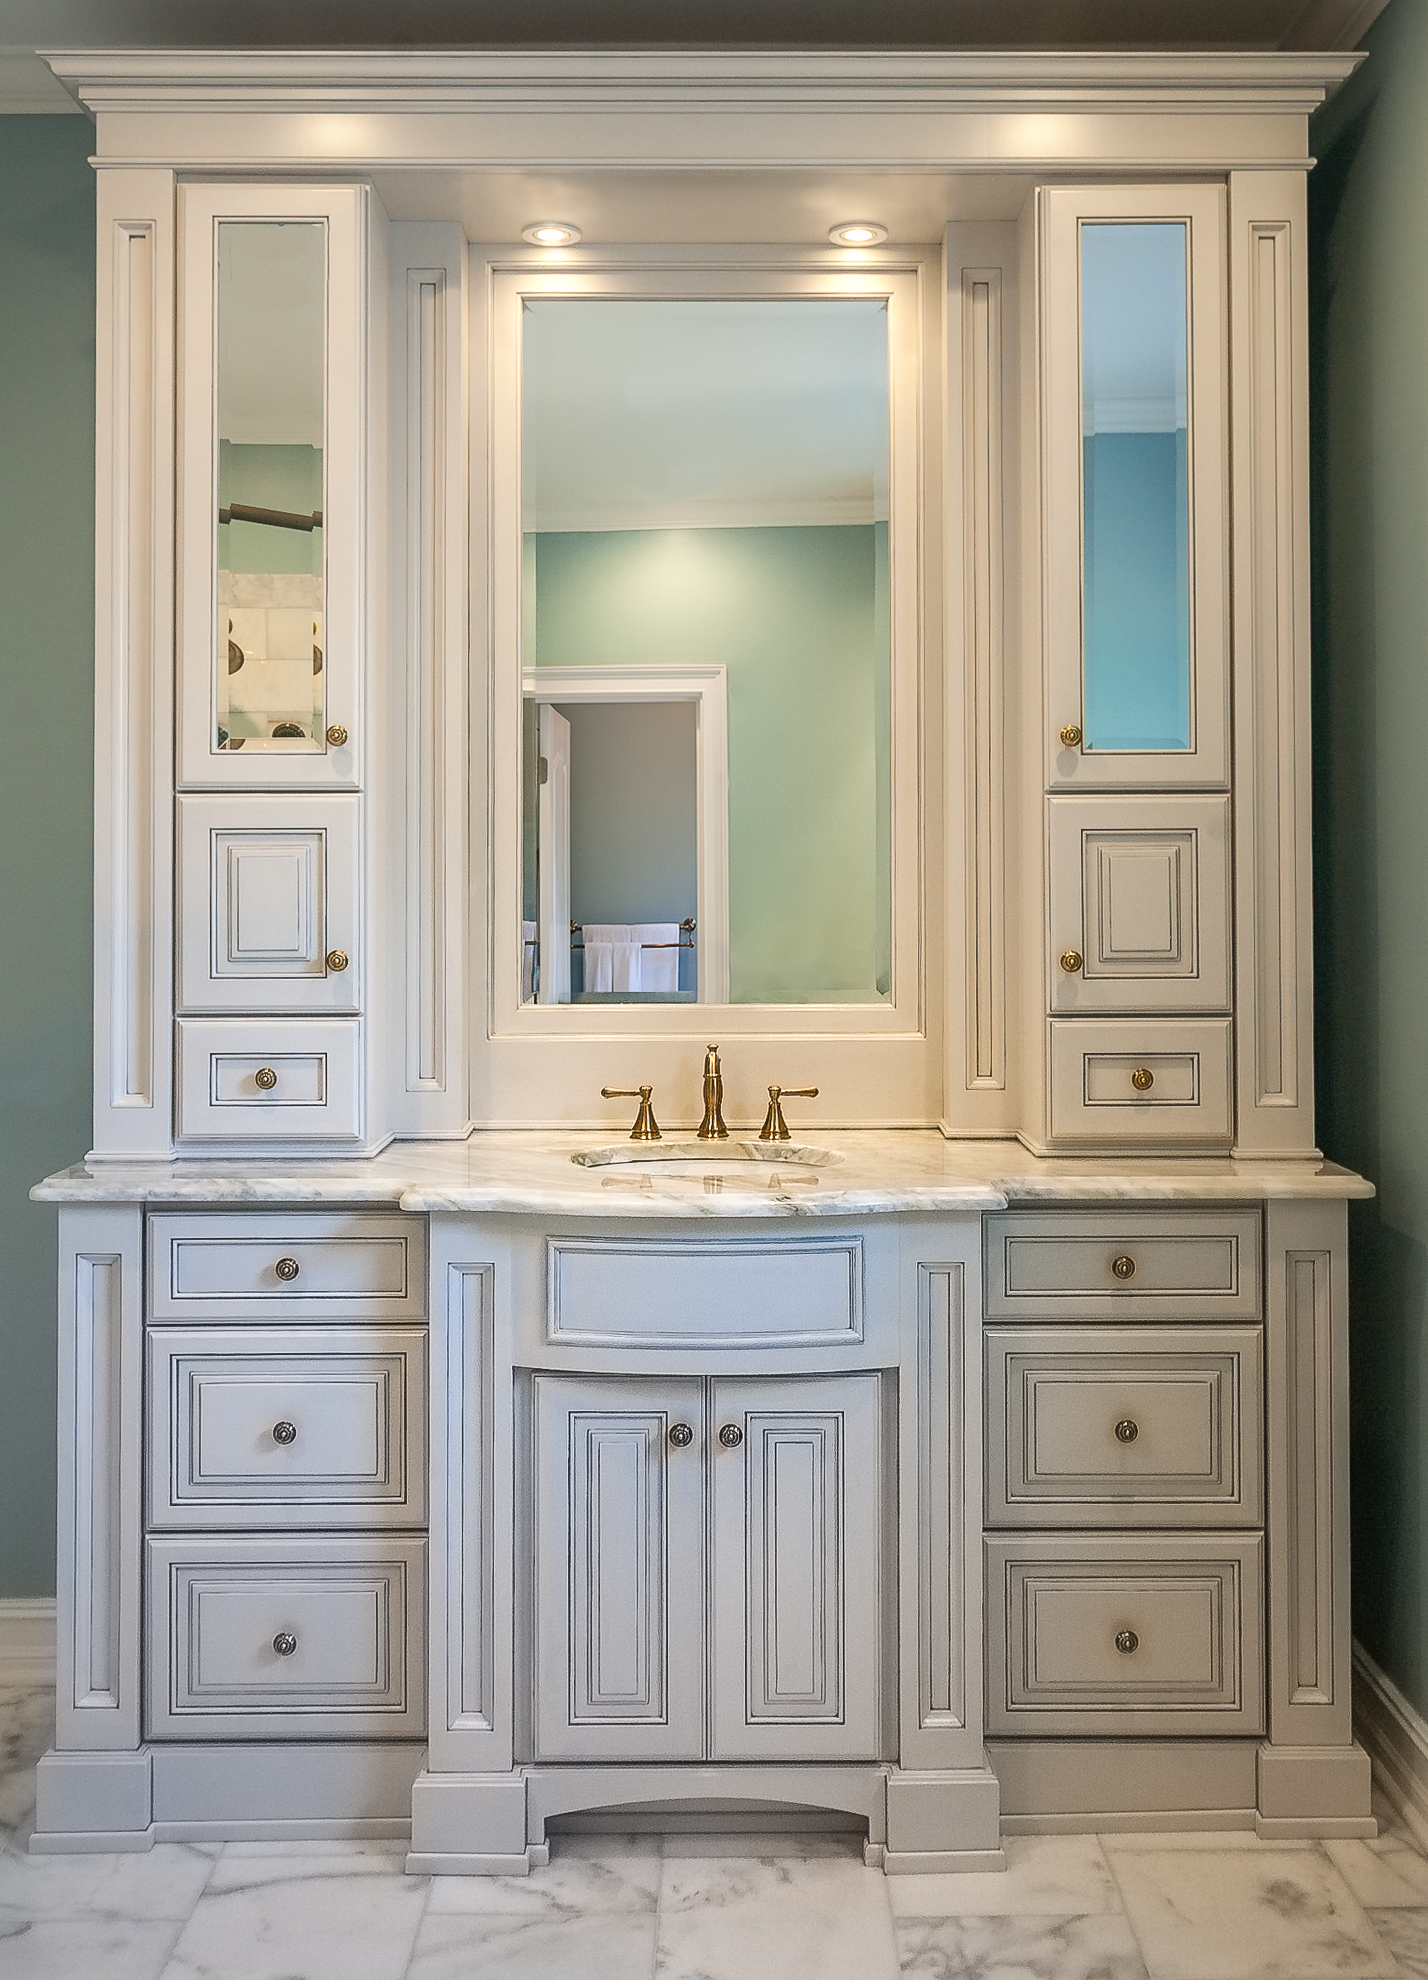
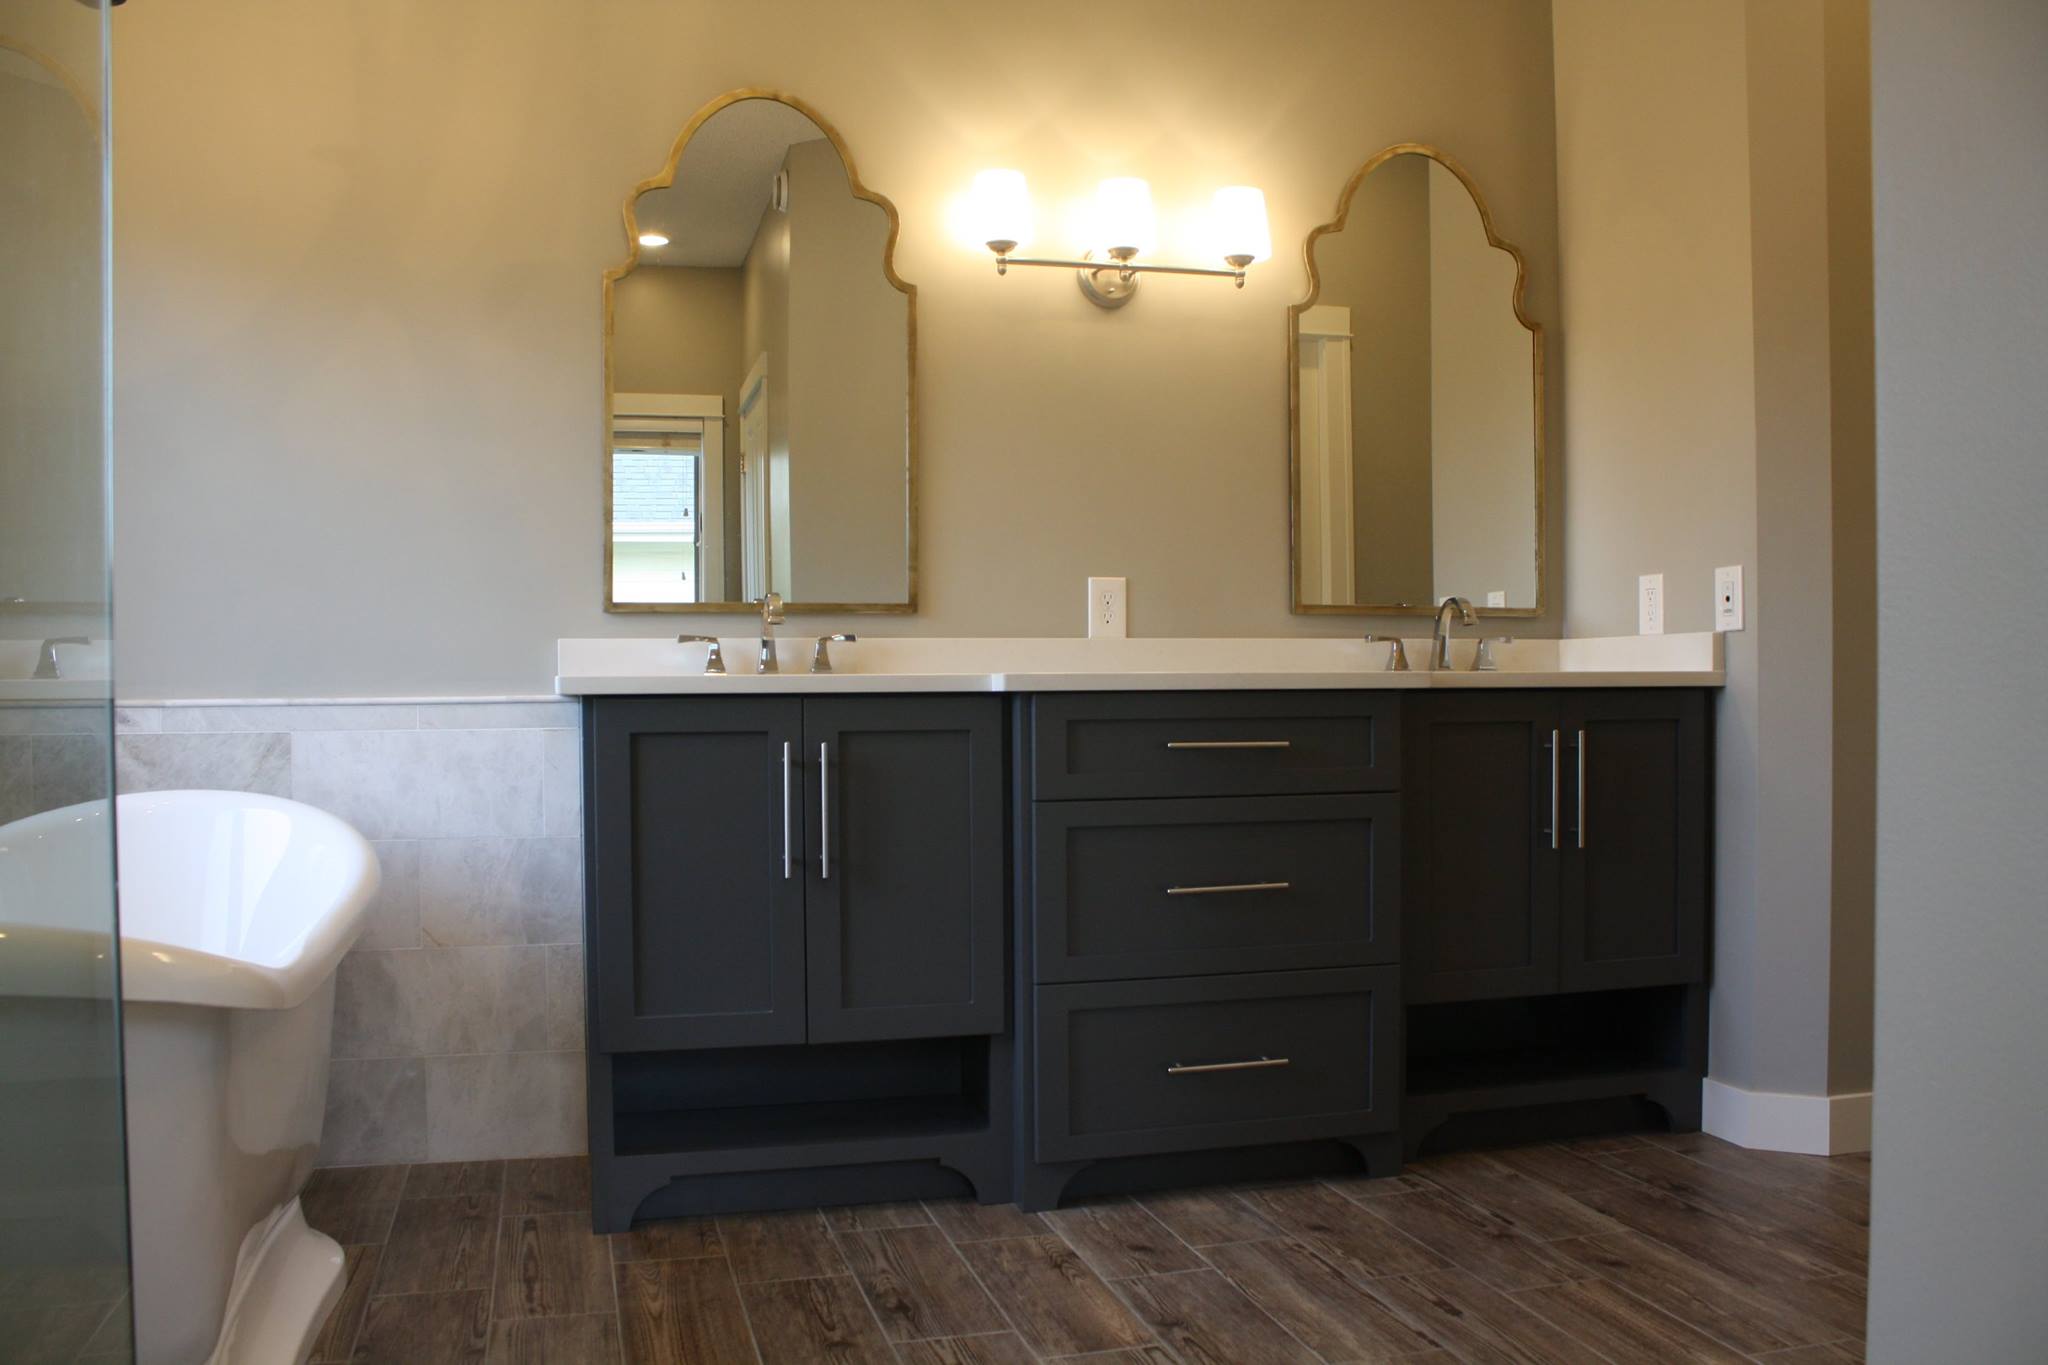
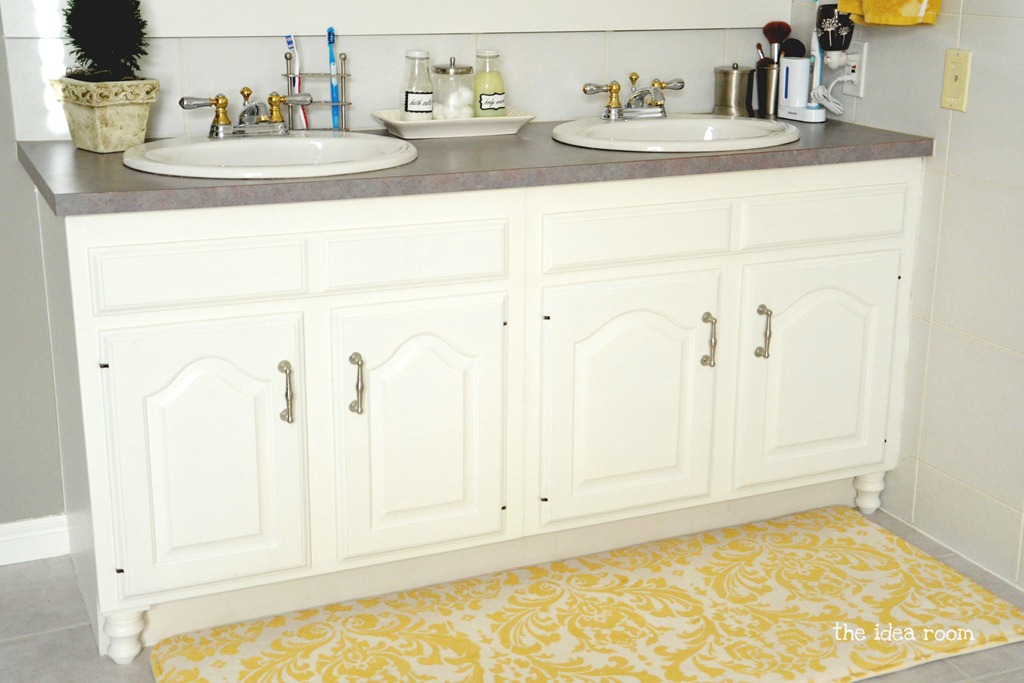
Are you tired of your plain and boring built-in bathroom vanity? Do you want to give it a unique and custom look? Adding feet to your built-in bathroom vanity can make a huge difference in the overall appearance of your bathroom. Not only does it add a touch of elegance, but it also creates a more luxurious and high-end feel. In this article, we will guide you on how to easily add feet to your built-in bathroom vanity to give it a new and upgraded look.Adding Feet to a Built-In Bathroom Vanity
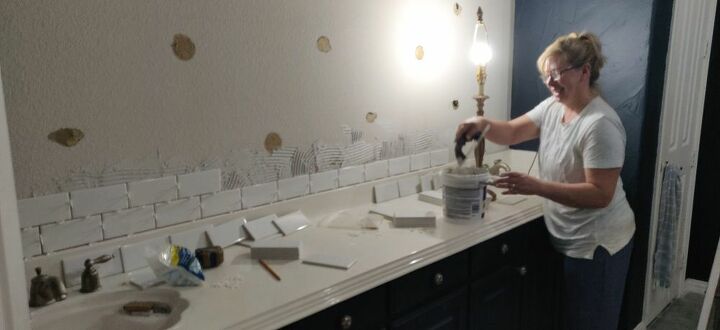
Installing feet on a built-in bathroom vanity may seem like a daunting task, but it is actually a simple DIY project that anyone can do. The first step is to choose the right feet for your vanity. You can either opt for pre-made feet or you can make your own using wood or metal. Once you have your feet, follow these steps to install them on your built-in bathroom vanity: Step 1: Measure and mark where you want to place your feet on the bottom of your vanity. Make sure the feet are evenly spaced and aligned with the corners of your vanity. Step 2: Use a drill to make holes on the marked spots. These holes will be used to attach the feet to the vanity. Step 3: Apply wood glue to the bottom of the feet and press them onto the marked spots on the vanity. Make sure they are firmly attached. Step 4: Use screws to secure the feet to the vanity. This will ensure that they are securely attached and can support the weight of the vanity. Step 5: Let the wood glue dry completely before moving or using the vanity.How to Install Feet on a Built-In Bathroom Vanity
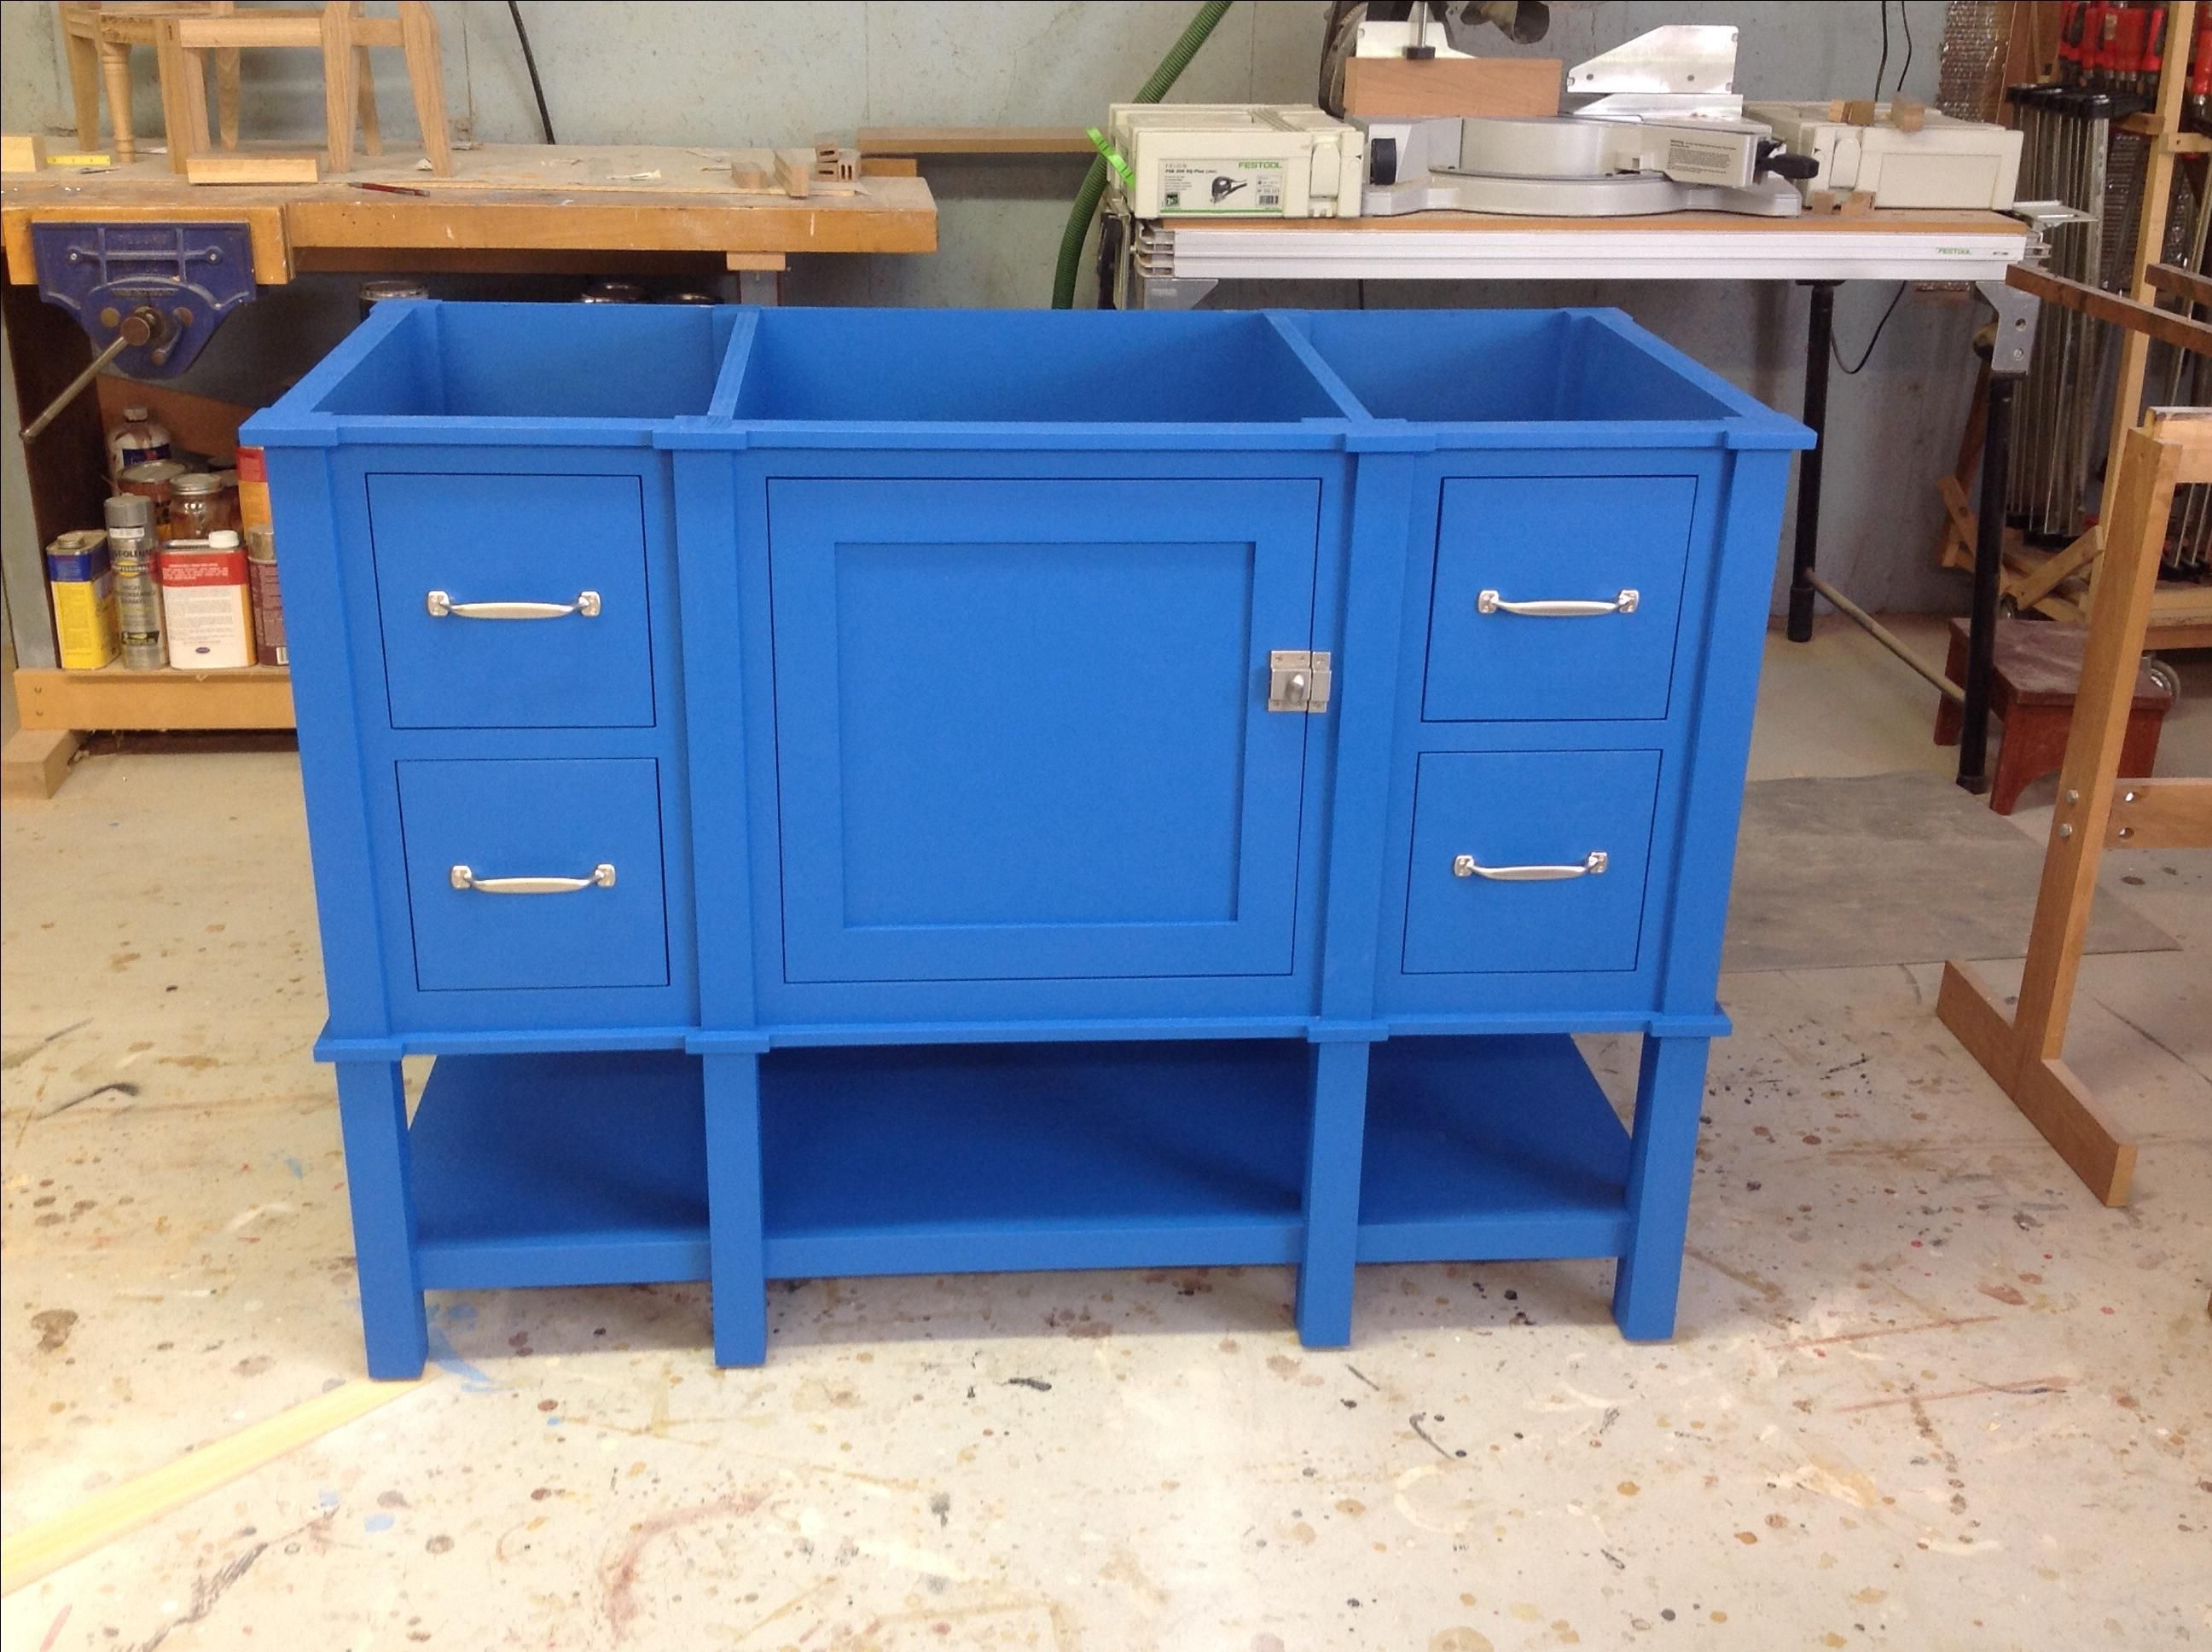
If you are feeling more adventurous, you can create your own DIY bathroom vanity with built-in feet. This will give you the freedom to fully customize and design your vanity according to your preferences and style. Here are the materials and steps you will need to follow: Materials: Plywood, wood glue, screws, saw, sandpaper, measuring tape, and paint or stain of your choice. Step 1: Measure and cut the plywood according to the size of your vanity. Make sure to also cut out holes for the sink and any other fixtures. Step 2: Sand the edges of the plywood to make them smooth and prevent any splinters. Step 3: Apply wood glue to the bottom of the feet and attach them to the corners of the plywood. Use screws to secure them in place. Step 4: Sand the feet to make them smooth and even with the plywood. Step 5: Paint or stain the vanity and feet according to your preference. Let it dry completely before using.DIY Bathroom Vanity with Built-In Feet
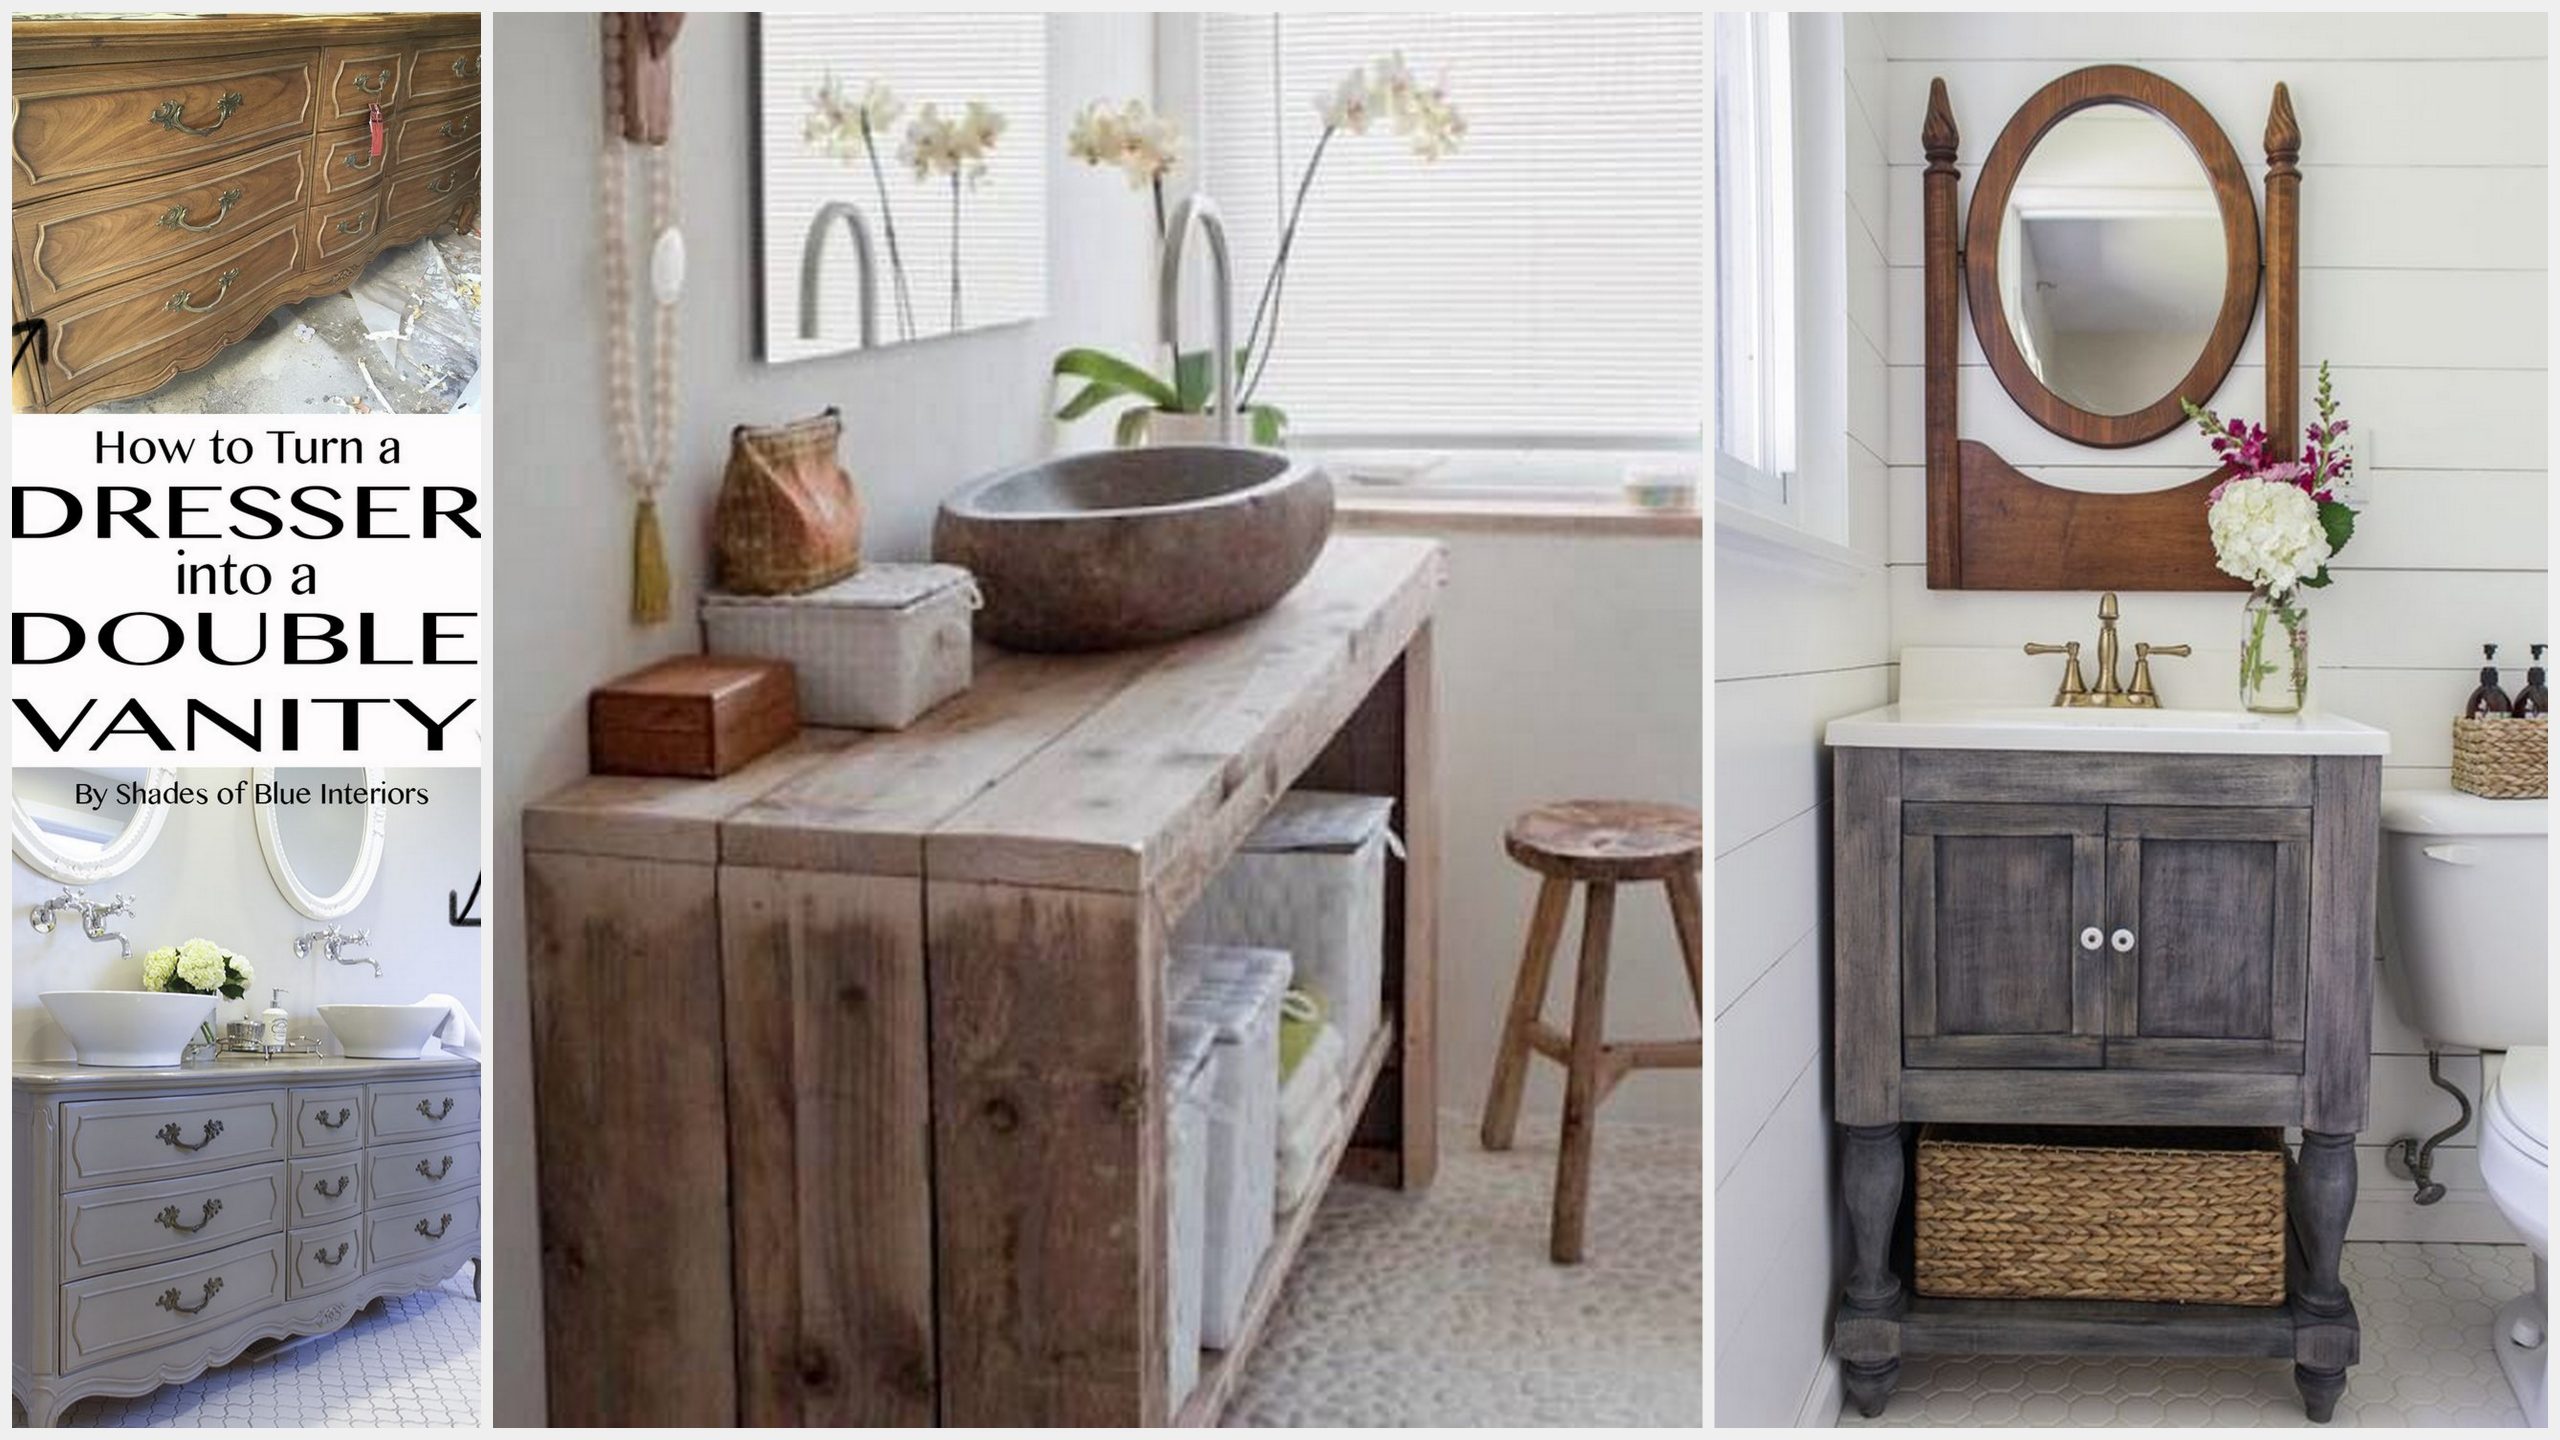
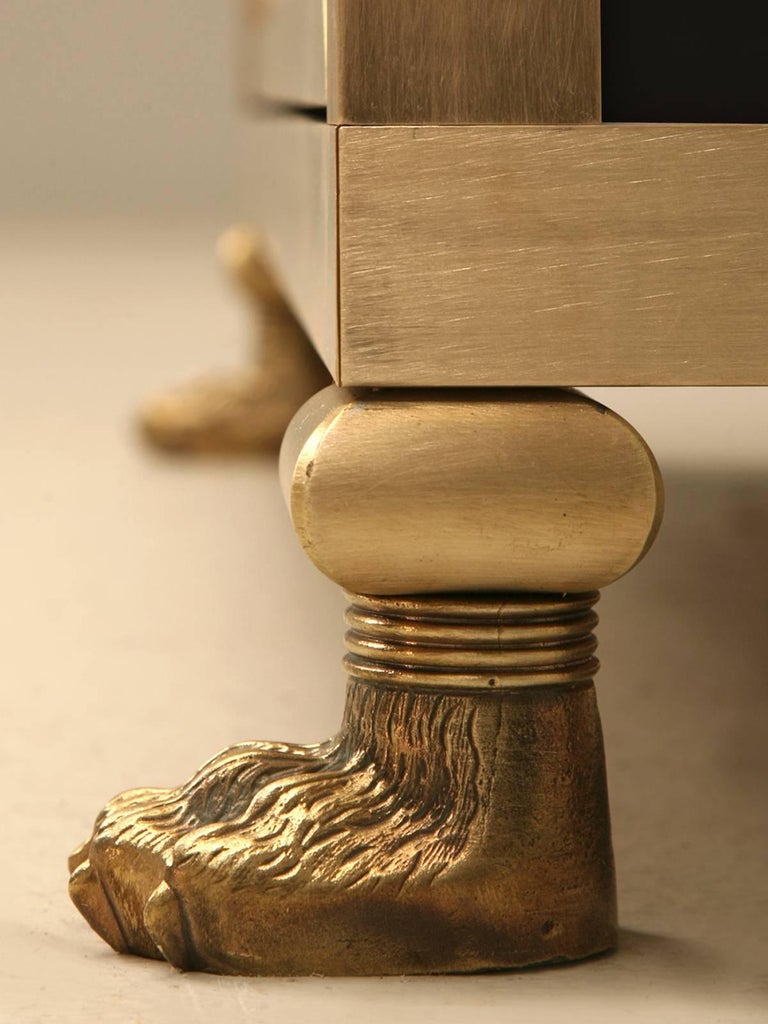
Adding feet to your built-in bathroom vanity also gives you the opportunity to customize and personalize it according to your style and taste. You can choose from a variety of feet designs such as tapered, bun, or claw feet. You can also paint or stain the feet to match the overall look of your bathroom. This is a great way to add a unique touch to your vanity and make it stand out.Customizing a Built-In Bathroom Vanity with Feet
If you are not sure about permanently attaching feet to your built-in bathroom vanity, you can opt for removable feet. This gives you the flexibility to change the look of your vanity whenever you want. You can simply unscrew the feet and replace them with a different design or style. This is also a great option if you are renting and cannot make permanent changes to your bathroom.Built-In Bathroom Vanity with Removable Feet
When choosing feet for your built-in bathroom vanity, it is important to consider the design and style of your vanity as well as the overall look of your bathroom. If you have a modern vanity, you may want to opt for sleek and minimalist feet. For a more traditional or vintage vanity, you can choose more ornate and decorative feet. It is also important to make sure that the feet can support the weight of your vanity and are properly attached for stability.Choosing the Right Feet for Your Built-In Bathroom Vanity
To summarize, here is a step-by-step guide to adding feet to your built-in bathroom vanity: Step 1: Choose the right feet for your vanity. Step 2: Measure and mark where you want to place the feet on your vanity. Step 3: Drill holes on the marked spots. Step 4: Apply wood glue to the bottom of the feet and attach them to the vanity. Step 5: Secure the feet with screws. Step 6: Let the wood glue dry completely. Step 7: Enjoy your new and upgraded built-in bathroom vanity with feet!Step-by-Step Guide to Adding Feet to a Built-In Bathroom Vanity
Adding feet to your built-in bathroom vanity is a simple and budget-friendly way to give it a makeover and create a custom look. It instantly elevates the aesthetic of your bathroom and adds a touch of luxury. With so many different feet designs to choose from, you can easily find one that suits your style and preferences.Built-In Bathroom Vanity Makeover: Adding Feet for a Custom Look
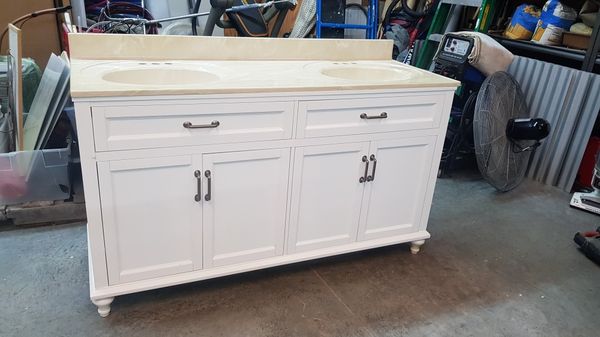
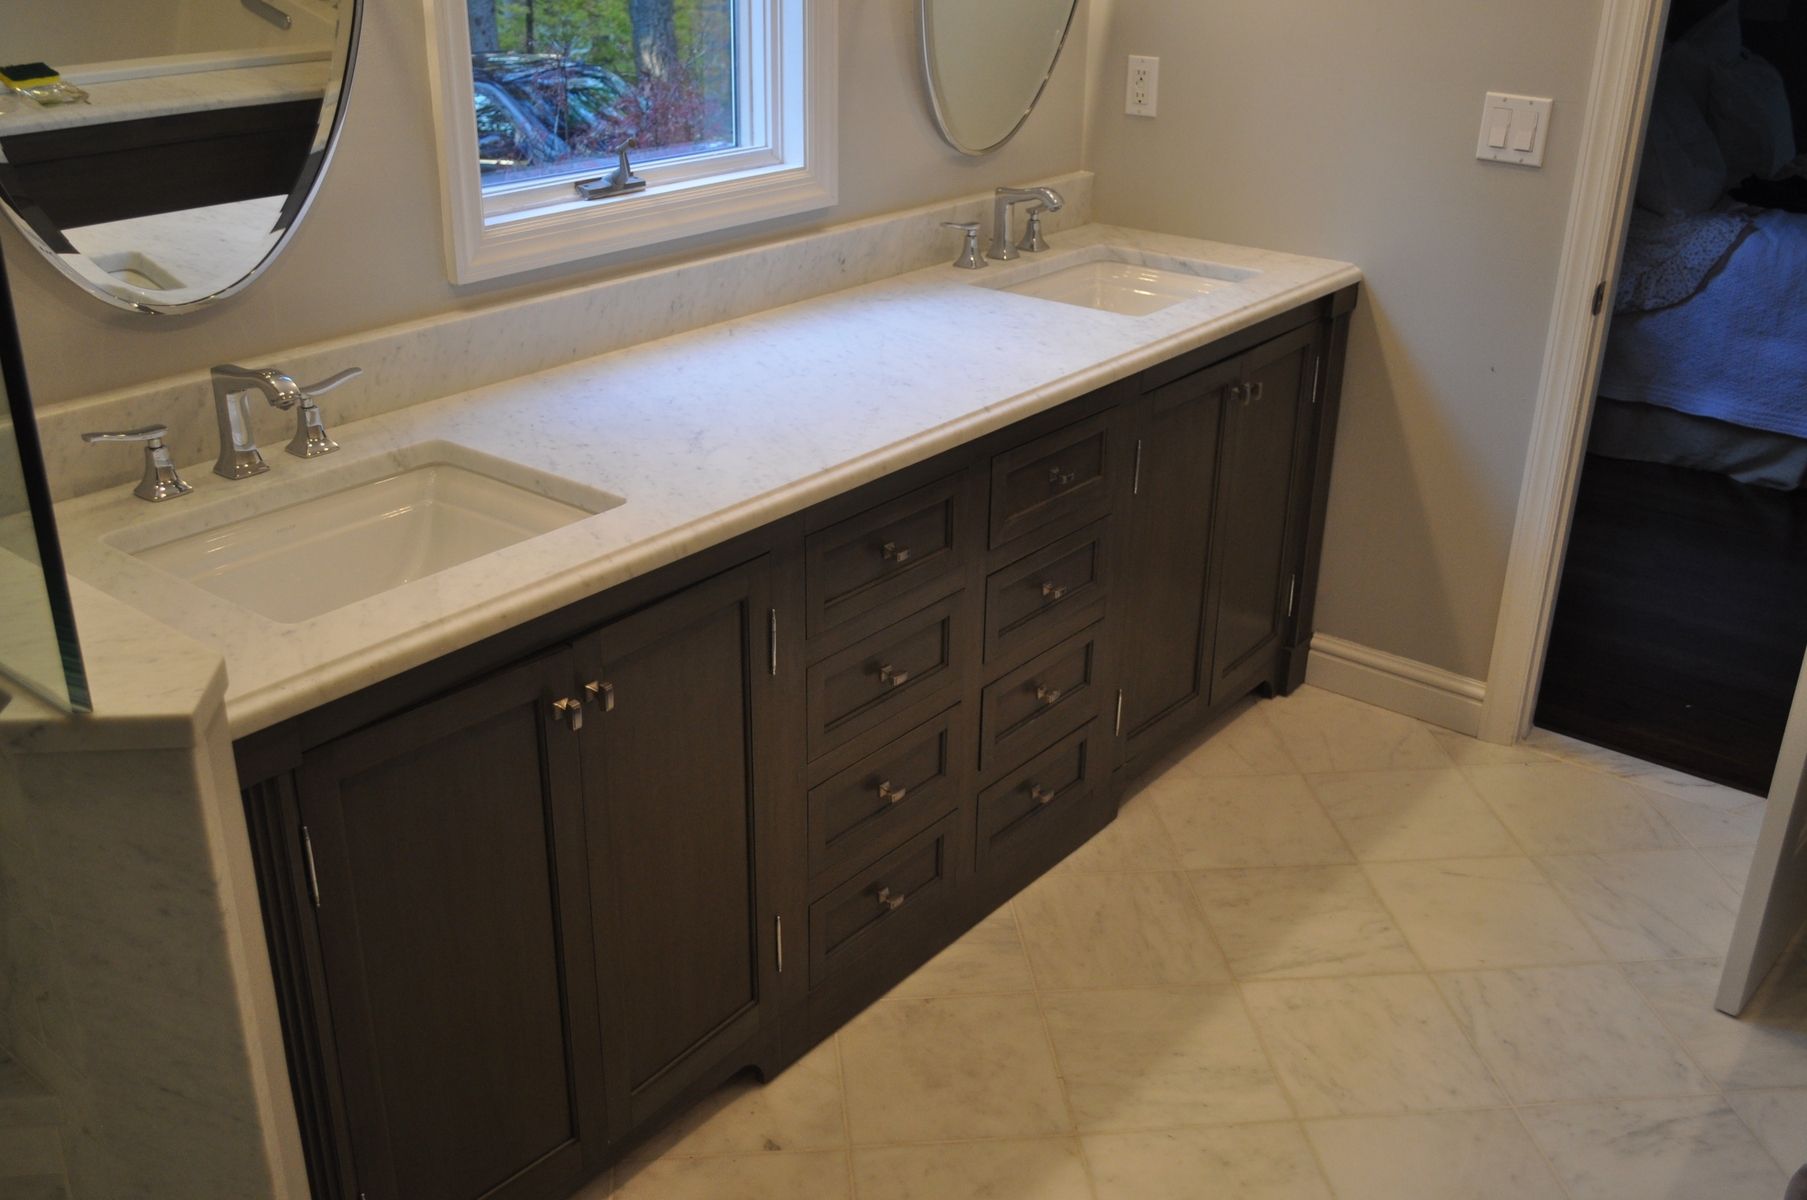
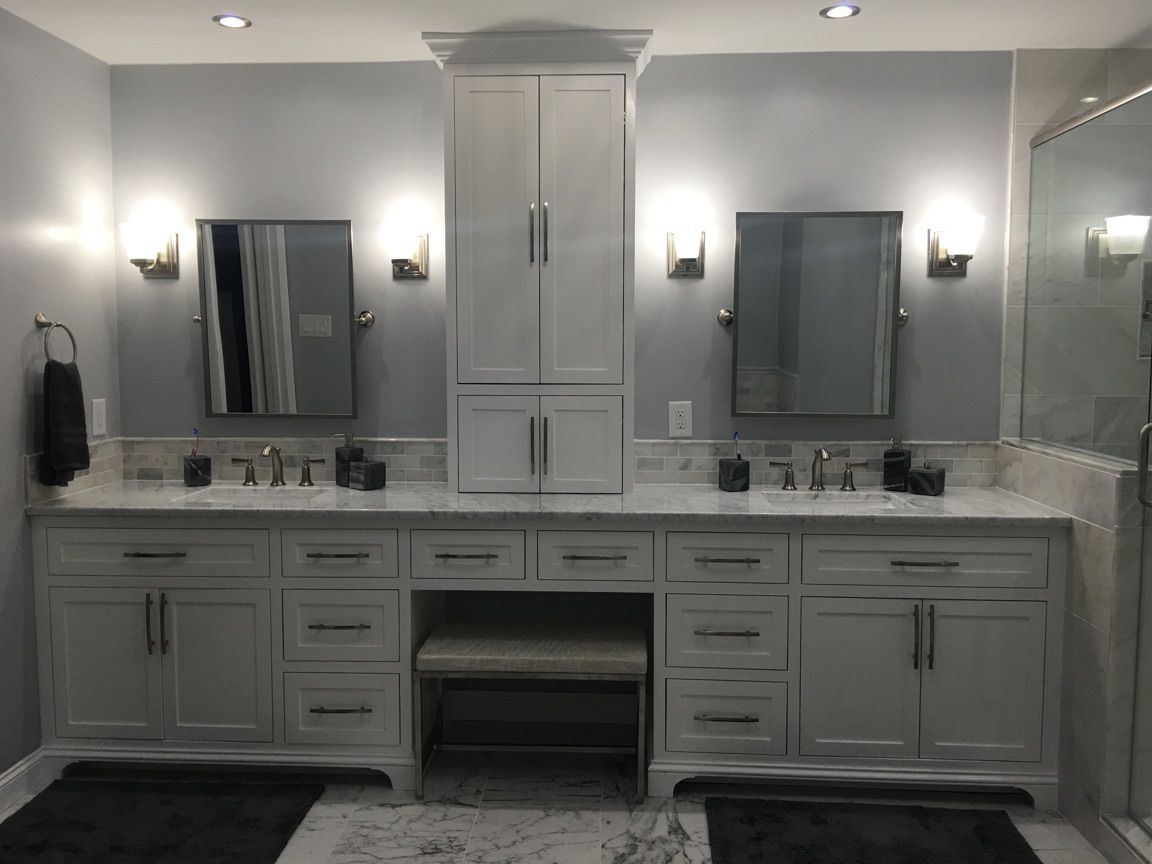
If you have a basic and plain built-in bathroom vanity, adding feet can completely transform its appearance. It can turn a simple and functional vanity into a stylish and elegant piece of furniture. You can also use this opportunity to add any additional features such as shelves or drawers to make your vanity more functional.Transforming a Basic Built-In Bathroom Vanity with Feet
Finally, adding feet to your built-in bathroom vanity can give it a high-end and luxurious look without breaking the bank. It is a simple and affordable way to upgrade your bathroom and make it look more expensive. With the right feet and a few other design elements, you can create a spa-like atmosphere in your own bathroom. In conclusion, adding feet to your built-in bathroom vanity is a great way to enhance the look of your bathroom and make it more personalized. Whether you choose to install pre-made feet or create your own DIY vanity with built-in feet, it is a simple and rewarding project that will add value to your home. So, why settle for a plain and basic built-in bathroom vanity when you can easily give it a custom and stylish look with the addition of feet?Built-In Bathroom Vanity Upgrade: Installing Feet for a High-End Look
Why You Should Consider Putting Feet On Your Built-In Bathroom Vanity
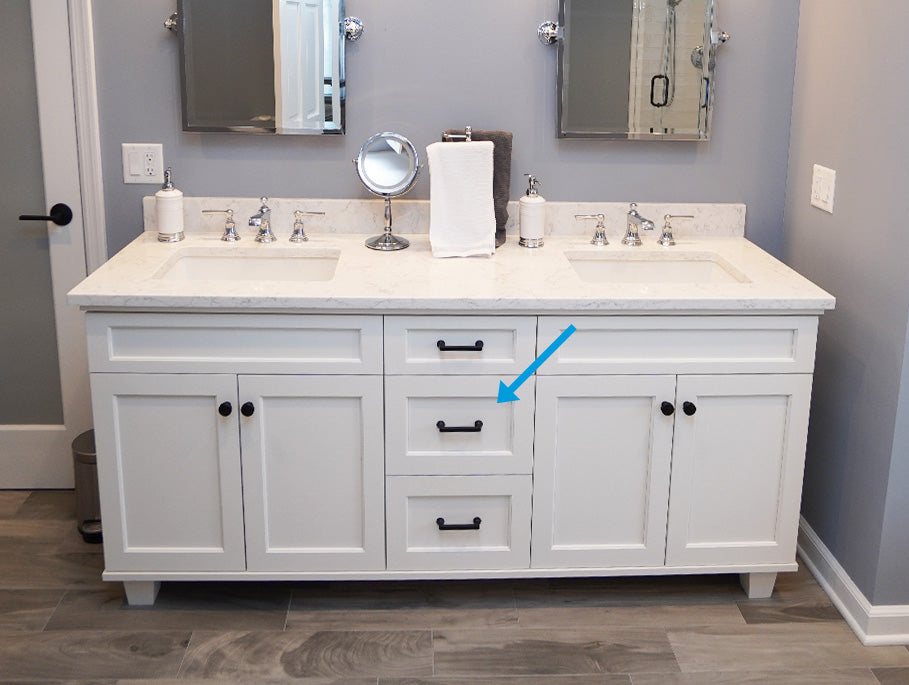
Elevate Your Bathroom Design
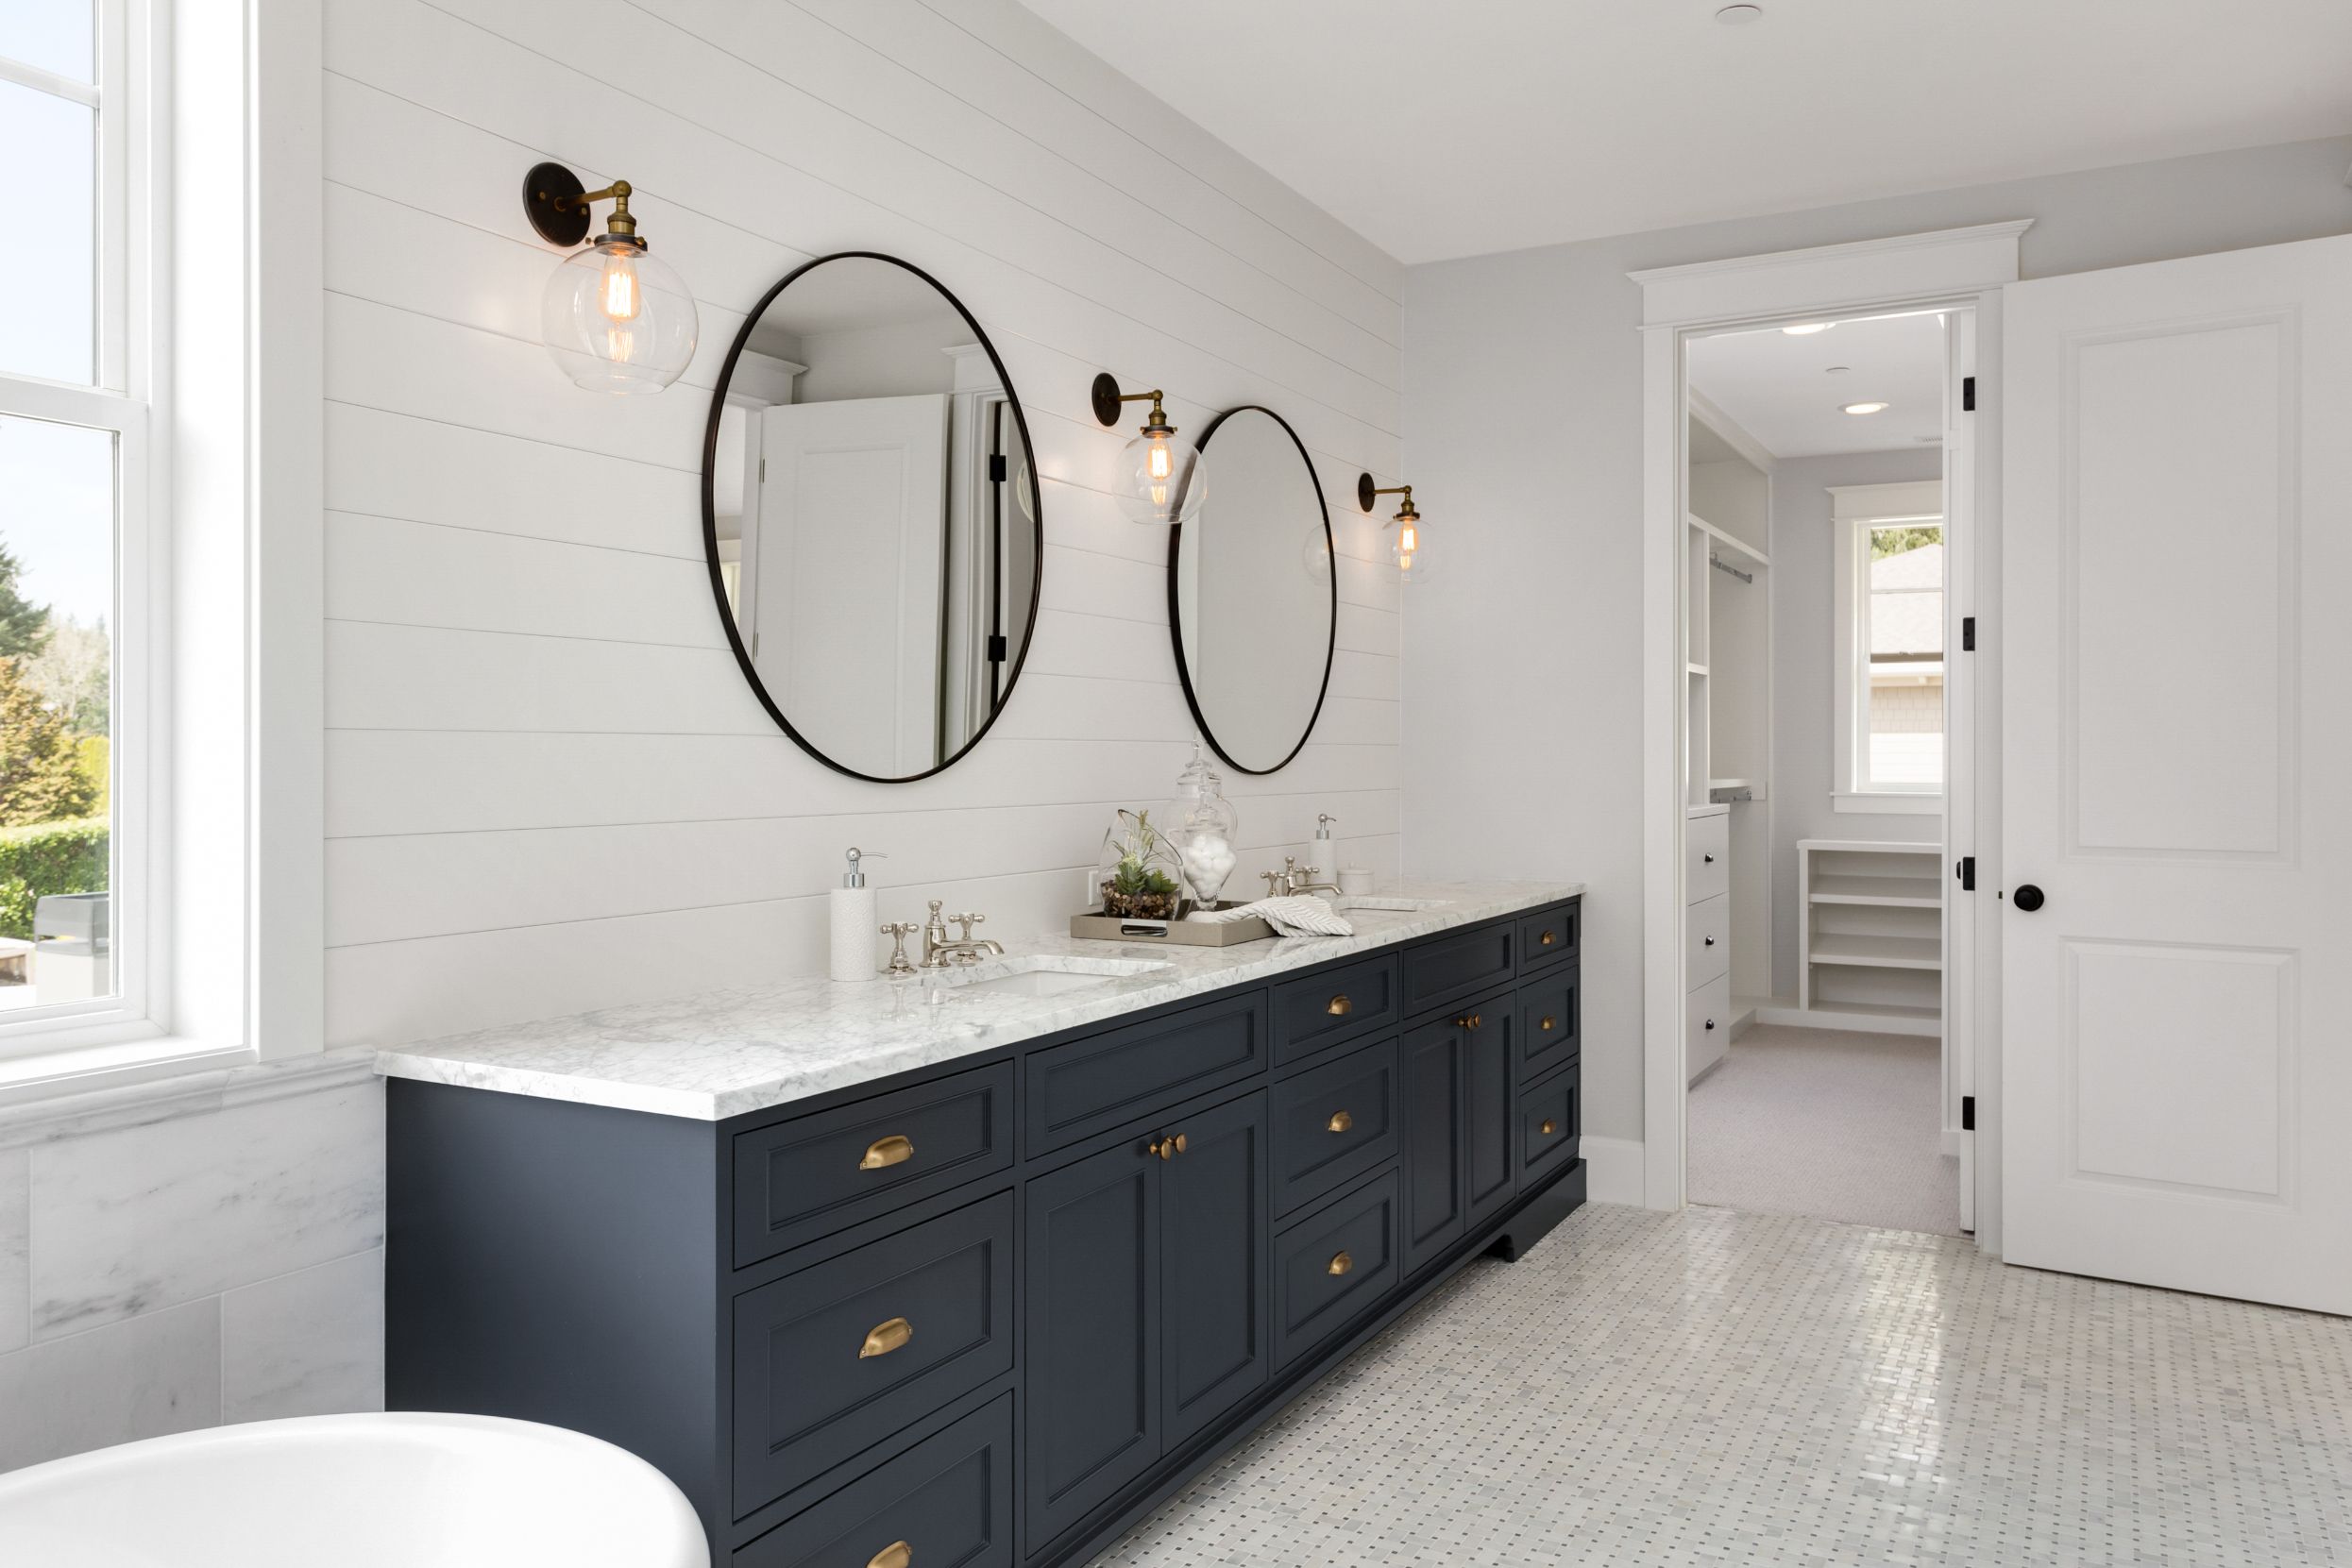 When it comes to designing a bathroom, every detail counts. From the tiles on the floor to the fixtures on the walls, each element plays a role in creating a cohesive and visually appealing space. One often overlooked aspect of bathroom design is the vanity. While it may seem like a simple functional piece, adding feet to your built-in bathroom vanity can elevate the entire design of your bathroom.
Built-in bathroom vanities
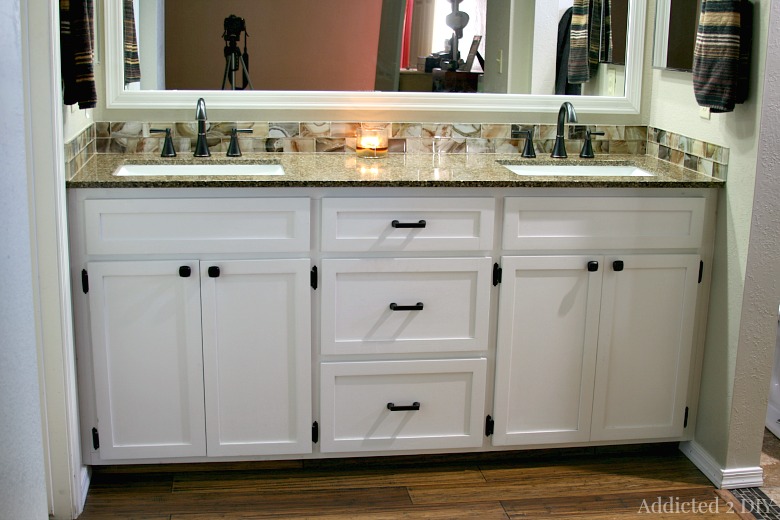
are commonly seen as a practical choice for small spaces, as they save on floor space and provide ample storage. However, they can sometimes appear bulky and lack the visual appeal that a standalone vanity would bring. That's where adding feet can make all the difference.
Create a Focal Point
 Adding feet to your built-in bathroom vanity instantly creates a focal point in the room. By elevating the vanity off the floor, you add dimension and depth to the space. This draws the eye to the vanity, making it the center of attention and adding a touch of elegance to the room.
Feet
come in various styles and designs, allowing you to customize the look of your vanity. From sleek and modern to ornate and traditional, there is a wide range of options to choose from. This allows you to complement the overall style of your bathroom while also adding a unique touch.
Enhance the Aesthetics
 Not only do feet add visual interest to your built-in bathroom vanity, but they also enhance the aesthetics of the entire room. By raising the vanity off the ground, you create the illusion of more space. This is especially beneficial in small bathrooms, as it can make the room feel larger and more open.
Moreover, adding feet to your vanity can help tie together the design of your bathroom. If you have other furniture pieces or decor with similar feet, incorporating them into your vanity design can create a cohesive and cohesive look.
Conclusion
 In conclusion, adding feet to your built-in bathroom vanity can have a significant impact on the overall design and aesthetics of your bathroom. It adds a touch of elegance, creates a focal point, and enhances the visual appeal of the space. So next time you're considering a bathroom renovation, don't overlook the importance of adding feet to your built-in vanity.


/modern-graphic-bathroom-natural-vanity-af5a8dee-ee59fe31171d4a52a3452c28851bee09.jpg)
