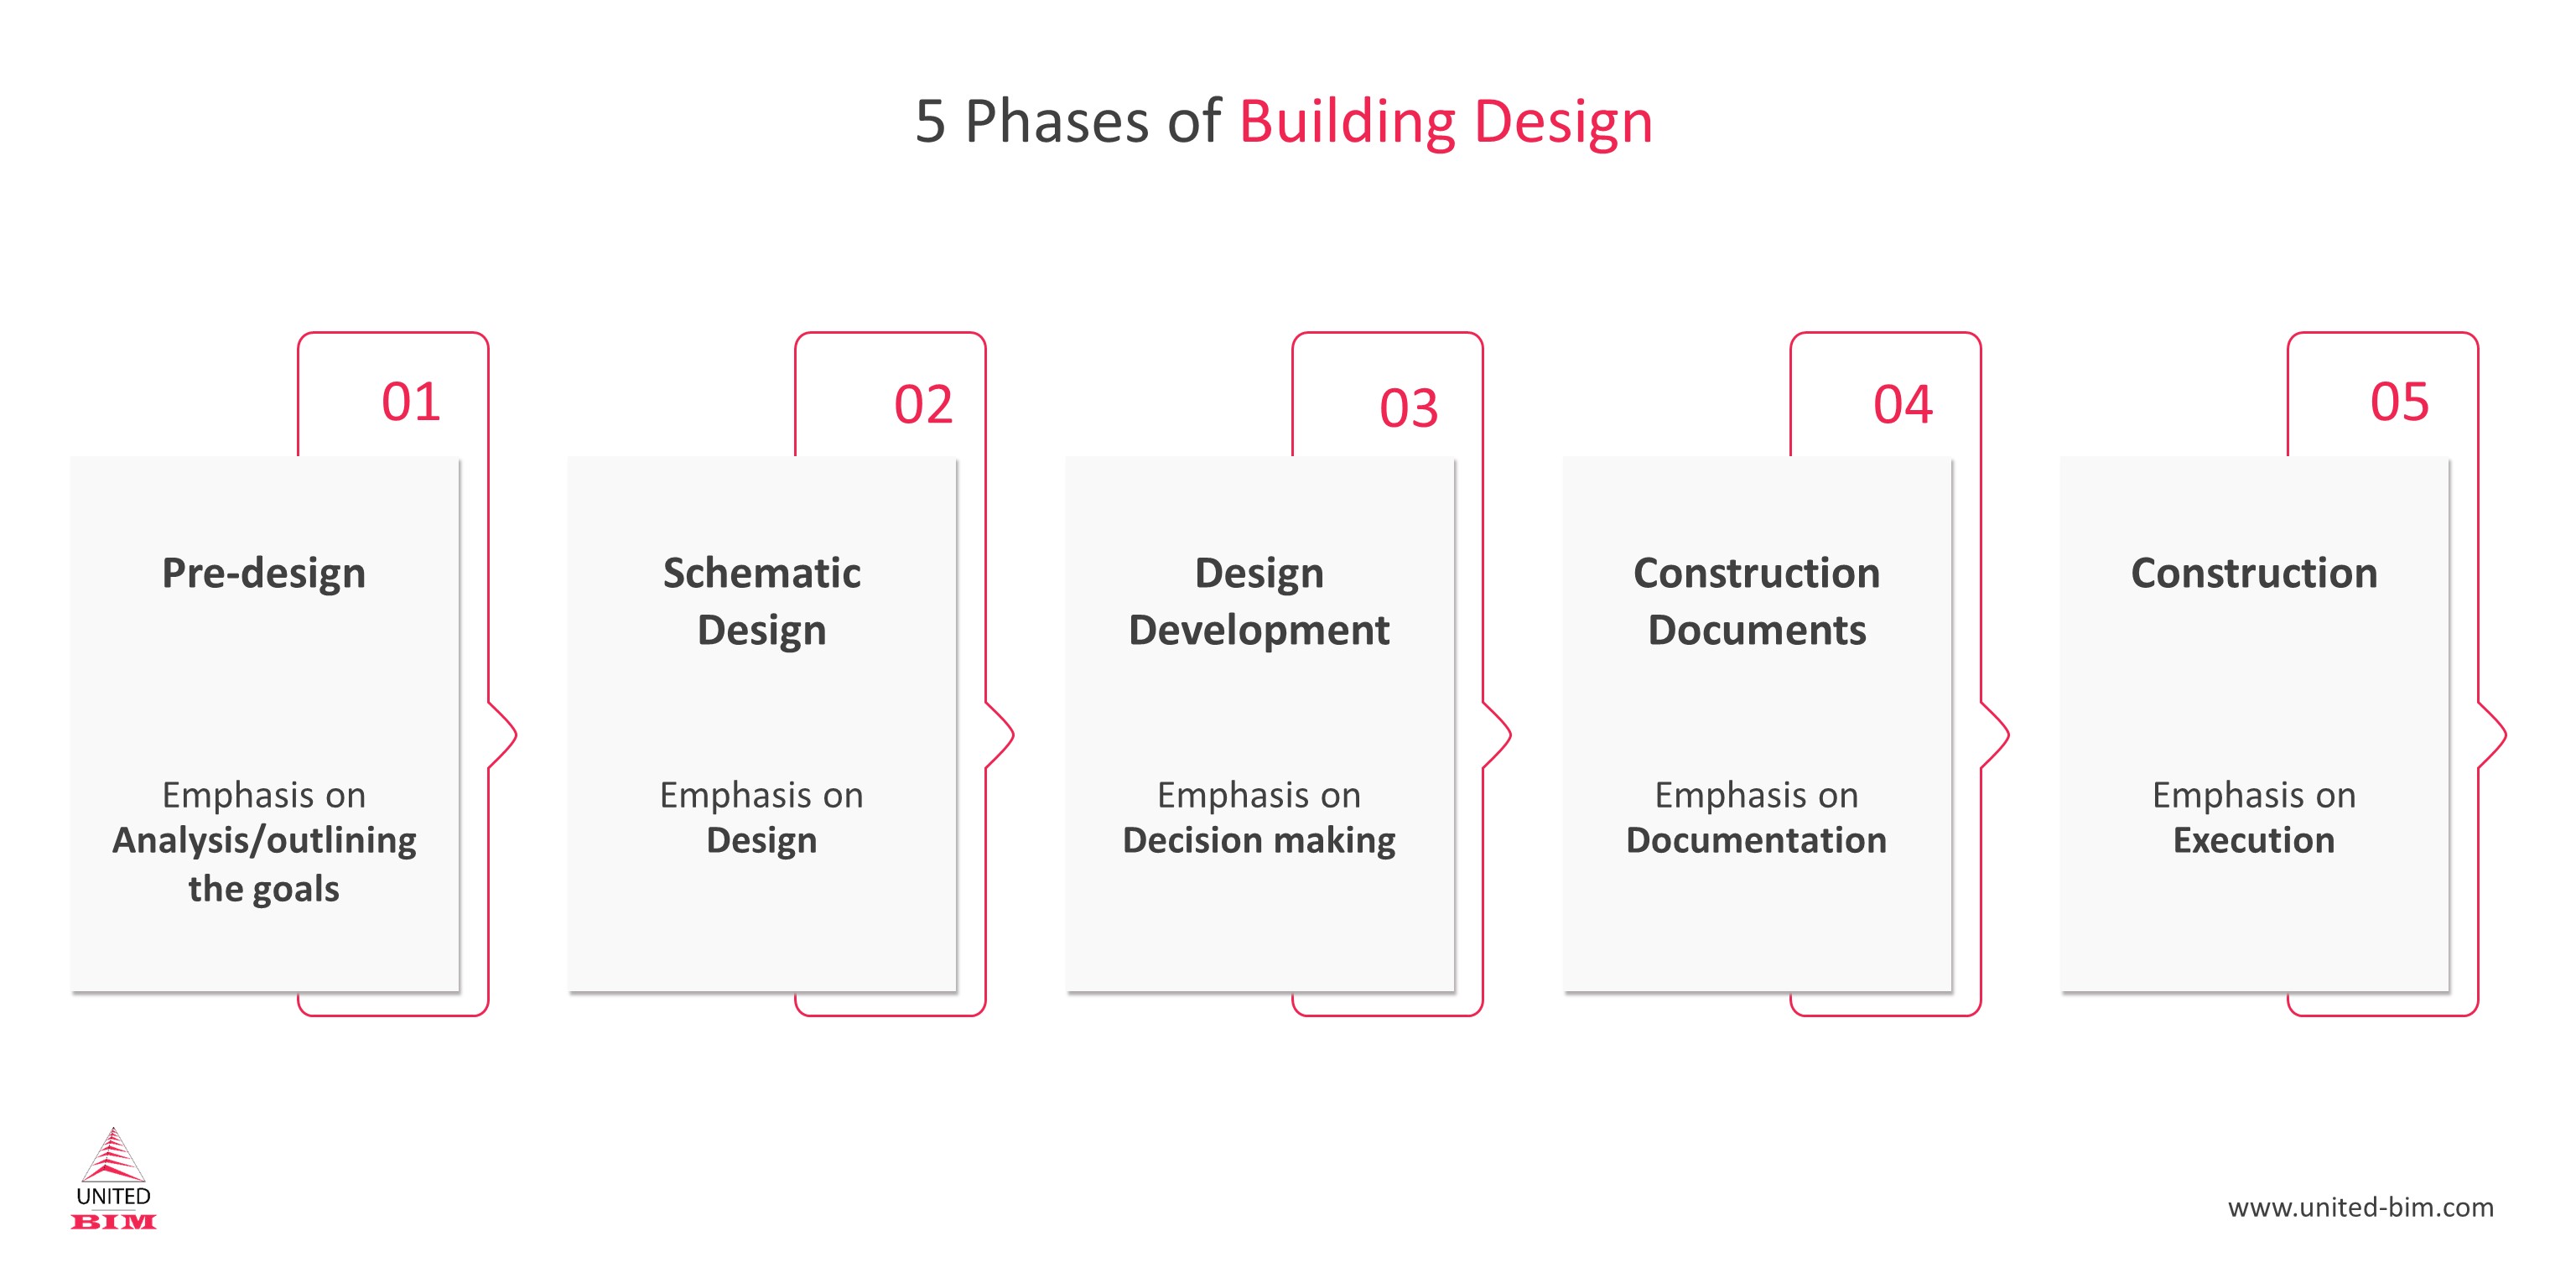
The first step in any successful kitchen project is the planning and design phase. This is where the kitchen designer and homeowner work together to create a vision for the space and determine the functional and aesthetic goals for the project. During this phase, the designer will take measurements of the existing kitchen, discuss budget and style preferences, and create a detailed plan and layout for the new kitchen.1. Planning and Design Phase


1. Planning and Design Phase


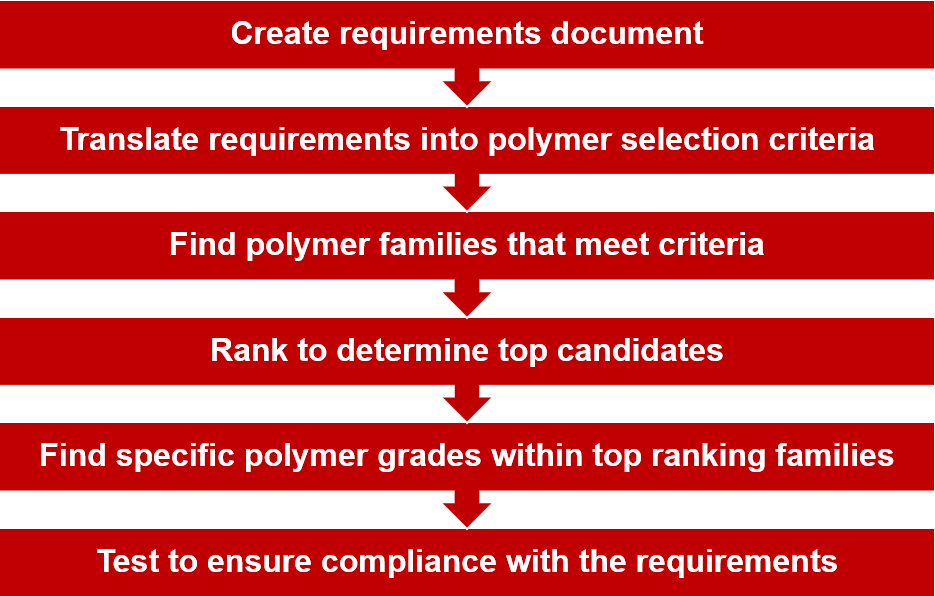
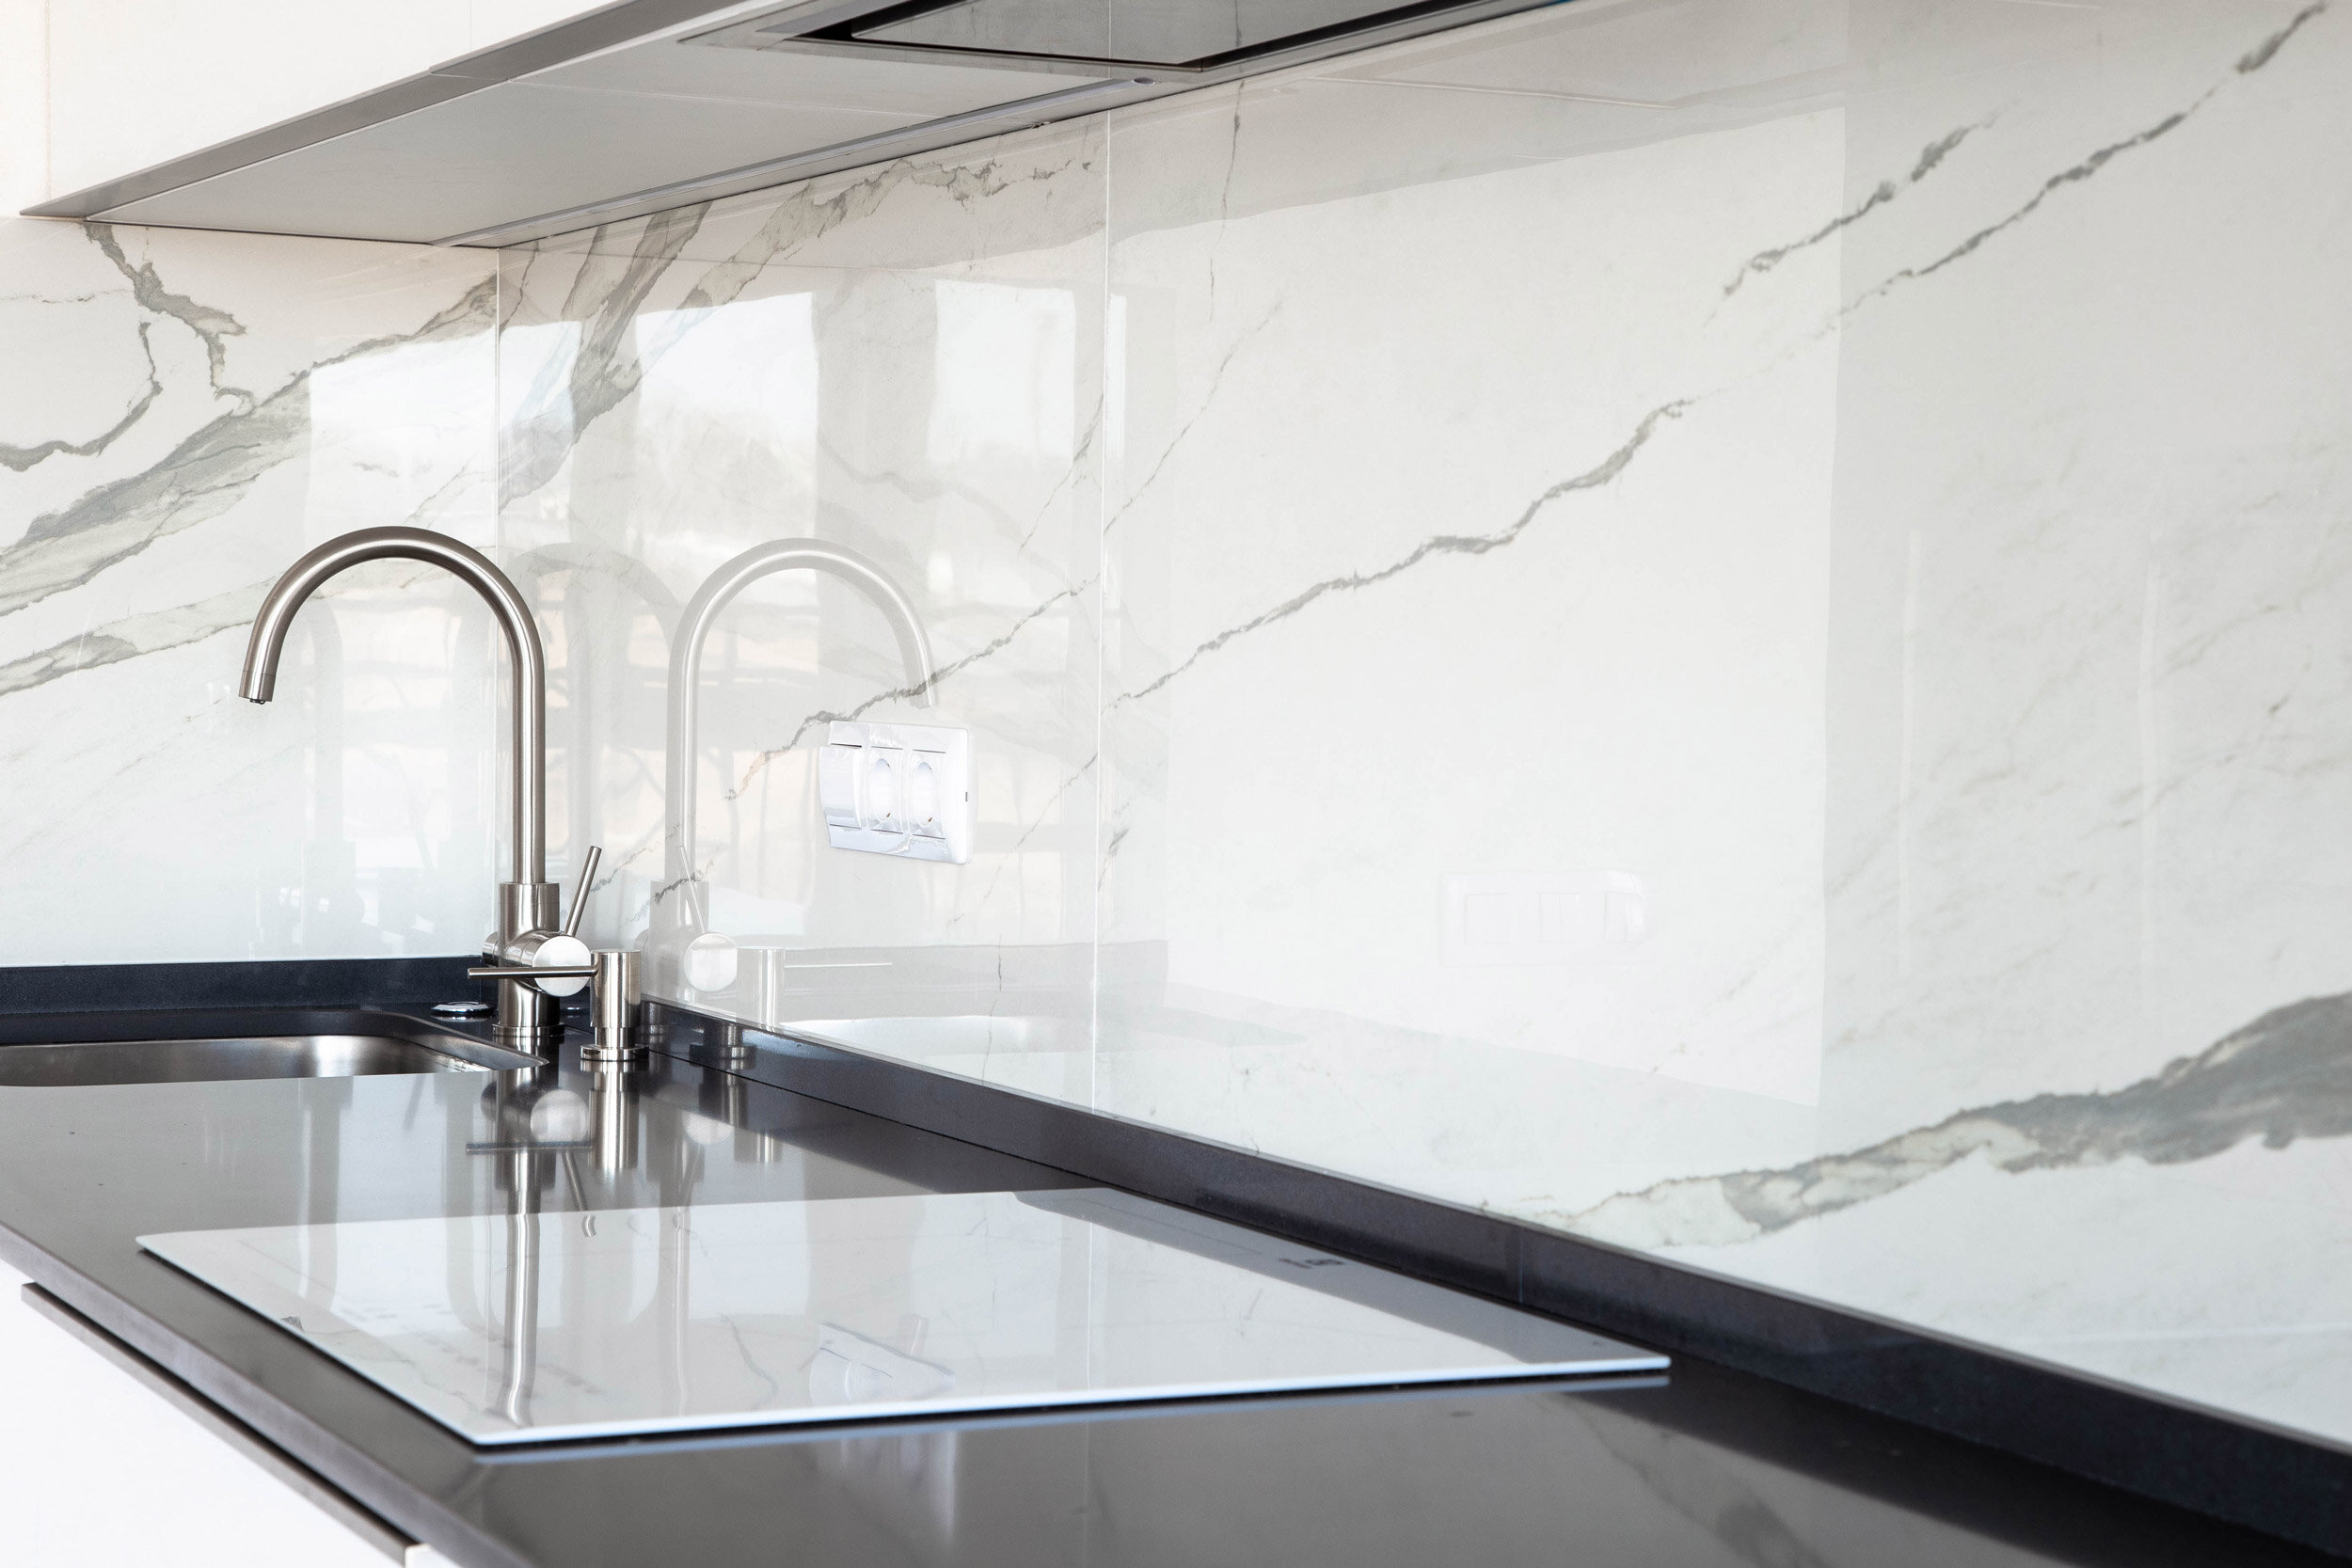
Once the design has been finalized, it's time to select the materials for the new kitchen. This includes cabinets, countertops, flooring, backsplash, and any other necessary materials. The designer will work with the homeowner to choose the best options based on the budget and design goals. Once the materials have been selected, the designer will place the orders and ensure that everything is delivered on time.2. Material Selection and Ordering

.png?width=800&height=2000&name=Material Selection Tips to Maximize Value and Profit (1).png)

2. Material Selection and Ordering


With the materials ordered, it's time to start the actual construction process. This typically begins with demolition and prep work, which involves removing old cabinets, countertops, and appliances, and preparing the space for the new materials. This can be a messy and time-consuming process, but it's a necessary step to ensure a smooth installation process.3. Demolition and Prep Work

3. Demolition and Prep Work


Once the space is cleared and ready, the next step is to address any necessary electrical and plumbing work. This may involve moving or adding new outlets, installing new lighting fixtures, or rerouting plumbing for new sinks or appliances. It's important to have a licensed professional handle this work to ensure everything is up to code and done correctly.4. Electrical and Plumbing Work


4. Electrical and Plumbing Work


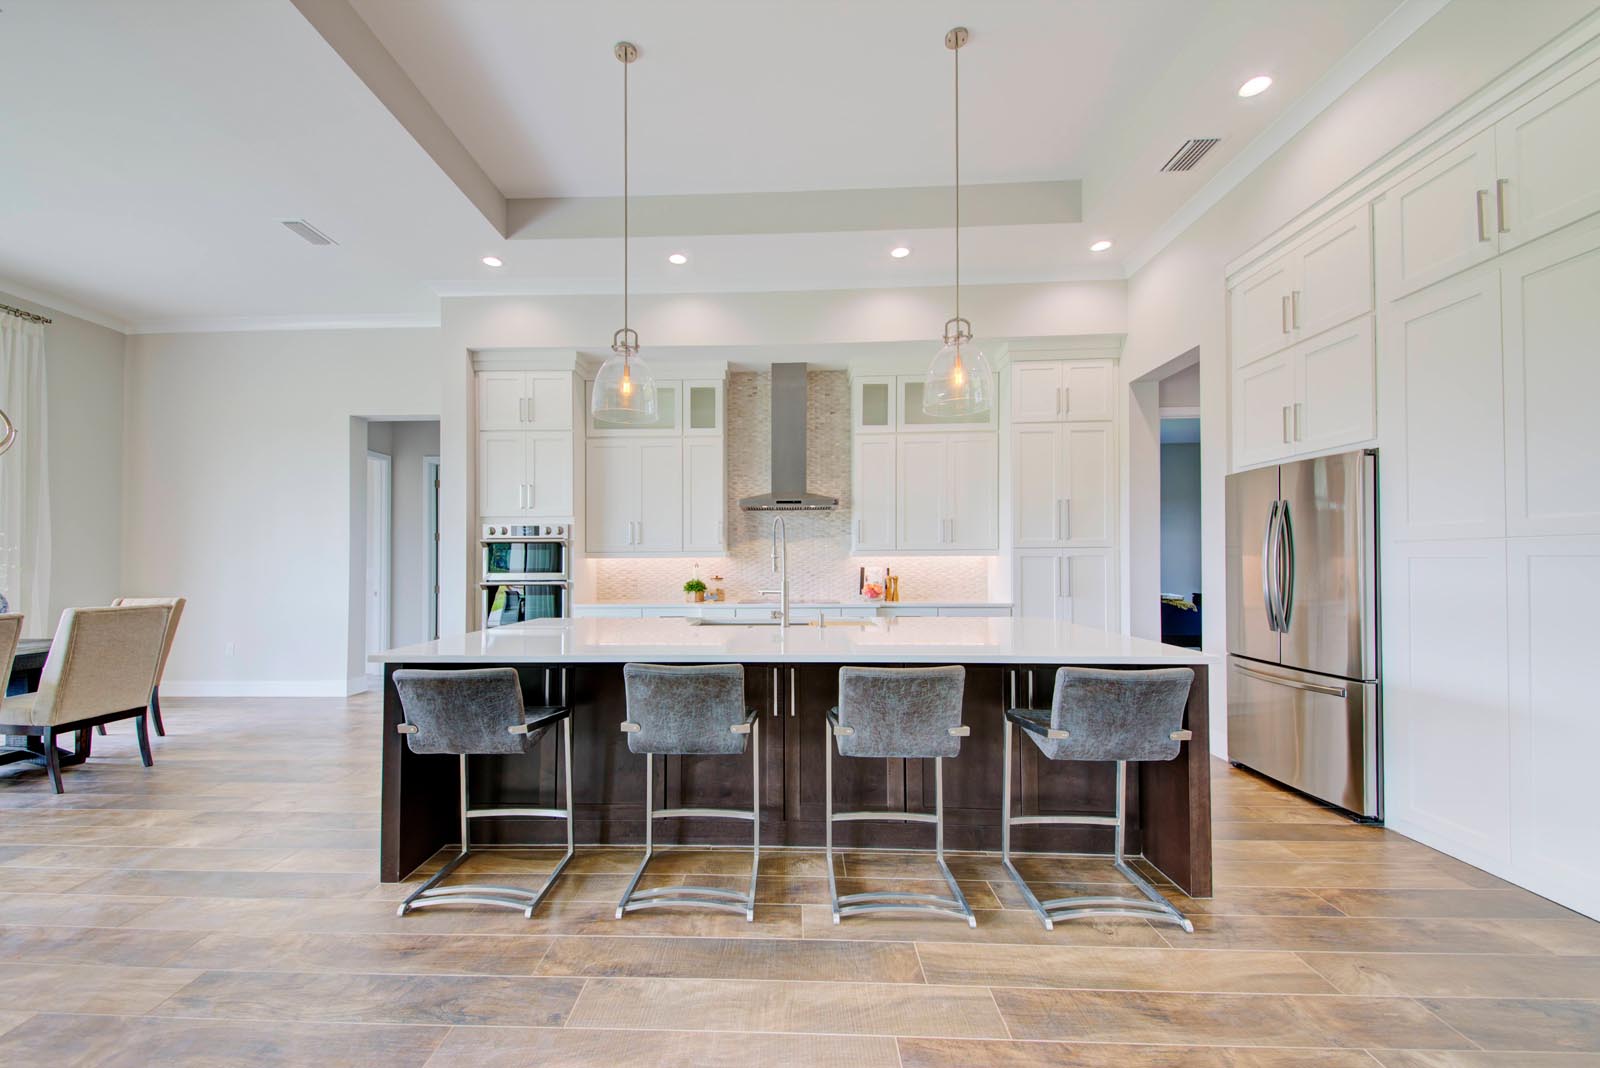
Once the electrical and plumbing work is complete, it's time to start installing the new cabinets and countertops. This is where the kitchen really starts to take shape and the homeowner can see their vision come to life. The installation process may take a few days, depending on the complexity of the design and the size of the kitchen.5. Installation of Cabinets and Countertops


5. Installation of Cabinets and Countertops


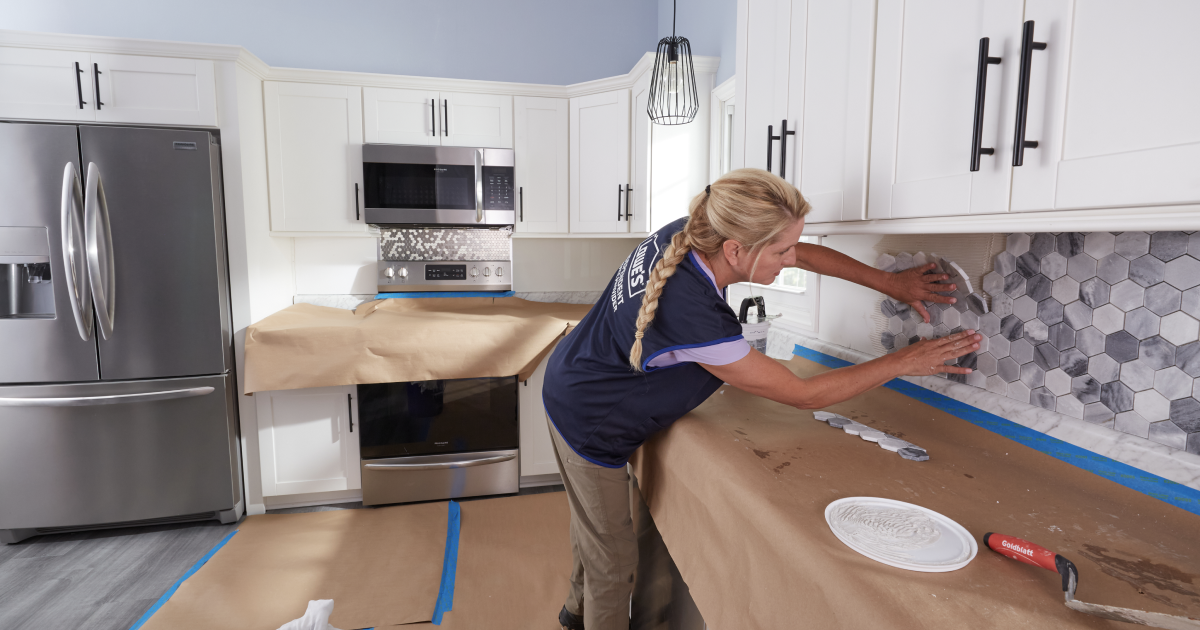
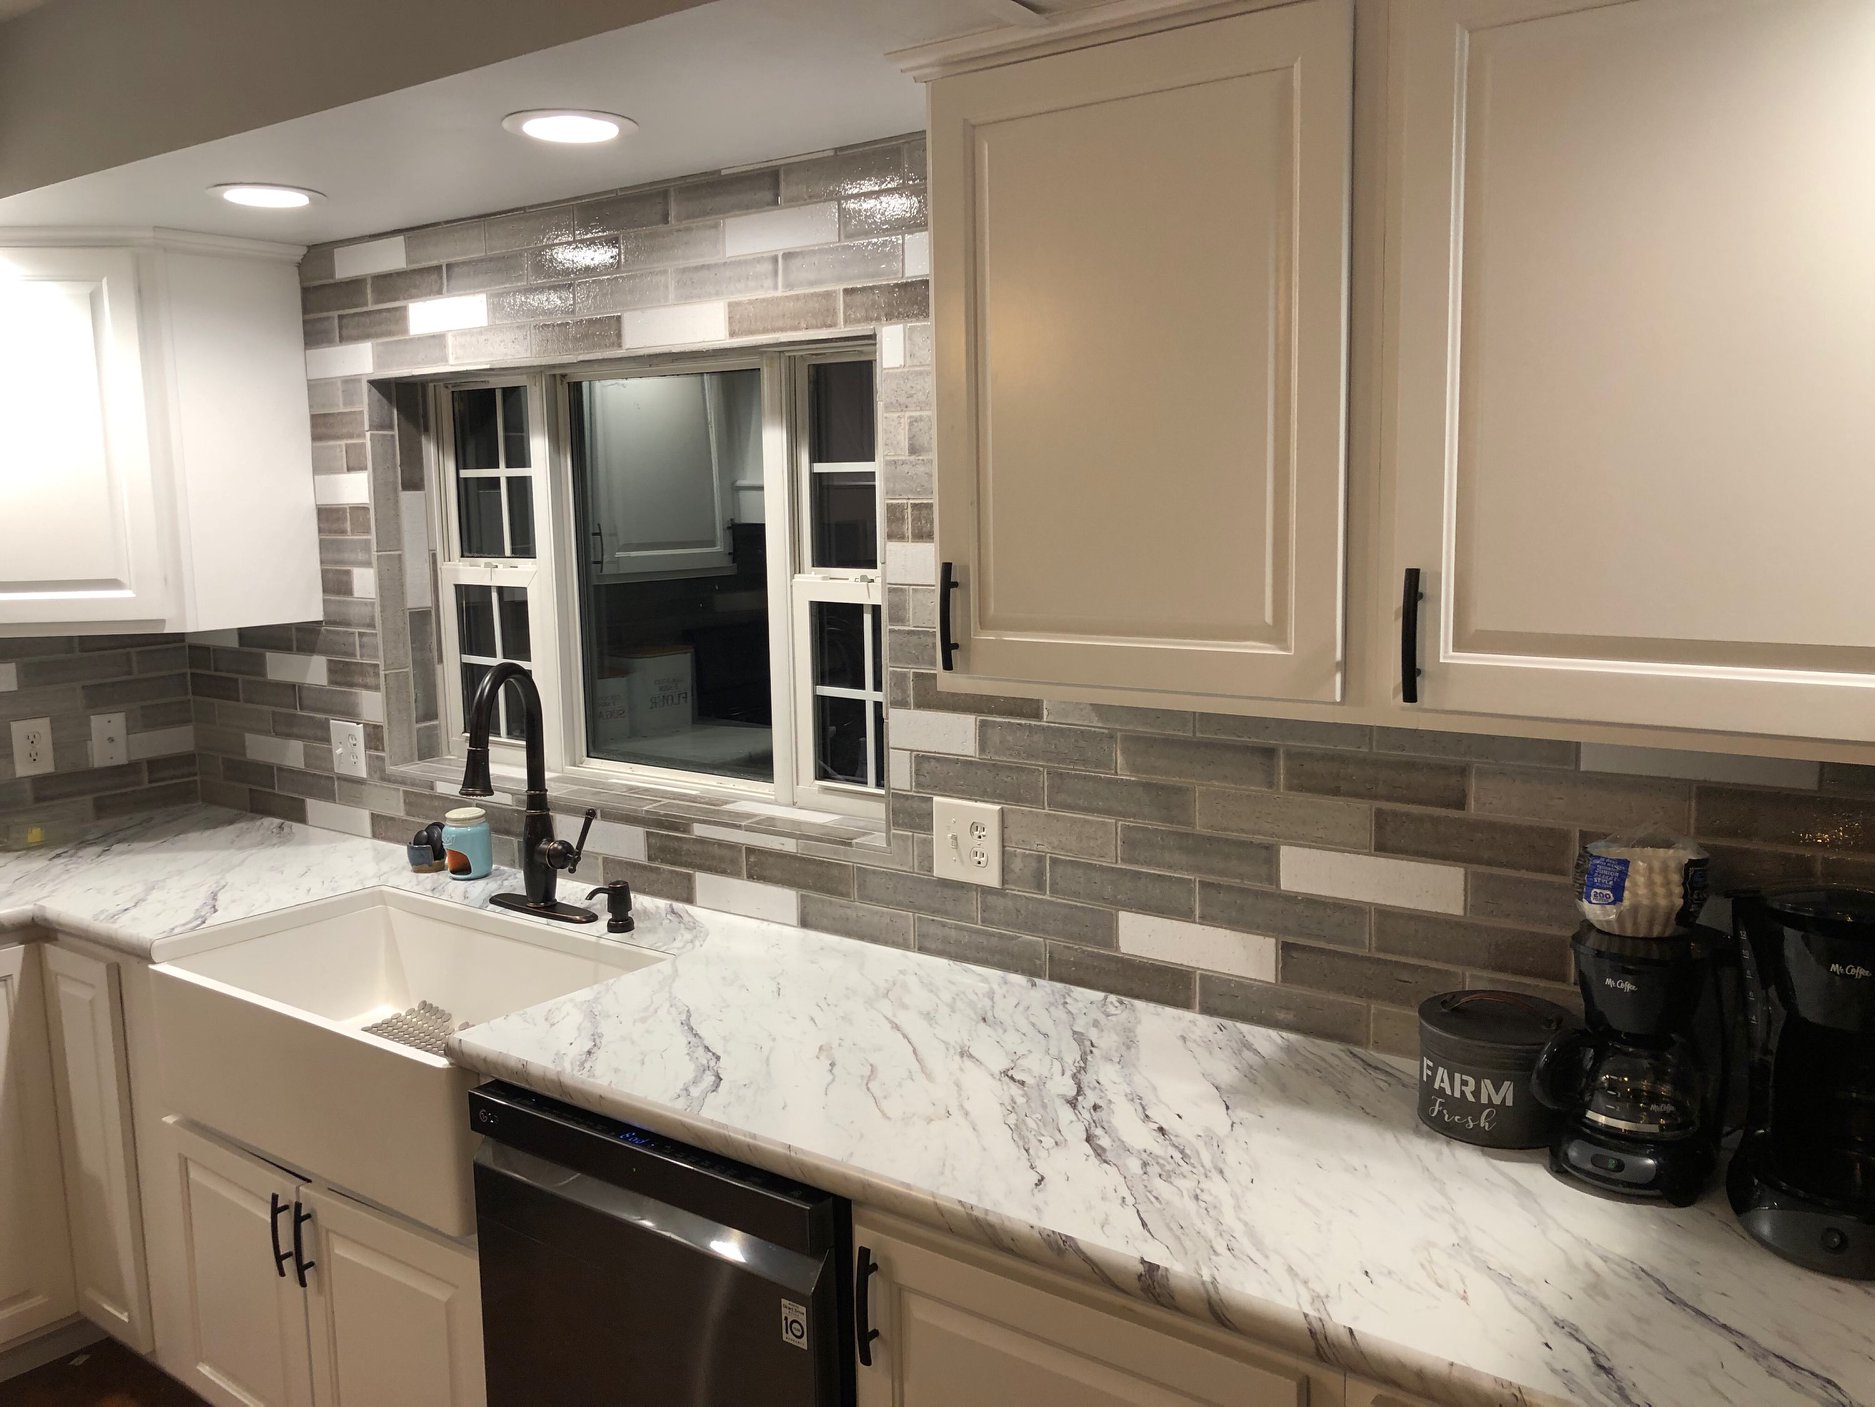
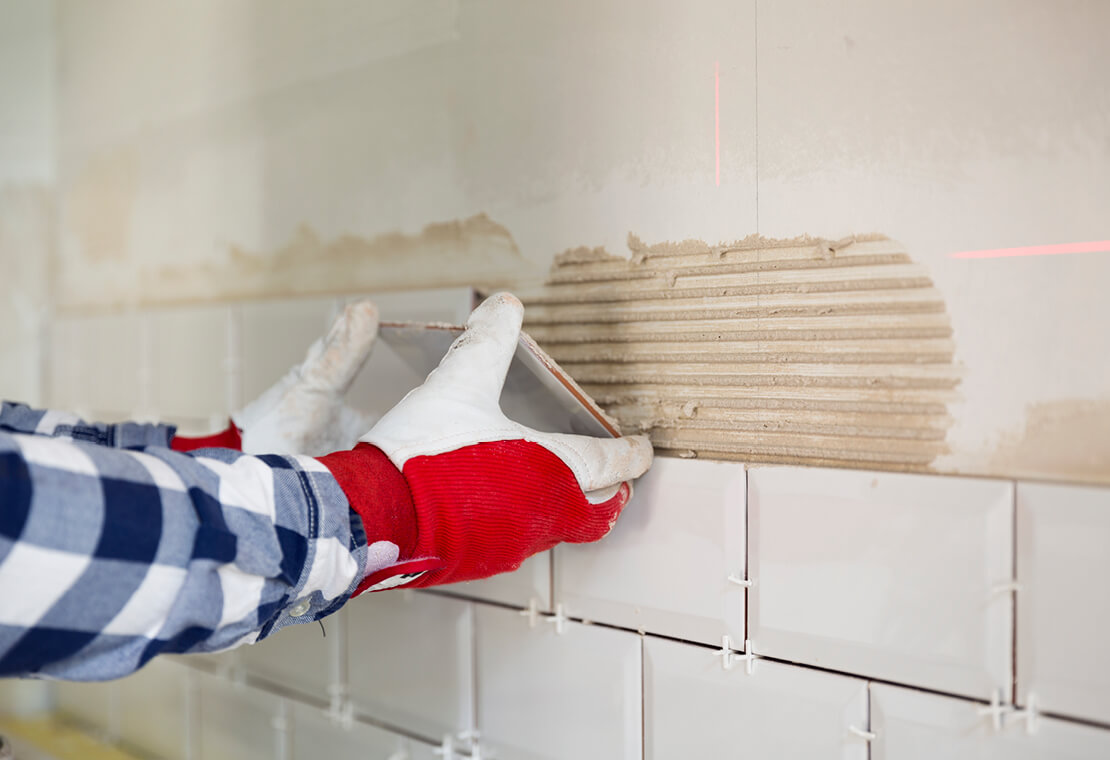
With the cabinets and countertops in place, the next step is to install the flooring and backsplash. These finishing touches can make a big impact on the overall look and feel of the kitchen. The designer will work with the homeowner to choose the best options that complement the cabinets and countertops. The installation process may take a day or two, depending on the size of the kitchen.6. Flooring and Backsplash Installation


6. Flooring and Backsplash Installation


Once the major construction work is complete, it's time to install the appliances. This includes the refrigerator, stove, oven, microwave, and any other necessary appliances. The designer will ensure that everything is installed correctly and functioning properly before moving on to the final touches.7. Appliance Installation


7. Appliance Installation


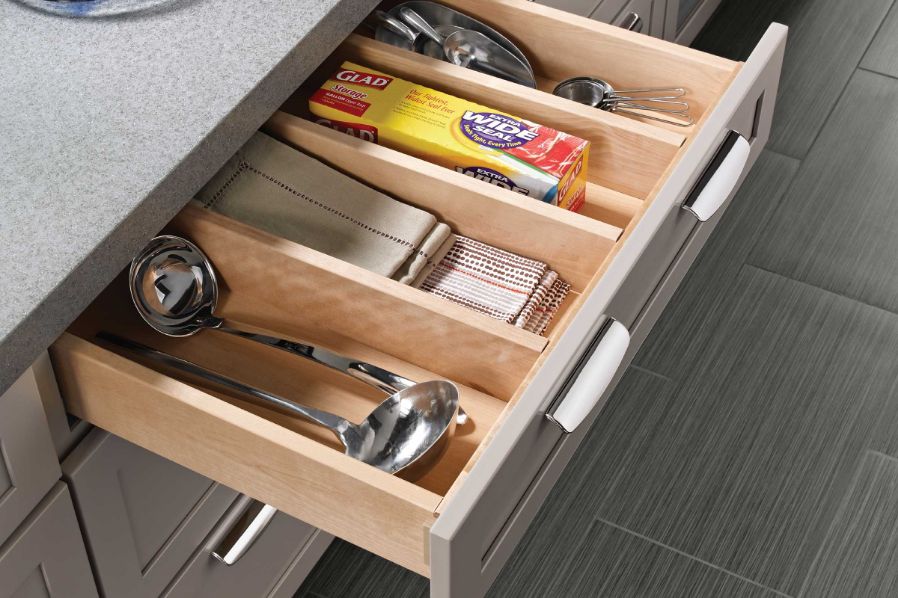
The final step in the construction process is to add the finishing touches and clean up the space. This may include installing cabinet hardware, adding trim or molding, and making any necessary adjustments. The designer will also ensure that the space is clean and ready for use before the final inspection and walkthrough.8. Finishing Touches and Clean Up


8. Finishing Touches and Clean Up


Before considering the project complete, the designer will conduct a final inspection and walkthrough with the homeowner. This is to ensure that everything meets the agreed-upon design and quality standards. Any necessary touch-ups or adjustments will be made at this time.9. Final Inspection and Walkthrough
9. Final Inspection and Walkthrough


With the final inspection and walkthrough complete, the project is officially finished. The kitchen designer will provide the homeowner with any necessary care instructions and follow-up to ensure that everything is functioning correctly and that the homeowner is satisfied with the end result. This is also a great opportunity for the homeowner to provide feedback and reviews for the kitchen design company.10. Project Completion and Follow-Up
10. Project Completion and Follow-Up


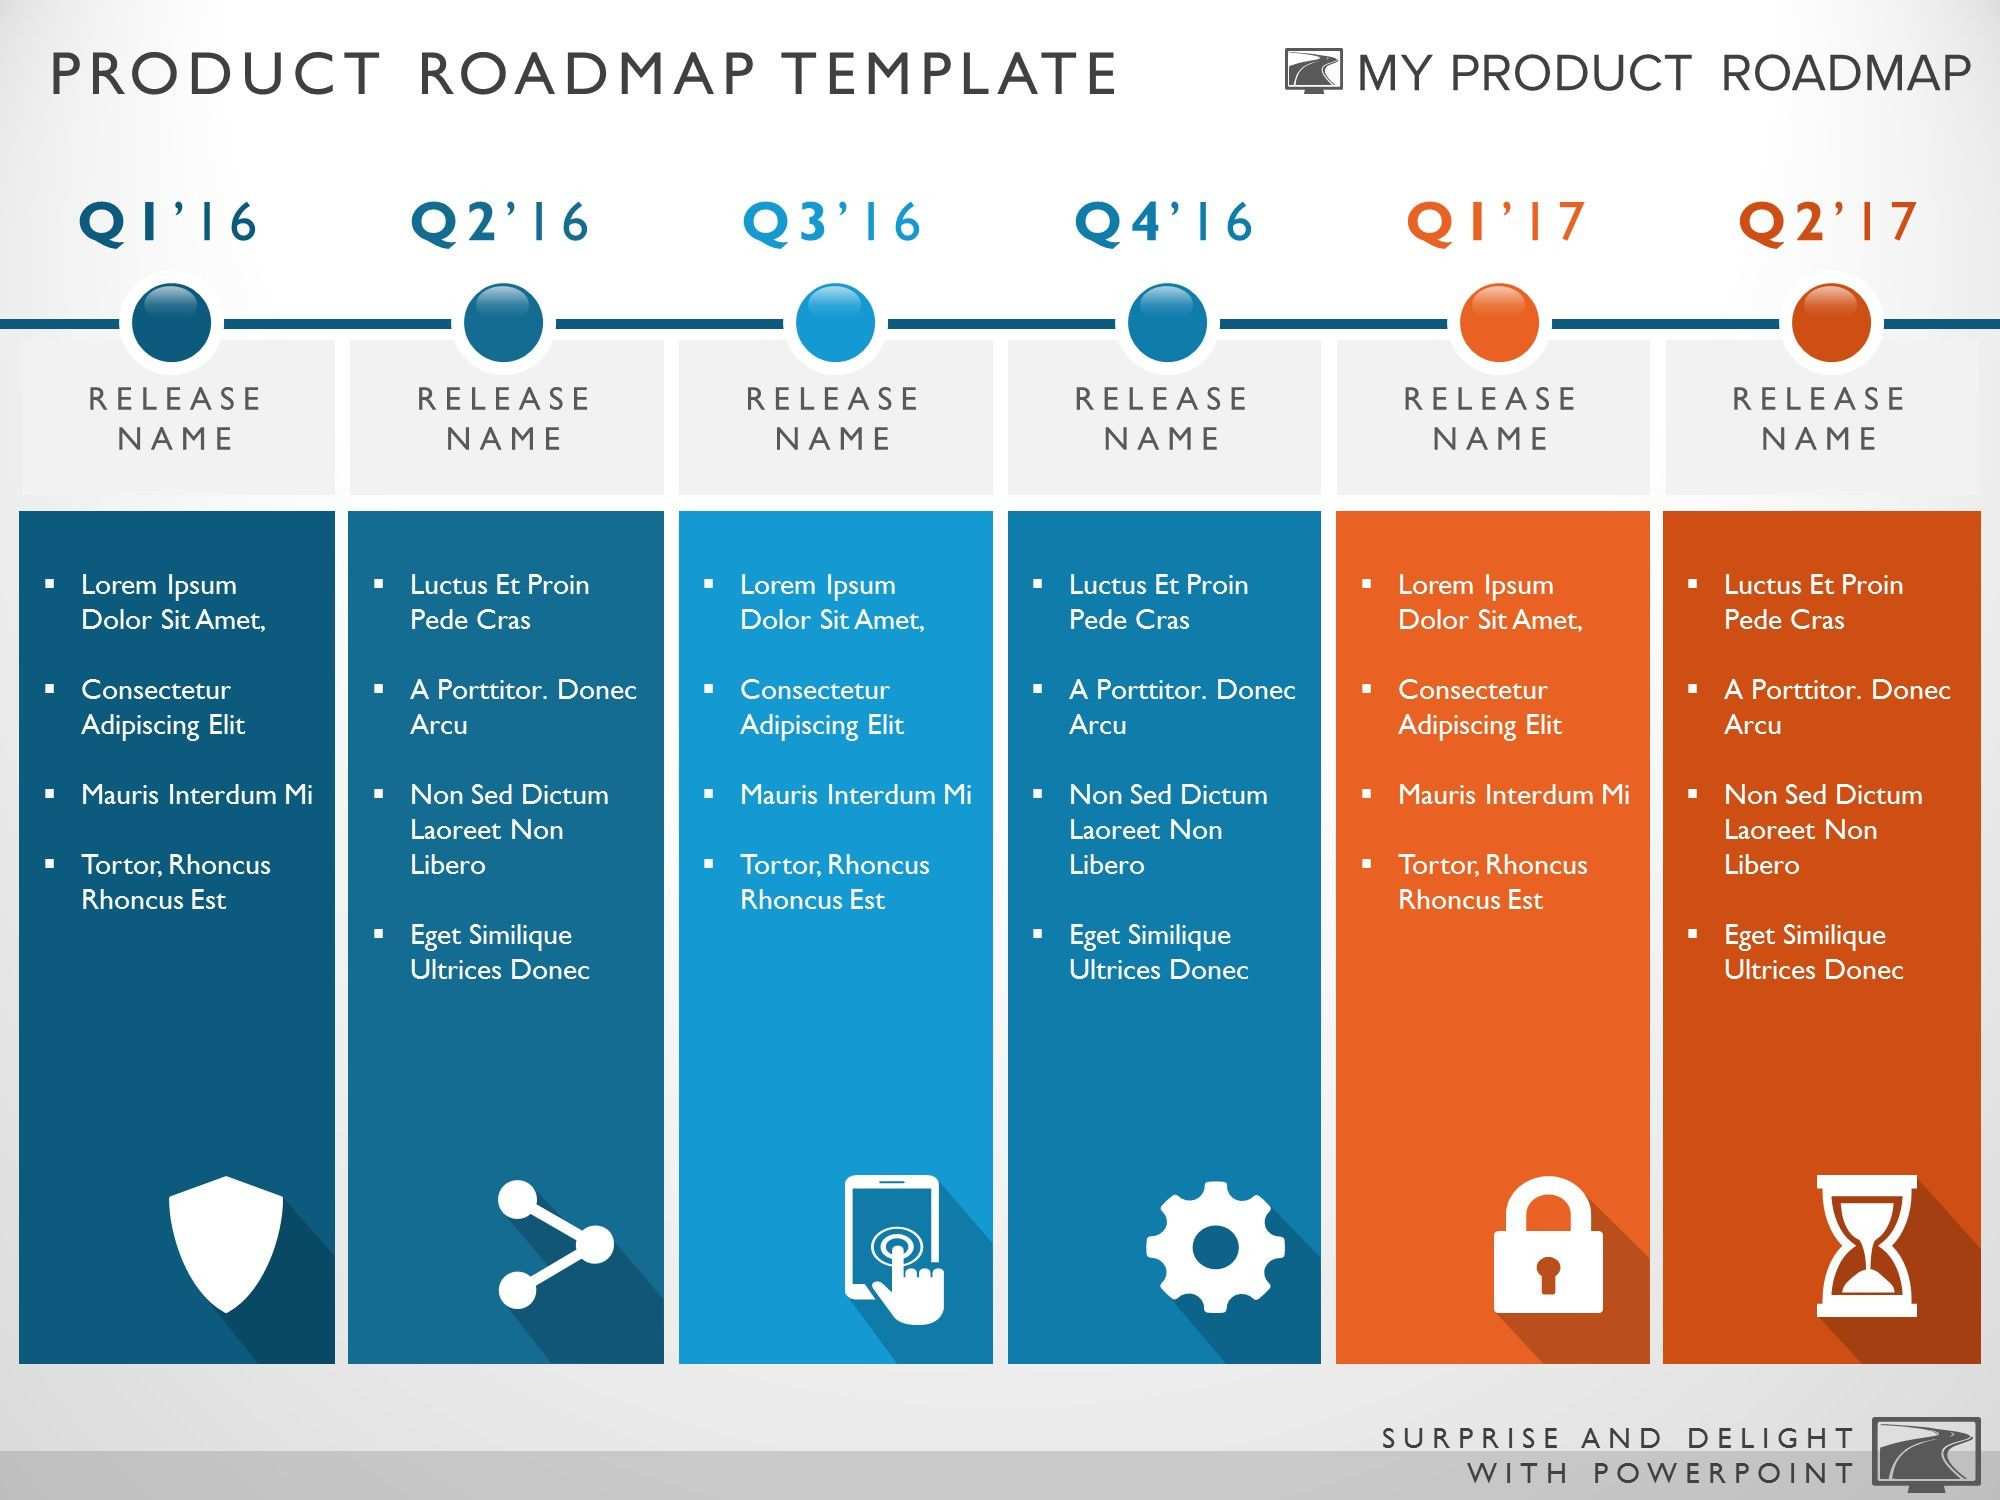
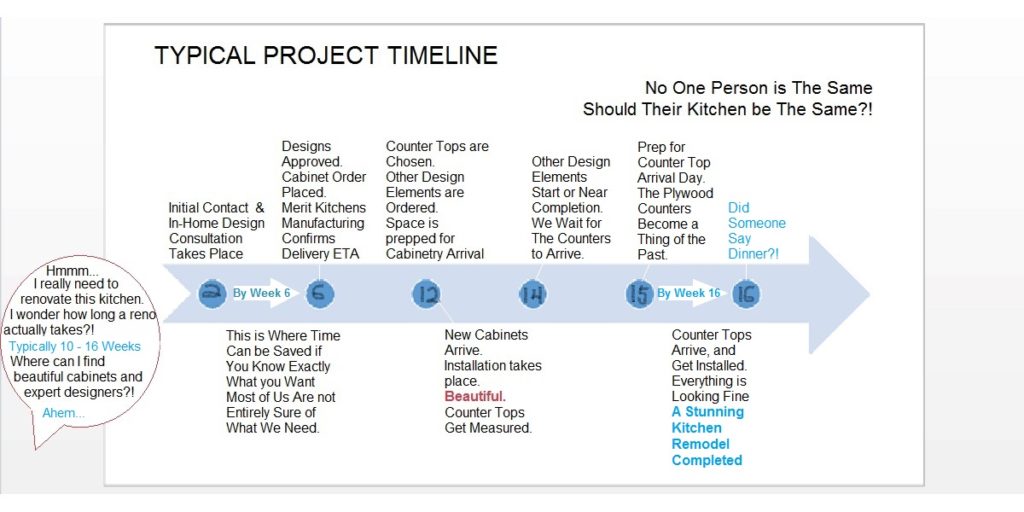
Project Timeline for Kitchen Designers
Understanding the Importance of a Project Timeline
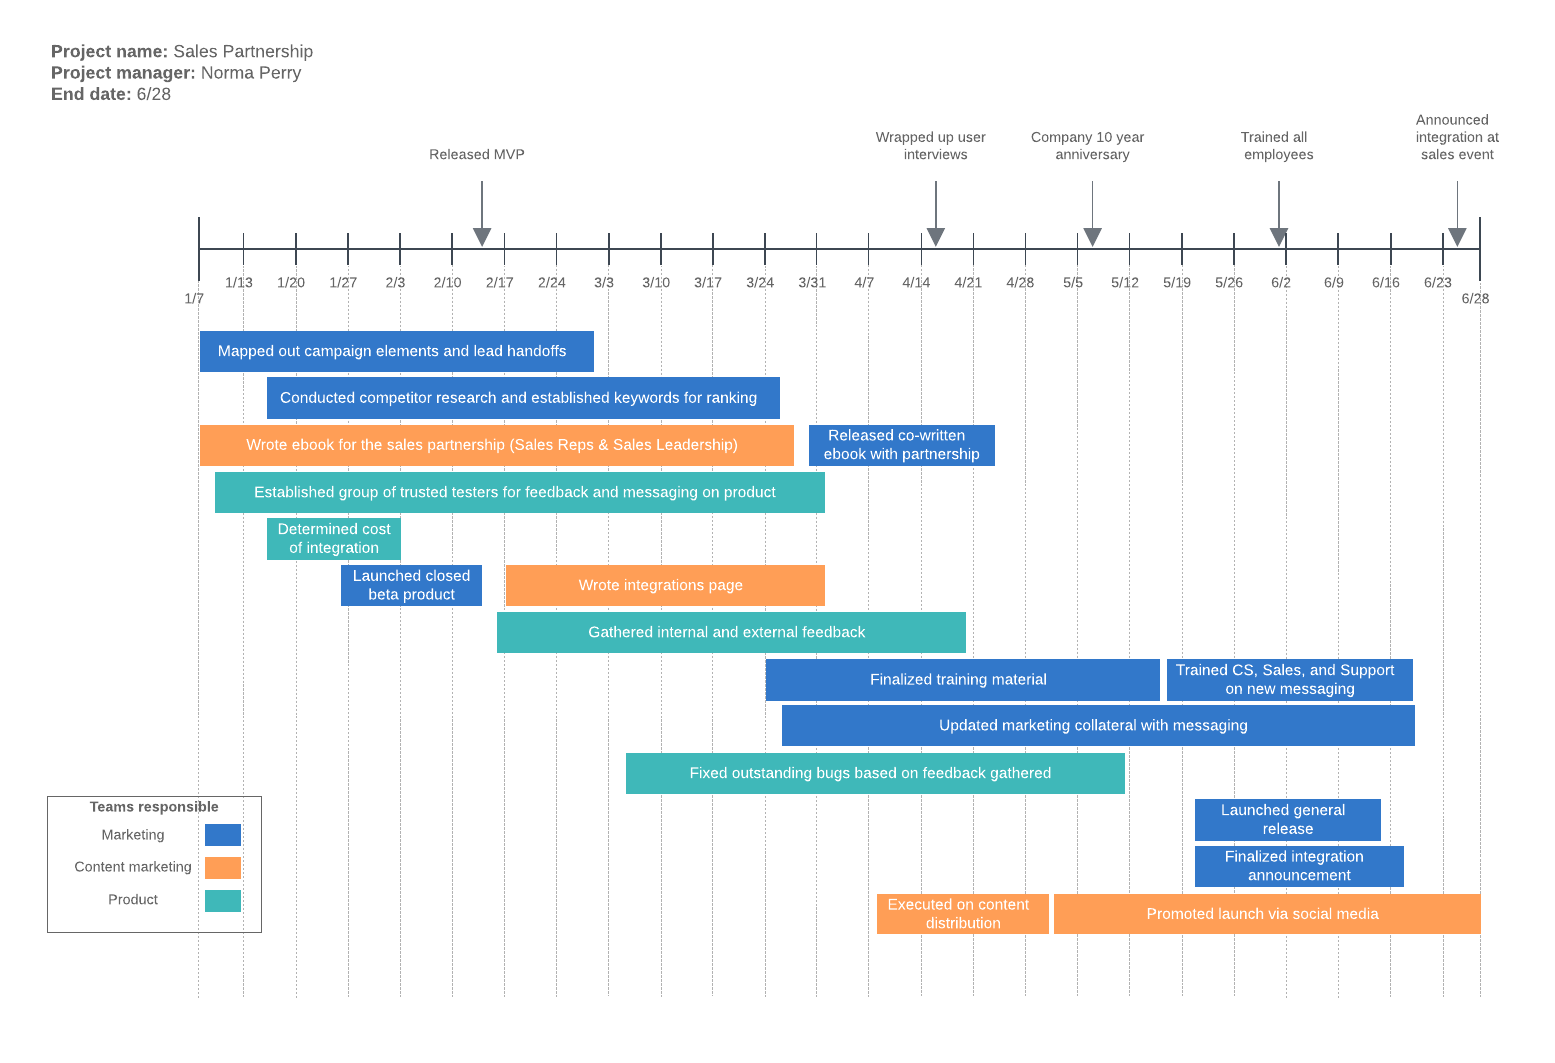 As a kitchen designer, your ultimate goal is to create a space that is not only aesthetically pleasing but also functional for your clients. However, the process of designing a kitchen can be time-consuming and overwhelming, especially when working with multiple clients. This is where having a project timeline becomes crucial. A project timeline helps you stay organized, on track, and ultimately deliver a successful project to your clients. In this article, we will discuss the essential elements of a project timeline for kitchen designers.
Step 1: Initial Consultation and Concept Development
 The first step in any kitchen design project is to meet with your clients and understand their needs and vision for their space. This initial consultation usually takes place in the client's home, where you can take measurements and assess the current layout. During this phase, it is important to
listen carefully to your clients' needs and preferences
to develop a concept that aligns with their vision. This step can take anywhere from 1-2 weeks, depending on the complexity of the project.
The first step in any kitchen design project is to meet with your clients and understand their needs and vision for their space. This initial consultation usually takes place in the client's home, where you can take measurements and assess the current layout. During this phase, it is important to
listen carefully to your clients' needs and preferences
to develop a concept that aligns with their vision. This step can take anywhere from 1-2 weeks, depending on the complexity of the project.
Step 2: Design Development and Presentation
 Once you have a clear understanding of your clients' needs, the next step is to develop a design concept. This involves creating detailed floor plans, elevations, and 3D renderings to give your clients a visual representation of the final product. This phase can take 2-4 weeks, depending on the scope of the project.
It is essential to involve your clients in the design development process
and present them with options to ensure their satisfaction with the final design.
Once you have a clear understanding of your clients' needs, the next step is to develop a design concept. This involves creating detailed floor plans, elevations, and 3D renderings to give your clients a visual representation of the final product. This phase can take 2-4 weeks, depending on the scope of the project.
It is essential to involve your clients in the design development process
and present them with options to ensure their satisfaction with the final design.
Step 3: Material Selection and Ordering
 After the design is finalized and approved by your clients, it is time to select the materials and finishes for the project. This includes cabinets, countertops, flooring, and appliances. Depending on the availability of materials, this phase can take 2-3 weeks. It is crucial to
keep your clients informed and updated
on any potential delays or issues with material selection or ordering.
After the design is finalized and approved by your clients, it is time to select the materials and finishes for the project. This includes cabinets, countertops, flooring, and appliances. Depending on the availability of materials, this phase can take 2-3 weeks. It is crucial to
keep your clients informed and updated
on any potential delays or issues with material selection or ordering.
Step 4: Construction and Installation
 The construction and installation phase is the most time-consuming part of any kitchen design project. It involves demolition, plumbing, electrical work, and installation of cabinets, countertops, and appliances. This phase can take anywhere from 4-8 weeks, depending on the size and complexity of the project. It is important to
oversee the progress of the construction
and address any issues that may arise promptly.
The construction and installation phase is the most time-consuming part of any kitchen design project. It involves demolition, plumbing, electrical work, and installation of cabinets, countertops, and appliances. This phase can take anywhere from 4-8 weeks, depending on the size and complexity of the project. It is important to
oversee the progress of the construction
and address any issues that may arise promptly.
Step 5: Final Touches and Project Completion
 The final step in the project timeline is to add the finishing touches and complete any remaining tasks to ensure the project is ready for use. This includes installing hardware, painting, and cleaning the space. This phase typically takes 1-2 weeks. Once everything is completed, it is time for the final reveal to your clients!
Conclusion
 Having a well-planned and organized project timeline is crucial for any kitchen designer. It not only helps you stay on track and meet deadlines but also ensures a successful and satisfactory project for your clients. By following the steps outlined above, you can create a smooth and efficient process for your kitchen design projects.