If you're planning to paint your kitchen walls, it's important to take the necessary steps to prepare them beforehand. Prewashing your kitchen walls is an essential part of the process, as it helps to remove any dirt, grease, and grime that can hinder the paint from properly adhering to the surface. Not sure how to prewash your kitchen walls? Don't worry, we've got you covered! Here are our top 10 tips for prewashing your kitchen walls.How to Prewash Kitchen Walls


How to Prewash Kitchen Walls


Before you start prewashing your kitchen walls, it's important to gather all the necessary supplies. This includes a mild detergent, warm water, a sponge or soft cloth, and a bucket. You may also want to have a scrub brush on hand for tougher stains. Once you have all your supplies ready, you can begin the prewashing process.Best Way to Prewash Kitchen Walls


Best Way to Prewash Kitchen Walls


Prewashing your kitchen walls doesn't have to be a daunting task. In fact, you can easily make your own prewash solution using ingredients you may already have in your kitchen. Mix equal parts of vinegar and warm water in a spray bottle and use it to prewash your walls. The vinegar helps to cut through grease and grime, leaving your walls clean and ready for painting.DIY Prewash Kitchen Walls


DIY Prewash Kitchen Walls


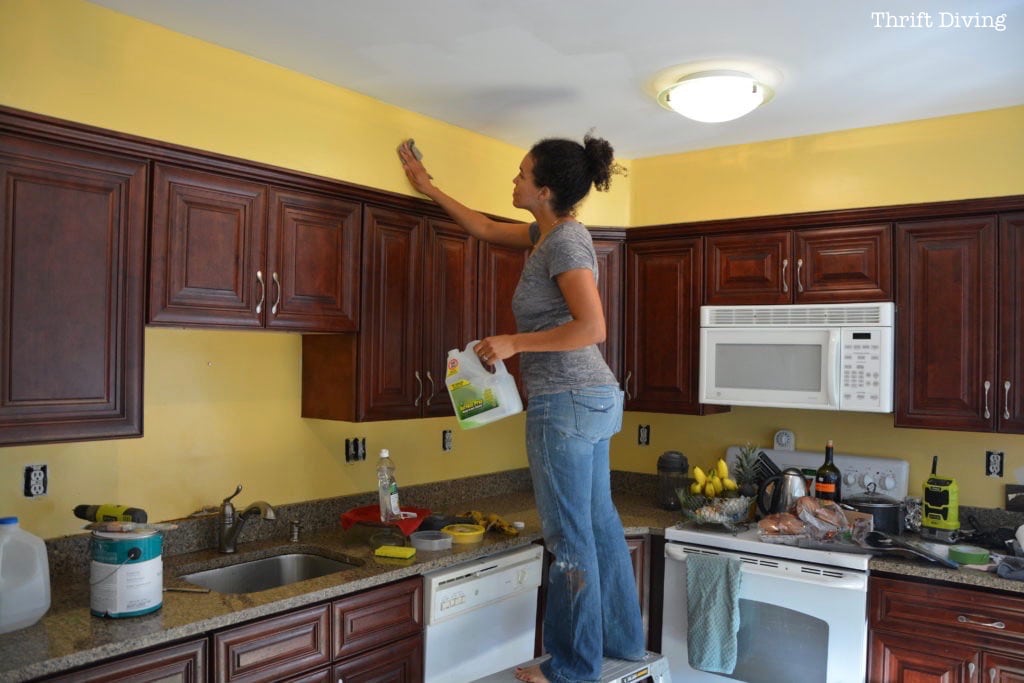
When prewashing your kitchen walls, it's important to work in small sections at a time. This ensures that the prewash solution doesn't dry on the walls before you have a chance to wipe it off. You should also start at the top of the wall and work your way down, as gravity can cause the solution to drip down and create streaks.Prewashing Tips for Kitchen Walls


Prewashing Tips for Kitchen Walls
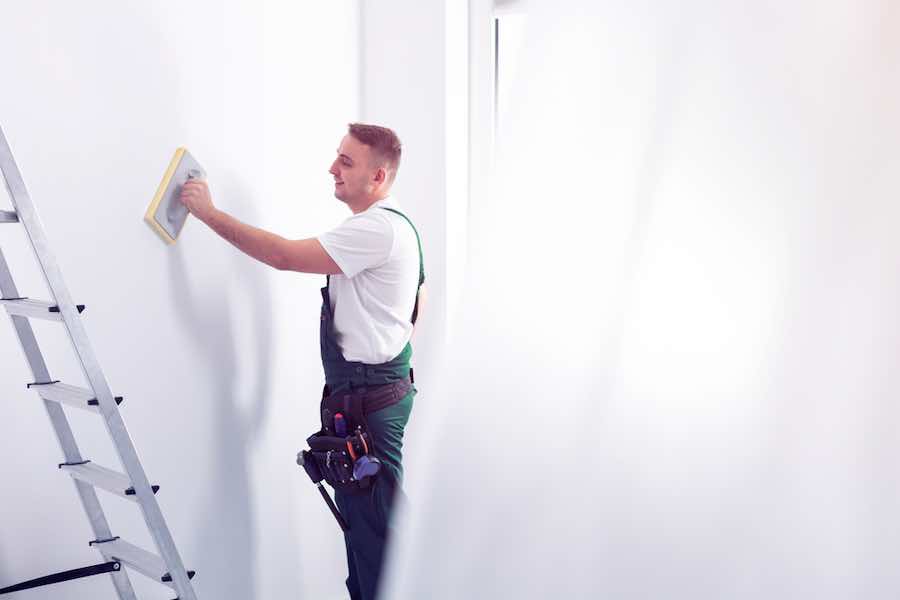
Prewashing your kitchen walls is just one step in preparing them for painting. After you have removed all the dirt and grime, you should also fill in any holes or cracks with spackling paste and sand them down once they are dry. This will create a smooth and even surface for the paint to adhere to.Prepping Kitchen Walls for Painting


Prepping Kitchen Walls for Painting

/PrimingDrywall-172343086-56ec1ec03df78cb4b98108f0.jpg)


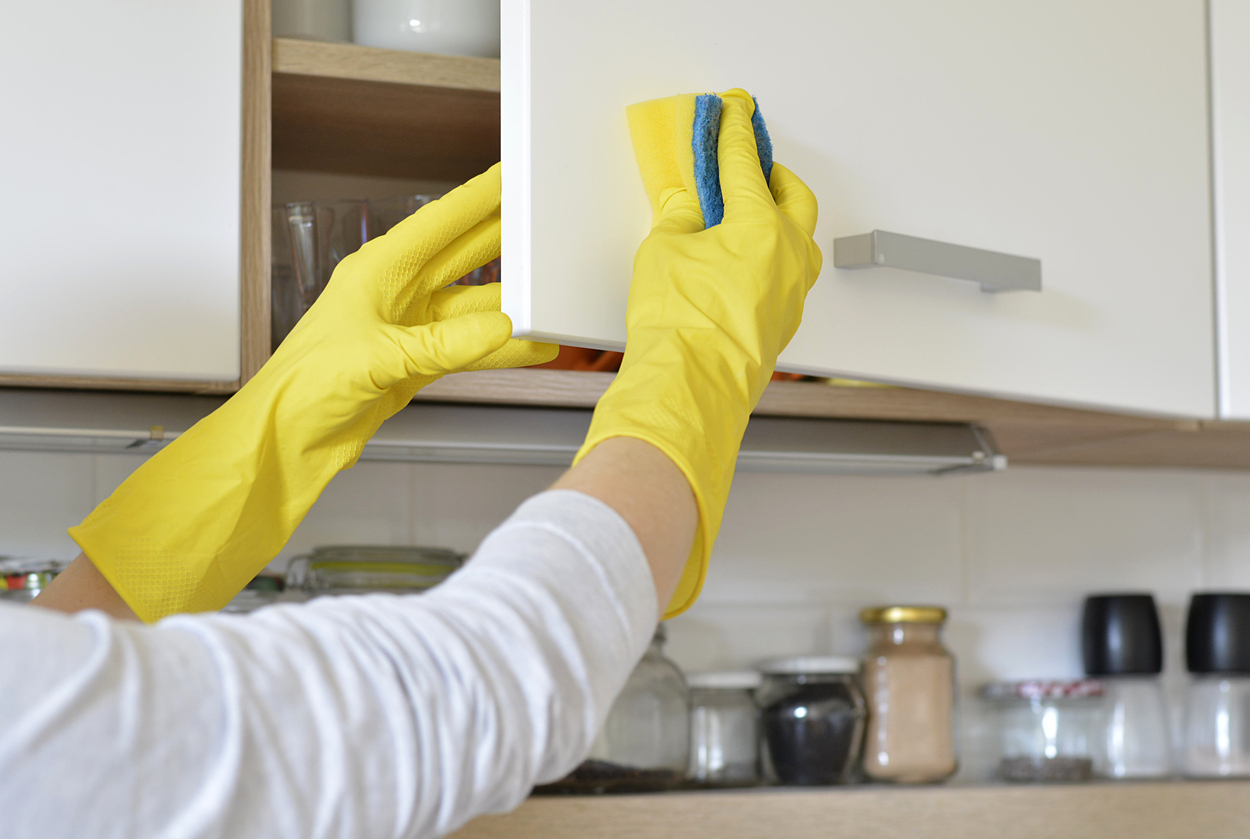
One of the main reasons for prewashing kitchen walls is to remove grease. Grease can build up on kitchen walls from cooking and can be difficult to remove. To effectively remove grease, use a degreaser or an all-purpose cleaner with degreasing properties. You may need to let the solution sit on the walls for a few minutes before wiping it off.Removing Grease from Kitchen Walls


Removing Grease from Kitchen Walls


Prewashing your kitchen walls not only removes dirt and grease, but it also helps to clean the walls and make them look fresh and new. This is especially important if you have light-colored paint, as any dirt or stains will be more noticeable. By properly cleaning your walls before painting, you can ensure a professional-looking finish.Cleaning Kitchen Walls Before Painting


Cleaning Kitchen Walls Before Painting

:max_bytes(150000):strip_icc()/washing-interior-walls-2-b5cd3327c69944188f71d8c989ab021c.jpg)


If you prefer to use commercial products for prewashing your kitchen walls, there are plenty of options available. Look for a mild detergent that is safe for walls and does not contain harsh chemicals. Some all-purpose cleaners also have prewashing properties and can effectively remove dirt and grease from your walls.Products for Prewashing Kitchen Walls

Products for Prewashing Kitchen Walls


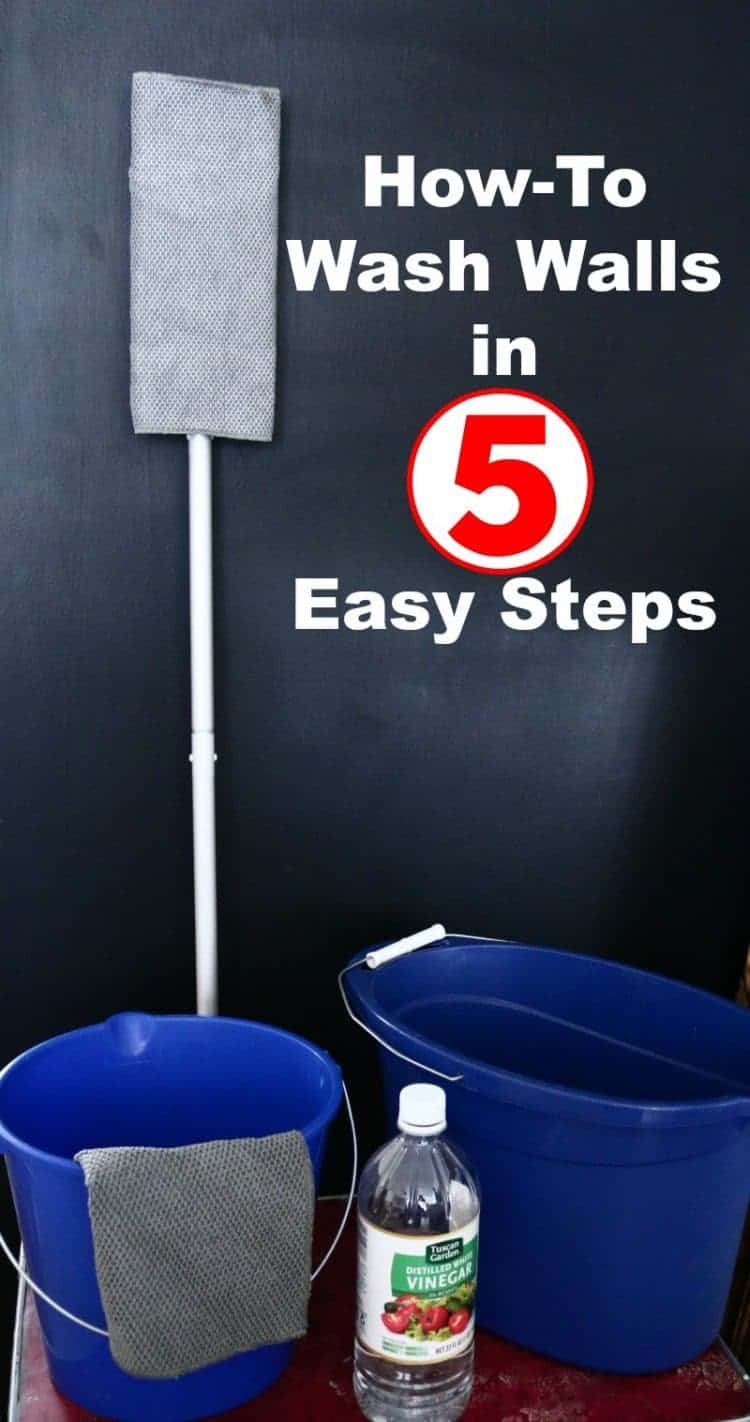
To prewash your kitchen walls, follow these simple steps:Steps for Prewashing Kitchen Walls


Steps for Prewashing Kitchen Walls


Prewashing your kitchen walls is an important step in the painting process that should not be overlooked. Not only does it help the paint to adhere better, but it also ensures a clean and professional finish. By taking the time to properly prewash your kitchen walls, you can achieve the best results for your painting project.Importance of Prewashing Kitchen Walls


Importance of Prewashing Kitchen Walls

Why Prewashing Your Kitchen Walls Is Essential for a Fresh and Clean Design

Introduction
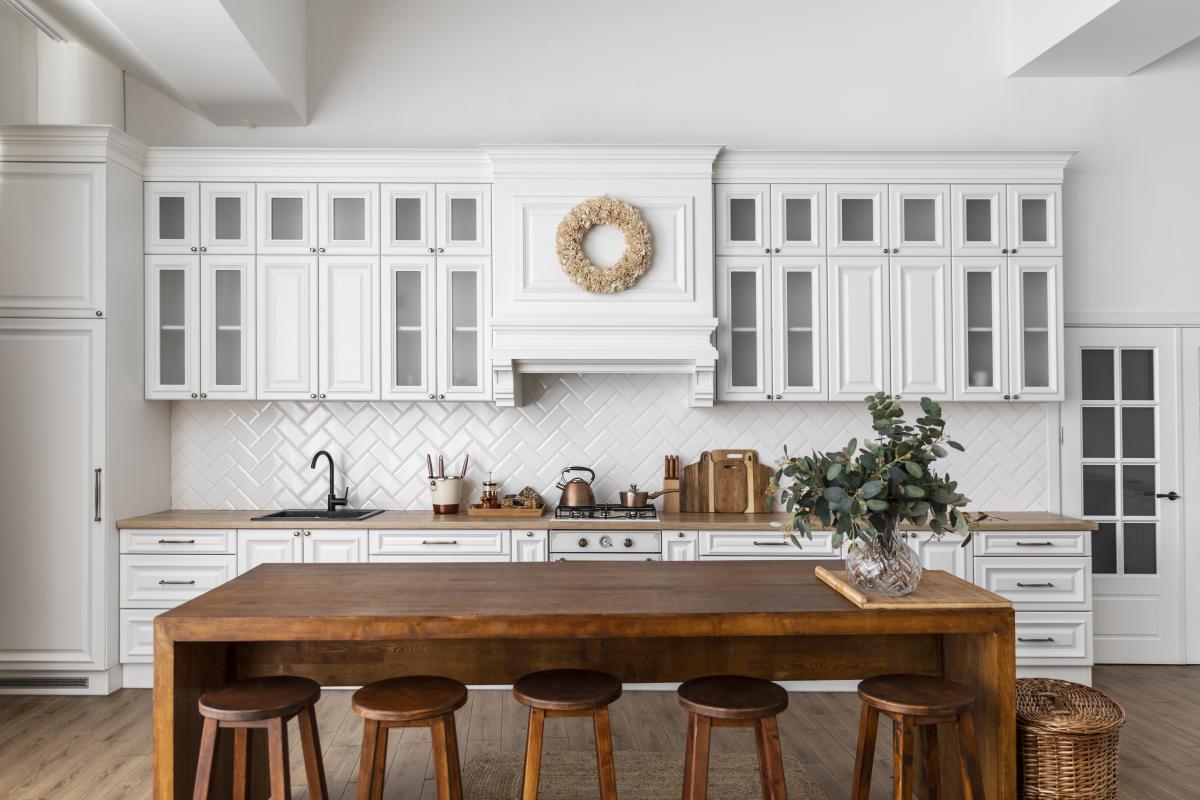
 When it comes to designing a house, the kitchen is often considered the heart of the home. It is a place where we spend a significant amount of time cooking, eating, and gathering with loved ones. This is why it is important to create a space that is both functional and visually appealing. One of the key elements of a well-designed kitchen is clean and fresh walls. In this article, we will discuss the importance of prewashing your kitchen walls and how it can contribute to a beautiful house design.
The Benefits of Prewashing
 Prewashing
is the process of cleaning the walls before painting or applying any other type of wall treatment. This may seem like an extra step, but it can make a significant difference in the overall look and feel of your kitchen. Here are some of the main benefits of prewashing your kitchen walls:
Prewashing
is the process of cleaning the walls before painting or applying any other type of wall treatment. This may seem like an extra step, but it can make a significant difference in the overall look and feel of your kitchen. Here are some of the main benefits of prewashing your kitchen walls:
1. Removes Dirt and Grime
Over time, kitchen walls can accumulate dirt, grease, and other types of stains. These can be difficult to remove once they have been painted over. By prewashing your walls, you can ensure that any dirt and grime are thoroughly removed, leaving a clean and smooth surface for your new paint or wall treatment.2. Improves Adhesion
Prewashing also helps to improve the adhesion of your chosen wall treatment. This is especially important if you are planning to use wallpaper or textured paint. By removing any dirt or residue, you are creating a better surface for the new material to stick to, resulting in a more durable and long-lasting finish.3. Creates a Fresh Canvas
Prewashing your kitchen walls can also help to create a fresh and clean canvas for your design. This is particularly important if you are planning to use light or bright colors, as any imperfections on the walls will be more noticeable. By starting with a clean slate, you can achieve a more polished and professional look for your kitchen.How to Prewash Your Kitchen Walls
 Now that you understand the importance of prewashing your kitchen walls, here are some tips on how to do it effectively:
1. Gather Your Supplies
Before starting, make sure you have all the necessary supplies. This may include a bucket, warm water, mild detergent, sponges, and a clean cloth.2. Protect Your Surfaces
Cover your countertops, floors, and any other surfaces that you want to protect from potential splashes or spills.3. Mix Your Cleaning Solution
In your bucket, mix warm water with a small amount of mild detergent. You can also use a cleaning product specifically designed for prewashing walls.4. Start from the Top
Begin by cleaning the top of your walls and work your way down. This will prevent any dirt or grime from dripping onto already cleaned surfaces.5. Rinse and Dry Thoroughly
After cleaning, make sure to rinse the walls with clean water and dry them thoroughly with a clean cloth. This will prevent any streaks or water spots from forming.In Conclusion
 Prewashing your kitchen walls is an essential step in creating a fresh and clean design. It not only helps to remove dirt and grime, but also improves adhesion and creates a blank canvas for your design. By following these simple steps, you can ensure that your kitchen walls are ready for any type of wall treatment you choose. So, before starting your next kitchen renovation project, don't forget to give your walls a good prewash for a polished and professional finish.