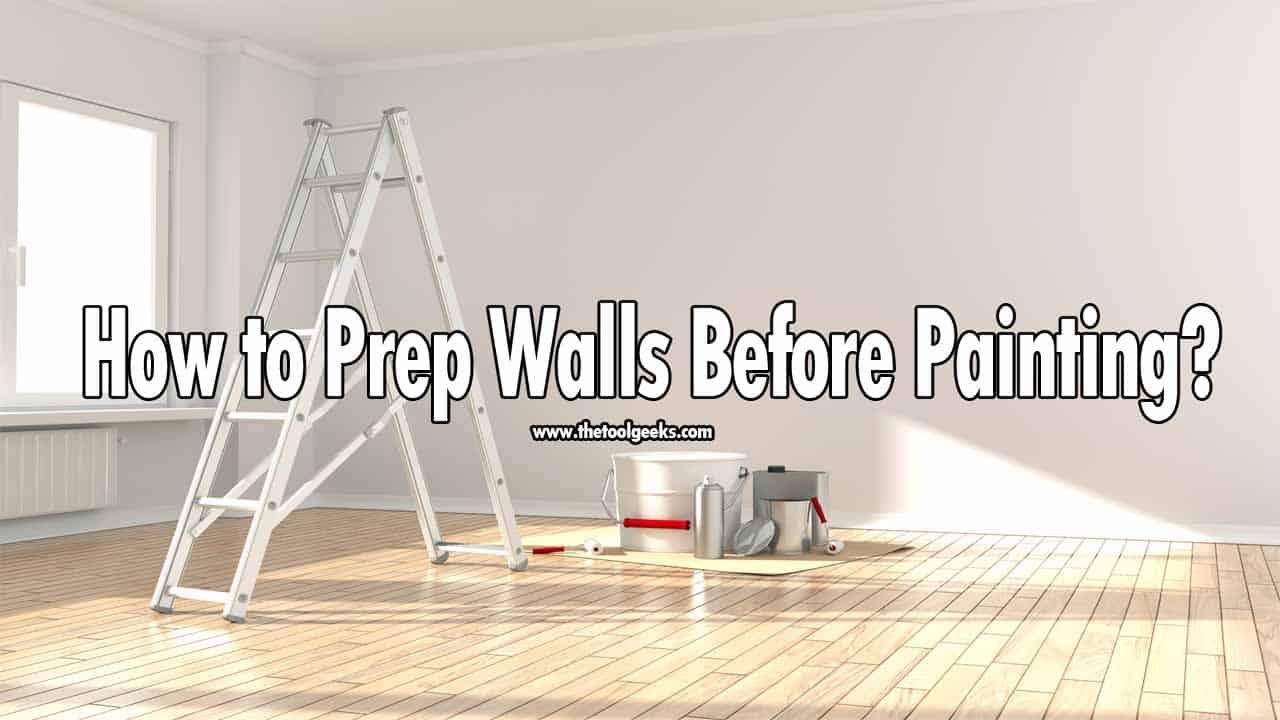
Painting your kitchen walls can give your space a fresh new look and feel. Whether you're updating the color or just refreshing the existing paint, prepping your walls is an important step to ensure a smooth and long-lasting finish. Here's a guide on how to prep your kitchen walls for painting.How to Prep a Kitchen Wall for Painting

How to Prep a Kitchen Wall for Painting


The first step in prepping your kitchen walls for paint is to prepare the surface. This involves cleaning, repairing any damages, and protecting your kitchen cabinets and floors from paint splatters. Let's break it down into more detail.How to Prepare a Kitchen Wall for Painting


How to Prepare a Kitchen Wall for Painting


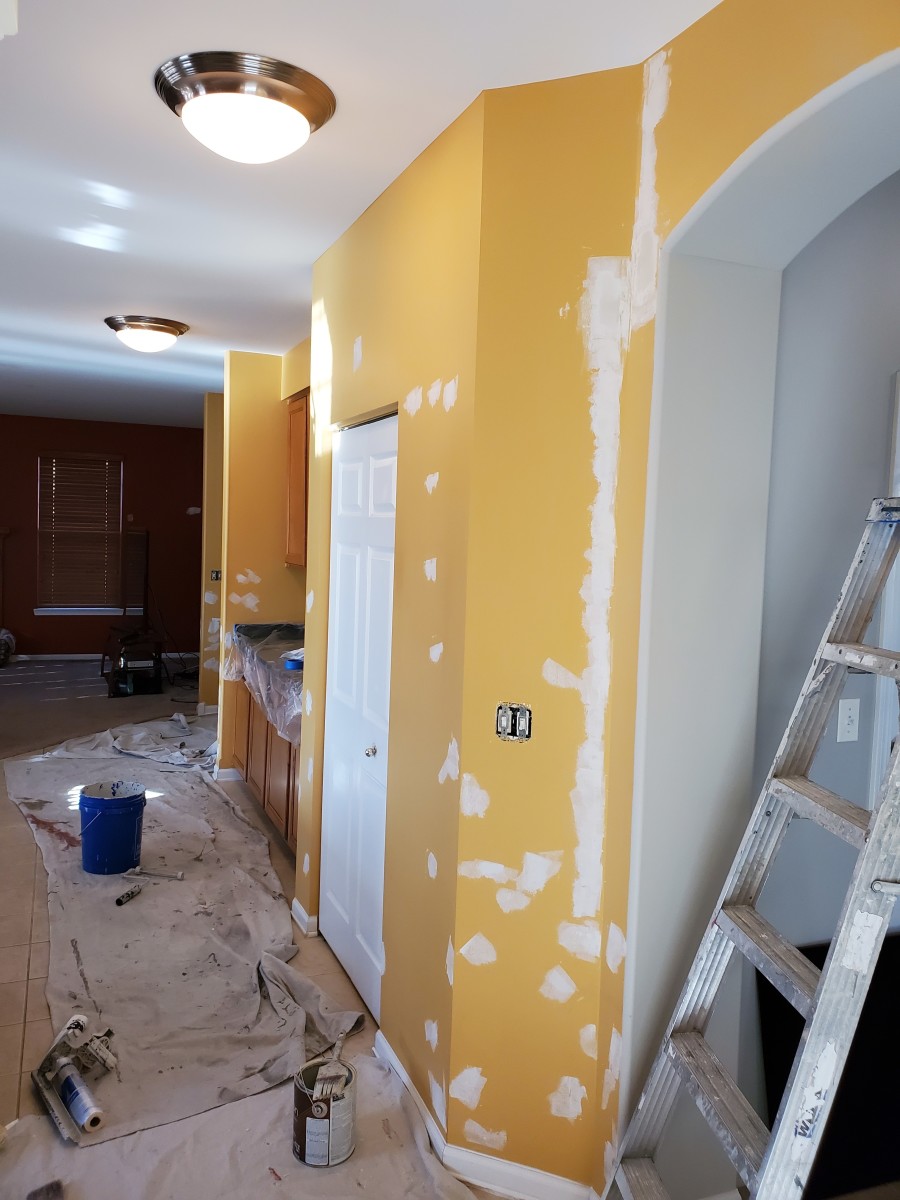
Step 1: Clear the walls of any decorations or furniture. This will make it easier to work on the walls and prevent any damage to your belongings. Step 2: Lay drop cloths or plastic sheets on the floor to protect it from any drips or spills. You can also use painter's tape to secure the edges of the drop cloths to the baseboards. Step 3: Use a mild detergent and warm water to clean the walls. This will remove any grease, dirt, or stains that may affect the paint's adhesion. Rinse the walls with clean water and let them dry completely. Step 4: Inspect the walls for any damages such as holes, cracks, or dents. Use spackling compound to fill in any holes and sand it down to create a smooth surface. For larger damages, it's best to consult a professional. Step 5: Sand the walls lightly to remove any imperfections and create a smooth surface for the paint to adhere to. Be sure to wipe down the walls with a damp cloth after sanding to remove any dust.Steps for Prepping a Kitchen Wall for Paint


Steps for Prepping a Kitchen Wall for Paint


Now that your walls are clean and repaired, it's time to protect your kitchen cabinets and floors. Cover them with plastic sheets or painter's tape to avoid any paint splatters. Next, apply a coat of primer to the walls. This will help the paint adhere better and provide a more even finish. Use a roller for larger areas and a paintbrush for edges and corners. After the primer dries, you can start painting your walls with your chosen color. Use a roller for larger areas and a paintbrush for edges and corners. Be sure to apply even coats and let the paint dry completely between coats.Prepping Your Kitchen Walls for a Fresh Coat of Paint


Prepping Your Kitchen Walls for a Fresh Coat of Paint


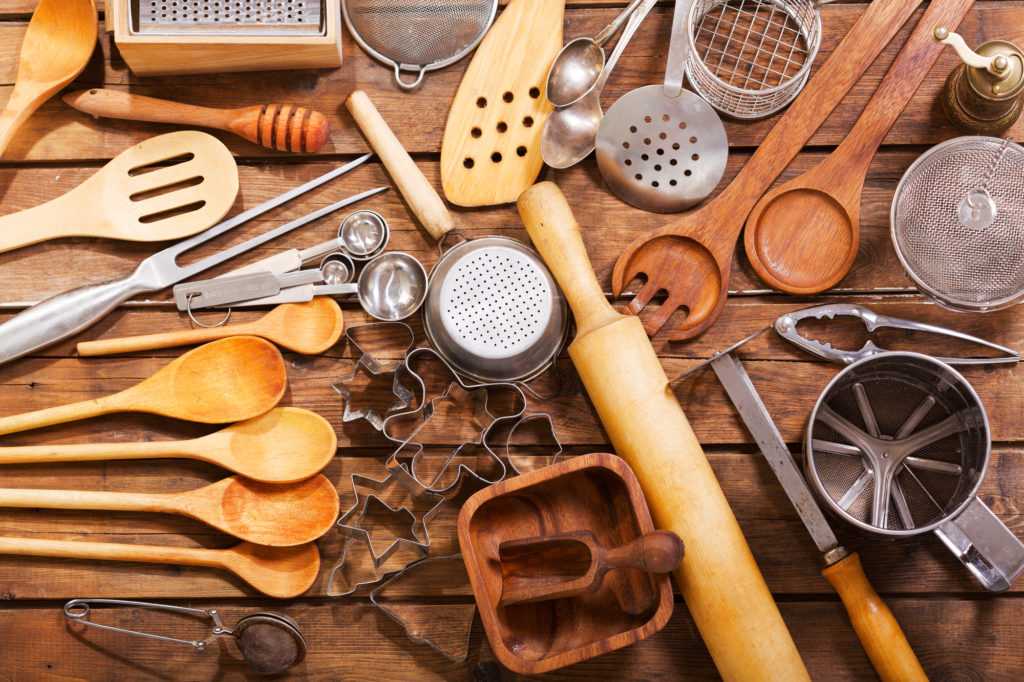
Here are some essential tools you will need for prepping your kitchen walls for paint:Essential Tools for Prepping Your Kitchen Walls for Paint


Essential Tools for Prepping Your Kitchen Walls for Paint


Here are a few tips to keep in mind when prepping your kitchen walls for painting:Tips for Prepping Your Kitchen Walls for Painting

Tips for Prepping Your Kitchen Walls for Painting

Here's a summary of the steps for prepping your kitchen walls for paint:Prepping Kitchen Walls for Paint: A Step-by-Step Guide


Prepping Kitchen Walls for Paint: A Step-by-Step Guide


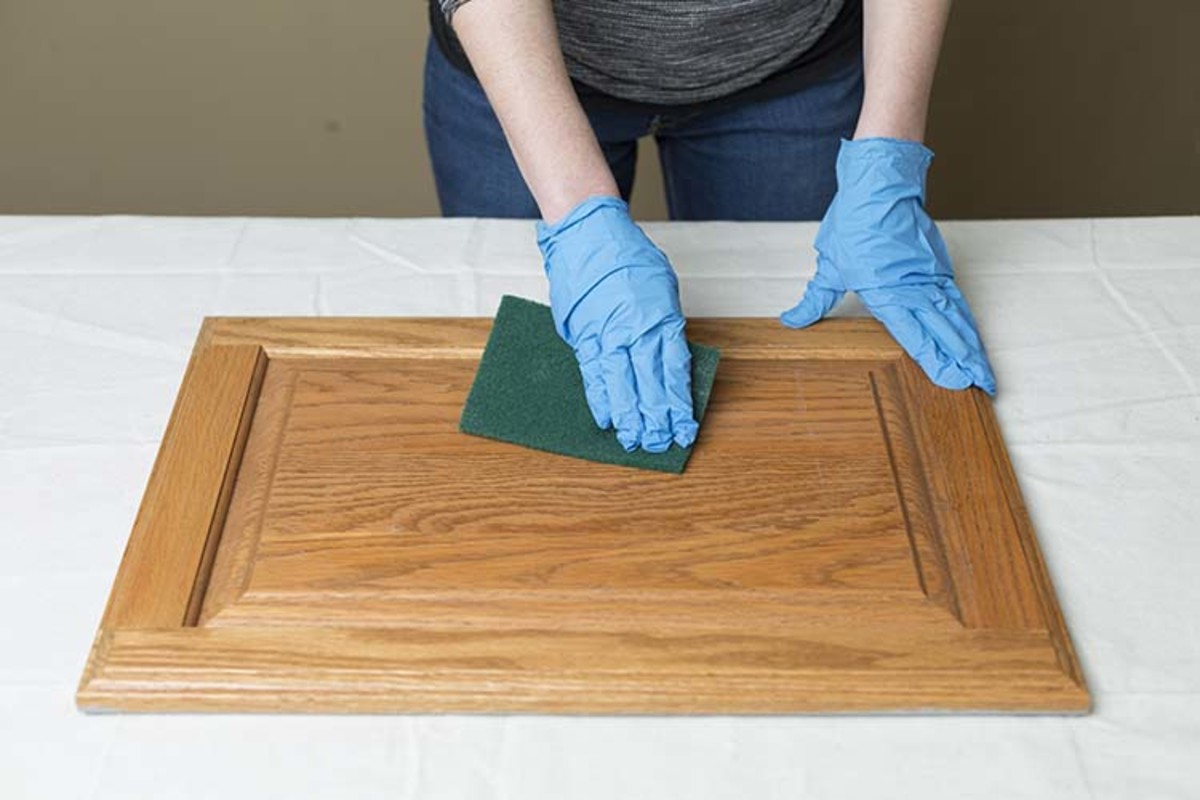
As mentioned earlier, cleaning and repairing your kitchen walls is an essential step in prepping them for paint. Here are a few more details on how to do so:How to Clean and Repair Kitchen Walls Before Painting

How to Clean and Repair Kitchen Walls Before Painting
:max_bytes(150000):strip_icc()/washing-interior-walls-2-b5cd3327c69944188f71d8c989ab021c.jpg)


Here are some common mistakes to avoid when prepping your kitchen walls for paint:Prepping Kitchen Walls for Paint: Common Mistakes to Avoid


Prepping Kitchen Walls for Paint: Common Mistakes to Avoid


Prepping your kitchen walls for paint is an essential step in achieving a smooth and long-lasting finish. It involves cleaning, repairing any damages, and protecting your cabinets and floors. With the right tools and techniques, you can easily prep your kitchen walls for a fresh coat of paint. Remember to take your time and avoid common mistakes for the best results.Prepping Kitchen Walls for Paint: What You Need to Know


Prepping Kitchen Walls for Paint: What You Need to Know

/PrimingDrywall-172343086-56ec1ec03df78cb4b98108f0.jpg)
Preparing Your Kitchen Walls for a Fresh Coat of Paint

Making Your Kitchen Walls Pop with a Fresh Paint Job
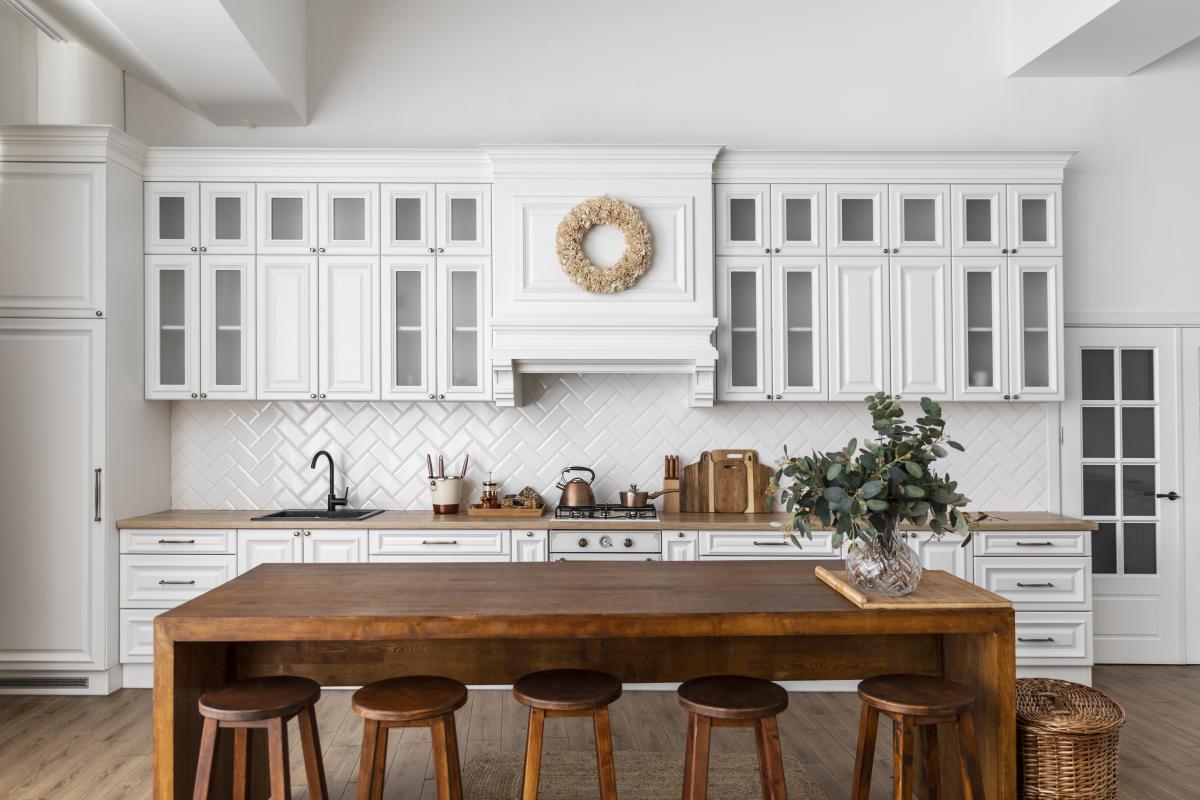
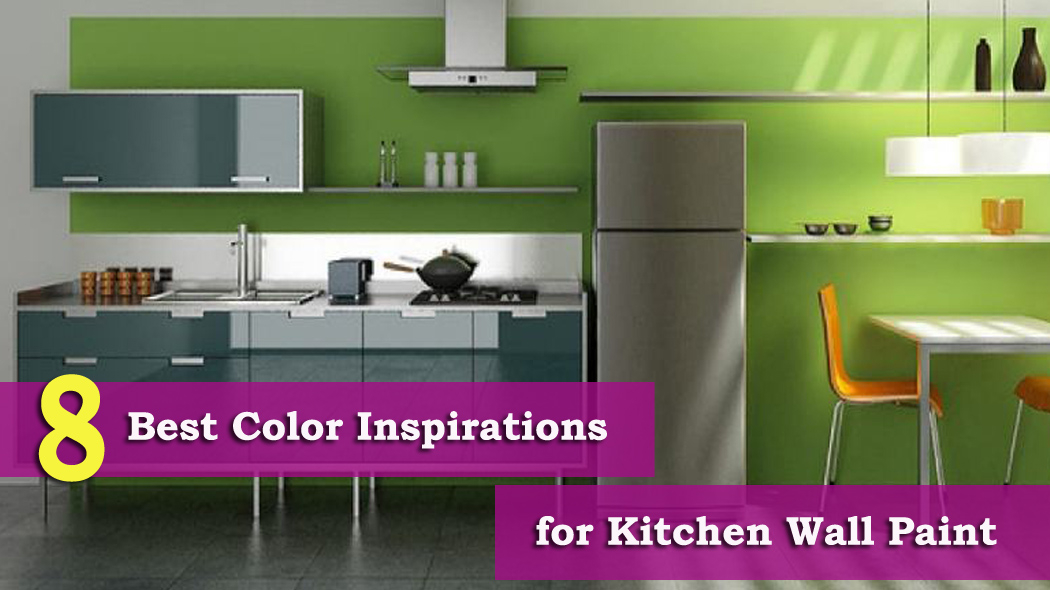 Are you looking to revamp your kitchen and give it a fresh new look? One of the easiest and most budget-friendly ways to do so is by painting your kitchen walls. However, before you can start painting, it is important to properly prepare your walls to ensure a clean and smooth finish. Here are some steps to follow for prepping your kitchen walls for paint.
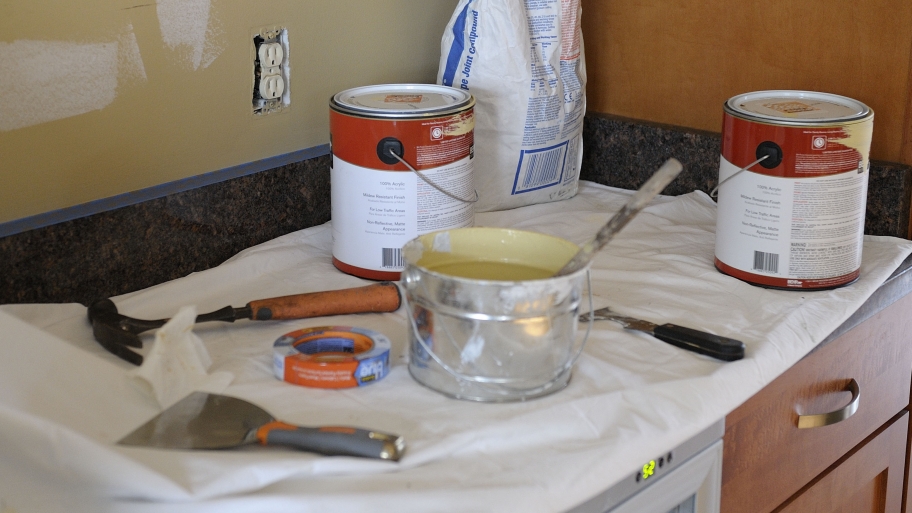
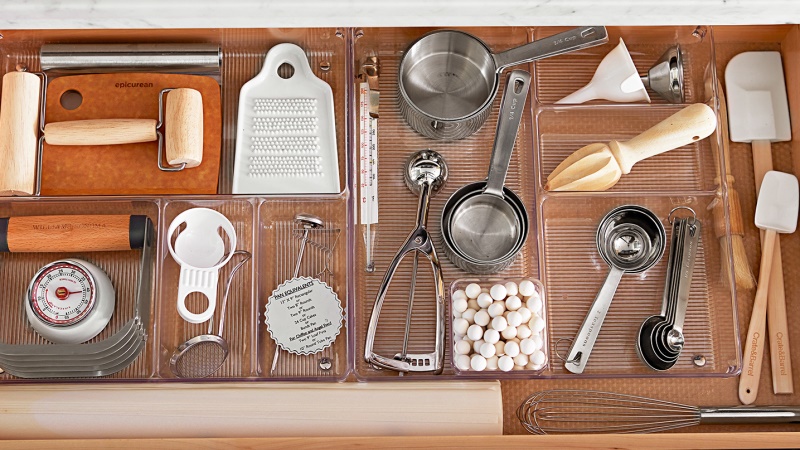
Gather Your Supplies
 Before you begin, make sure you have all the necessary supplies. This includes
painter's tape
,
sandpaper
,
spackling paste
,
putty knife
, and
drop cloths
. These items will help you protect your floors and surfaces and make the prepping process easier.
Before you begin, make sure you have all the necessary supplies. This includes
painter's tape
,
sandpaper
,
spackling paste
,
putty knife
, and
drop cloths
. These items will help you protect your floors and surfaces and make the prepping process easier.
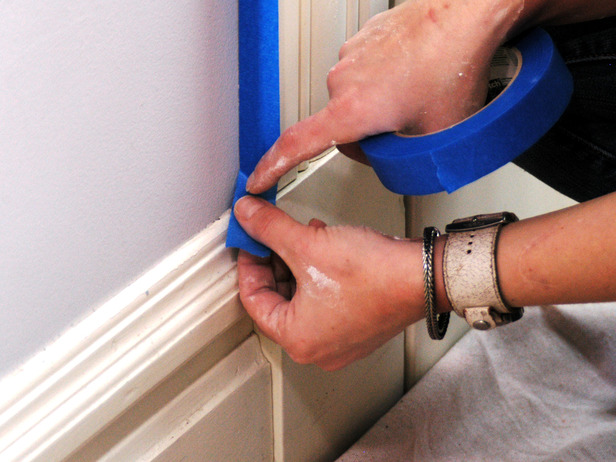
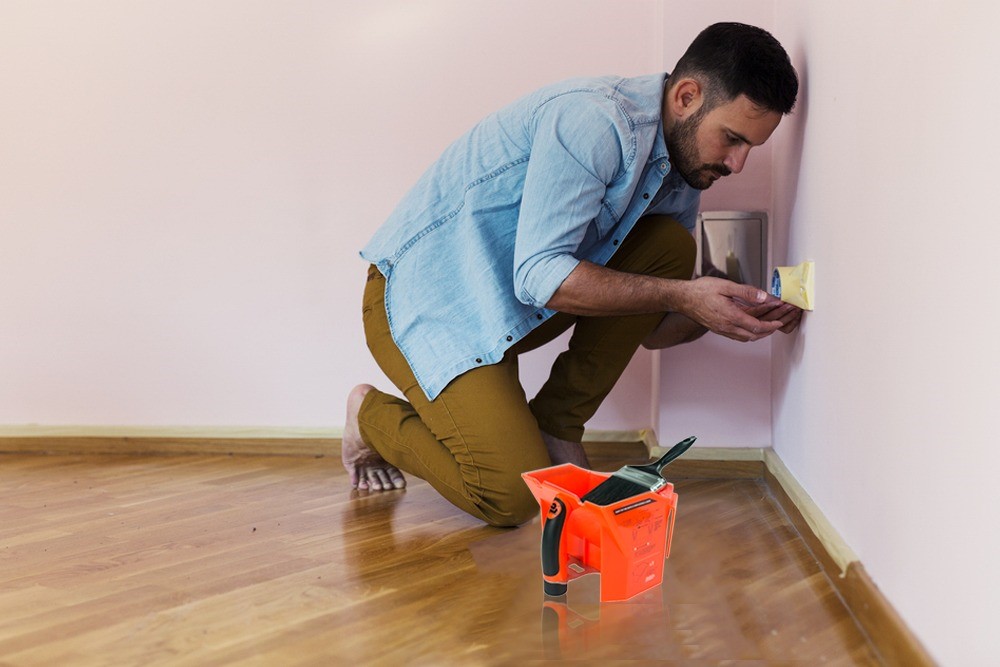
Protect Your Surfaces
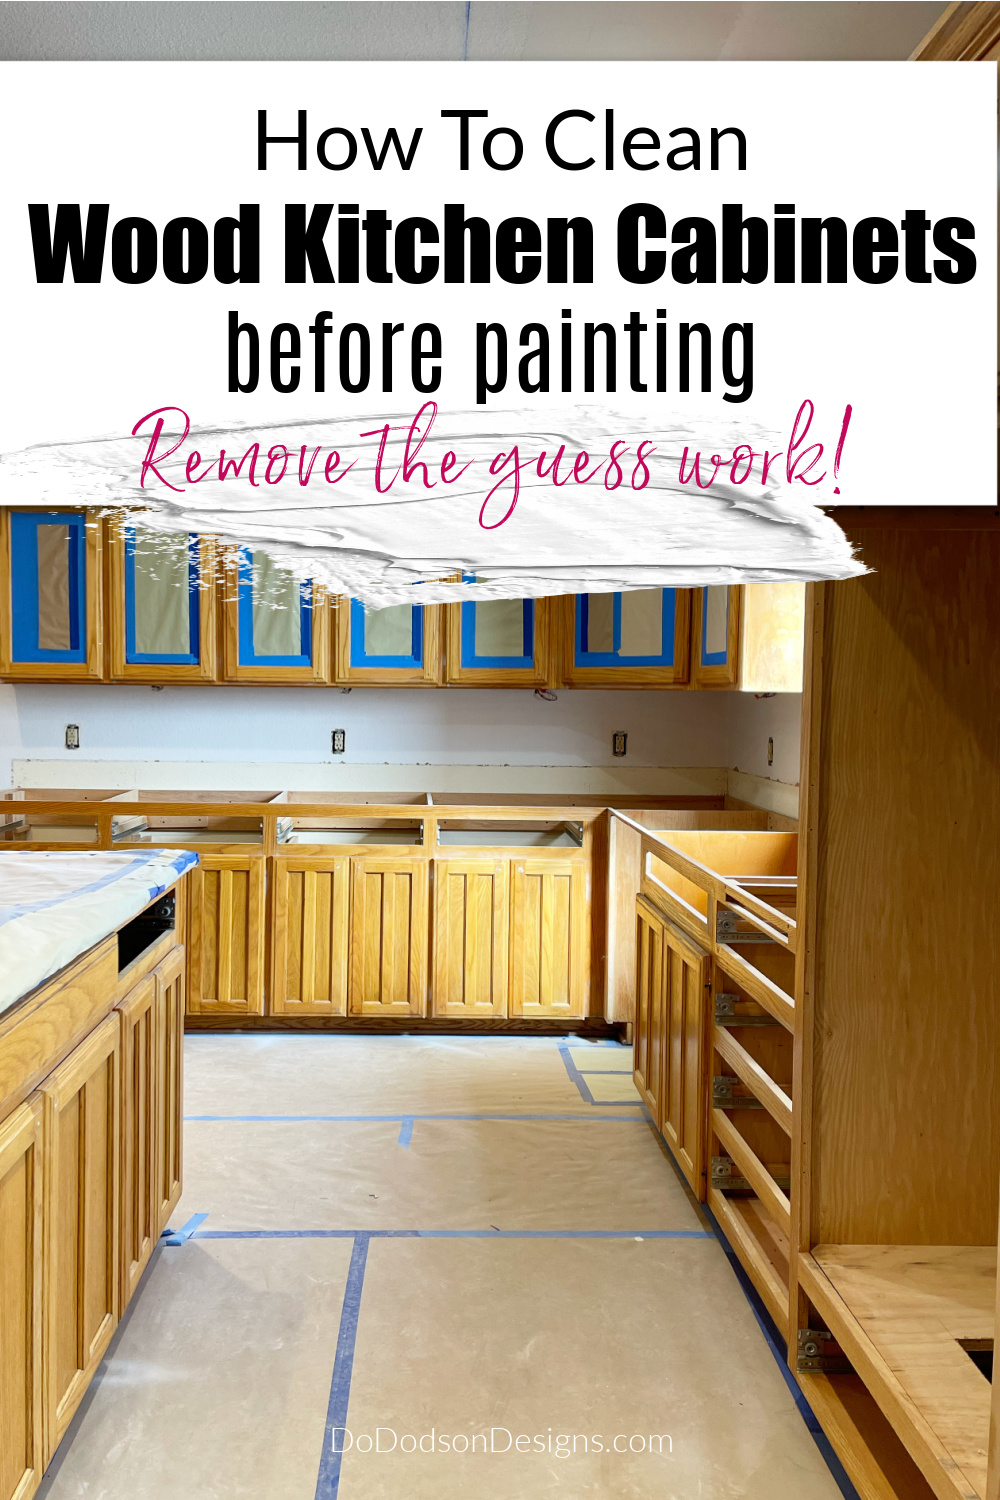
 First, remove any furniture or decor from the walls and cover your countertops and appliances with drop cloths. Use painter's tape to protect any edges or trim that you do not want to paint. This will save you time and effort in the long run by preventing paint from getting on surfaces that do not need it.
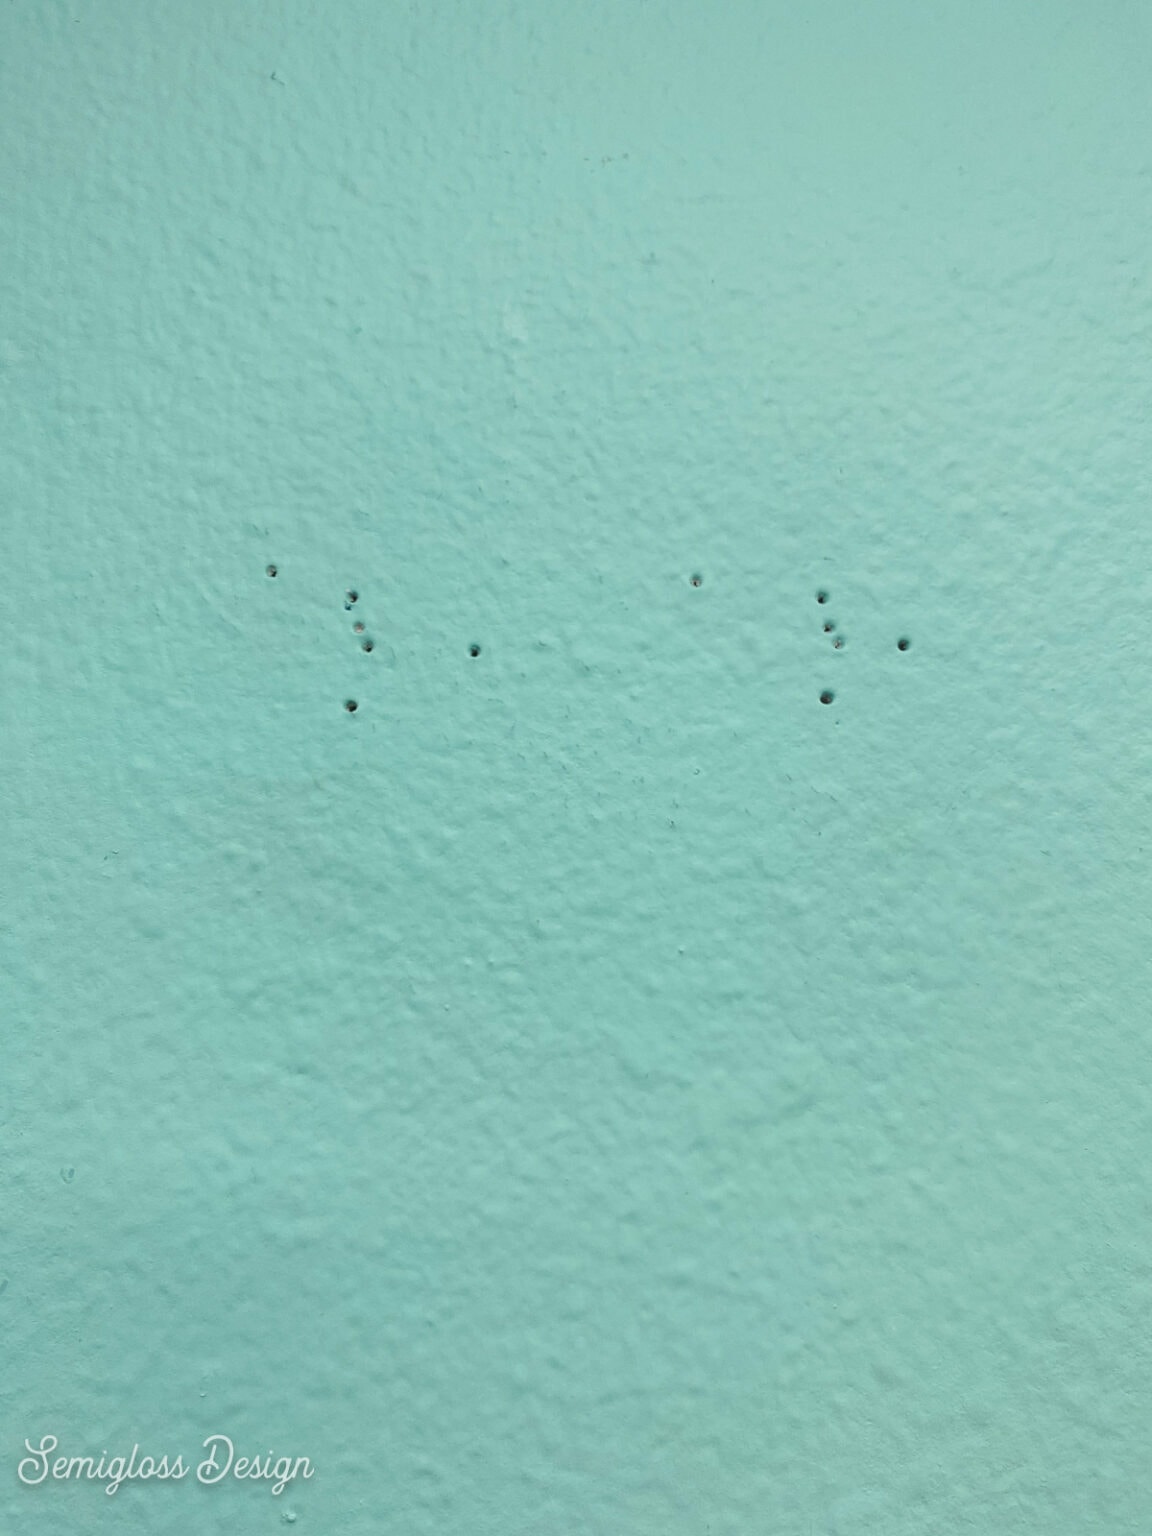
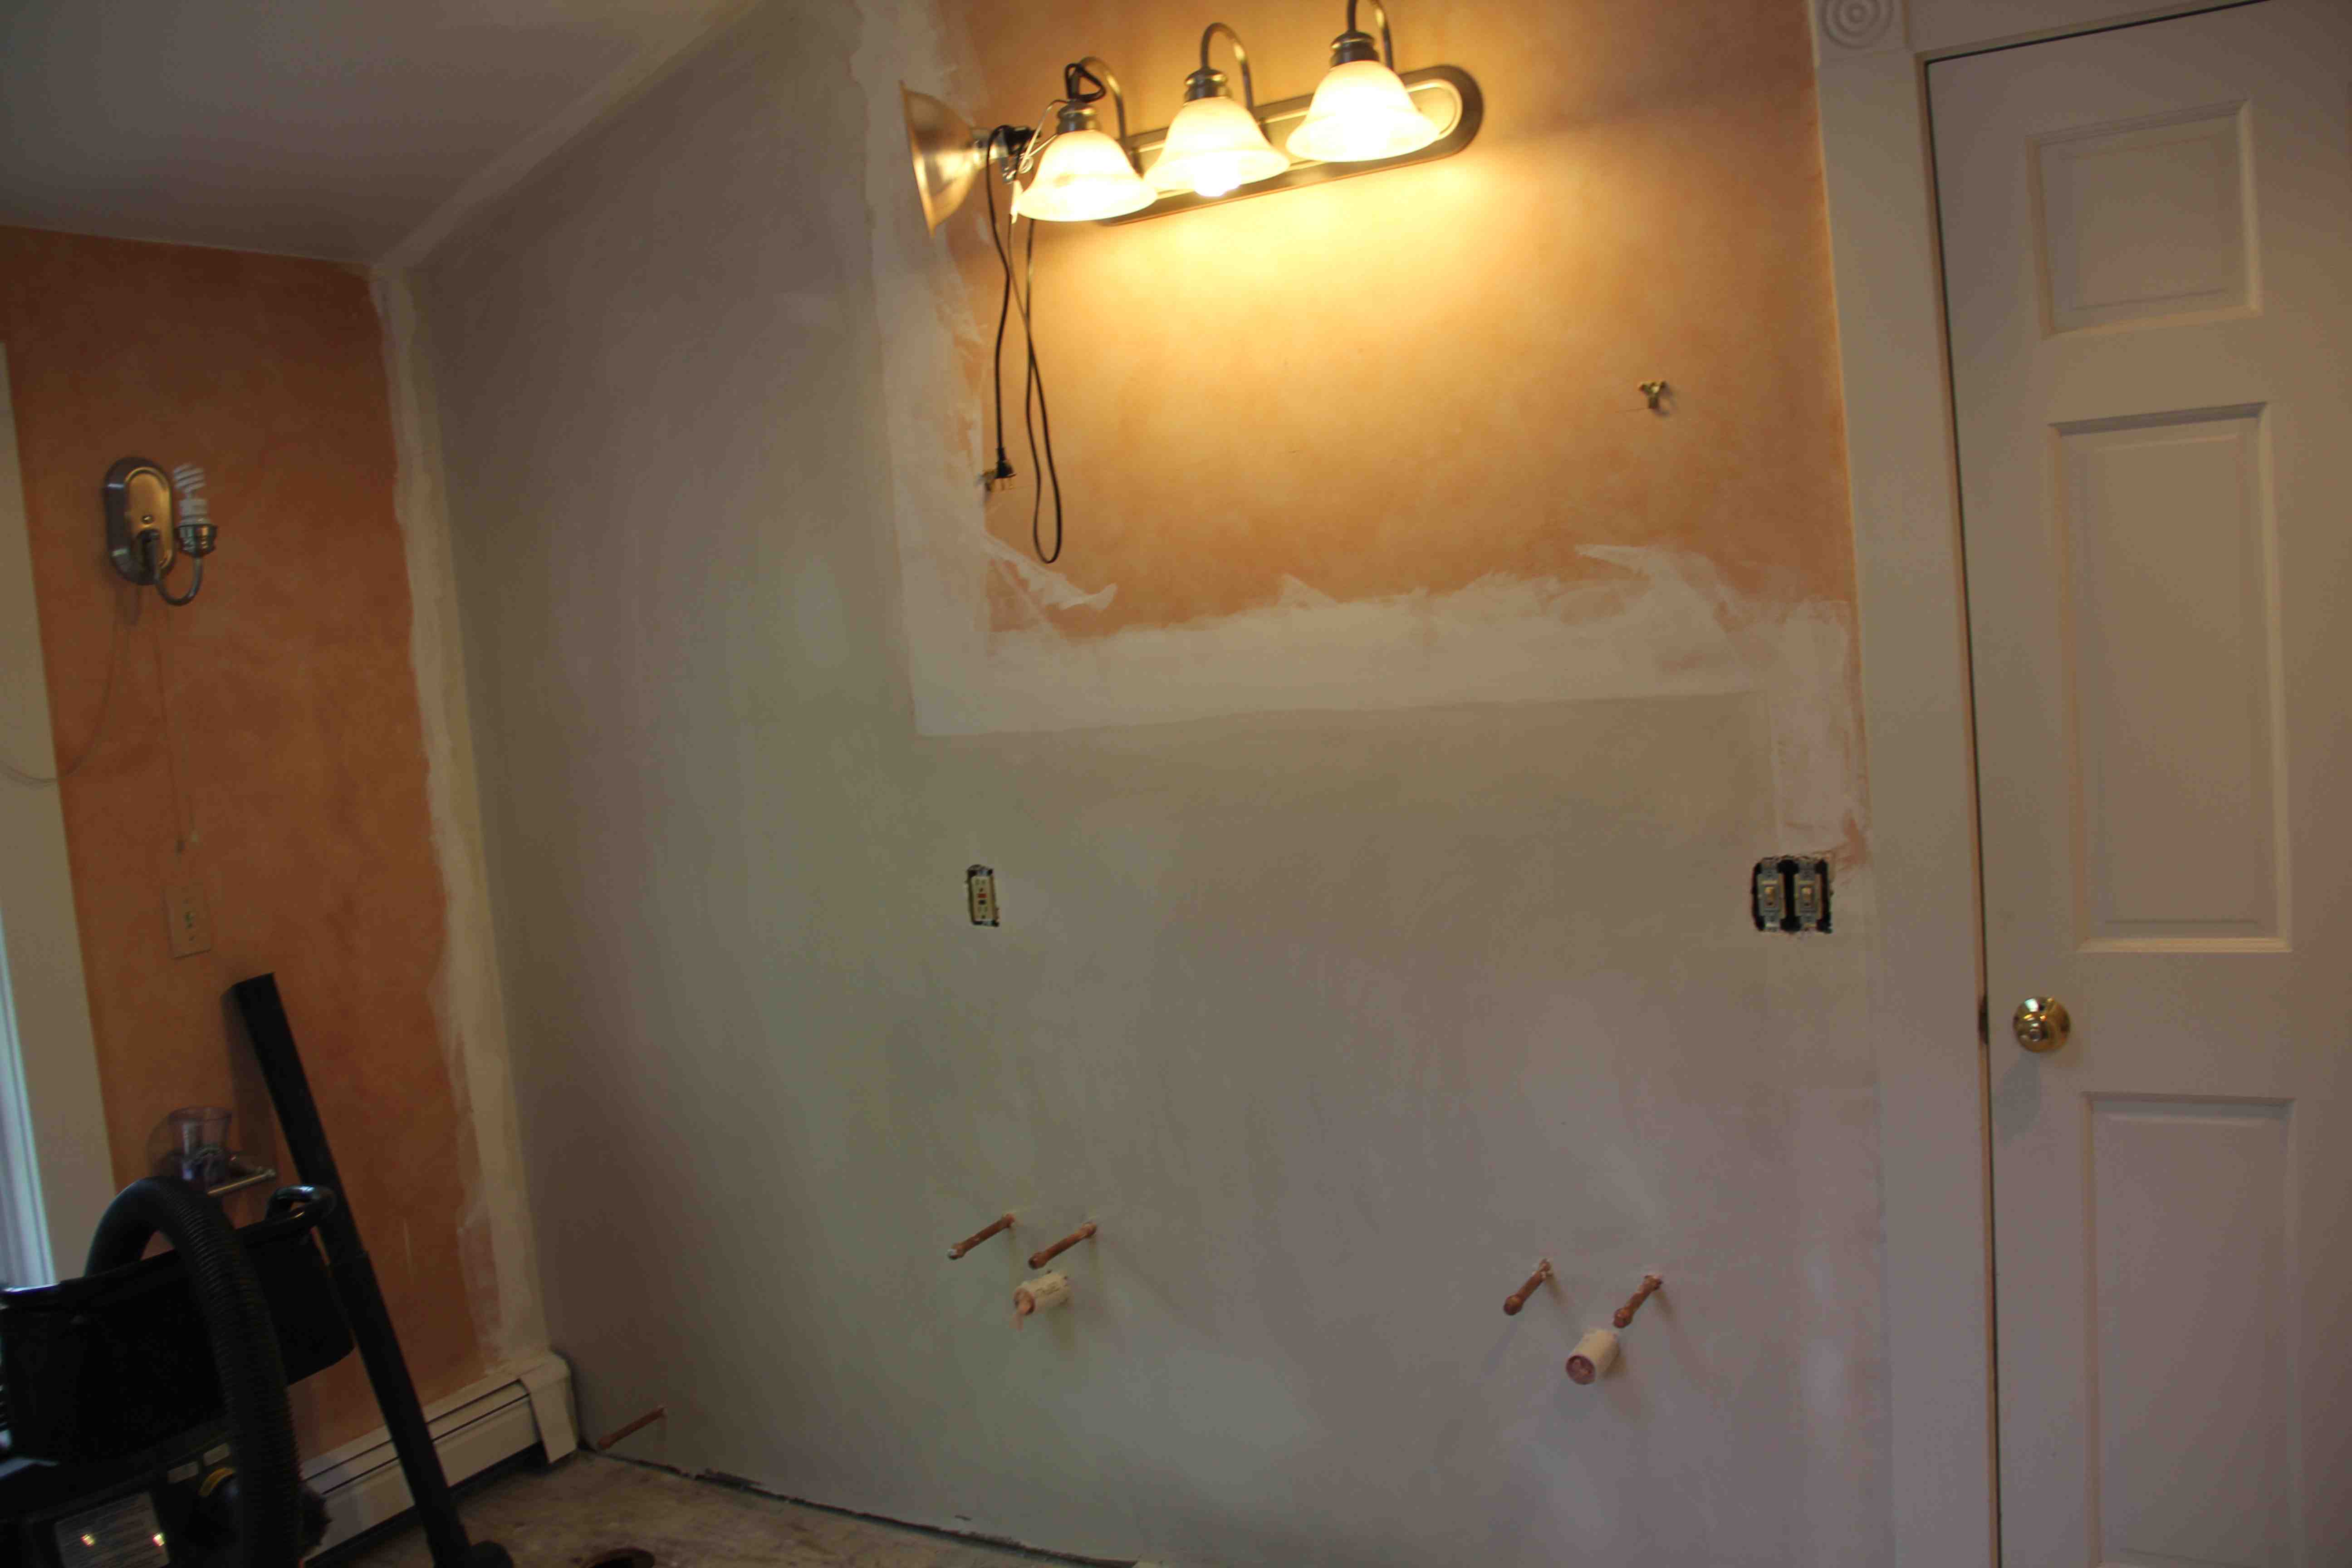
Prepare the Walls
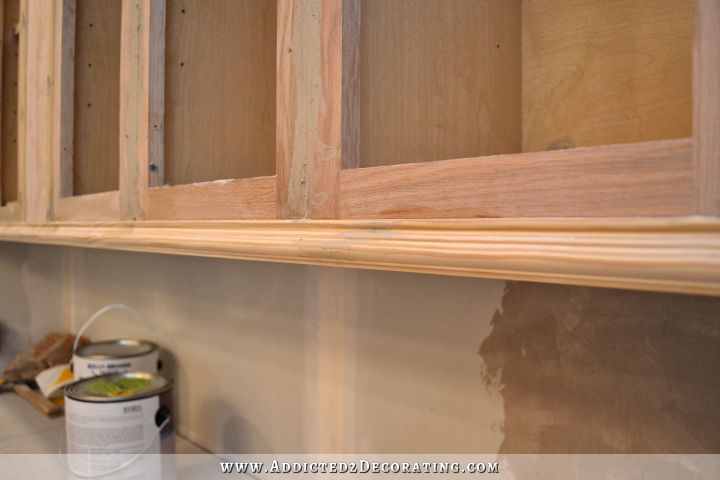 Next, use sandpaper to gently sand down any rough areas or imperfections on the walls. This will create a smooth surface for the paint to adhere to. Then, use spackling paste and a putty knife to fill in any holes or cracks in the walls. Allow the spackling paste to dry completely before sanding it down to create a smooth surface.
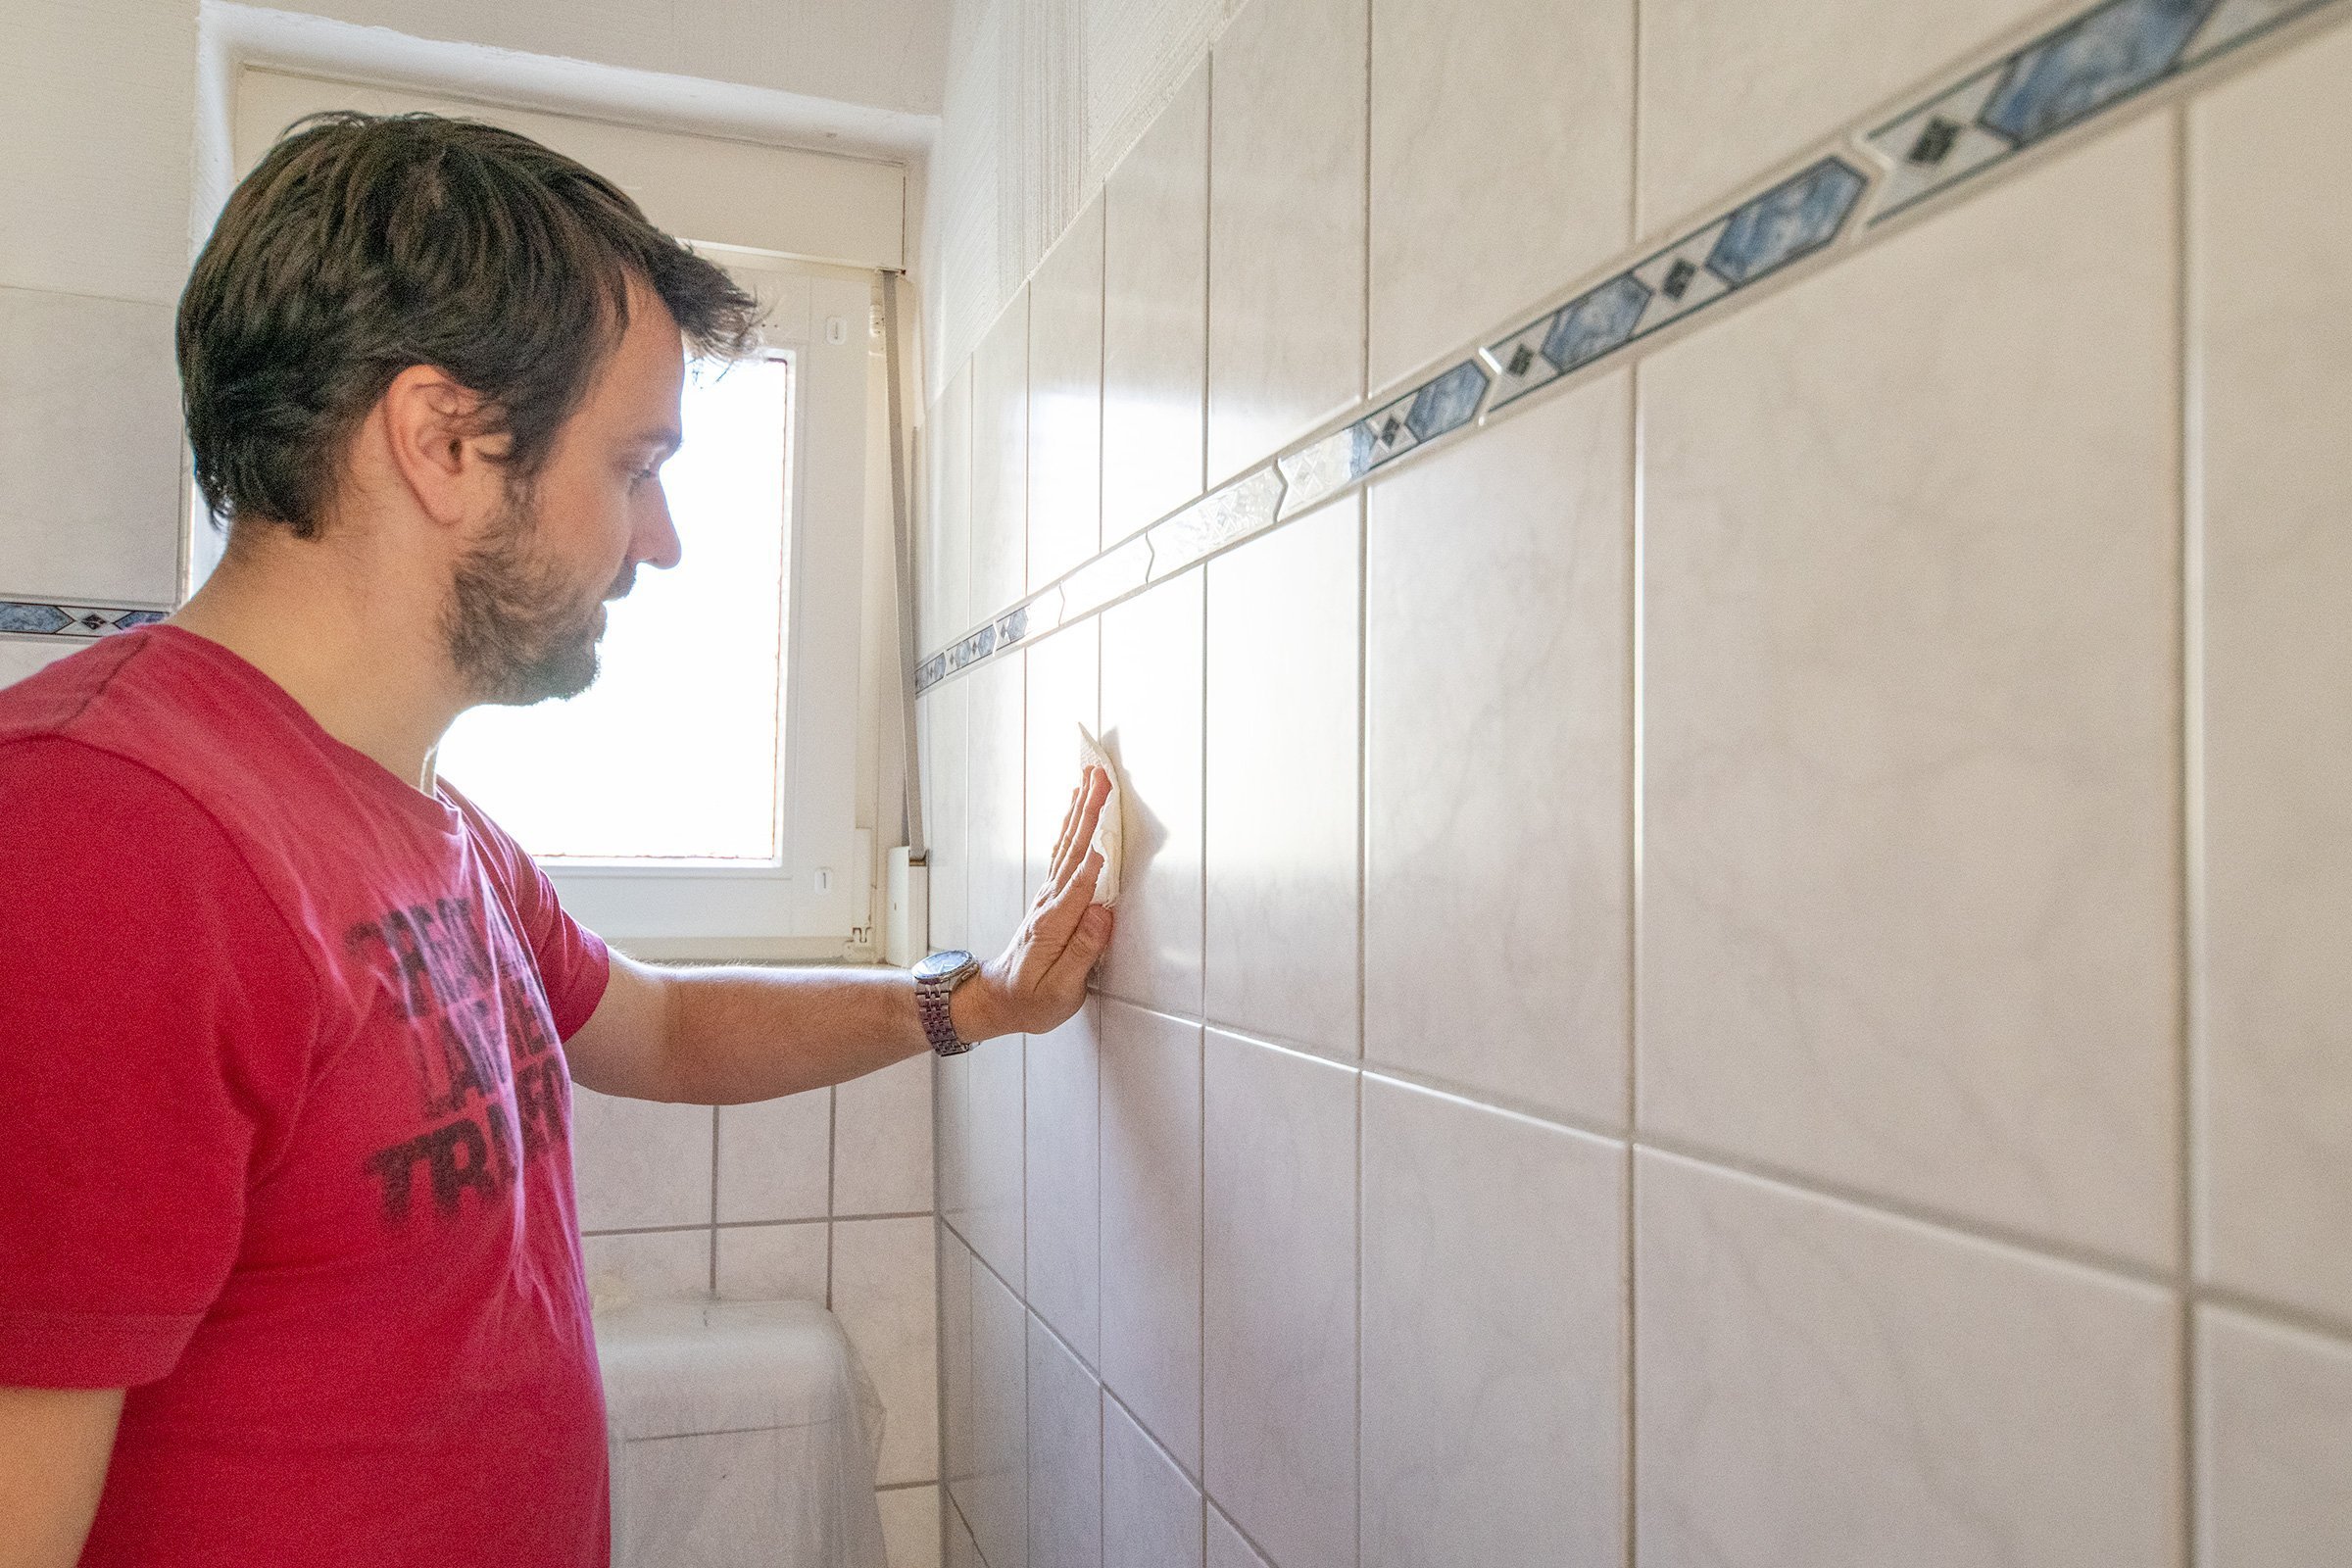
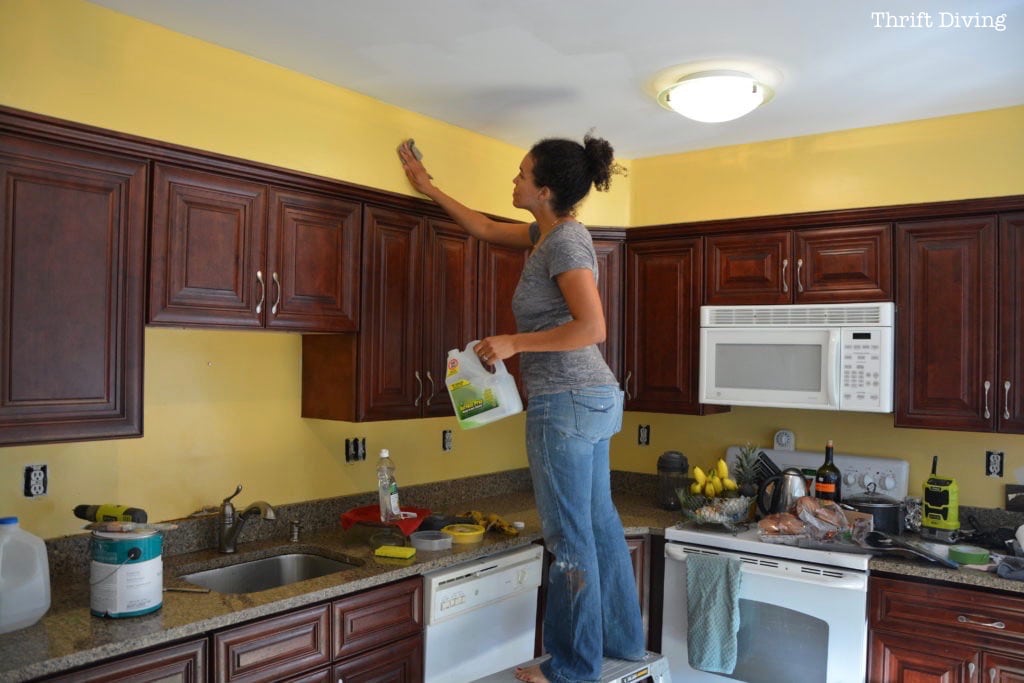
Clean the Walls
 Before you start painting, it is important to clean the walls to remove any dust or dirt that may prevent the paint from adhering properly. Use a mixture of warm water and mild soap to gently wash the walls. Be sure to thoroughly dry the walls before moving on to the next step.
Prime the Walls
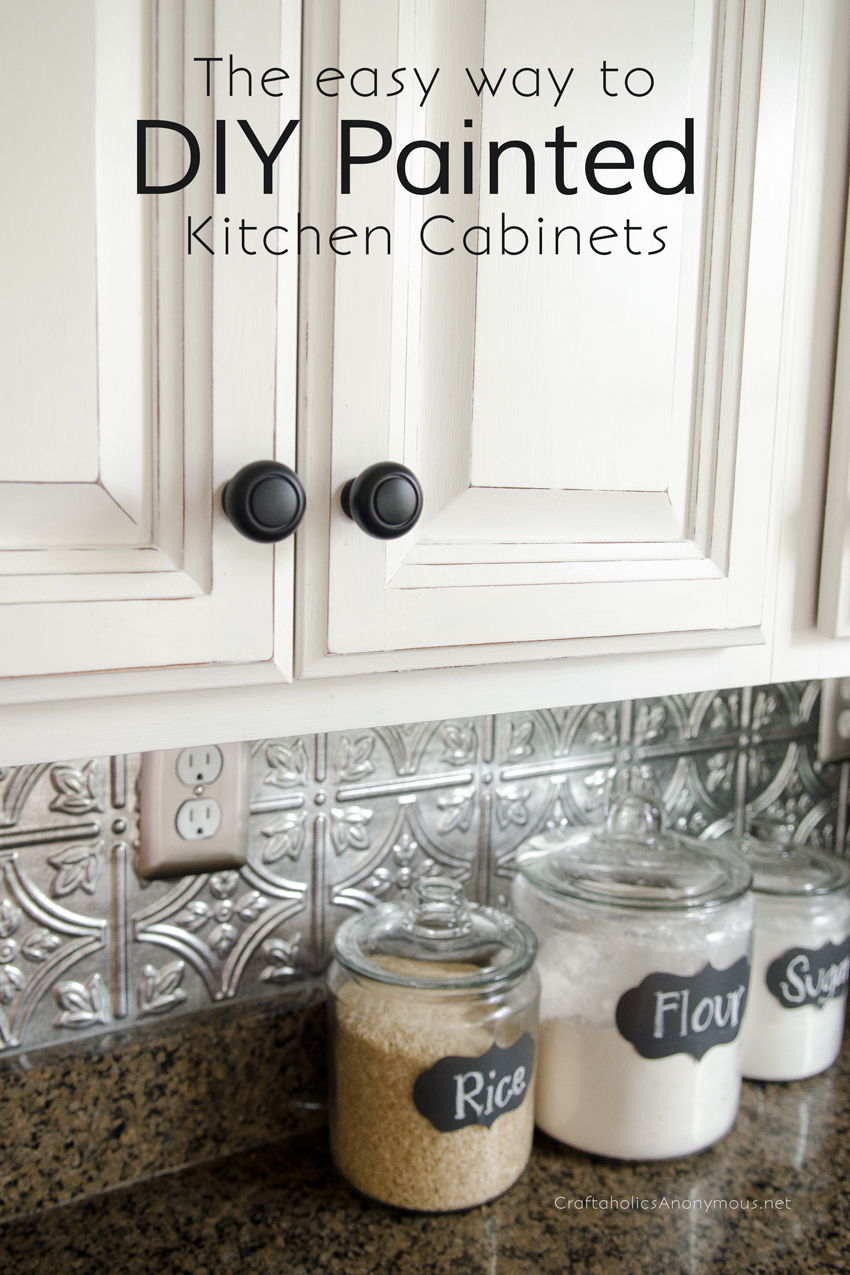
 If you are painting over a dark or bold color, it is recommended to use a primer before painting. This will help the new paint color to show up more vibrantly and prevent any previous color from bleeding through. Use a roller or brush to apply the primer evenly, and allow it to dry completely before moving on to the final step.
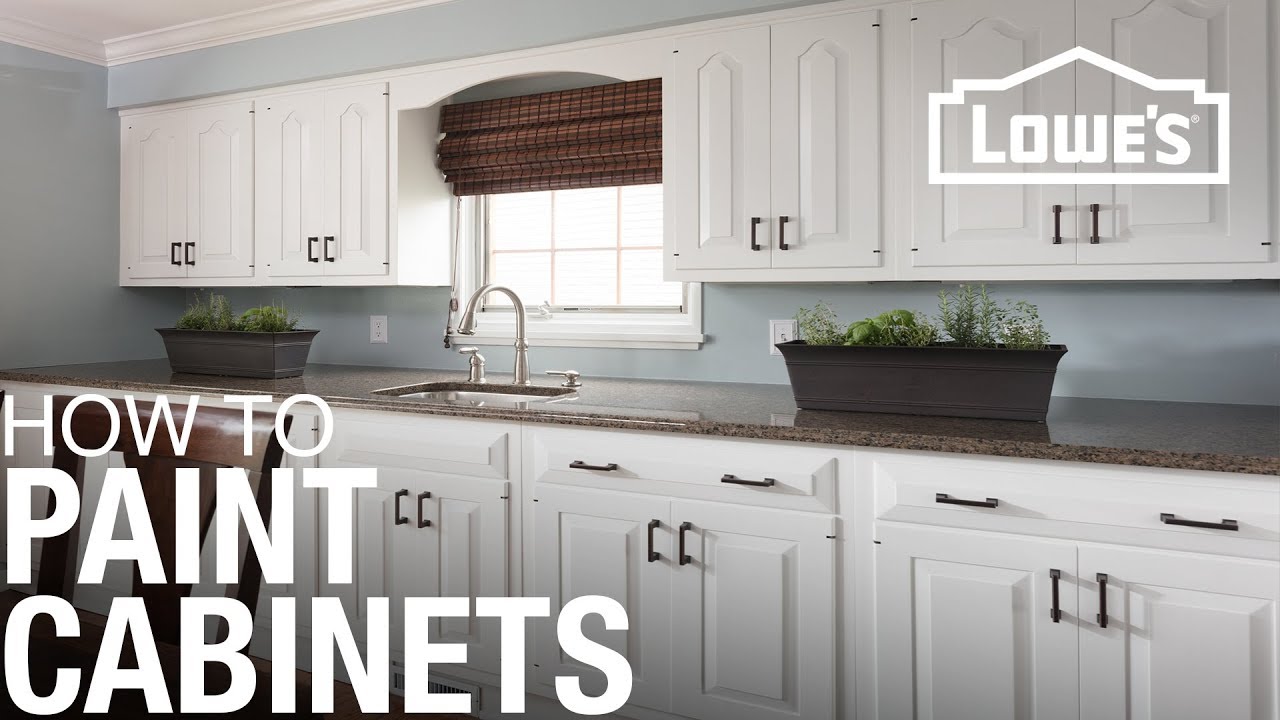
Get Ready to Paint
 Now that your walls are prepped and ready, you can start painting! Choose a high-quality paint and use a roller or brush to apply an even coat. For best results, wait for the first coat to dry completely before applying a second coat.
By following these steps, you can ensure that your kitchen walls are prepped and ready for a fresh coat of paint. Not only will this give your kitchen a new and improved look, but it will also make the paint job last longer and look more professional. Happy painting!
Now that your walls are prepped and ready, you can start painting! Choose a high-quality paint and use a roller or brush to apply an even coat. For best results, wait for the first coat to dry completely before applying a second coat.
By following these steps, you can ensure that your kitchen walls are prepped and ready for a fresh coat of paint. Not only will this give your kitchen a new and improved look, but it will also make the paint job last longer and look more professional. Happy painting!