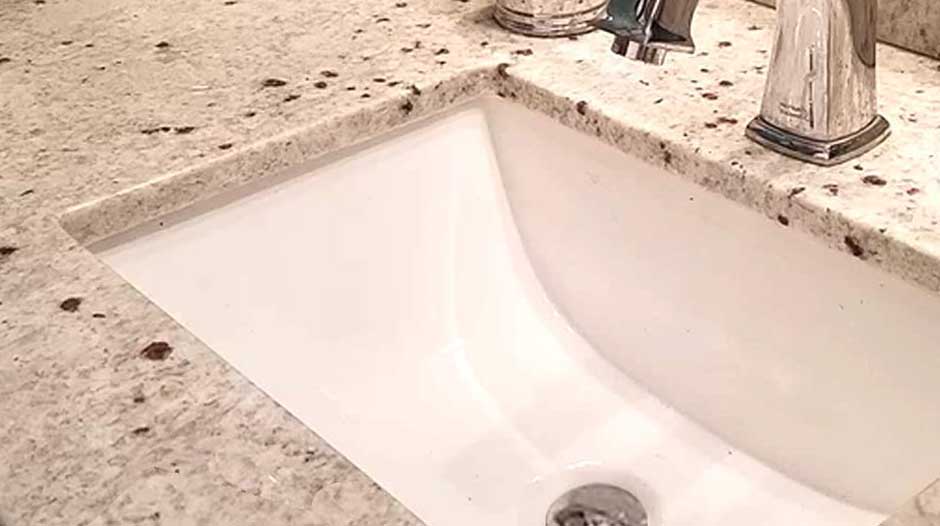
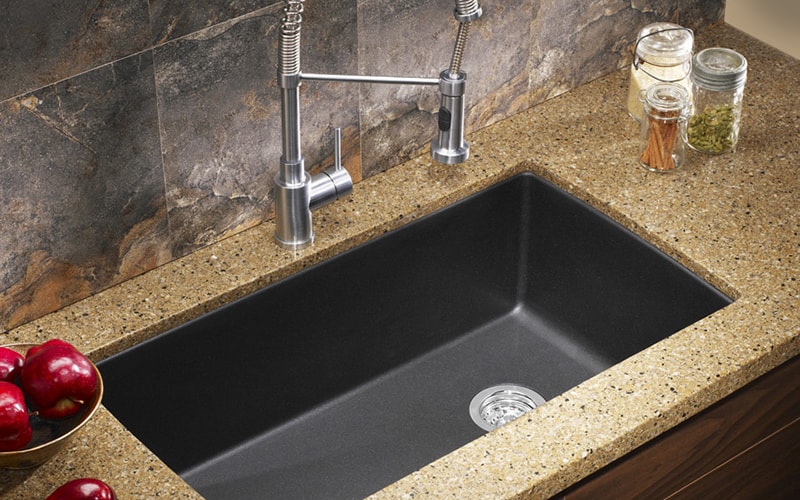
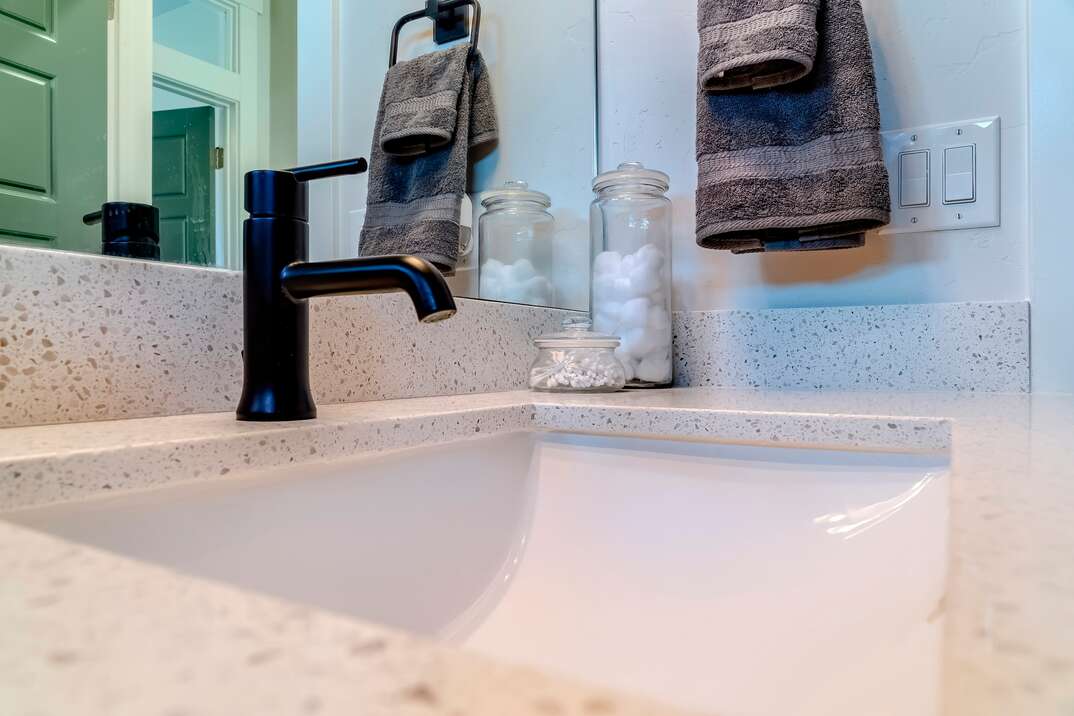
Installing an undermount bathroom sink can add a touch of elegance and sophistication to your bathroom. This type of sink is installed below the countertop, giving a seamless and sleek appearance to your vanity. However, proper positioning is crucial for a successful installation. In this guide, we will take you through the step-by-step process of positioning an undermount bathroom sink.Undermount Bathroom Sink Installation Guide
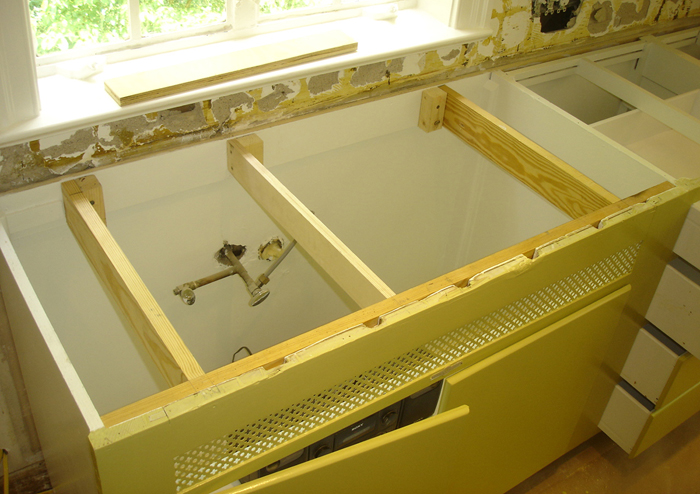
The first step in positioning an undermount bathroom sink is to determine the placement of the sink. This will depend on the size and layout of your bathroom, as well as your personal preference. It is important to consider the location of the plumbing and make sure there is enough space for the sink to fit comfortably. Next, you will need to measure the dimensions of the sink and the opening in the countertop where it will be installed. Make sure to leave enough space between the sink and the edge of the countertop to ensure a secure fit. You may also want to mark the location of the sink on the underside of the countertop to use as a guide during installation.How to Position an Undermount Bathroom Sink
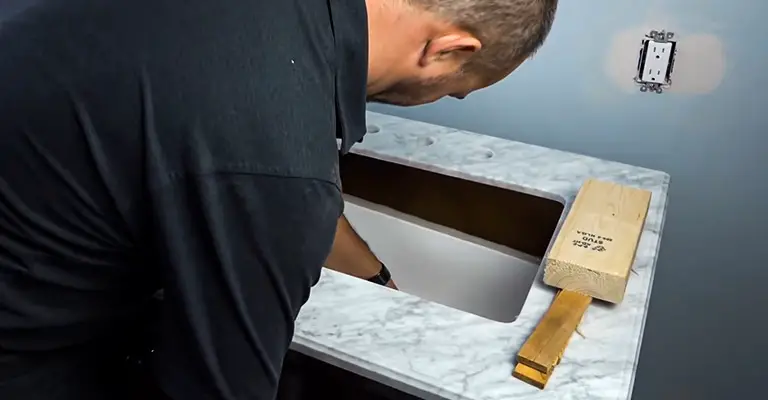
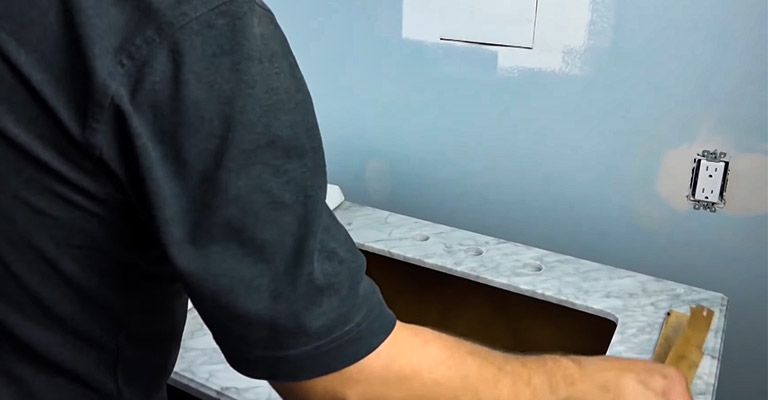
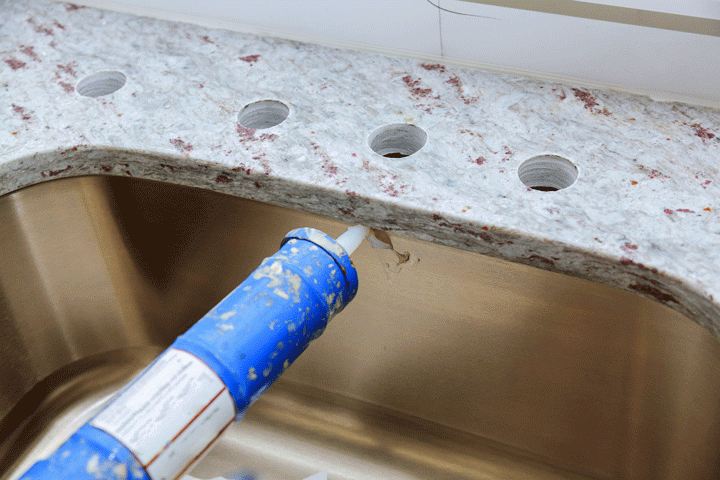
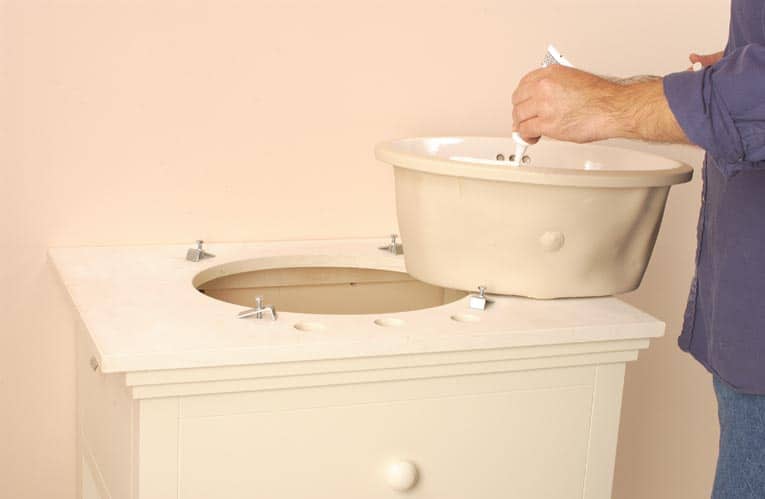
1. Prepare the sink and countertop: Before beginning the installation process, make sure the sink and countertop are clean and dry. This will ensure a secure bond between the two surfaces. 2. Apply silicone adhesive: Using a high-quality silicone adhesive, apply a thin and even layer around the edge of the sink. This will help create a watertight seal between the sink and countertop. 3. Position the sink: Carefully place the sink into the opening in the countertop, making sure it is aligned with the marks you made earlier. Apply gentle pressure to ensure a proper bond between the sink and countertop. 4. Secure the sink: Use clamps or supports to hold the sink in place while the adhesive dries. Follow the manufacturer's instructions for the recommended drying time. 5. Clean up excess adhesive: Once the adhesive has dried, use a putty knife to remove any excess adhesive from around the edges of the sink. 6. Reconnect plumbing: Once the sink is securely in place, you can reconnect the plumbing and turn the water back on.Step-by-Step Guide for Installing an Undermount Bathroom Sink
When positioning an undermount bathroom sink, there are a few techniques you can use to ensure a successful installation: - Use a level to make sure the sink is even and flush with the countertop. - Apply pressure evenly when securing the sink to avoid any gaps or unevenness. - Make sure the sink is centered and aligned with the drain to prevent any plumbing issues.Proper Positioning Techniques for Undermount Bathroom Sinks
To ensure a smooth and successful installation, here are some best practices to keep in mind: - Use a high-quality silicone adhesive to ensure a strong and watertight bond. - Allow enough time for the adhesive to dry before using the sink. - Follow the manufacturer's instructions for the recommended drying time.Best Practices for Installing an Undermount Bathroom Sink
Here are some expert tips to help you achieve the best results when positioning an undermount bathroom sink: - Use a template provided by the manufacturer to ensure accurate measurements and placement. - If possible, have a helper to assist you with holding the sink in place while securing it to the countertop. - Take your time and be patient during the installation process to avoid any mistakes.Expert Tips for Positioning an Undermount Bathroom Sink
Installing an undermount bathroom sink can be a DIY project, but it does require some basic DIY skills and tools. Here are the essential steps for a successful DIY installation: 1. Gather your tools and materials: This may include a level, silicone adhesive, clamps or supports, putty knife, and your new undermount bathroom sink. 2. Measure and mark the placement of the sink on the underside of the countertop. 3. Follow the step-by-step guide mentioned above to properly position and secure the sink. 4. Reconnect the plumbing and turn on the water to test for any leaks.DIY Guide for Installing an Undermount Bathroom Sink
To successfully position an undermount bathroom sink, you will need the following tools and materials: - Level - High-quality silicone adhesive - Clamps or supports - Putty knife - Template (provided by manufacturer) - Basic DIY tools (screwdriver, wrench, etc.)Essential Tools and Materials for Positioning an Undermount Bathroom Sink
Here are some common mistakes to avoid when positioning an undermount bathroom sink: - Not using a proper adhesive, which can lead to leaks and a weak bond between the sink and countertop. - Rushing the installation process, which can result in an uneven or misaligned sink. - Not properly measuring and marking the placement of the sink, leading to a poor fit.Common Mistakes to Avoid When Installing an Undermount Bathroom Sink
If you encounter any issues during the installation process, here are some troubleshooting tips to help you out: - If the sink is not level, use shims to adjust the position. - If there is a gap between the sink and countertop, use additional adhesive to fill it in. - If there are any leaks, check the plumbing connections and tighten as needed. With these tips and techniques, you can successfully position an undermount bathroom sink and add a touch of luxury to your bathroom. Remember to take your time and follow the instructions carefully for a seamless and long-lasting installation.Troubleshooting Tips for Positioning an Undermount Bathroom Sink
Why Undermount Bathroom Sinks are the Perfect Choice for Your Bathroom
The Benefits of Undermount Bathroom Sinks
 When it comes to bathroom design, every detail matters. This includes the type of sink you choose for your bathroom. While there are many options available, undermount bathroom sinks have emerged as a popular and practical choice for modern bathrooms.
Positioning an undermount bathroom sink
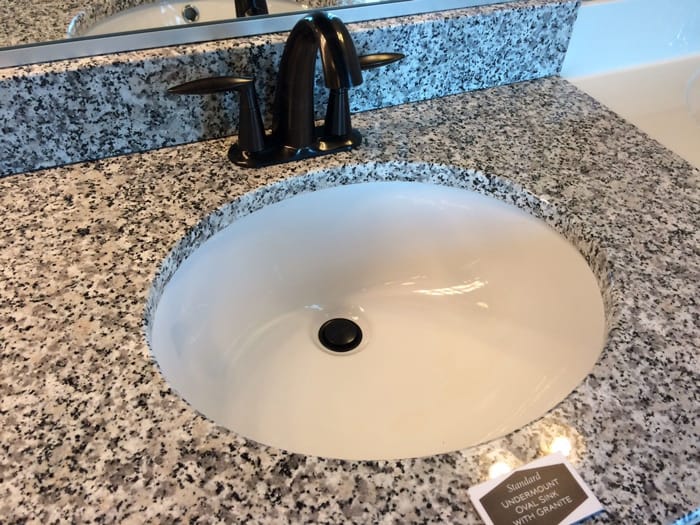
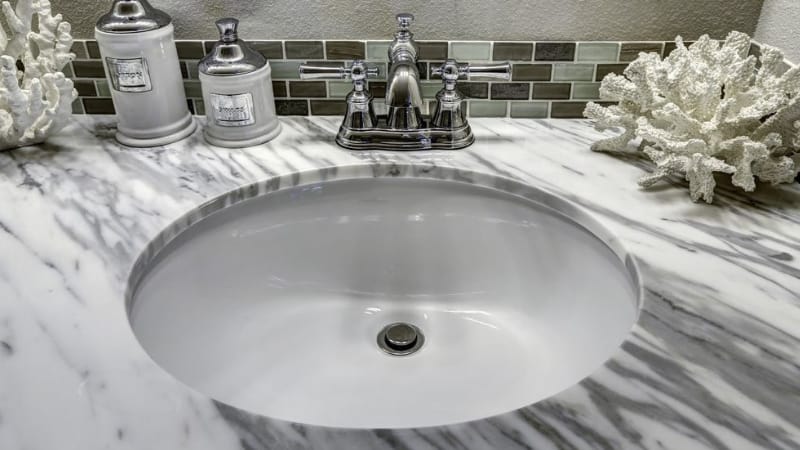
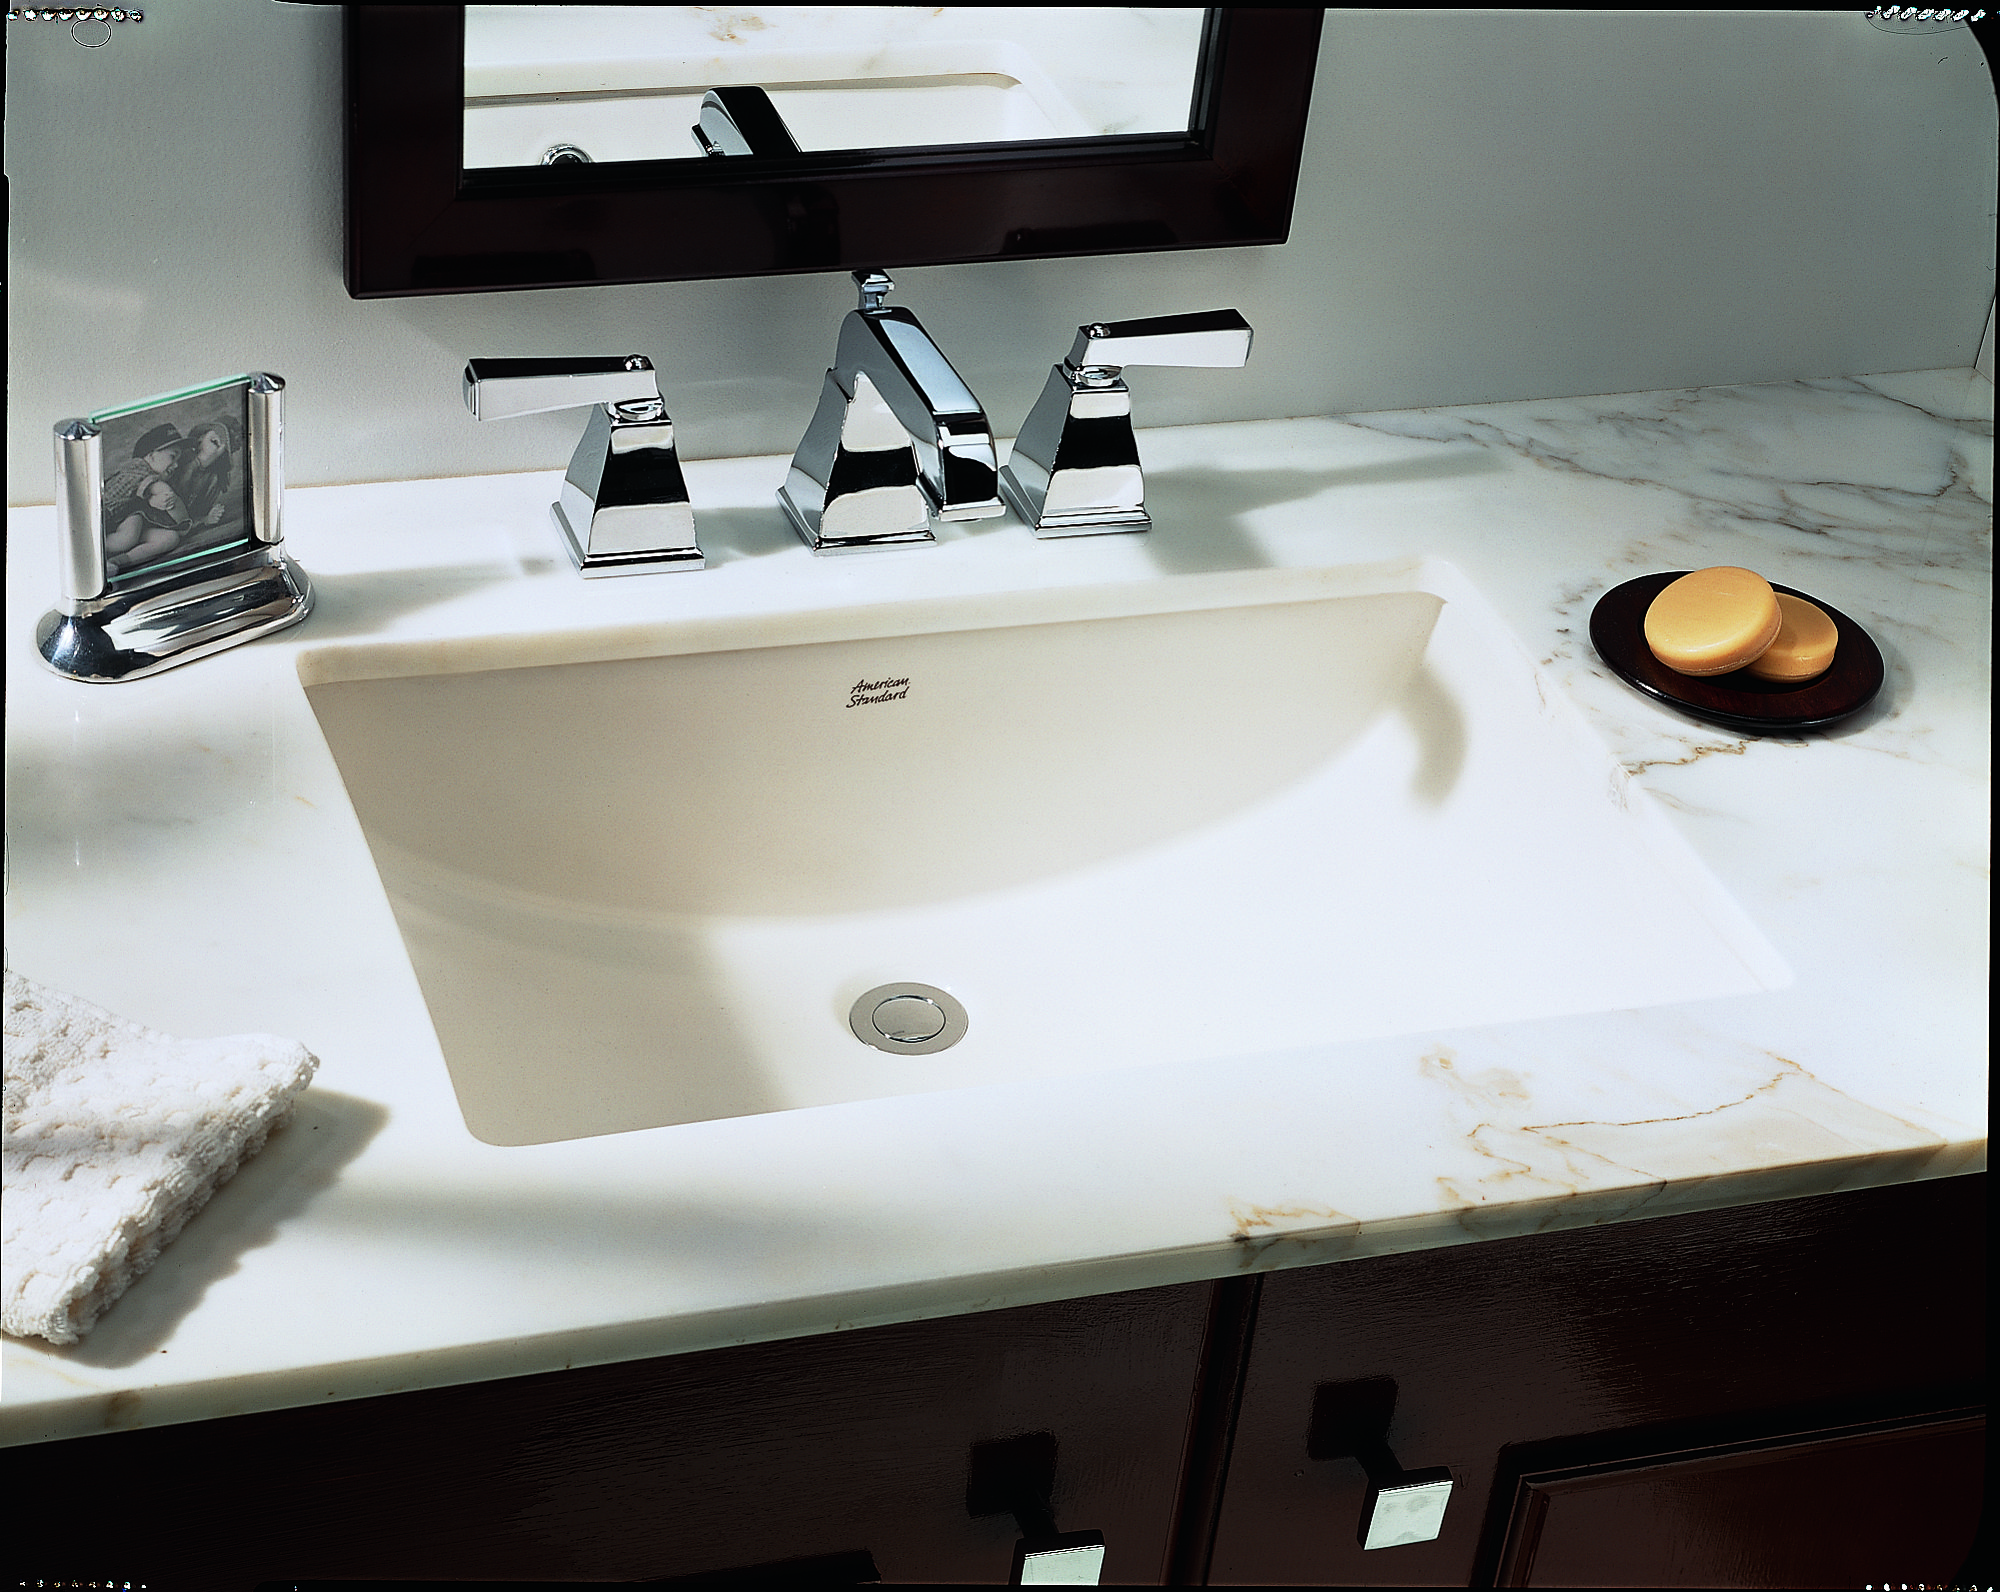
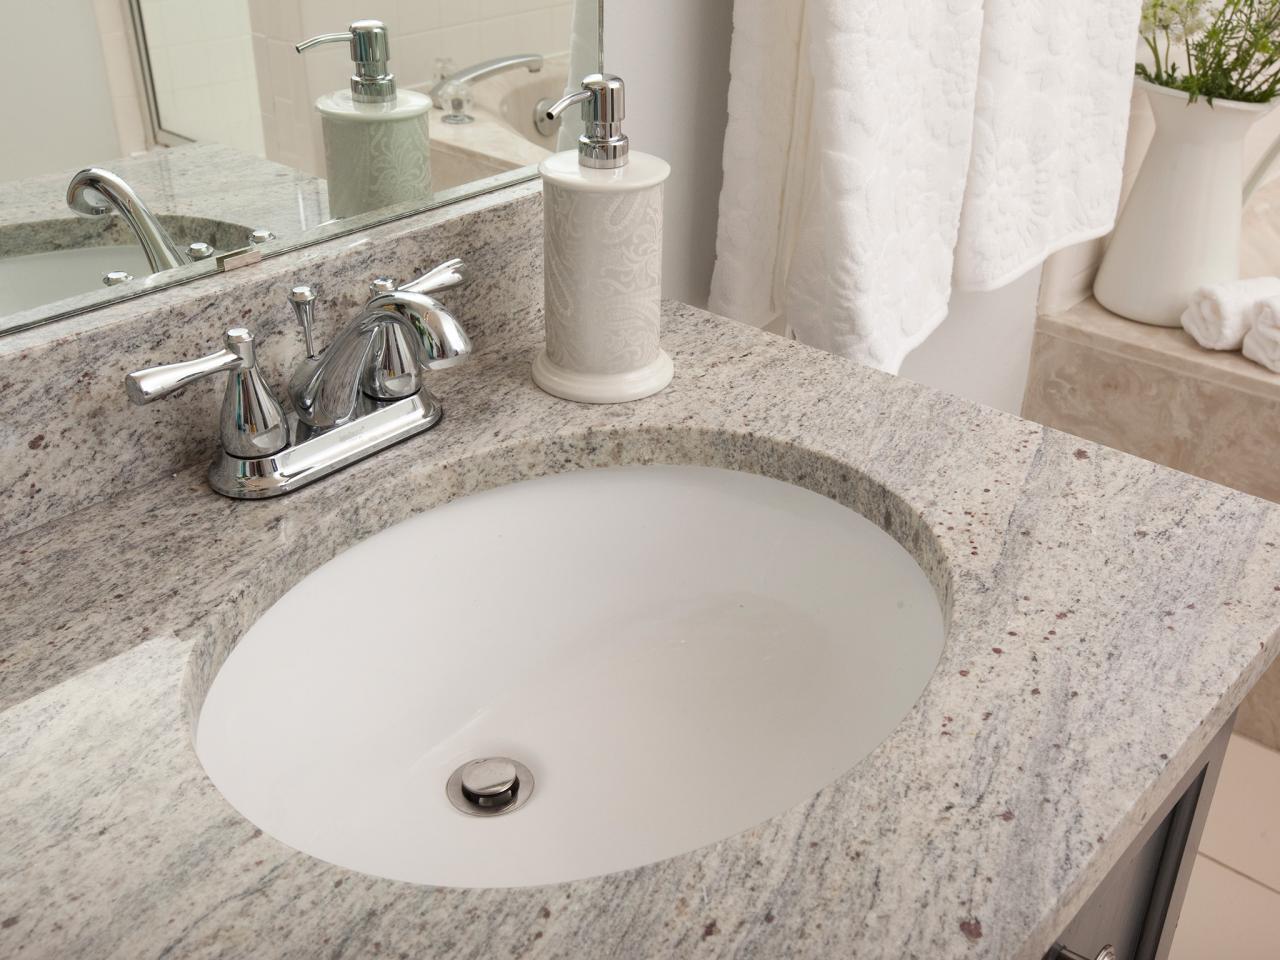
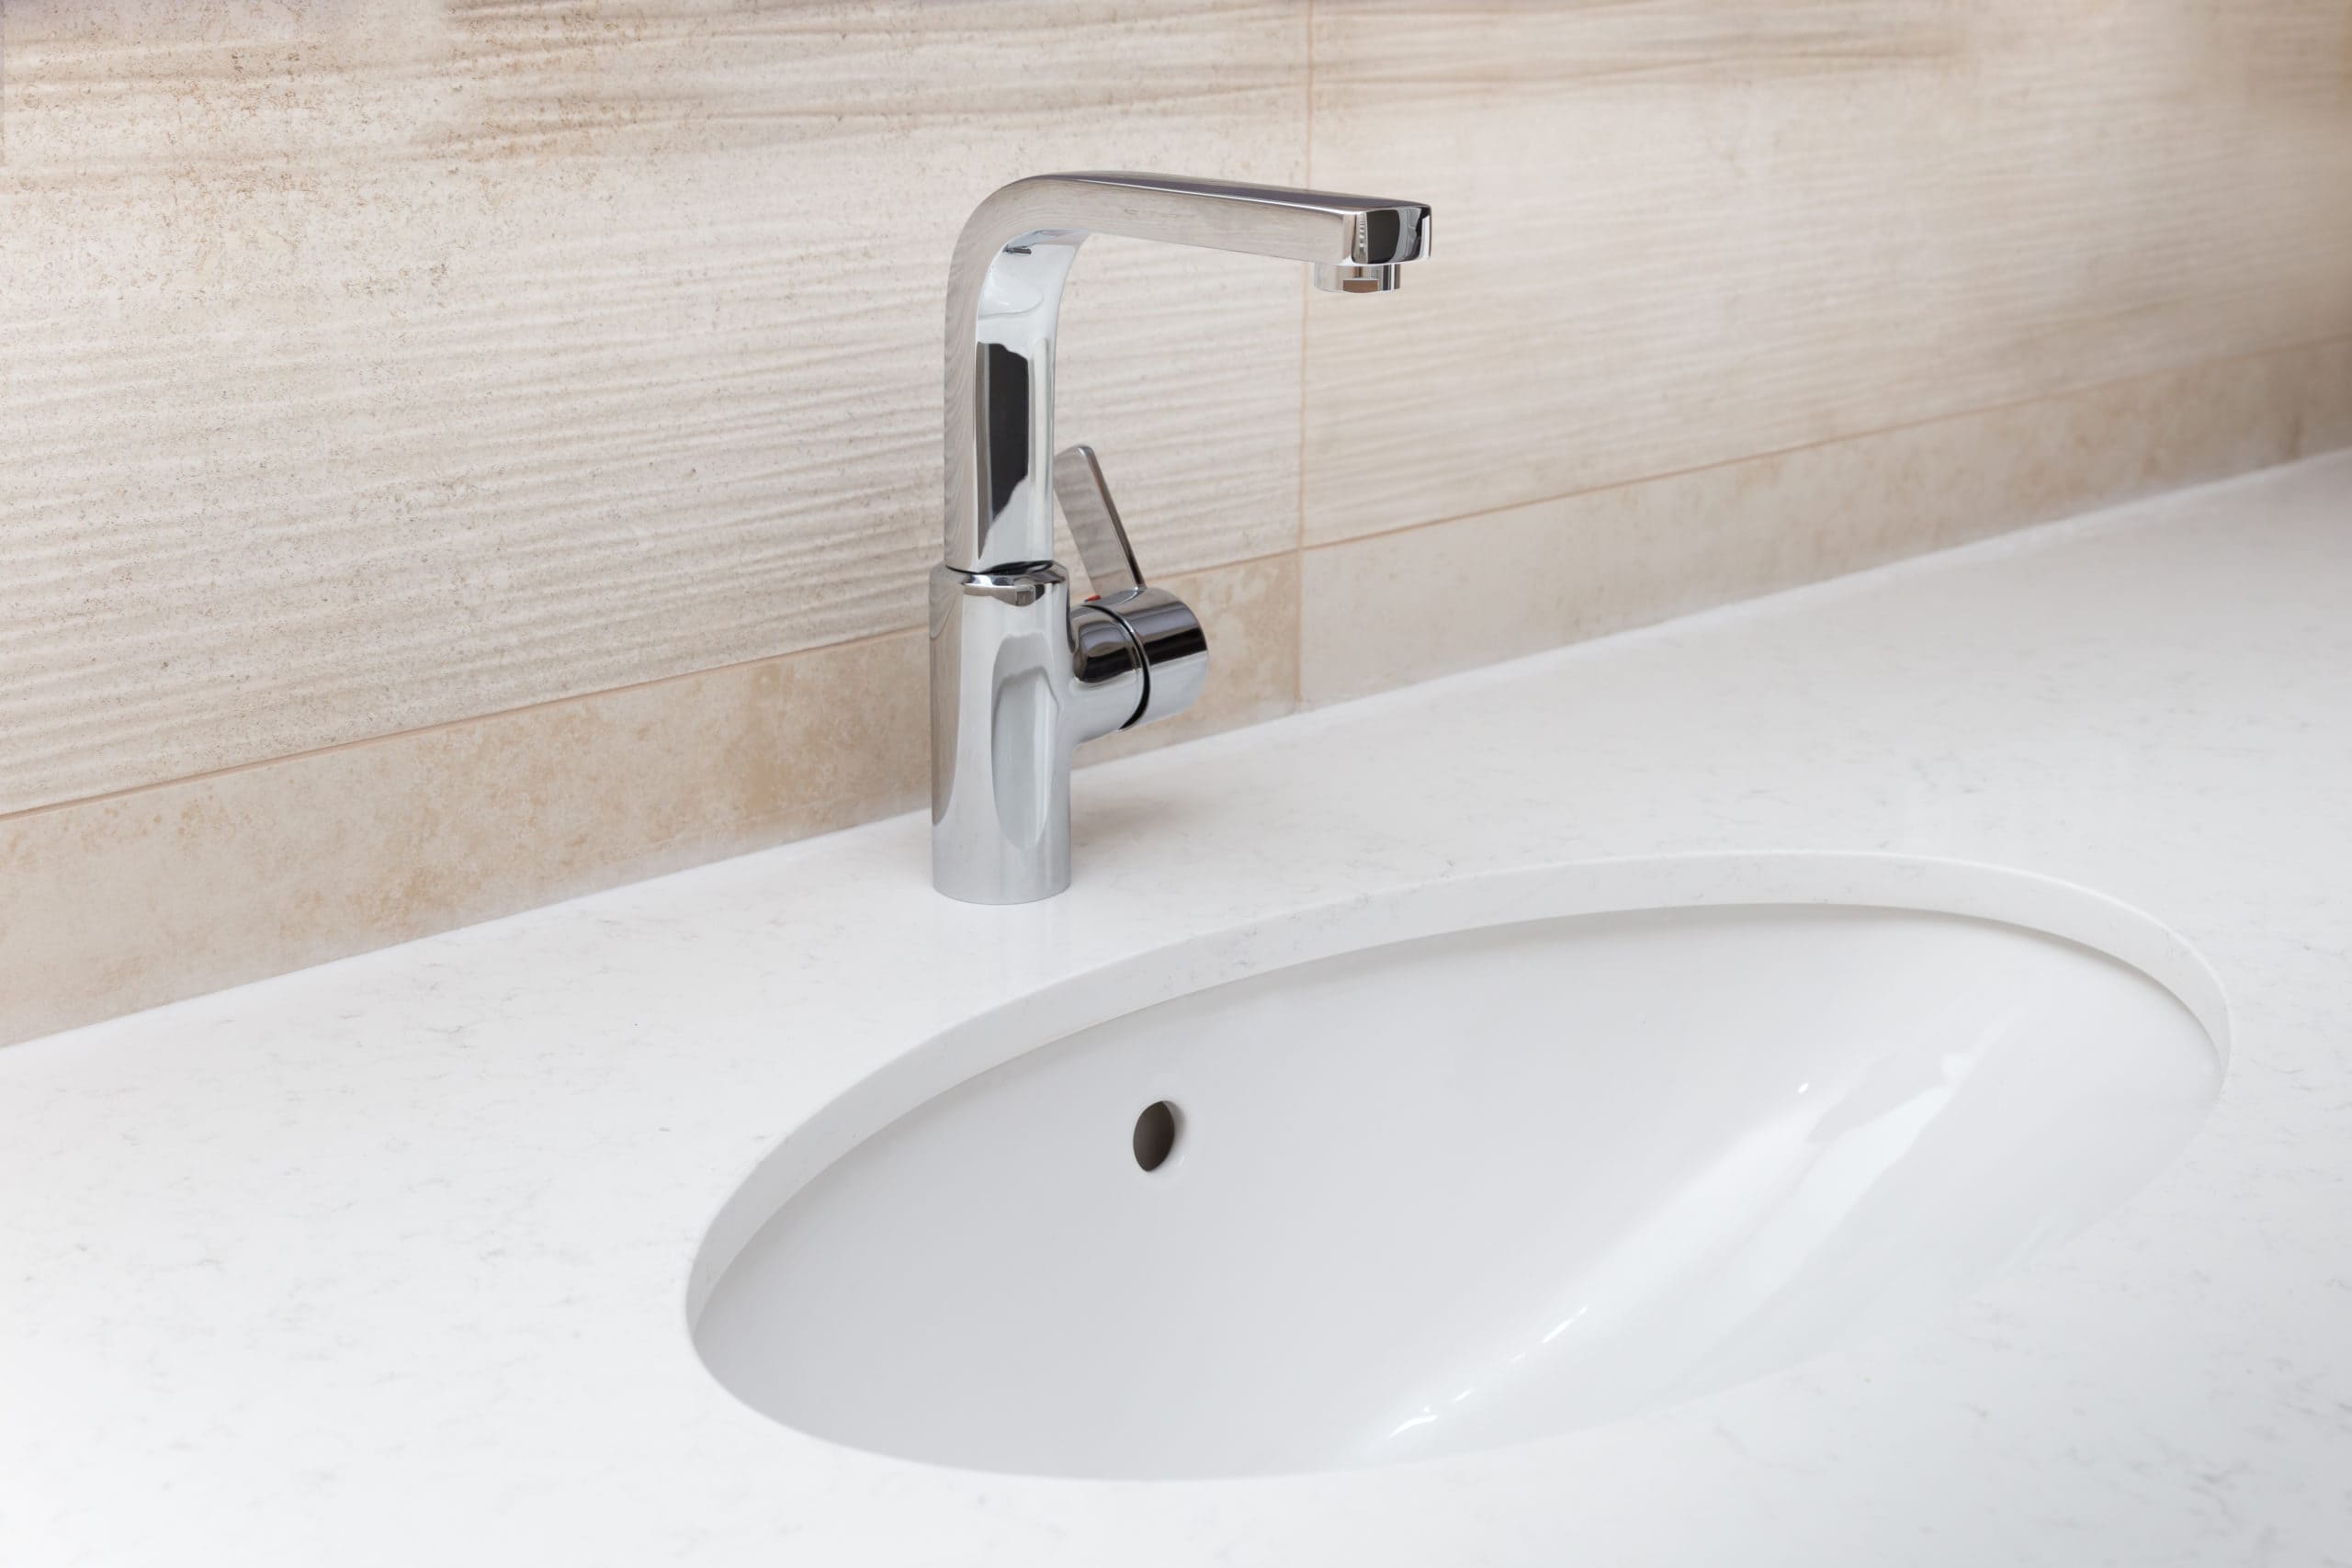
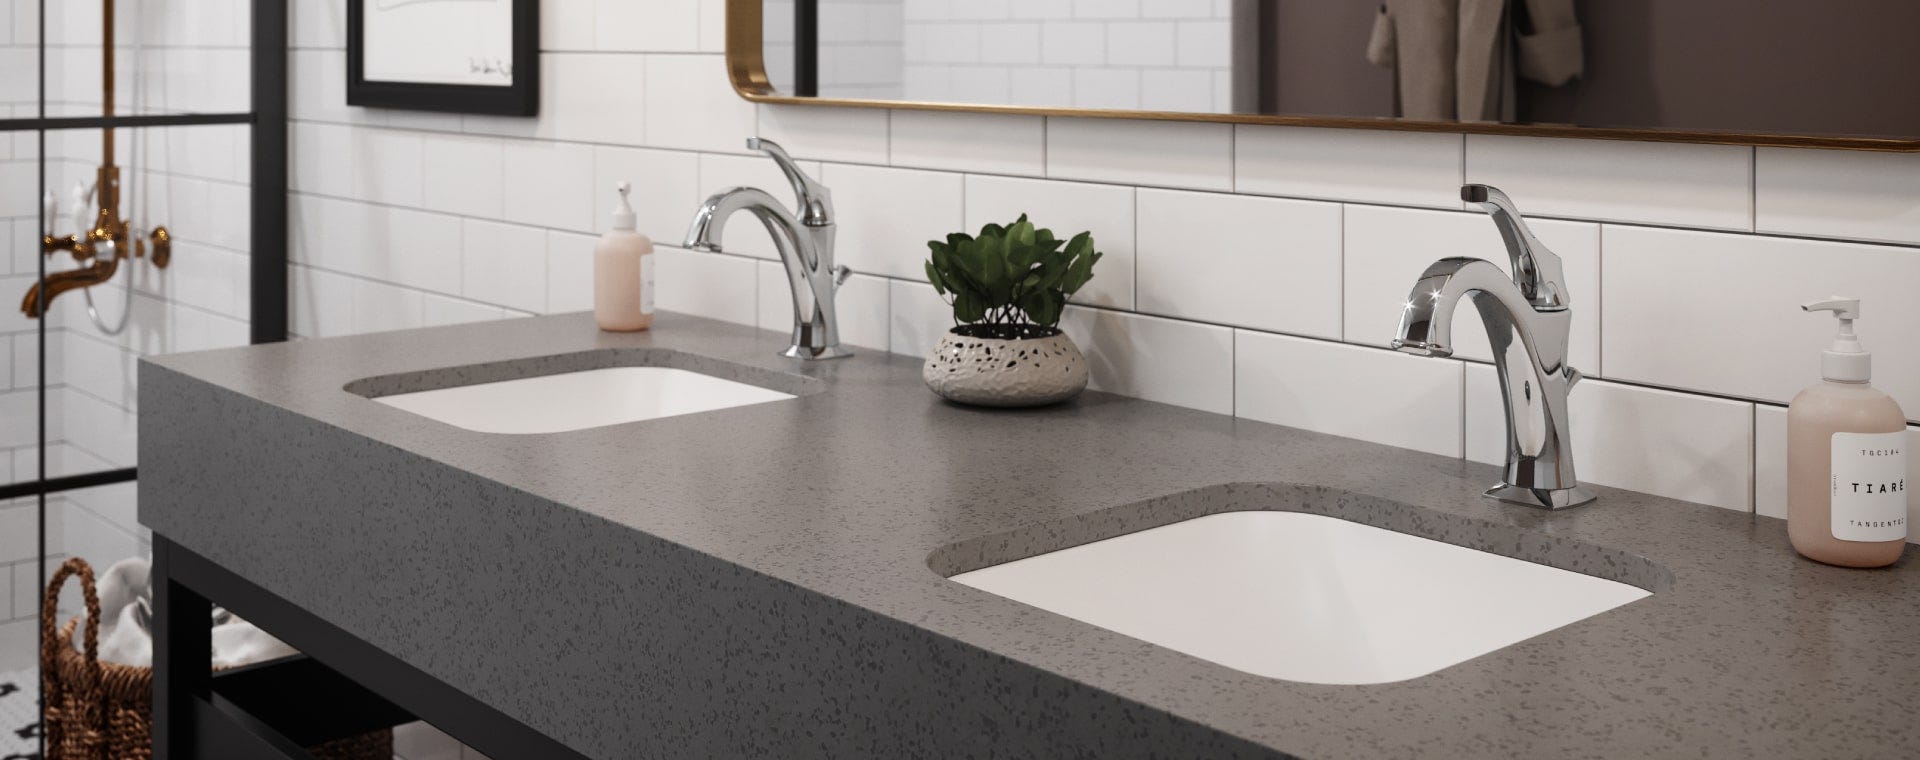
offers a sleek and seamless look that can elevate the overall design of your bathroom. Unlike traditional top-mounted sinks, undermount sinks are installed underneath the countertop, creating a clean and streamlined appearance. This also makes it easier to clean and maintain, as there are no edges or crevices for dirt and grime to accumulate.
Maximizing Space and Functionality
 One of the biggest advantages of undermount bathroom sinks is their ability to save space and provide more functionality in your bathroom. As they are mounted underneath the countertop, there is no need for a bulky rim or lip that takes up valuable counter space. This creates a more spacious and open area, perfect for smaller bathrooms or those looking to maximize their space.
Undermount bathroom sinks
also offer more counter space, making them ideal for those who need extra room for toiletries or other bathroom essentials. This can be especially beneficial in shared bathrooms or for those who love to have a clutter-free space.
Enhancing the Aesthetic Appeal
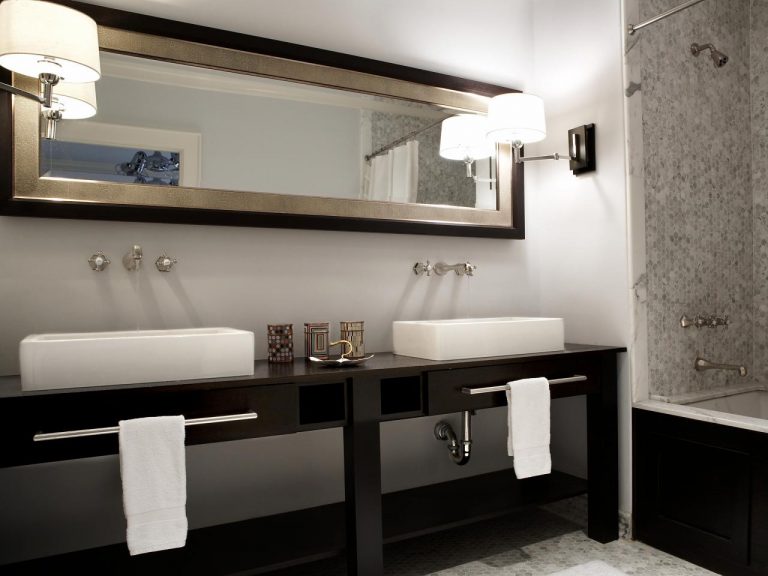
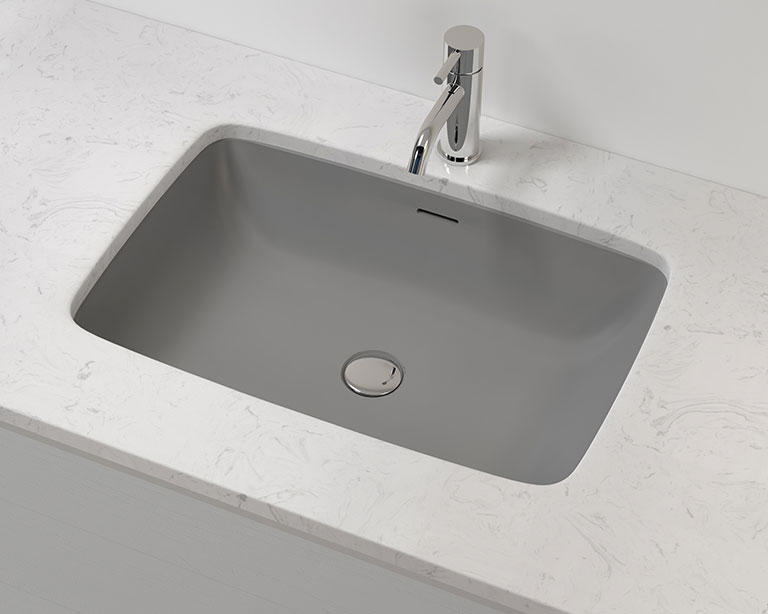 In addition to their practical benefits, undermount bathroom sinks also add to the overall aesthetic appeal of your bathroom. With no visible edges or seams, they create a seamless and clean look that can instantly elevate the design of your bathroom. They also come in a variety of materials, such as porcelain, ceramic, and natural stone, allowing you to choose the perfect
undermount sink
to match your bathroom's style.
Easy Installation and Maintenance
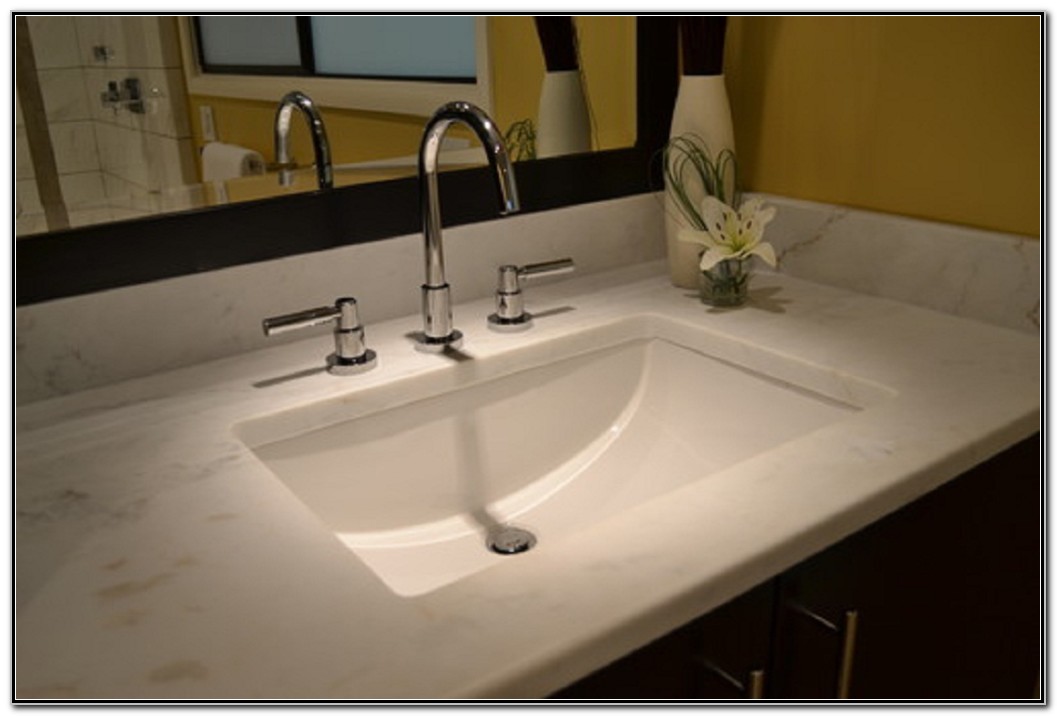 Despite their sophisticated appearance,
undermount bathroom sinks
are relatively easy to install. With the right tools and instructions, you can have your new sink up and running in no time. They also require minimal maintenance, as there are no edges or rims to clean around. This makes them a practical and low-maintenance choice for any bathroom.
In conclusion,
undermount bathroom sinks
offer a perfect combination of style, functionality, and practicality. With their space-saving design, seamless appearance, and easy maintenance, they are an excellent choice for any modern bathroom. So why settle for a traditional top-mounted sink when you can elevate your bathroom design with a sleek and stylish undermount sink?


