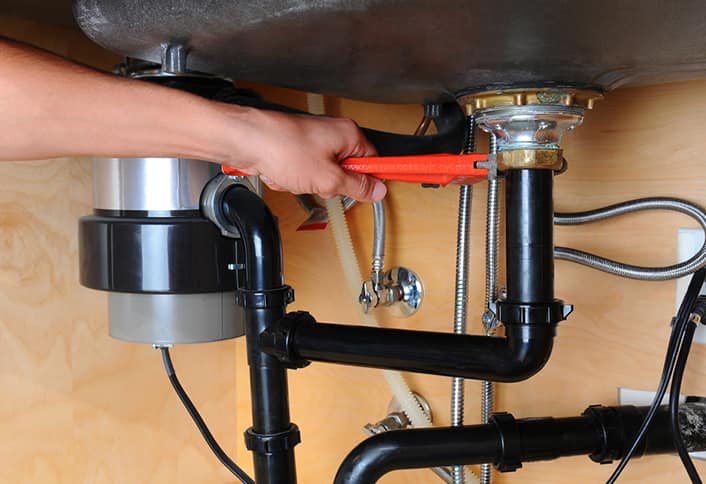
Installing a kitchen sink drain may seem like a daunting task, but it is actually quite simple. With the right tools and a little bit of know-how, you can have your new kitchen sink drain up and running in no time. Follow these steps for a smooth and successful installation process. First, turn off the water supply and disconnect any plumbing connections to the old sink. Remove the old sink and clean the area where the new sink will be installed. Measure and cut the new sink drain pipe to fit the dimensions of your sink. Make sure to use a pipe cutter for a clean and precise cut. Next, attach the tailpiece to the bottom of the sink by using plumber’s putty to create a watertight seal. Then, attach the slip nut and washer to secure the tailpiece in place. Install the sink strainer by placing it into the drain hole and tightening the locknut from underneath the sink. Use a wrench to ensure a tight fit. Once the strainer is in place, attach the drain assembly to the tailpiece by using plumber’s putty to create a seal. Then, carefully insert the assembly into the drain hole and tighten the locknut from underneath the sink. Again, use a wrench to ensure a tight fit. After the drain assembly is secured, install the P-trap by connecting it to the drain assembly and the wall drain pipe. Use a wrench to tighten all connections and make sure they are secure. Finally, turn on the water supply and check for any leaks. If everything looks good, you have successfully installed your new kitchen sink drain!How to Install a Kitchen Sink Drain


How to Install a Kitchen Sink Drain

/how-to-install-a-sink-drain-2718789-hero-b5b99f72b5a24bb2ae8364e60539cece.jpg)


:max_bytes(150000):strip_icc()/how-to-install-a-sink-drain-2718789-hero-24e898006ed94c9593a2a268b57989a3.jpg)


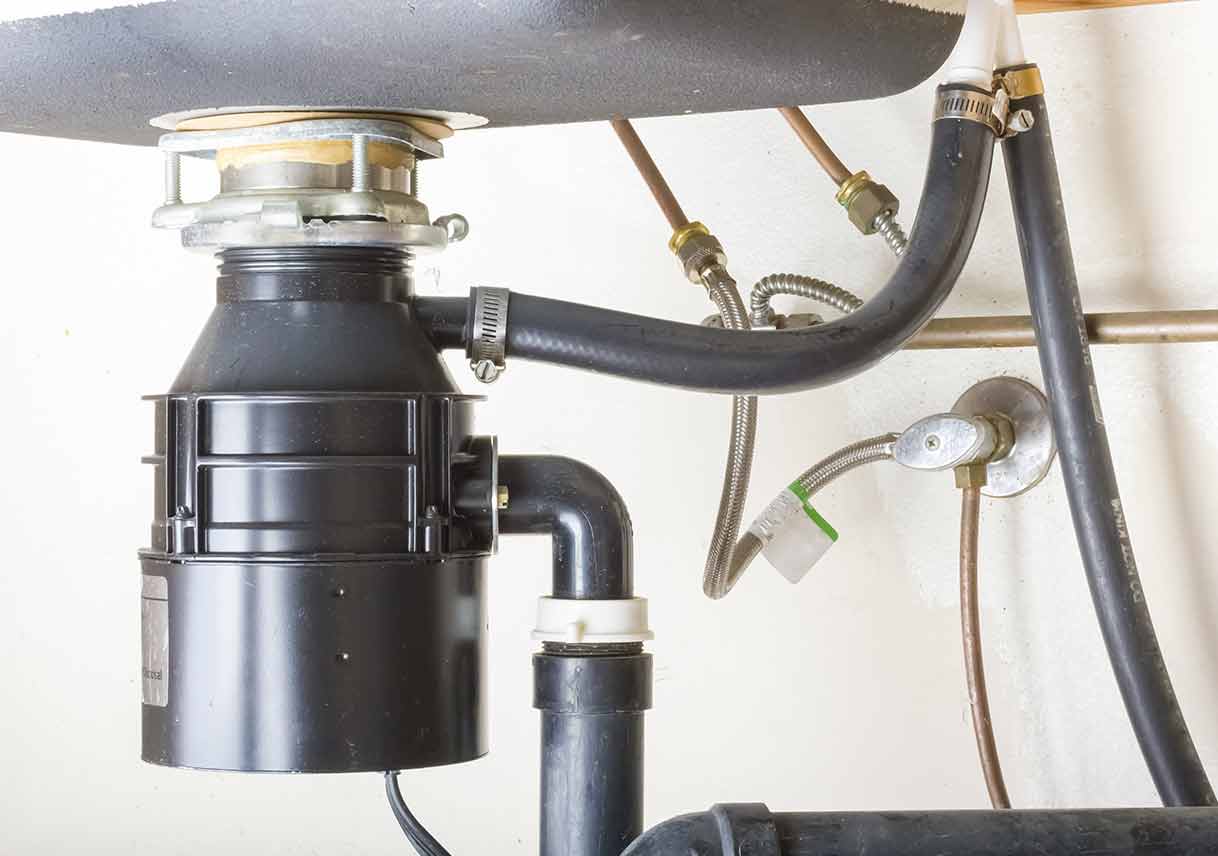
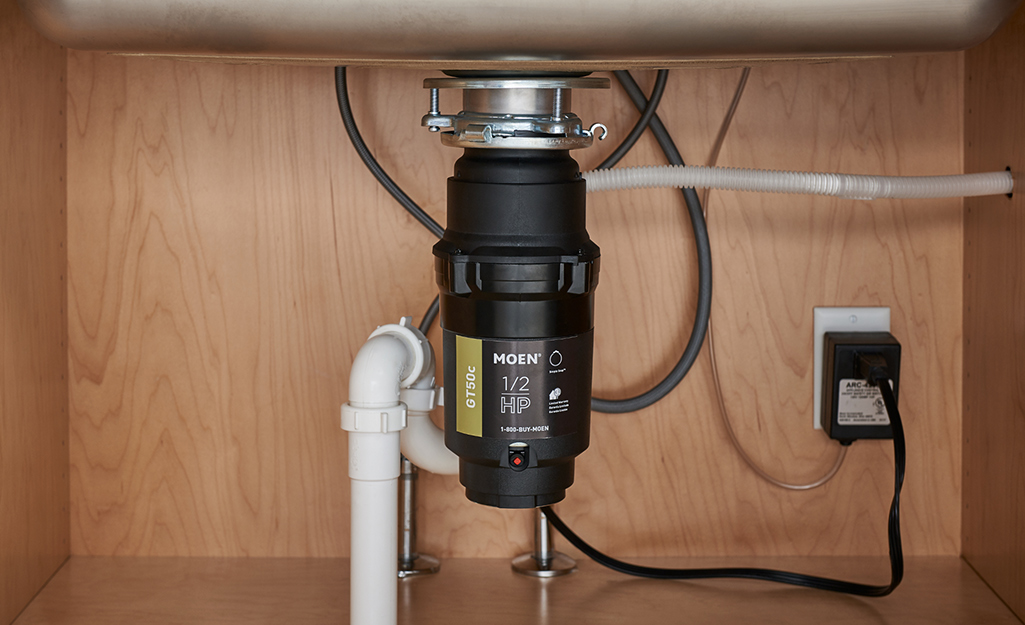
A garbage disposal is a handy addition to any kitchen, making cleanup a breeze and preventing food scraps from clogging up your pipes. Here’s how to install one in your kitchen sink. Start by turning off the power to the area where you will be installing the disposal. Then, remove any objects from the sink and clear out the cabinet underneath. Disconnect the drain and any other plumbing connections from the old sink. Remove the old sink and clean the area where the new disposal will be installed. Next, install the mounting assembly by attaching it to the sink flange and tightening the mounting screws. Then, attach the discharge tube to the disposal unit and secure it with a clamp. Connect the power cord to the disposal and plug it into a nearby outlet. Once the disposal is securely mounted, connect the dishwasher drain line to the disposal if you have one. Then, connect the drain pipes by using plumber’s putty to create a watertight seal. Carefully insert the disposal unit into the mounting assembly and tighten the mounting screws. Finally, turn on the power and test the disposal by running water and turning it on. If everything is working properly, you have successfully installed a garbage disposal in your kitchen sink.How to Install a Garbage Disposal
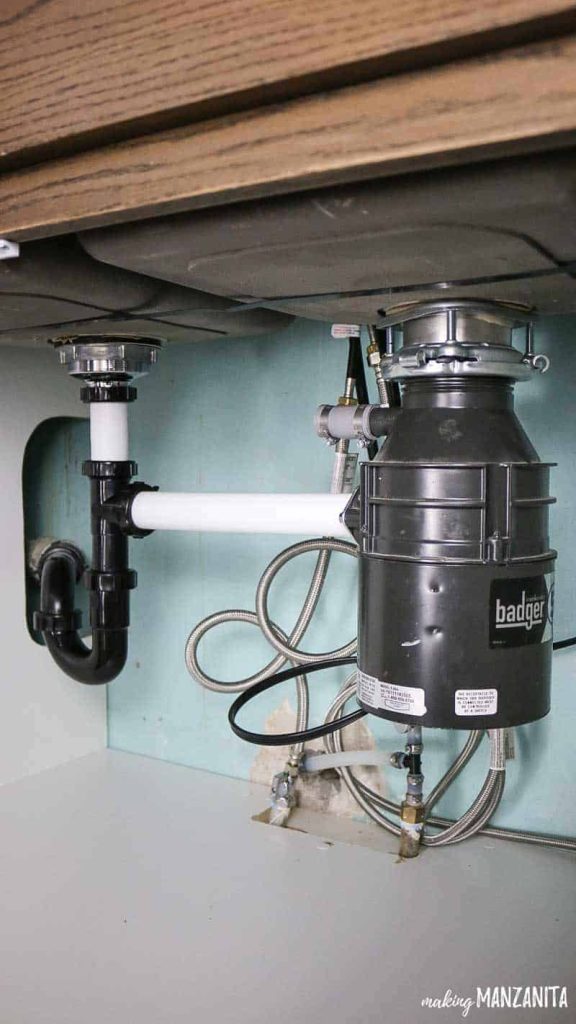
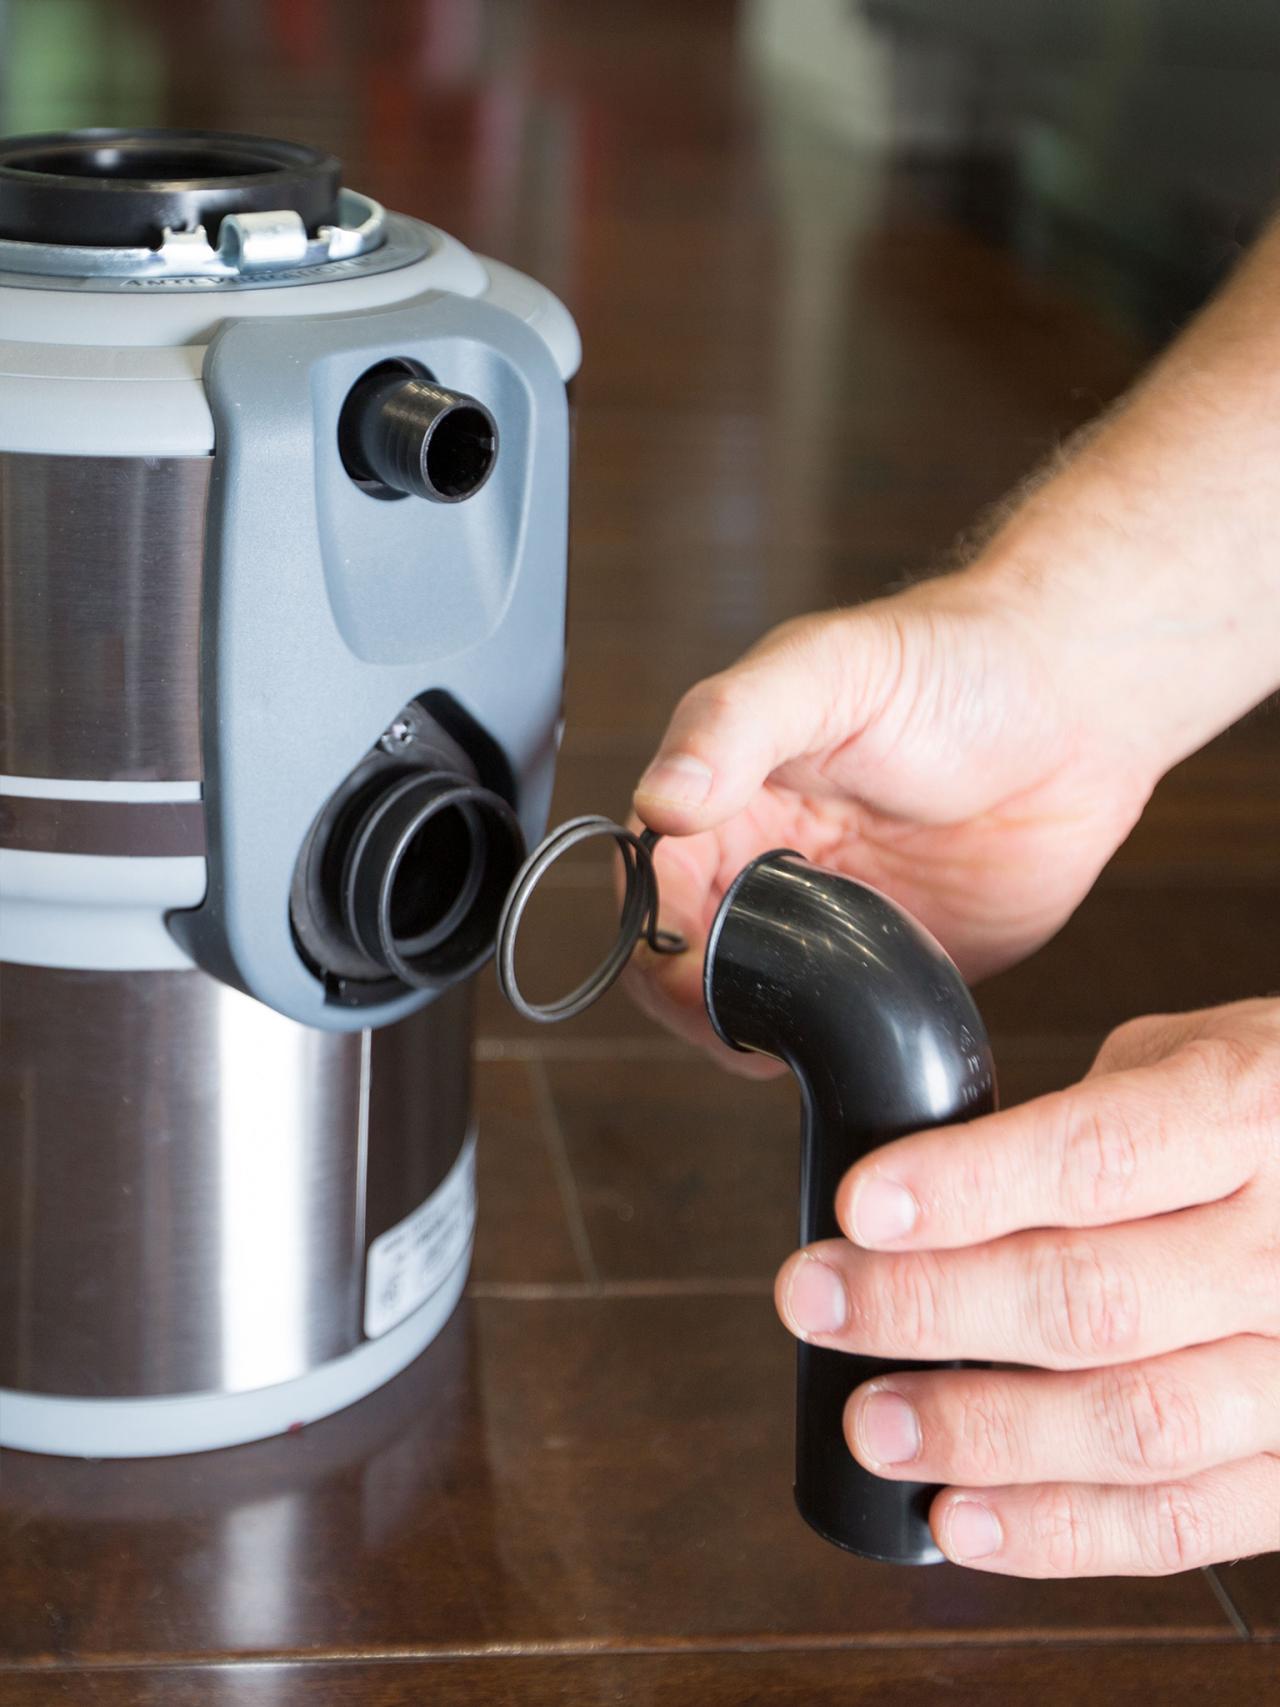
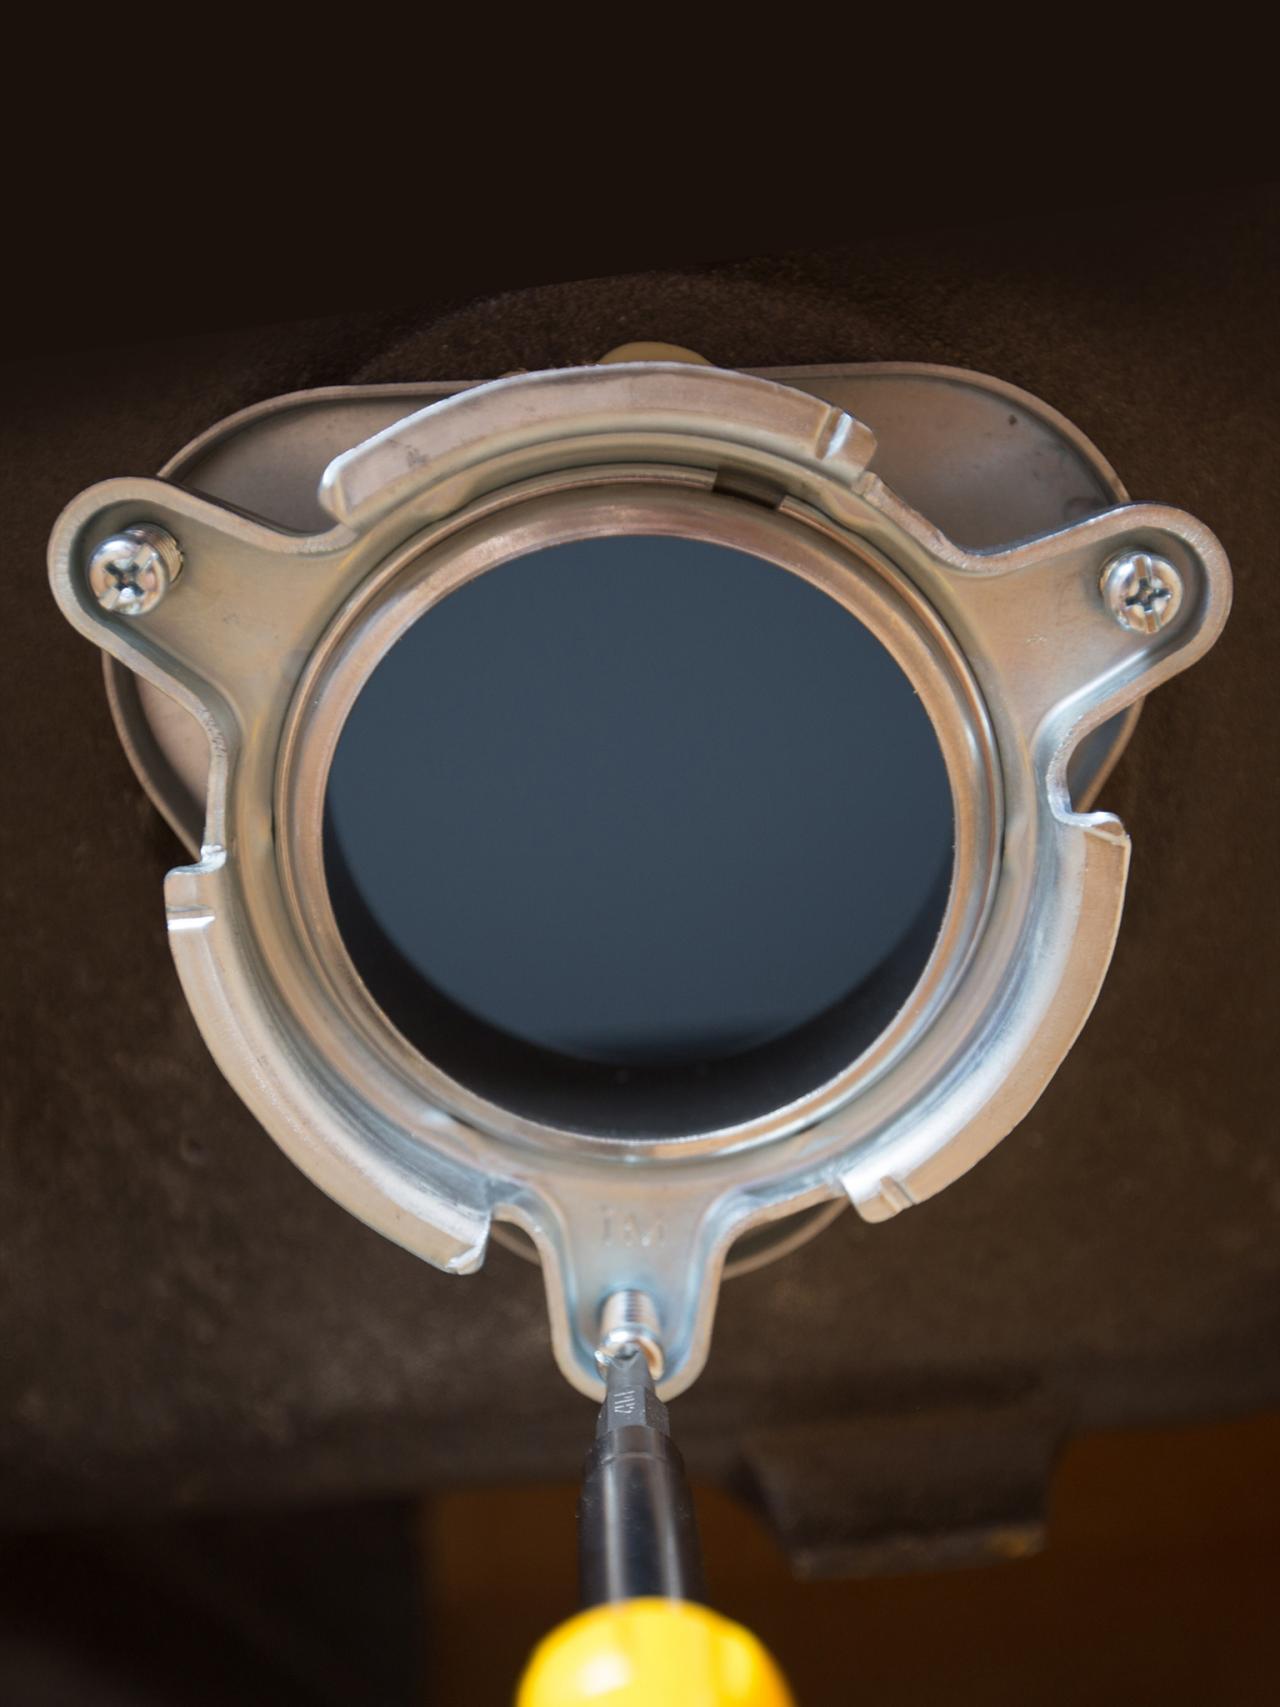
How to Install a Garbage Disposal

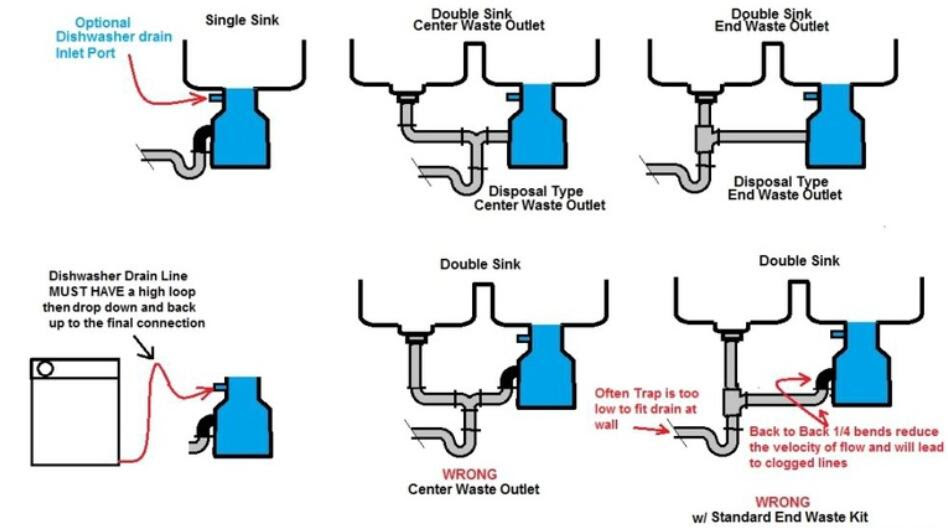


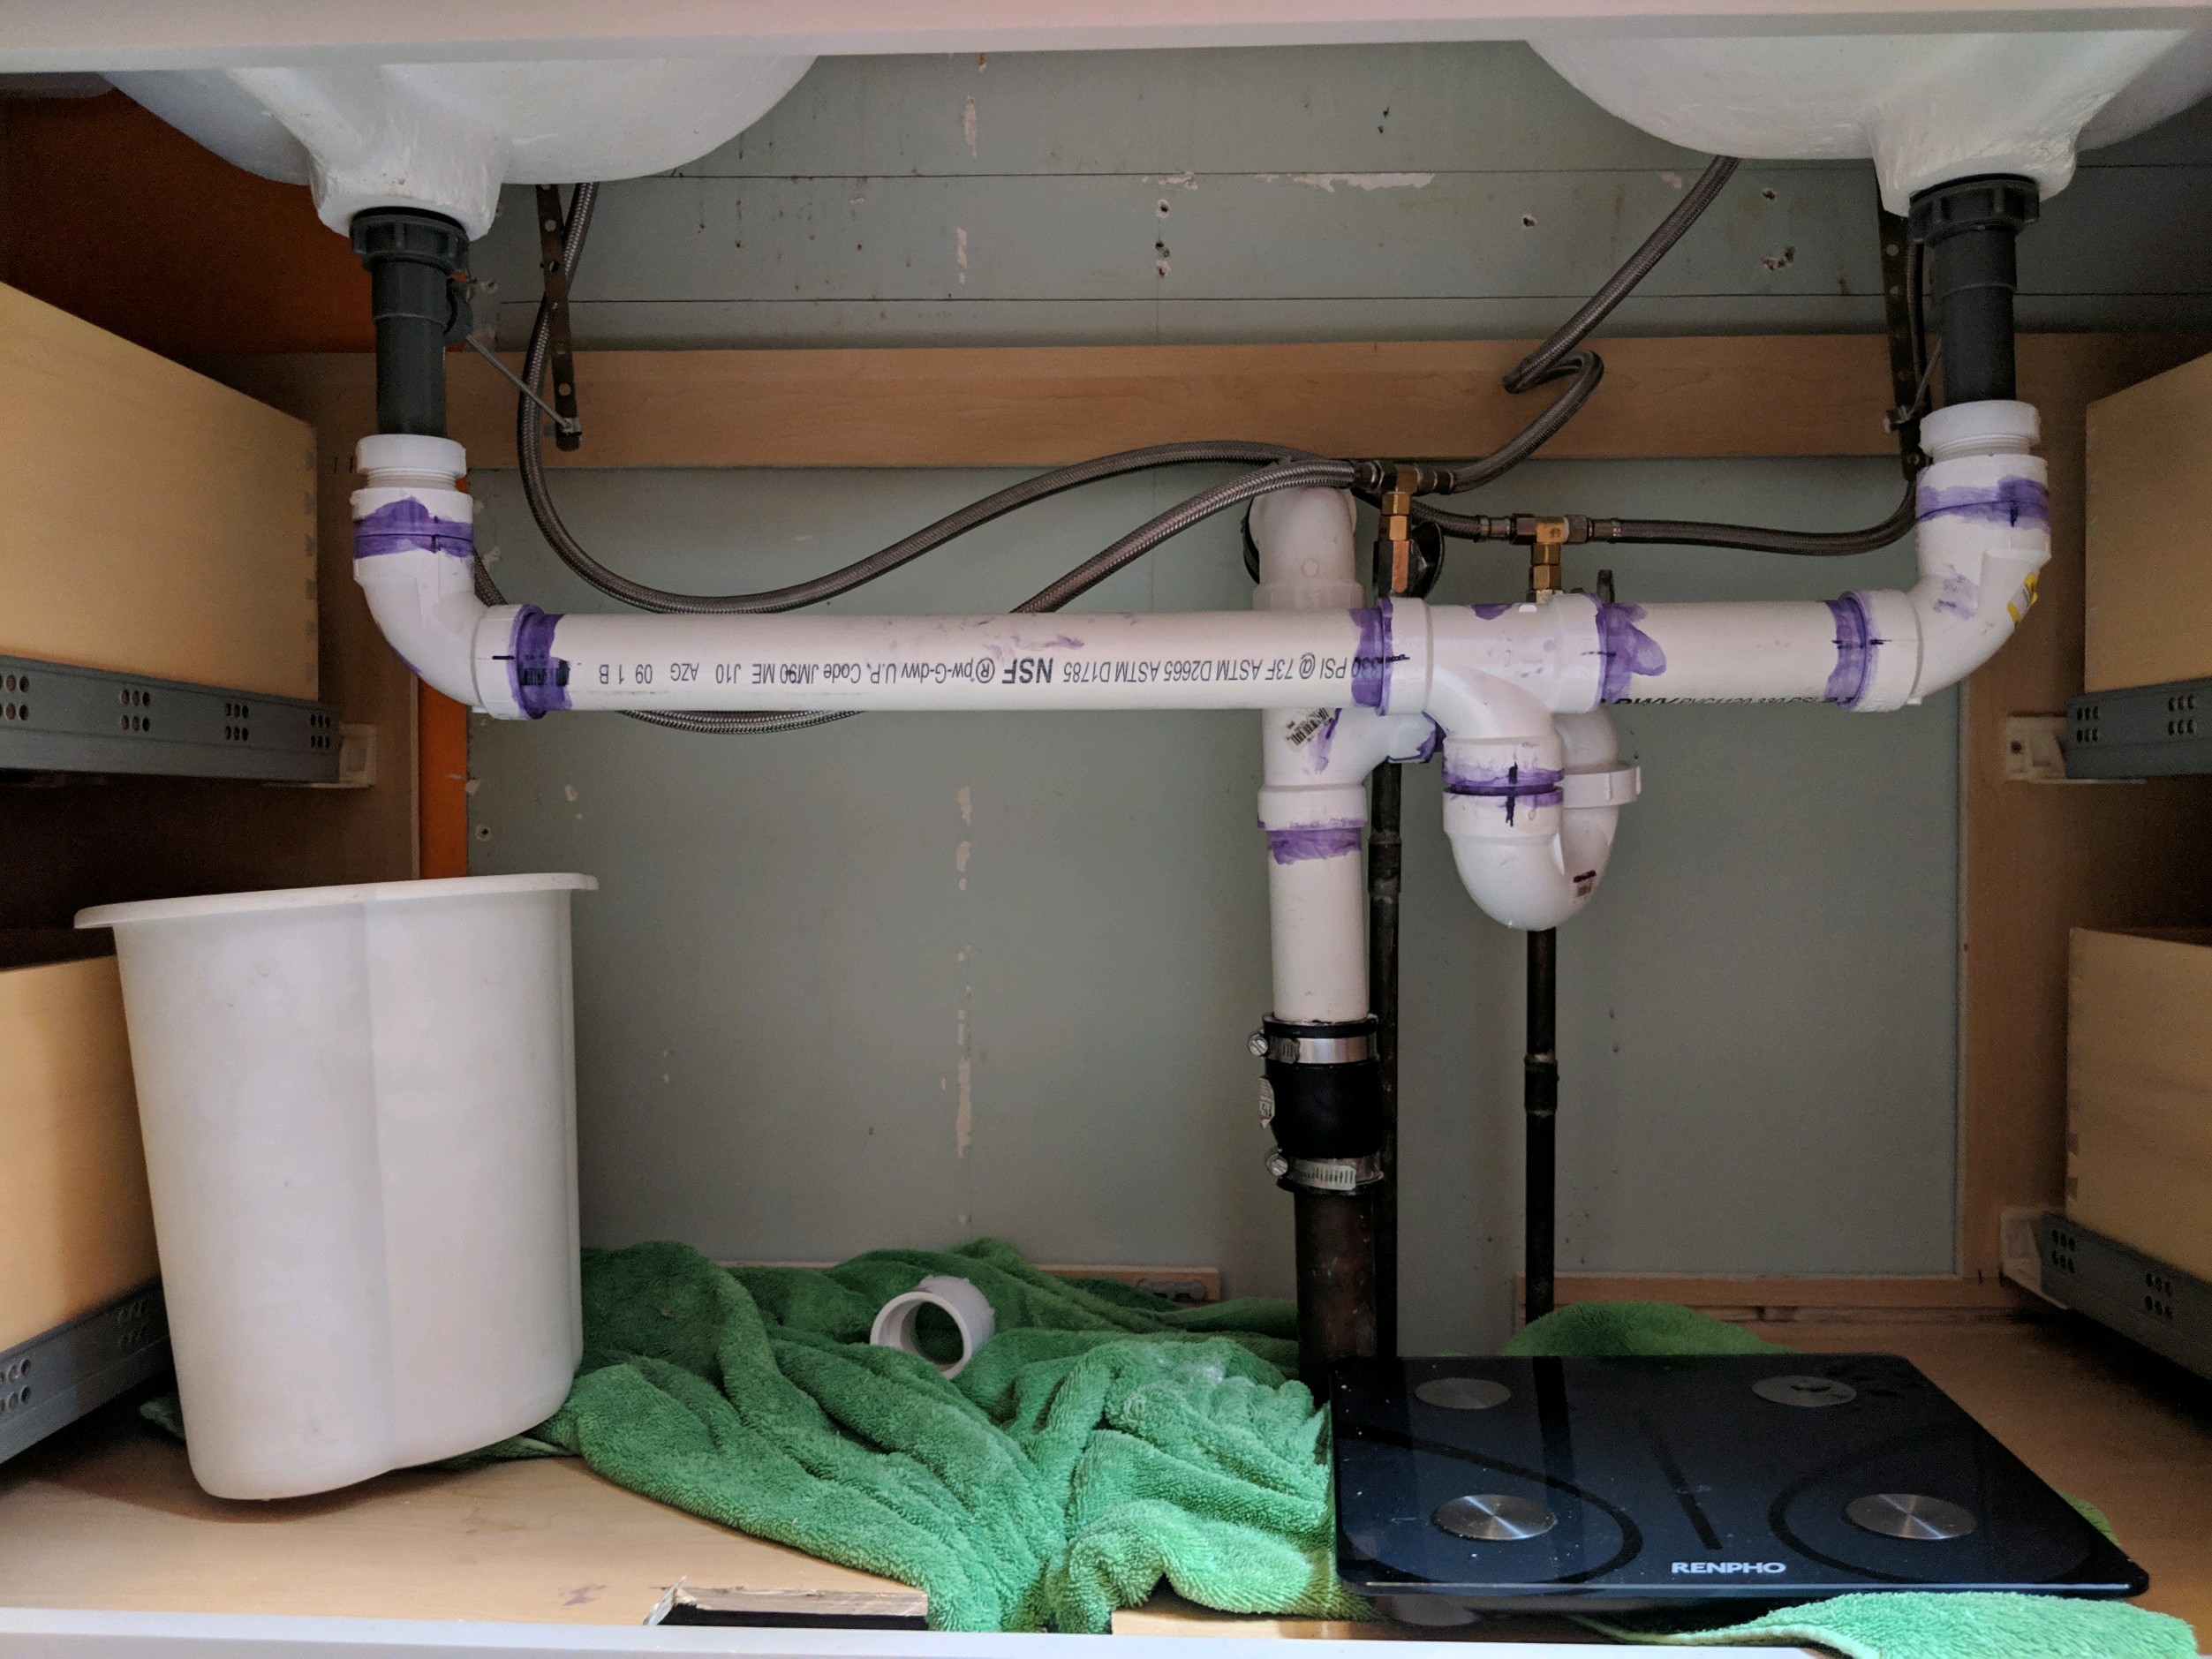
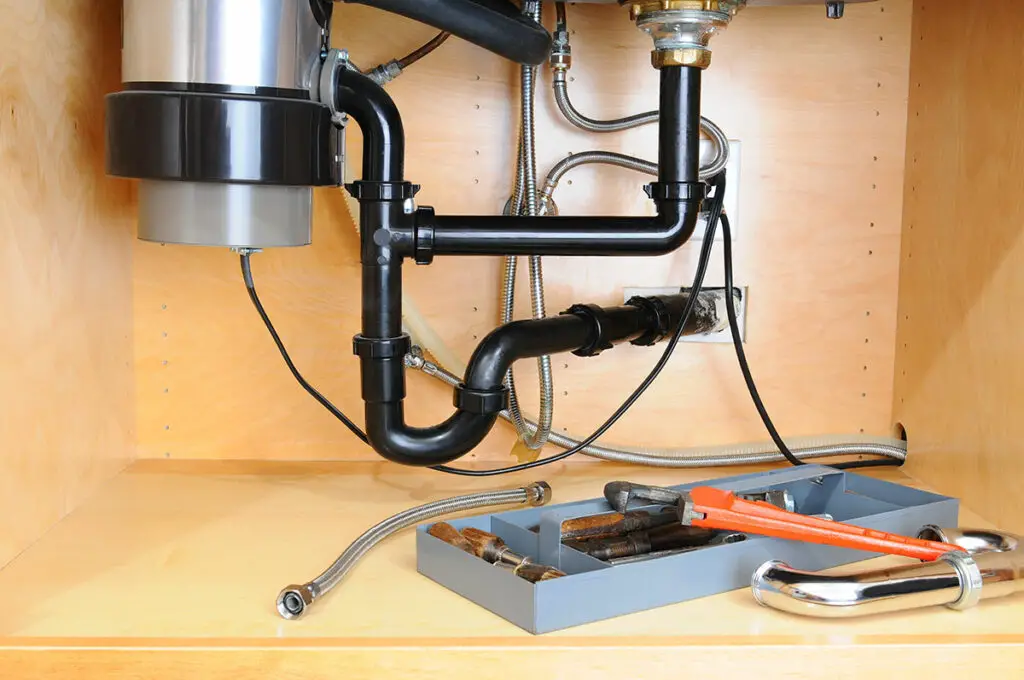
If you have a dual kitchen sink with a garbage disposal, connecting both drains can seem like a tricky task. But with the right steps, you can easily connect the drains and have them both functioning properly. Start by attaching the disposal unit to the sink flange, as mentioned in the previous section. Then, install the drain assembly for the other sink by following the same steps as mentioned for a single sink drain installation. Make sure to use plumber’s putty to create a watertight seal. Next, connect the two drain pipes by using a double sink drain kit. This kit will have all the necessary pieces to connect both drains to the main drain line. Use plumber’s putty to create a seal at each connection and make sure everything is tightly secured. Finally, turn on the water supply and check for any leaks. If everything looks good, you have successfully connected dual kitchen sink drains with a garbage disposal.How to Connect Dual Kitchen Sink Drains


How to Connect Dual Kitchen Sink Drains


Replacing a kitchen sink may seem like a big undertaking, but with the right tools and steps, it can be done in a few hours. Here’s how to replace your kitchen sink with a new one. Start by turning off the water supply and disconnecting any plumbing connections from the old sink. Remove the old sink and clean the area where the new sink will be installed. Measure and cut the new sink drain pipe to fit the dimensions of your sink. Use a pipe cutter for a clean and precise cut. Next, place the new sink into the countertop and secure it in place with mounting brackets. Install the drain assembly and connect it to the drain pipe using plumber’s putty to create a watertight seal. Attach the P-trap and any other plumbing connections. Turn on the water supply and check for any leaks. If everything looks good, you have successfully replaced your kitchen sink with a new one. Remember to properly dispose of the old sink and clean up any mess before admiring your new and improved kitchen sink.How to Replace a Kitchen Sink

How to Replace a Kitchen Sink


/25089301983_c5145fe85d_o-58418ef15f9b5851e5f392b5.jpg)


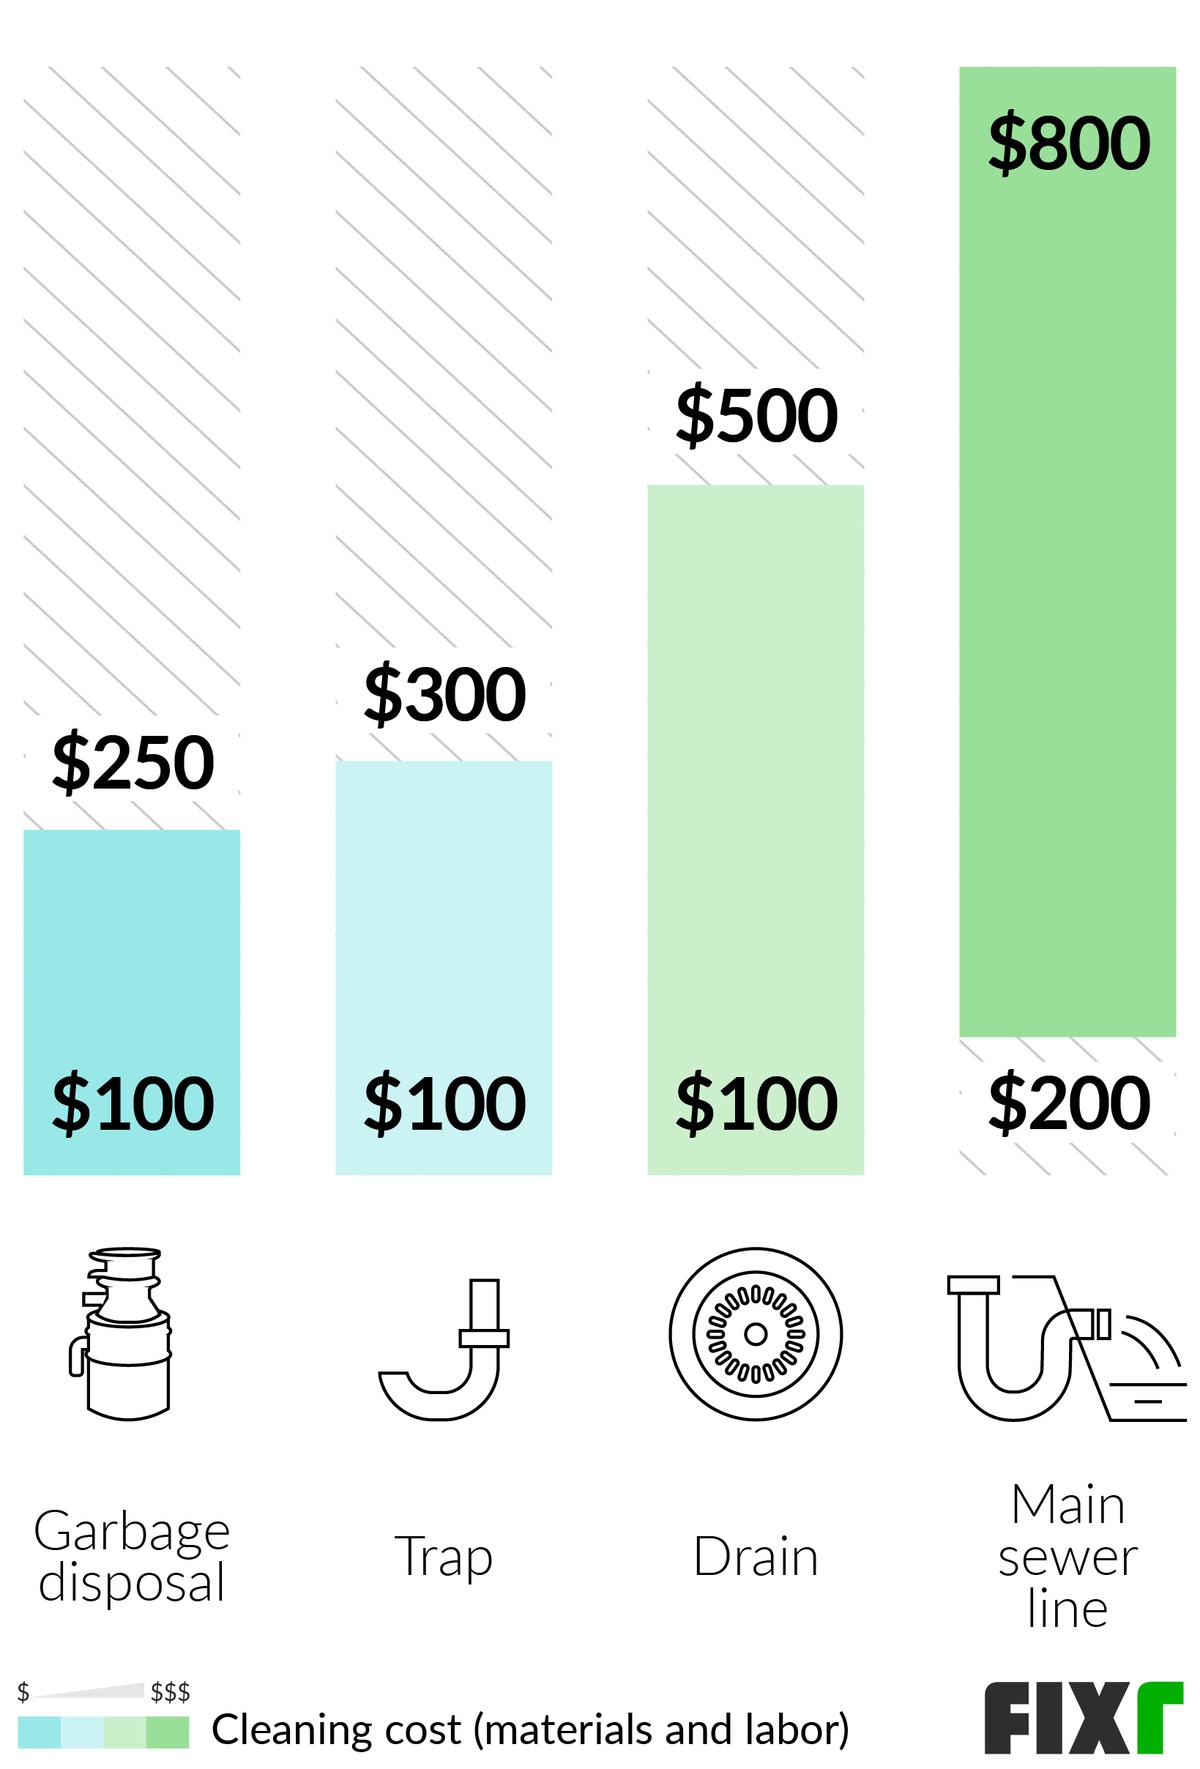
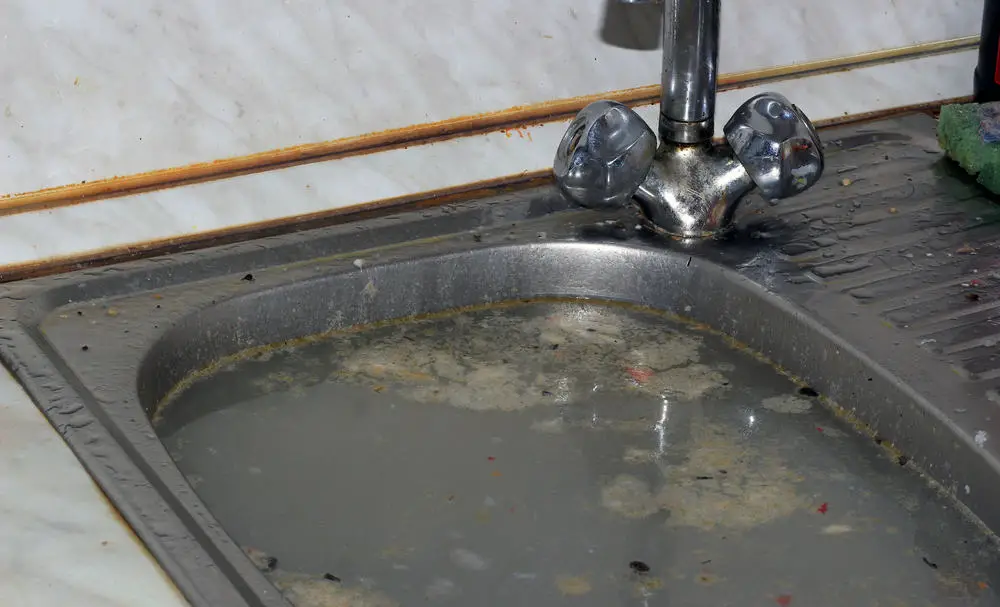
A clogged kitchen sink can be a major inconvenience, but with a few simple steps, you can unclog it and have your sink draining properly again. Start by using a plunger to try and dislodge any blockages in the drain. If that doesn’t work, try using a plumbing snake to break up and remove any clogs. If the clog is still not budging, you may need to use a chemical drain cleaner. Be sure to follow the instructions carefully and use protective gear to avoid any contact with the chemicals. If none of these methods work, you may need to call a professional plumber to take care of the clog. They will have specialized tools and equipment to clear the blockage and get your kitchen sink back to normal.How to Unclog a Kitchen Sink
/plumber-unclogging-kitchen-sink-169270382-5797a9355f9b58461f27f024.jpg)
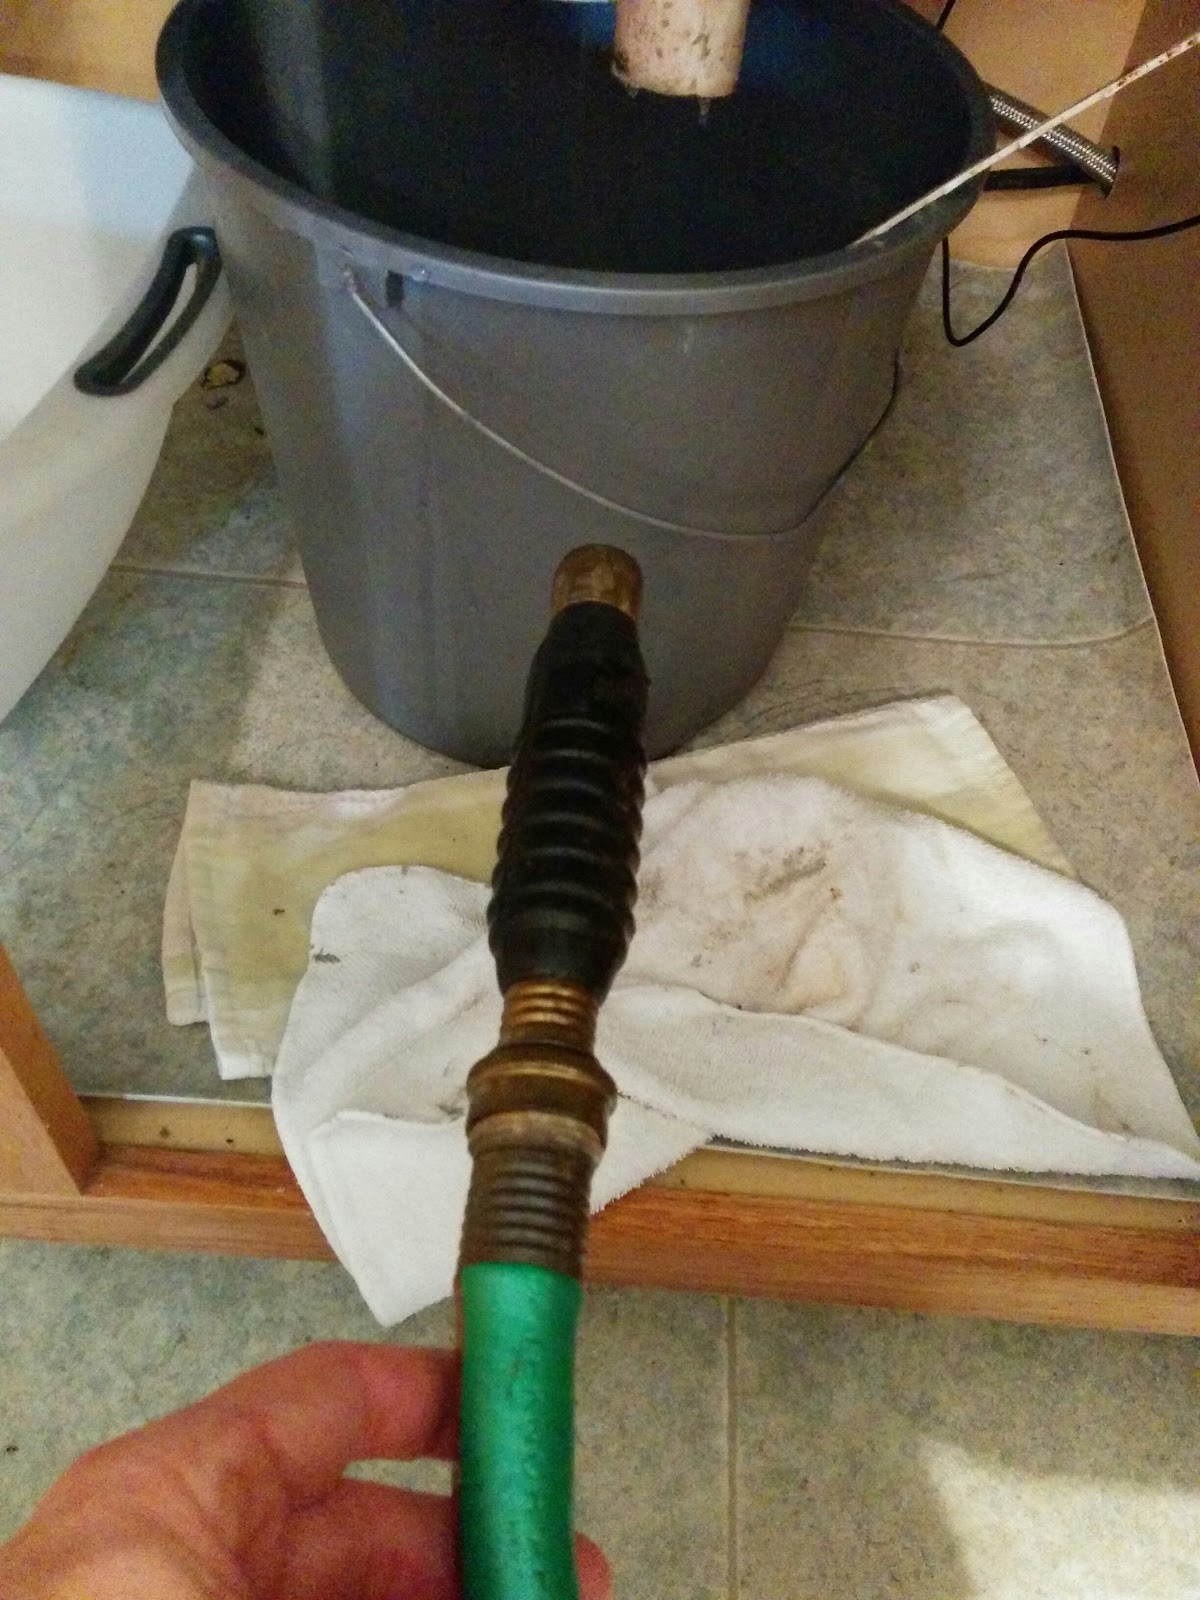

How to Unclog a Kitchen Sink

/how-to-unclog-a-kitchen-sink-2718799_sketch_FINAL-8c5caa805a69493ab22dfb537c72a1b7.png)


A leaky kitchen sink can be a nuisance, but luckily, it can usually be fixed with a few simple steps. Here’s what to do if you have a leaky kitchen sink. First, locate the source of the leak. It could be coming from the faucet, the drain, or the pipes underneath the sink. If it’s coming from the faucet, you may just need to replace the O-ring or the washer. If it’s coming from the drain, you may need to tighten the connections or replace the gasket. If the leak is coming from the pipes underneath the sink, you may need to replace them. Turn off the water supply and disconnect the pipes. Then, replace them with new ones and tighten all connections. Turn the water supply back on and check for any leaks. If everything looks good, you have successfully fixed your leaky kitchen sink.How to Fix a Leaky Kitchen Sink


How to Fix a Leaky Kitchen Sink


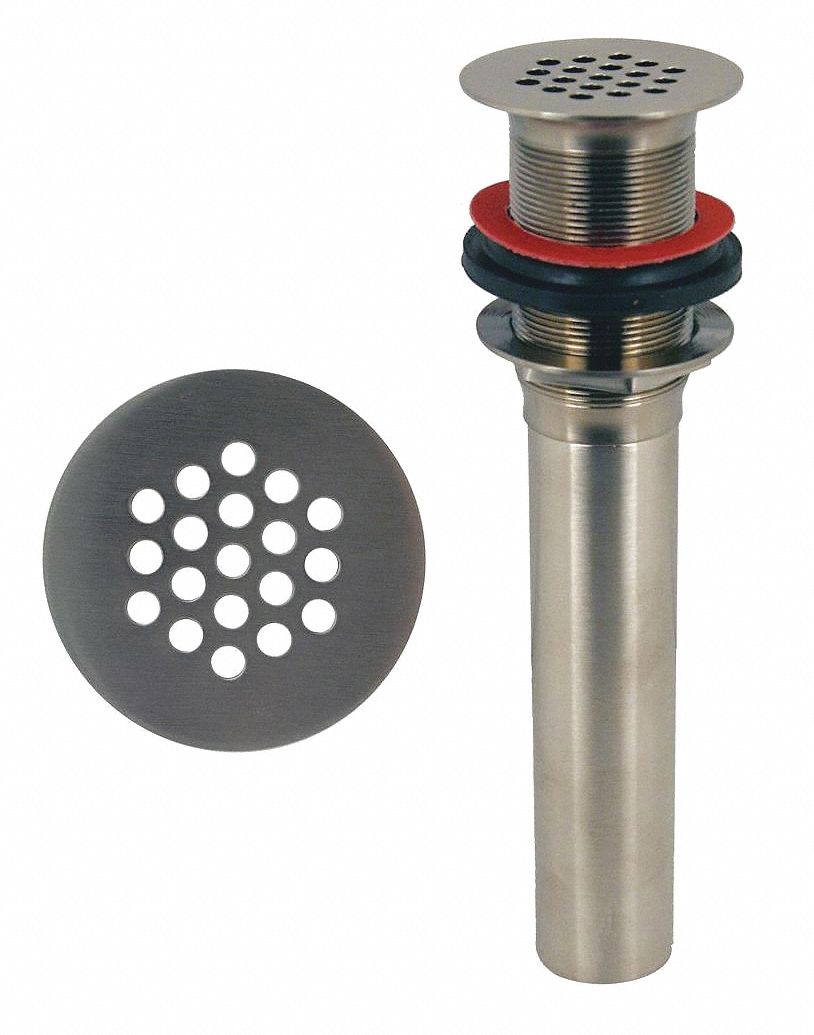
A kitchen sink strainer is an essential part of your sink, helping to catch any food scraps and prevent them from clogging your drain. Here’s how to install one in your kitchen sink. Start by removing any old strainer that may be in place. Then, clean the area around the drain and remove any old putty or debris. Roll plumber’s putty into a long snake-like shape and place it around the opening of the drain. Press the strainer into the putty and make sure it is centered and level. Next, place the rubber gasket onto the strainer and secure it with the locknut. Tighten the locknut using a wrench to ensure a watertight seal. Wipe away any excess putty and turn on the water supply to check for any leaks. If everything looks good, you have successfully installed a kitchen sink strainer.How to Install a Kitchen Sink Strainer


How to Install a Kitchen Sink Strainer


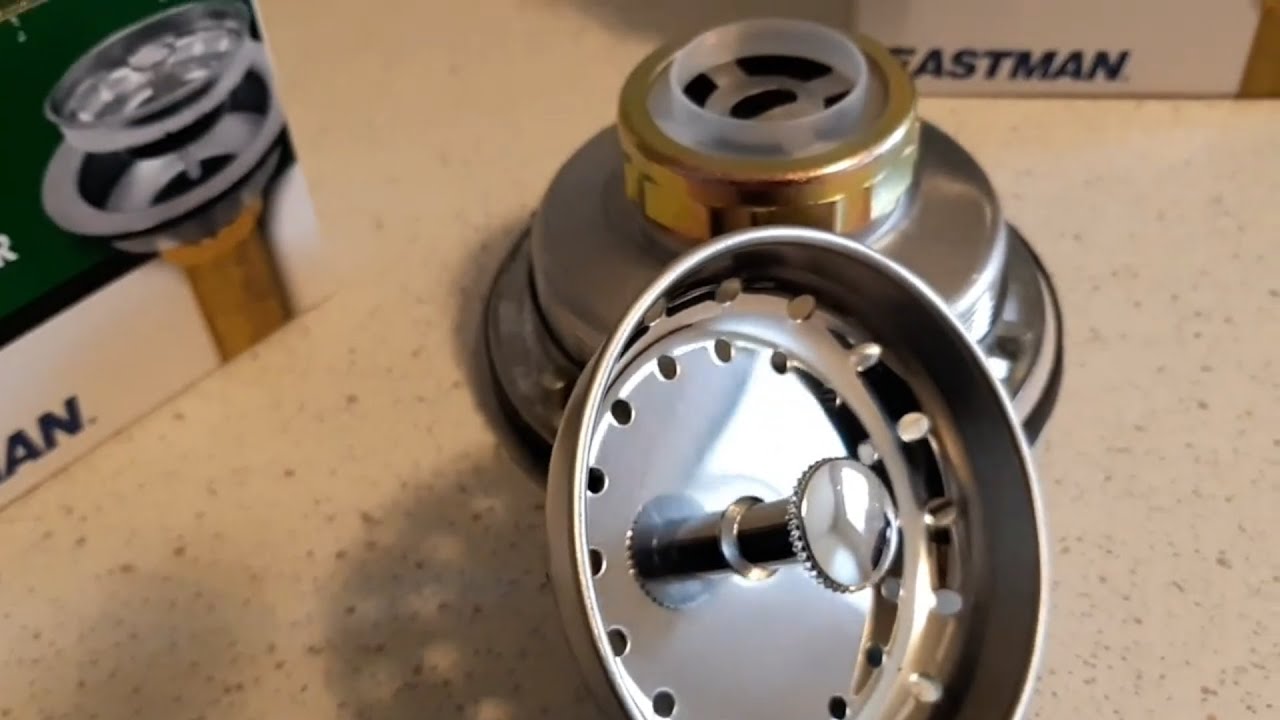
A kitchen sink basket strainer is similar to a regular strainer, but it also has a removable basket that catches food scraps. Here’s how to install one in your kitchen sink. Start by removing any old strainer and cleaning the area around the drain. Roll plumber’s putty into a long snake-like shape and place it around the opening of the drain. Press the strainer into the putty and make sure it is centered and level. Next, place the rubber gasket onto the strainer and secure it with the locknut. Tighten the locknut using a wrench to ensure a watertight seal. Then, insert the basket into the strainer and secure it with the nut provided. Turn on the water supply and check for any leaks. If everything looks good, you have successfully installed a kitchen sink basket strainer.How to Install a Kitchen Sink Basket Strainer


How to Install a Kitchen Sink Basket Strainer


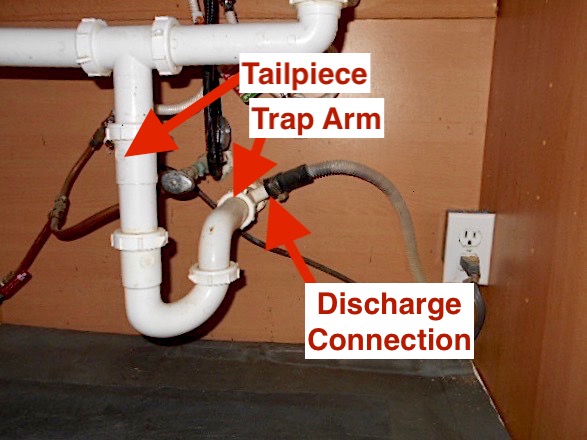
If you are installing a new kitchen sink, you will also need to install a drain pipe to connect it to the main drain line. Here’s how to do it. Start by measuring and cutting the drain pipe to fit the dimensions of your sink. Use a pipe cutter for a clean and precise cut. Then, attach the tailpiece to the bottom of the sink by using plumber’s putty to create a watertight seal. Secure it with a slip nut and washer. Next, attach the P-trap to the tailpiece and the main drain line. Use a wrench to tighten all connections and make sure they are secure. Turn on the water supply and check for any leaks. If everything looks good, you have successfully installed a kitchen sink drain pipe.How to Install a Kitchen Sink Drain Pipe


How to Install a Kitchen Sink Drain Pipe


If you have a dishwasher in your kitchen, you will need to install the kitchen sink drain with a dishwasher connection. Here’s how to do it. Start by installing the drain assembly for the sink, as mentioned in the first section. Next, attach the dishwasher drain line to the disposal unit if you have one. Then, install the dishwasher drain tailpiece to the drain assembly. Next, connect the dishwasher drain hose to the drain tailpiece and secure it with a hose clamp. Make sure the hose is looped higher than the connection to prevent any backflow into the dishwasher. Finally, turn on the water supply and check for any leaks. If everything looks good, you have successfully installed a kitchen sink drain with a dishwasher connection. With these top 10 plumbing videos, you now have all the information you need to successfully install, maintain, and troubleshoot your dual kitchen sink with disposal. Remember to always follow safety precautions and consult a professional if you are unsure about any steps or encounter any issues. A well-functioning kitchen sink is an essential part of any home, so don’t hesitate to tackle any plumbing tasks that may come your way.How to Install a Kitchen Sink Drain with a Dishwasher


How to Install a Kitchen Sink Drain with a Dishwasher


Why Choose a Dual Kitchen Sink with Disposal?
/how-to-install-a-sink-drain-2718789-hero-24e898006ed94c9593a2a268b57989a3.jpg)
Efficiency and Convenience
 One of the most important aspects of a well-designed kitchen is efficiency and convenience. This is where a dual kitchen sink with disposal comes in. With a dual sink, you have the option to wash and rinse dishes in one sink while using the other for food preparation. The disposal also adds convenience by allowing you to easily dispose of food scraps and waste without having to constantly run to the trash can. This not only saves you time but also keeps your kitchen clean and clutter-free.
Maximizing Space
 In today's modern homes, space is a valuable commodity. With a dual kitchen sink, you can save valuable countertop space by having two sinks in one compact unit. This is especially useful for smaller kitchens where every inch counts. The disposal also eliminates the need for a separate trash can, freeing up even more space. By maximizing space, a dual kitchen sink with disposal allows you to have a more functional and organized kitchen.
Aesthetics and Design
 A dual kitchen sink with disposal not only adds practicality but also enhances the overall design and aesthetics of your kitchen. With various styles and materials available, you can choose a sink that complements your kitchen's design and adds a touch of elegance. The disposal is also hidden under the sink, giving your kitchen a cleaner and more streamlined look. In addition, the dual sink allows for a more balanced and symmetrical look, adding to the visual appeal of your kitchen.
Cost-effective
 Investing in a dual kitchen sink with disposal may seem like a big expense at first, but in the long run, it can save you money. With separate sinks for washing and food preparation, you can avoid cross-contamination and reduce the risk of foodborne illnesses. The disposal also saves you money on plumbing repairs, as it helps prevent clogs and other plumbing issues. It is a cost-effective solution that not only adds value to your kitchen but also saves you from future expenses.
Conclusion
 In conclusion, a dual kitchen sink with disposal is an excellent choice for any kitchen design. It offers efficiency and convenience, maximizes space, enhances aesthetics, and is cost-effective in the long run. So if you're planning a kitchen renovation or just looking to upgrade your sink, consider a dual kitchen sink with disposal and experience the many benefits it has to offer.