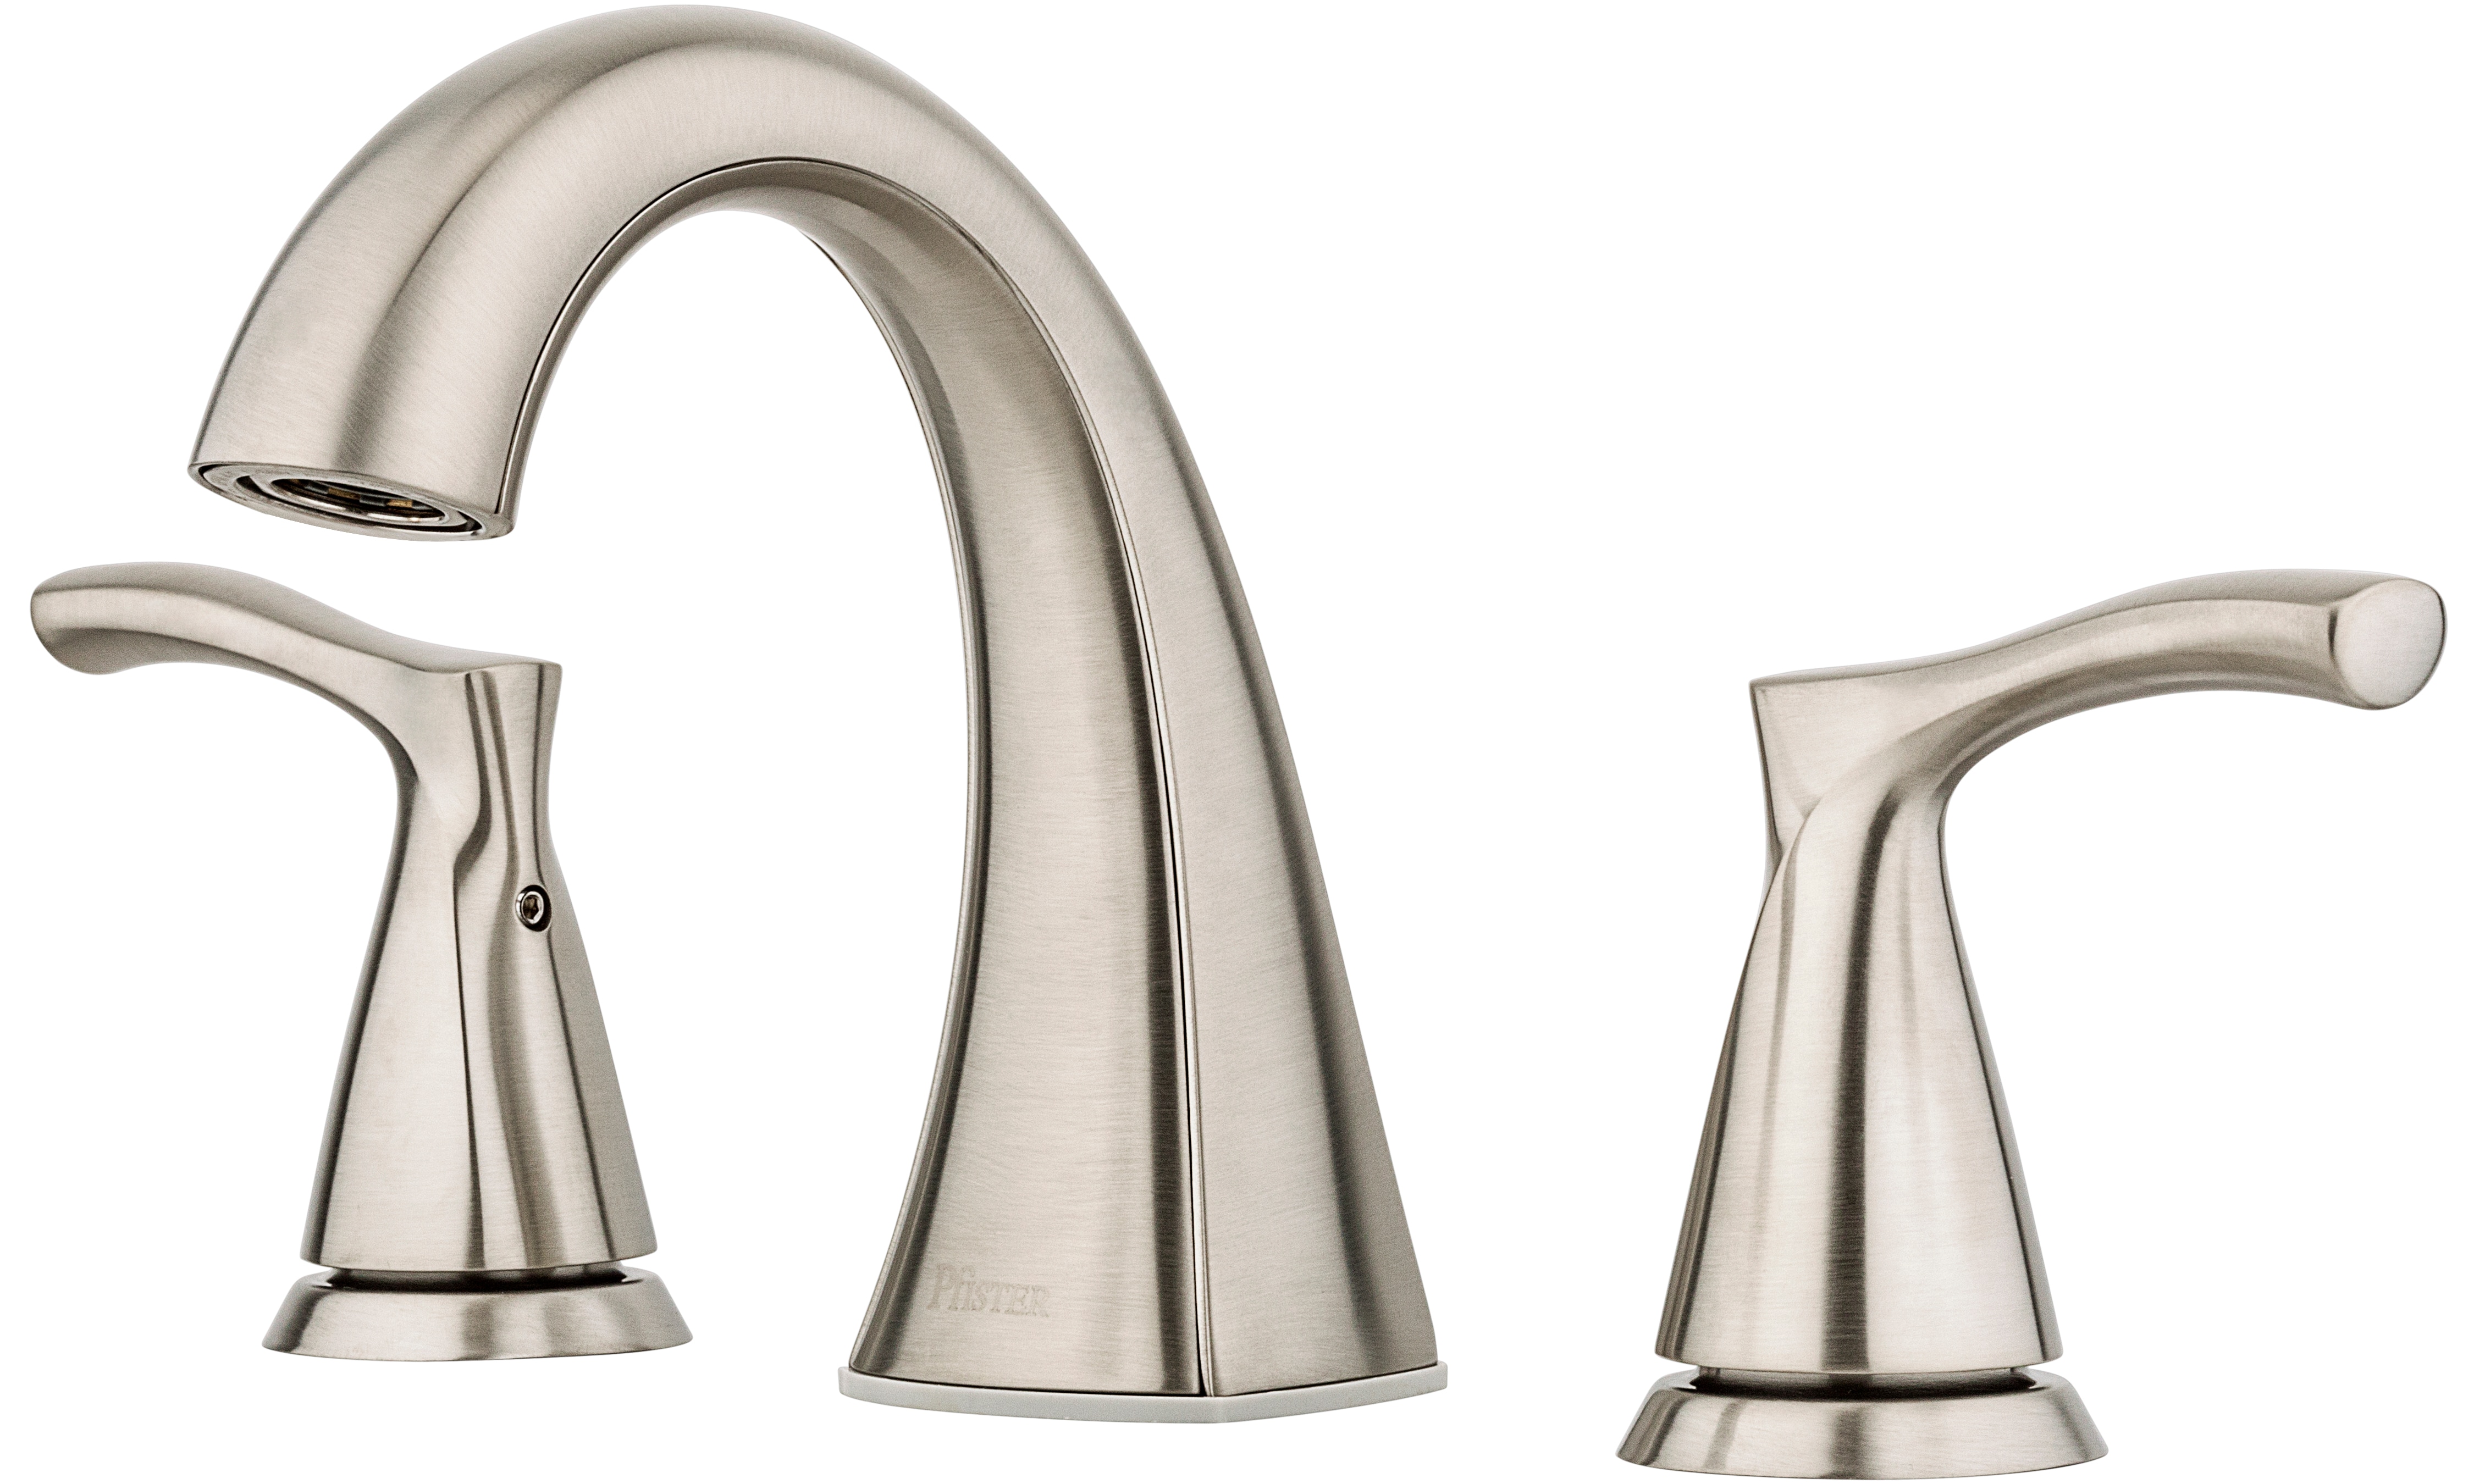
Are you looking to upgrade your bathroom with a new sink faucet? Look no further than Pfister, a trusted brand known for their high-quality and stylish bathroom fixtures. In this guide, we will walk you through the step-by-step process of installing a Pfister bathroom sink faucet. Whether you are a DIY enthusiast or prefer professional installation services, this guide has got you covered. Let's dive in!Introduction
If you have never installed a bathroom sink faucet before, it can seem like a daunting task. However, with the right tools and instructions, it can be a straightforward process. Follow these simple steps to install your new Pfister bathroom sink faucet:Pfister Bathroom Sink Faucet Installation Guide
Before you begin, make sure you have all the necessary tools. These include a wrench, pliers, screwdriver, silicone sealant, and a towel. It is also helpful to have a bucket or container to catch any water that may come out during the installation process.Step 1: Gather Your Tools
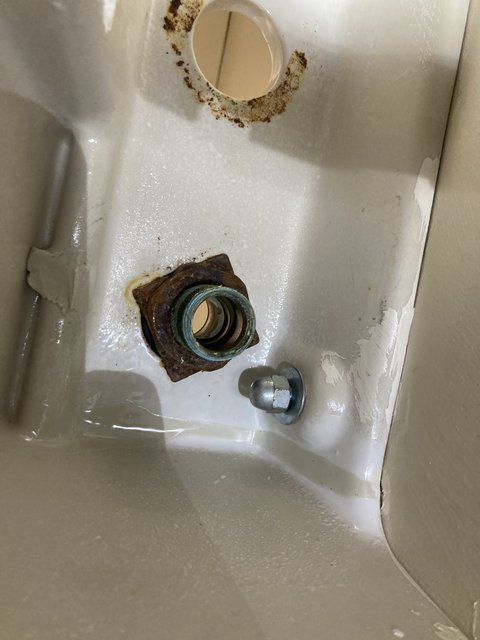
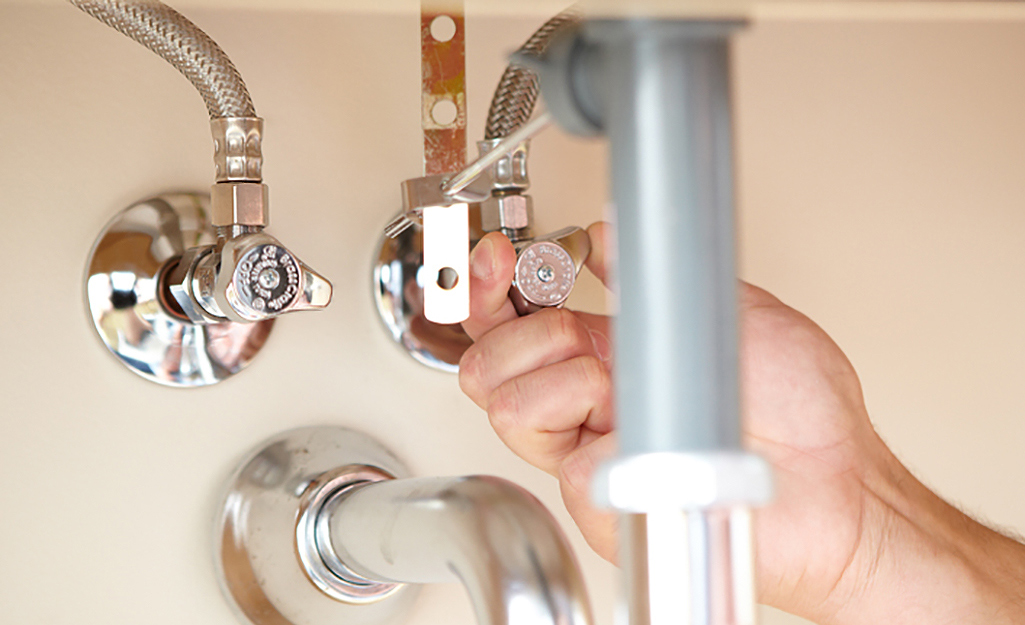
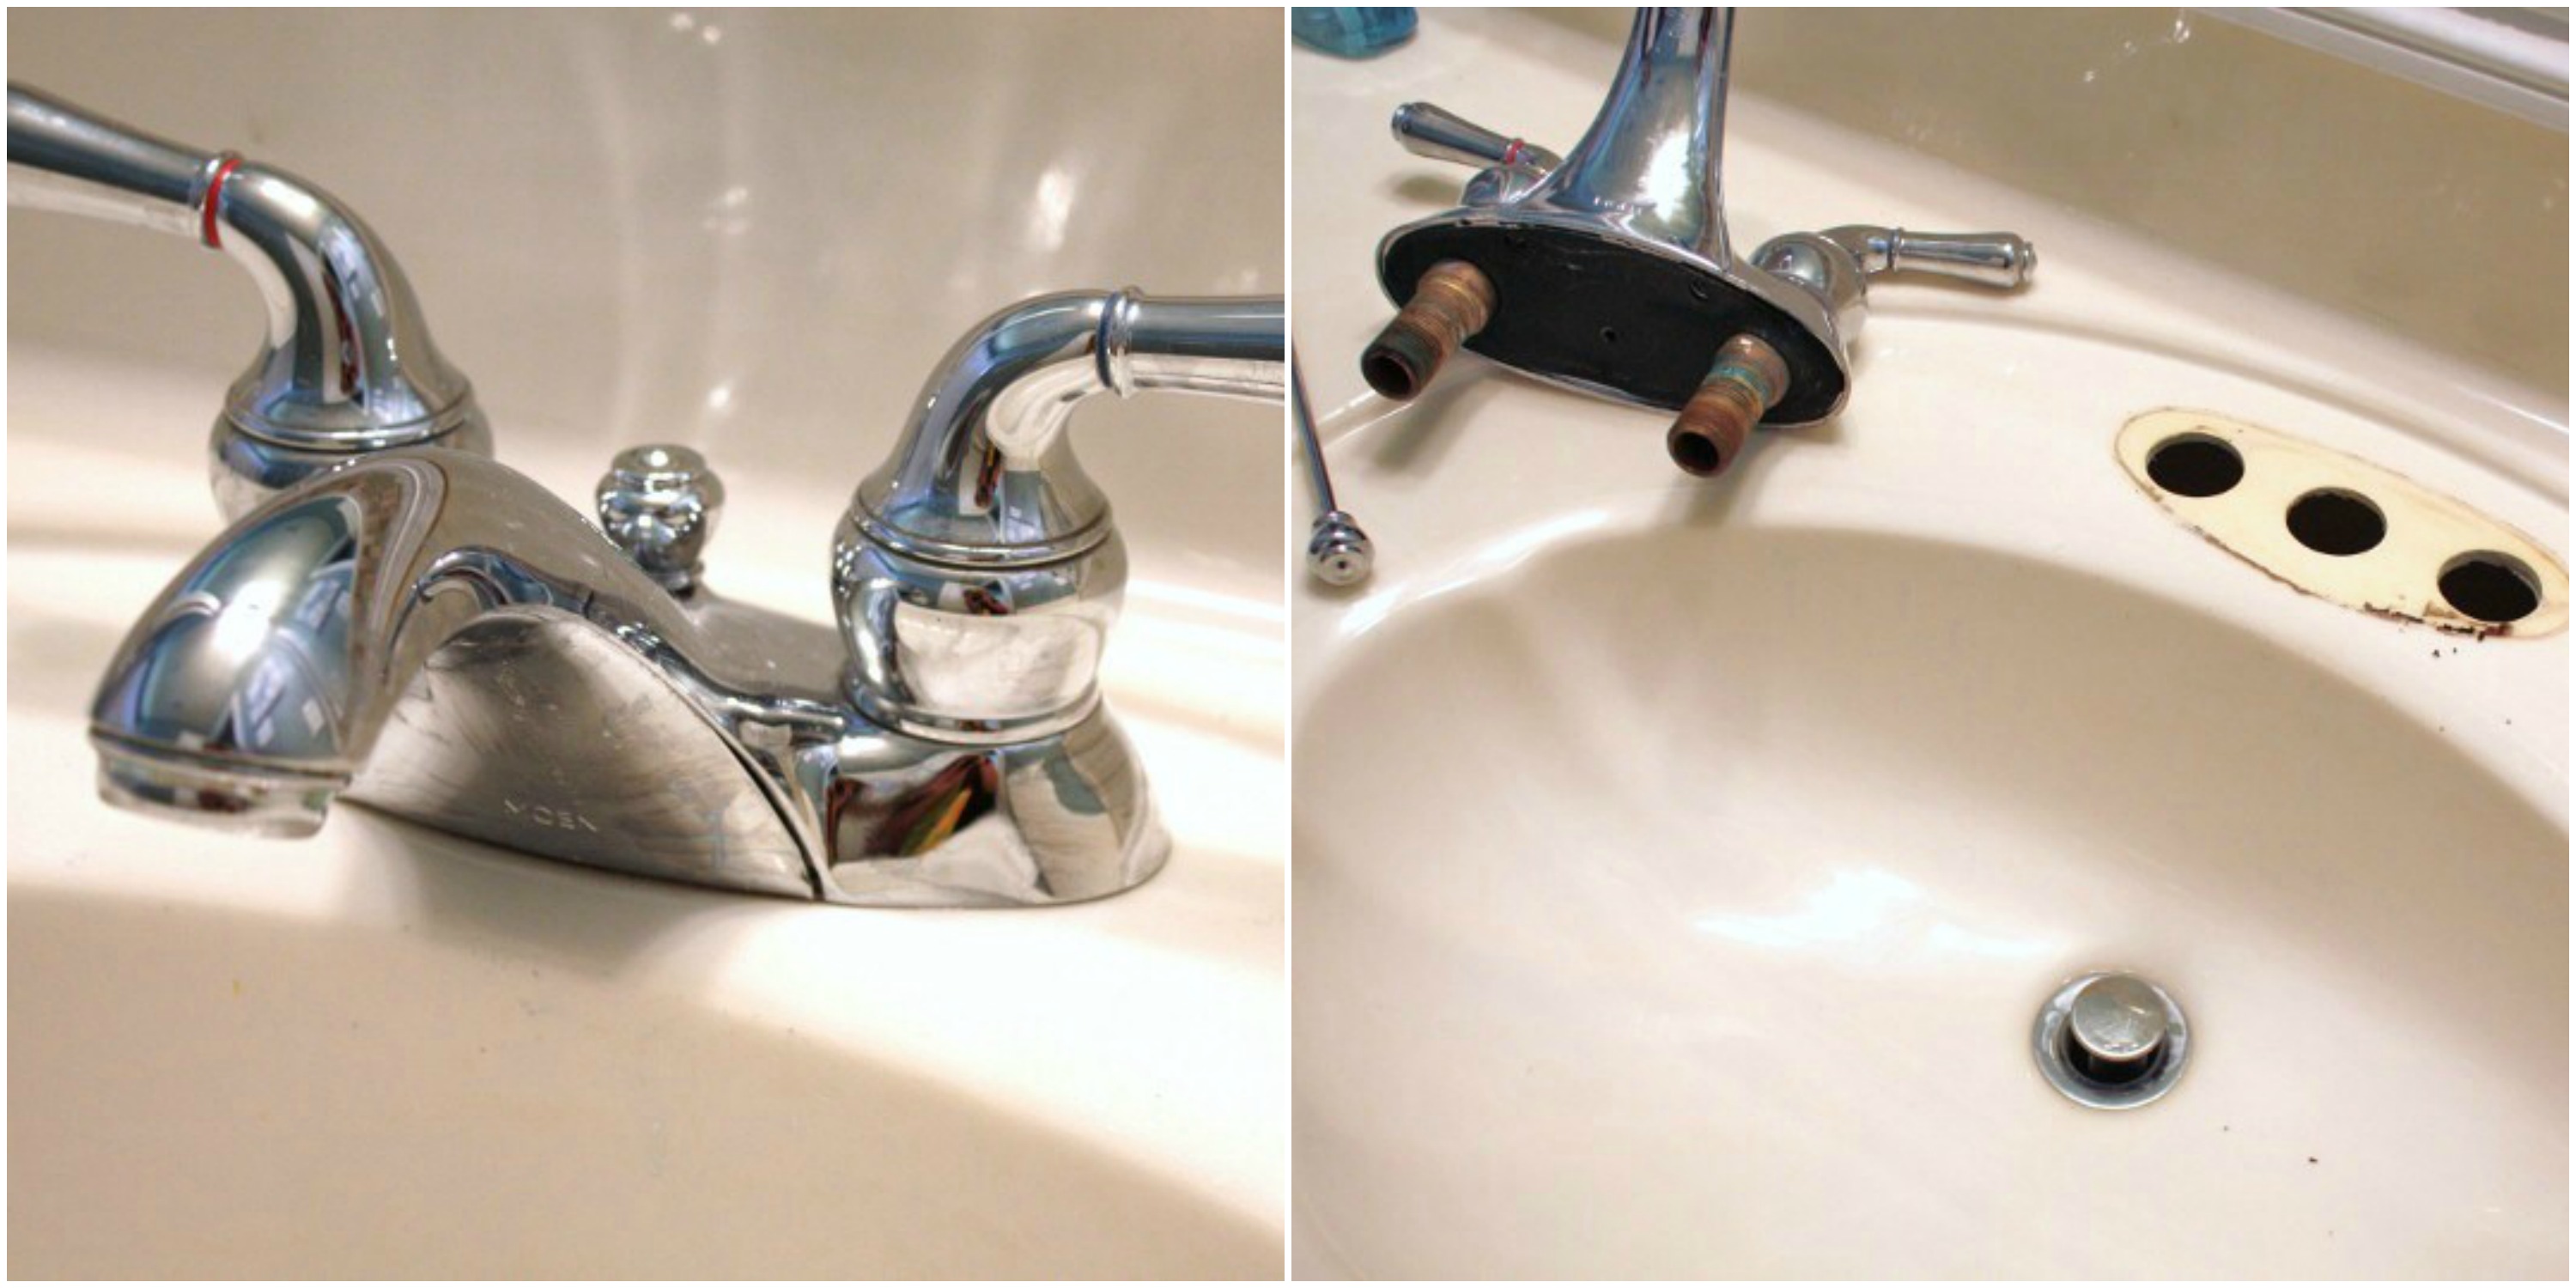
Start by turning off the water supply to your sink. This can usually be done by turning the shut-off valves under the sink clockwise. Next, remove the old faucet by unscrewing the nuts and disconnecting any water supply lines. Use a towel to catch any excess water that may come out. Once the old faucet is removed, clean the area to prepare for the new installation.Step 2: Prepare the Sink
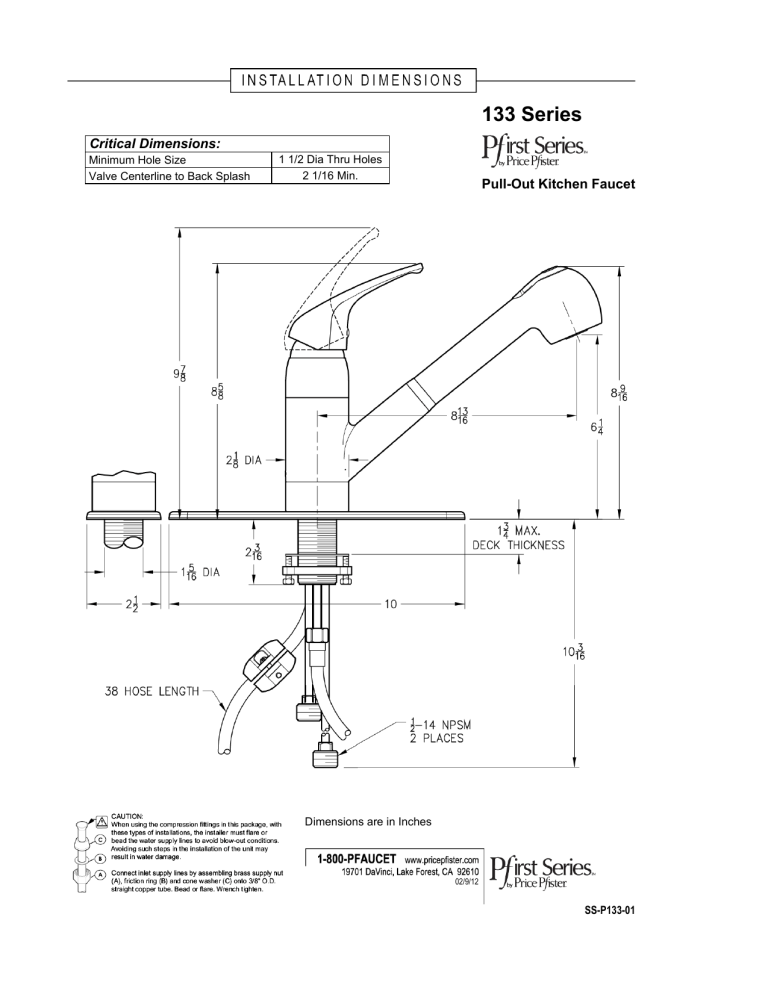
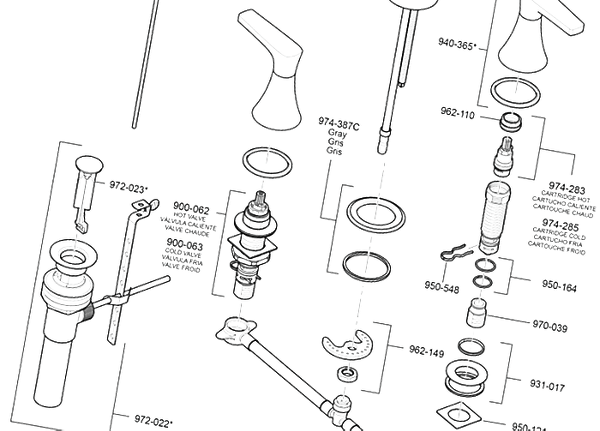
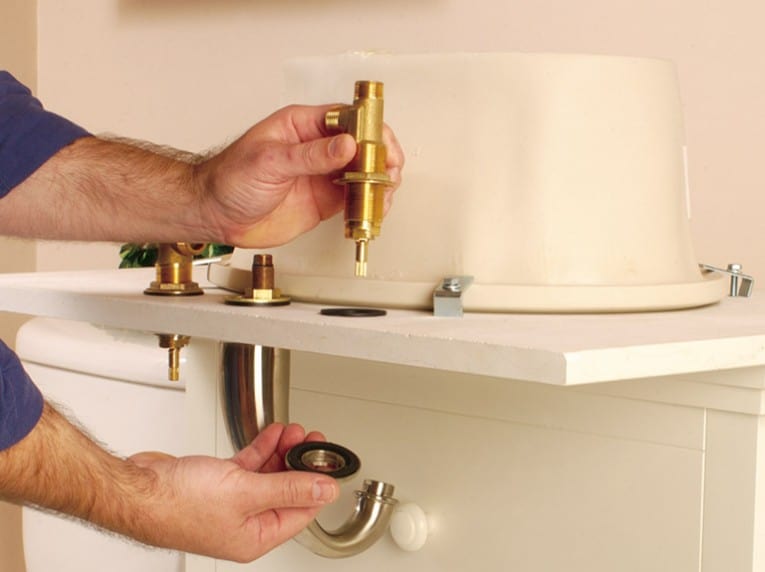
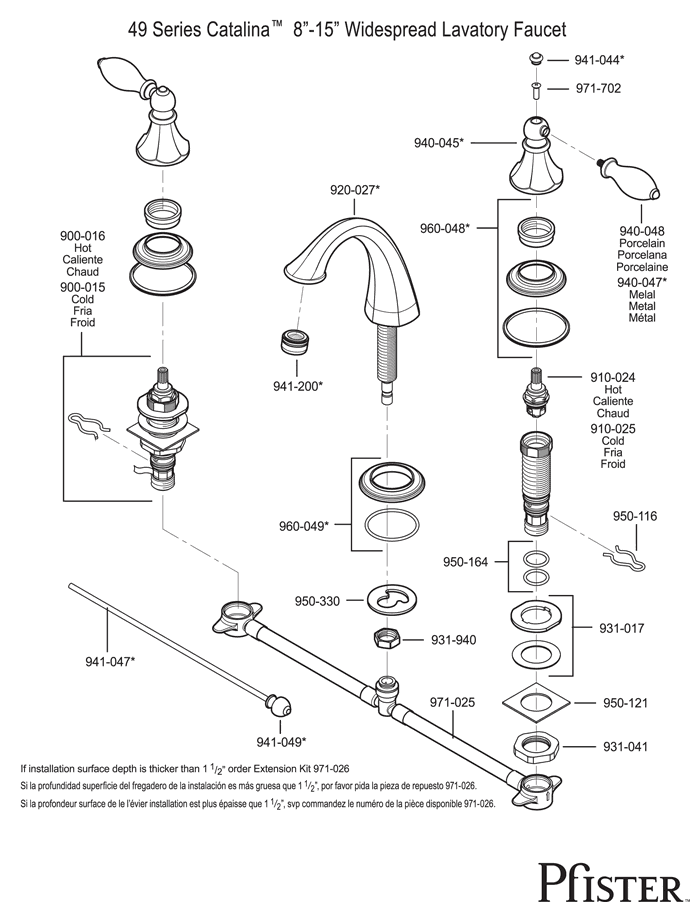
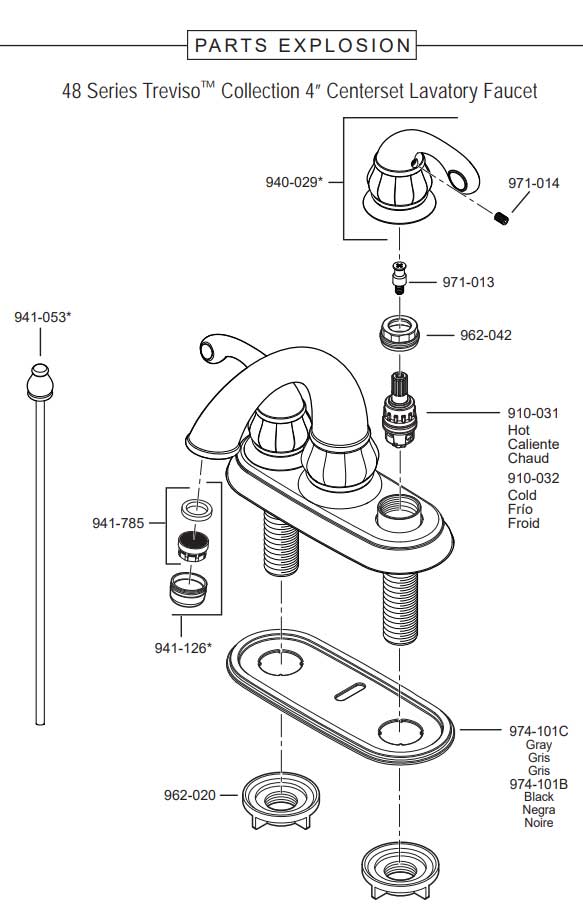
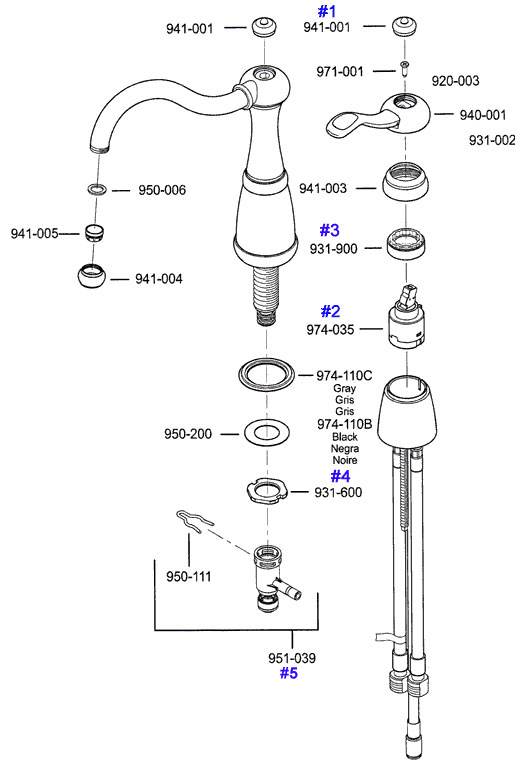
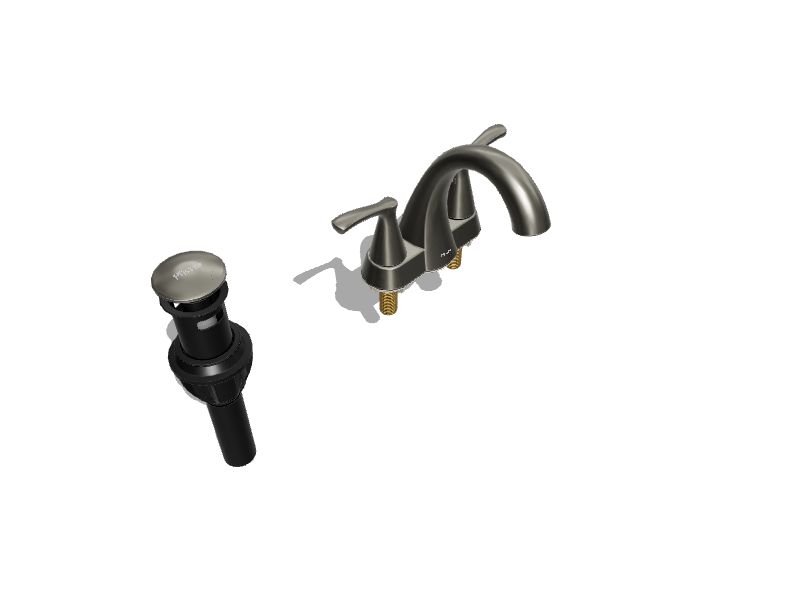
Follow the manufacturer's instructions to assemble the new Pfister bathroom sink faucet. Once it is ready, place the faucet through the hole in the sink and secure it in place with the mounting hardware provided. Make sure it is straight and tighten the nuts with a wrench or pliers.Step 3: Install the New Faucet
Next, you will need to connect the water supply lines to the faucet. Make sure to use the correct size and type of supply lines for your faucet. Hand-tighten the connections and then use a wrench to make them more secure. Be careful not to over-tighten, as this can cause damage to the faucet or the supply lines.Step 4: Connect the Water Supply Lines
To prevent any leaks, it is important to apply silicone sealant around the base of the faucet. Use a small bead of sealant and smooth it out with your finger or a tool. This will also help to keep the faucet in place and prevent it from moving around.Step 5: Apply Silicone Sealant
Once the sealant has dried, turn the water supply back on and check for any leaks. If you notice any, tighten the connections or add more sealant as needed. Once everything is secure and leak-free, turn on the faucet and check the water flow.Step 6: Turn on the Water Supply
After the installation is complete, clean up any excess sealant or debris from the sink. You can also use a towel to wipe down the faucet and give it a shiny finish.Step 7: Clean Up
If you are a DIY enthusiast, installing a Pfister bathroom sink faucet can be a satisfying project. However, it is important to follow the instructions carefully and use the correct tools. If you encounter any difficulties or are unsure about any steps, it is always best to seek professional help.DIY Pfister Bathroom Sink Faucet Installation
Why Choose Pfister Bathroom Sink Faucets for Your Bathroom Design

Elevate Your Bathroom Design with Pfister Faucets
 Pfister is a trusted brand in the world of bathroom fixtures, and for good reason. With over 100 years of experience, Pfister has become known for its high-quality and stylish designs that enhance any bathroom space. When it comes to choosing a bathroom sink faucet, Pfister offers a wide range of options that cater to different styles, needs, and budgets. Here's why you should consider Pfister for your bathroom sink faucet installation.
Quality and Durability
 Pfister bathroom sink faucets are built to last
, using only the best materials and advanced manufacturing techniques. From the solid brass construction to the ceramic disc valves, every component of a Pfister faucet is carefully crafted for long-lasting performance. This means you can enjoy a
durable and reliable faucet
that will withstand daily use for years to come.
Stylish Designs
 No matter what your bathroom design aesthetic may be, Pfister has a faucet to match. From sleek and modern to classic and traditional,
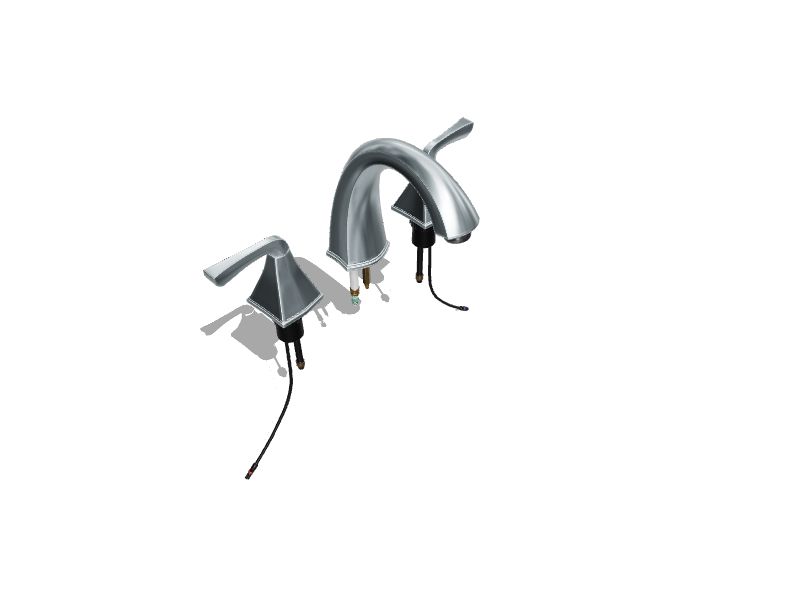
Pfister offers a wide range of designs to choose from
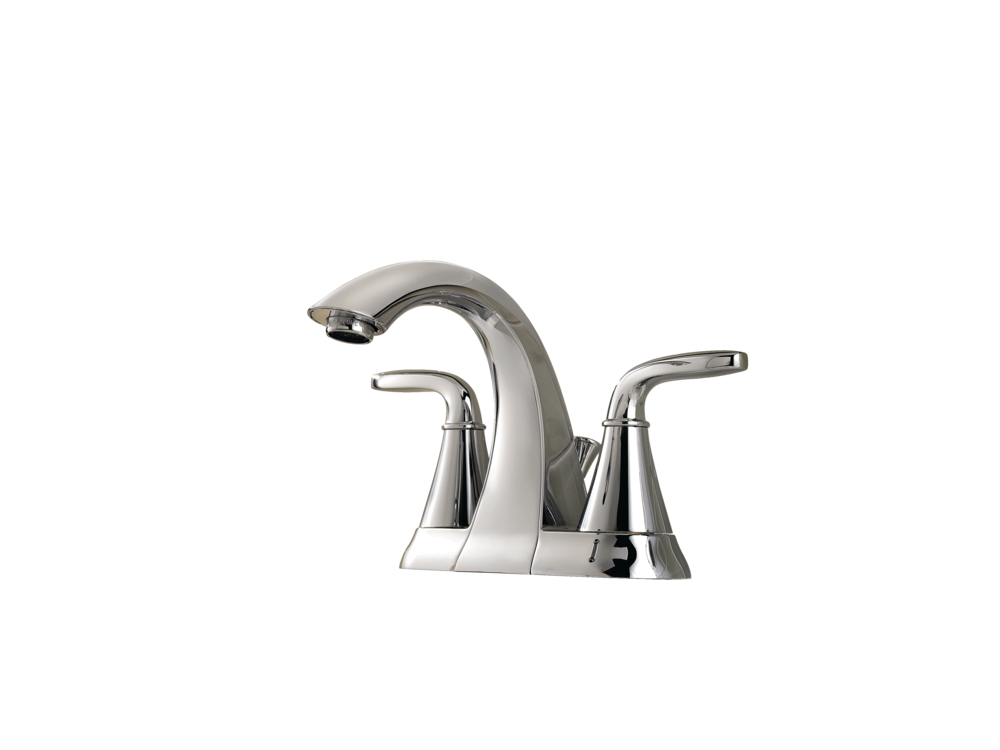
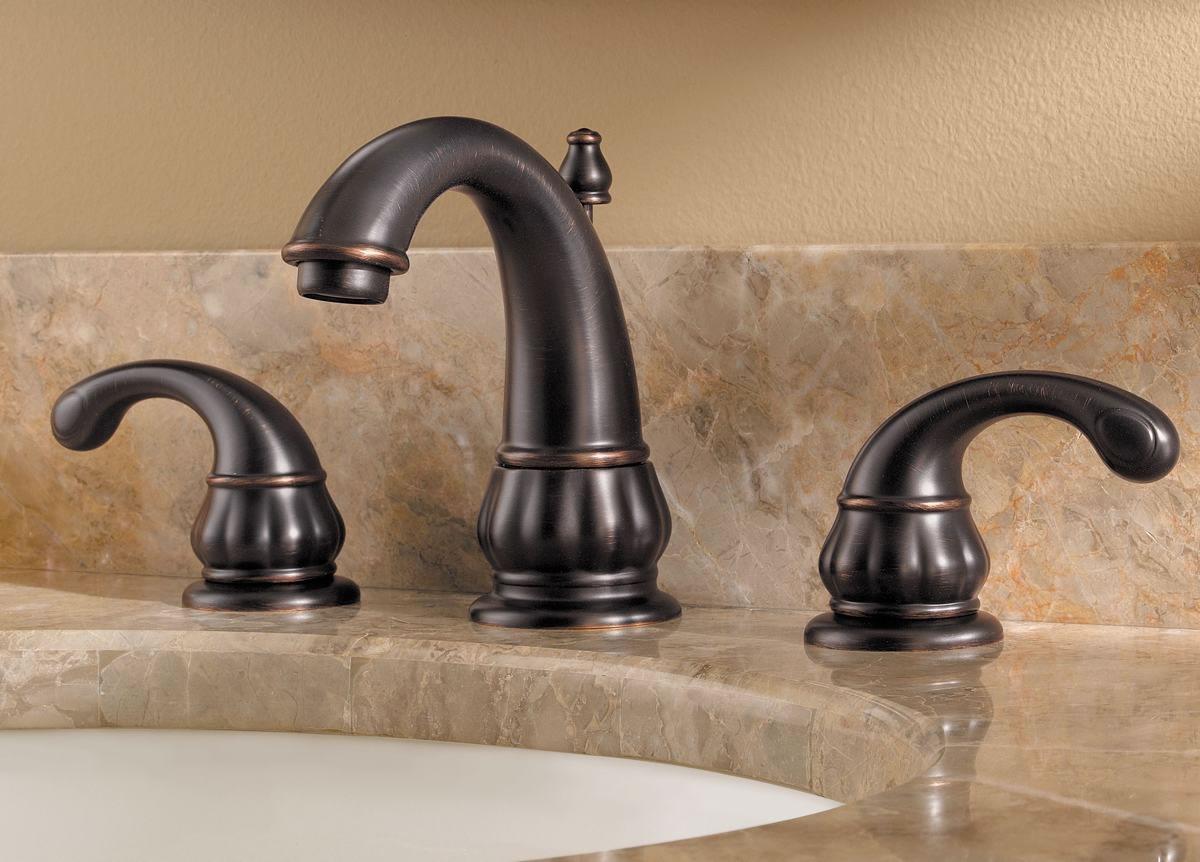
. You can also customize your look with different finishes, such as chrome, brushed nickel, or bronze, to complement your overall bathroom design.
Easy Installation
 Installing a new bathroom sink faucet can seem like a daunting task, but with Pfister, it's a breeze.
Pfister faucets are designed for easy installation
, with clear instructions and all necessary hardware included. This means you can save time and money by installing the faucet yourself without the need for a professional plumber.
Water Efficiency
 In today's world, water conservation is more important than ever. That's why Pfister has made it a priority to
design faucets that are water-efficient
. Many of their models feature a WaterSense certification, meaning they use at least 20% less water than standard faucets without sacrificing performance.
Excellent Warranty
 Pfister stands behind the quality of their products and offers an
excellent warranty
to back it up. Most of their bathroom sink faucets come with a lifetime warranty, ensuring that you can enjoy your faucet for years to come without worry.
In conclusion,
Pfister bathroom sink faucets offer the perfect combination of quality, style, and functionality
. With their durable construction, stylish designs, ease of installation, water efficiency, and excellent warranty, Pfister is a top choice for any bathroom design. So why settle for a run-of-the-mill faucet when you can elevate your bathroom with a Pfister? Choose Pfister for your bathroom sink faucet installation and enjoy a beautiful and functional addition to your bathroom design.

