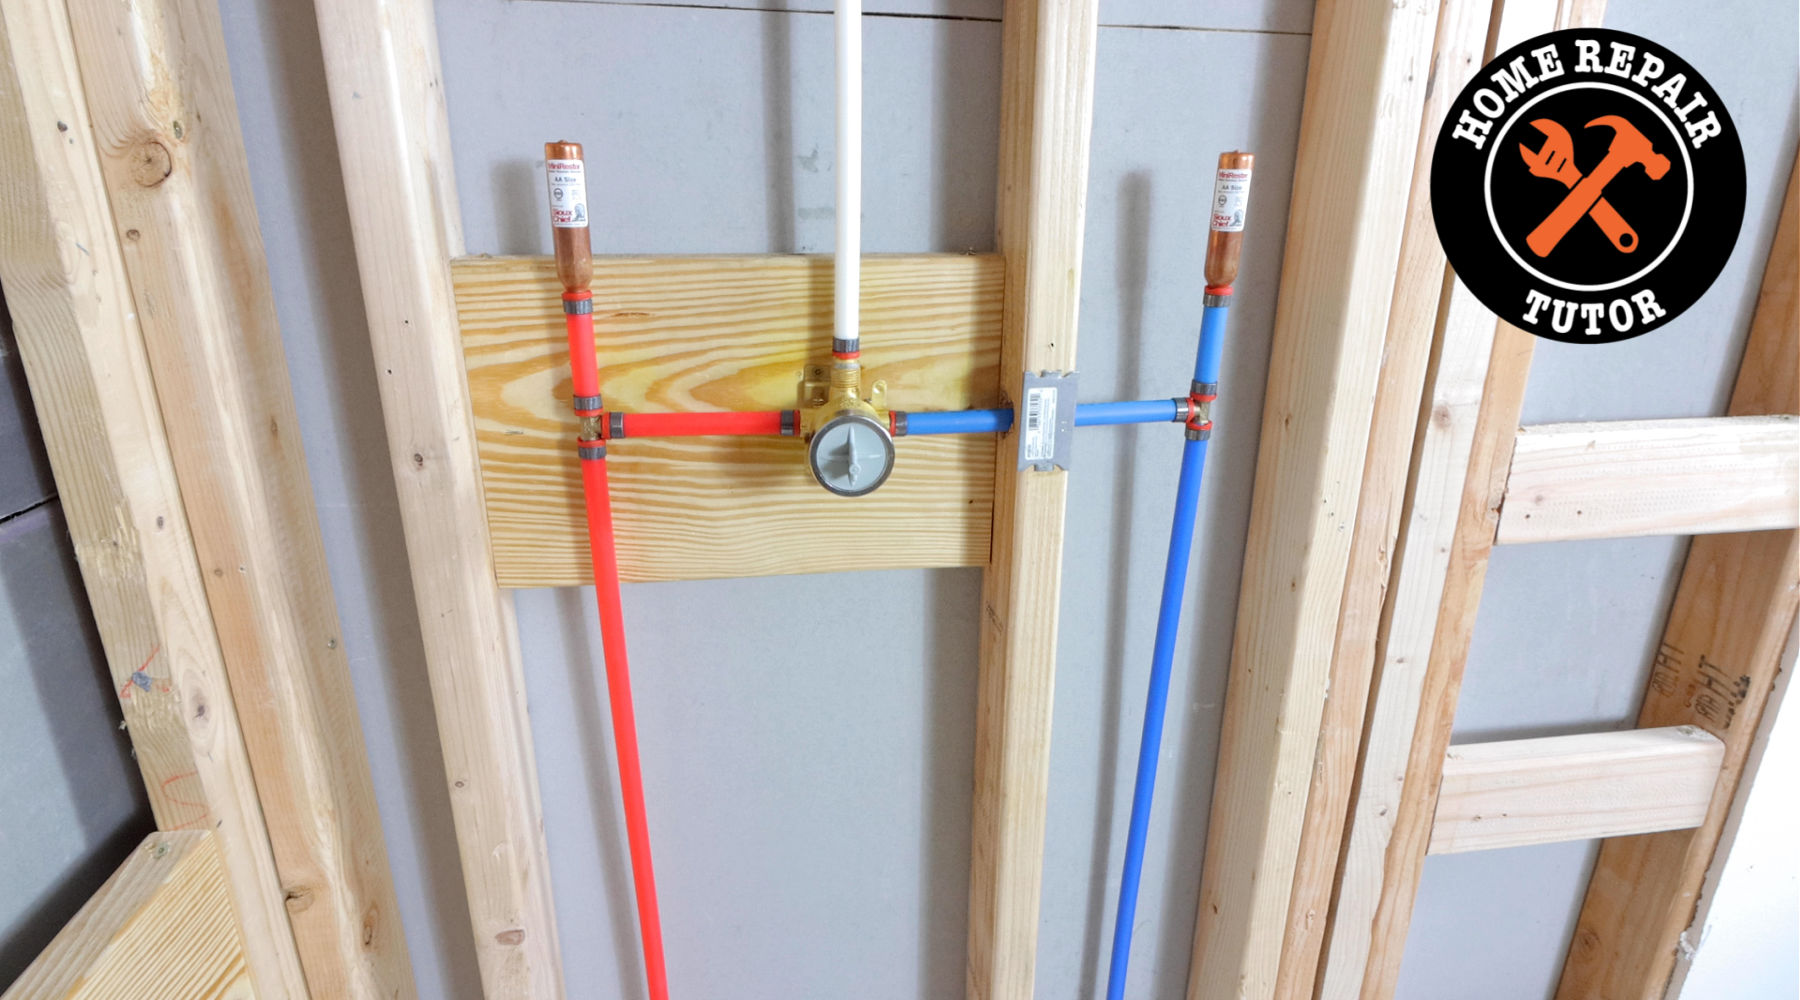
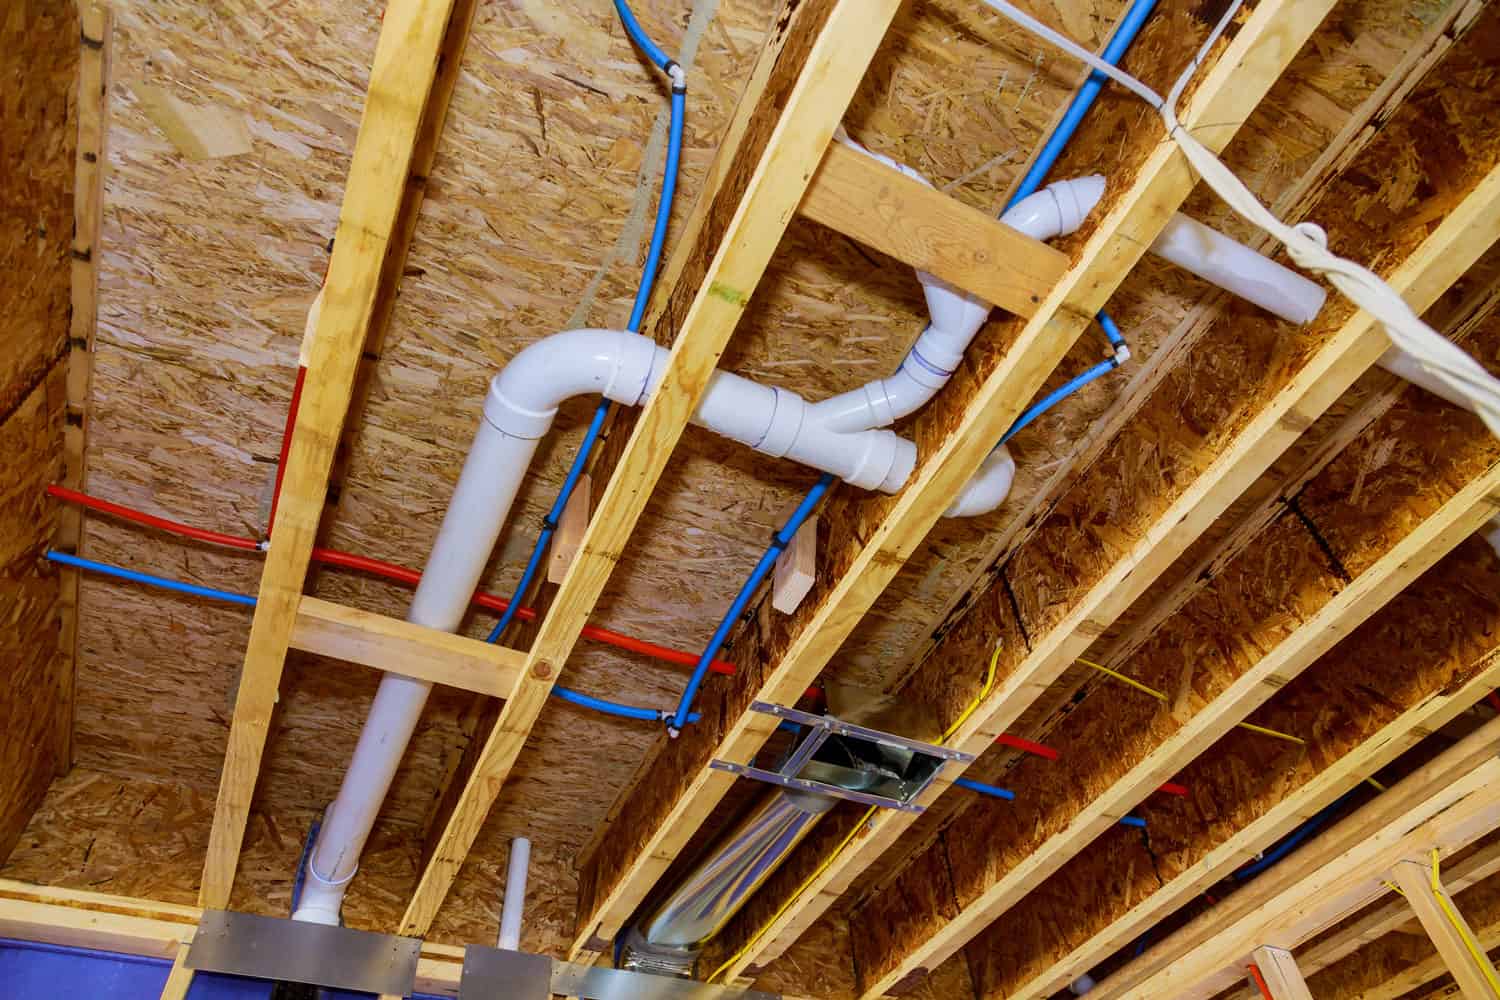
If you're planning on installing a new bathroom sink, one of the most important steps is roughing in the plumbing. This is the process of installing the necessary pipes and connections that will eventually connect to your sink. When it comes to PEX bathroom sink rough in, there are a few key things you need to know to ensure a successful installation. In this article, we'll go over the top 10 things you need to know about PEX bathroom sink rough in.PEX Bathroom Sink Rough In: Everything You Need to Know
PEX stands for cross-linked polyethylene, and it is a type of plastic piping that has become increasingly popular in recent years. It is a flexible and durable material that is commonly used in plumbing systems.1. What is PEX?
There are several advantages to using PEX for your bathroom sink rough in. It is easy to work with, resistant to corrosion and chemicals, and can be installed quickly and easily. PEX is also more affordable than traditional materials like copper.2. Why Choose PEX for Your Bathroom Sink?
When it comes to PEX, size matters. The most common sizes used in residential plumbing are 1/2 inch, 3/4 inch, and 1 inch. For bathroom sink rough in, 1/2 inch PEX is typically used.3. Understanding PEX Sizes
There are various types of PEX fittings available, including crimp, clamp, and push-to-connect. Each type has its own benefits, so it's important to choose the right one for your project.4. Types of PEX Fittings
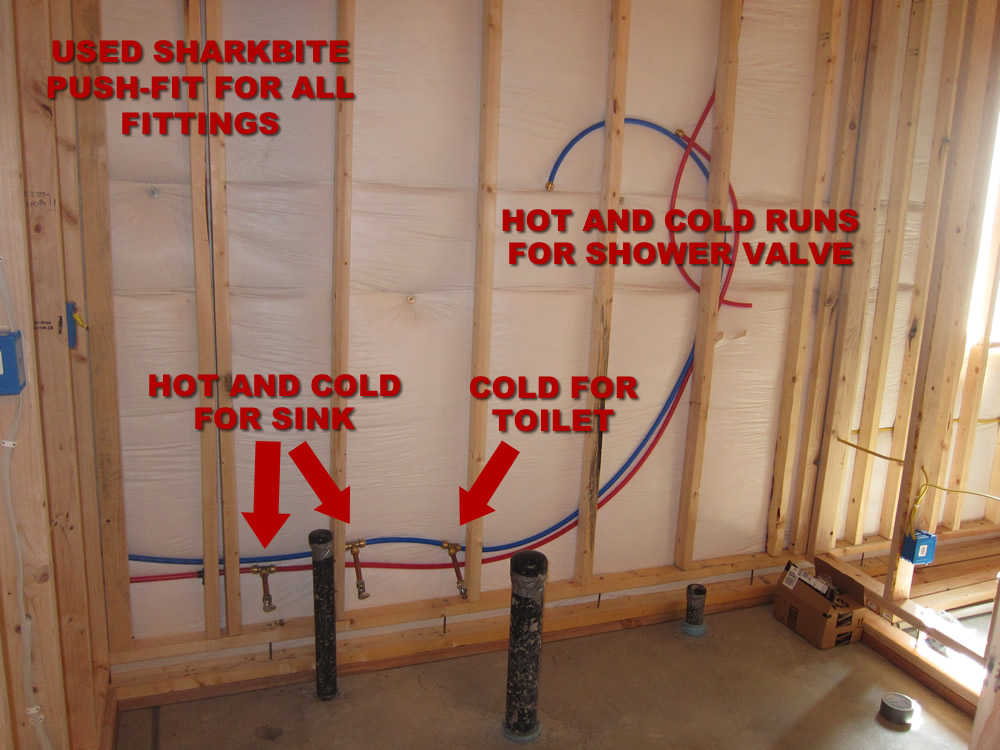
Before beginning your PEX bathroom sink rough in, it's important to plan out the layout of your pipes. This includes determining the location of your sink, as well as any other fixtures like a toilet or shower that may require plumbing connections.5. Planning the Layout
To complete a PEX bathroom sink rough in, you will need a few essential tools including a PEX cutter, crimping tool, and pipe support brackets. It's also a good idea to have a pipe deburring tool on hand to ensure clean and smooth pipe ends.6. Tools You'll Need
Working with PEX involves using tools that can be dangerous if not used properly. Always wear protective gear, such as safety glasses and gloves, when cutting and installing PEX pipes. It's also important to be cautious when using a crimping tool, as it can cause injury if mishandled.7. Safety Tips
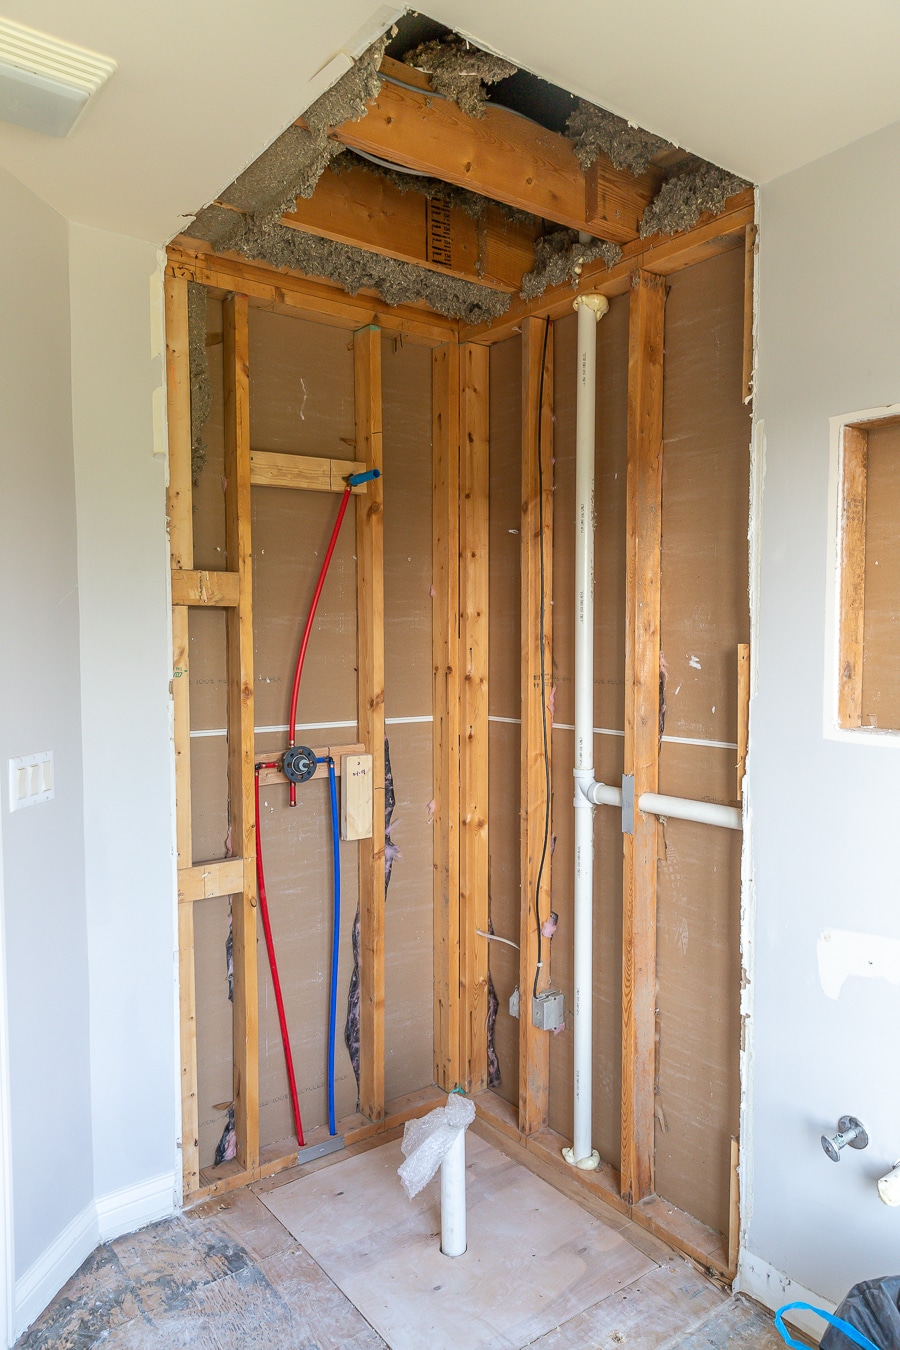
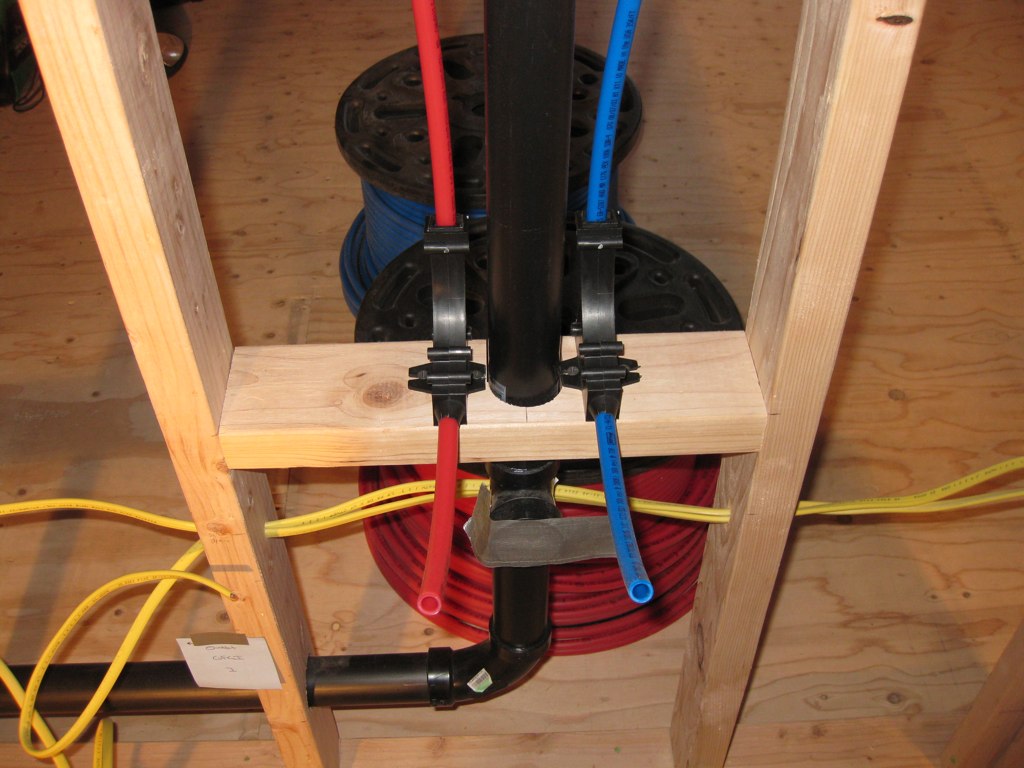
Once you have your layout and tools ready, it's time to start installing your PEX pipes. This involves cutting the pipes to the appropriate length, deburring the edges, and connecting them with fittings. It's important to follow the manufacturer's instructions for each type of fitting.8. Installing the Pipes
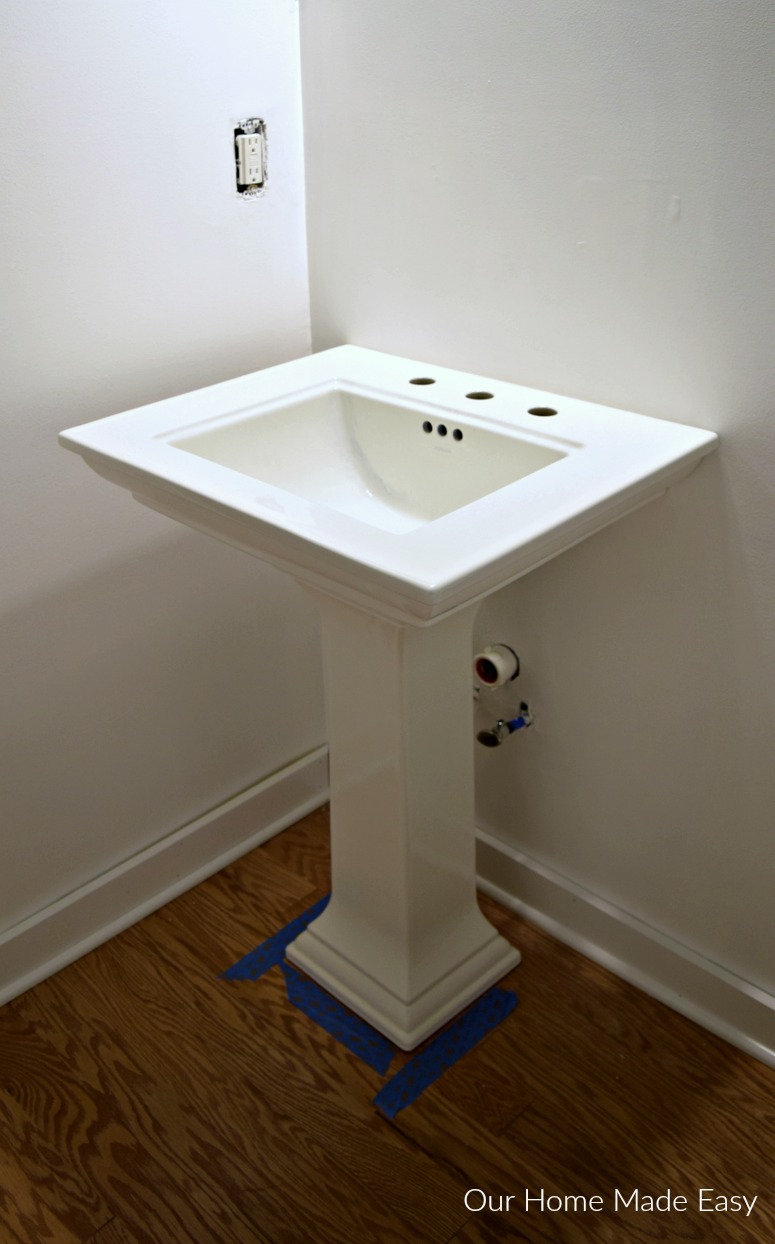
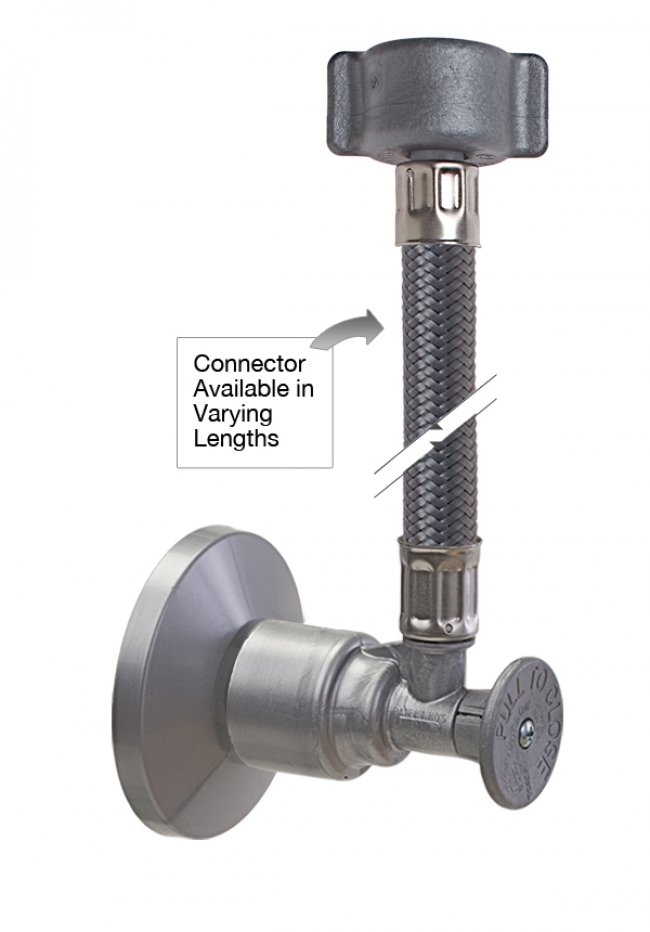
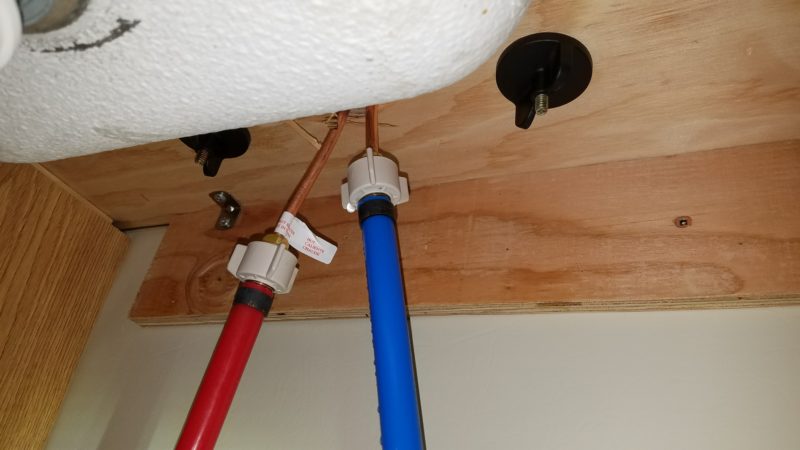
After the pipes are installed, the next step is to connect them to the sink. This typically involves using a PEX shut-off valve and a PEX supply line to connect the pipes to the sink's water supply. Again, be sure to follow the manufacturer's instructions for proper installation.9. Connecting to the Sink
Why PEX Plumbing is the Perfect Choice for Bathroom Sink Rough Ins
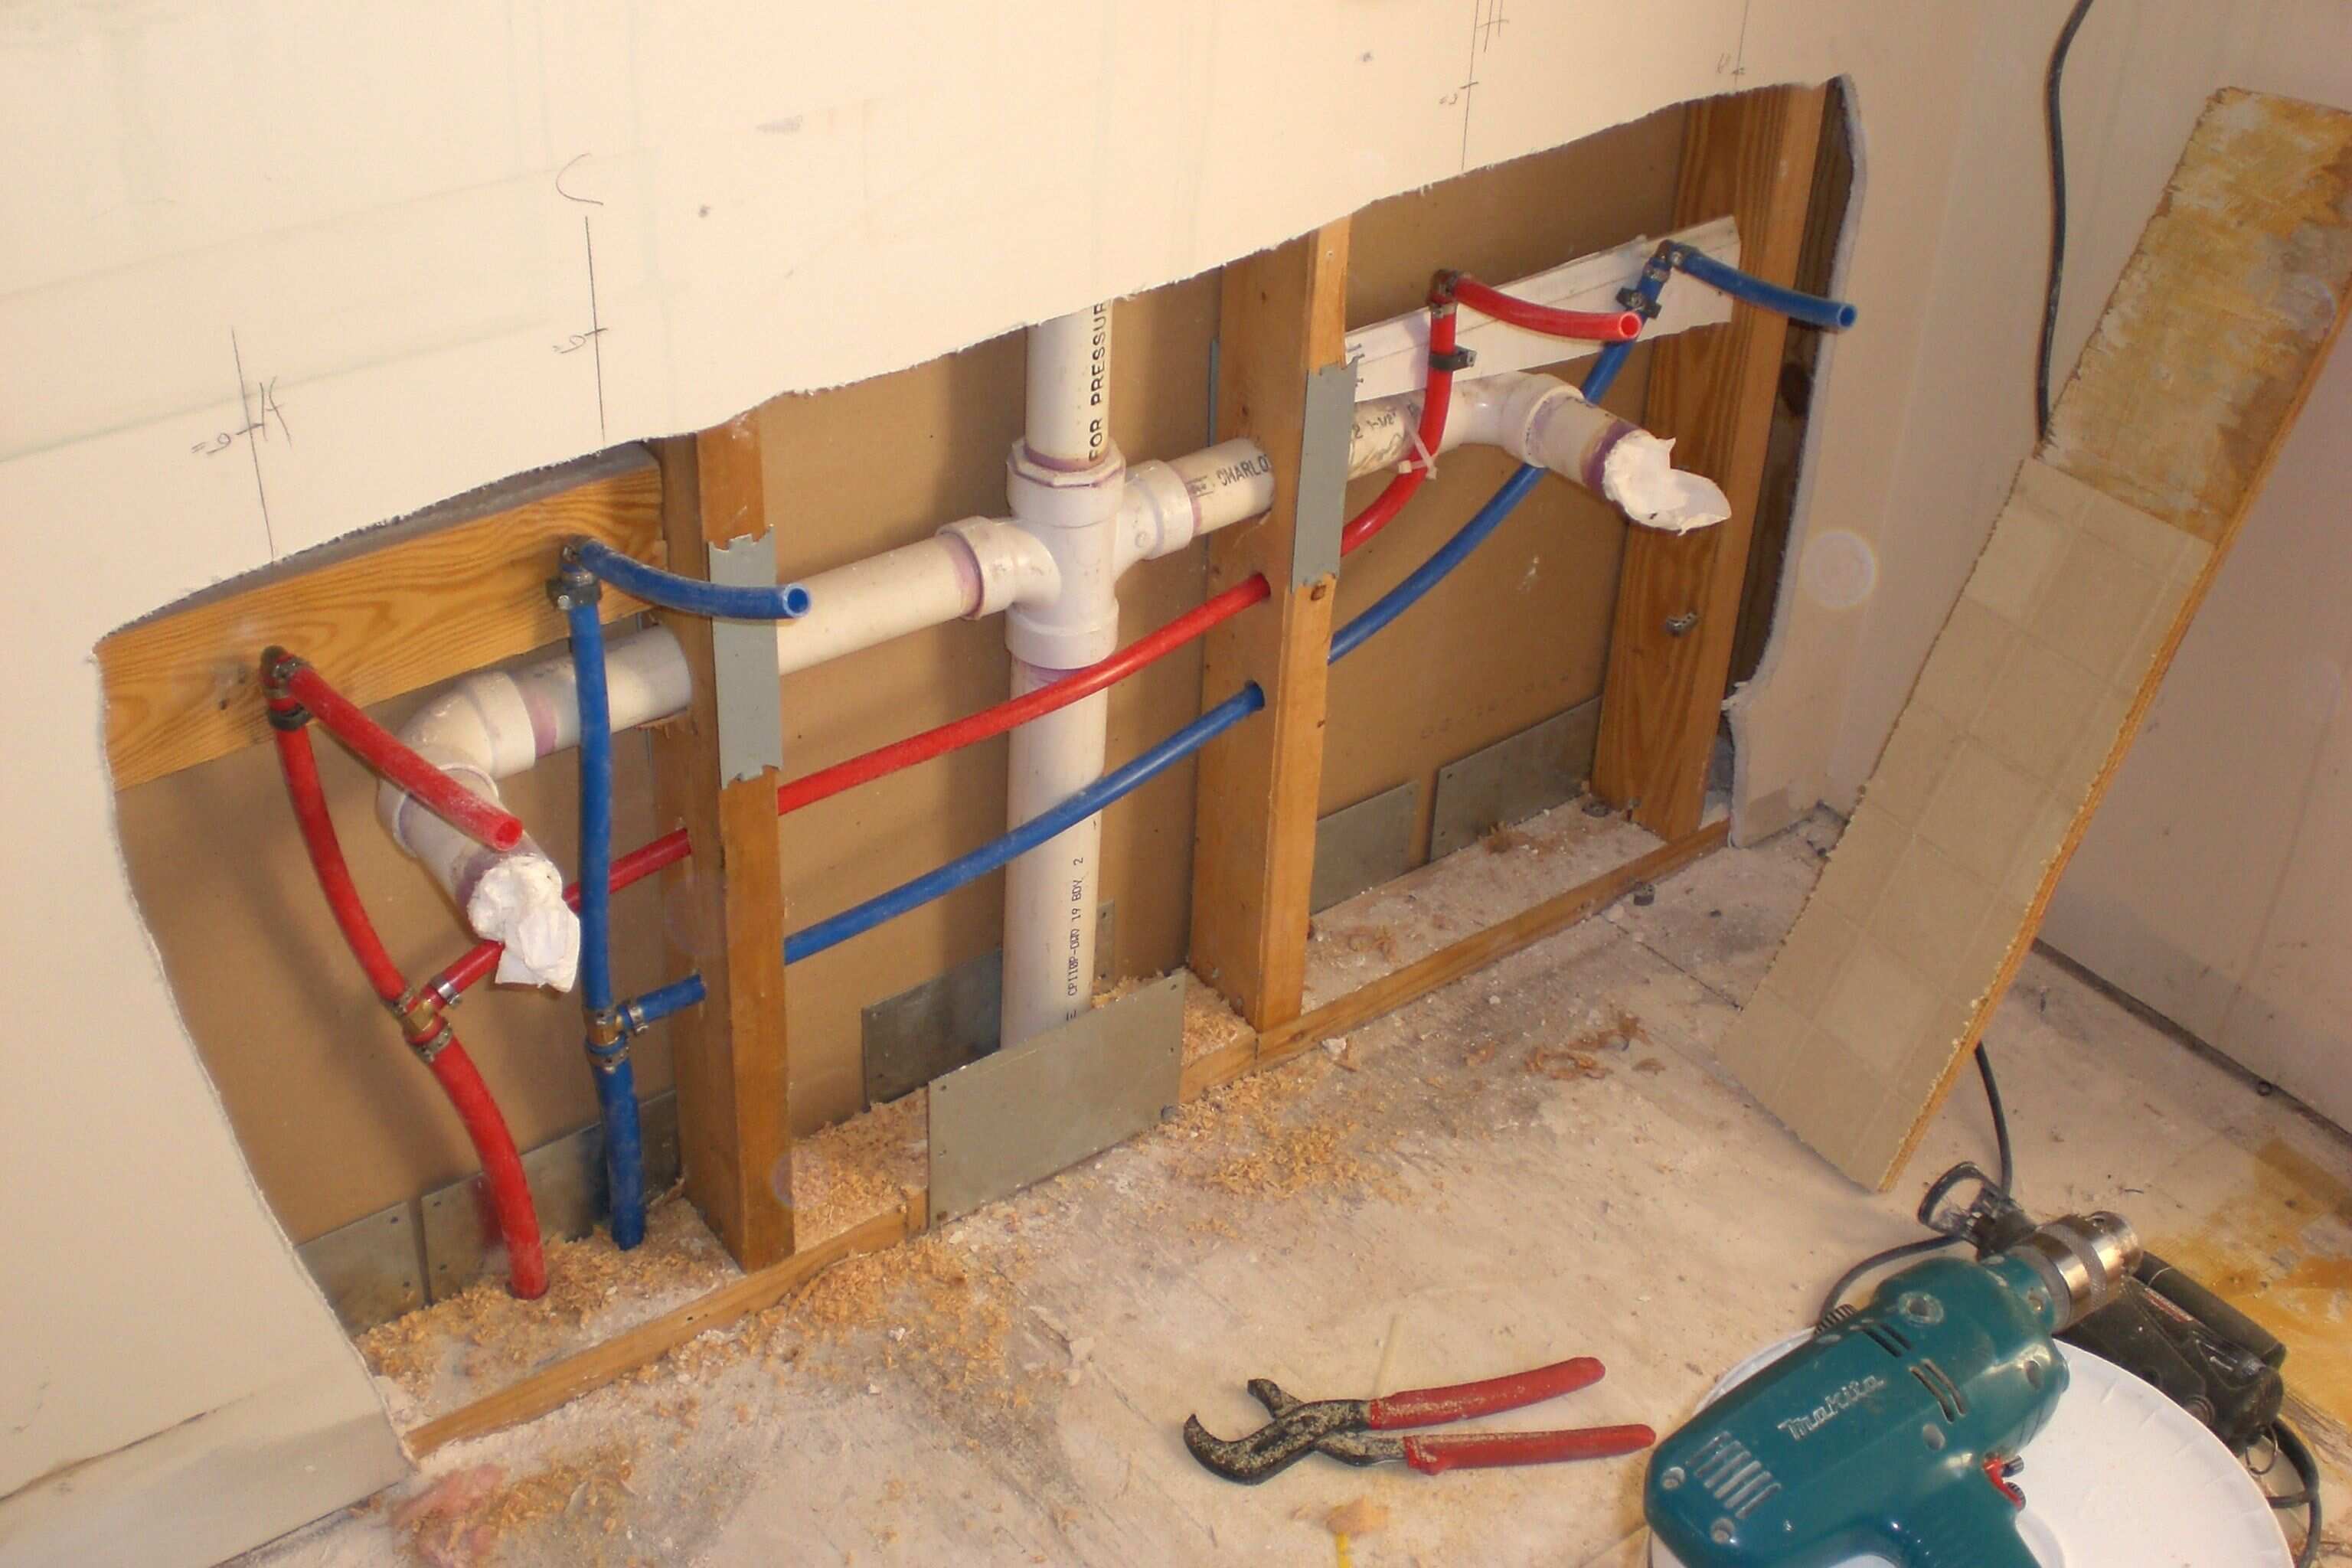
Benefits of PEX Plumbing
 When it comes to designing or renovating your bathroom, one of the most important aspects to consider is the plumbing. The type of plumbing used can greatly impact the functionality and durability of your sink, making it a crucial decision. PEX plumbing, which stands for cross-linked polyethylene, has become increasingly popular in recent years due to its numerous benefits. Not only is it a cost-effective option, but it also offers greater flexibility and durability compared to traditional plumbing materials such as copper or PVC.
Cost-Effective
PEX plumbing is a cost-effective option for bathroom sink rough ins, making it a popular choice among homeowners. Its affordability is due to its easy installation process, which requires fewer materials and labor compared to other plumbing materials. This can save you both time and money in the long run, making it an attractive option for those on a budget.
Flexibility
One of the main advantages of PEX plumbing is its flexibility. The material is highly malleable, allowing for easier installation around corners and through tight spaces. This makes it the perfect choice for bathroom sink rough ins, which often require pipes to be routed through walls and floors. PEX plumbing can also expand and contract with changes in water temperature, reducing the risk of pipe bursts and leaks.
Durability
When it comes to bathroom plumbing, durability is key. PEX plumbing is known for its long-lasting performance, making it a reliable option for bathroom sink rough ins. The material is resistant to corrosion and chemical damage, ensuring that your pipes will last for years to come. This can save you from costly repairs and replacements in the future.
Easy Installation
PEX plumbing is known for its easy installation process, making it a popular choice for DIY enthusiasts. The material can be easily cut and connected using simple tools, making it a hassle-free option for those looking to tackle their bathroom sink rough in project themselves. However, it is still recommended to hire a professional plumber to ensure proper installation and avoid any potential issues.
Conclusion
 In conclusion, when it comes to bathroom sink rough ins, PEX plumbing is the top choice for many homeowners. Its affordability, flexibility, durability, and easy installation make it a practical and reliable option for any bathroom design. Consider using PEX plumbing for your next bathroom renovation or remodel project and experience the benefits for yourself.


