1. Drywall Repair
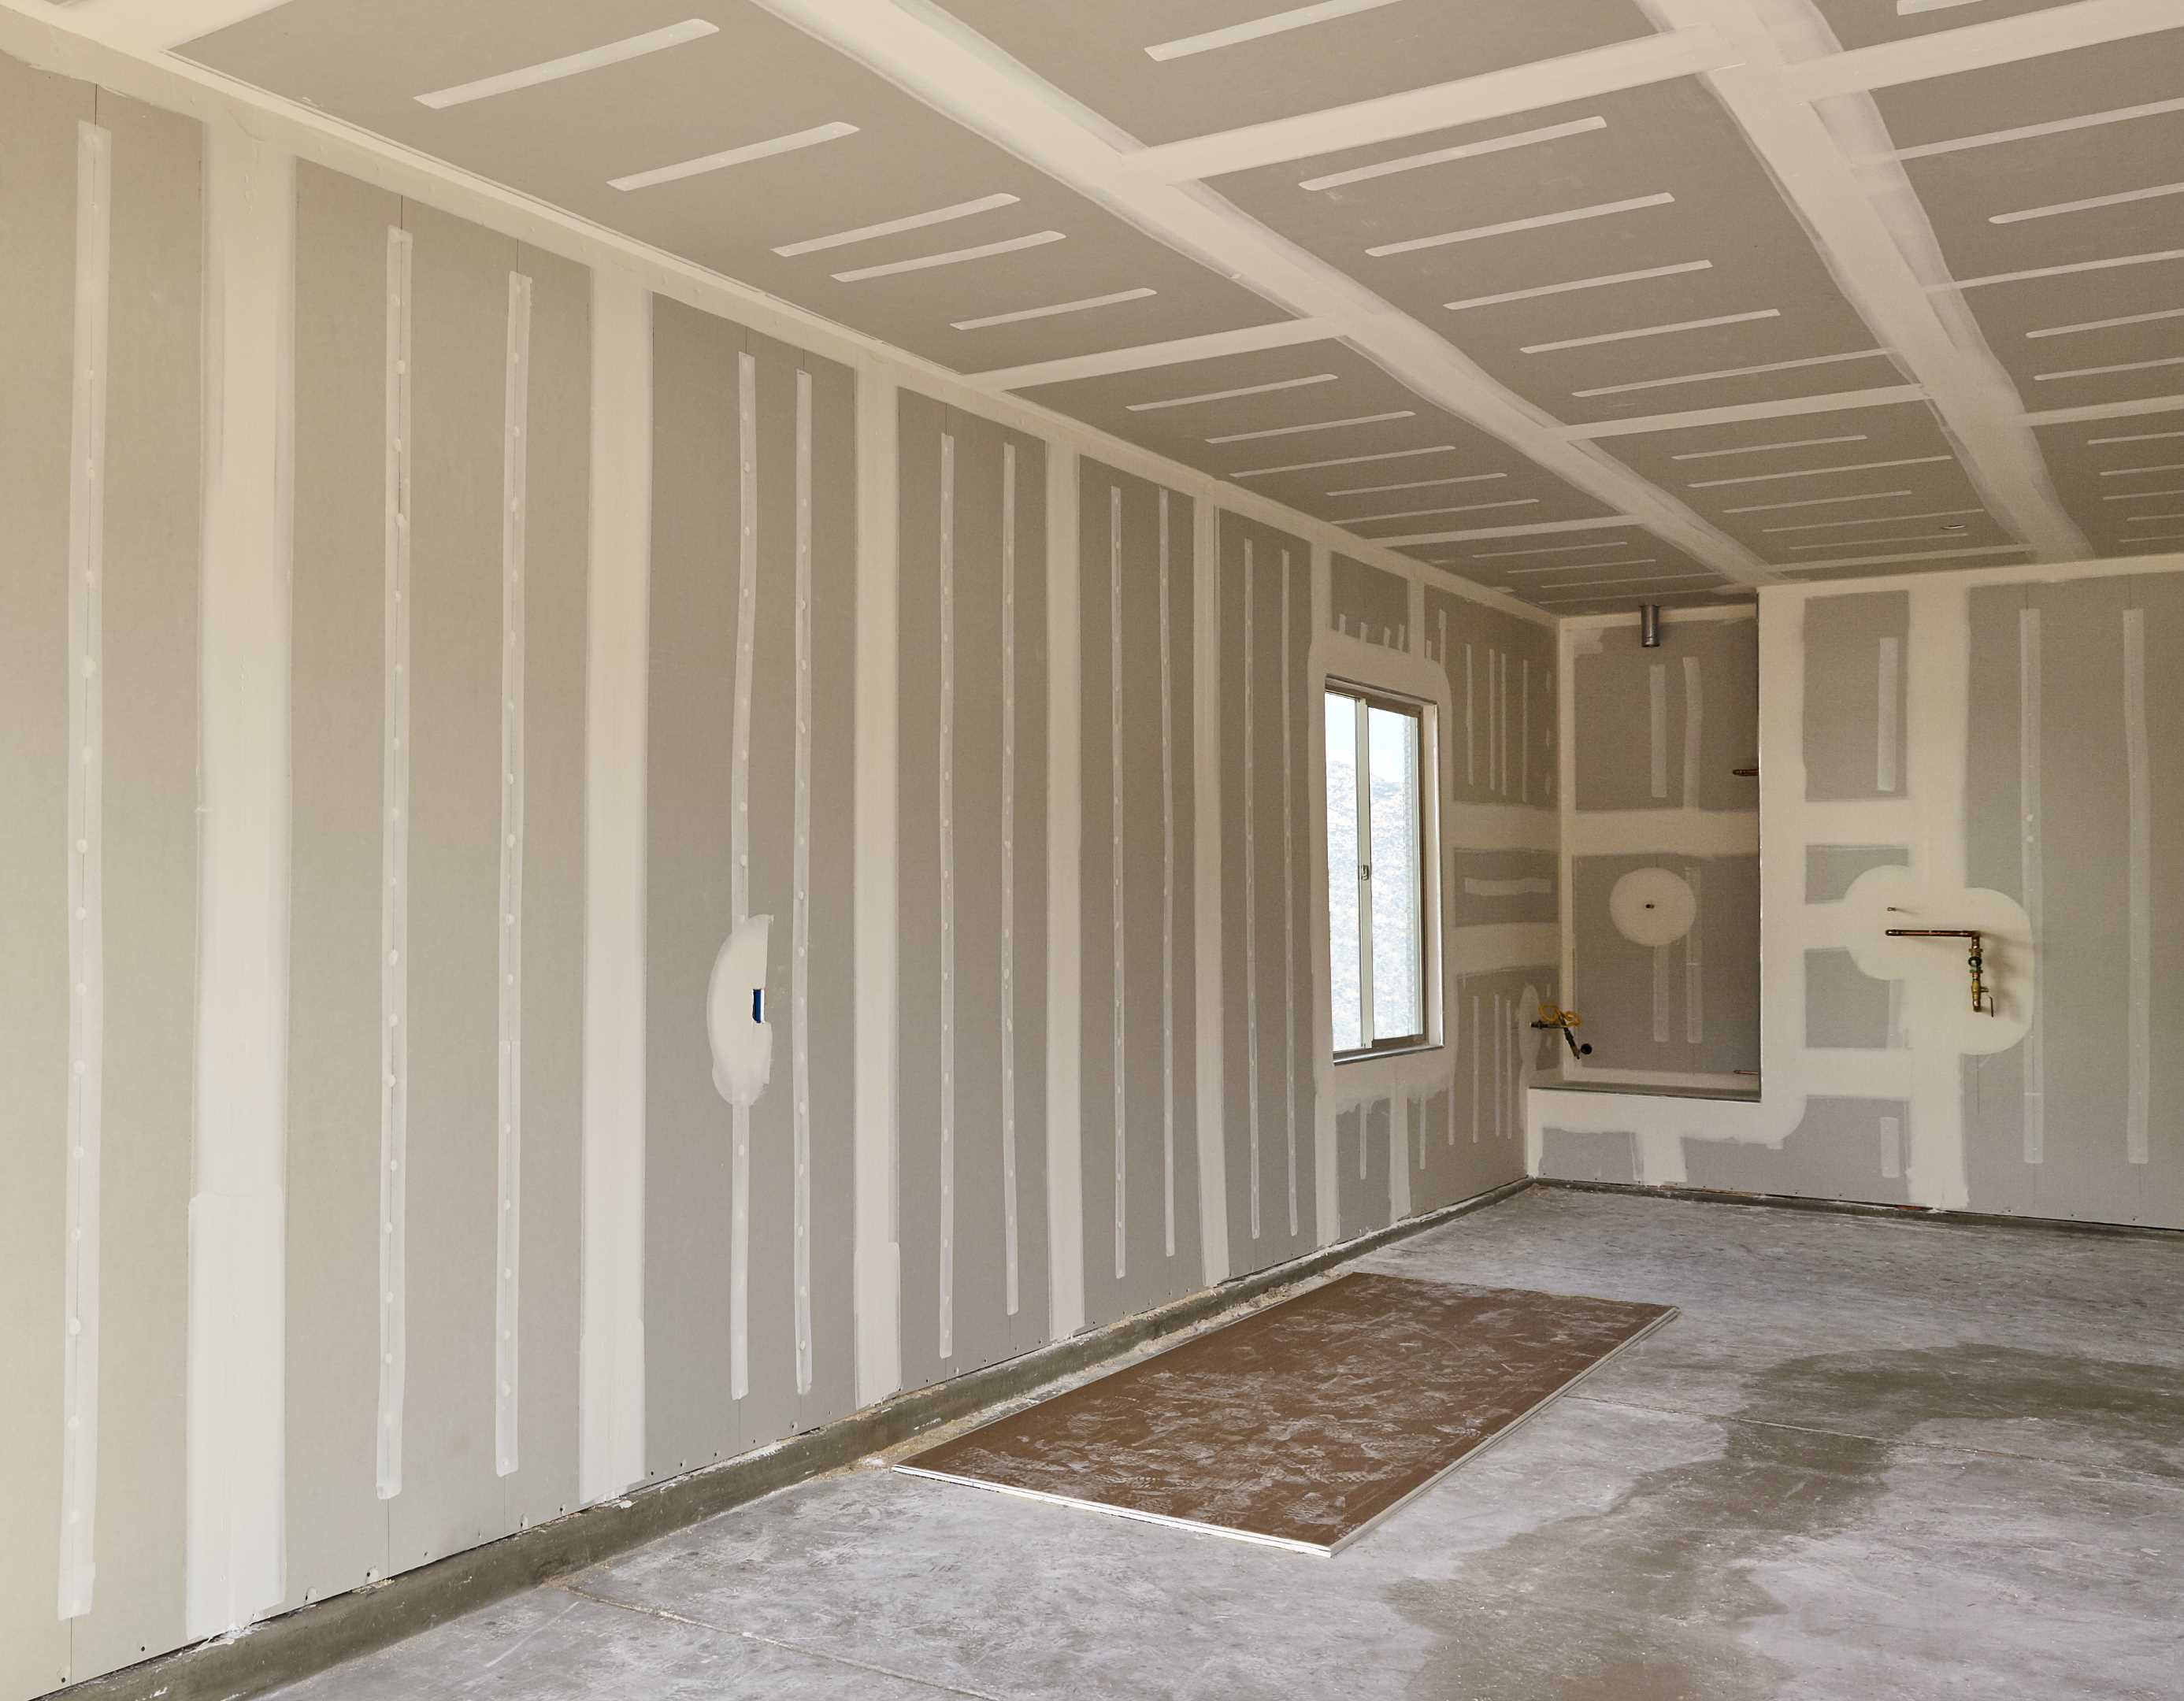
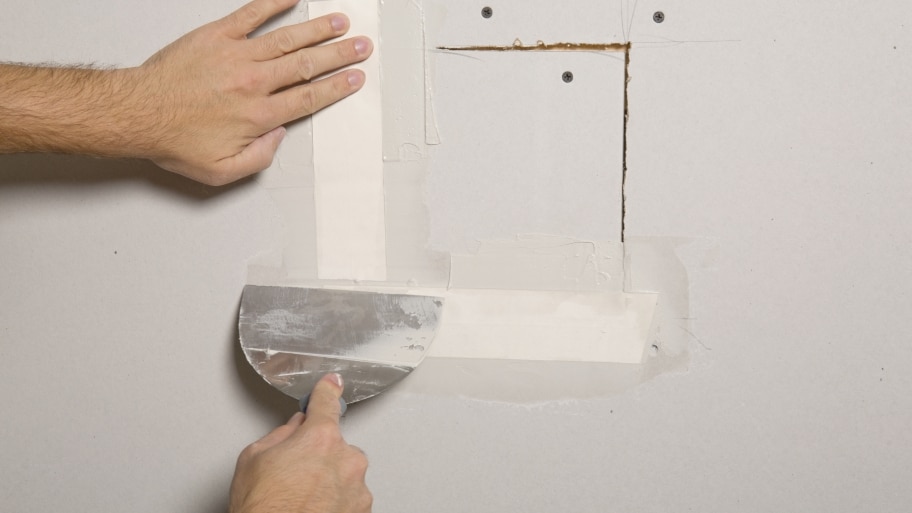
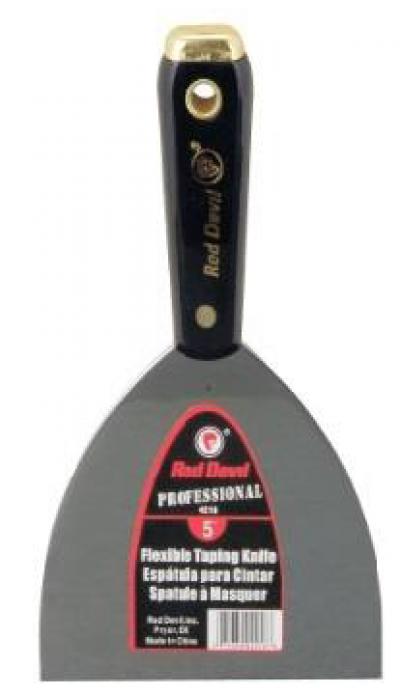
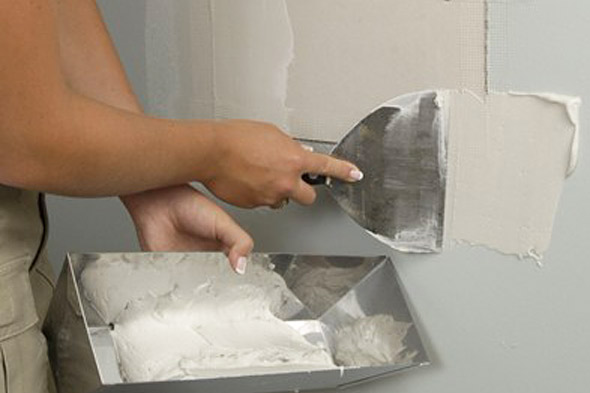
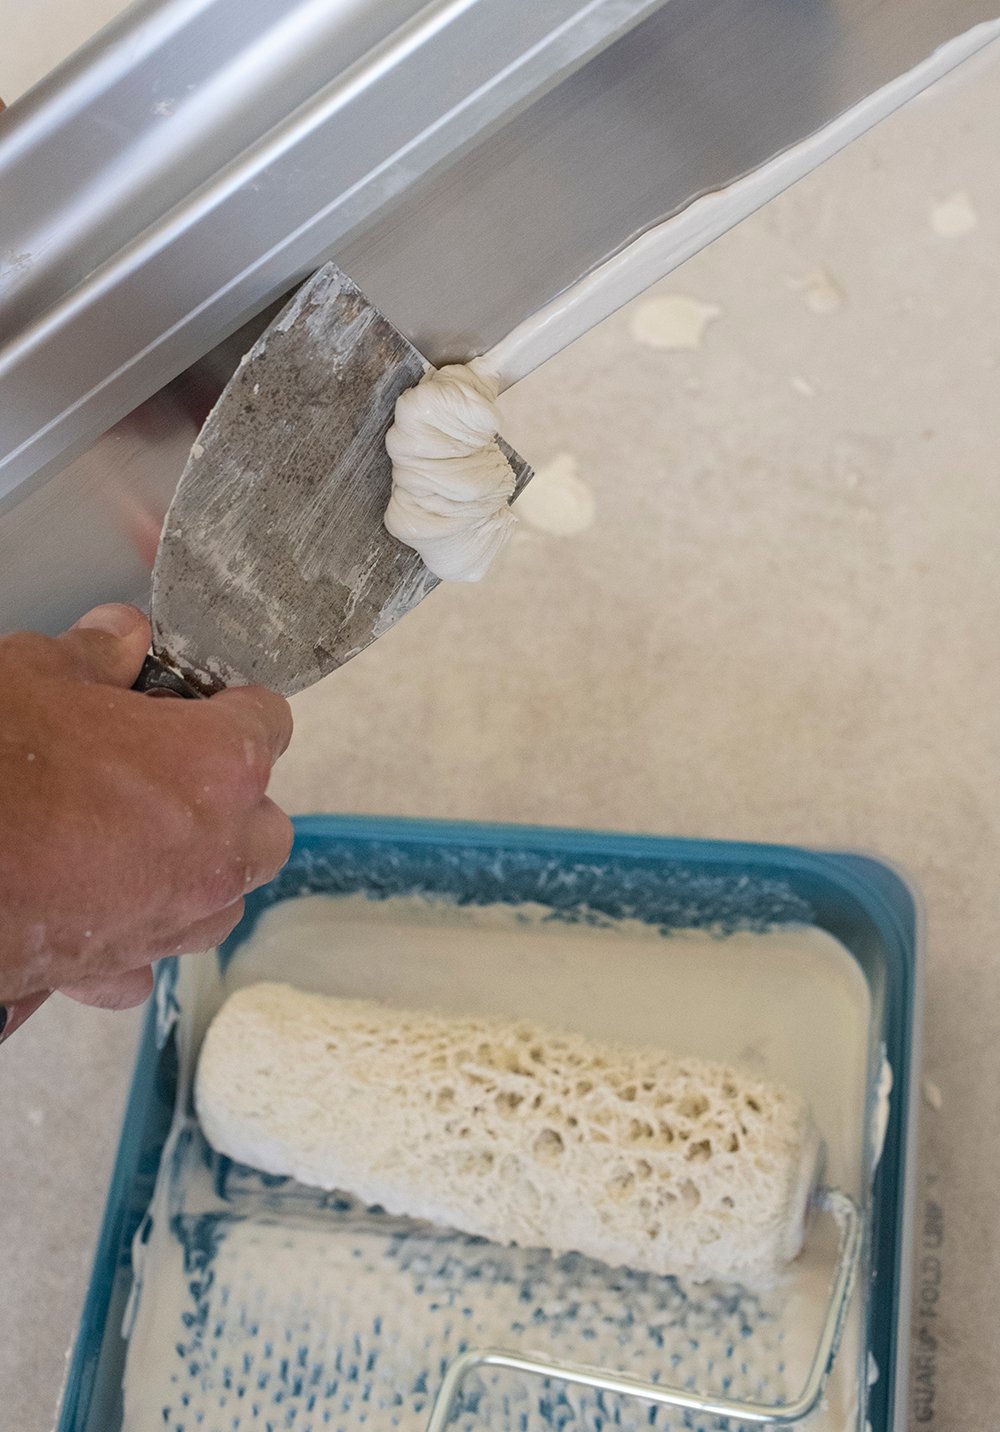
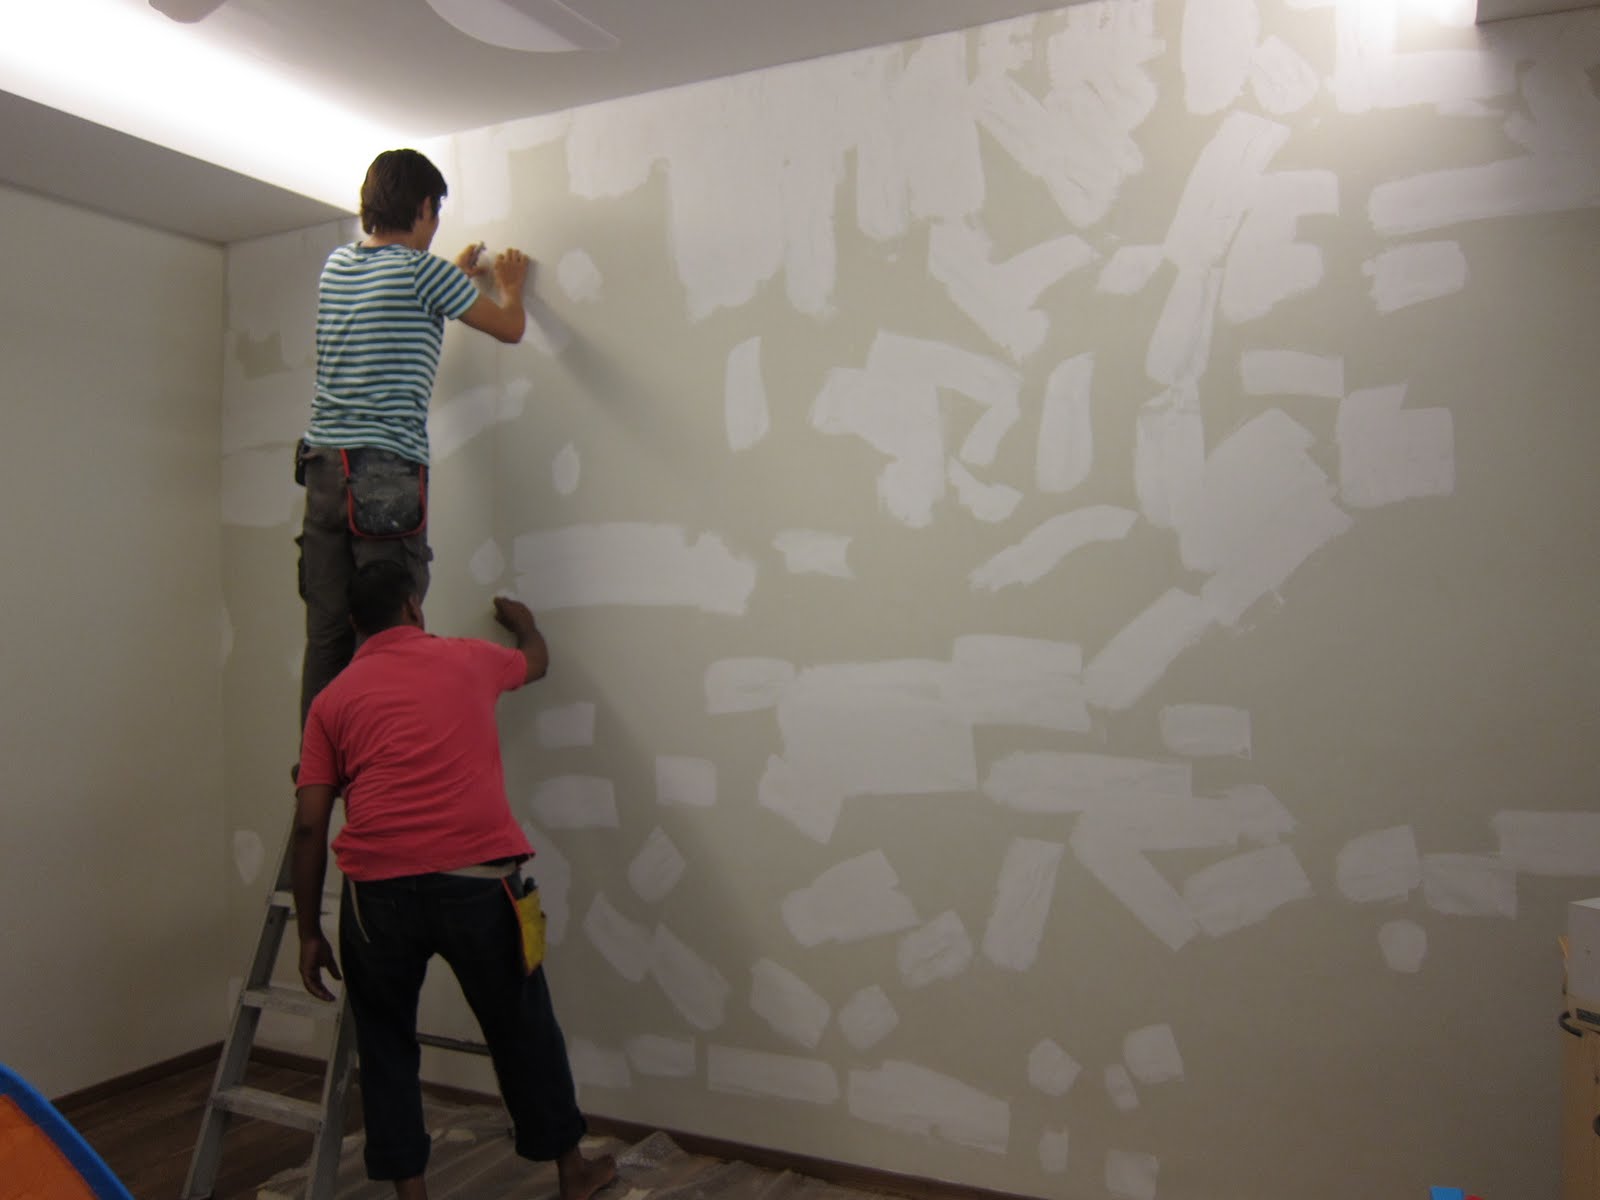
After a kitchen demolition, one of the first steps in patching up the walls is to repair any damaged drywall. This could include cracks, dents, or holes that were created during the demolition process. Using a putty knife, carefully remove any loose pieces of drywall and then apply a layer of joint compound to fill in the damaged areas. Once dry, sand the area smooth and apply a second layer of compound if needed. This will create a solid base for the rest of the patching process.
2. Spackling
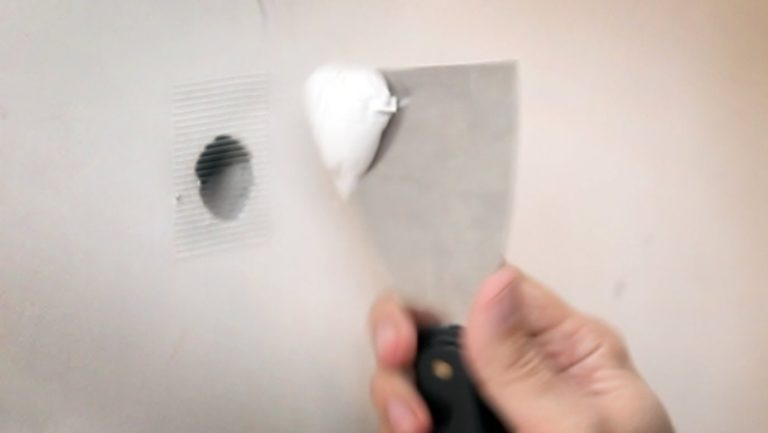
For smaller holes or cracks, spackling is a great option to fill in these imperfections. This lightweight compound is easy to apply with a putty knife and dries quickly, making it a convenient choice for patching walls after a kitchen demolition. Make sure to smooth out the spackling before it dries and sand it down once it's completely dry for a seamless finish.
3. Joint Compound
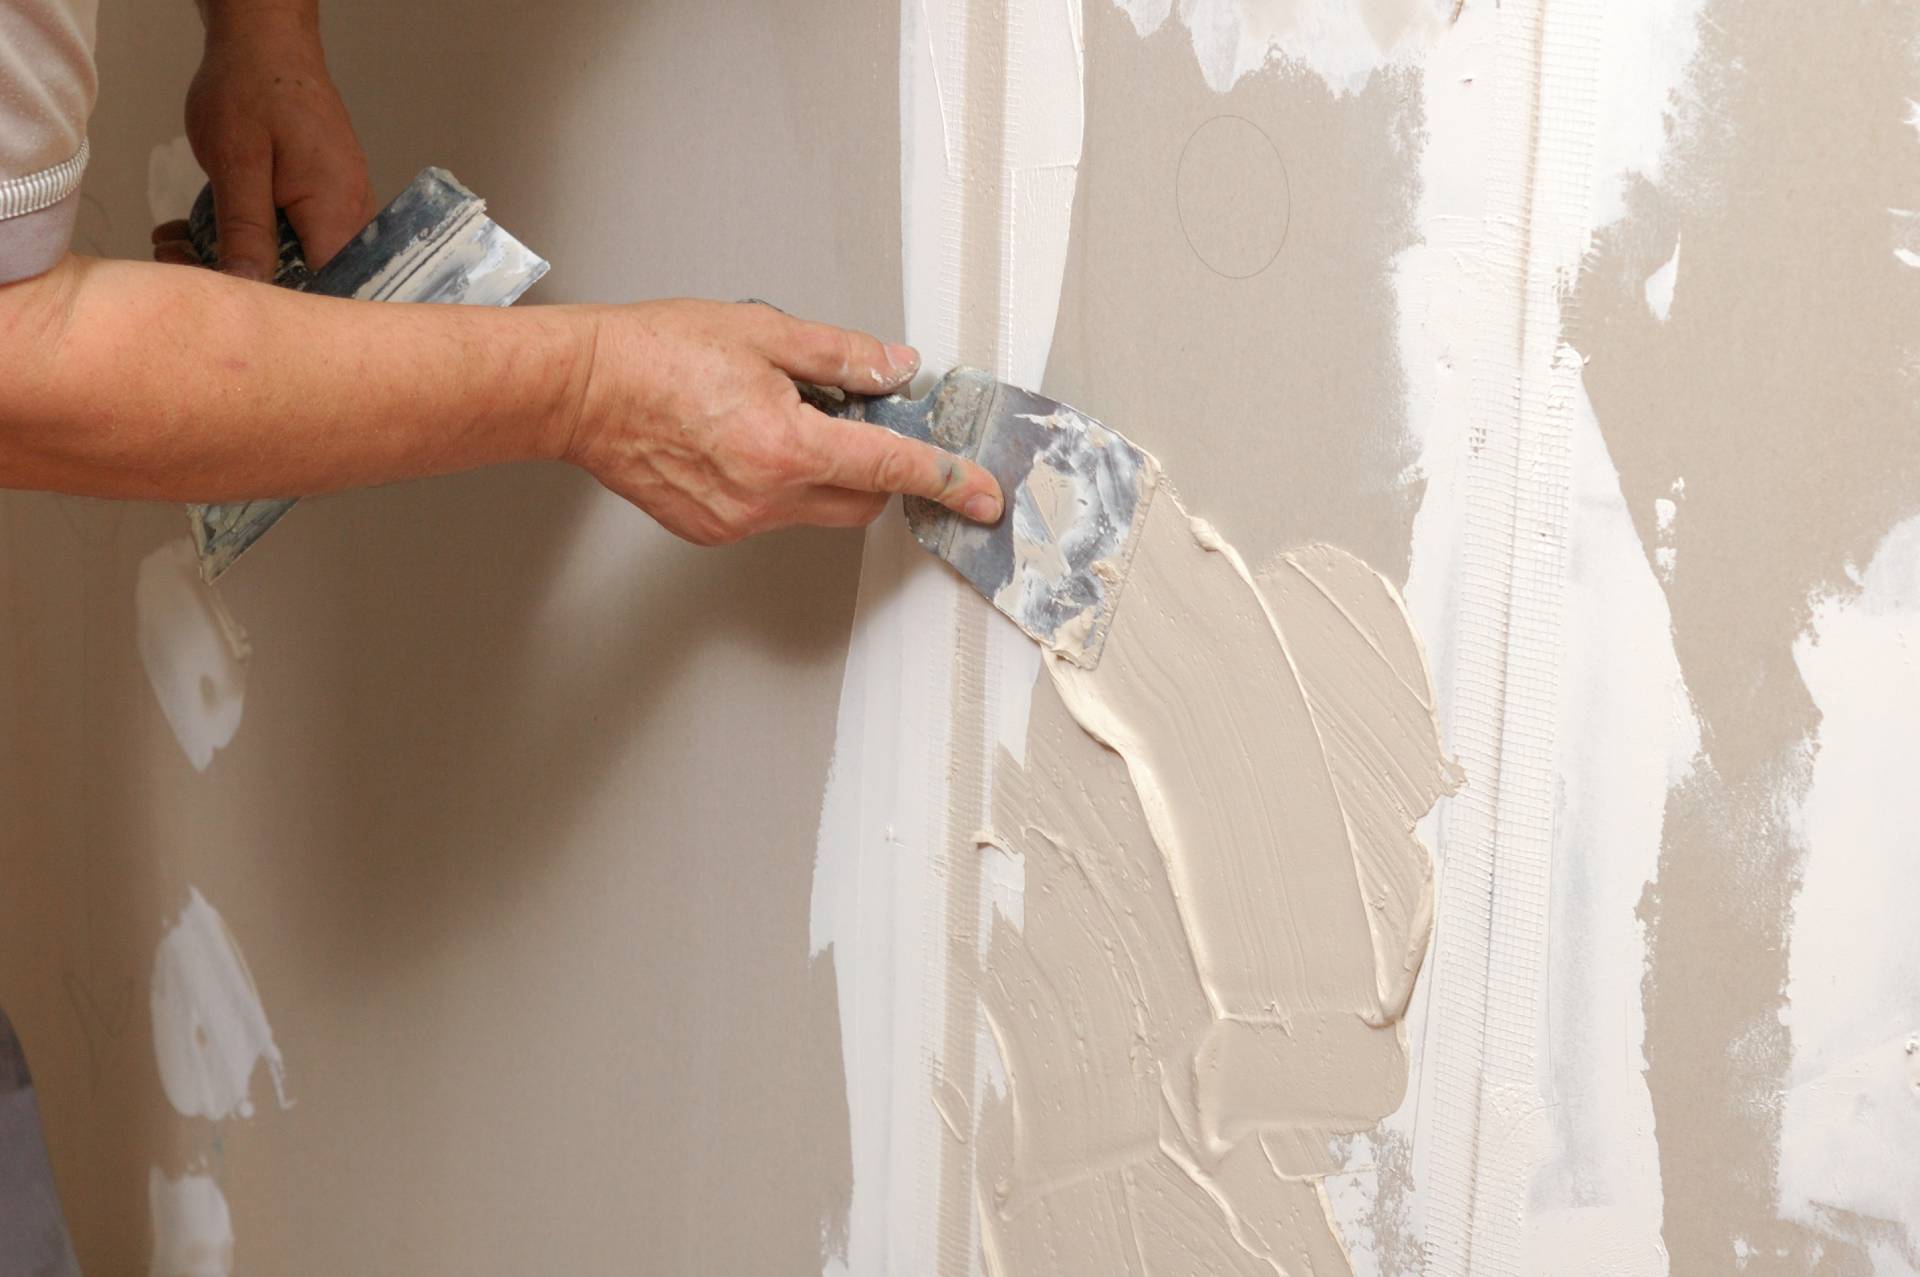
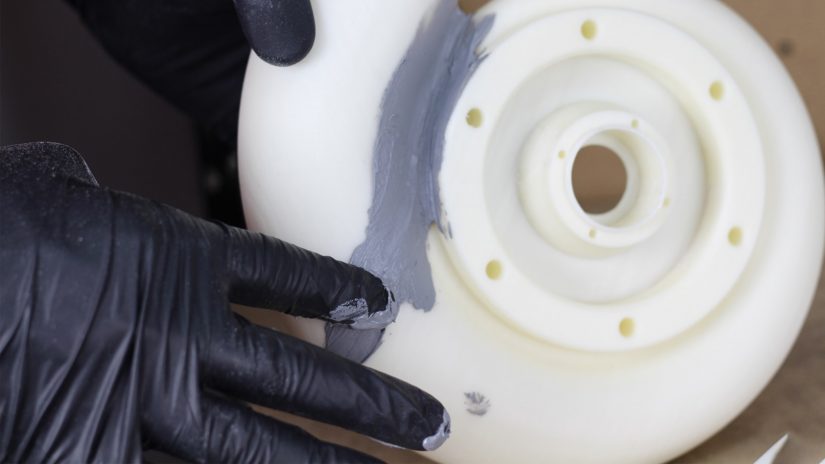
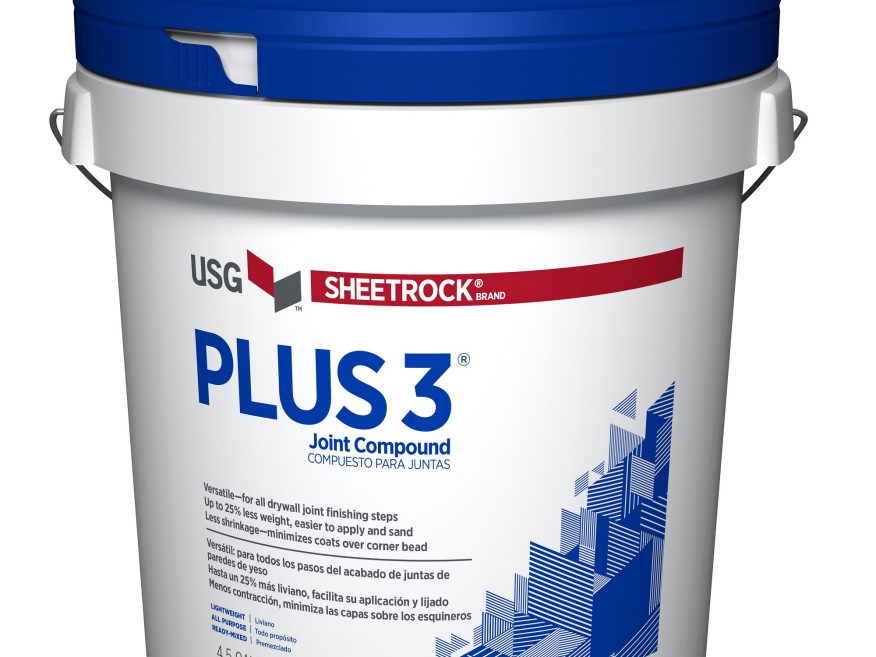
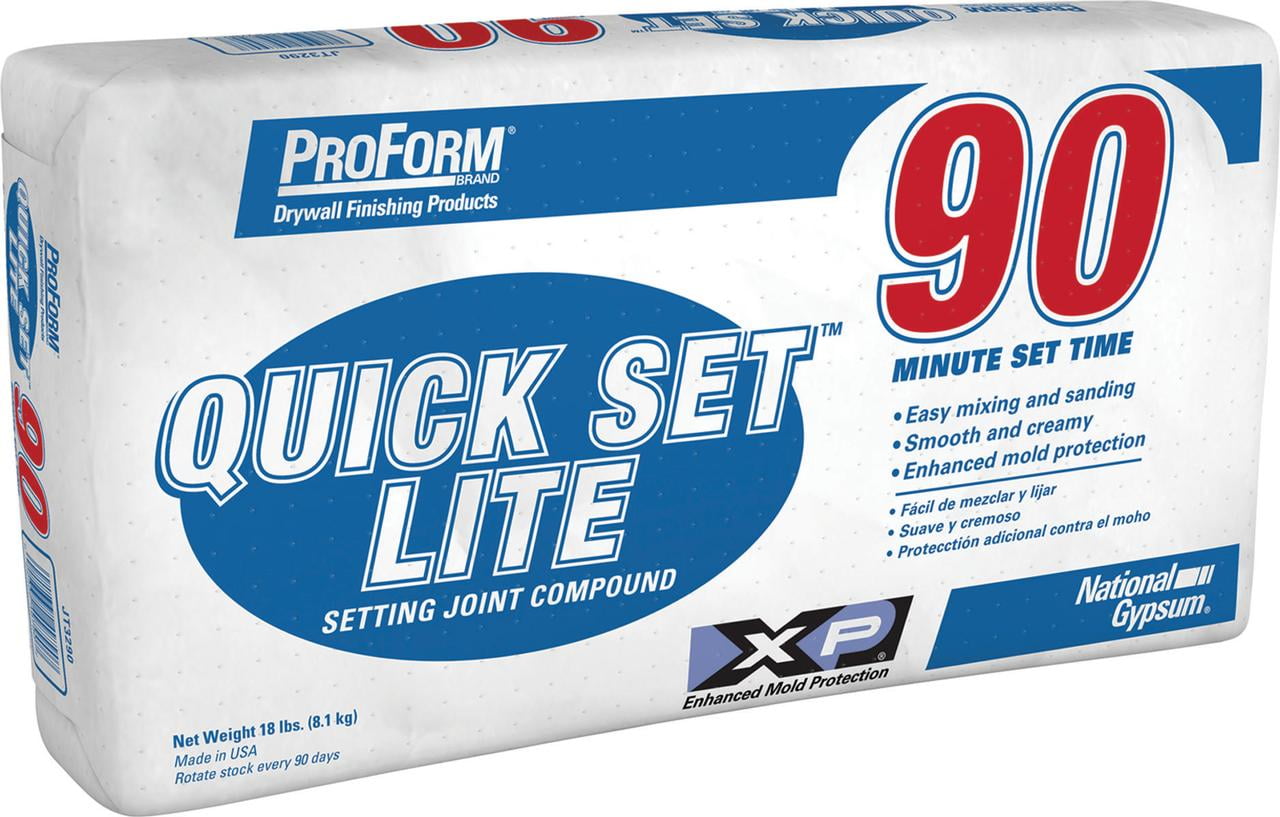
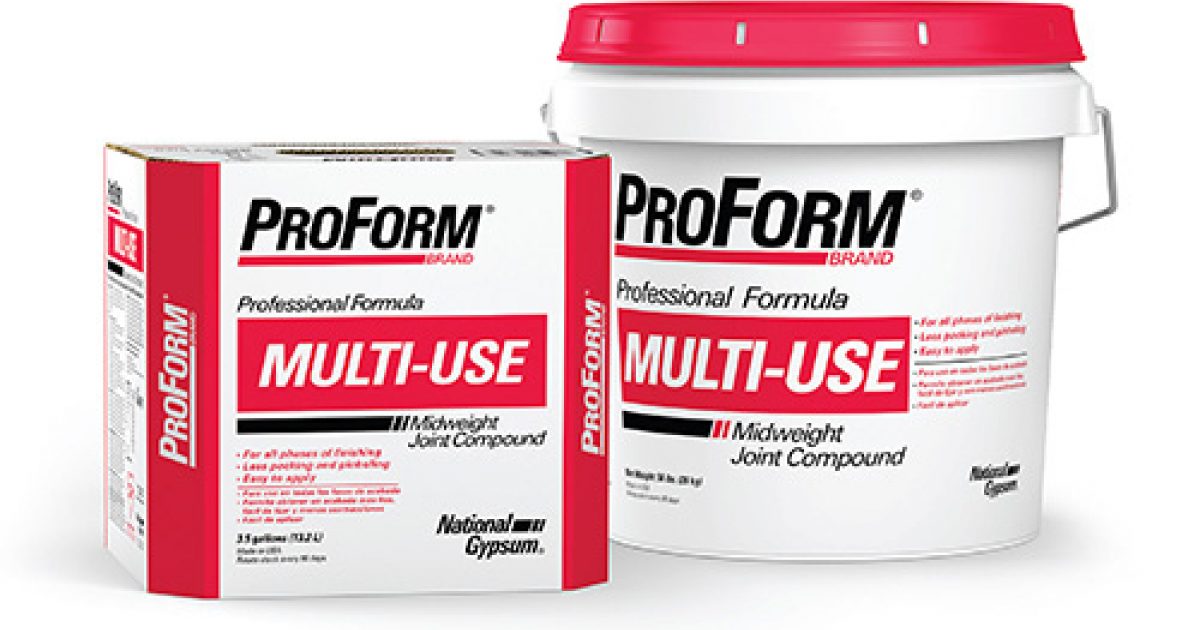
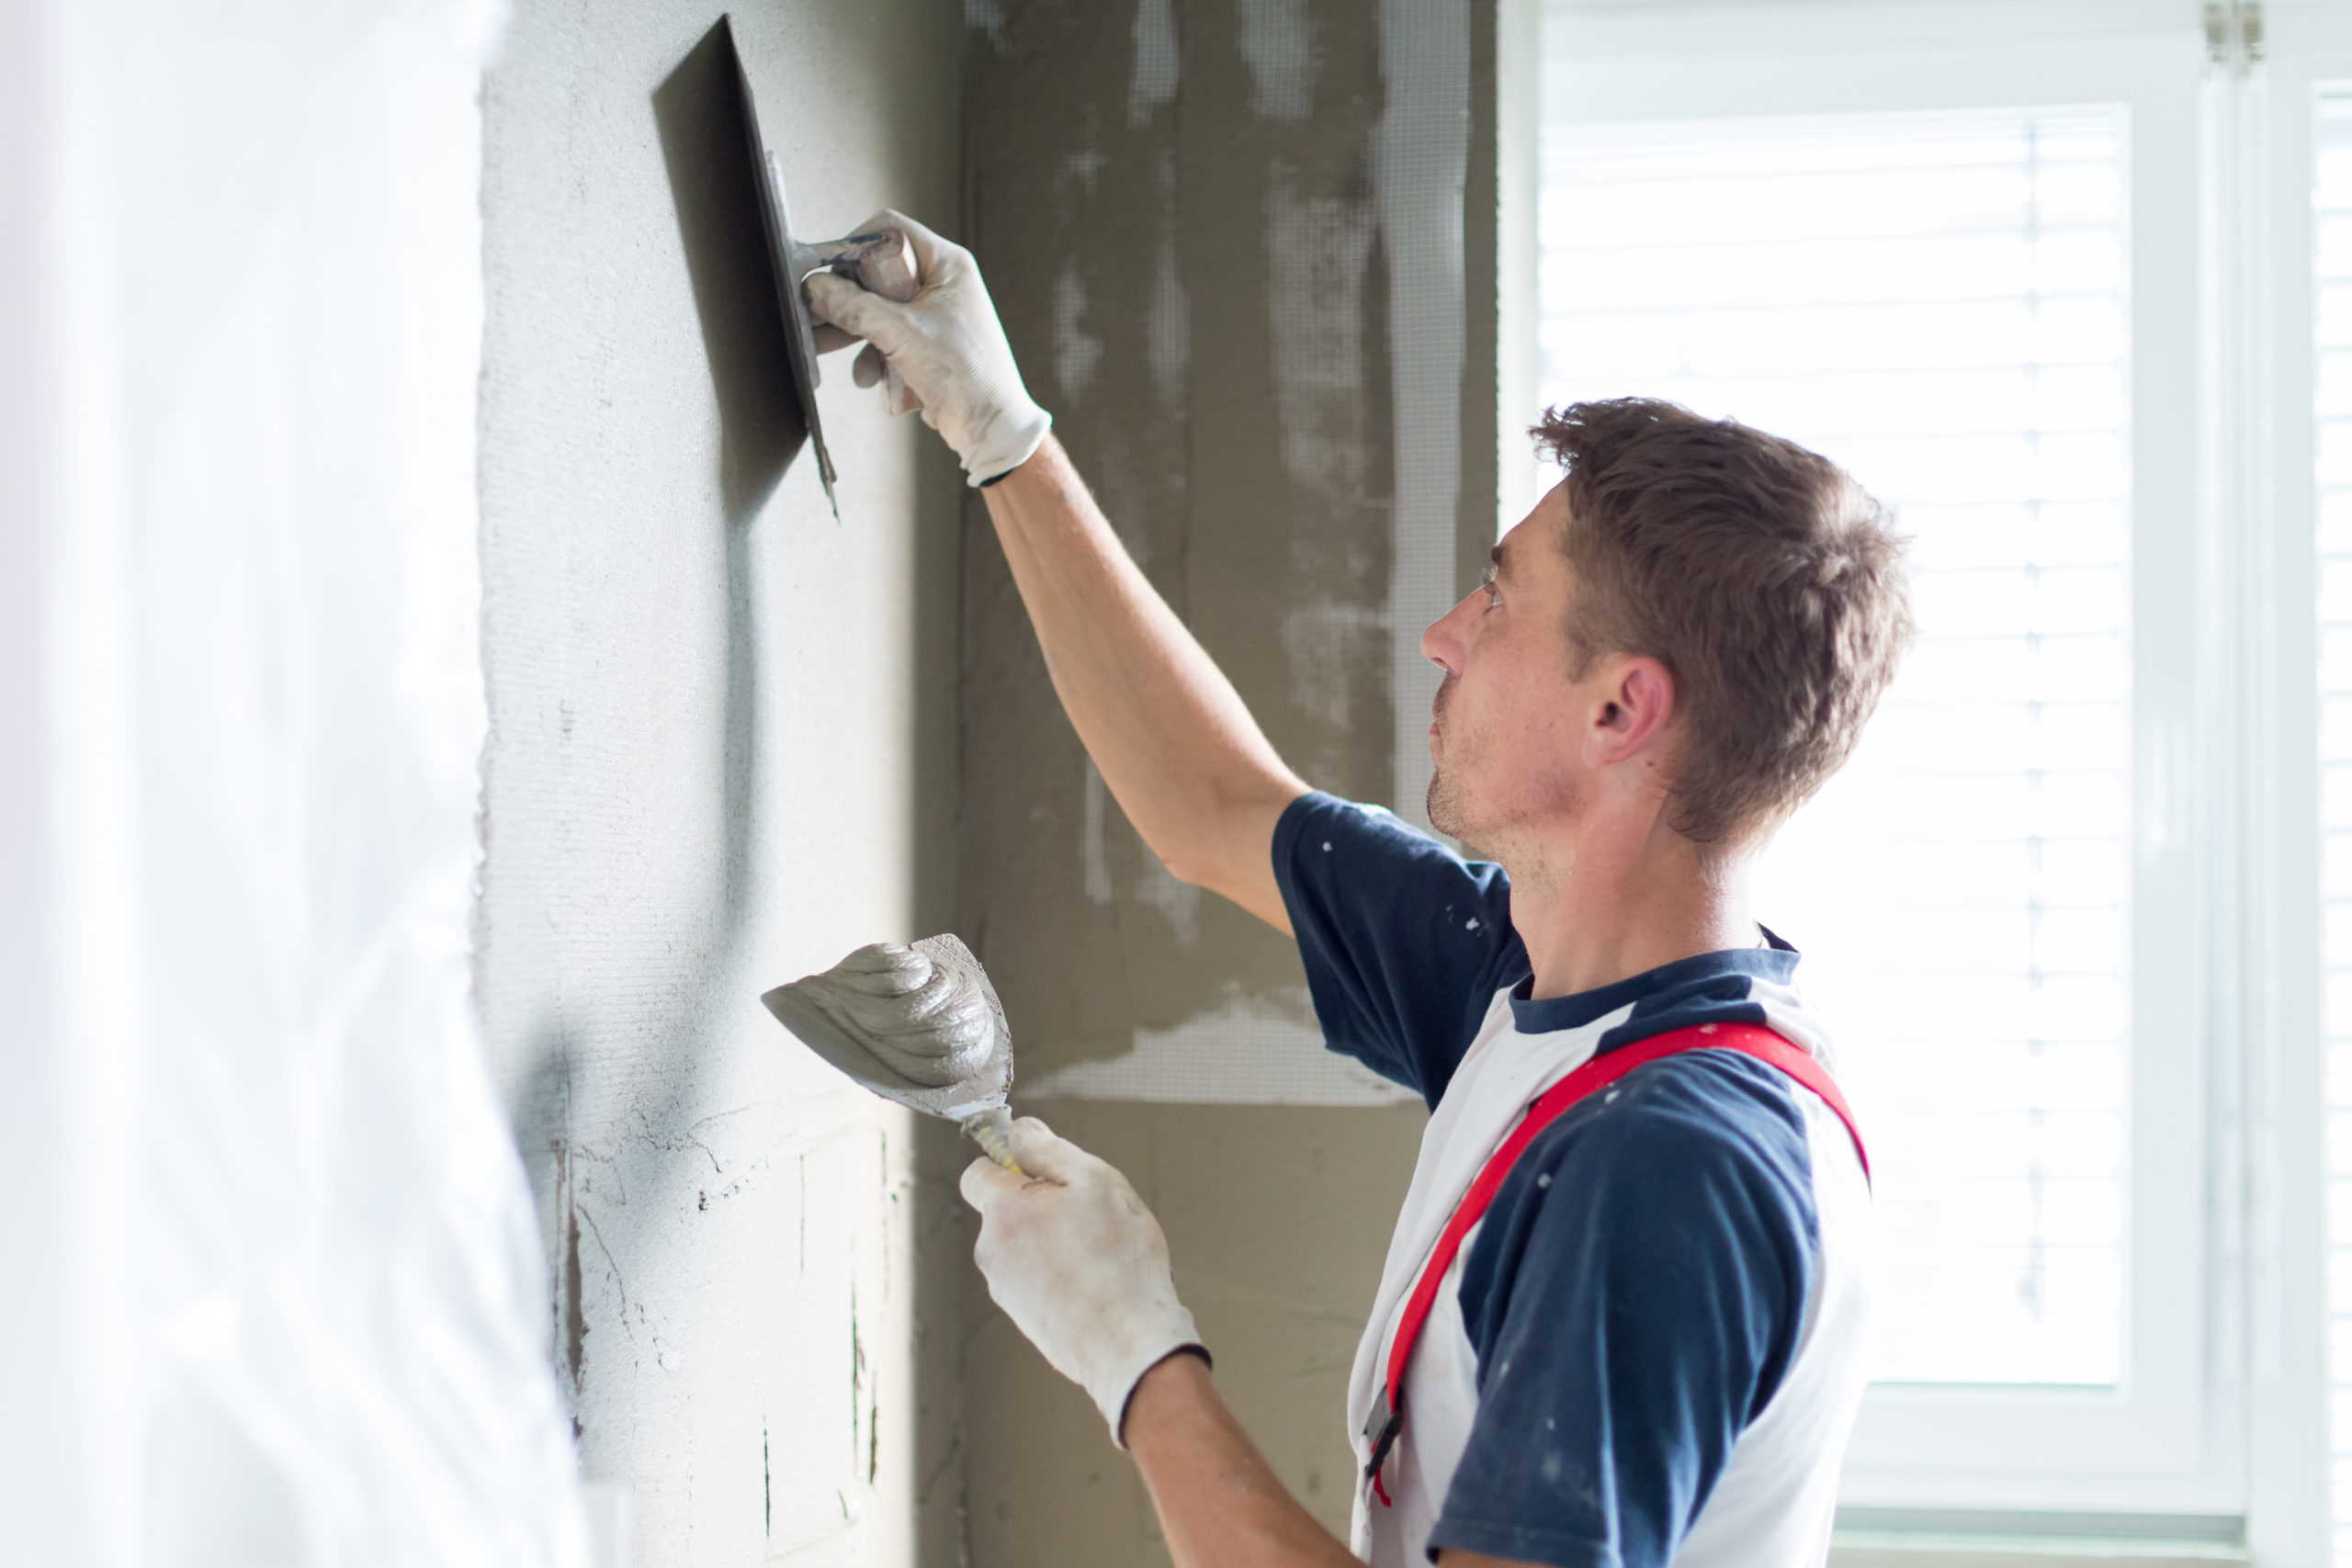
Joint compound, also known as drywall mud, is an essential material for patching walls. It can be used for larger holes or to even out any uneven surfaces on the wall. Apply a thin layer of joint compound with a putty knife and smooth it out with a trowel. Let it dry completely and then sand it down to create a smooth surface.
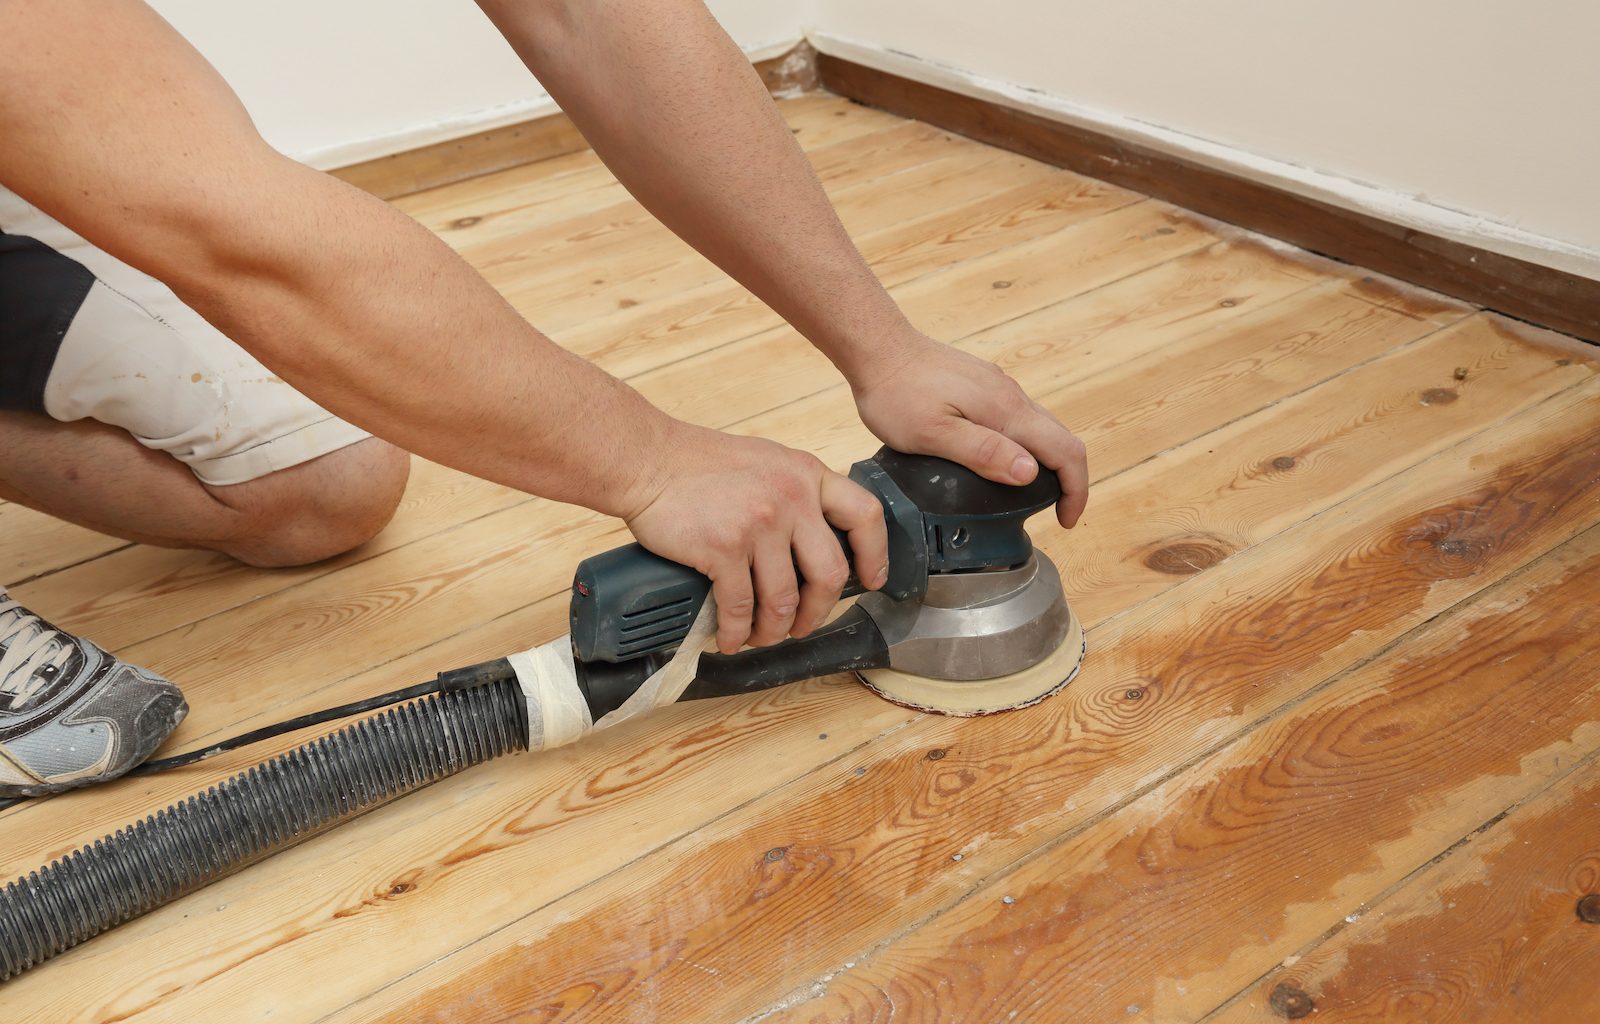
4. Sanding
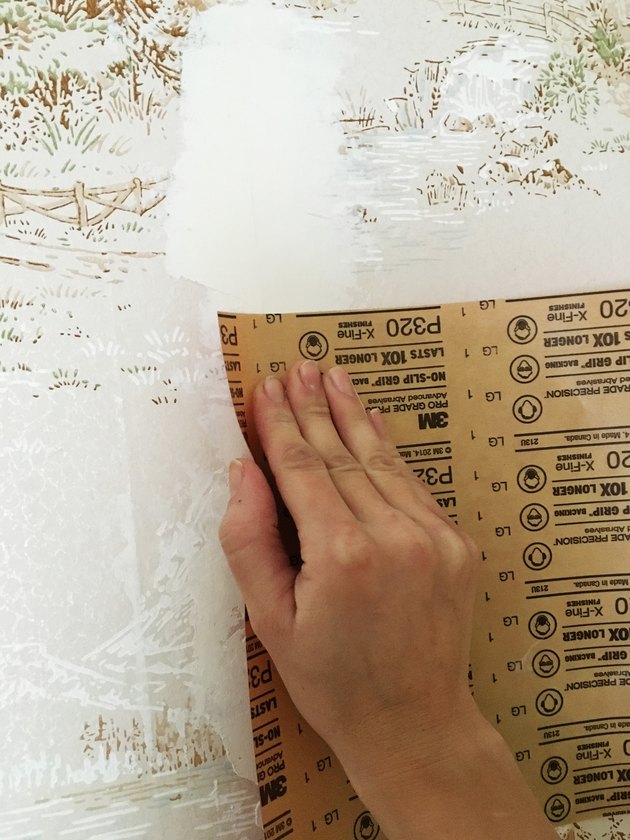
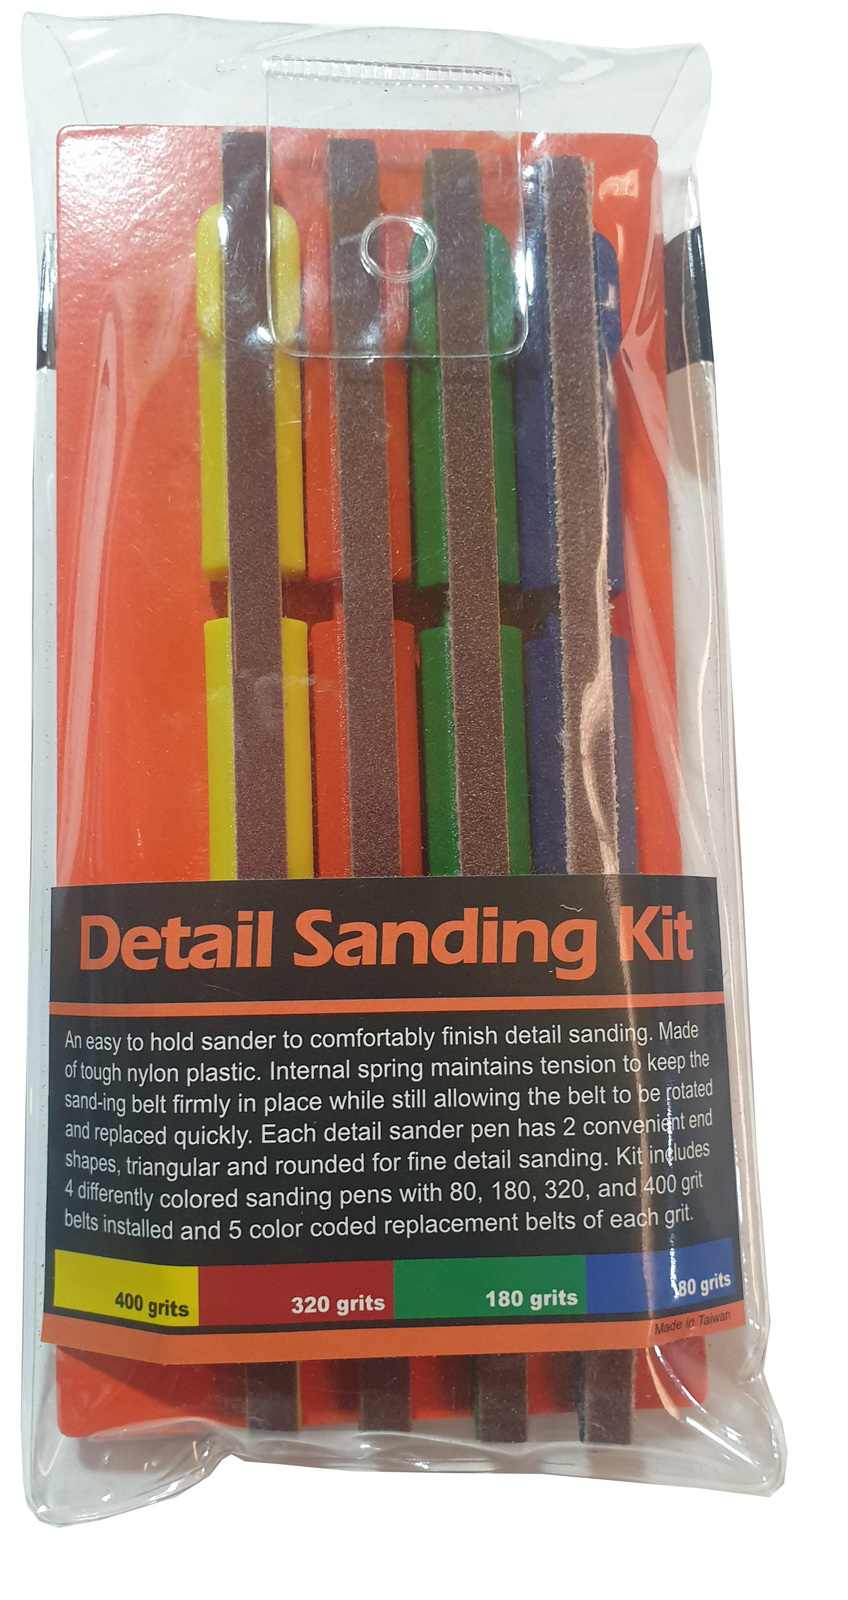
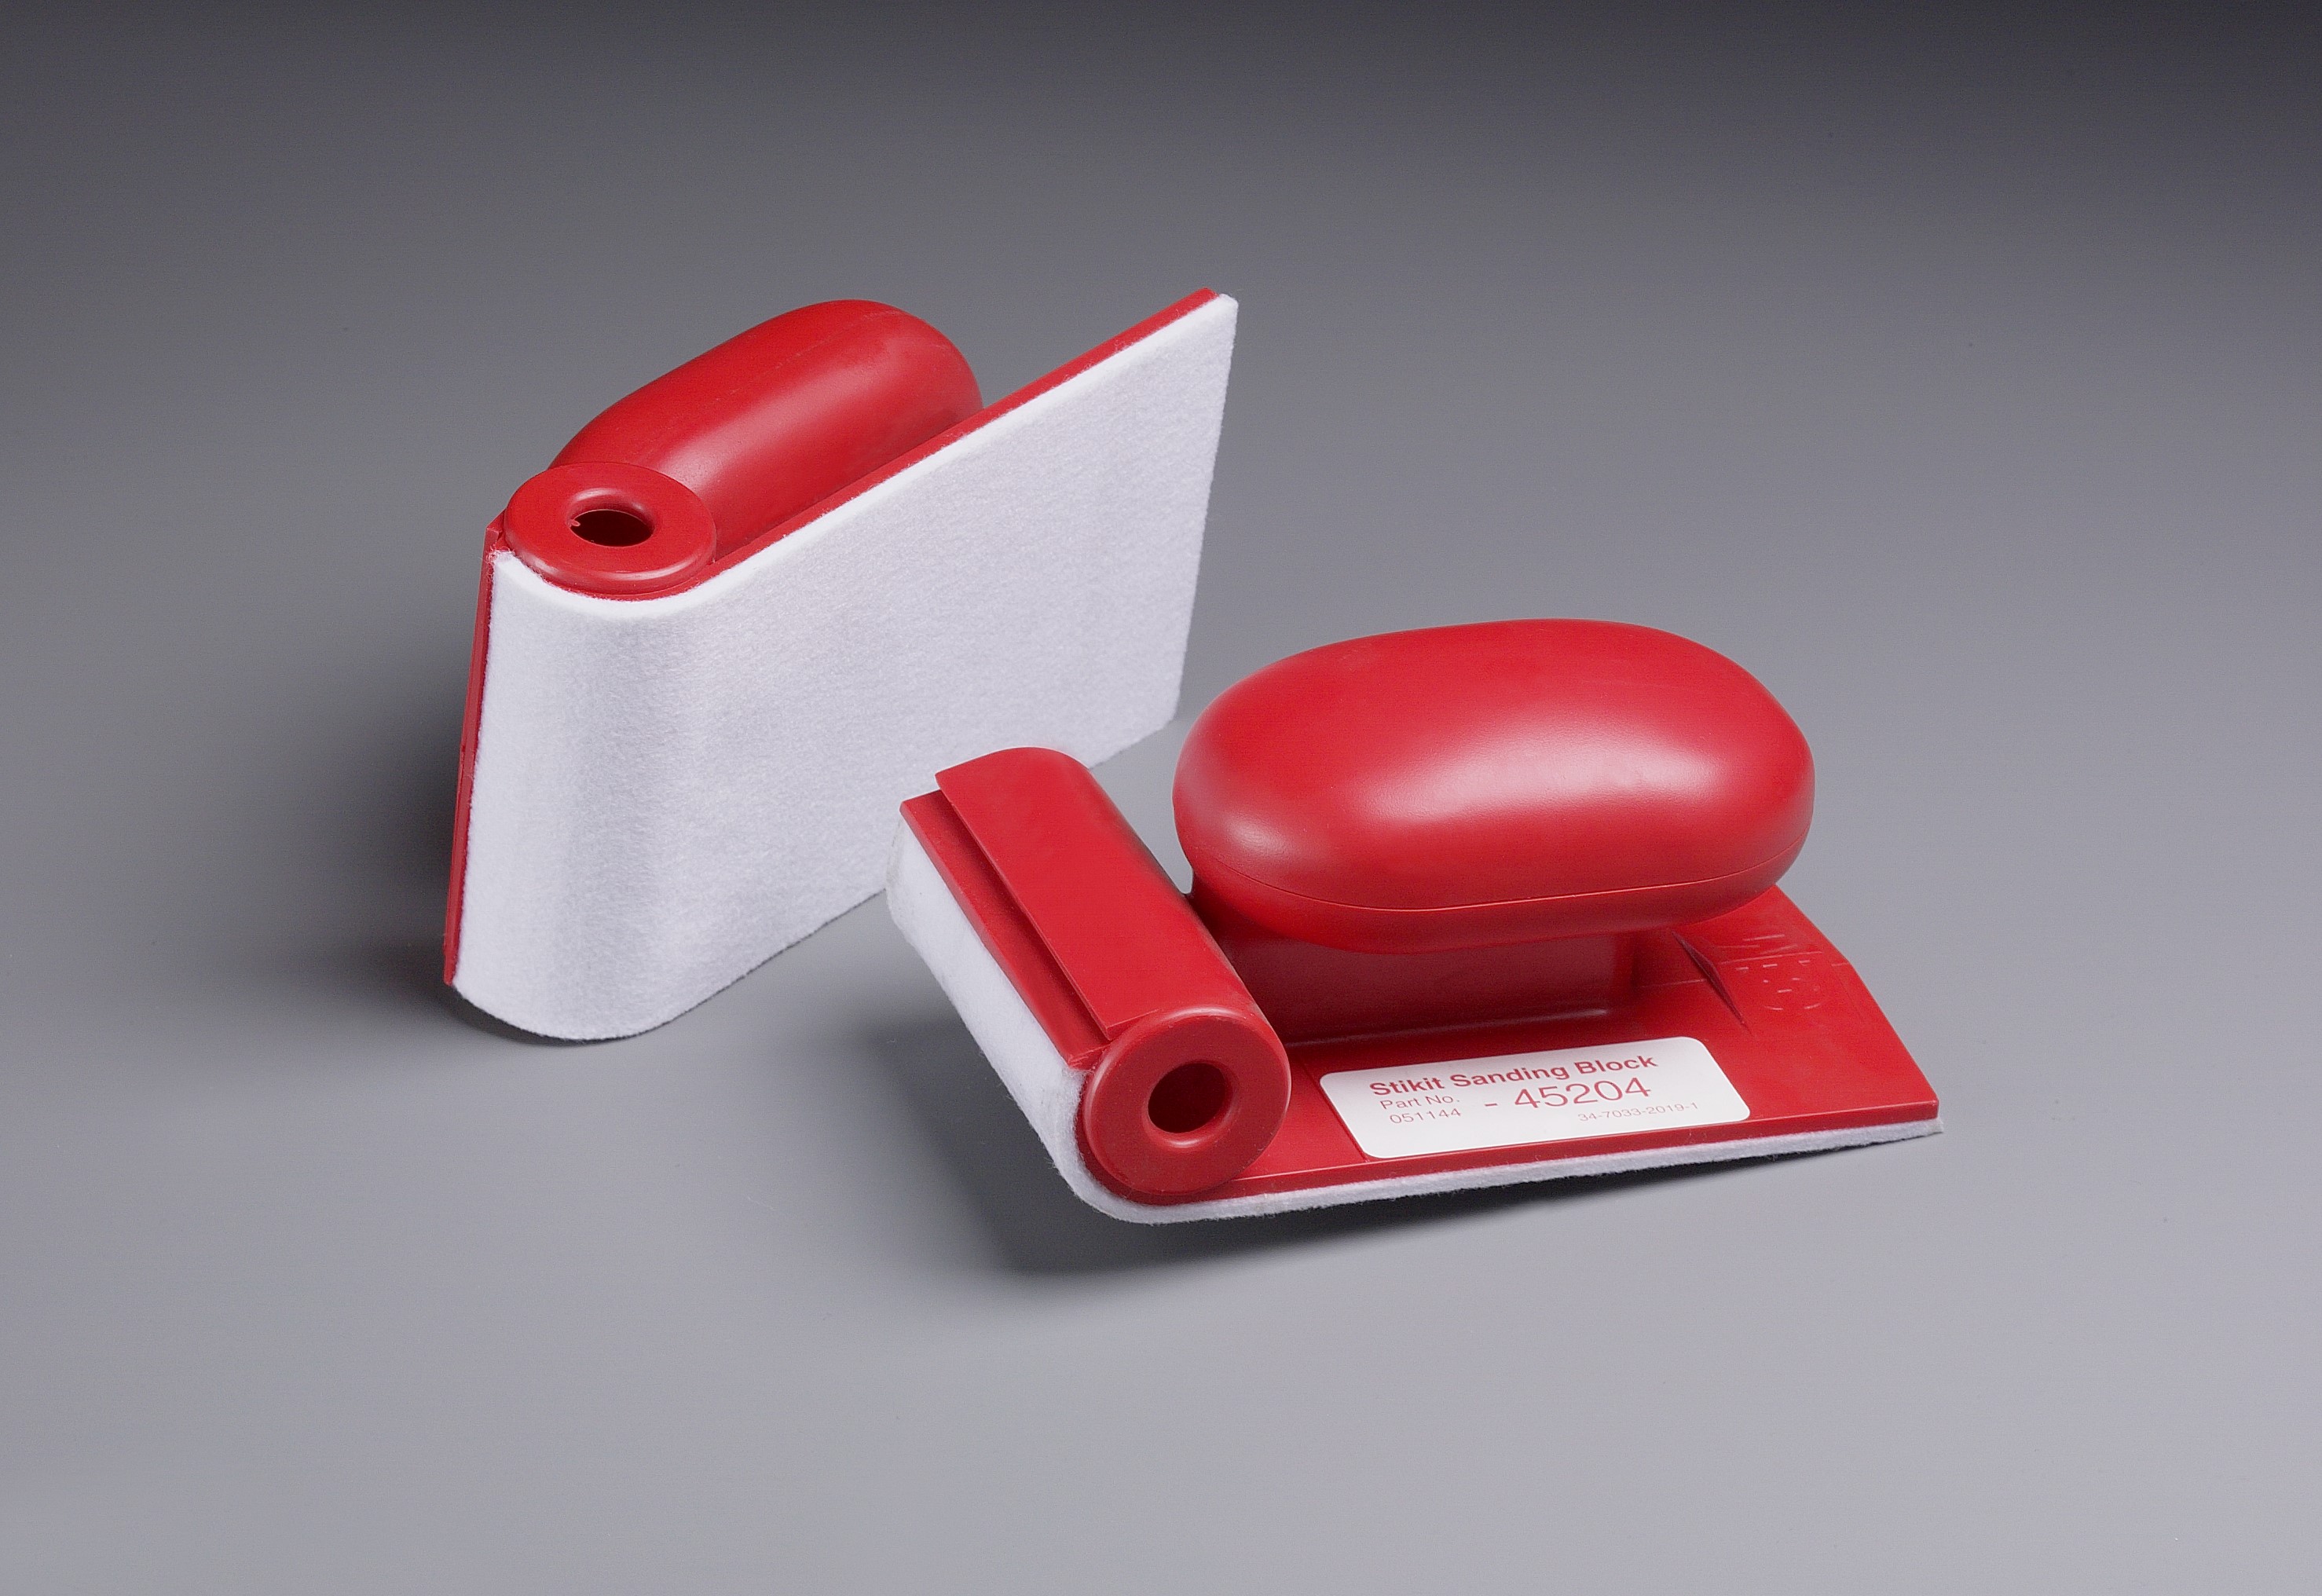
After applying joint compound or spackling, sanding is an important step to achieve a smooth and even surface. Use a sanding block or sandpaper to gently sand down the patched areas until they are flush with the rest of the wall. Be sure to wipe away any dust with a damp cloth before moving on to the next step.
5. Plastering
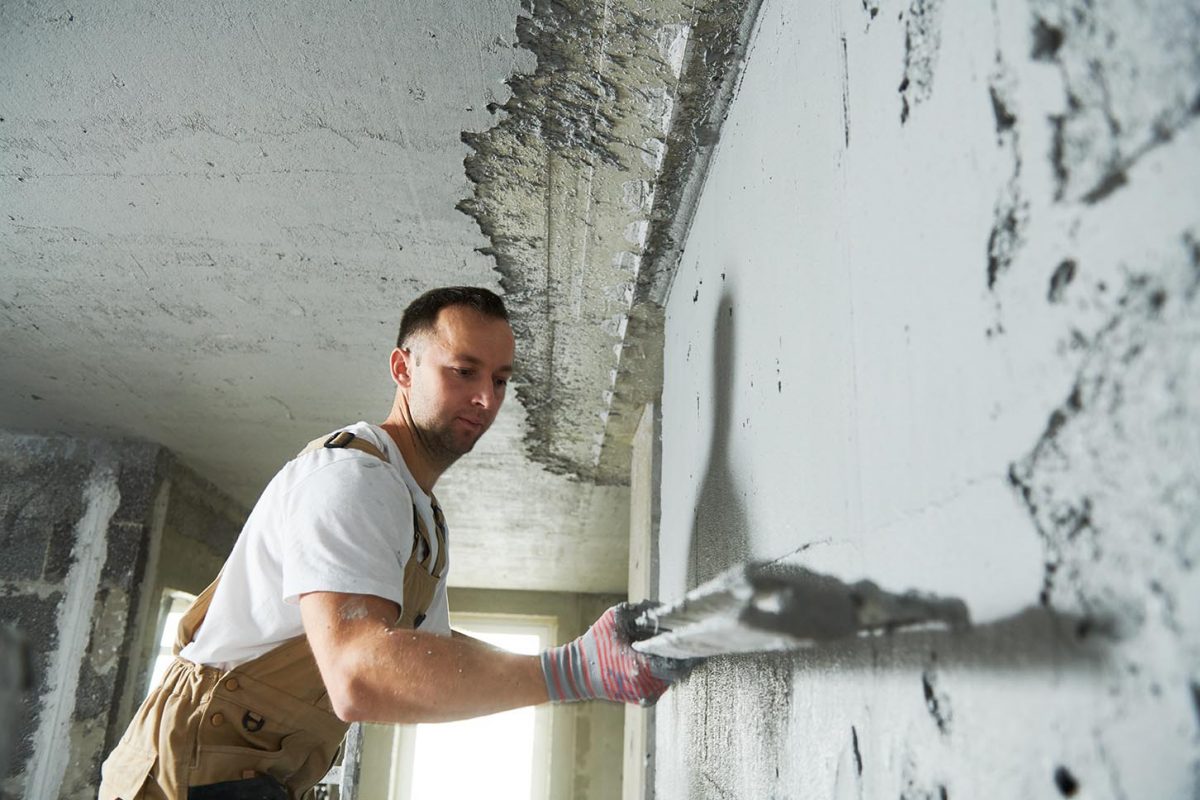
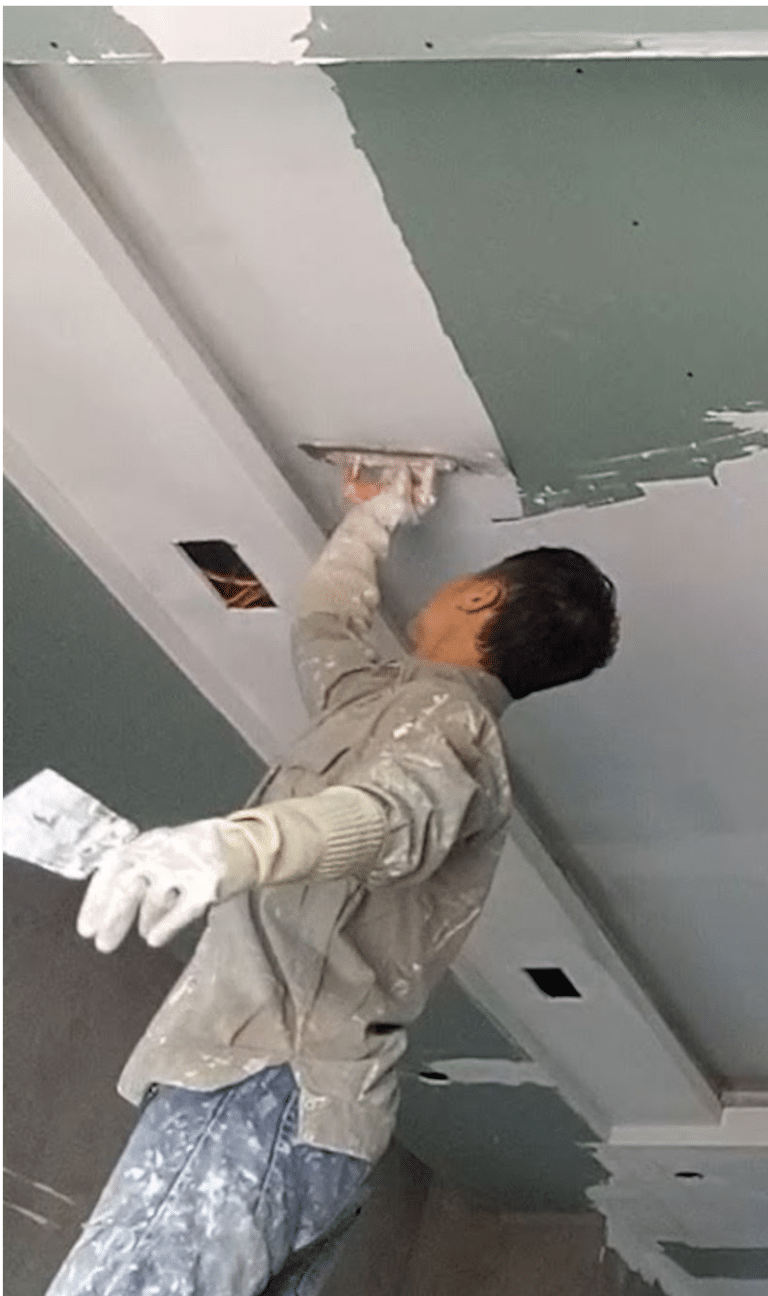
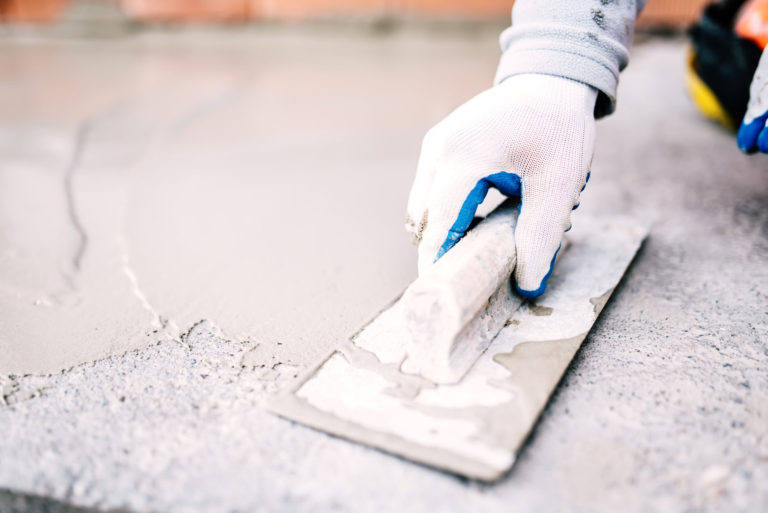
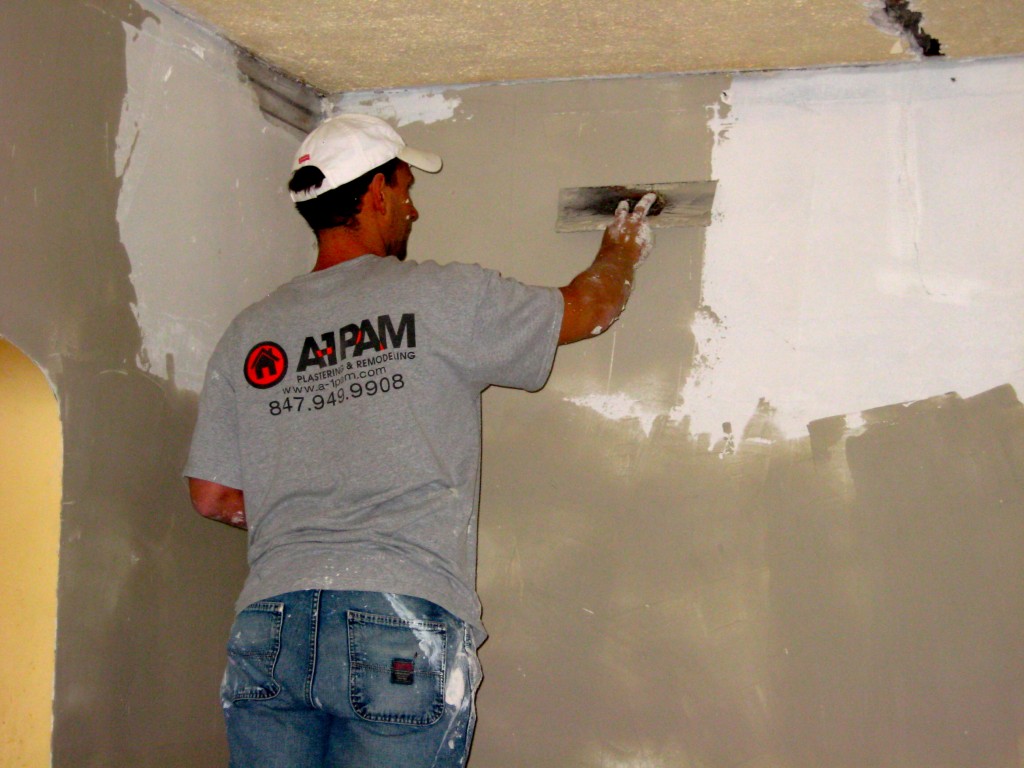
If your kitchen walls were damaged during the demolition process, plastering may be necessary to repair them. This involves applying several layers of plaster to the damaged area, smoothing it out with a trowel, and then sanding it down for a finished look. It's important to let each layer dry completely before adding the next one.
6. Patching Holes
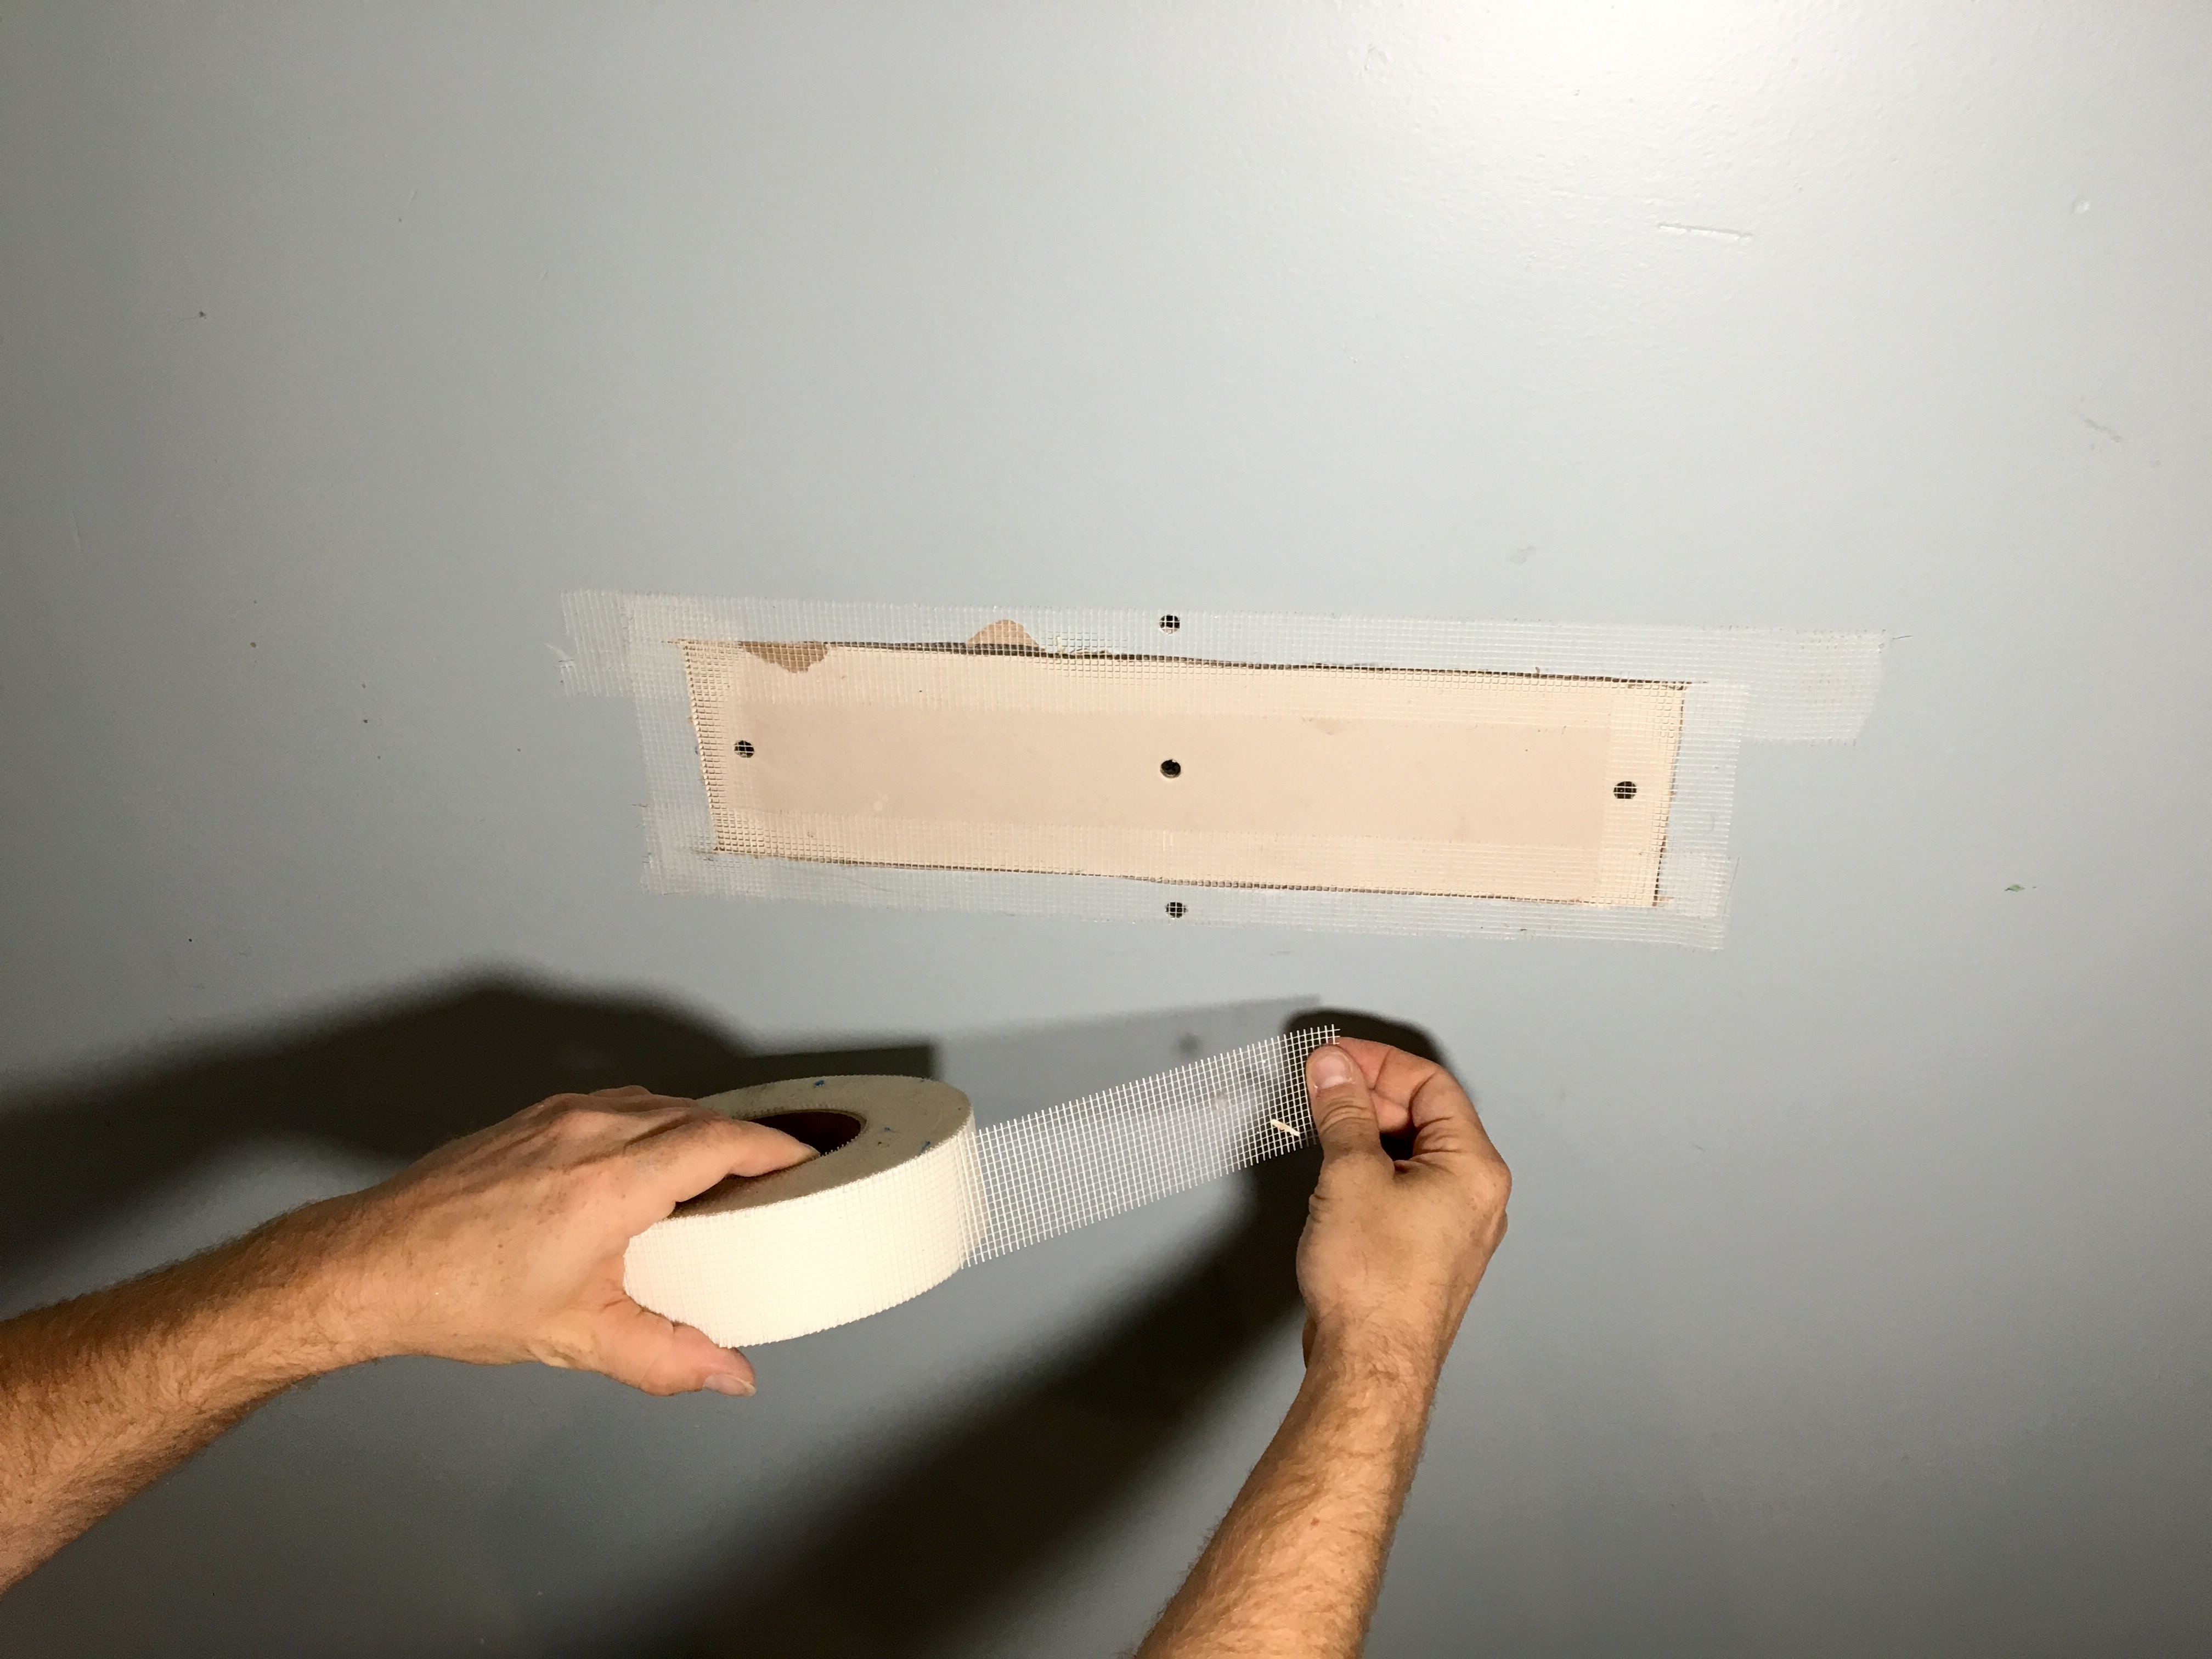
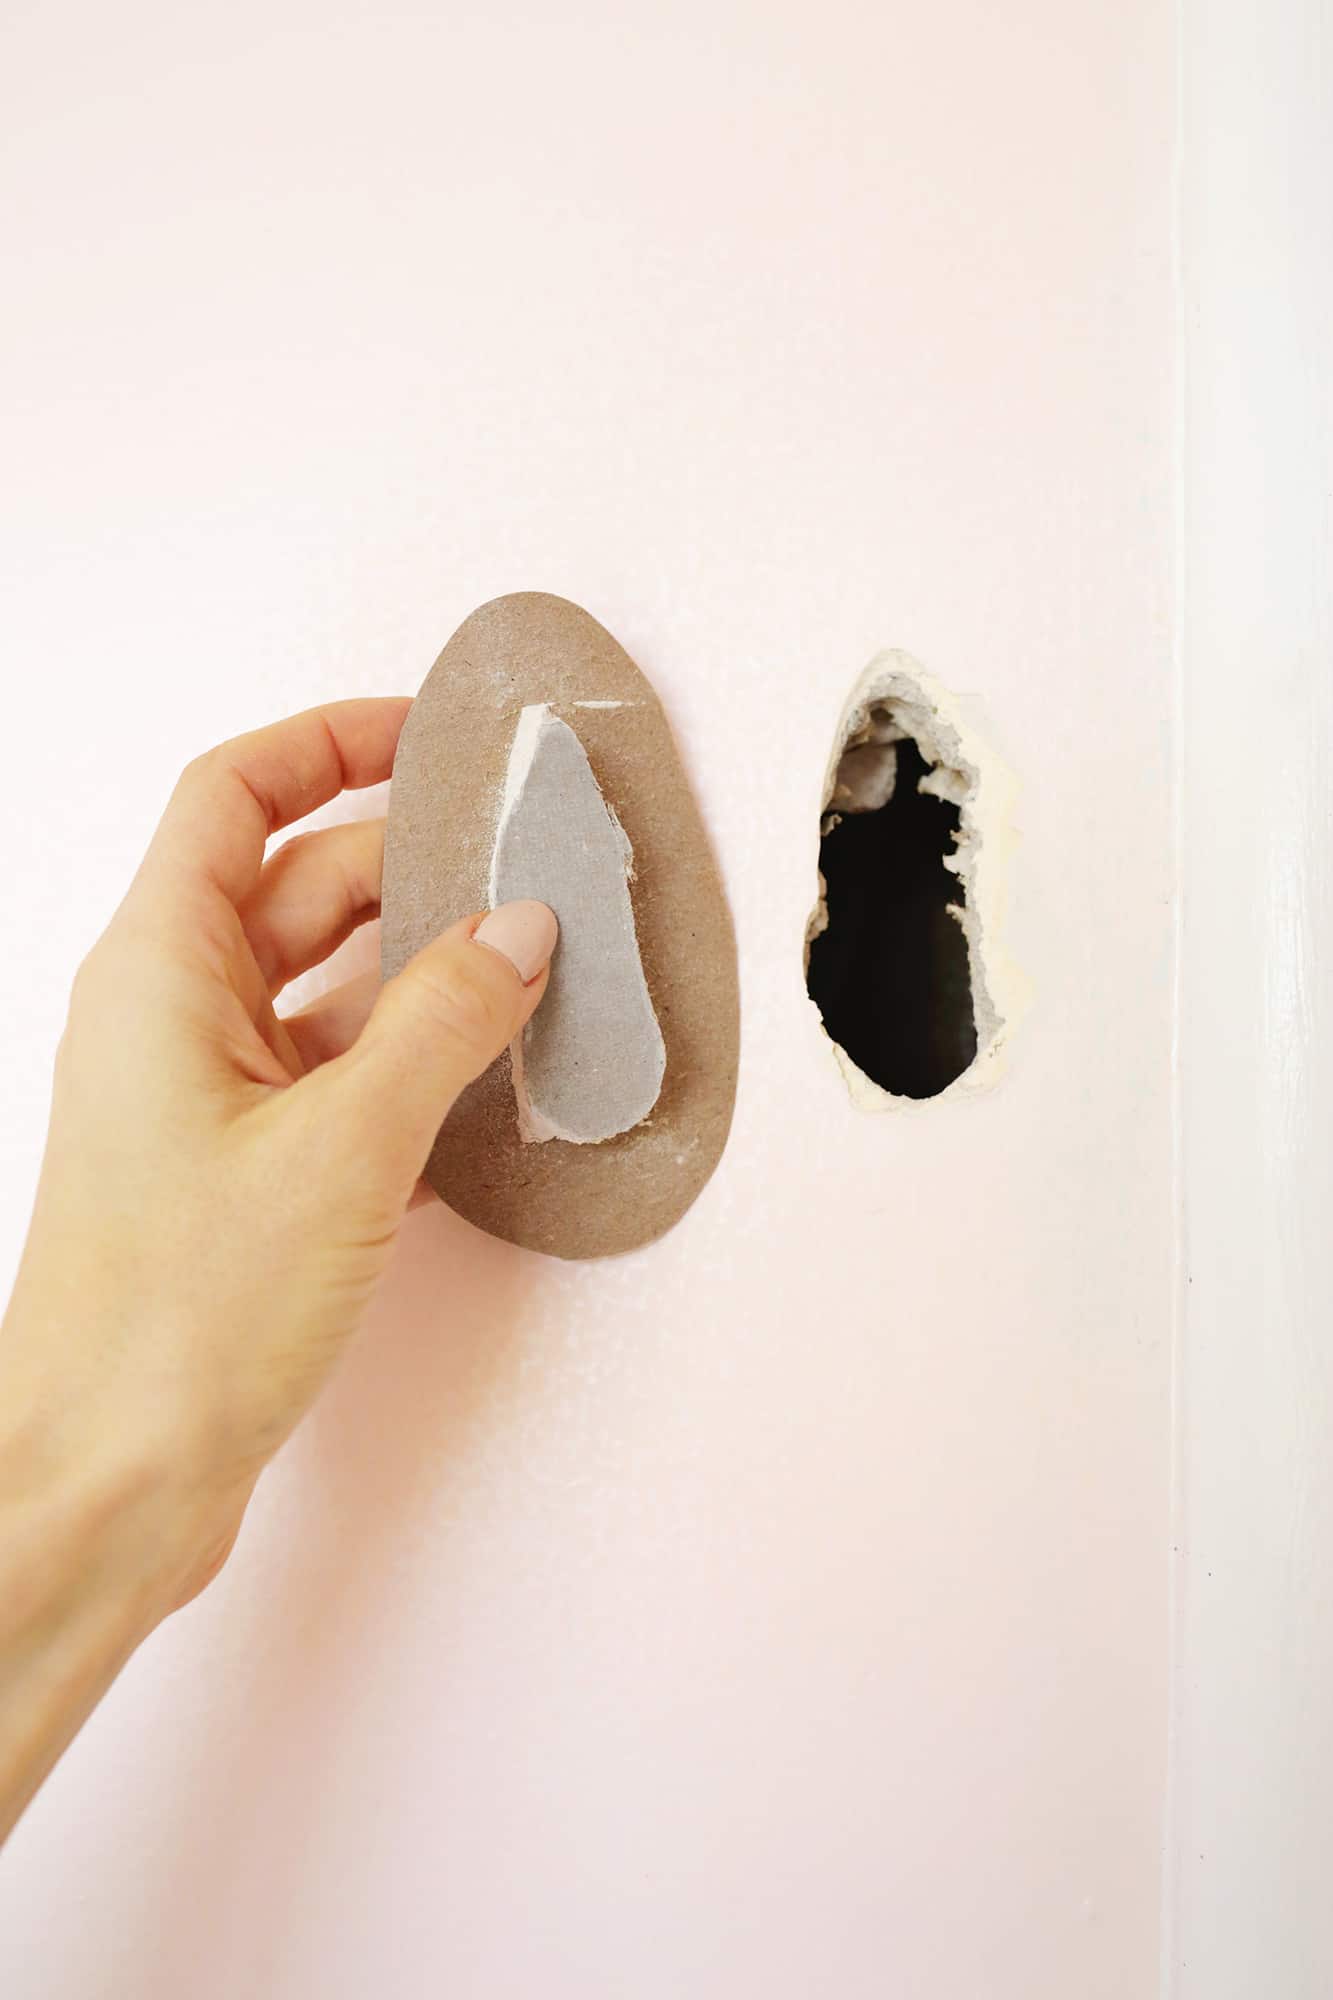
For larger holes in the wall, patching materials such as mesh or drywall patches can be used. These materials are easy to cut to the size of the hole and can be secured in place with joint compound. Once it's dry, sand it down and apply joint compound over the entire patch to blend it in with the rest of the wall.
7. Wall Patch
In addition to using patching materials, another option for covering holes or damaged areas is to use a wall patch. These are adhesive patches that can be applied directly over the damaged area and then covered with joint compound and sanded down for a smooth finish.
8. Skim Coating
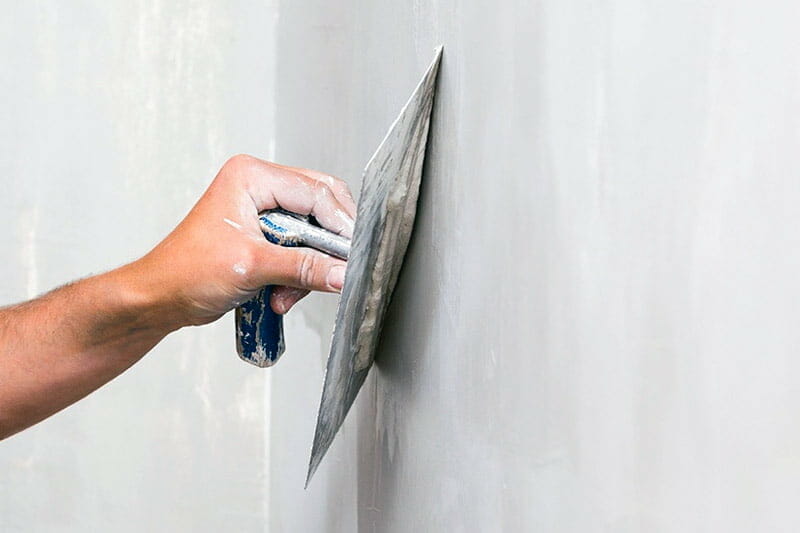
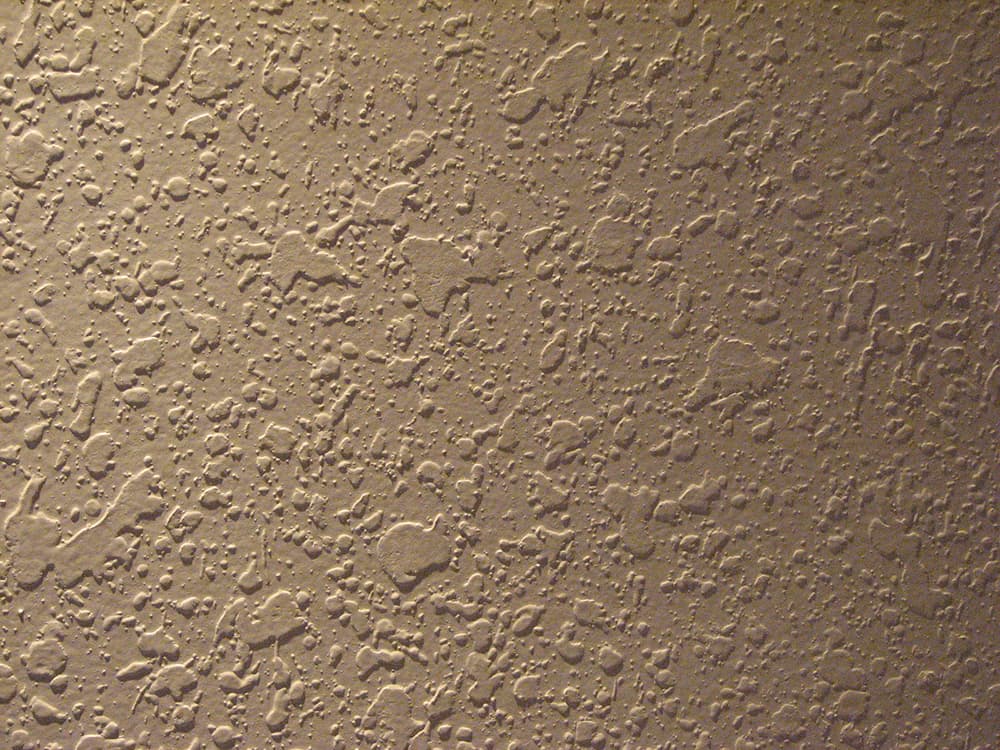
If your kitchen walls have a textured finish, skim coating may be necessary to match the texture after patching. This involves applying a thin layer of joint compound over the patched areas and then using a texture tool, such as a sponge or brush, to create the desired texture. Be sure to let it dry completely before painting.
9. Texture Matching
When patching walls after a kitchen demolition, texture matching is an important step to achieve a seamless finish. This involves carefully studying the texture on the rest of the wall and trying to recreate it on the patched areas. This can be done with tools such as a sponge, brush, or roller, depending on the texture of the wall.
10. Paint Touch-Up
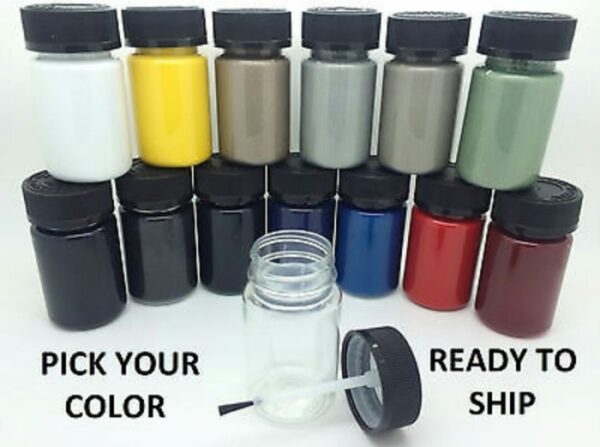
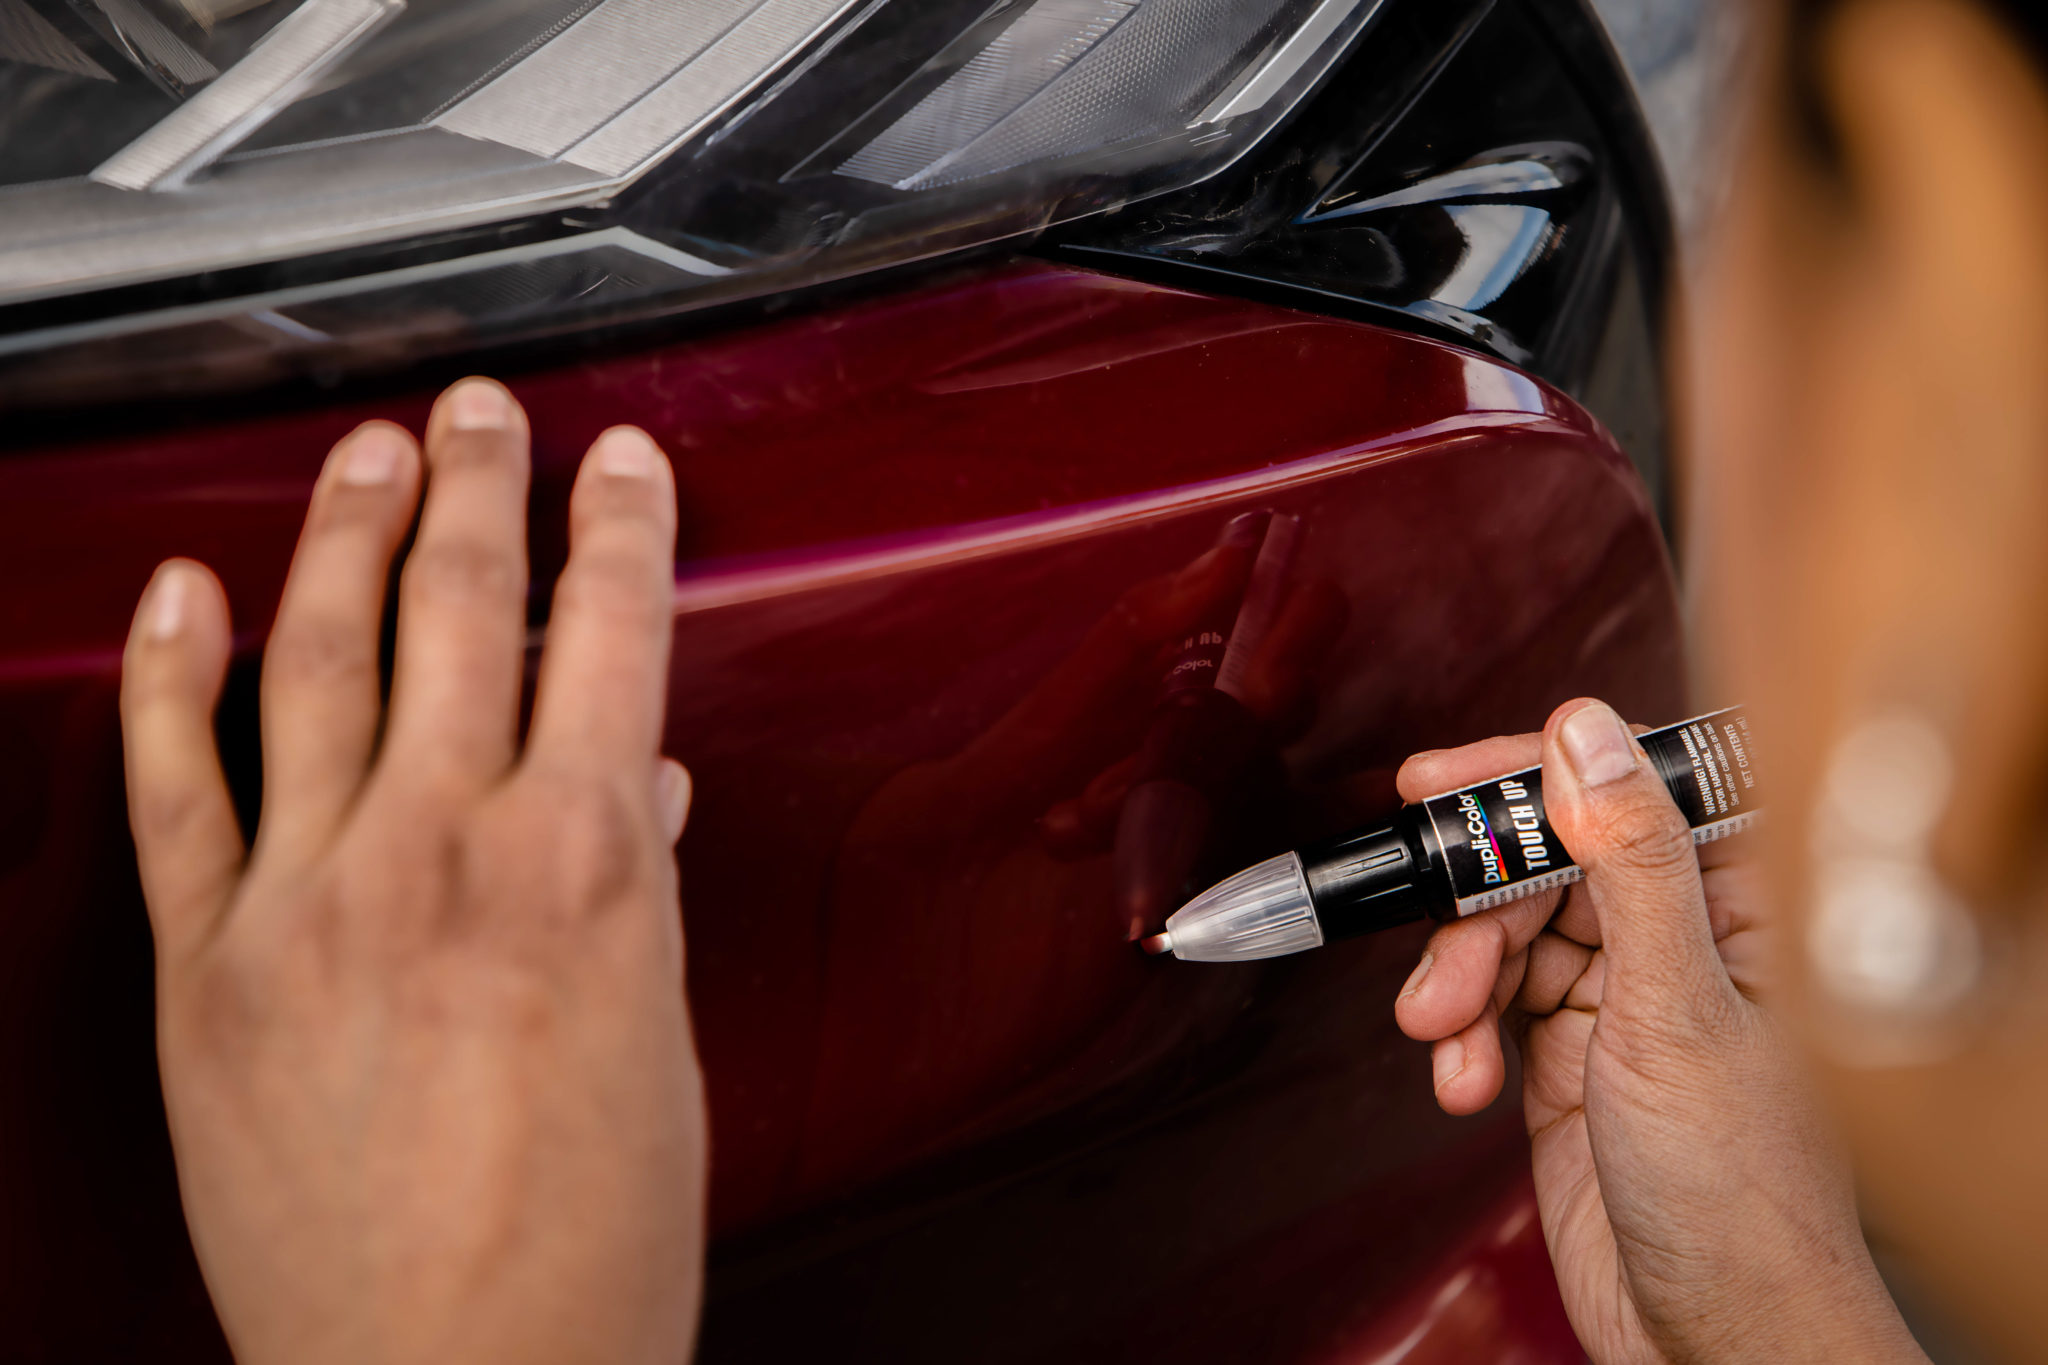
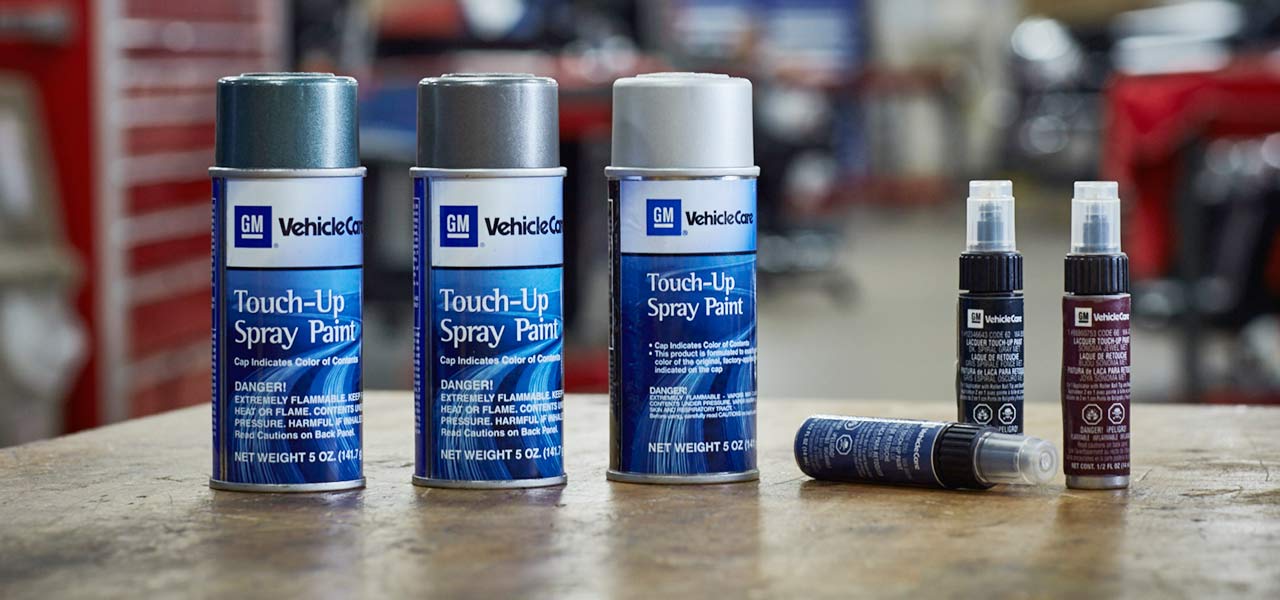
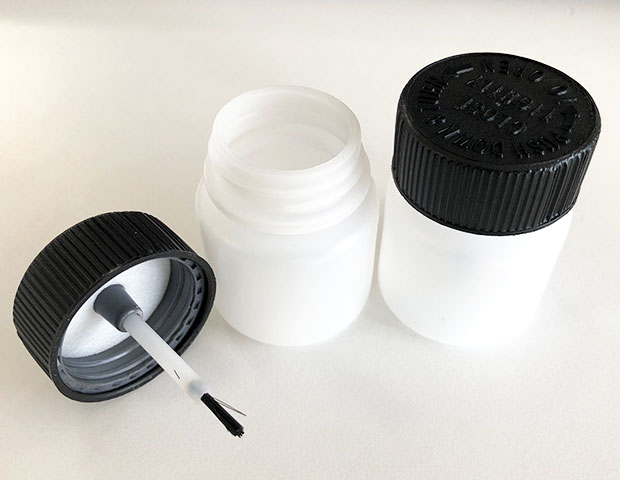
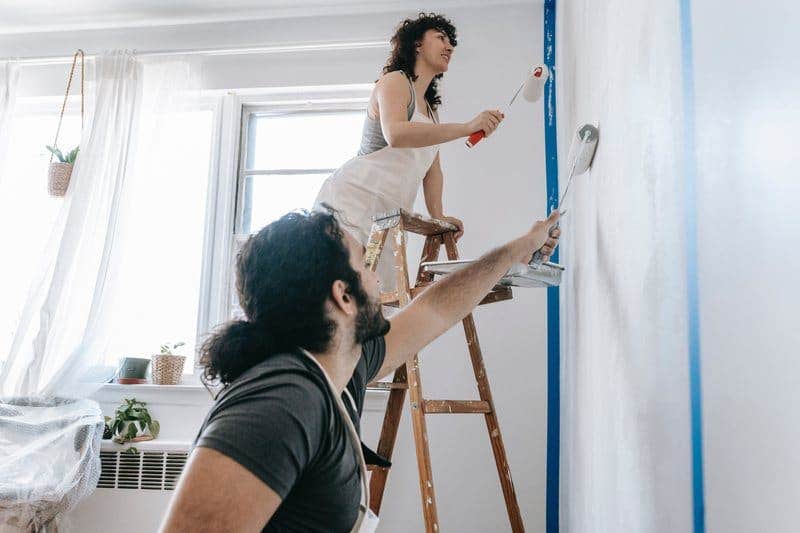
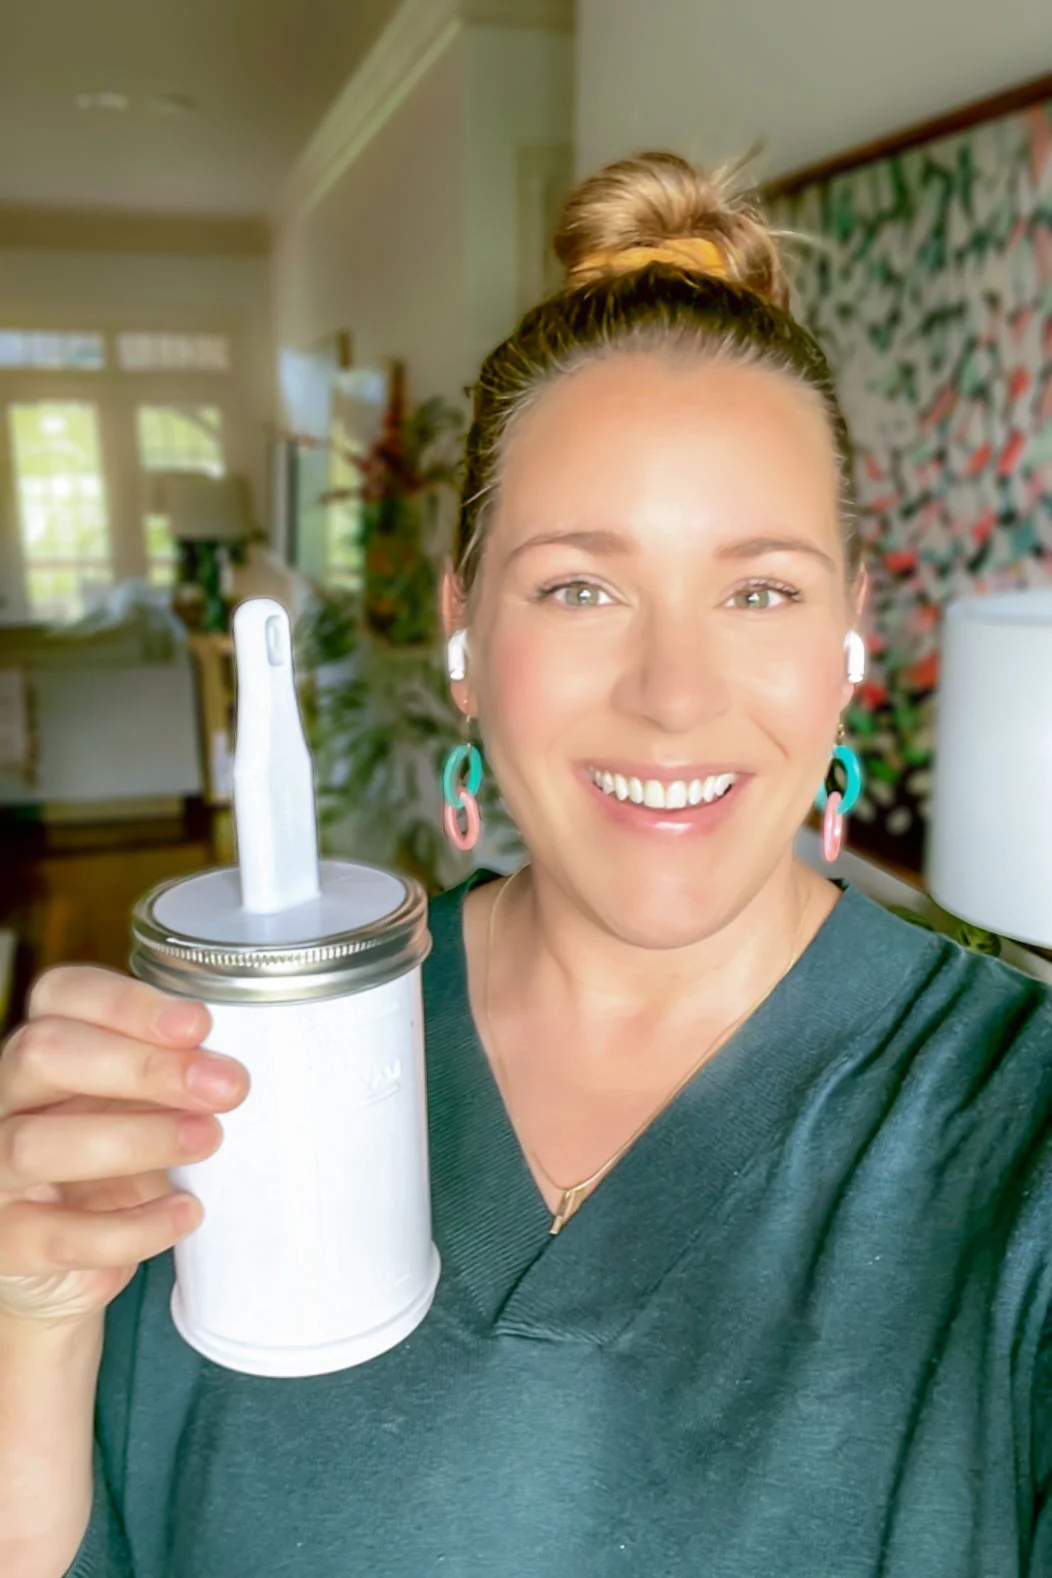
Finally, after all the patching and sanding is done, it's time to touch up the paint. If you have the original paint color, simply paint over the patched areas and blend it in with the rest of the wall. If you don't have the exact color, you can take a small sample of the paint to a hardware store and have it color matched. Once the paint is dry, you'll have a wall that looks as good as new!
Patching walls after a kitchen demolition may seem like a daunting task, but with the right materials and techniques, it can be easily done. Whether you have small cracks or large holes to repair, these 10 methods will help you achieve a smooth and seamless finish. Remember to take your time and properly prep the walls before starting the patching process. With a little patience and effort, your walls will look as good as new in no time!
Patching Walls After Kitchen Demolition: A Necessary Step in House Design
When it comes to home renovation, one of the most exciting projects is a kitchen remodel. However, before you can start creating your dream kitchen, you may need to demolish the existing one. This can be a messy and time-consuming process, but it is a necessary step in creating the perfect kitchen for your home. Once the kitchen demolition is complete, you may be left with damaged walls and holes that need to be addressed. In this article, we will discuss the importance of patching walls after a kitchen demolition and the steps to take to ensure a smooth and successful renovation process.
The Importance of Patching Walls After Kitchen Demolition

After a kitchen demolition, it is common to have cracks , holes , and other forms of damage on your walls. These can be caused by removing cabinets, appliances, or even knocking down walls to create an open concept space. Whatever the cause, it is crucial to patch these walls before moving on to the next phase of your renovation. Not only does this ensure a clean and professional finish, but it also helps to maintain the structural integrity of your home.
The Steps to Patching Walls After Kitchen Demolition

The first step in patching your walls is to clean and prep the damaged areas. This involves removing any debris or loose material that may be present. Next, you will need to fill in the holes and cracks with spackling compound or joint compound . Once the compound is dry, use sandpaper to smooth out the surface and create a seamless finish. It is essential to prime the patched areas before painting to ensure the new paint adheres properly. Finally, you can paint over the patched areas to match the rest of your walls.
Patching walls after a kitchen demolition may seem like a daunting task, but it is a necessary step in achieving the perfect kitchen for your home. By following these steps and taking the time to properly patch your walls, you can ensure a professional and polished finish to your kitchen renovation. So before you dive into your next home project, don't forget the importance of patching walls after a kitchen demolition.
In Conclusion

In conclusion, patching walls after a kitchen demolition is a crucial step in the house design process. It not only ensures a sleek and finished look to your kitchen renovation, but it also helps to maintain the structural integrity of your home. By following the steps outlined in this article, you can confidently move on to the next phase of your renovation and create the kitchen of your dreams.

















+ingersol+rand+DL021B-33-A+DL051B-33-A+handheld+drum+sander+motors+(6)-1920w.jpg)

















/SkimCoatingaWall-08a4b62342314e5aa0b3feadaf8a6194.jpg)







:max_bytes(150000):strip_icc()/how-to-touch-up-paint-5193834-hero-752c16bc905e4ed3a5eaa6baf43f7b9c.jpg)
