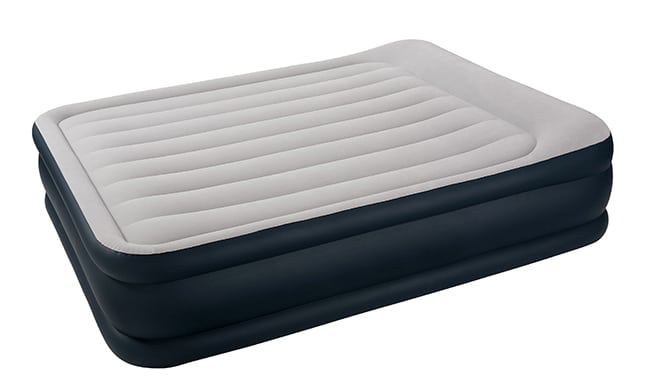
If you have an air mattress, you know how convenient and comfortable they can be. However, just like with any other inflatable item, they are prone to developing holes or leaks. This can be frustrating and even render your air mattress unusable. But fear not, with the right tools and techniques, you can easily patch a hole in your air mattress and have it back to its fully functional state. So, how exactly do you patch a hole in an air mattress? Let's dive into the step-by-step process to fix your air mattress and get it ready for your next camping trip or house guest.1. How to Patch a Hole in an Air Mattress

1. How to Patch a Hole in an Air Mattress


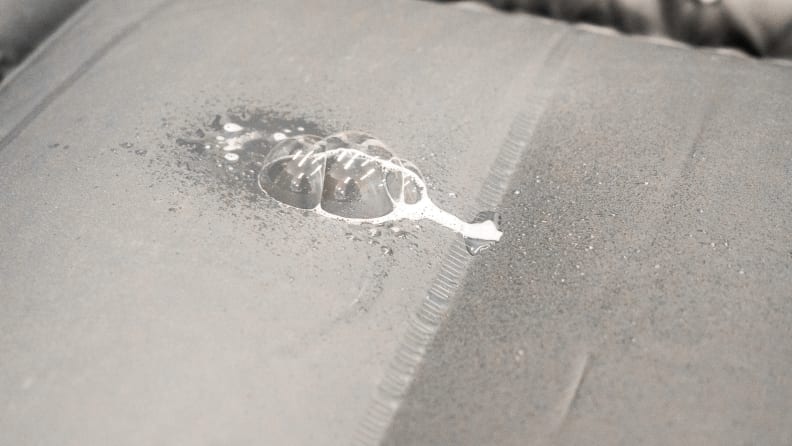


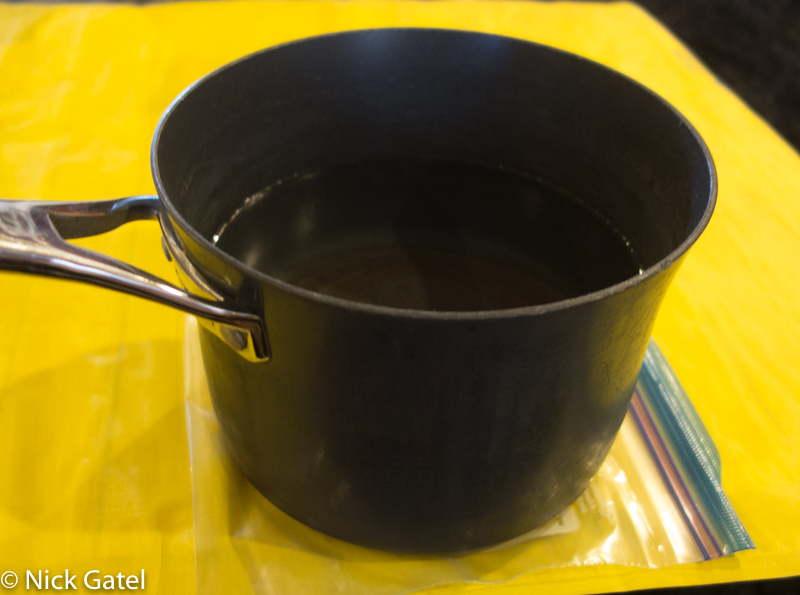
The first step in patching a hole in your air mattress is to locate the leak. This can be done by inflating the mattress and listening for the sound of escaping air or by spraying the mattress with soapy water and looking for bubbles. Once you have identified the location of the leak, it's time to gather your materials. You will need a patch kit, which can usually be purchased at your local camping or outdoor store, or you can opt for a DIY solution with items you may already have at home. These include duct tape, super glue, and a patch of similar material to your air mattress.2. Air Mattress Repair: How to Patch a Leak


2. Air Mattress Repair: How to Patch a Leak


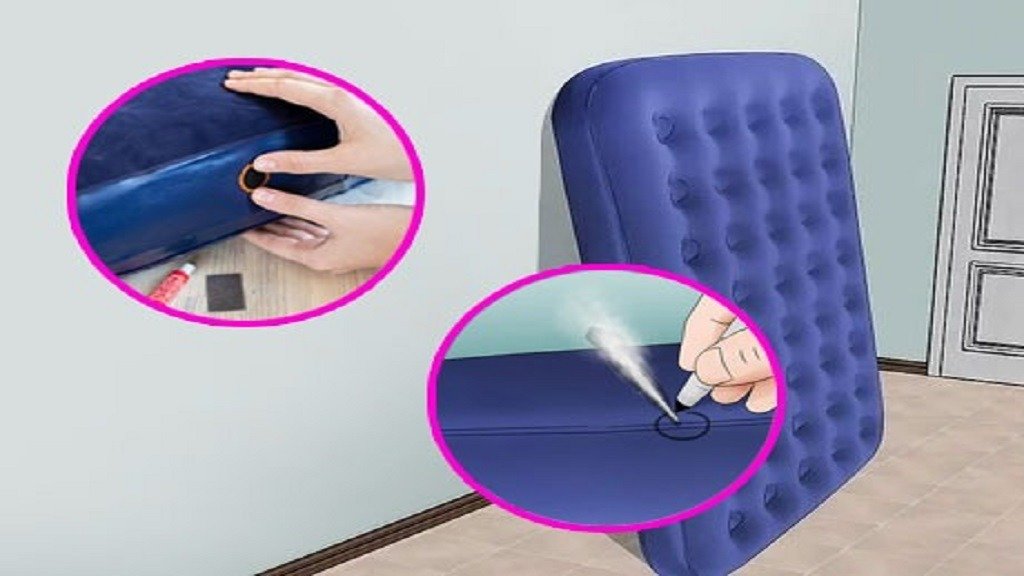
For a DIY solution, start by cleaning the area around the leak with rubbing alcohol. This will ensure the patch adheres properly. Next, cut a piece of duct tape slightly larger than the hole and place it over the leak, smoothing out any air bubbles. If you have super glue, apply a thin layer around the edges of the duct tape to secure it in place. Alternatively, you can use a patch of similar material to your air mattress, cutting it to size and using super glue to attach it to the hole.3. DIY: How to Fix a Hole in an Air Mattress


3. DIY: How to Fix a Hole in an Air Mattress


If you have a patch kit, the process is quite similar. Clean the area around the leak with rubbing alcohol, then cut a patch from the material provided in the kit. Apply a thin layer of the included adhesive to the patch and the area around the leak. Place the patch over the hole and press down firmly. Let the adhesive dry for the recommended time on the package before inflating the mattress to test the repair.4. Quick and Easy Air Mattress Patching


4. Quick and Easy Air Mattress Patching


Using duct tape to patch an air mattress is a quick and easy solution, but it may not be as durable as using a patch kit. If you are relying on duct tape to fix a hole in your air mattress, it's a good idea to bring extra tape with you on your camping trip or have a backup plan in case the tape does not hold. Additionally, if you are using duct tape, make sure to get a water-resistant or waterproof tape to ensure it stays in place.5. Patching a Hole in an Air Mattress with Duct Tape


5. Patching a Hole in an Air Mattress with Duct Tape


The best way to patch an air mattress will depend on the size of the hole, the materials you have available, and personal preference. If you have a large hole or tear, a patch kit may be the most reliable solution. However, for smaller holes, duct tape or a DIY patch may suffice. It's a good idea to test the repair before relying on it for an extended period.6. The Best Way to Patch an Air Mattress


6. The Best Way to Patch an Air Mattress


While patching a hole in your air mattress can save you time and money, there may come a point where it's more cost-effective and practical to replace the mattress. If your air mattress has multiple leaks or tears, it may be time to invest in a new one. Additionally, if the leak is in a hard-to-reach area or the mattress is old and worn, a patch may not hold for very long.7. Air Mattress Repair: Patching vs. Replacement


7. Air Mattress Repair: Patching vs. Replacement
:max_bytes(150000):strip_icc()/81QHm8NXr2L._AC_SL1500_1-17bafdc326cf4922b0d8acca4d9b5639.jpg)


Having trouble finding the leak in your air mattress? Try inflating the mattress and submerging it in a bathtub or large container of water. Look for bubbles to identify the location of the leak. Once you have found it, use the same techniques mentioned above to patch the hole and repair your air mattress.8. How to Find and Patch a Leak in an Air Mattress


8. How to Find and Patch a Leak in an Air Mattress


Here are a few tips to keep in mind when patching a hole in your air mattress: - Make sure the area around the leak is clean and dry before applying the patch. - Use a patch kit for larger holes or tears. - Test the repair before relying on it for an extended period. - Bring extra patches or tape with you on camping trips.9. Tips for Successfully Patching an Air Mattress


9. Tips for Successfully Patching an Air Mattress
To ensure a successful patch, avoid these common mistakes: - Not cleaning the area around the leak properly. - Cutting the patch too small or not using enough adhesive. - Using a patch kit that has expired or has been previously opened. - Not testing the repair before relying on it for an extended period. With these tips and techniques, you should now be able to successfully patch a hole in your air mattress and have it ready for your next adventure. Remember to always test the repair and have a backup plan in case the patch does not hold. Happy camping!10. Common Mistakes to Avoid When Patching an Air Mattress


10. Common Mistakes to Avoid When Patching an Air Mattress


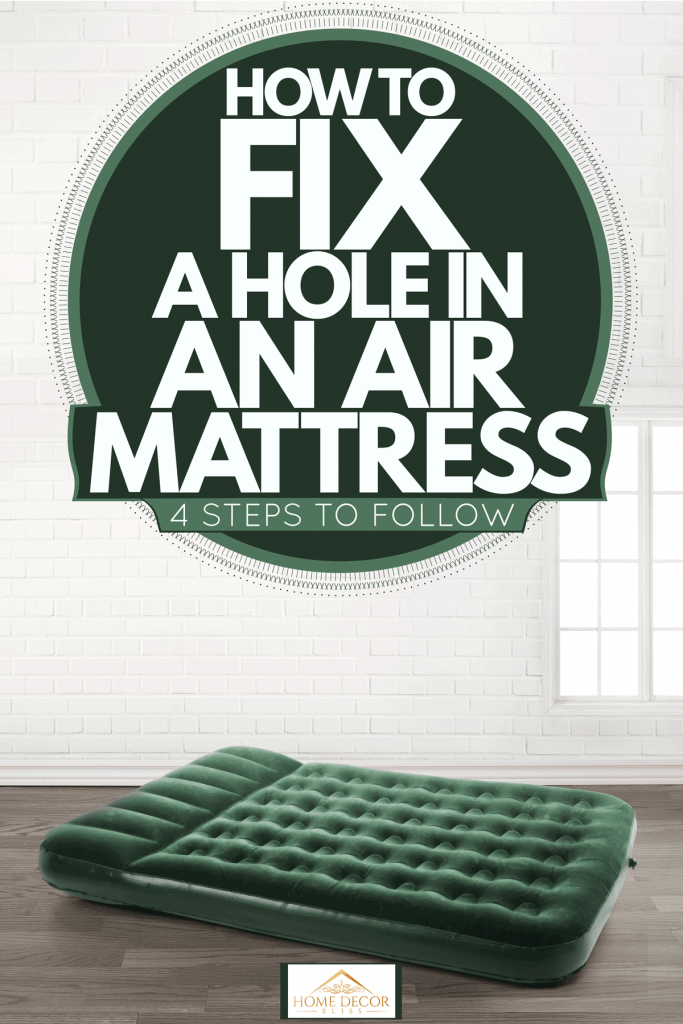
Patching a Hole in an Air Mattress: A Simple and Effective Solution

Why Patching a Hole in an Air Mattress is Important
 Air mattresses are a convenient and comfortable option for temporary bedding, whether you are camping, hosting guests, or just need an extra sleeping space. However, they are prone to developing holes and punctures, which can be frustrating and render the mattress unusable. Not only does a hole in an air mattress cause discomfort, but it can also lead to deflation and a disrupted sleep. Therefore, it is important to know how to patch a hole in an air mattress to ensure its longevity and functionality.
How to Patch a Hole in an Air Mattress
 Patching a hole in an air mattress is a relatively simple process that can be done quickly and easily with the right materials. First, you will need to locate the hole by inflating the mattress and listening for any air escaping or feeling for any air bubbles. Once you have identified the hole, you can begin the patching process.
The Materials You Will Need
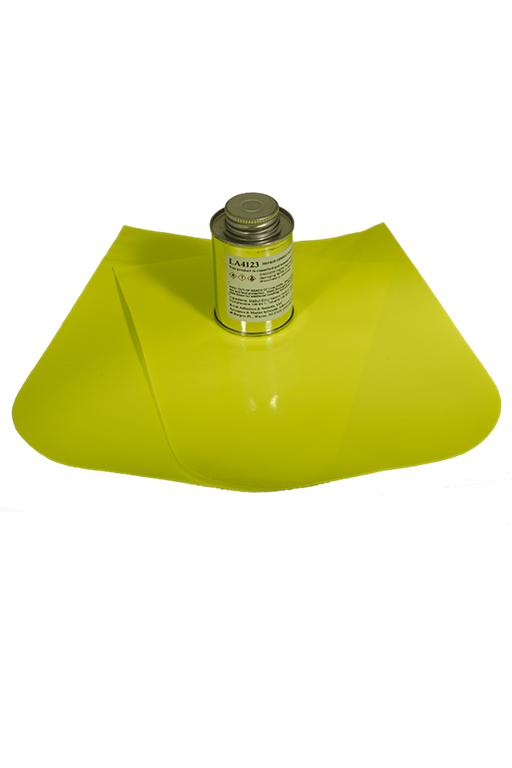
 To patch a hole in an air mattress, you will need a few simple materials that can be found in most households. These include
a patch kit, rubber cement, sandpaper, and a clean cloth.
The patch kit should come with a patch and adhesive, but if you do not have one, you can use a piece of vinyl or rubber as a makeshift patch.
To patch a hole in an air mattress, you will need a few simple materials that can be found in most households. These include
a patch kit, rubber cement, sandpaper, and a clean cloth.
The patch kit should come with a patch and adhesive, but if you do not have one, you can use a piece of vinyl or rubber as a makeshift patch.
The Step-by-Step Process
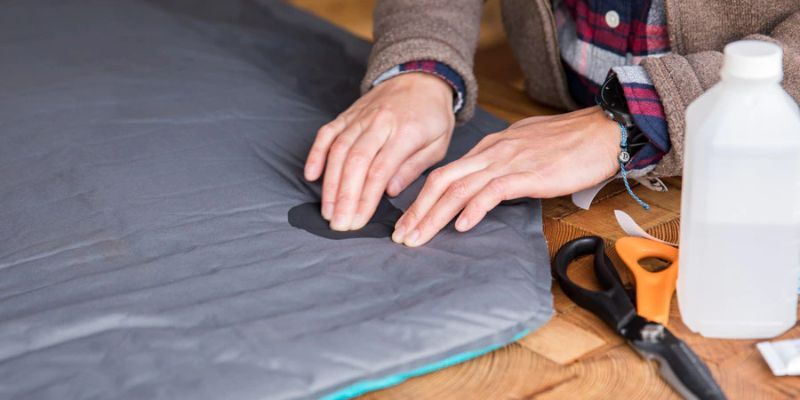
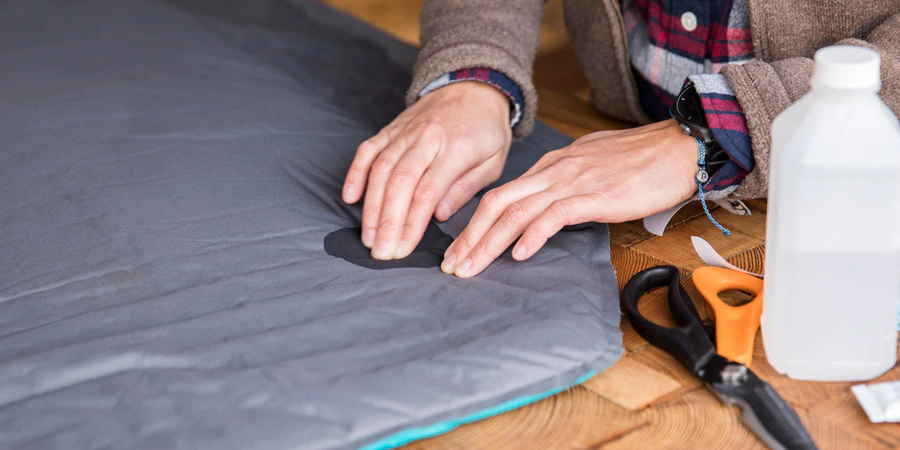
 1. Begin by deflating the air mattress completely and cleaning the area around the hole with a damp cloth to remove any dirt or debris.
2. Use the sandpaper to lightly roughen the surface around the hole. This will help the adhesive bond better.
3. Apply a thin layer of rubber cement around the hole, making sure to cover an area slightly larger than the patch.
4. Place the patch over the hole and firmly press down to ensure it sticks.
5. Allow the rubber cement to dry completely before inflating the mattress again. This can take anywhere from 30 minutes to an hour.
6. Once the patch is dry, you can inflate the mattress and test it to make sure the hole is fully repaired.
1. Begin by deflating the air mattress completely and cleaning the area around the hole with a damp cloth to remove any dirt or debris.
2. Use the sandpaper to lightly roughen the surface around the hole. This will help the adhesive bond better.
3. Apply a thin layer of rubber cement around the hole, making sure to cover an area slightly larger than the patch.
4. Place the patch over the hole and firmly press down to ensure it sticks.
5. Allow the rubber cement to dry completely before inflating the mattress again. This can take anywhere from 30 minutes to an hour.
6. Once the patch is dry, you can inflate the mattress and test it to make sure the hole is fully repaired.
Other Tips for Maintaining Your Air Mattress
 To prevent future holes and punctures, there are a few simple measures you can take to maintain your air mattress.
First, always place a protective cover or sheet over the mattress to prevent any sharp objects from puncturing it.
Additionally, avoid overinflating the mattress as this can put excess pressure on the seams and lead to holes. If you are using the air mattress for camping, lay down a tarp or groundsheet before setting up the mattress to provide an extra layer of protection.
In conclusion, knowing how to patch a hole in an air mattress is an important skill that can save you time, money, and frustration. With the right materials and a few simple steps, you can easily repair any holes and continue enjoying the comfort of your air mattress. Remember to regularly check and maintain your air mattress to ensure its longevity and functionality.
To prevent future holes and punctures, there are a few simple measures you can take to maintain your air mattress.
First, always place a protective cover or sheet over the mattress to prevent any sharp objects from puncturing it.
Additionally, avoid overinflating the mattress as this can put excess pressure on the seams and lead to holes. If you are using the air mattress for camping, lay down a tarp or groundsheet before setting up the mattress to provide an extra layer of protection.
In conclusion, knowing how to patch a hole in an air mattress is an important skill that can save you time, money, and frustration. With the right materials and a few simple steps, you can easily repair any holes and continue enjoying the comfort of your air mattress. Remember to regularly check and maintain your air mattress to ensure its longevity and functionality.