An air mattress can be a convenient and comfortable sleeping option, but it's not immune to wear and tear. If you've discovered a hole in your air mattress, don't worry – it can be easily fixed. With a few simple steps, you can patch up that hole and get back to enjoying your air mattress in no time.How to Patch a Hole in an Air Mattress


How to Patch a Hole in an Air Mattress


Before you can start patching up your air mattress, you'll need to gather some materials. You'll need a patch kit, which can usually be found at your local hardware store. The kit should include a patch, adhesive, and possibly a smoothing tool. You may also need a pair of scissors and some sandpaper.How to Repair an Air Mattress


How to Repair an Air Mattress


If you don't have a patch kit on hand, there are some DIY alternatives you can try. For smaller holes, duct tape can be a quick and easy solution. Simply cut a small square of duct tape and place it over the hole, pressing down firmly to ensure a tight seal. However, this may not be a long-term solution and you may still need to purchase a patch kit for a more permanent fix.DIY Air Mattress Repair


DIY Air Mattress Repair


Once you have your materials ready, it's time to start patching up that hole. Here's a step-by-step guide to repairing your air mattress:Air Mattress Hole Repair

Air Mattress Hole Repair


While patching up a hole in your air mattress is a straightforward process, fixing a leak can be a bit trickier. You may need to use a combination of methods to locate and fix the leak. Here are a few tips to help you out:Fixing a Leak in an Air Mattress

Fixing a Leak in an Air Mattress


If you're in a pinch and need a quick fix for your air mattress, there are a few household items you can use as temporary patches. These include nail polish, super glue, or even a piece of duct tape. However, these methods are not recommended for long-term use and may not provide a strong enough seal.Quick and Easy Air Mattress Patch


Quick and Easy Air Mattress Patch


Once you've successfully patched up the hole in your air mattress, you may want to take some extra precautions to prevent any future leaks. One way to do this is to apply a layer of silicone sealant around the edges of the patch. This will provide an extra layer of protection and help keep the patch in place.Sealing a Hole in an Air Mattress

Sealing a Hole in an Air Mattress


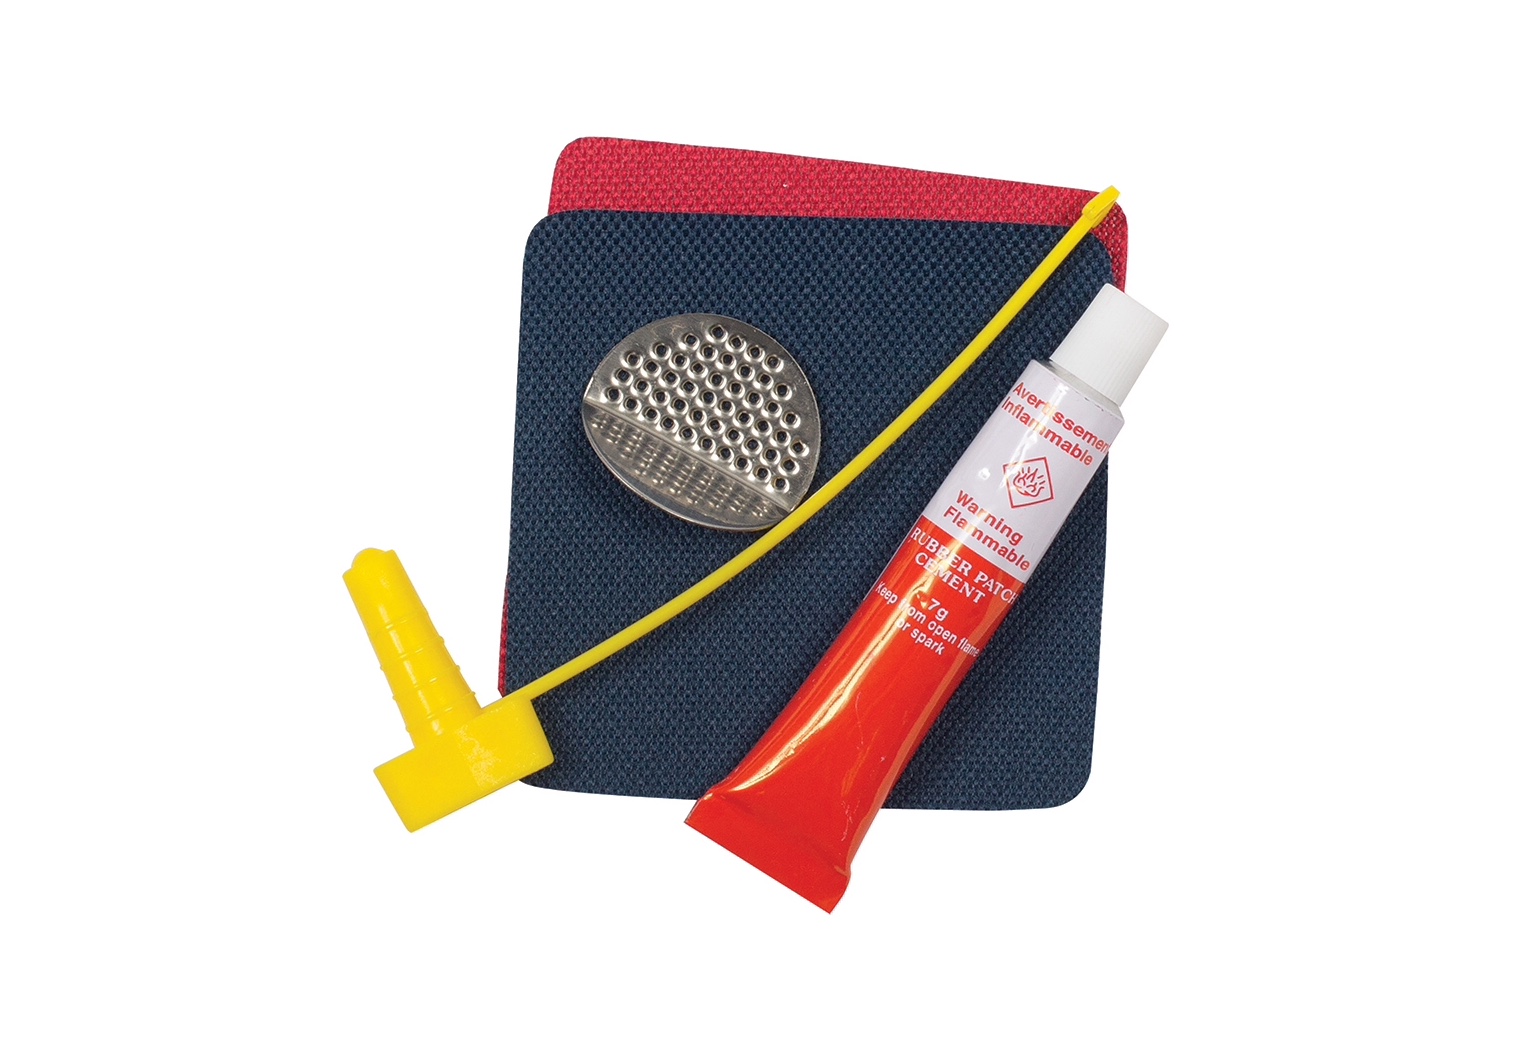
As mentioned earlier, a patch kit specifically made for air mattresses is your best bet for a long-term fix. These kits usually come with all the necessary materials and instructions for a successful repair. It's always a good idea to keep a patch kit on hand for any future mishaps with your air mattress.Air Mattress Repair Kit


Air Mattress Repair Kit


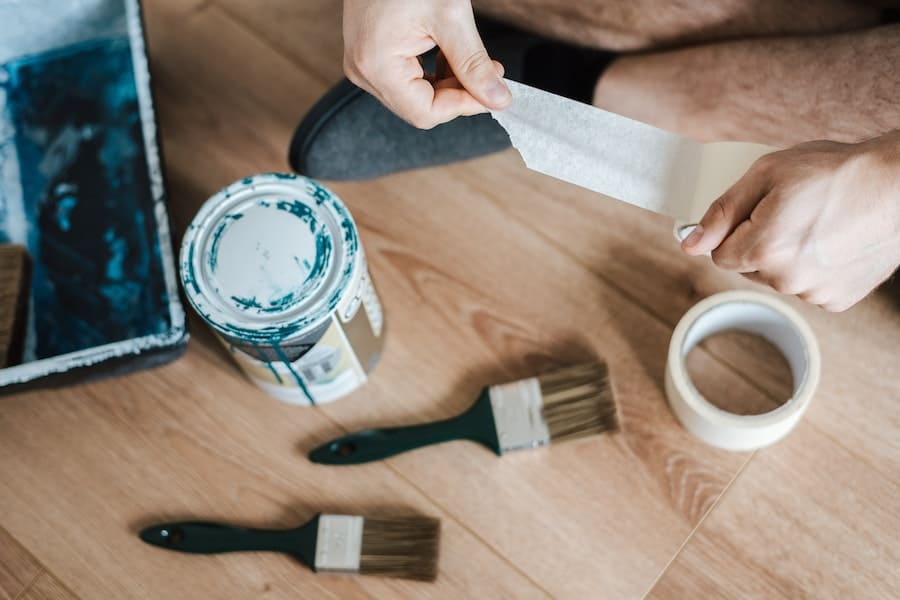
While duct tape can be a quick and easy solution for small holes in an air mattress, it's not recommended for larger or more permanent repairs. Duct tape is not airtight and may not provide a strong enough seal, which can lead to the hole re-opening. It's always best to use a patch kit for a more reliable fix.Using Duct Tape to Patch an Air Mattress


Using Duct Tape to Patch an Air Mattress


In conclusion, patching up a hole in an air mattress is a fairly simple process, but locating and fixing a leak may take a bit more effort. With the right materials and techniques, you can easily repair your air mattress and continue to enjoy a comfortable night's sleep. Remember to always keep a patch kit on hand and regularly check for any potential leaks to prevent any major repairs in the future.How to Find and Fix a Leak in an Air Mattress


How to Find and Fix a Leak in an Air Mattress


Patching a Hole in Air Mattress: A Quick Fix for a Common Household Problem

Introduction
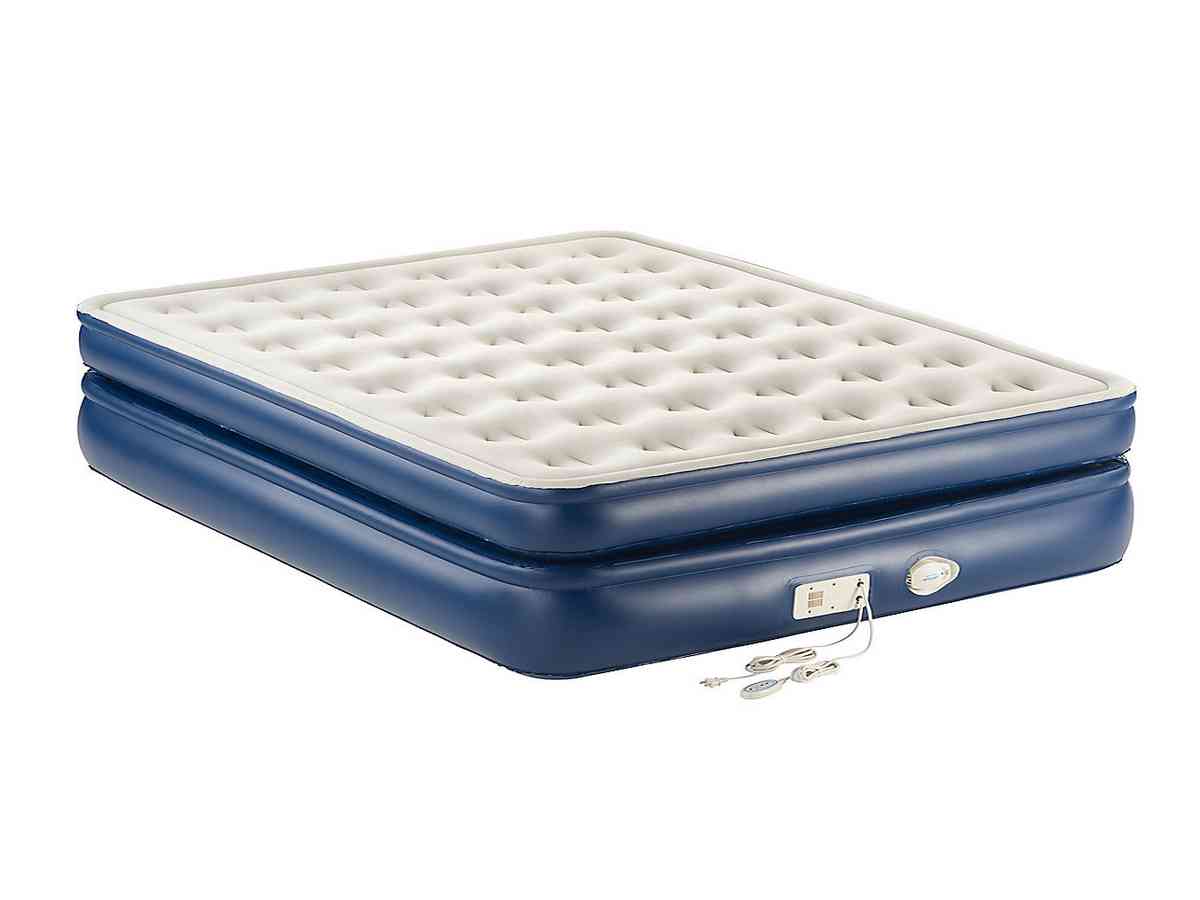
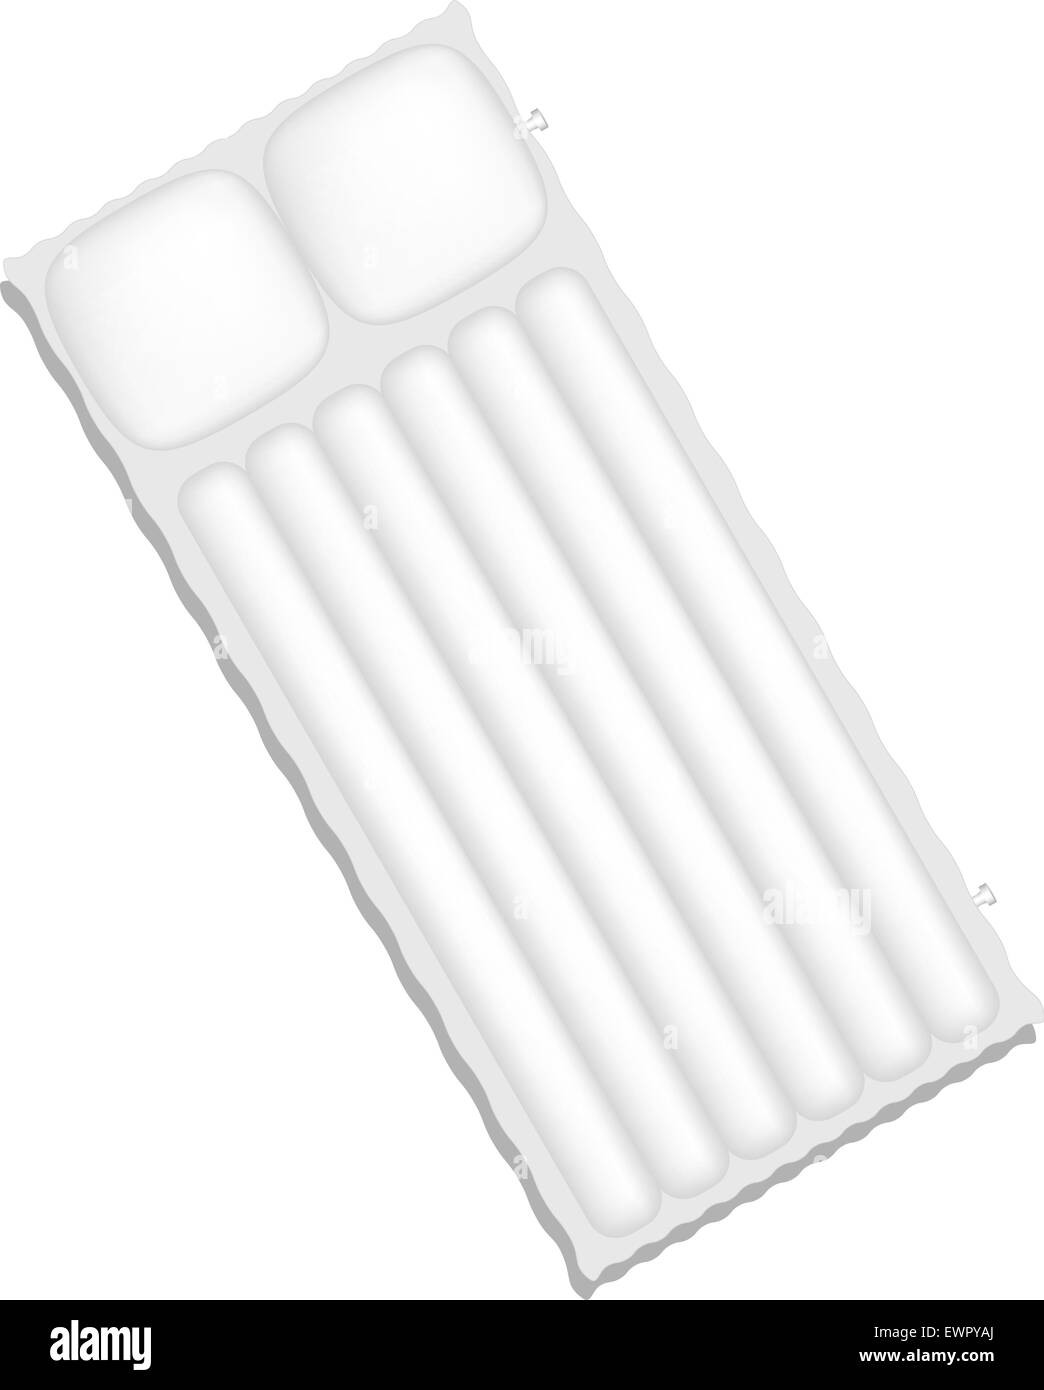
 Air mattresses are a convenient and affordable option for accommodating guests or for use during camping trips. However, just like any other household item, they are prone to wear and tear. One of the most common problems with air mattresses is a puncture or hole that causes them to deflate. While this may seem like a major inconvenience, it is actually a quick fix that can be done at home. In this article, we will discuss the steps for patching a hole in an air mattress, so you can continue to enjoy its comfort and convenience for years to come.
Materials Needed
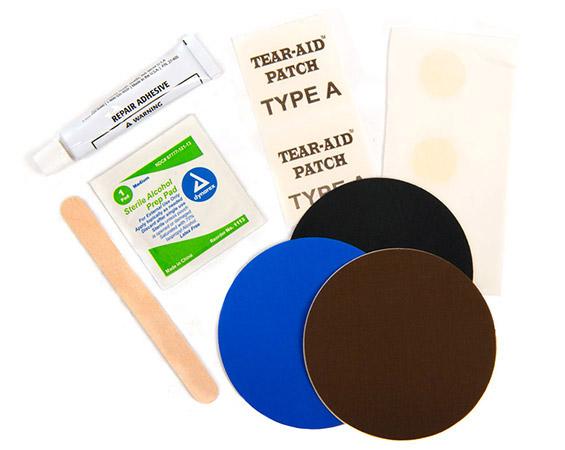
 Before we dive into the steps for patching a hole in an air mattress, it is important to gather all the necessary materials. You will need a patch kit specifically designed for air mattresses, which can be found at most stores that sell air mattresses. These kits usually include a patch or piece of fabric, adhesive, and a valve tool. You will also need rubbing alcohol, a clean cloth, and scissors.
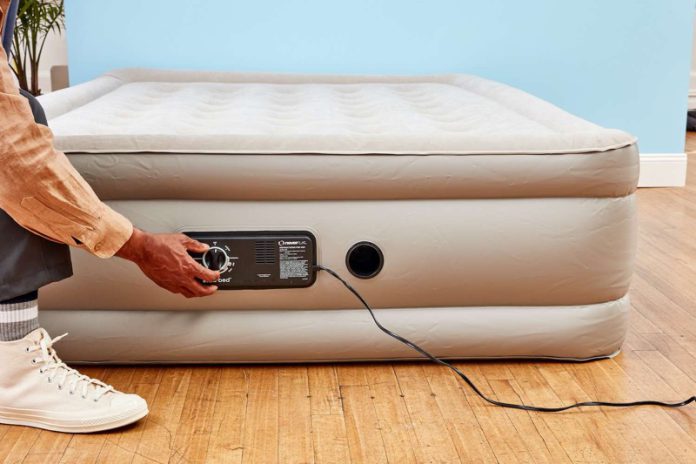
Step 1: Locate the Hole
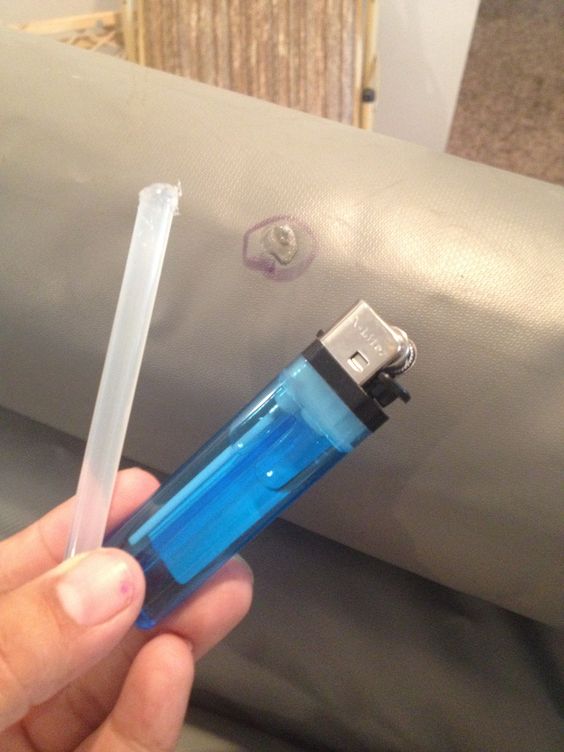
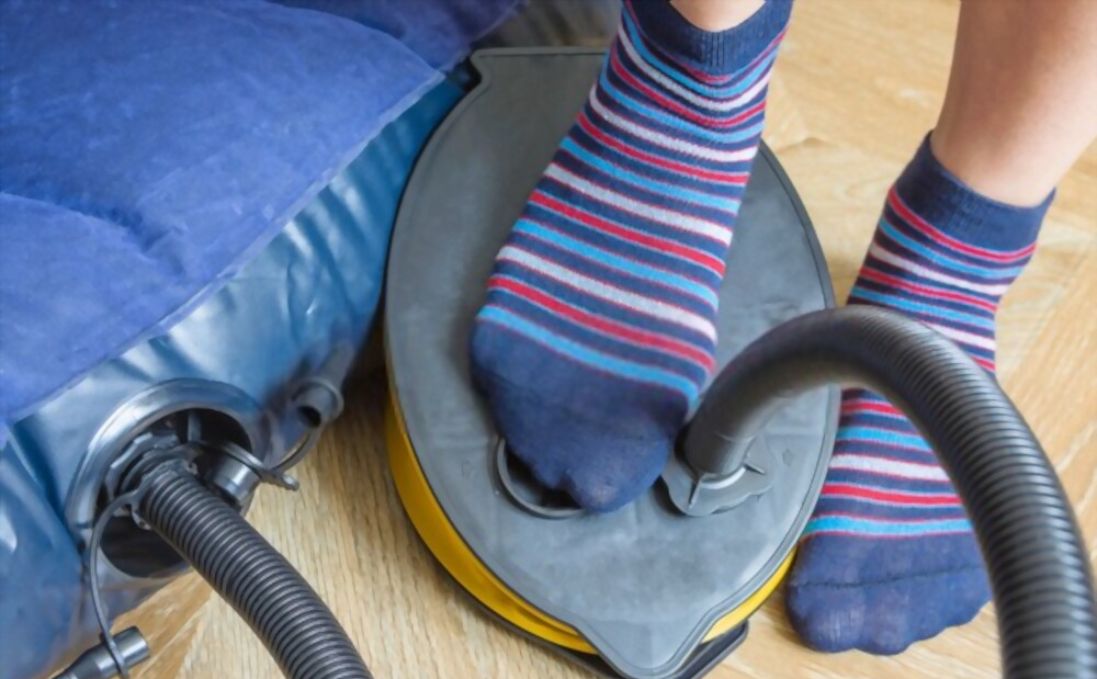
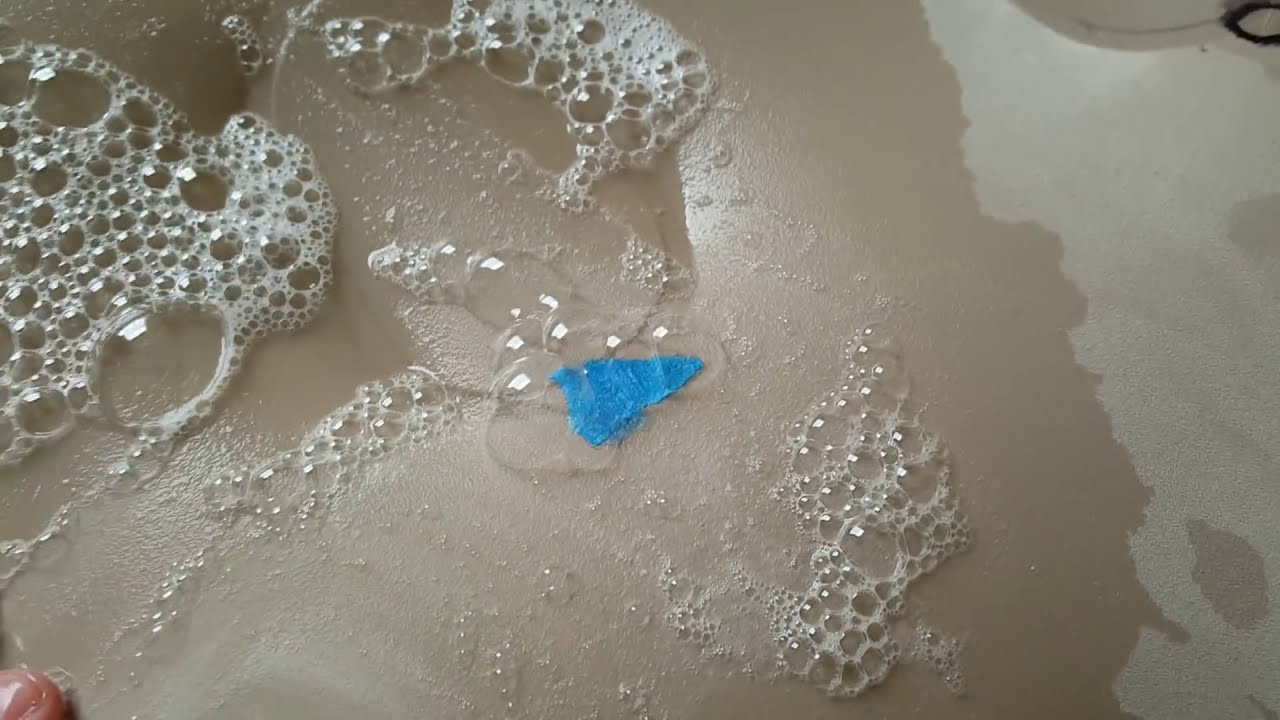
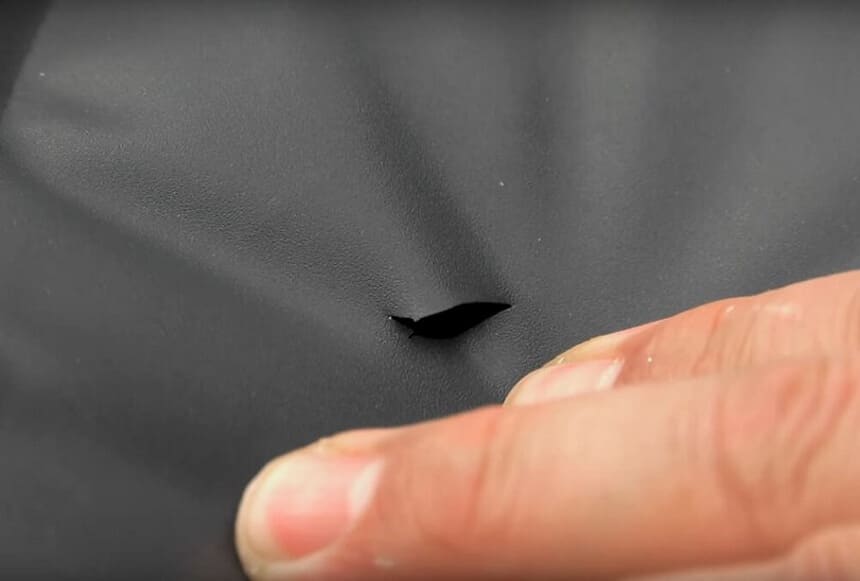
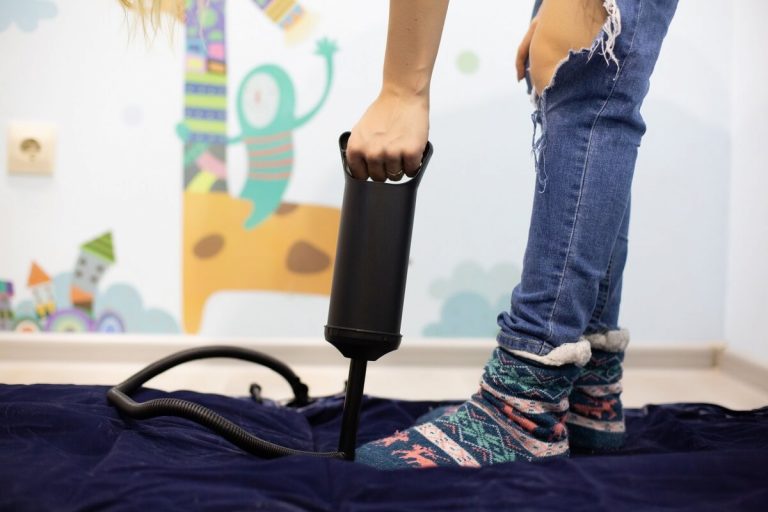
 The first step in patching a hole in an air mattress is to locate the puncture. This can be done by inflating the air mattress and listening for any hissing sounds. You can also run your hands over the surface of the mattress to feel for any air escaping. Once you have located the hole, use a marker or a piece of tape to mark its location for easier identification later on.
Step 2: Clean the Area
 Before applying the patch, it is important to clean the area around the hole. Use rubbing alcohol and a clean cloth to remove any dirt or debris from the surface. This will ensure that the patch adheres properly and creates a strong seal.
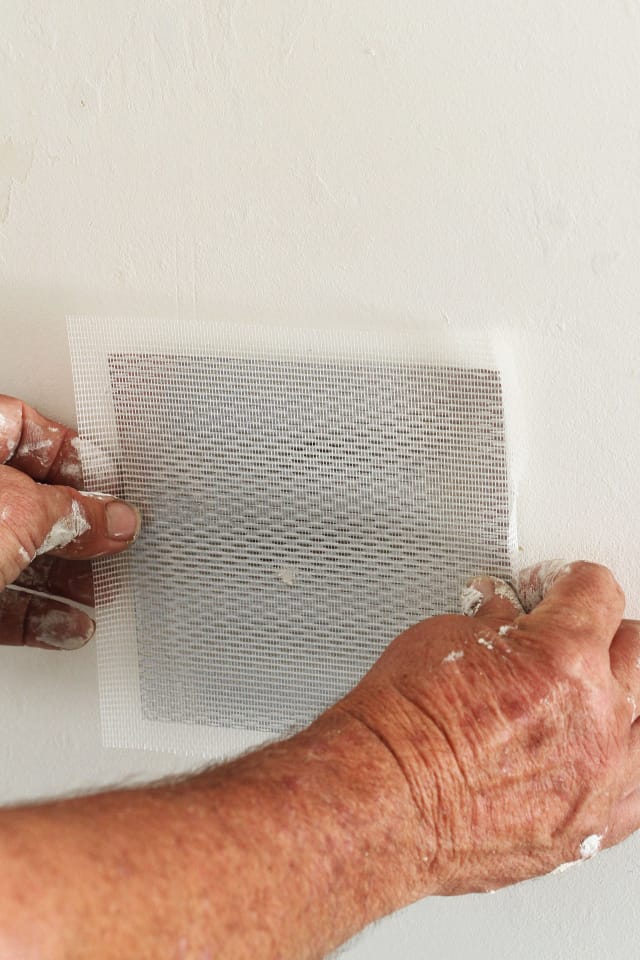
Step 3: Cut the Patch
 Using scissors, cut out a patch from the patch kit that is slightly larger than the hole. This will allow for better coverage and a stronger seal. Make sure to round the edges of the patch to prevent it from peeling off.
Step 4: Apply Adhesive
 Next, apply the adhesive to the back of the patch and around the edges of the hole. Be sure to follow the instructions on the patch kit for the appropriate amount of adhesive to use.
Step 5: Press and Hold
 Carefully place the patch over the hole and press down firmly. Hold the patch in place for at least one minute to ensure that the adhesive has fully bonded with the mattress.
Step 6: Let it Dry
 Allow the patch to dry for the recommended amount of time specified on the patch kit. This will usually take a few hours, so it is best to do this repair before going to bed or when you know you won't need to use the air mattress for a while.
Step 7: Test for Leaks
 Once the patch has dried, it is important to test for any leaks before using the air mattress again. Inflate the mattress and listen for any hissing sounds or feel for any air escaping. If you notice any leaks, repeat the steps above or consider using a different patch from the kit.
In Conclusion
Patching a hole in an air mattress is a simple process that can save you time and money. With the right materials and following these easy steps, you can quickly fix any punctures or holes and continue to enjoy the comfort of your air mattress. Remember to always keep a patch kit on hand for any future mishaps.