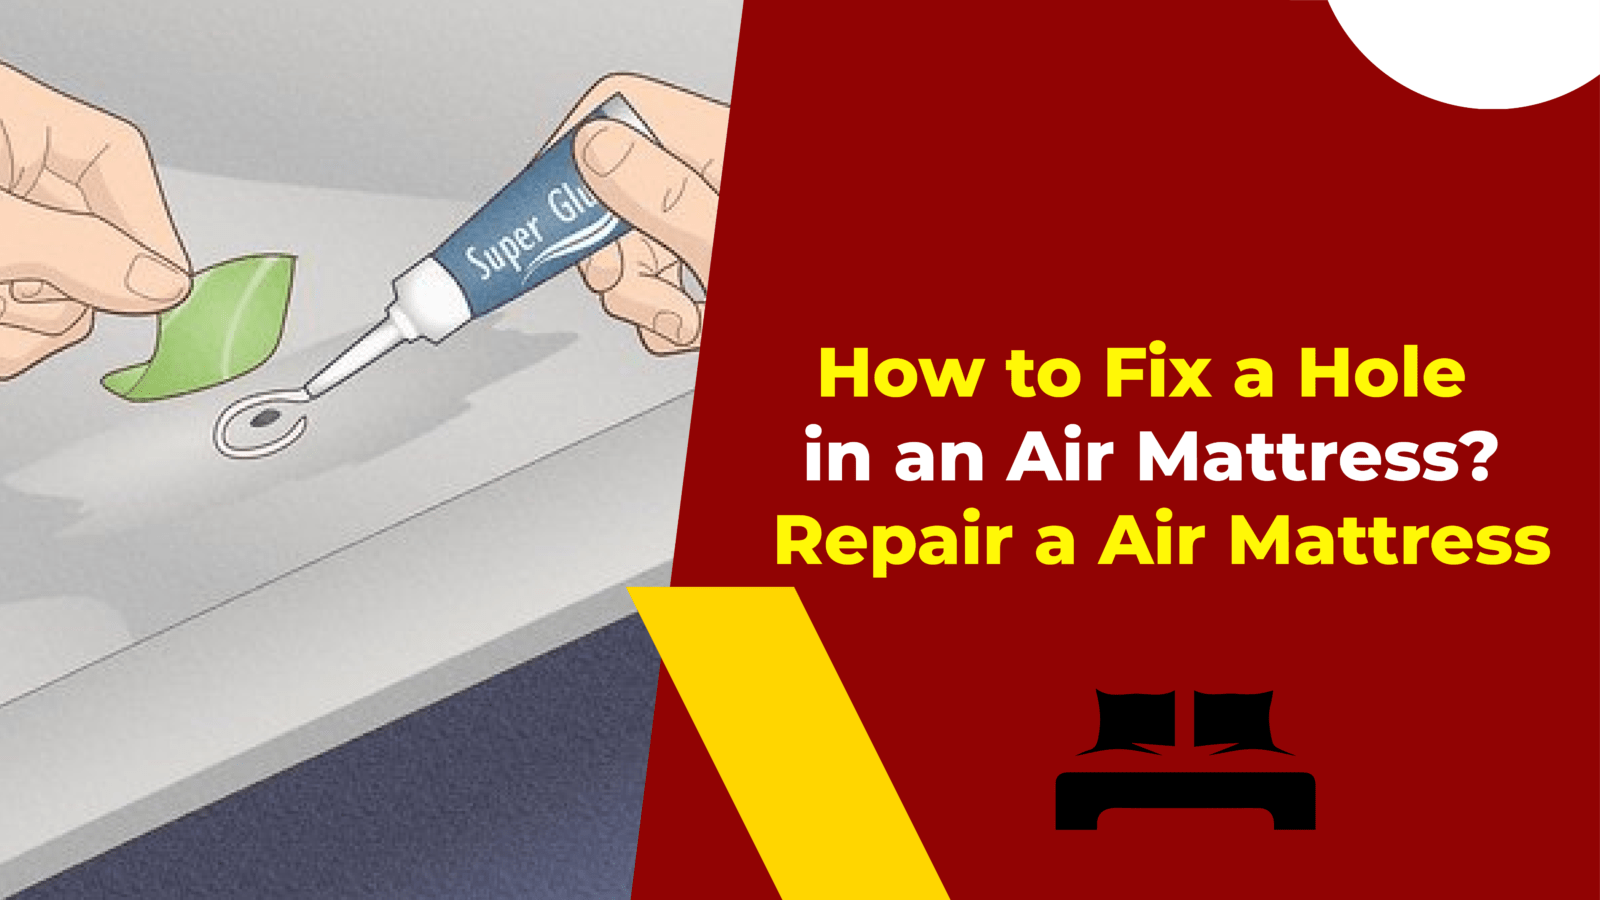
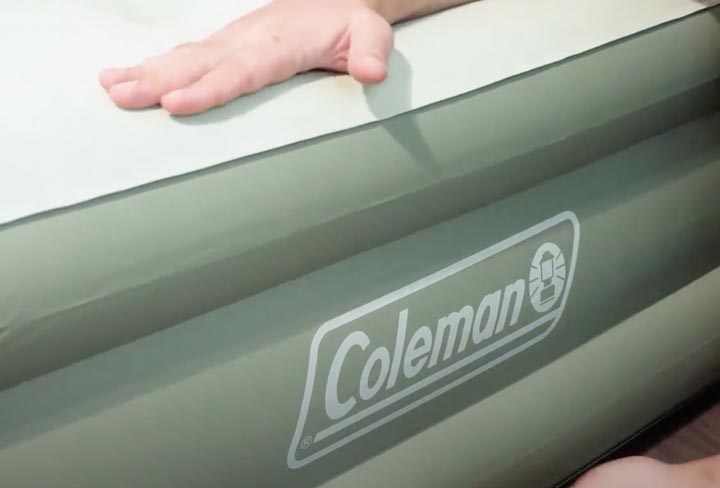
How to Patch a Coleman Air Mattress
If you're an avid camper or just someone who enjoys the occasional outdoor adventure, chances are you have a Coleman air mattress in your gear collection. These mattresses are known for their durability and comfort, but even the toughest of materials can sometimes succumb to wear and tear. If you find yourself with a hole in your Coleman air mattress, don't worry – patching it up is a simple task that can be done in just a few easy steps.


How to Patch a Coleman Air Mattress


How to Repair a Hole in a Coleman Air Mattress
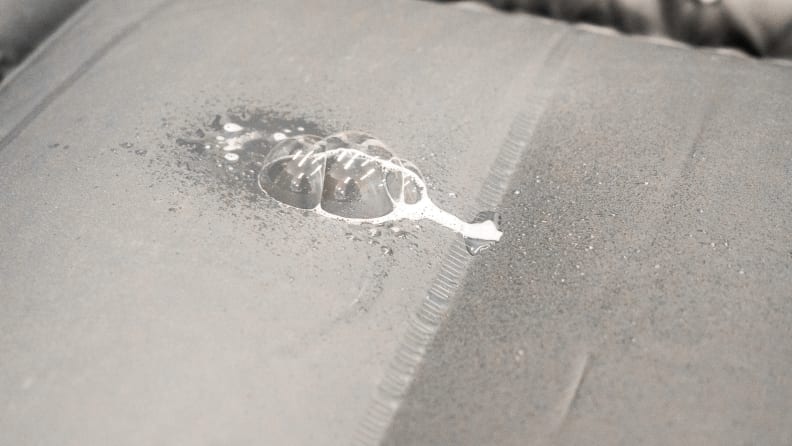
The first step in patching a Coleman air mattress is to locate the hole. This may seem like a daunting task, but it can easily be done with a little bit of water and soap. Mix a small amount of dish soap with water and spread it over the surface of the mattress. Then, inflate the mattress and look for any bubbles forming – this will indicate the location of the hole.


How to Repair a Hole in a Coleman Air Mattress


DIY Coleman Air Mattress Patch
Once you've found the hole, it's time to patch it up. While you can certainly purchase a patch kit specifically designed for Coleman air mattresses, you can also create a DIY patch using materials you may already have at home. One option is to use duct tape – simply cut a small piece and cover the hole. However, this may not be the most aesthetically pleasing option. A better alternative is to use an adhesive vinyl repair patch, which can be found at most hardware stores.
DIY Coleman Air Mattress Patch


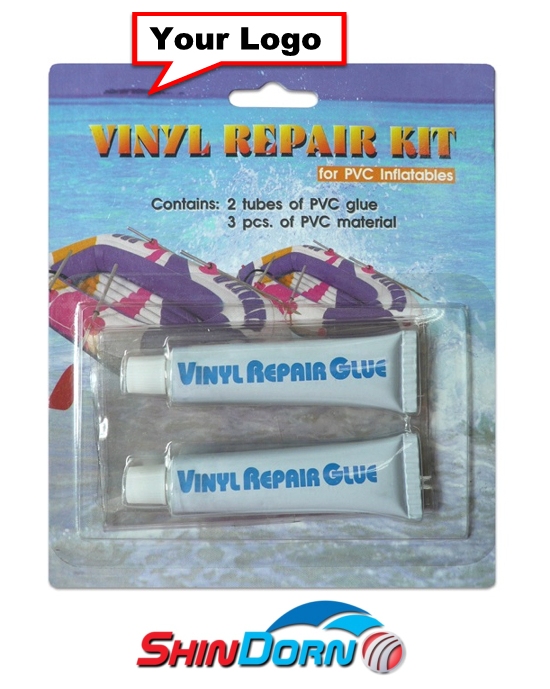
Coleman Air Mattress Repair Kit
For a more professional and long-lasting patch, consider purchasing a Coleman air mattress repair kit. These kits usually come with a variety of adhesive patches in different sizes and a strong adhesive to ensure a secure bond. They may also include sandpaper to rough up the surface of the mattress for better adhesion.


Coleman Air Mattress Repair Kit


Coleman Air Mattress Patch Instructions
Whether you're using a DIY patch or a repair kit, it's important to follow the instructions carefully. Make sure the surface of the mattress is clean and dry before applying the patch. If using a repair kit, rough up the surface of the mattress with the included sandpaper. Apply a small amount of adhesive to both the patch and the mattress, then press the patch firmly onto the hole. Allow the adhesive to dry completely before using the mattress again.

Coleman Air Mattress Patch Instructions


Coleman Air Mattress Leak Repair
While patching a hole is a common repair for air mattresses, leaks can also occur around the seams or valves. If you notice a leak in one of these areas, you can use the same patching method as described above. However, it's important to fully deflate the mattress before applying the patch to ensure a tight seal.


Coleman Air Mattress Leak Repair


Coleman Air Mattress Patching Tips
To ensure the best possible patch, here are a few tips to keep in mind:

Coleman Air Mattress Patching Tips
Quick and Easy Coleman Air Mattress Patch
If you're in a pinch and need a quick fix for a hole in your Coleman air mattress, you can use a hot glue gun to create a temporary seal. Simply apply a small amount of hot glue to the hole and smooth it out with a flat object. This should hold until you can properly patch the hole with an adhesive patch.

Quick and Easy Coleman Air Mattress Patch


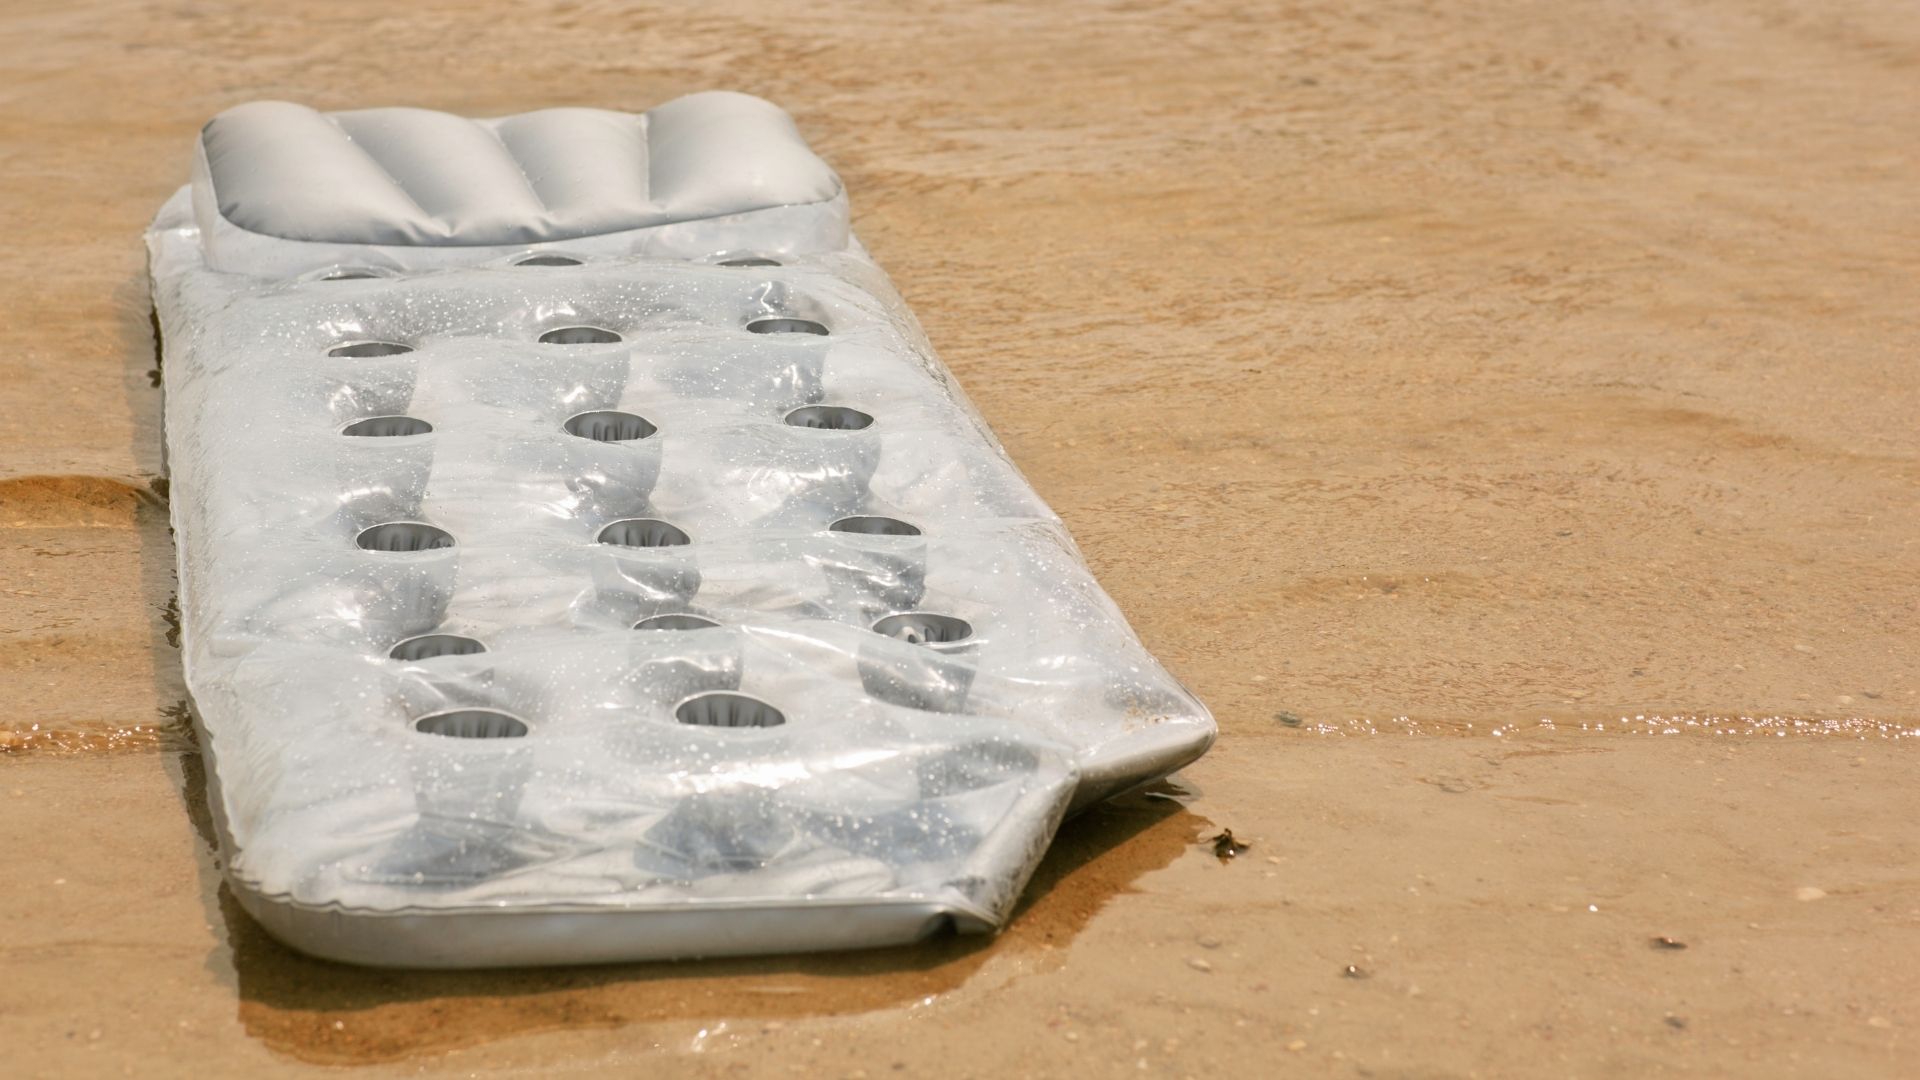
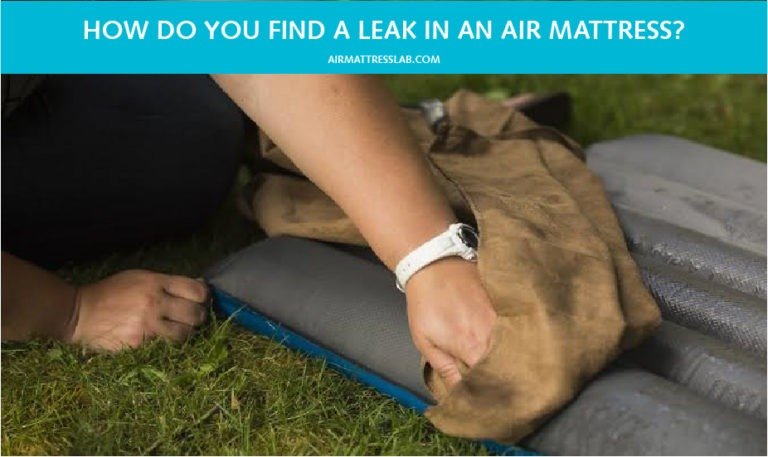
How to Find a Leak in a Coleman Air Mattress
If your air mattress is losing air but you can't find the hole, there may be a leak in the valve or pump. To test for this, inflate the mattress and listen for any hissing sounds. If you hear a hissing sound, there may be a leak in the valve or pump. In this case, you may need to replace the valve or pump entirely.

How to Find a Leak in a Coleman Air Mattress


Best Adhesive for Patching a Coleman Air Mattress
When it comes to patching a Coleman air mattress, the best adhesive is one that is specifically designed for vinyl materials. This will provide a strong and durable bond that will last for many camping trips to come. Some popular options include Tear-Aid Repair Patch and Gear Aid Seam Grip WP.
Patching a Coleman air mattress is a simple task that can save you from having to purchase a new mattress. By following these tips and using the right adhesive, you can easily repair any holes or leaks and have your air mattress ready for your next adventure.

Best Adhesive for Patching a Coleman Air Mattress
Patching a Coleman Air Mattress: A Simple Guide for Saving Your Sleeping Surface

Why Patching is Important
 Air mattresses are a convenient and comfortable solution for temporary sleeping arrangements. However, accidents happen and punctures or tears can occur, leaving you with a deflated and unusable mattress. In order to save your sleeping surface and avoid the expense of buying a new one, patching should be done as soon as the damage is noticed.
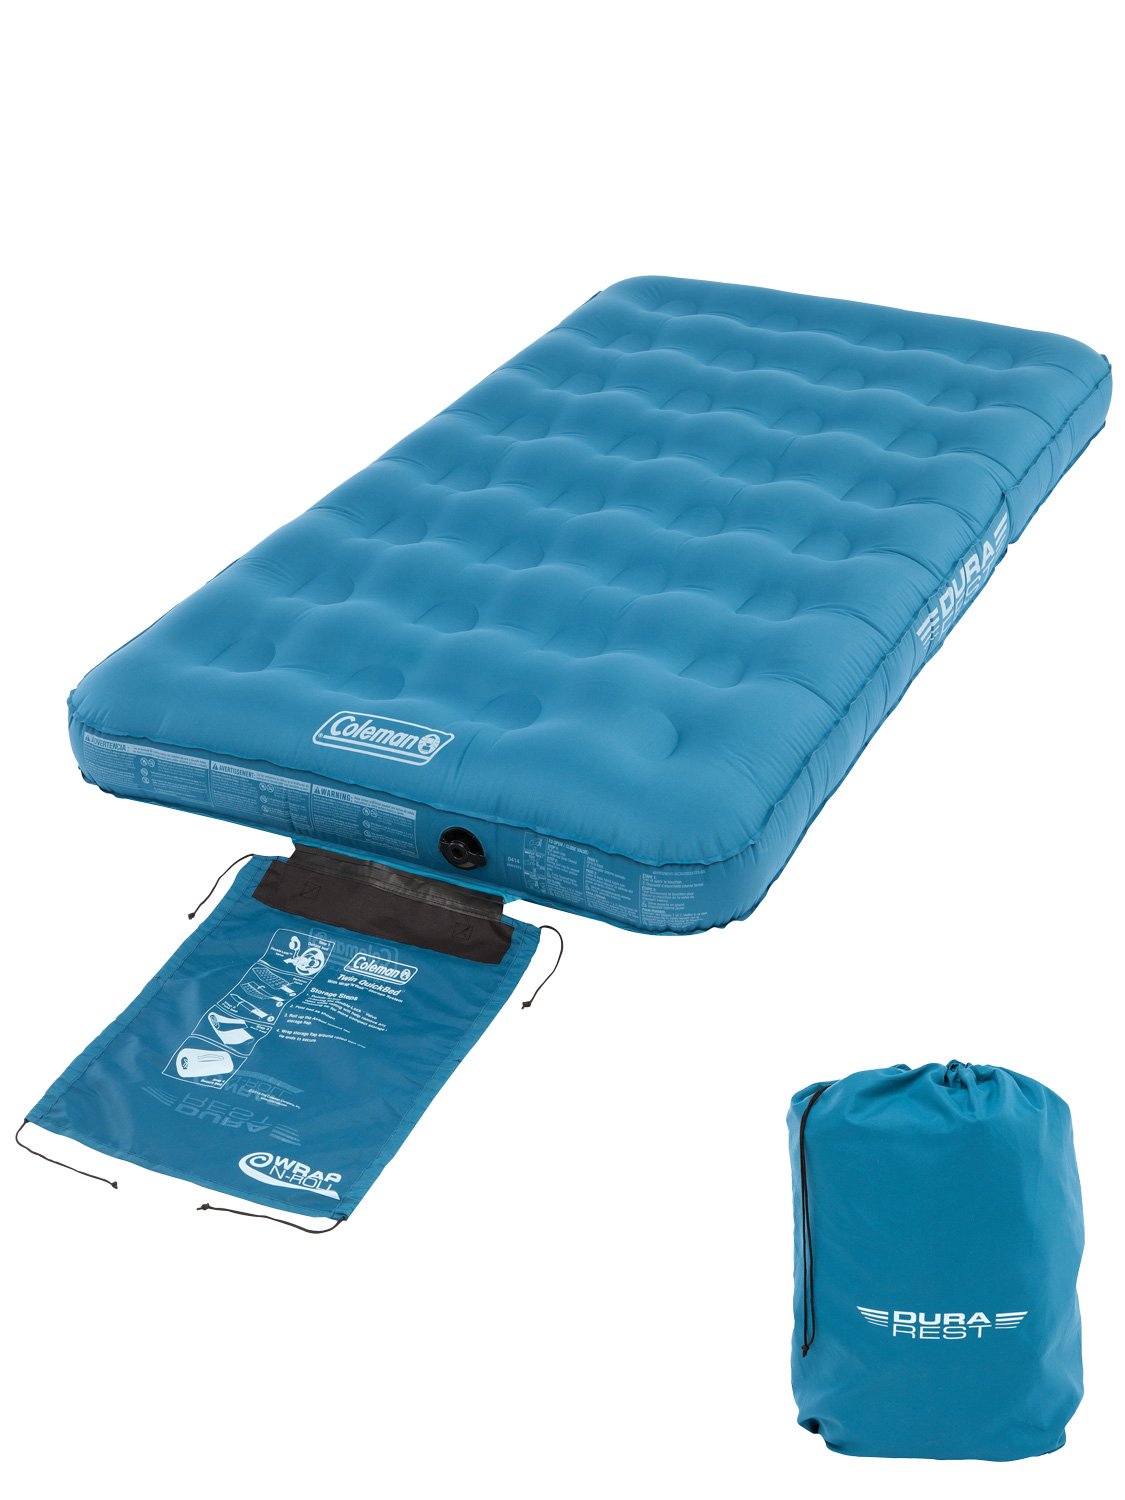
What You Will Need
 Before you begin the patching process, make sure you have the necessary materials. These include a
patch kit specifically designed for air mattresses
, rubbing alcohol, a cloth, and scissors. The patch kit should include adhesive patches and instructions for use.
Before you begin the patching process, make sure you have the necessary materials. These include a
patch kit specifically designed for air mattresses
, rubbing alcohol, a cloth, and scissors. The patch kit should include adhesive patches and instructions for use.
Step 1: Locate the Leak
 The first step in patching your Coleman air mattress is to find the source of the leak. Inflate the mattress and then listen and feel for any escaping air. You can also use a spray bottle filled with soapy water to spray over the mattress and look for bubbles, indicating a leak.
Step 2: Clean and Dry the Area
:max_bytes(150000):strip_icc()/81QHm8NXr2L._AC_SL1500_1-17bafdc326cf4922b0d8acca4d9b5639.jpg) Once the leak is located, deflate the mattress and use rubbing alcohol and a cloth to clean the area around the leak. This will remove any dirt or oils that could prevent the patch from adhering properly. Make sure the area is completely dry before moving on to the next step.
Once the leak is located, deflate the mattress and use rubbing alcohol and a cloth to clean the area around the leak. This will remove any dirt or oils that could prevent the patch from adhering properly. Make sure the area is completely dry before moving on to the next step.
Step 3: Prepare the Patch
 Take a patch from the kit and cut it to a size slightly larger than the damaged area. This will ensure a secure and lasting seal. Round the corners of the patch to prevent any lifting or catching.
Step 4: Apply the Patch
 Peel the backing off of the patch and carefully place it over the damaged area, pressing down firmly to ensure a good seal. Smooth out any air bubbles and hold the patch in place for a few minutes to allow the adhesive to set.
Step 5: Reinforce the Patch
 For added security, you can use the remaining patches in the kit to reinforce the original patch. Simply cut them into smaller pieces and place them around the edges of the original patch.
Step 6: Test for Leaks
 Once the patch is securely in place, inflate the mattress and test for any remaining leaks. If the patch is successful, your Coleman air mattress should hold air without any issues.
Conclusion
 Patching a Coleman air mattress is a simple and cost-effective solution for fixing any leaks or tears. By following these steps and using a
high-quality patch kit
, you can save your sleeping surface and continue to enjoy the comfort and convenience of your air mattress. Remember to always check for any damage before each use to ensure a good night's sleep.
Patching a Coleman air mattress is a simple and cost-effective solution for fixing any leaks or tears. By following these steps and using a
high-quality patch kit
, you can save your sleeping surface and continue to enjoy the comfort and convenience of your air mattress. Remember to always check for any damage before each use to ensure a good night's sleep.