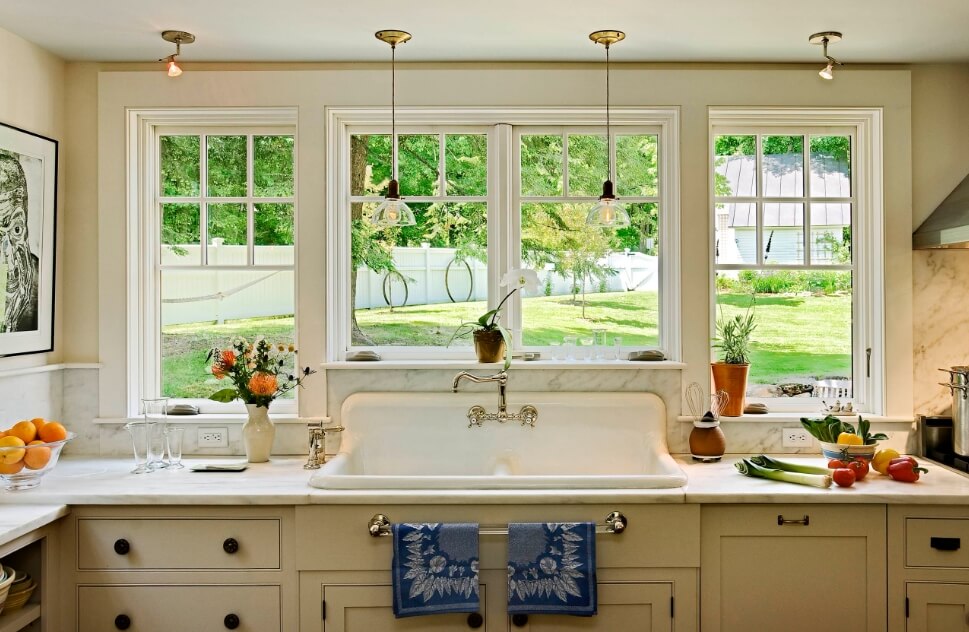
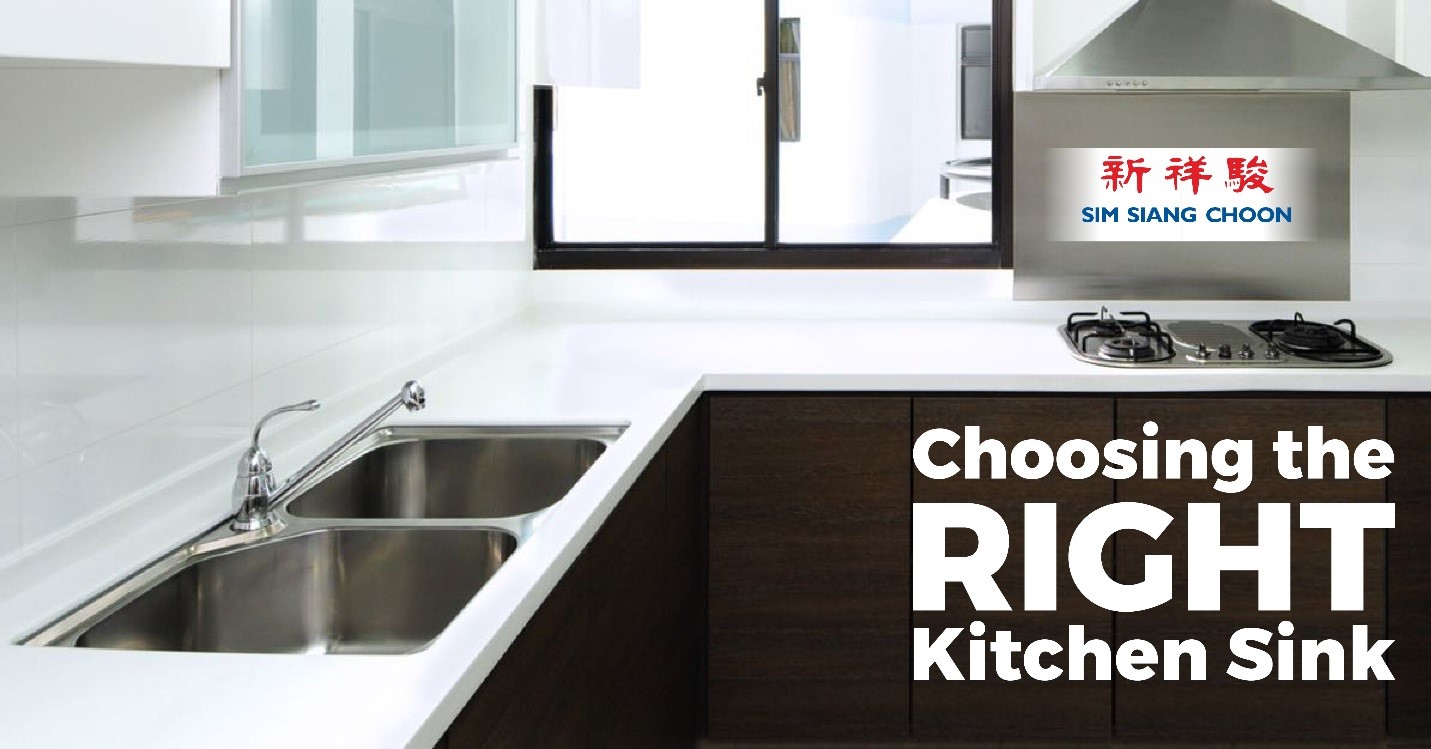
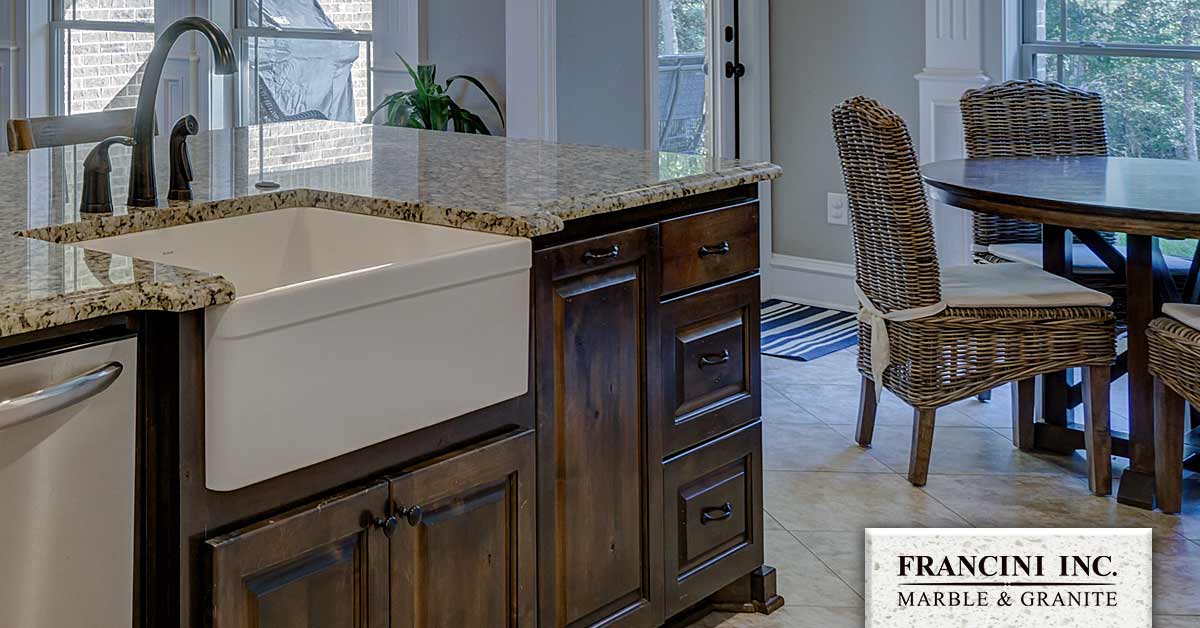
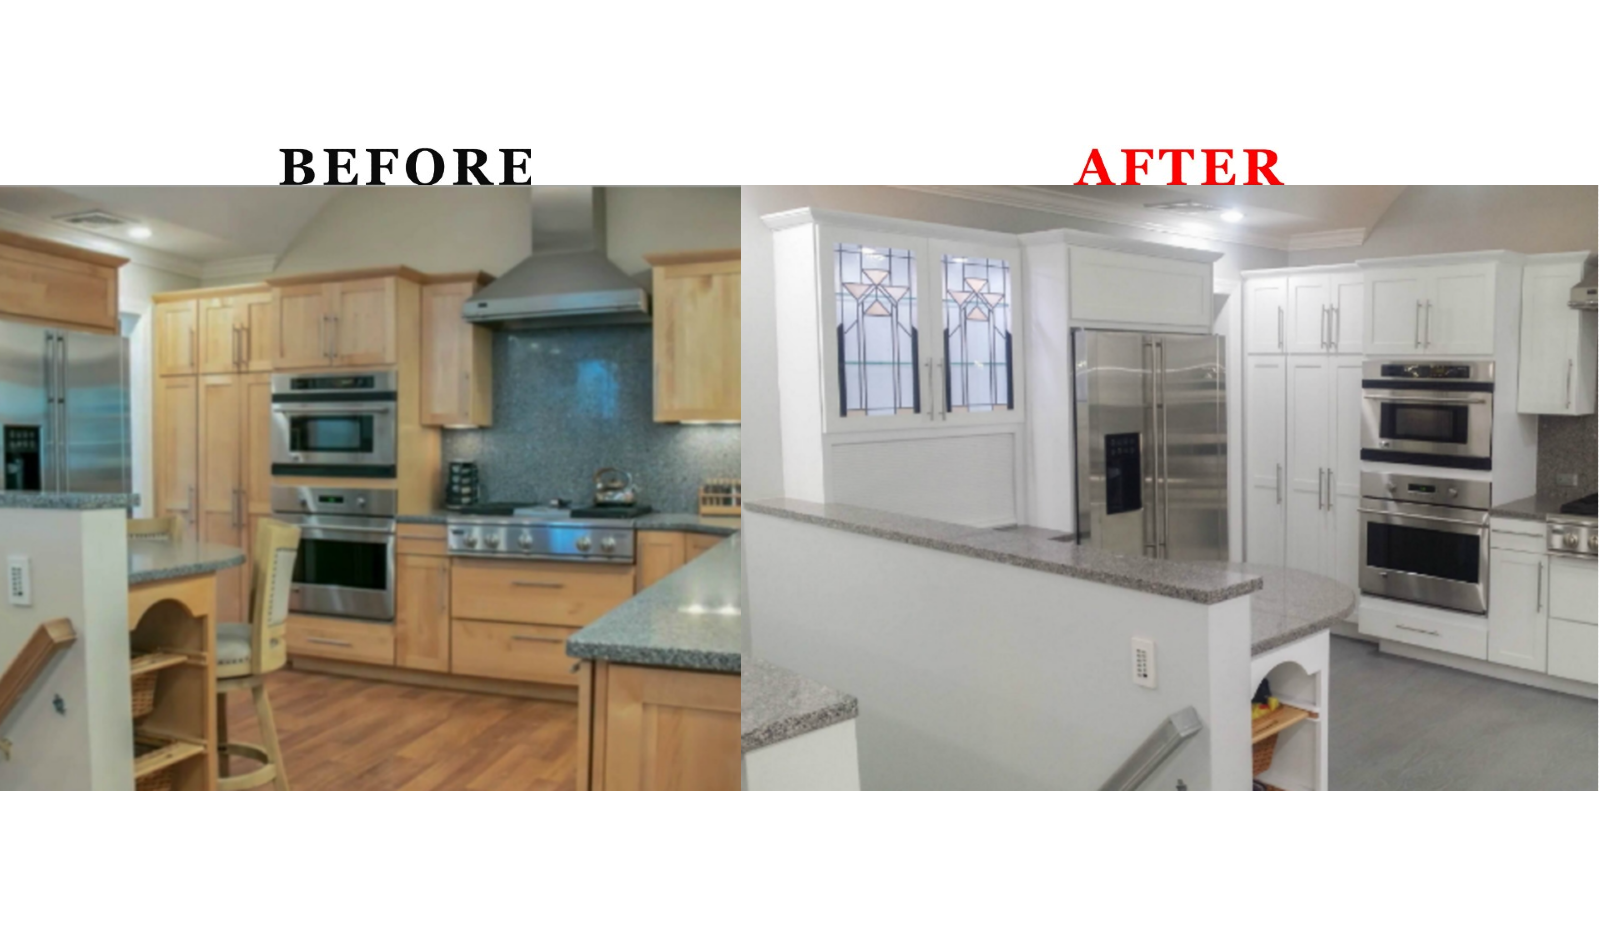
Painting around a kitchen sink may seem like a daunting task, but with the right techniques and tools, it can be a simple and rewarding DIY project. Not only can it give your kitchen a fresh, updated look, but it can also protect your sink from water damage and wear and tear. In this article, we will discuss the top 10 tips for painting around a kitchen sink.How to Paint Around a Kitchen Sink


How to Paint Around a Kitchen Sink


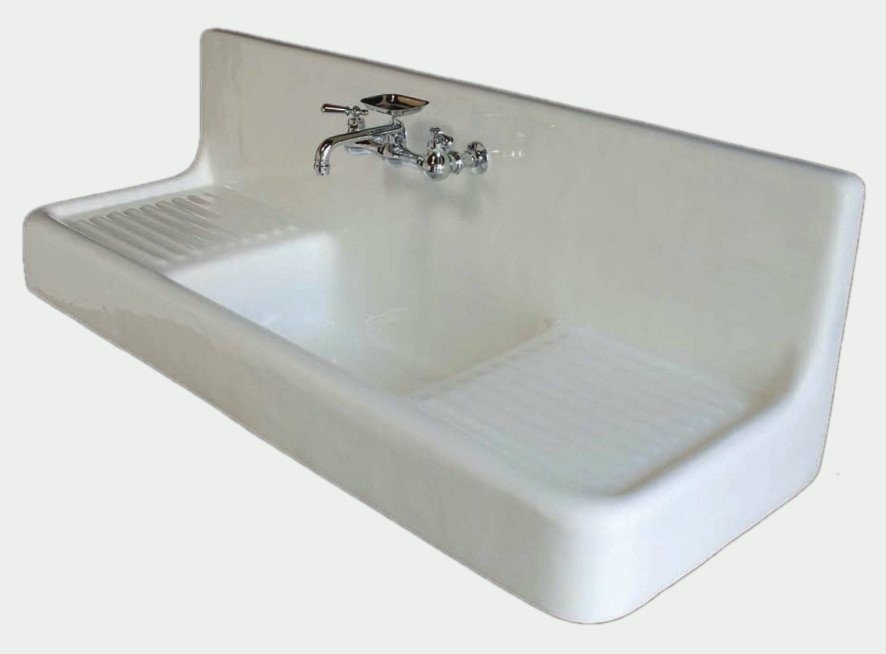
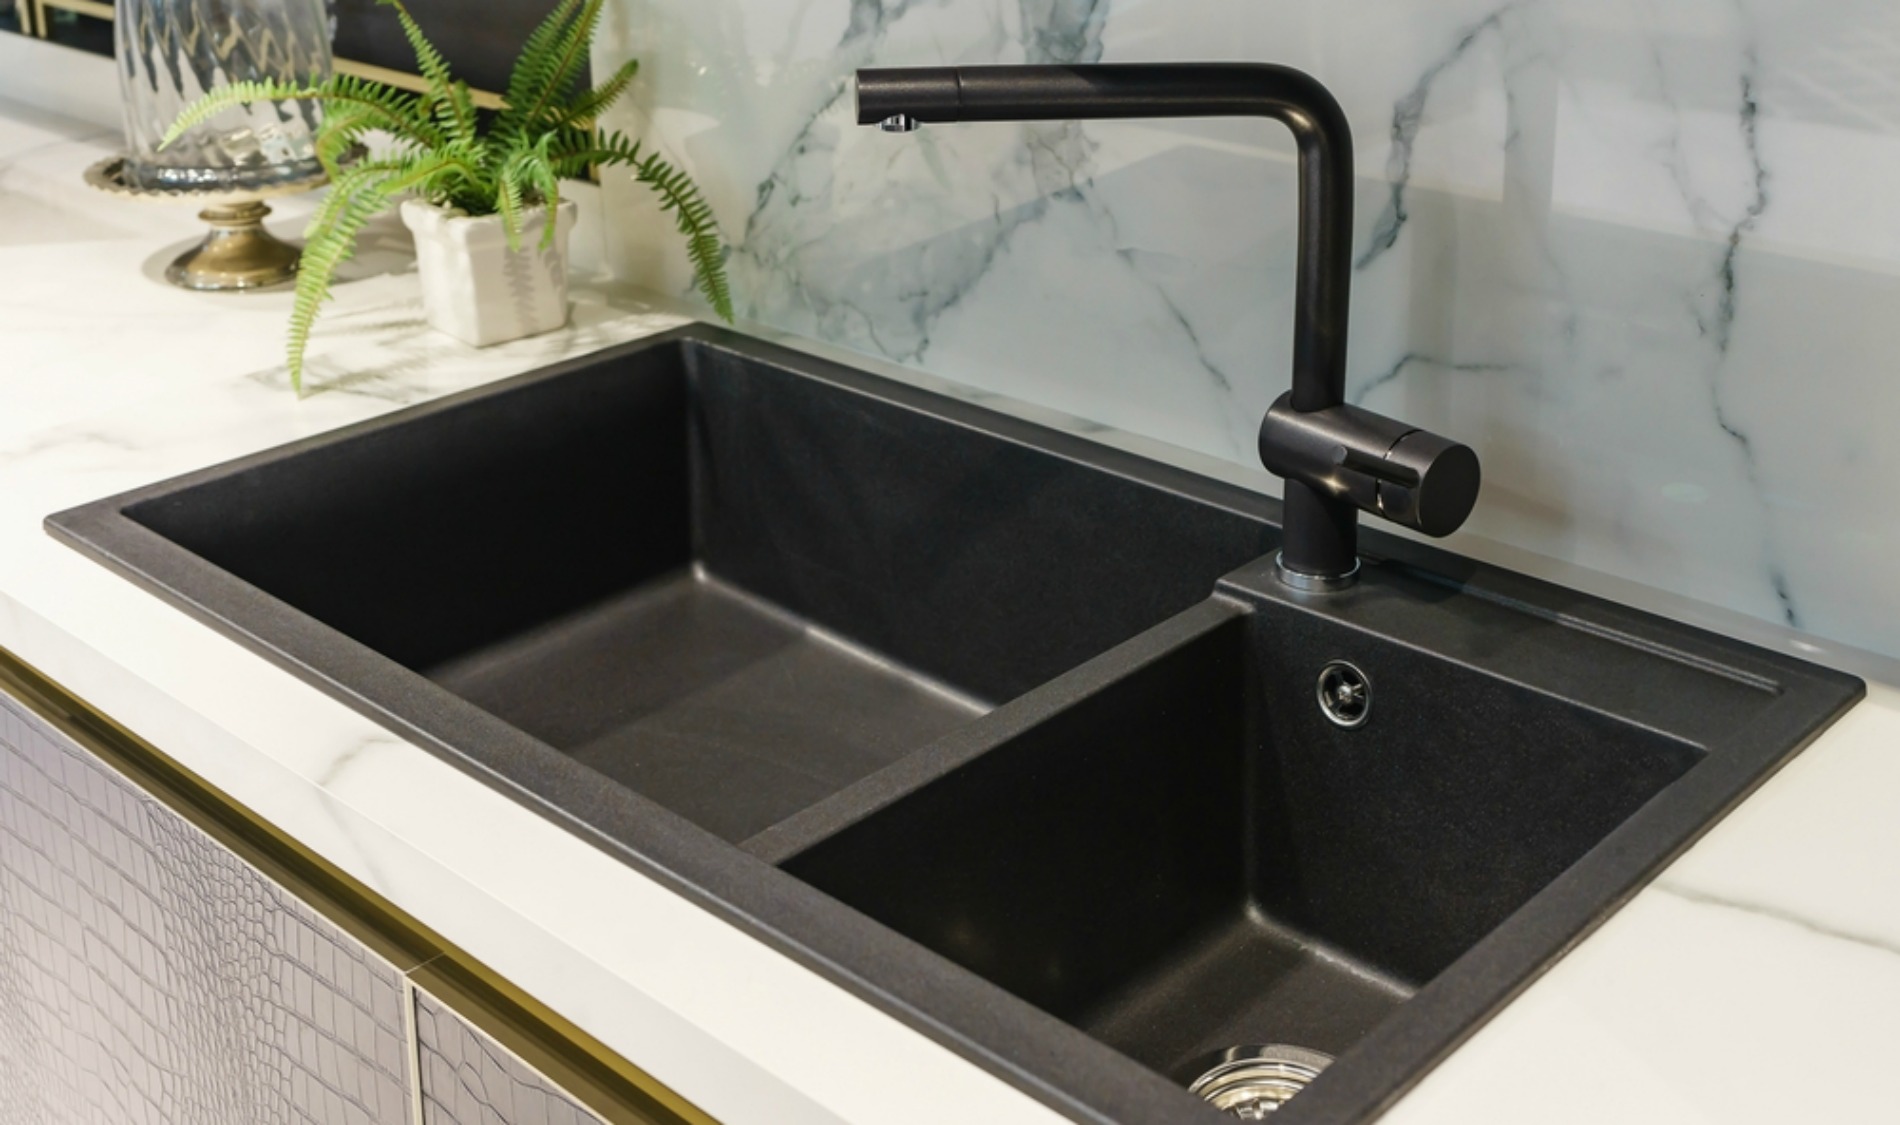
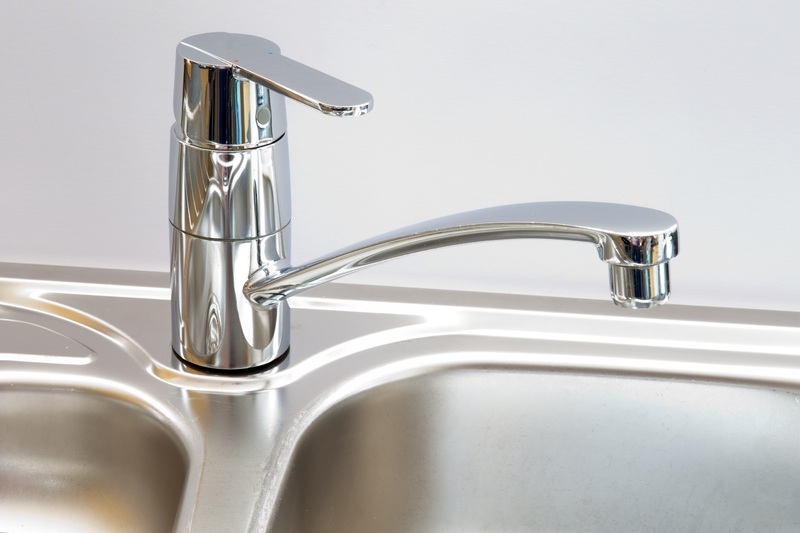
The first step in painting around a kitchen sink is choosing the right paint. It is important to use a paint that is specifically designed for high-moisture areas, such as a kitchen sink. Look for paint that is water-resistant, durable, and easy to clean. Acrylic latex paint or epoxy paint are great options for painting around a kitchen sink as they are both waterproof and long-lasting.Best Paint for Kitchen Sink


Best Paint for Kitchen Sink


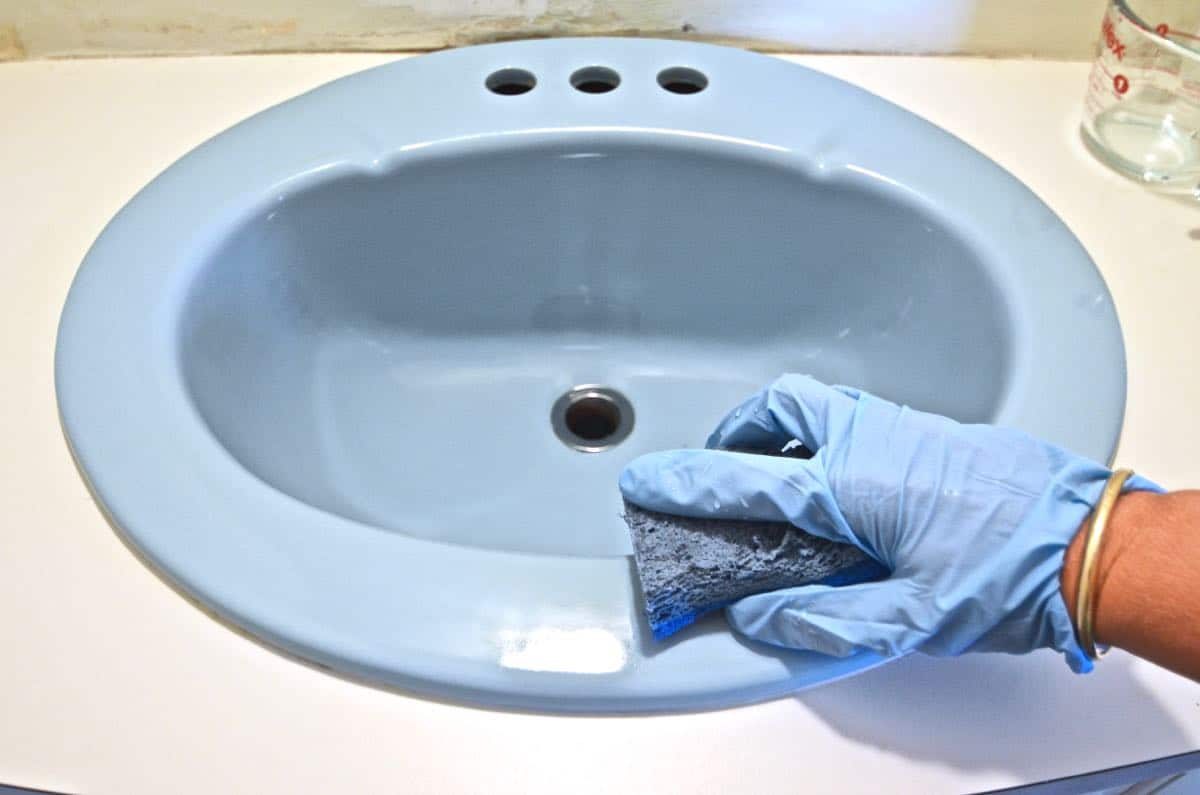

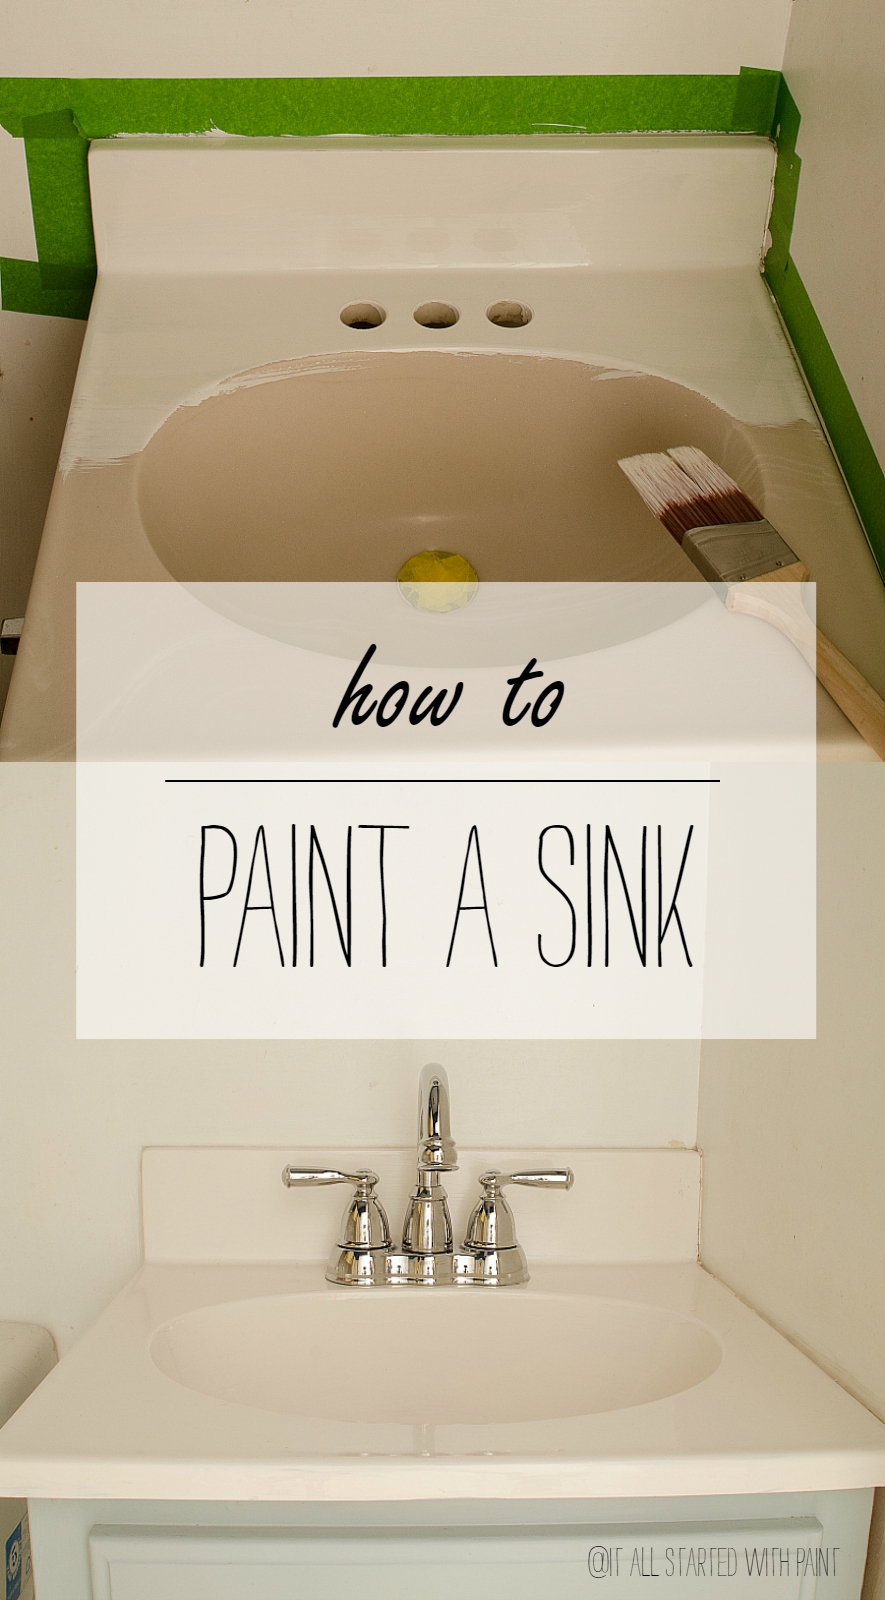
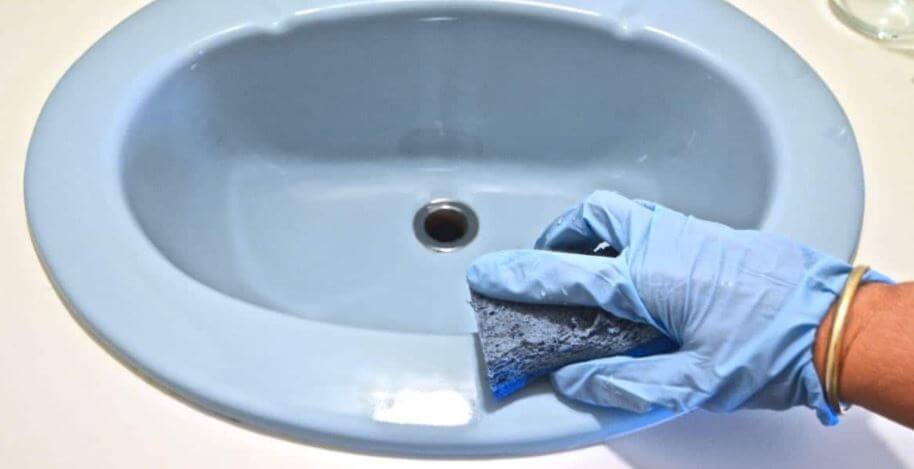
Before you start painting, it is important to properly prepare the surface. This will ensure that the paint adheres well and gives you a smooth and professional finish. Begin by cleaning the area around the sink with a mild detergent and warm water. This will remove any grease, dirt, or residue that may prevent the paint from sticking. For tougher stains, use a degreaser or trisodium phosphate (TSP) cleaner. Once the surface is clean and dry, sand it lightly with fine-grit sandpaper to create a rough surface for the paint to grip onto.Tips for Painting Around a Kitchen Sink


Tips for Painting Around a Kitchen Sink


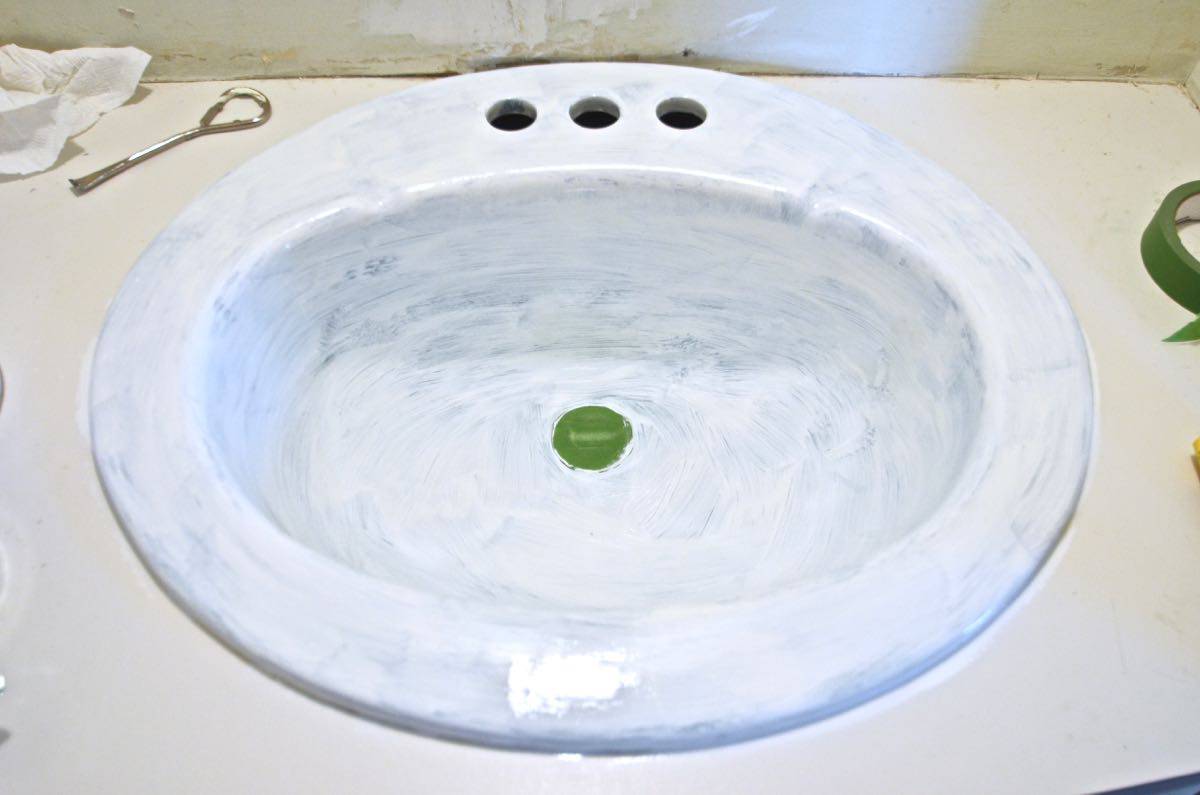
When painting around a kitchen sink, it is important to use the right techniques to ensure a smooth and even finish. If you are using a brush, start by painting the edges and corners of the sink. Then, use a roller to paint the larger areas in a crisscross pattern. This will help to avoid brush marks and create a seamless look. For hard-to-reach areas, use a small foam brush or a sponge brush. Be sure to let the paint dry completely between coats and apply at least two coats for a durable finish.Painting Techniques for Kitchen Sink


Painting Techniques for Kitchen Sink


Painting around a kitchen sink is a great DIY project that can save you money and give your kitchen a fresh new look. It is also a great way to customize your sink and match it with your kitchen's decor. With the right tools and techniques, anyone can paint their kitchen sink and achieve professional-looking results.DIY Kitchen Sink Painting


DIY Kitchen Sink Painting


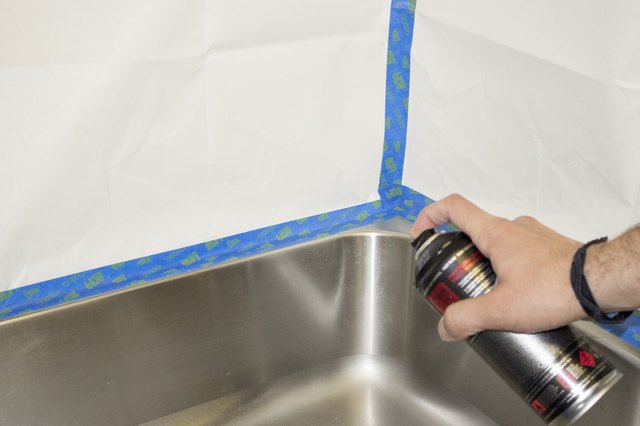
Before you start painting, it is important to properly prepare the area around your sink. Remove any items that may get in the way, such as soap dispensers, dish racks, or sponges. Cover your countertops and any nearby surfaces with drop cloths or plastic sheets to protect them from paint splatters. If you are painting a metal sink, use painter's tape to cover the drain and any other metal fixtures to prevent them from getting painted.Prepping for Painting Around a Kitchen Sink


Prepping for Painting Around a Kitchen Sink


Having the right tools is essential for achieving a professional-looking finish when painting around a kitchen sink. In addition to the paint, you will need a variety of tools including brushes, rollers, sandpaper, and painter's tape. For smaller areas or hard-to-reach spots, consider using a foam brush or a sponge brush. These tools will help you achieve a smooth and even application of paint.Painting Tools for Kitchen Sink


Painting Tools for Kitchen Sink


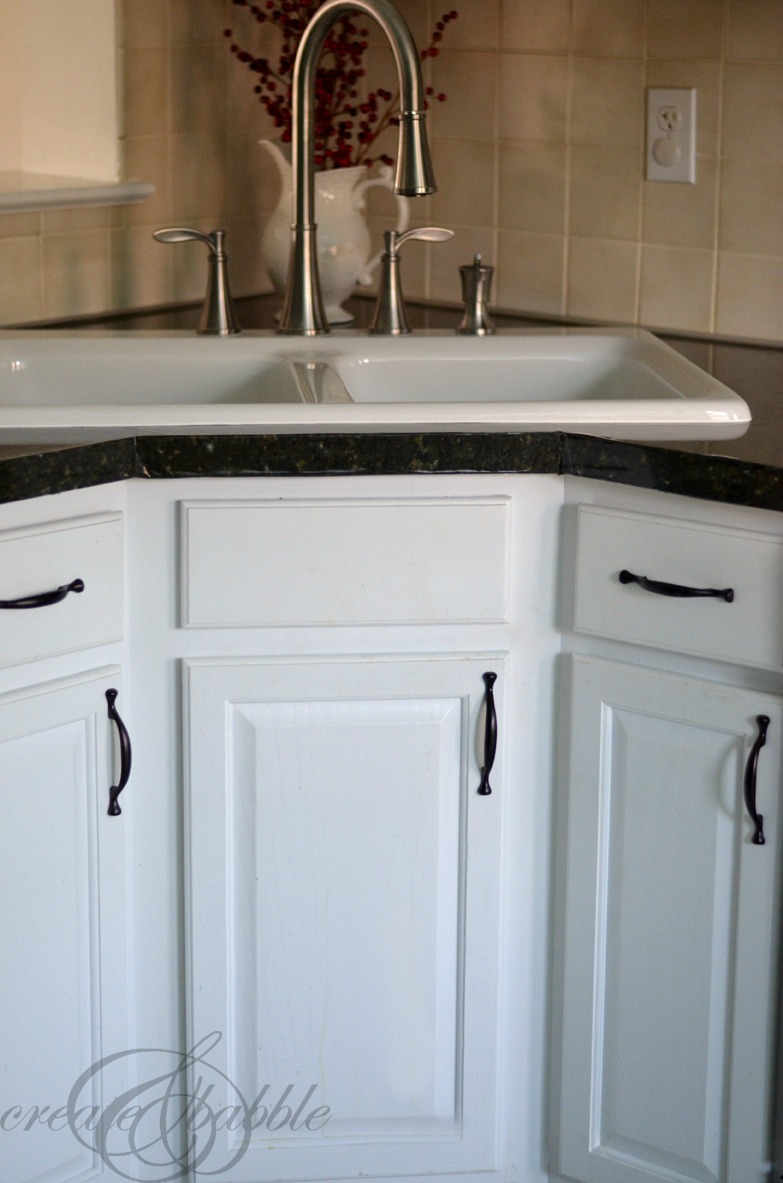
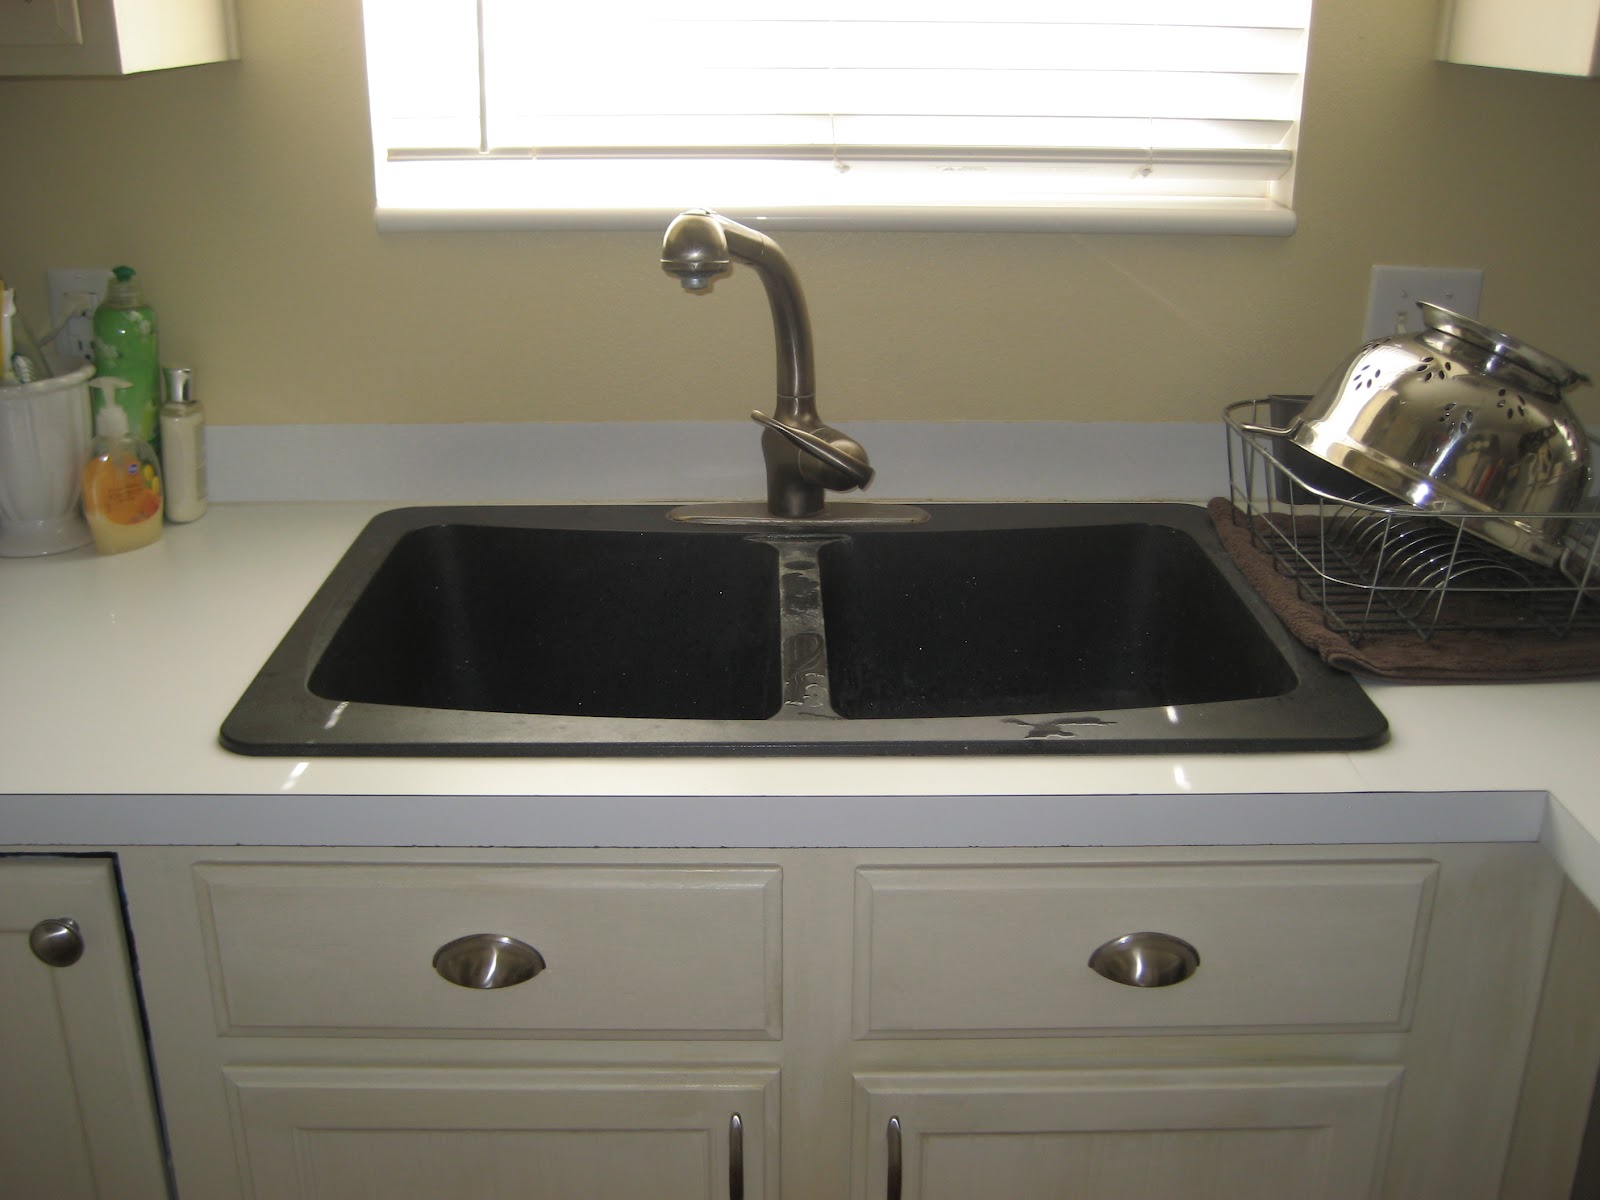
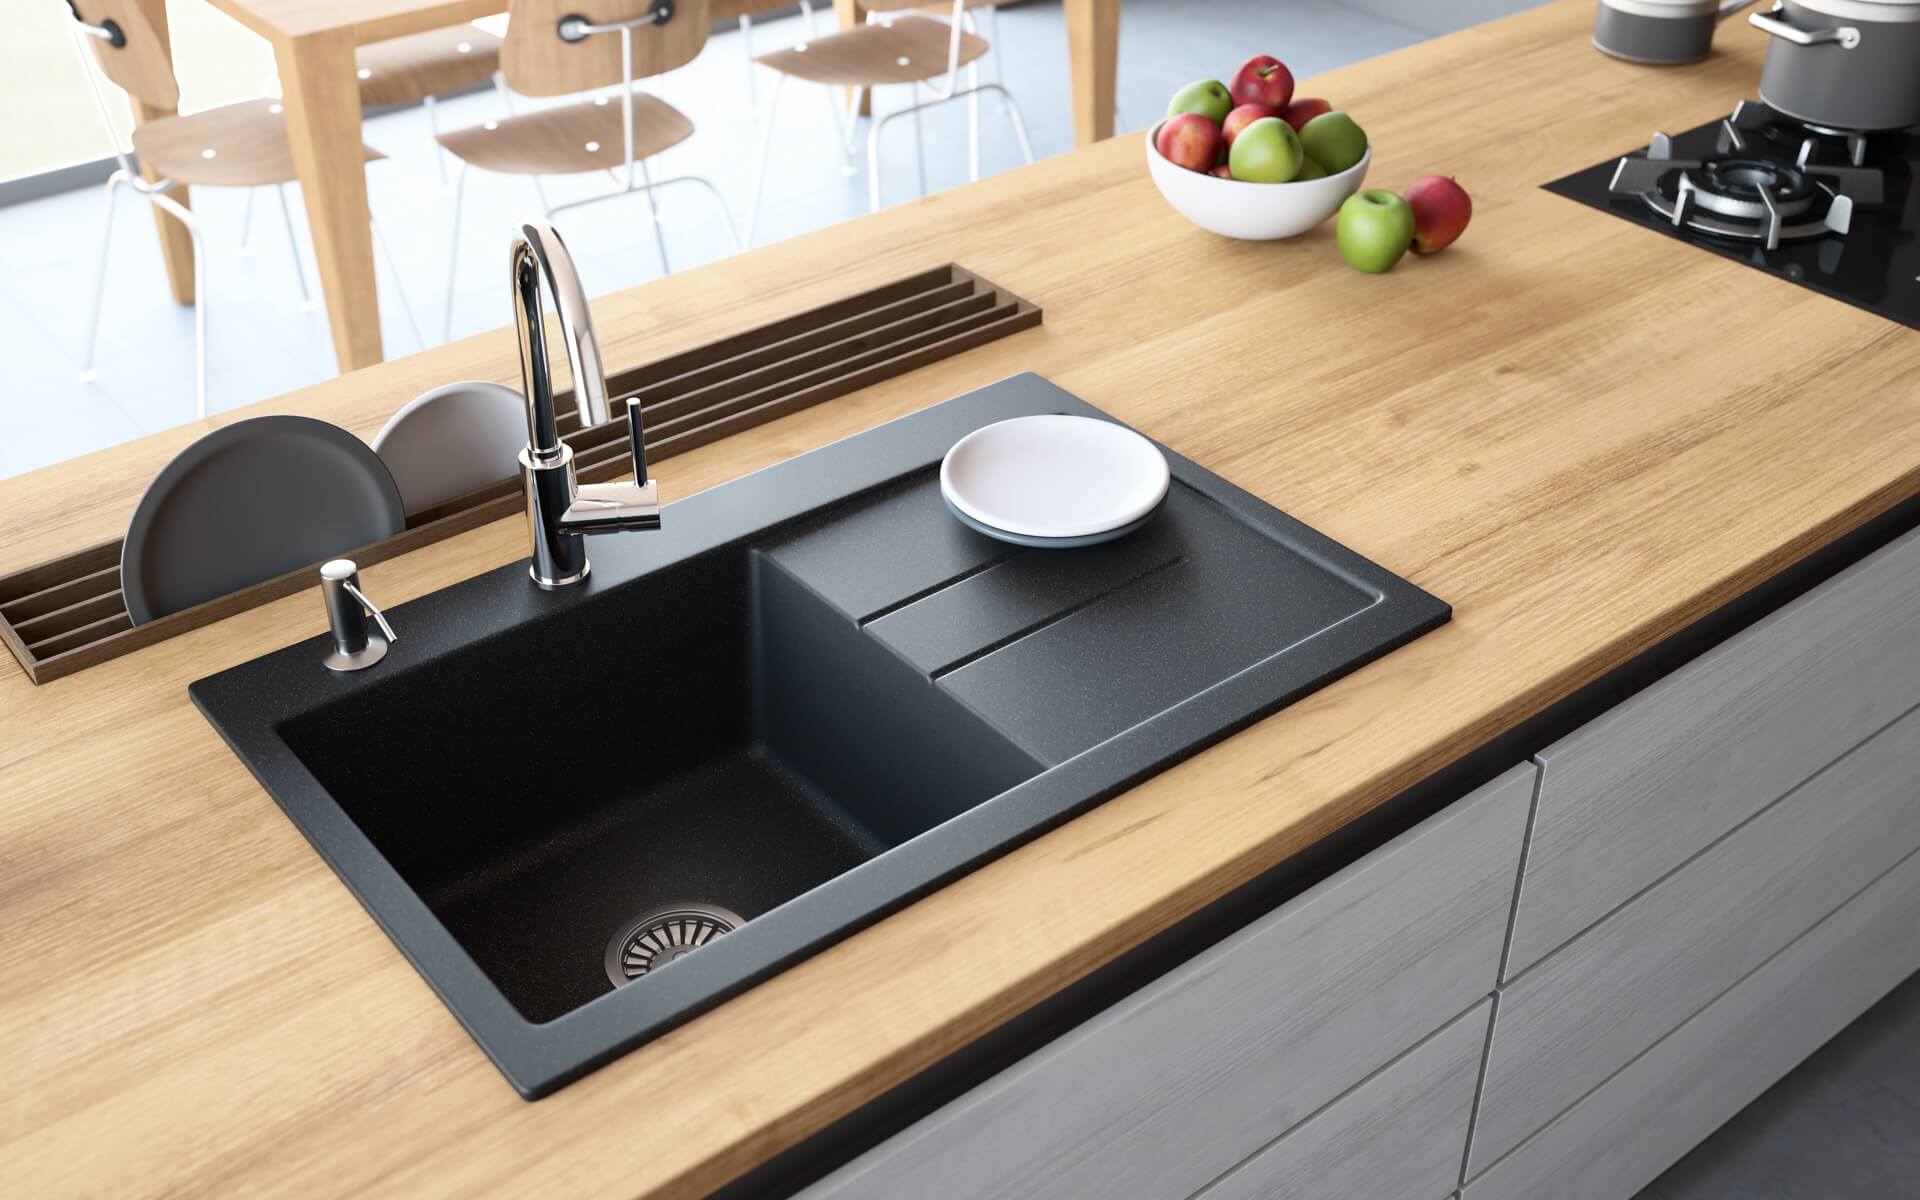
When it comes to choosing the right color for your kitchen sink, the possibilities are endless. You can opt for a classic white or black sink, or add a pop of color with a bright hue. Consider the color scheme of your kitchen and choose a color that complements it. You can also use the same paint color as your kitchen cabinets to create a cohesive look. For a modern and sleek look, consider using a metallic paint. Whatever color you choose, make sure it is suitable for high-moisture areas and will give you the desired look.Choosing the Right Color for Kitchen Sink


Choosing the Right Color for Kitchen Sink


As with any DIY project, there are some common mistakes to avoid when painting around a kitchen sink. The most common mistake is not properly prepping the surface, which can result in a bumpy and uneven finish. Be sure to clean and sand the area before painting to ensure a smooth surface. Another common mistake is not using the right tools and techniques, which can result in a sloppy and unprofessional-looking paint job. Take your time and use the recommended tools and techniques for a flawless finish.Painting Mistakes to Avoid Around a Kitchen Sink


Painting Mistakes to Avoid Around a Kitchen Sink


/kitchen-cabinet-painting-mistakes-2000-70d96e5b20d34d9f983816d1c06c88db.jpg)


With the right tools, techniques, and paint, anyone can achieve a professional-looking finish when painting around a kitchen sink. The key is to be patient and pay attention to detail. Make sure to apply multiple coats of paint and allow them to dry completely between coats. This will ensure a durable and smooth finish. Also, take your time and use the recommended tools for a seamless and even application of paint. With these tips, you can achieve a beautiful and updated look for your kitchen sink.How to Achieve a Professional Look When Painting Around a Kitchen Sink
How to Achieve a Professional Look When Painting Around a Kitchen Sink


Why Painting Around the Kitchen Sink is Essential for a Complete House Design

Enhances the Aesthetic Appeal
 When it comes to house design, every detail matters. The kitchen is often considered the heart of the home, and the sink is a vital part of it. However, many homeowners tend to overlook the importance of painting around the kitchen sink. This area is often neglected, leaving it looking dull and unappealing. By adding a fresh coat of paint, you can instantly transform the overall look of your kitchen.
Not only does it add a pop of color, but it also enhances the aesthetic appeal of your entire house.
When it comes to house design, every detail matters. The kitchen is often considered the heart of the home, and the sink is a vital part of it. However, many homeowners tend to overlook the importance of painting around the kitchen sink. This area is often neglected, leaving it looking dull and unappealing. By adding a fresh coat of paint, you can instantly transform the overall look of your kitchen.
Not only does it add a pop of color, but it also enhances the aesthetic appeal of your entire house.
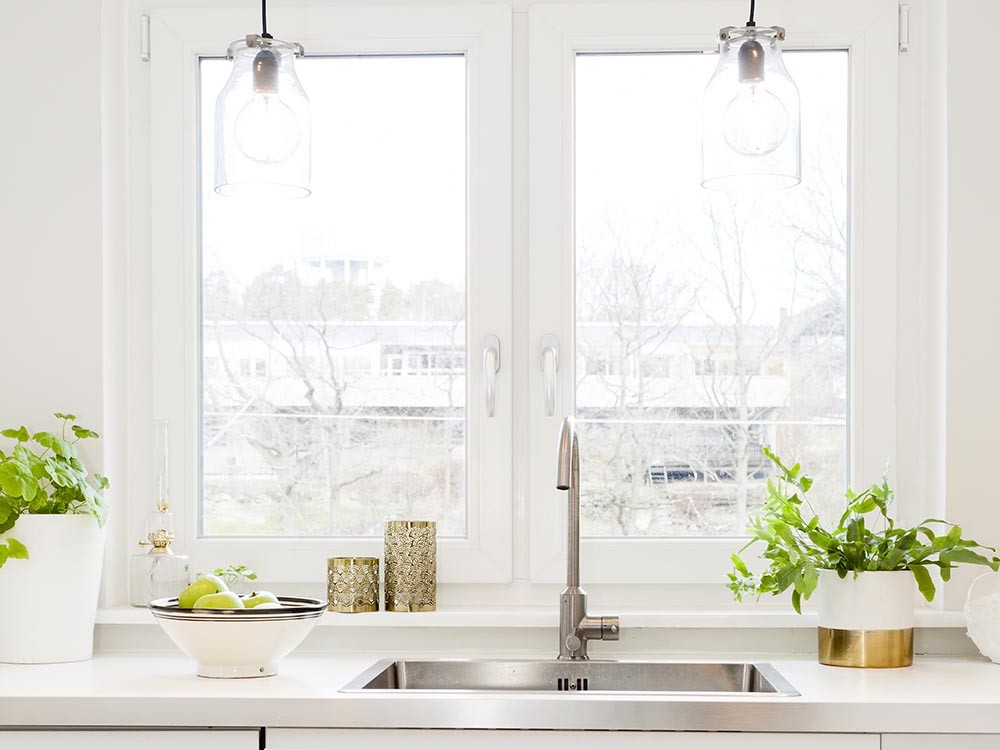
Protects Against Moisture and Stains
 The kitchen sink is constantly exposed to water, soap, and other liquids, making it prone to moisture and stains. Over time, this can lead to the formation of mold and mildew, which not only looks unsightly but can also pose a health hazard.
Painting around the kitchen sink not only adds a layer of protection against moisture, but it also makes it easier to clean and maintain.
With the right type of paint, you can prevent any water damage and keep your kitchen sink looking brand new for years to come.
The kitchen sink is constantly exposed to water, soap, and other liquids, making it prone to moisture and stains. Over time, this can lead to the formation of mold and mildew, which not only looks unsightly but can also pose a health hazard.
Painting around the kitchen sink not only adds a layer of protection against moisture, but it also makes it easier to clean and maintain.
With the right type of paint, you can prevent any water damage and keep your kitchen sink looking brand new for years to come.
Completes the Overall Design
 A well-designed kitchen should have a cohesive and unified look.
Painting around the kitchen sink is the finishing touch that completes the overall design of your kitchen.
It ties together all the elements in the room and creates a seamless flow. Whether you choose a bold color to make a statement or a neutral shade to complement the rest of your kitchen, painting around the sink will give it a polished and finished look.
A well-designed kitchen should have a cohesive and unified look.
Painting around the kitchen sink is the finishing touch that completes the overall design of your kitchen.
It ties together all the elements in the room and creates a seamless flow. Whether you choose a bold color to make a statement or a neutral shade to complement the rest of your kitchen, painting around the sink will give it a polished and finished look.
Increases the Value of Your Home
 In addition to enhancing the aesthetic appeal and completing the overall design, painting around the kitchen sink can also add value to your home.
When potential buyers are looking for a new house, a well-designed and updated kitchen is often at the top of their list.
By painting around the sink, you are increasing the visual appeal and functionality of your kitchen, which can greatly impact the value of your home.
In addition to enhancing the aesthetic appeal and completing the overall design, painting around the kitchen sink can also add value to your home.
When potential buyers are looking for a new house, a well-designed and updated kitchen is often at the top of their list.
By painting around the sink, you are increasing the visual appeal and functionality of your kitchen, which can greatly impact the value of your home.
Conclusion
 In conclusion, painting around the kitchen sink is an essential part of house design that should not be overlooked. It not only enhances the aesthetic appeal of your kitchen but also protects against moisture and stains, completes the overall design, and increases the value of your home. So, the next time you are renovating your kitchen, don't forget to give your sink area a fresh coat of paint. Your kitchen will thank you for it.