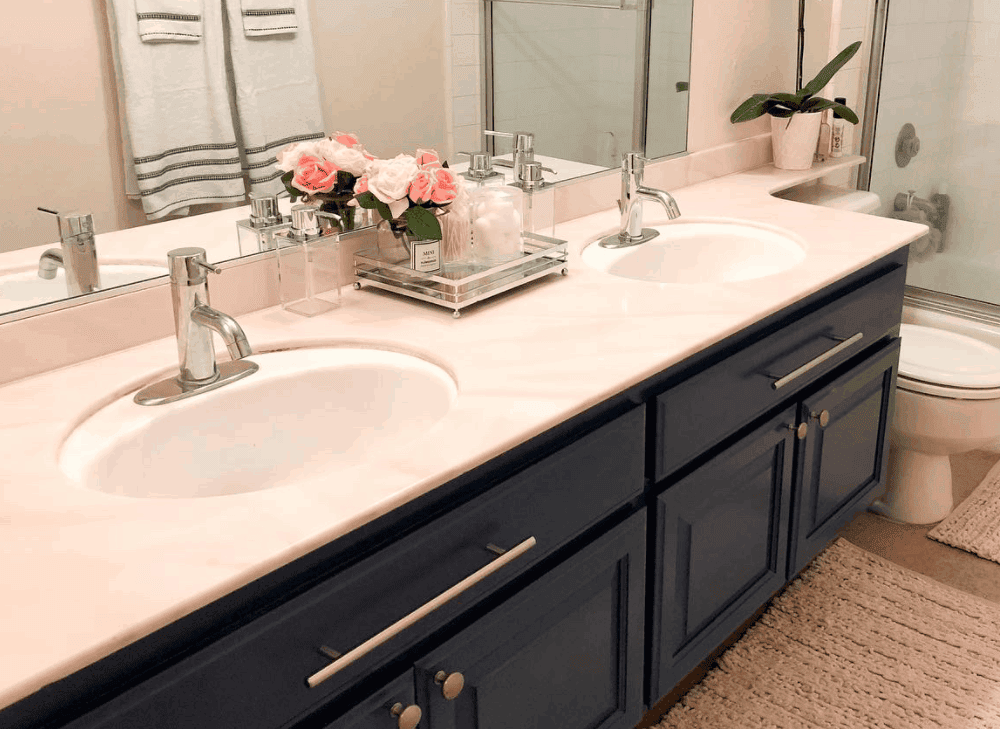
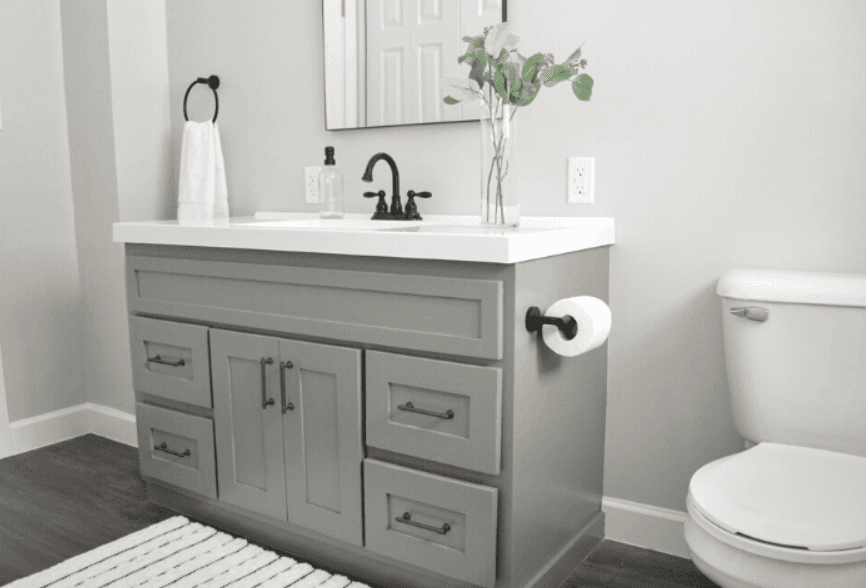
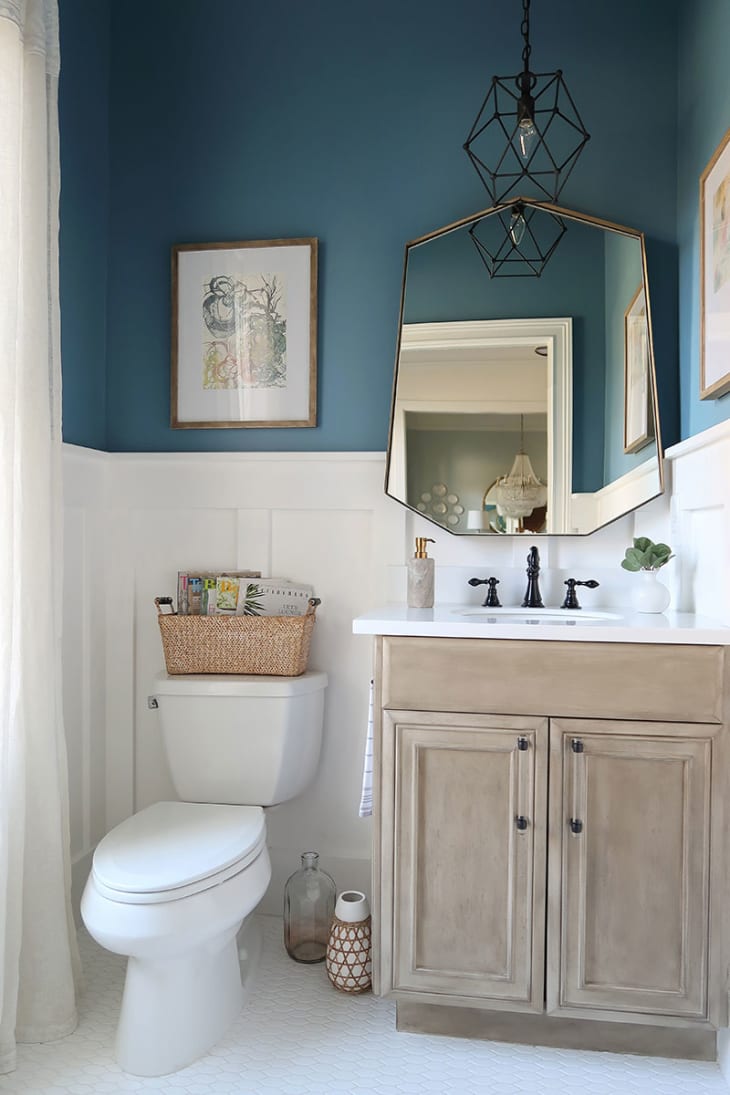
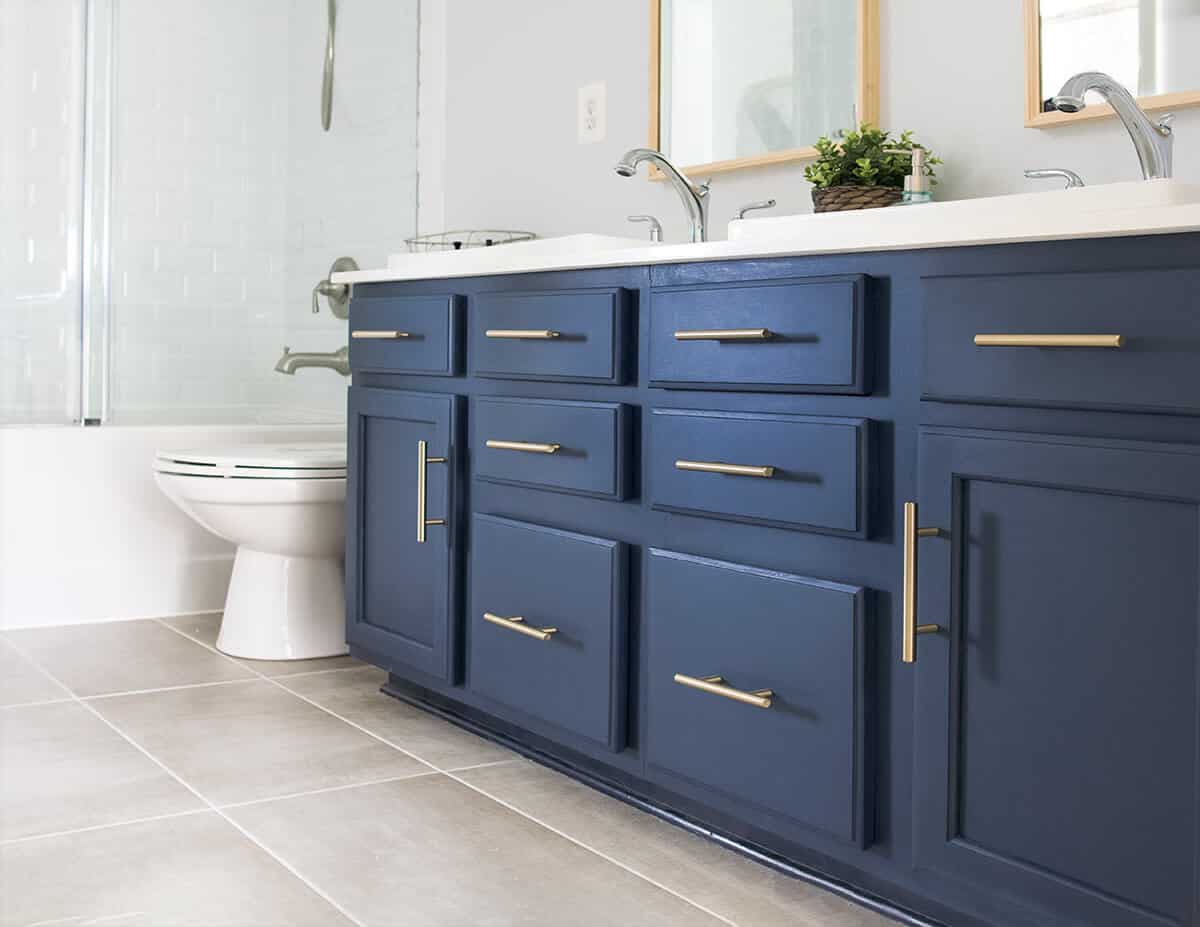
Painting Over Bathroom Vanity: Tips and Tricks
Are you tired of looking at the same old bathroom vanity every day? Want to give your bathroom a fresh new look without breaking the bank? Look no further than painting over your bathroom vanity! This simple and cost-effective DIY project can transform your bathroom and give it a whole new vibe. Here are 10 tips and tricks to help you achieve the perfect painted bathroom vanity.
How to Paint a Bathroom Vanity
The first step in painting your bathroom vanity is to gather all the necessary materials. You will need sandpaper, primer, paint, paintbrushes, and a paint roller. It's also important to protect your bathroom floor and countertops from any spills or drips. Once you have everything you need, it's time to get started!
DIY Bathroom Vanity Makeover: Painting Edition
If you're looking to save some money and add a personal touch to your bathroom, a DIY bathroom vanity makeover is the way to go. Painting your bathroom vanity is a simple and budget-friendly way to give your bathroom a new look. Plus, you can customize the color and style to your liking.
Best Paint for Bathroom Vanity
When it comes to choosing the best paint for your bathroom vanity, there are a few things to consider. First, make sure to use a paint that is specifically made for cabinets and furniture. These types of paints are more durable and will withstand the moisture and humidity in a bathroom. You should also consider the color and finish of the paint. A semi-gloss or satin finish is recommended for bathroom vanities as they are more resistant to water and stains.
Step-by-Step Guide to Painting Your Bathroom Vanity
Now that you have all your materials and have chosen the perfect paint, it's time to start painting! Here is a step-by-step guide to help you achieve a professional-looking finish:
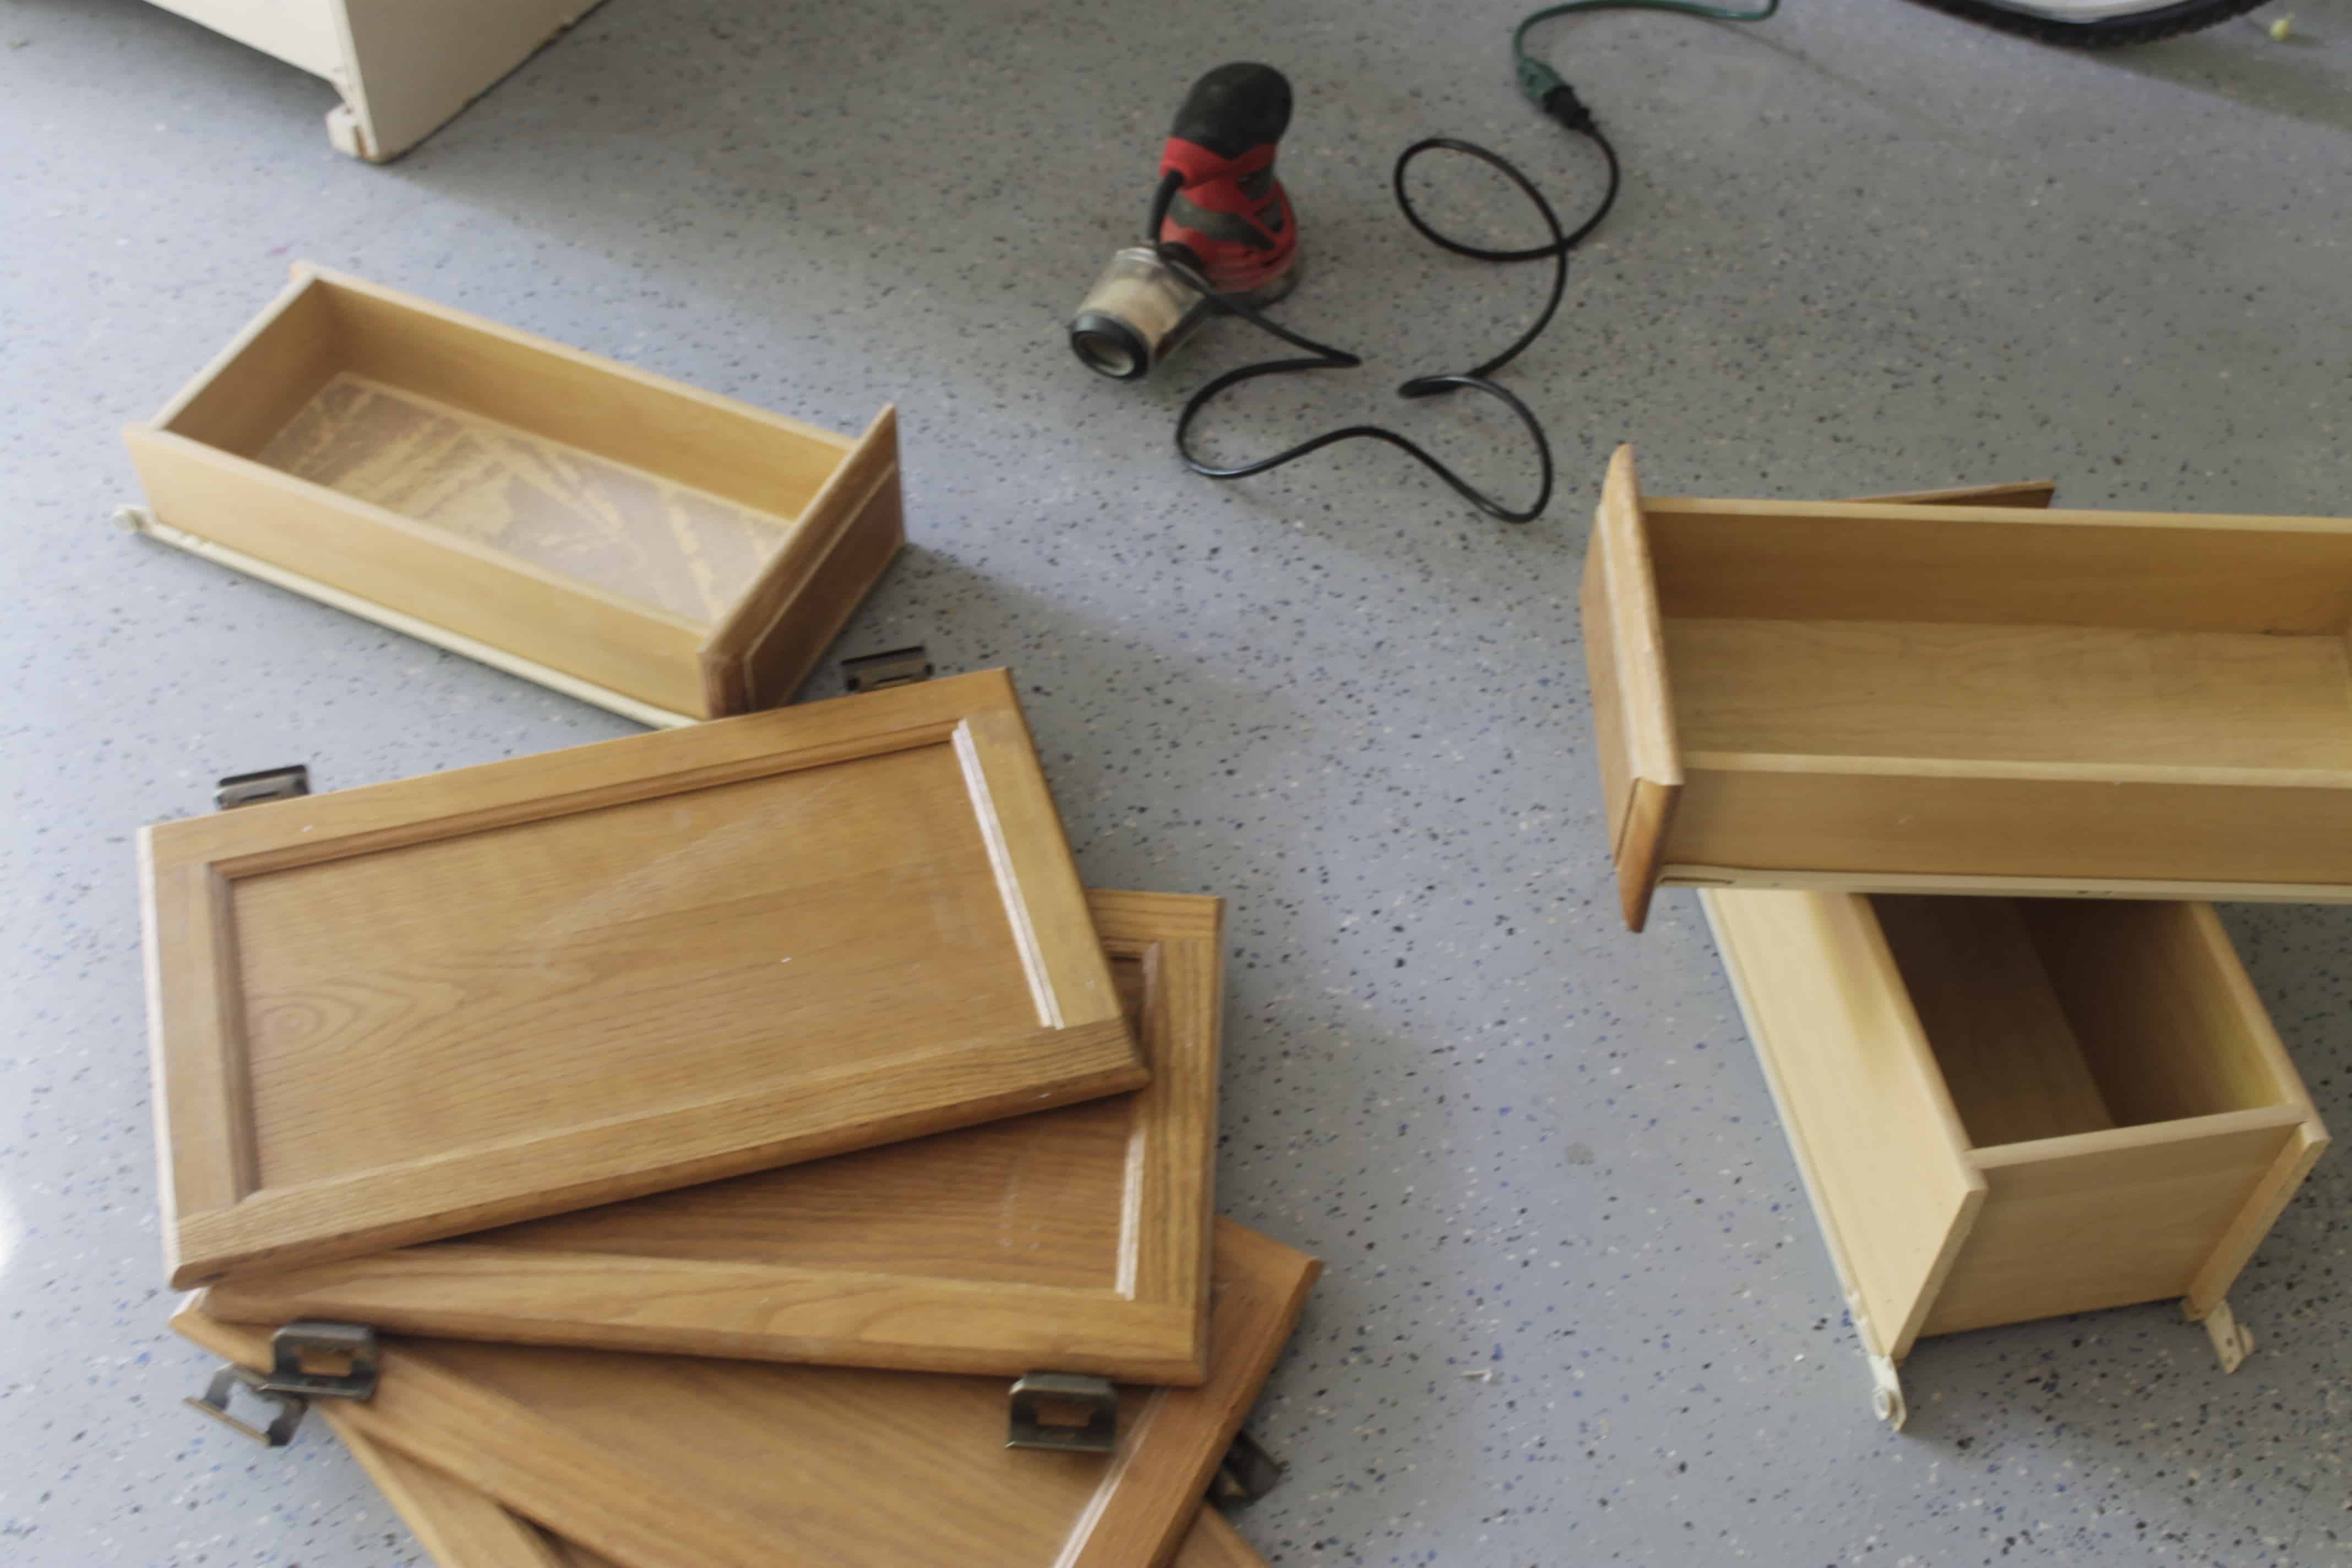
Step 1: Remove all hardware from your bathroom vanity, including handles and hinges.
Step 2: Clean the vanity thoroughly with a mild soap and water. This will ensure that the paint adheres properly.
Step 3: Sand the vanity with a fine-grit sandpaper to roughen up the surface and remove any glossy finish.
Step 4: Apply a coat of primer to the vanity. This will help the paint to adhere and prevent any stains from showing through.
Step 5: Once the primer is dry, use a paintbrush to cut in around the edges and corners of the vanity. Then, use a paint roller to cover the rest of the vanity with an even coat of paint.
Step 6: Allow the first coat of paint to dry completely. Then, apply a second coat for a more opaque finish.
Step 7: Let the paint dry for at least 24 hours before reattaching the hardware and using your newly painted bathroom vanity.
Transform Your Bathroom Vanity with a Fresh Coat of Paint
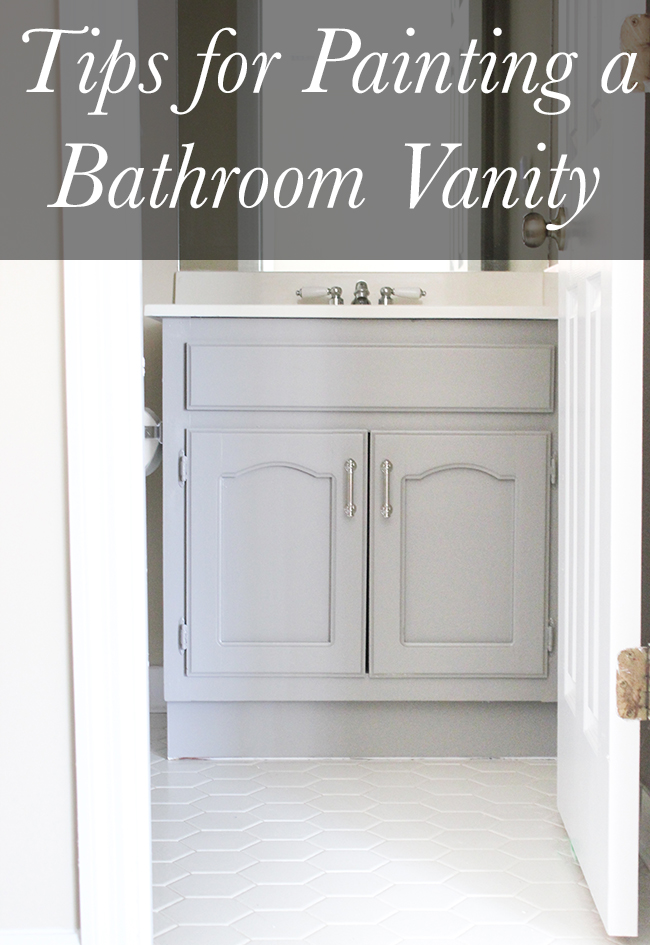
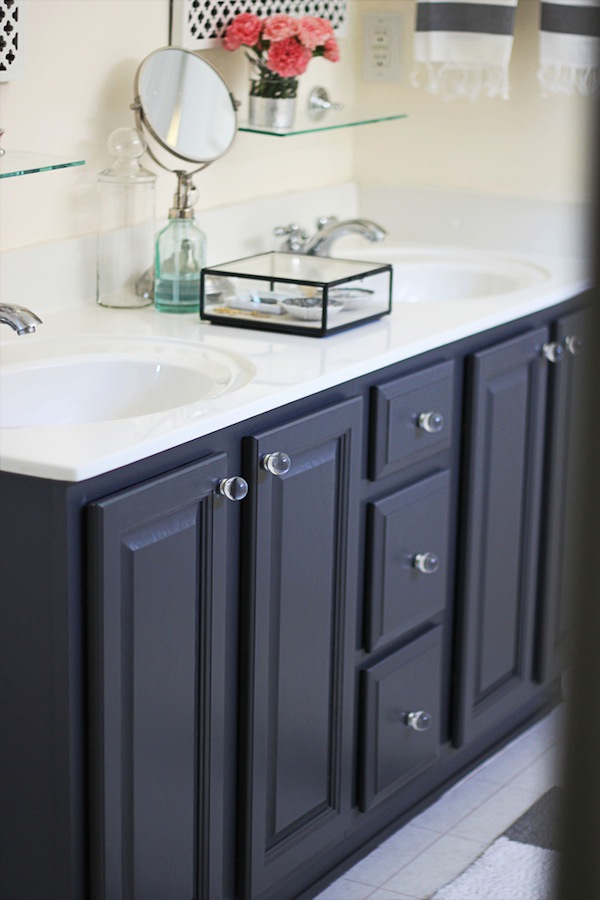
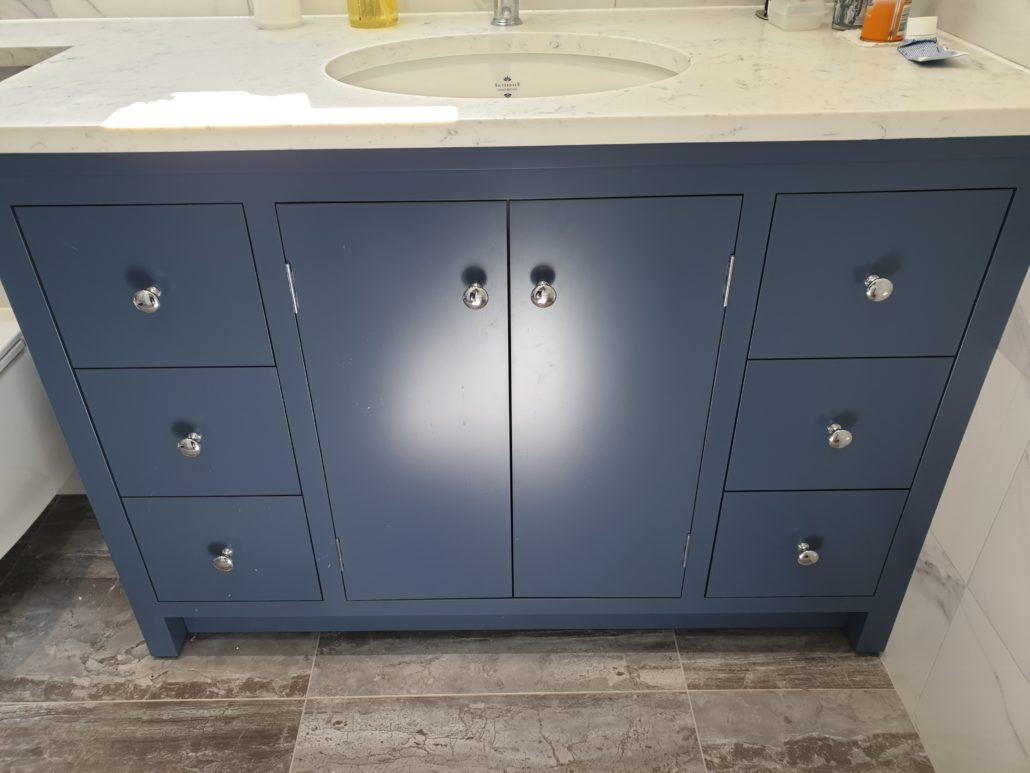
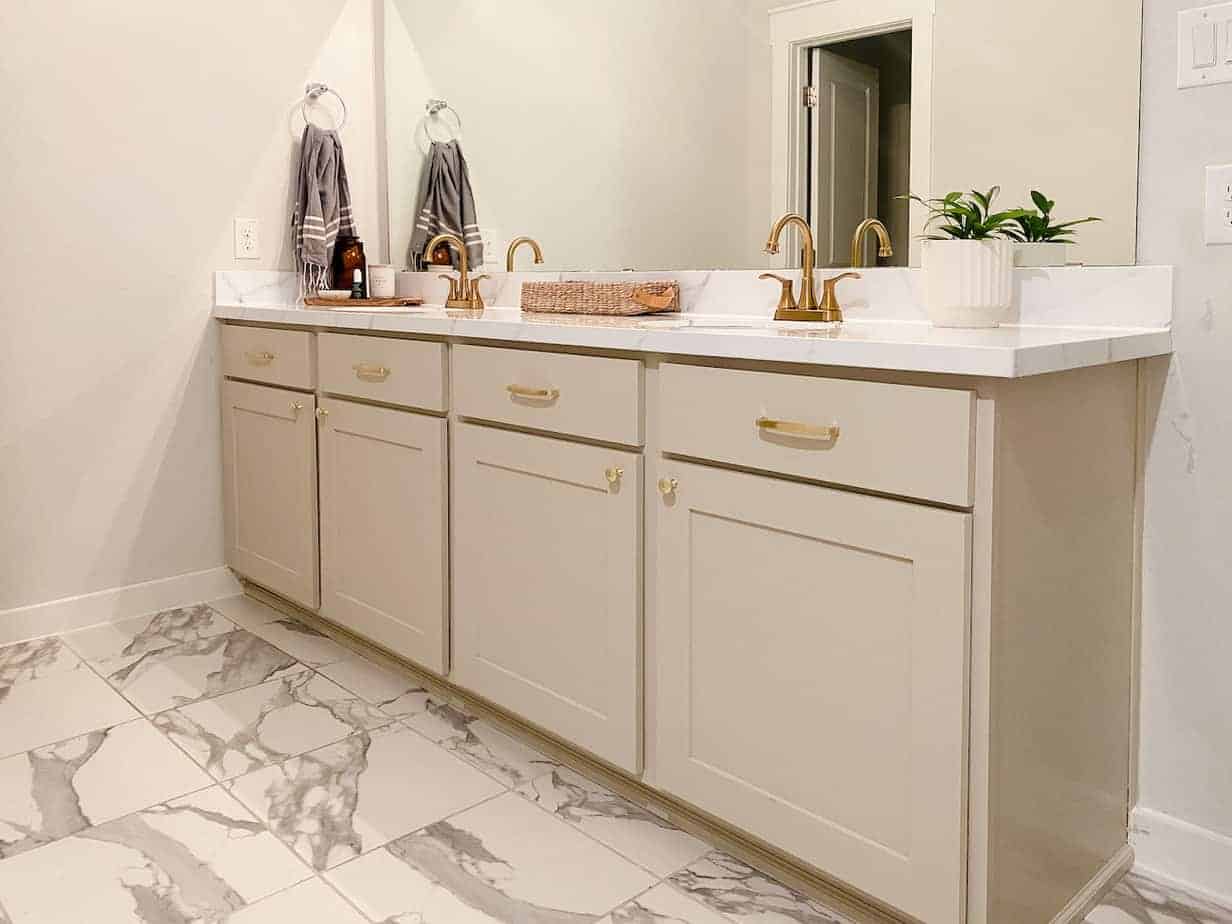
A fresh coat of paint can completely transform the look of your bathroom vanity. Whether you choose a bold and bright color or a subtle and neutral tone, painting your vanity can make a huge impact on the overall aesthetic of your bathroom. Plus, it's a quick and easy way to update your space without a major renovation.
Choosing the Right Color for Your Painted Bathroom Vanity
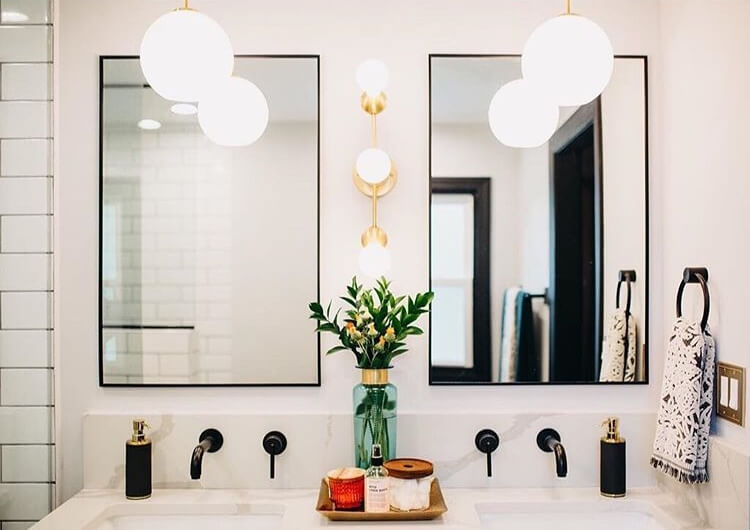
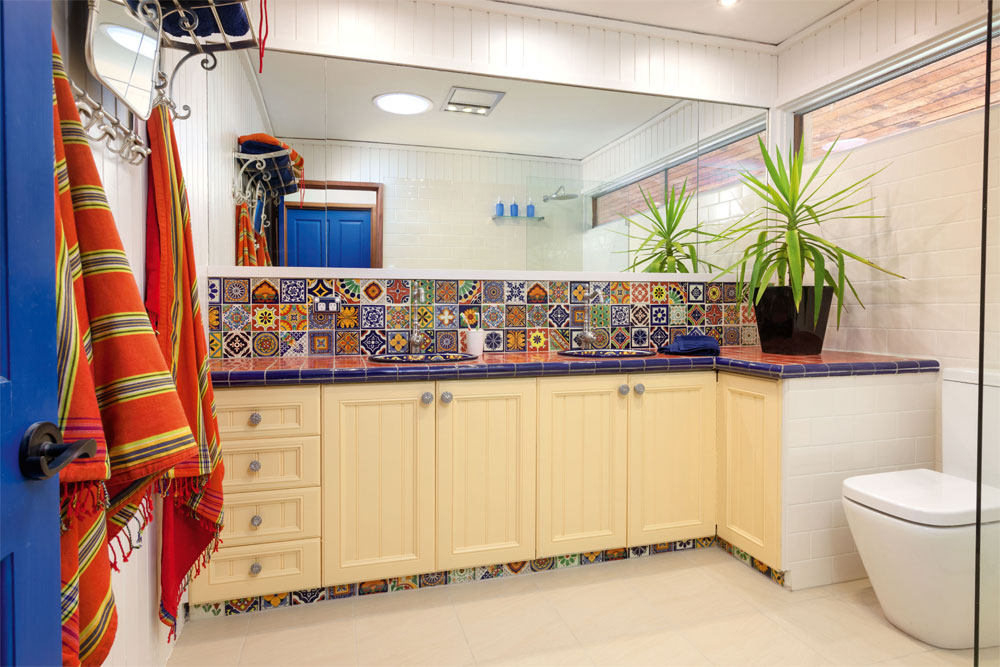
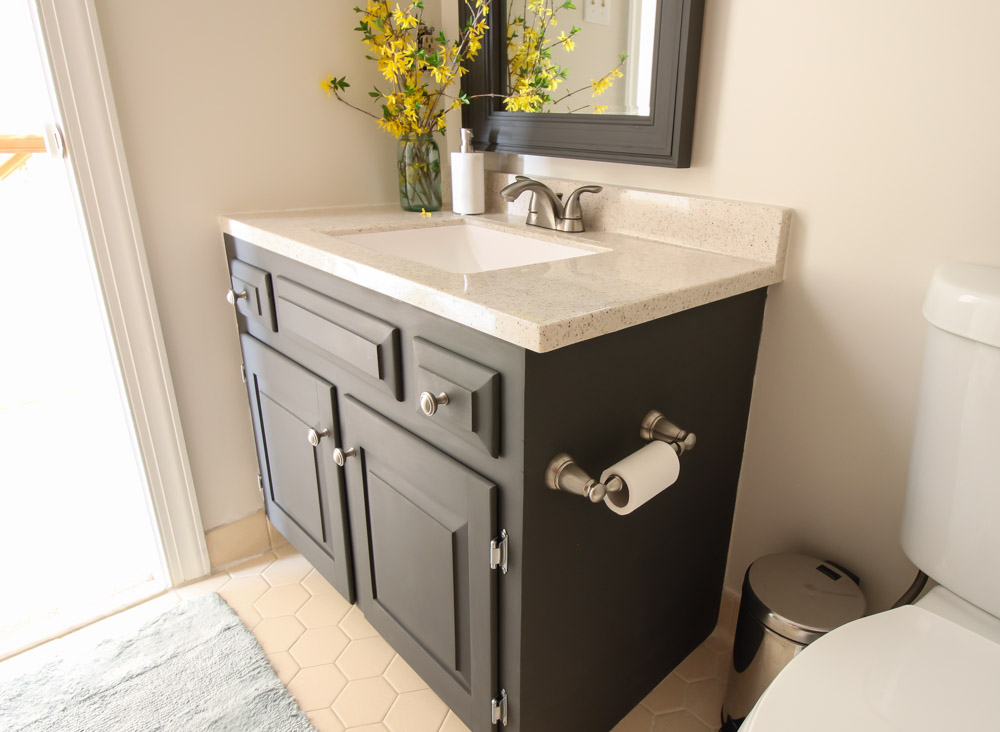
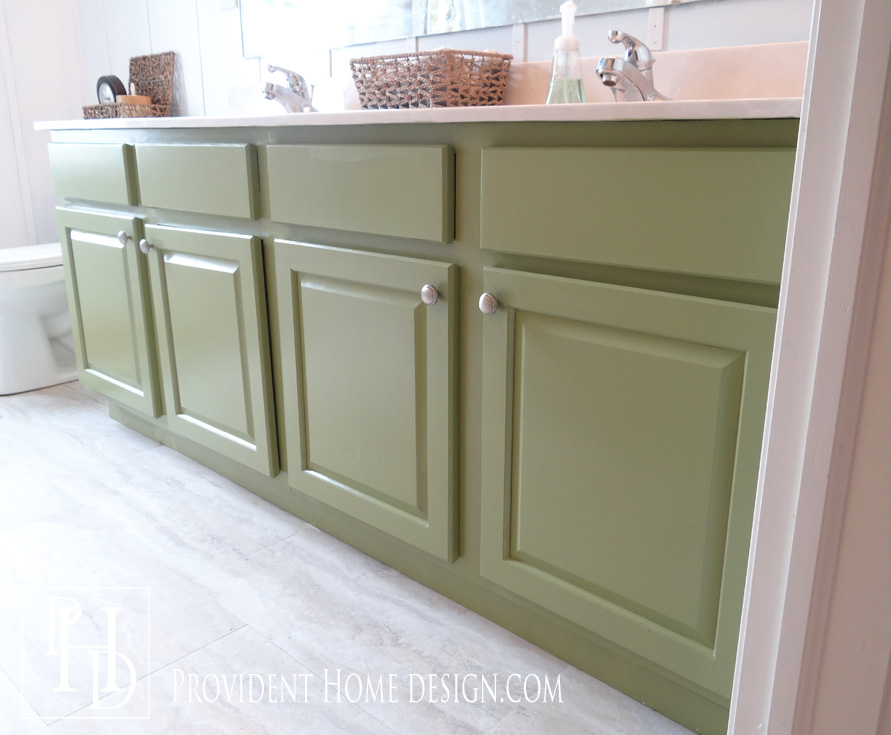
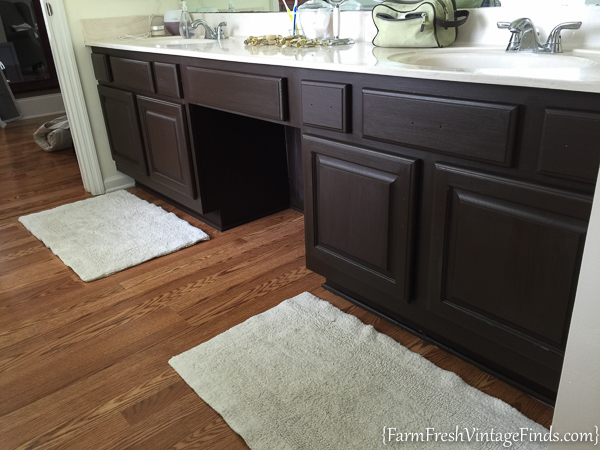
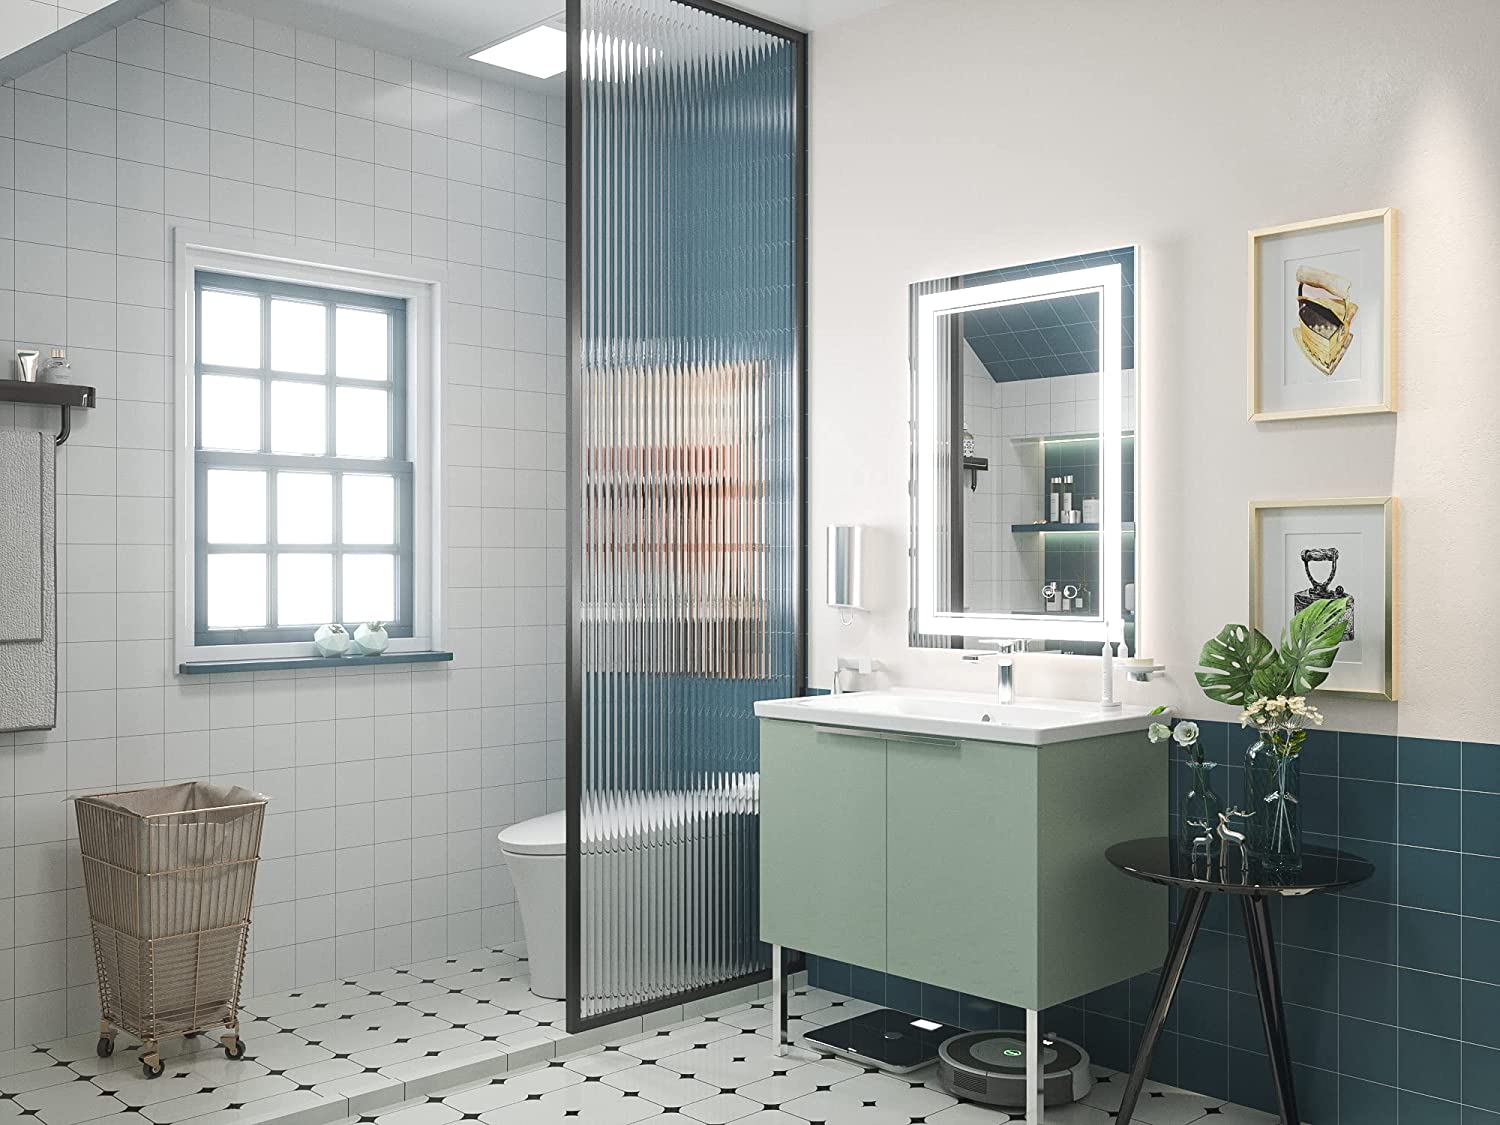
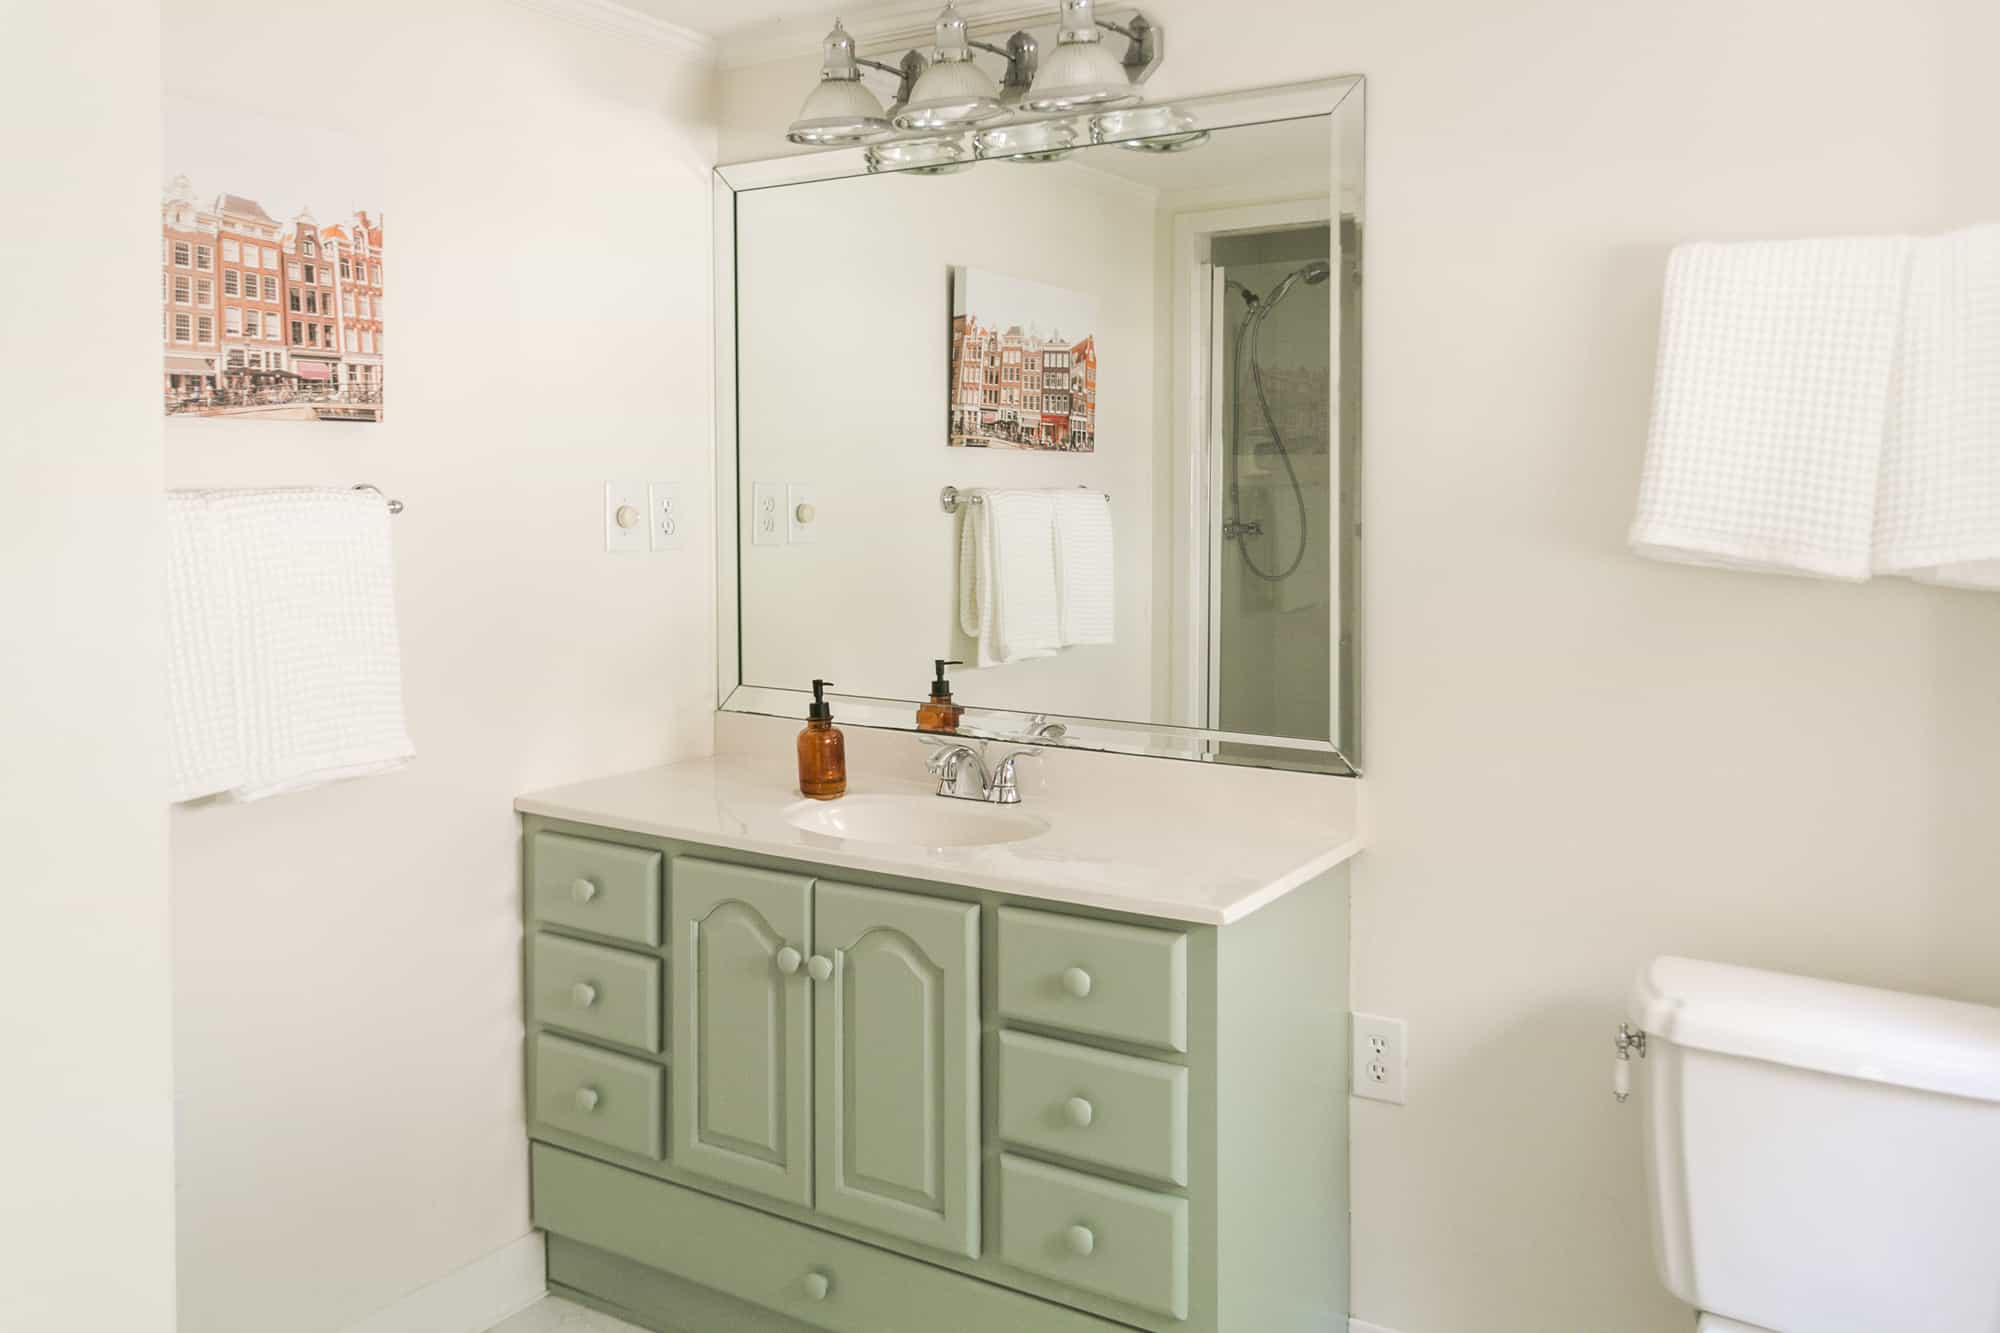
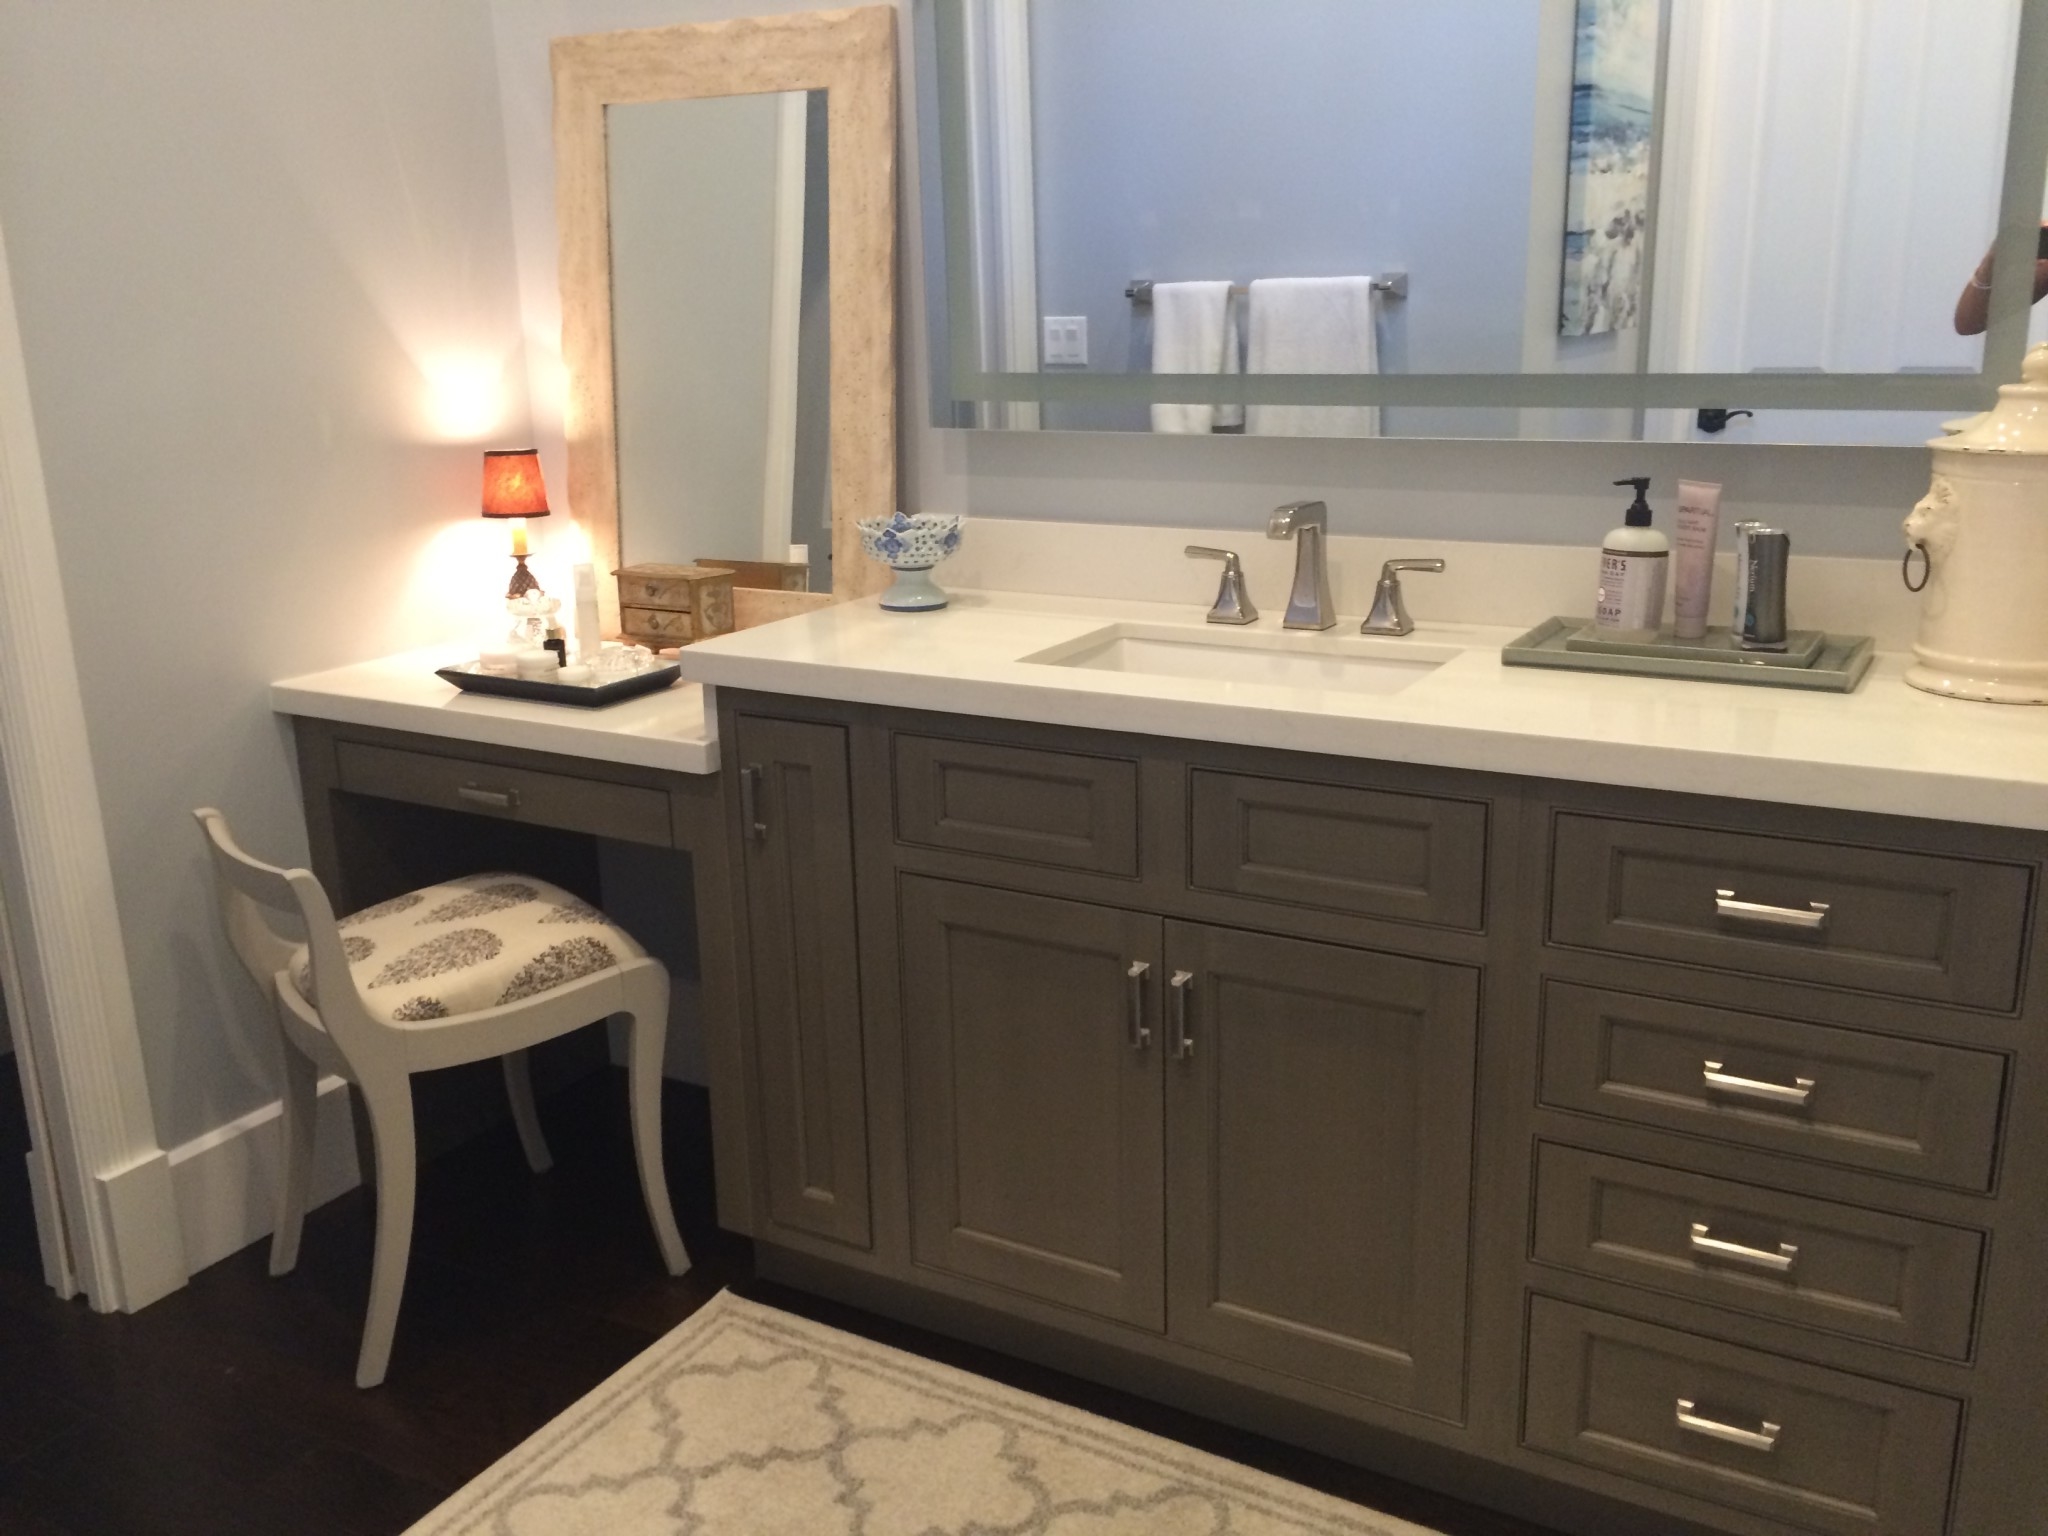
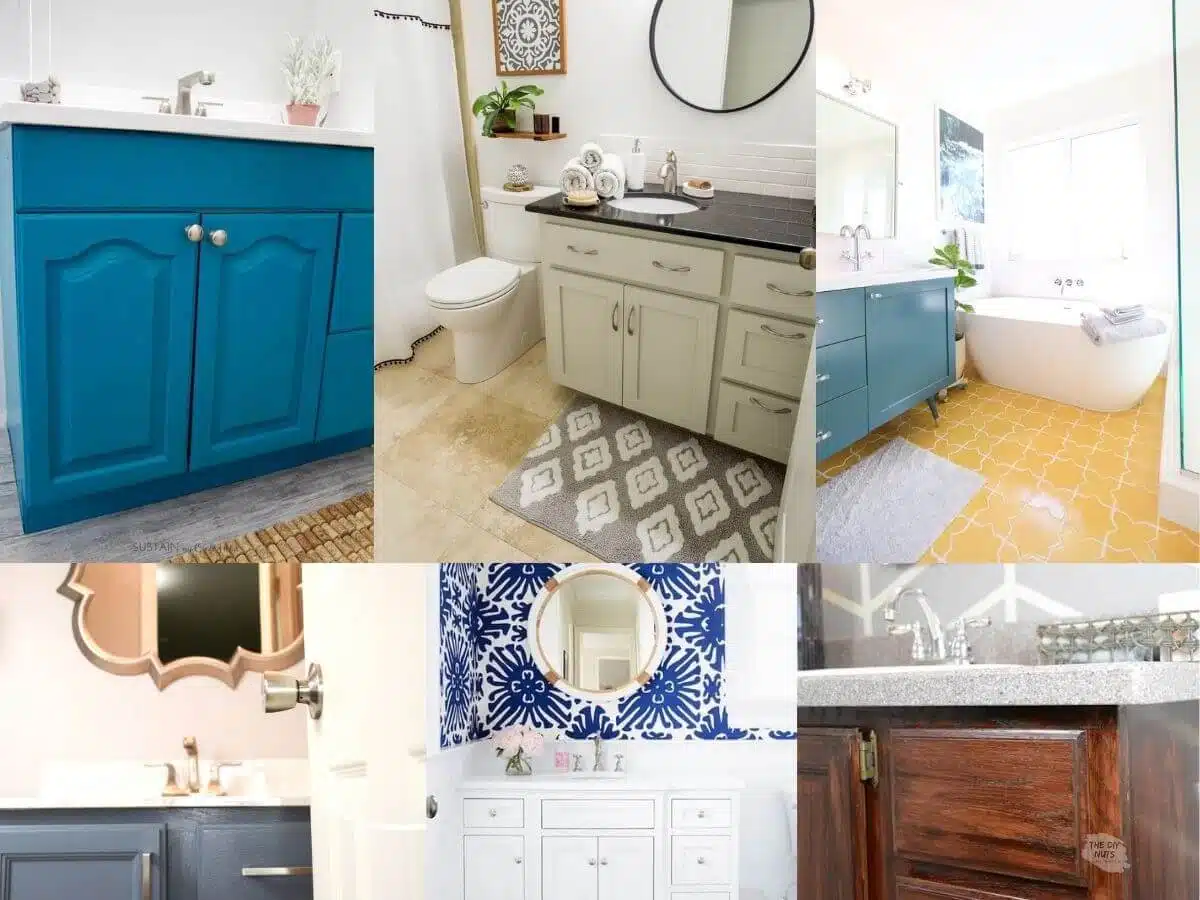
The color you choose for your painted bathroom vanity can set the tone for the entire room. If you want to create a spa-like atmosphere, opt for calming shades of blue or green. For a more modern and sleek look, go for a dark grey or black. If you're feeling adventurous, a pop of color like yellow or pink can add a fun and playful touch to your bathroom.
From Drab to Fab: Painting Your Bathroom Vanity
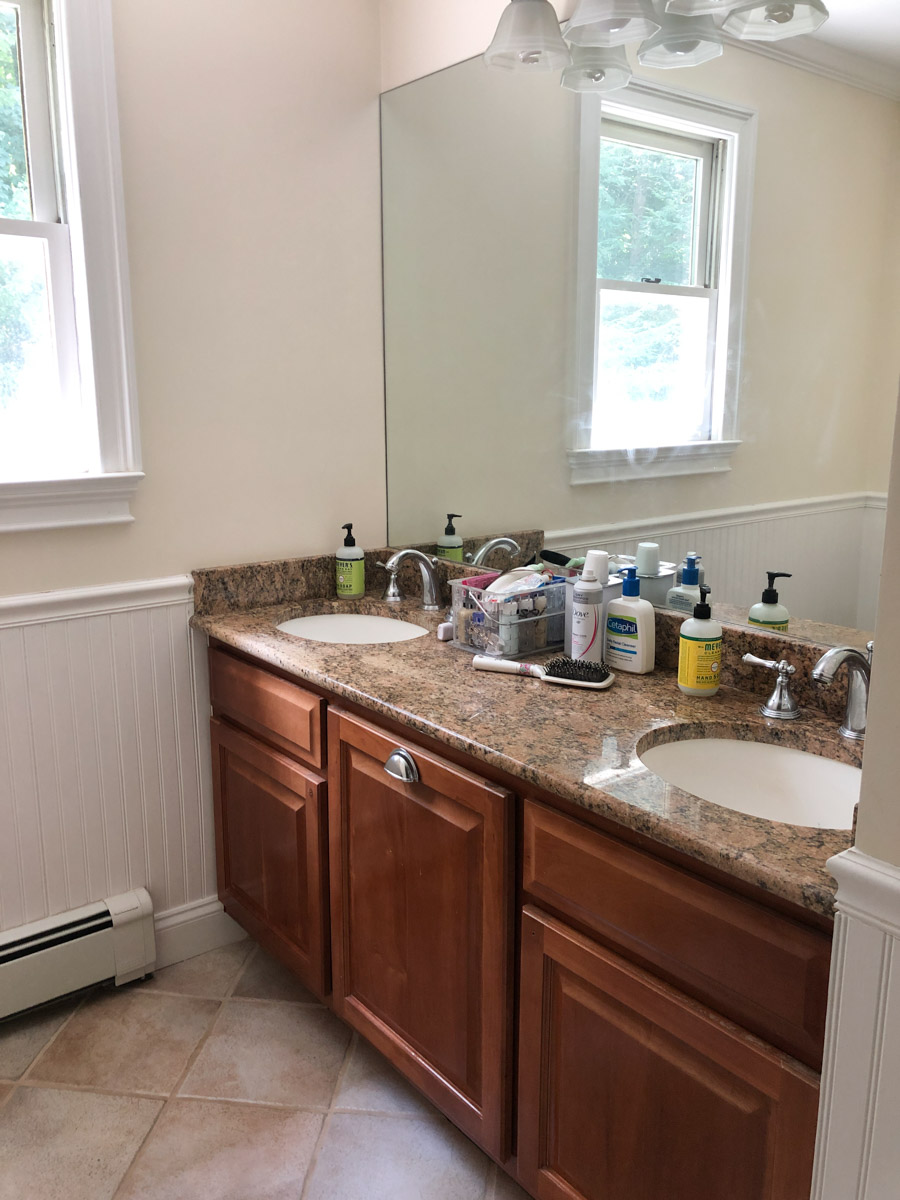
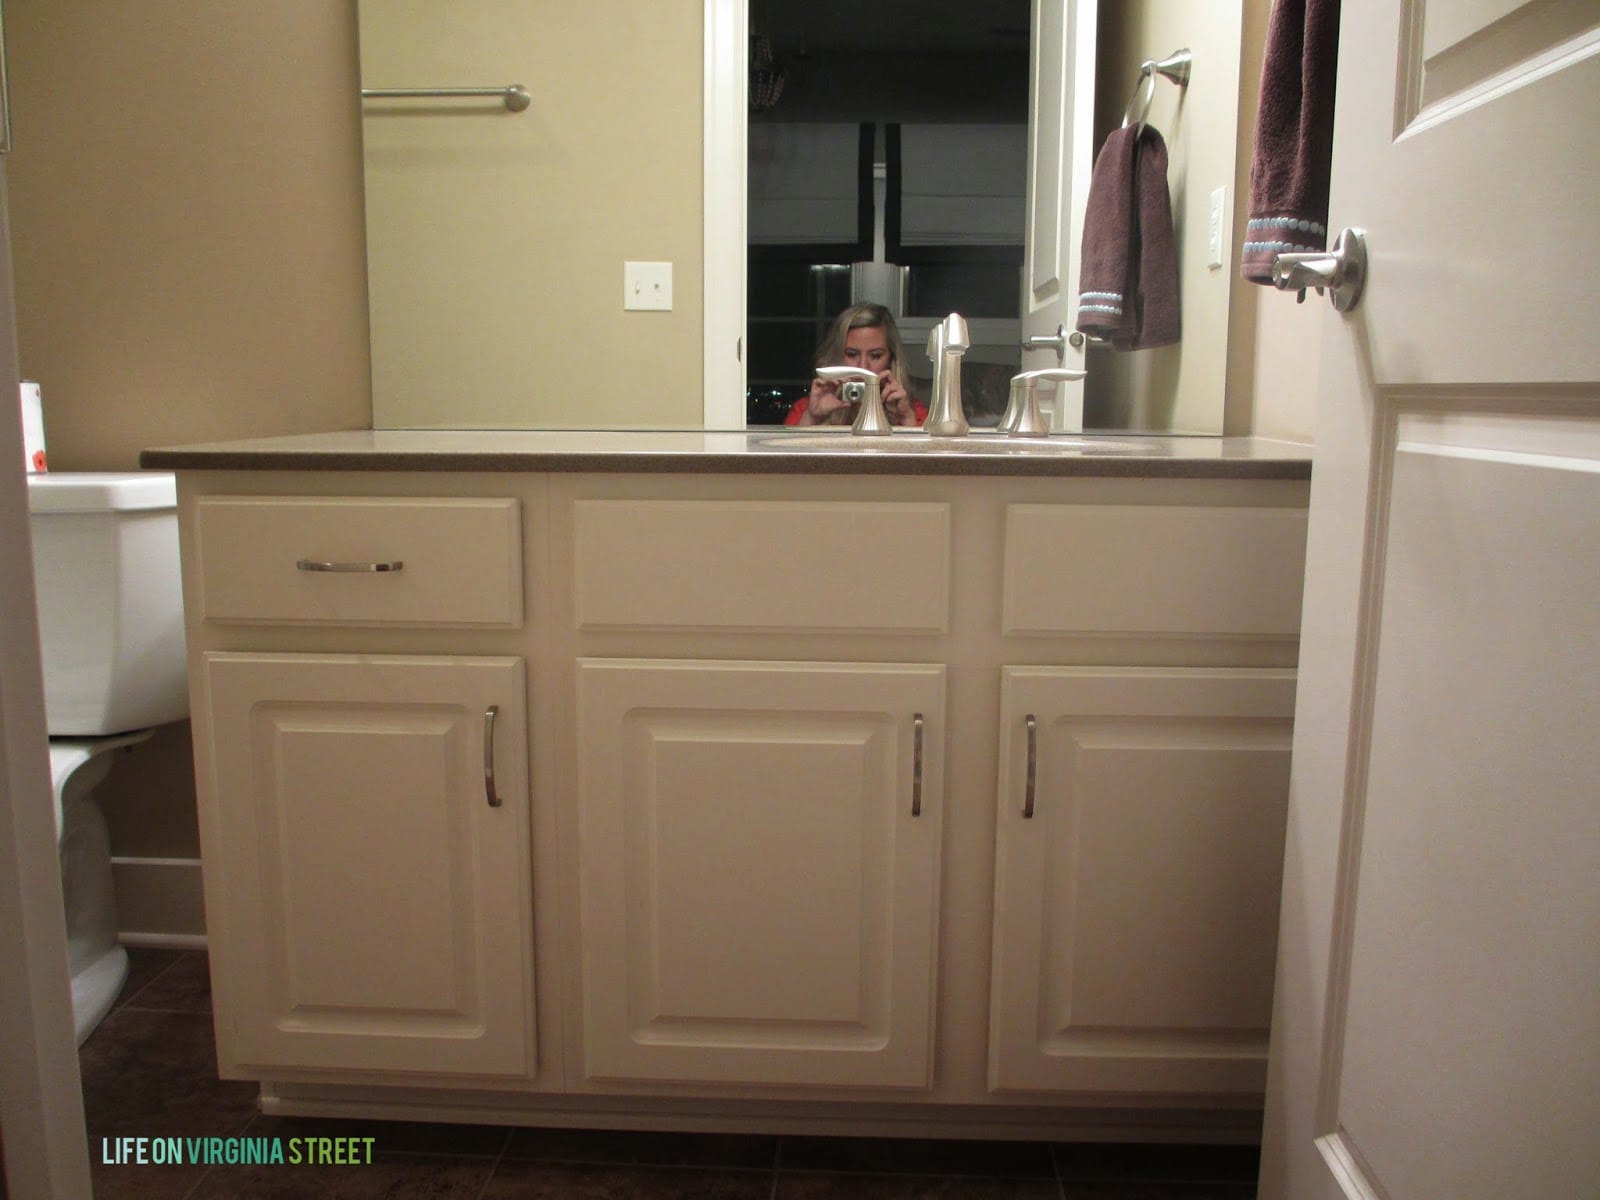
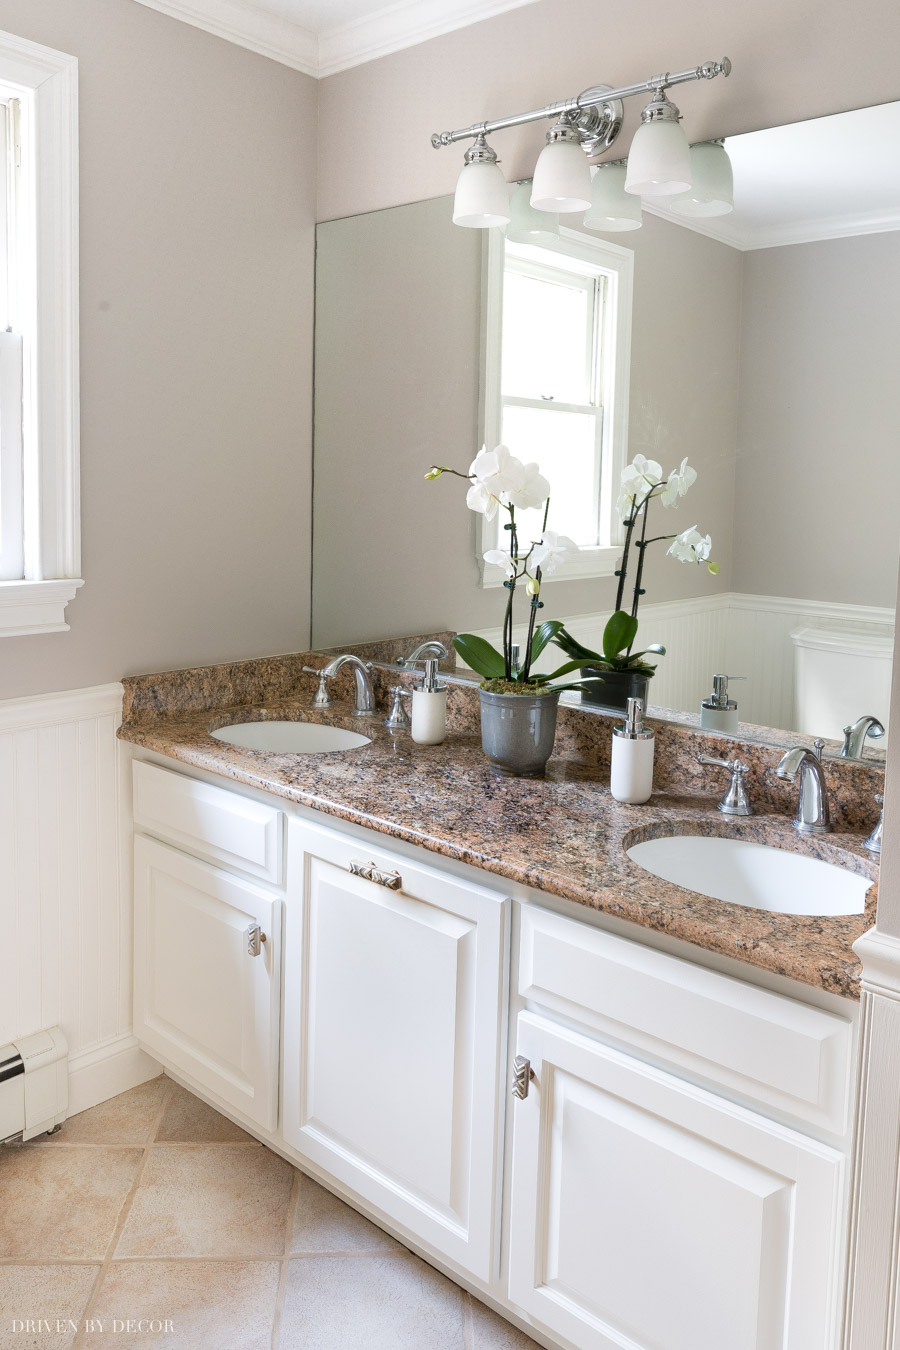
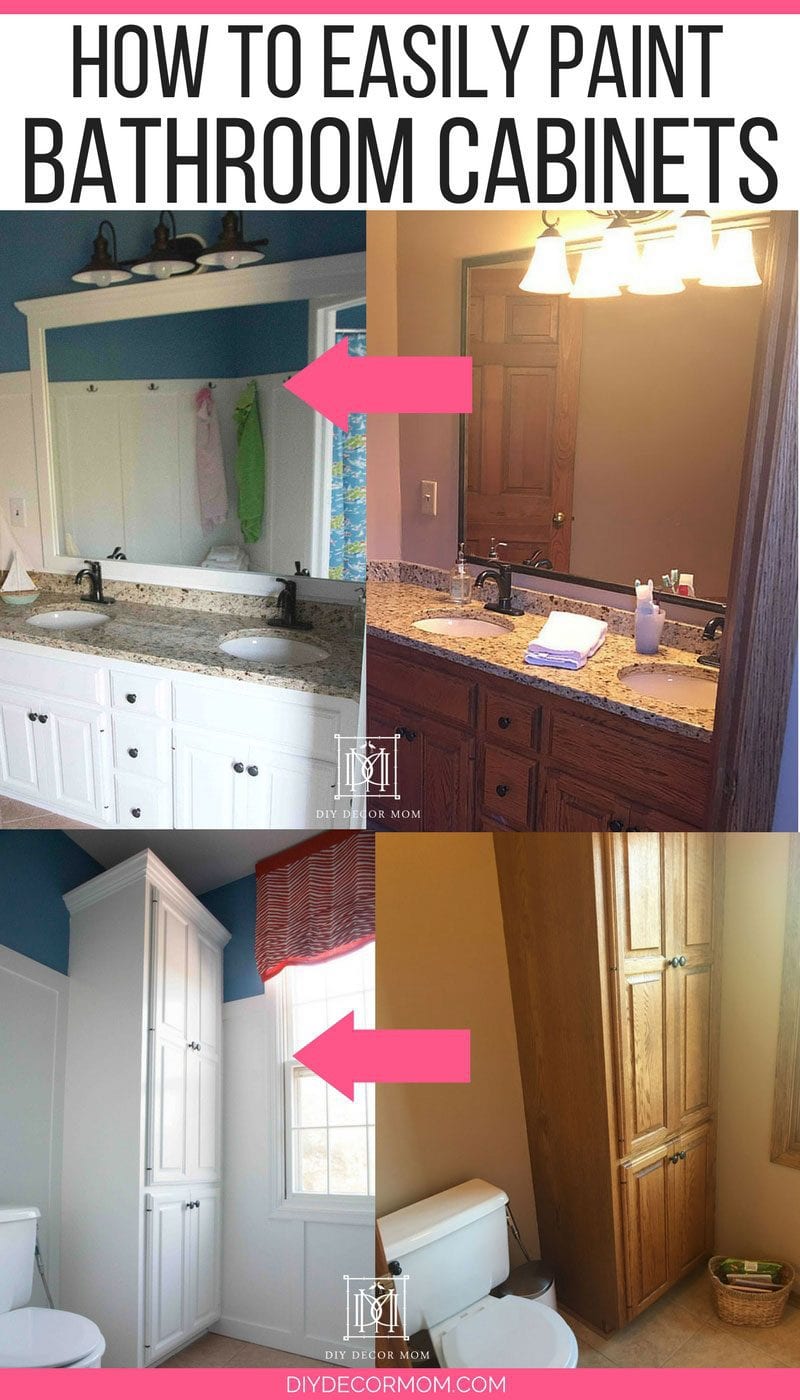
Painting your bathroom vanity is a great way to breathe new life into an outdated or boring bathroom. It's also a more affordable option compared to replacing the entire vanity. With a few coats of paint, you can turn your drab bathroom into a fab space that you'll love spending time in.
Painting Over Laminate Bathroom Vanity
If your bathroom vanity is made of laminate, don't worry – it can still be painted. However, it's important to properly prepare the surface before painting. Make sure to clean and sand the vanity thoroughly, and use a primer specifically made for laminate surfaces. This will ensure that the paint adheres properly and doesn't chip or peel over time.
How to Prep Your Bathroom Vanity for Painting
Proper preparation is key when it comes to painting your bathroom vanity. Make sure to thoroughly clean the surface and remove any hardware before beginning. Sanding the vanity is also crucial for a smooth finish. It's also important to protect the surrounding areas from any paint drips or spills. Cover the floor and countertops with plastic or drop cloths to avoid any damage.
Now that you have all the tips and tricks for painting over your bathroom vanity, it's time to get started on your bathroom makeover! With a little bit of time and effort, you can achieve a beautiful and refreshed bathroom without breaking the bank. Don't be afraid to get creative and add your own personal touch to make your bathroom vanity truly unique.
Why Painting Over Your Bathroom Vanity Can Transform Your Space

The Power of Paint
 When it comes to home design and decor, paint is often the unsung hero. While it may seem like a small and simple element, the right paint color can completely transform a space. This is especially true in a bathroom, where a fresh coat of paint can make a huge difference in the overall look and feel of the room. And when it comes to bathroom vanities, painting over them can be a game-changer.
Outdated or Boring? Not Anymore.
 Many homeowners may think that their bathroom vanity is beyond saving. It may be outdated, damaged, or simply boring. But before you give up on it and spend thousands on a new one, consider giving it a fresh coat of paint. Not only is it a more budget-friendly option, but it also allows you to completely change the look of your bathroom without the hassle of a full renovation.
A Personal Touch
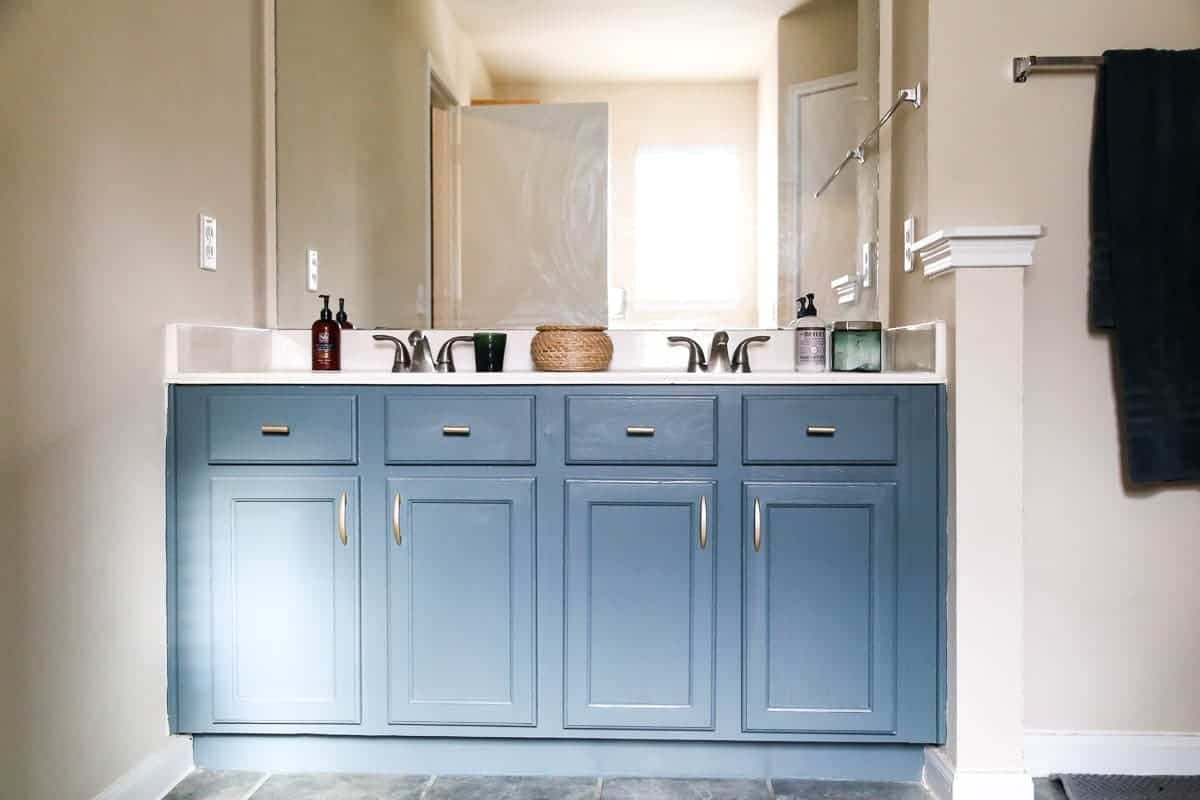 One of the best things about painting over your bathroom vanity is that you can truly make it your own. Whether you want to add a pop of color, create a calming spa-like atmosphere, or add some personality with a bold pattern, the options are endless. And with the ability to choose from different finishes such as matte, satin, or high-gloss, you can achieve the perfect look for your space.
Boost Your Home's Value
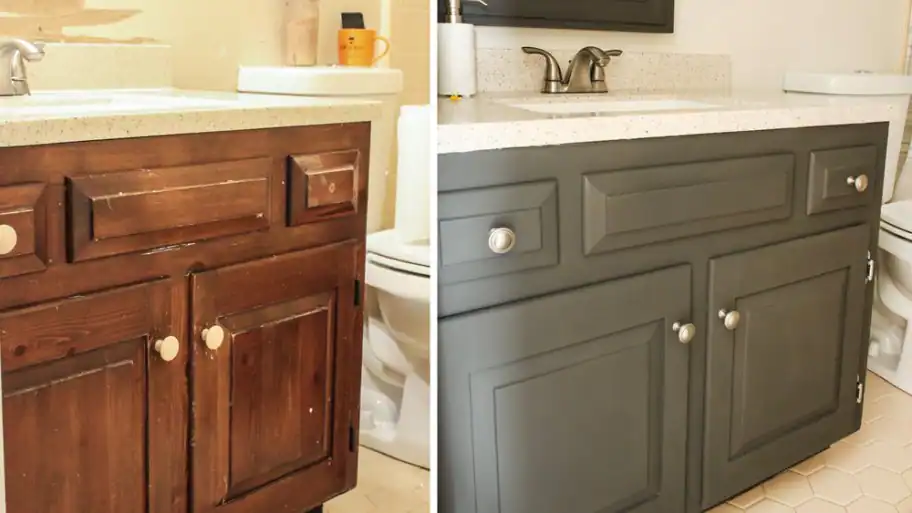 If you're looking to sell your home or simply increase its value, painting your bathroom vanity can be a great investment. A freshly painted and updated bathroom can make a big impact on potential buyers and can increase the overall value of your home. Plus, with the money saved from not having to replace the vanity, you can put it towards other home improvement projects.
Easy and Affordable
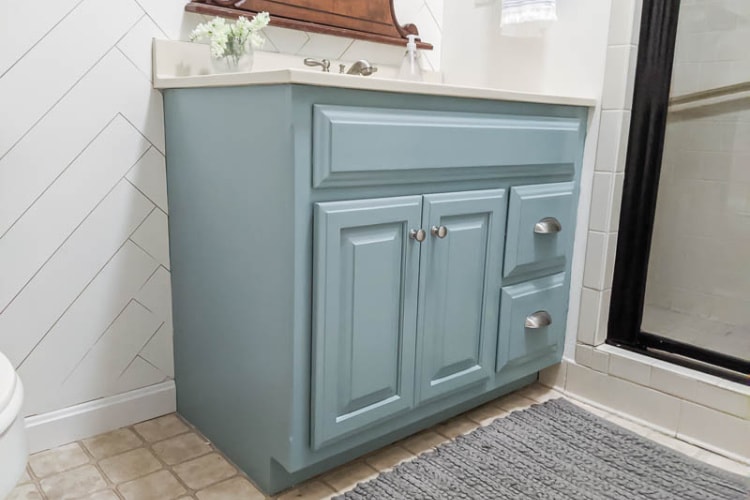 Painting over your bathroom vanity is a relatively easy and affordable project that can be completed in a weekend. With the right tools and materials, you can transform your vanity into a stunning focal point in your bathroom. Plus, by choosing to do it yourself, you can save even more money and have the satisfaction of completing a DIY project.
Final Thoughts
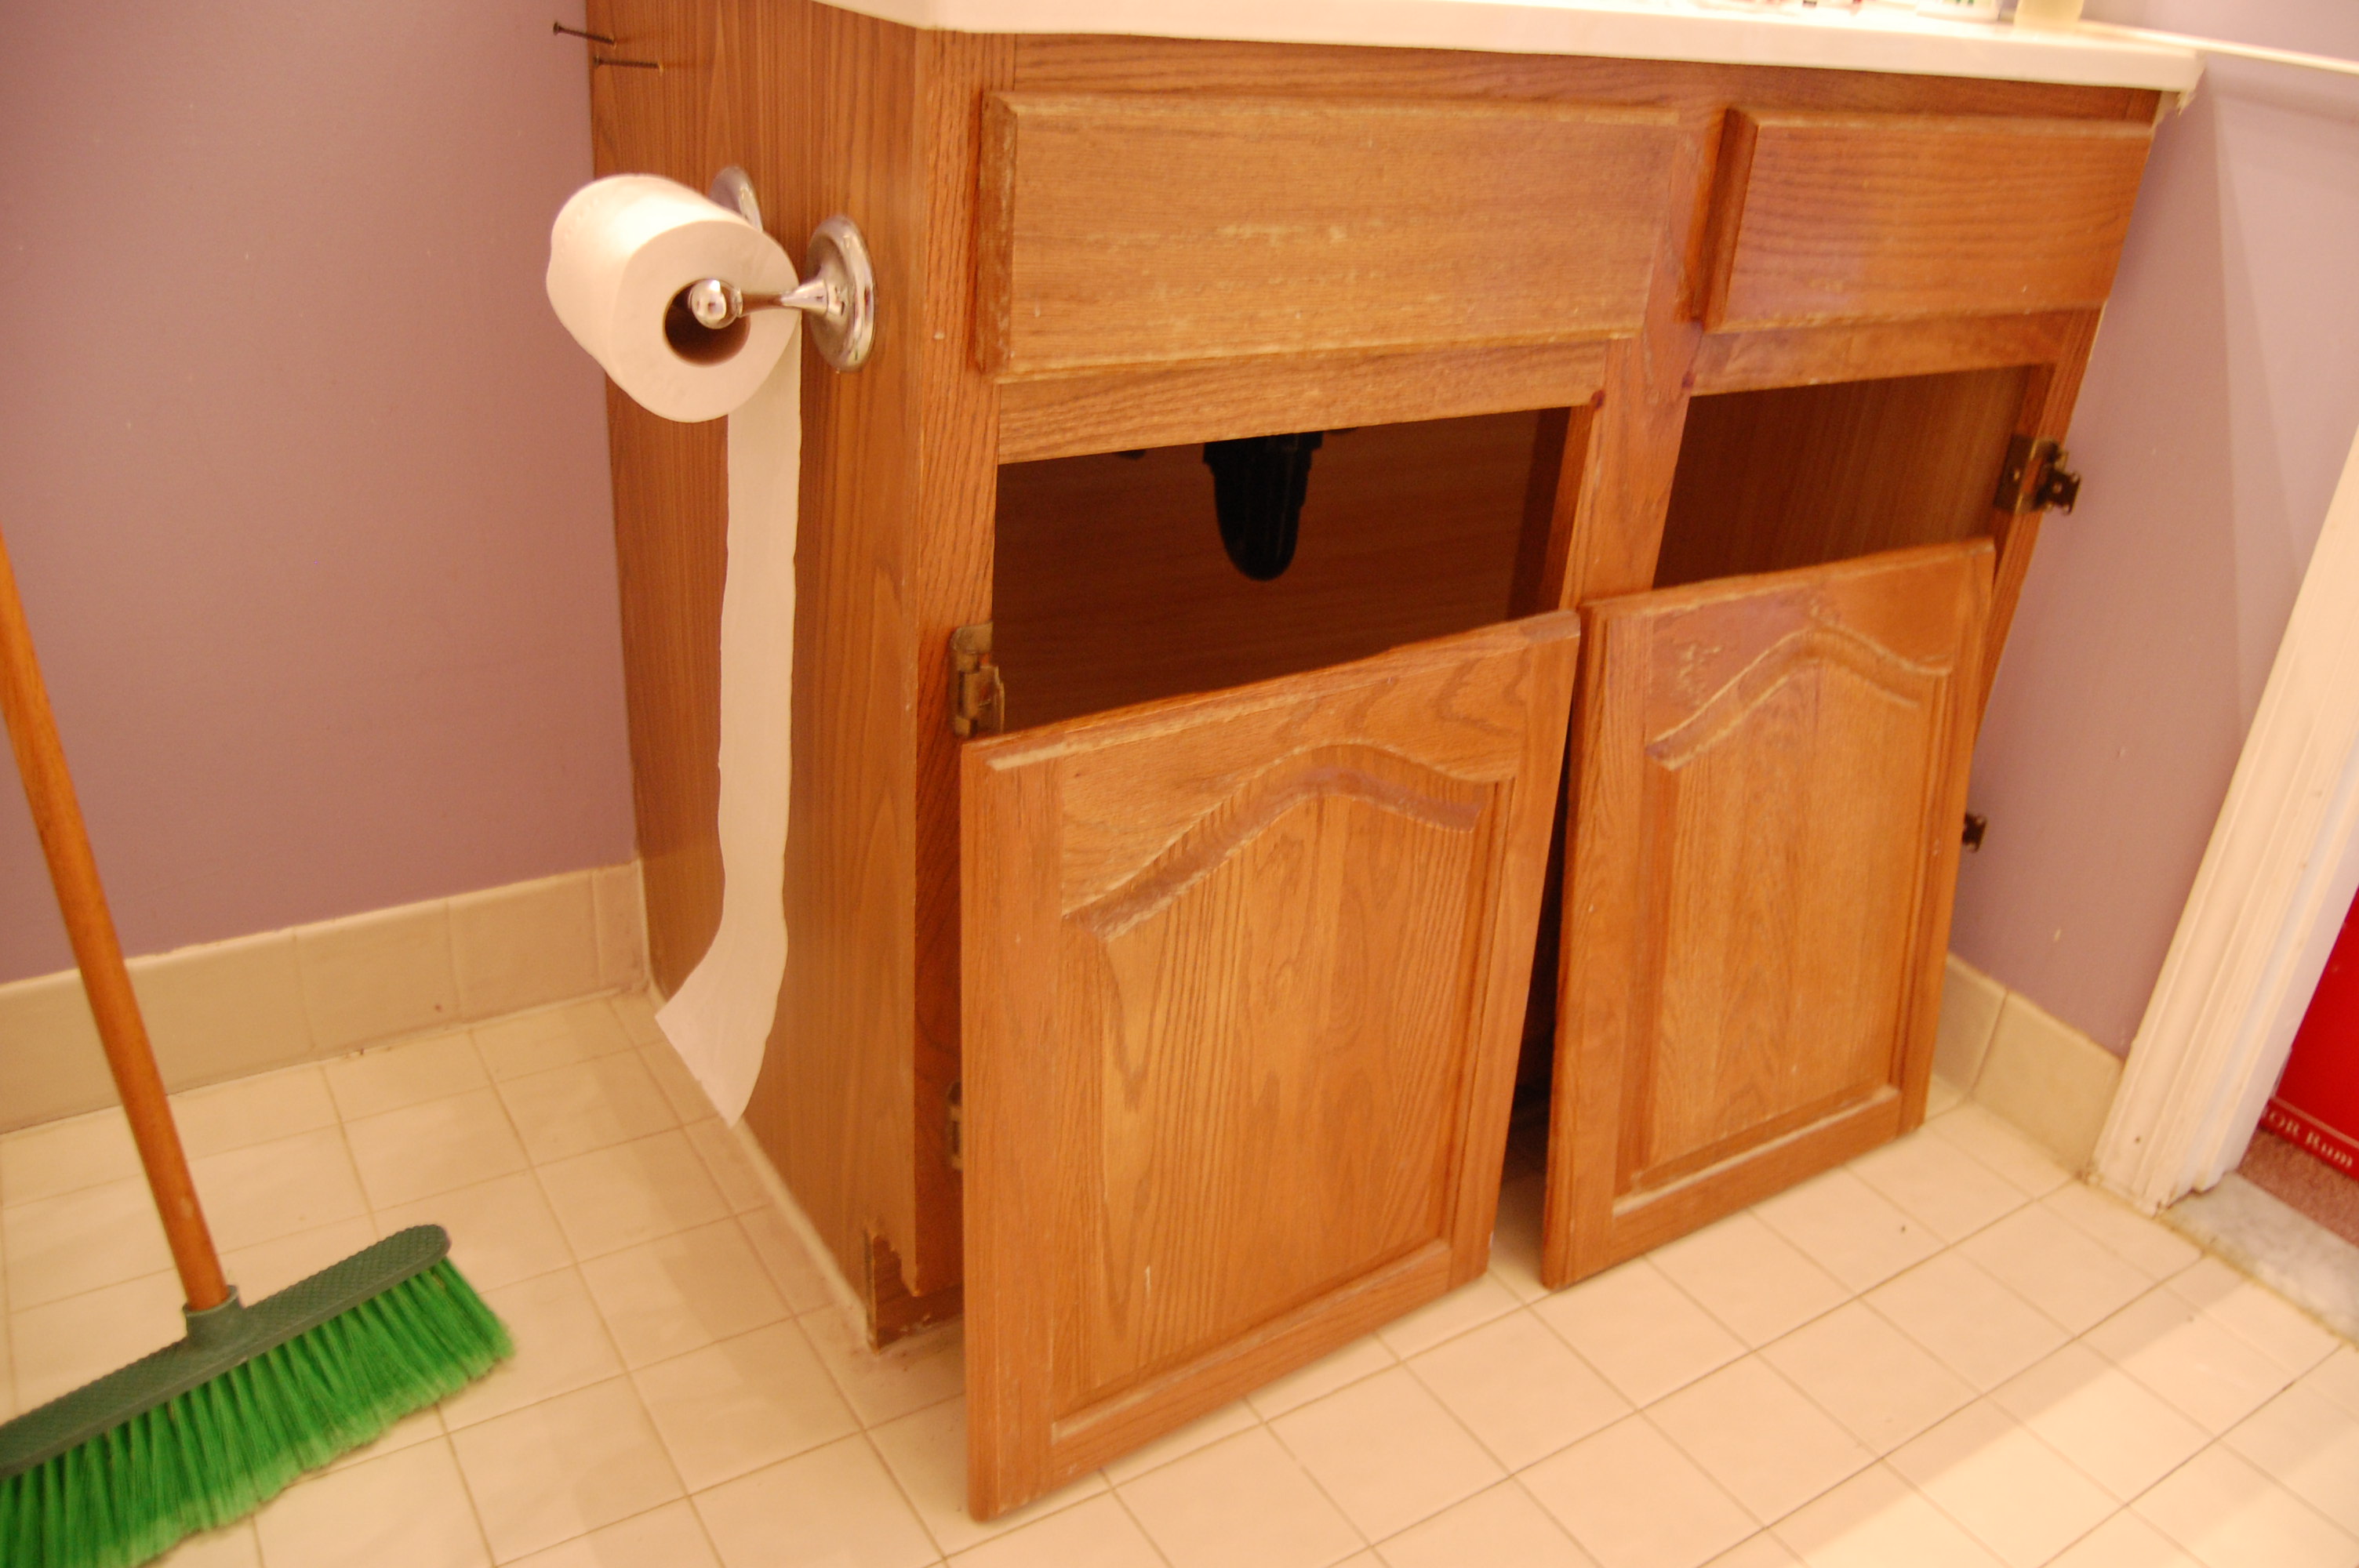 In conclusion, painting over your bathroom vanity is a simple and cost-effective way to give your bathroom a much-needed update. Not only does it allow you to add your personal touch and increase your home's value, but it also gives you the opportunity to get creative and have fun with your home design. So why not grab a brush and some paint and see the amazing transformation that a simple coat of paint can bring?


