Overhead Kitchen Light Removal
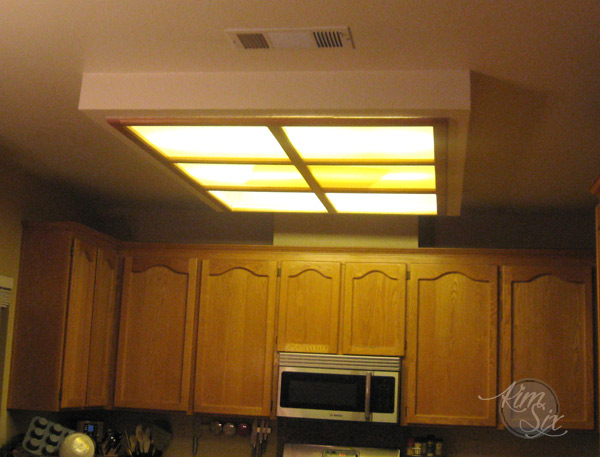
Removing an overhead kitchen light may seem like a daunting task, but with the right tools and knowledge, it can be a simple and rewarding DIY project. Whether you are looking to upgrade your kitchen lighting or simply need to remove an old and outdated fixture, we have got you covered. In this article, we will provide you with a step-by-step guide for safely removing an overhead kitchen light, as well as tips for replacing it with a new one.
How to Remove an Overhead Kitchen Light
The first step in removing an overhead kitchen light is to turn off the power to the fixture. This can be done by flipping the switch in your circuit breaker box or by unscrewing the fuse for that particular circuit. It is important to make sure the power is completely off before proceeding with the removal process.
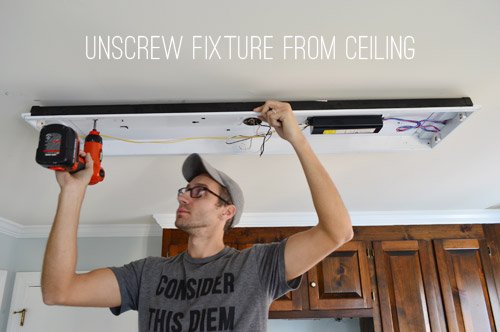
Once the power is off, you can begin removing the light fixture. Start by unscrewing any screws or brackets that are holding the fixture in place. Carefully lower the fixture and disconnect any wires or cables that are attached to it. It is important to remember which wires are connected to which, as you will need to reconnect them when installing a new light fixture.
DIY Kitchen Light Removal
If you are a DIY enthusiast, removing an overhead kitchen light can be a fun and rewarding project. However, it is important to have the necessary tools for the job. Some of the tools you will need include a screwdriver, wire cutters, and a voltage tester. It is also recommended to have a helper to assist with holding the fixture while you disconnect the wires.
Before beginning the removal process, it is also important to have a plan for how you will dispose of the old light fixture. You can either donate it or properly dispose of it at a recycling center. It is not recommended to throw it in the trash as it may contain hazardous materials.
Removing an Overhead Kitchen Light Fixture
When removing an overhead kitchen light fixture, it is important to take safety precautions. Make sure the power is completely off and wear protective gloves to avoid any potential electrical shocks. Use a ladder to safely reach the fixture and have someone hold it steady while you work.
Once the fixture is removed, you can begin the process of installing a new one. This may involve rewiring the new fixture and attaching it to the ceiling. If you are unsure of how to do this, it is recommended to hire a professional electrician.
Step-by-Step Guide for Removing an Overhead Kitchen Light
If you are new to DIY projects, here is a step-by-step guide for safely removing an overhead kitchen light:
Step 1: Turn off the power to the fixture by flipping the switch in your circuit breaker box or unscrewing the fuse for that circuit.
Step 2: Use a ladder to safely reach the fixture and unscrew any screws or brackets holding it in place.
Step 3: Disconnect any wires or cables attached to the fixture. Use a voltage tester to ensure the power is off before touching any wires.
Step 4: Carefully lower the fixture and have someone hold it steady while you work.
Step 5: Dispose of the old fixture properly and clean the area before installing a new one.
Tools Needed for Overhead Kitchen Light Removal
As mentioned before, some of the tools you will need for removing an overhead kitchen light include a screwdriver, wire cutters, and a voltage tester. It is also recommended to have a ladder, protective gloves, and a helper to assist with the removal process.
If you are planning to install a new light fixture, you may also need additional tools such as a drill, wire connectors, and a stud finder. Make sure to have all the necessary tools before starting the project to avoid any delays.
Tips for Safely Removing an Overhead Kitchen Light
Here are some additional tips to keep in mind when removing an overhead kitchen light:
Tip 1: Always turn off the power before working on any electrical fixture.
Tip 2: Use a voltage tester to ensure the power is off before touching any wires.
Tip 3: Wear protective gloves to avoid any potential electrical shocks.
Tip 4: Have a helper to assist with holding the fixture while you work.
Tip 5: Dispose of the old fixture properly to avoid any potential hazards.
Removing an Old Overhead Kitchen Light
If you have an old and outdated overhead kitchen light, you may be looking to remove it and replace it with a new and modern one. Removing an old light fixture can be a bit more challenging as it may require additional steps such as removing old wiring and patching up any holes in the ceiling.
If you are unsure of how to remove an old overhead kitchen light, it is recommended to hire a professional. They will have the necessary tools and expertise to safely remove the fixture and make any necessary repairs to the ceiling.
Replacing an Overhead Kitchen Light
Replacing an overhead kitchen light is a great way to update the look of your kitchen and improve the lighting in the space. If you are planning to replace an old fixture with a new one, make sure to follow the manufacturer's instructions for installation. If you are unsure of how to install the new fixture, it is best to hire a professional.
Before purchasing a new overhead kitchen light, make sure to measure the space and choose a fixture that will fit properly. You may also want to consider the style and design of the light to ensure it complements your kitchen's aesthetic.
Professional Kitchen Light Removal Services
If you are not comfortable with DIY projects or do not have the necessary tools and expertise, it is best to hire a professional for your kitchen light removal. They will have the necessary tools and experience to safely remove the fixture and install a new one if needed.
Additionally, hiring a professional can save you time and ensure the job is done correctly. They may also offer warranties or guarantees for their work, giving you peace of mind.
The Benefits of Removing Overhead Kitchen Lights for Your House Design

Why Overhead Kitchen Lights are a Thing of the Past
 The traditional design for kitchen lighting has always been overhead lights. However, as we become more conscious of the impact of lighting on our lives, homeowners are now opting for alternatives to the harsh, bright light of overhead fixtures.
Overhead kitchen lights not only create a glaring effect in the kitchen, but they also have a negative impact on our eyesight and can cause headaches and fatigue.
This is because overhead lights cast shadows, making it difficult to see clearly while cooking or working in the kitchen. Additionally, they tend to create a uniform, sterile look that lacks character and warmth.
The Rise of Task Lighting in Kitchen Design
 With the rise of open-concept living and the kitchen becoming more than just a place for cooking, homeowners are now seeking a more inviting and functional space. This has led to a shift towards task lighting in kitchen design.
Task lighting involves placing smaller, targeted light sources in specific areas where light is needed.
This not only provides better visibility and less strain on the eyes, but it also adds depth and dimension to the overall design of the kitchen.
Removing Overhead Kitchen Lights for a More Aesthetically Pleasing Design
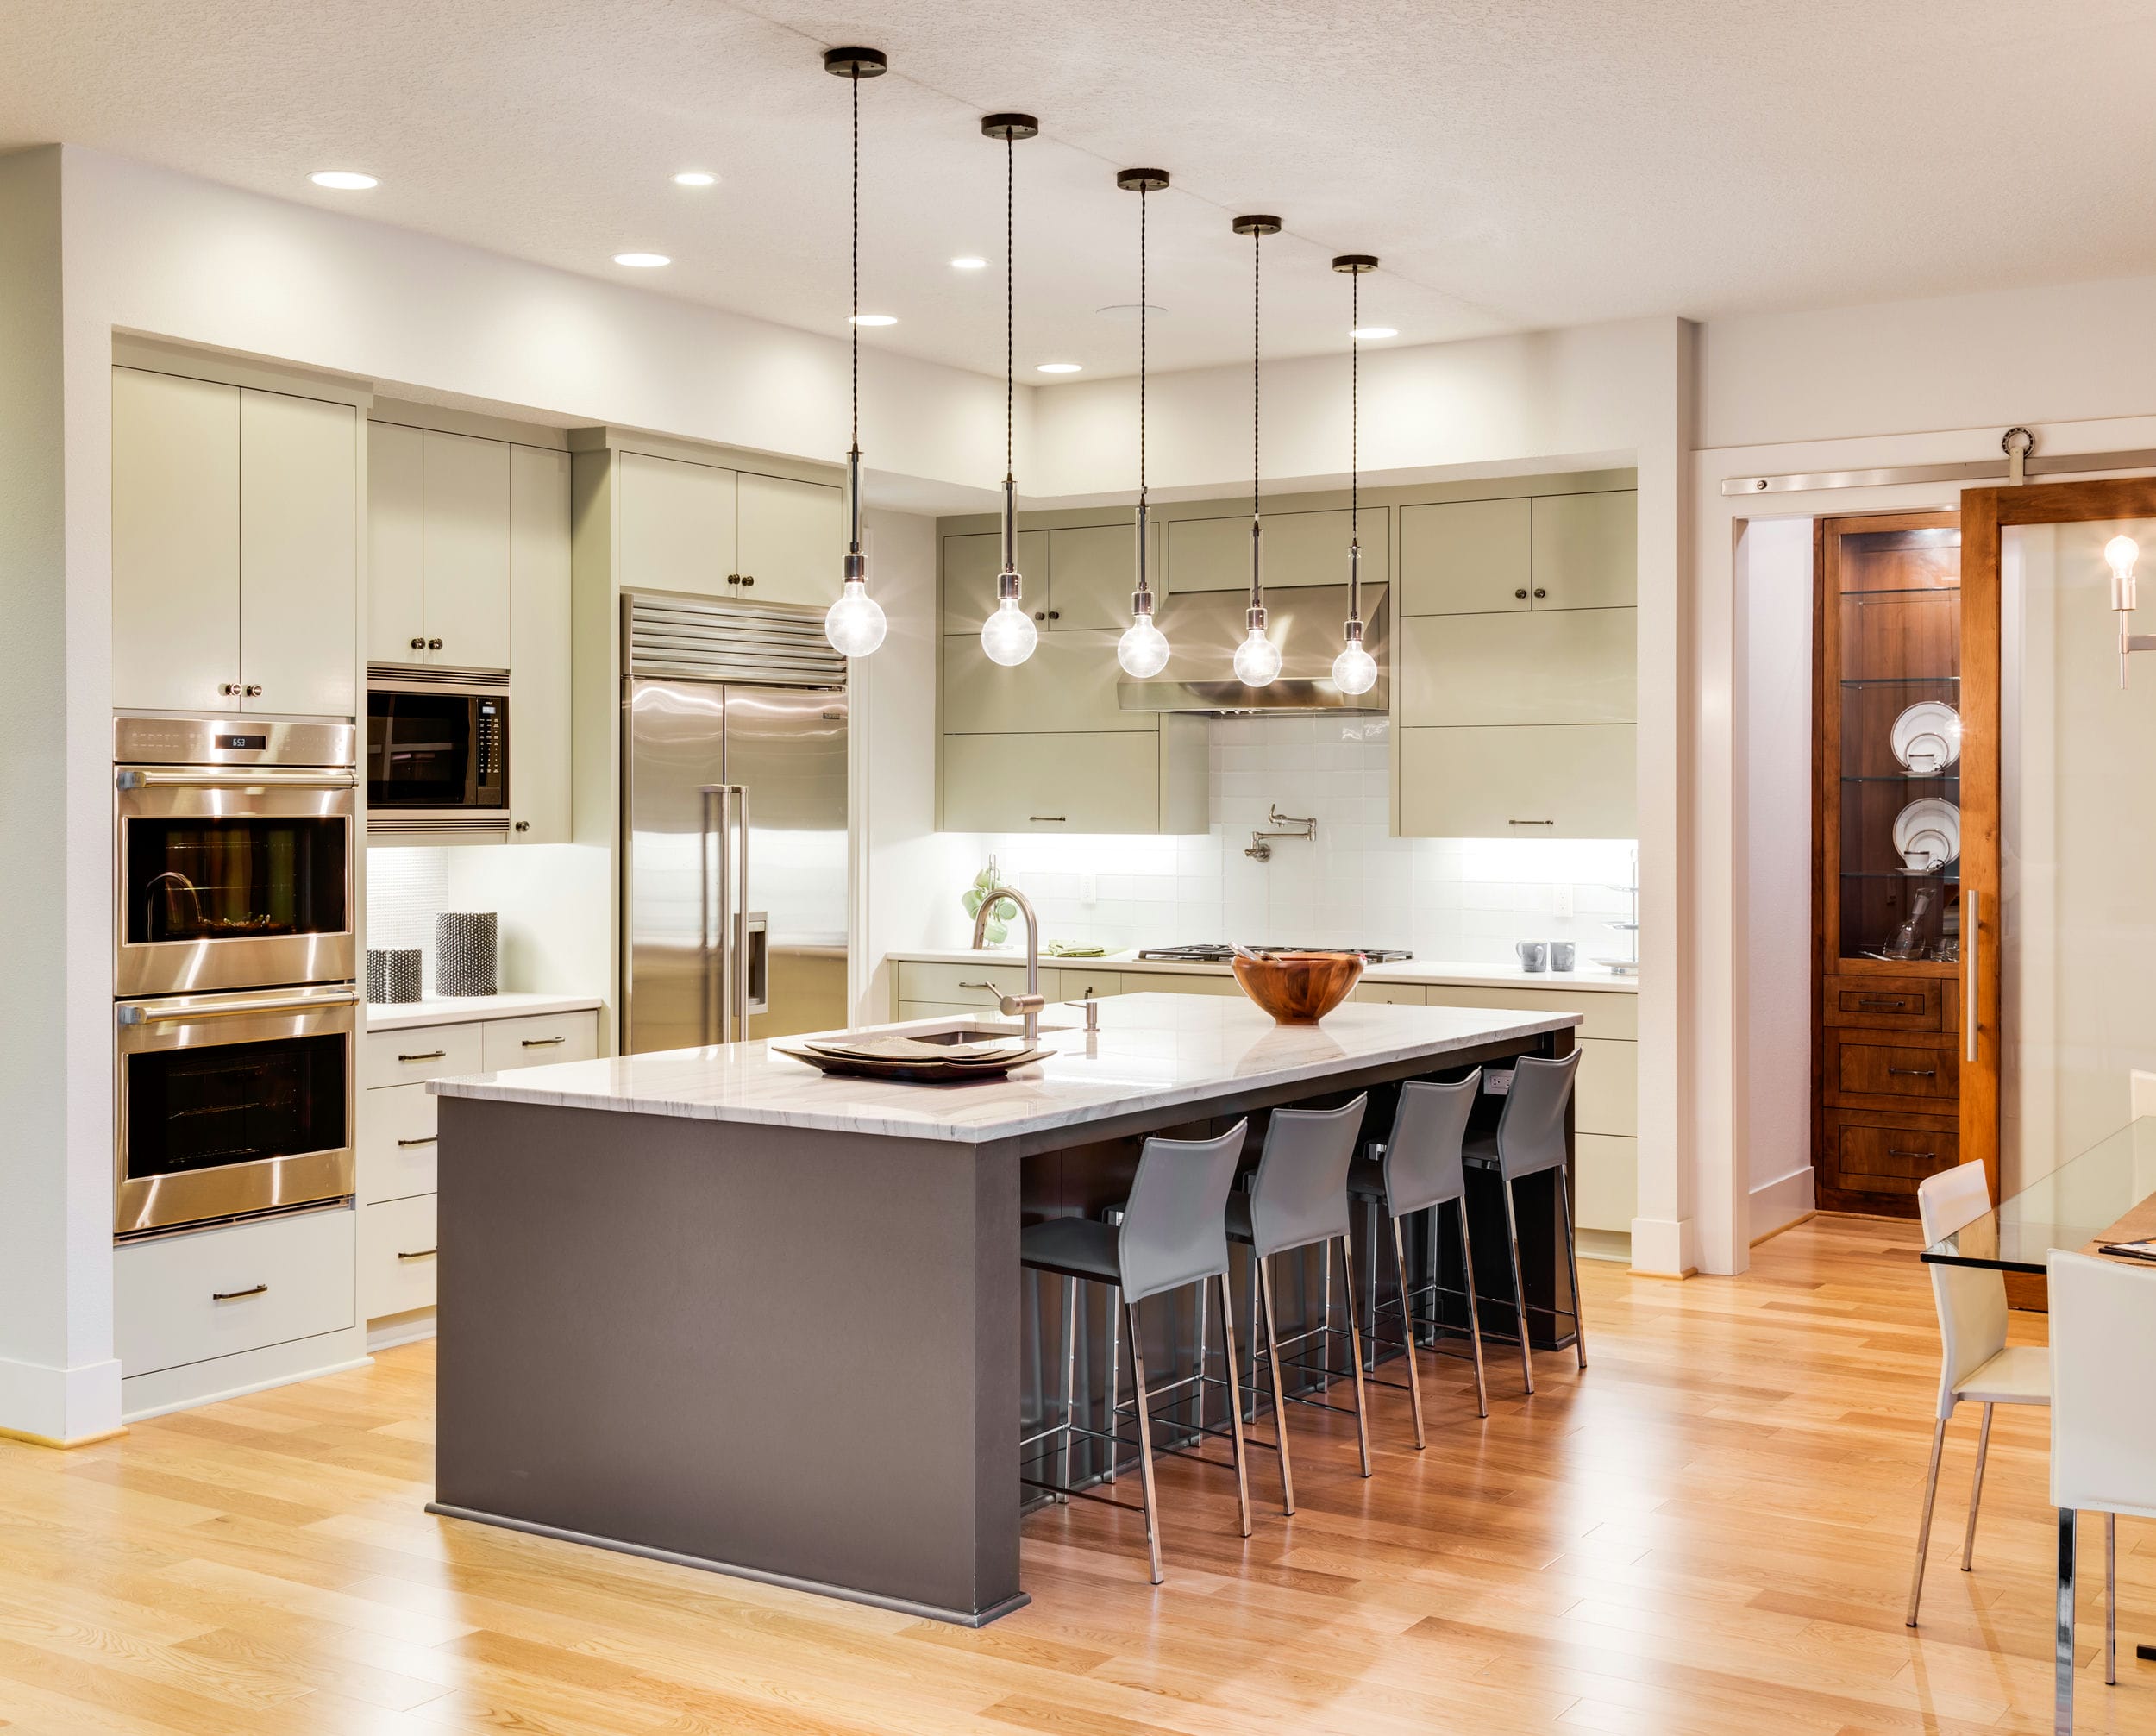 Removing overhead kitchen lights not only improves the functionality of the space but also allows for a more aesthetically pleasing design.
By eliminating the harsh, bright light of overhead fixtures, you can create a more inviting and ambient atmosphere in your kitchen.
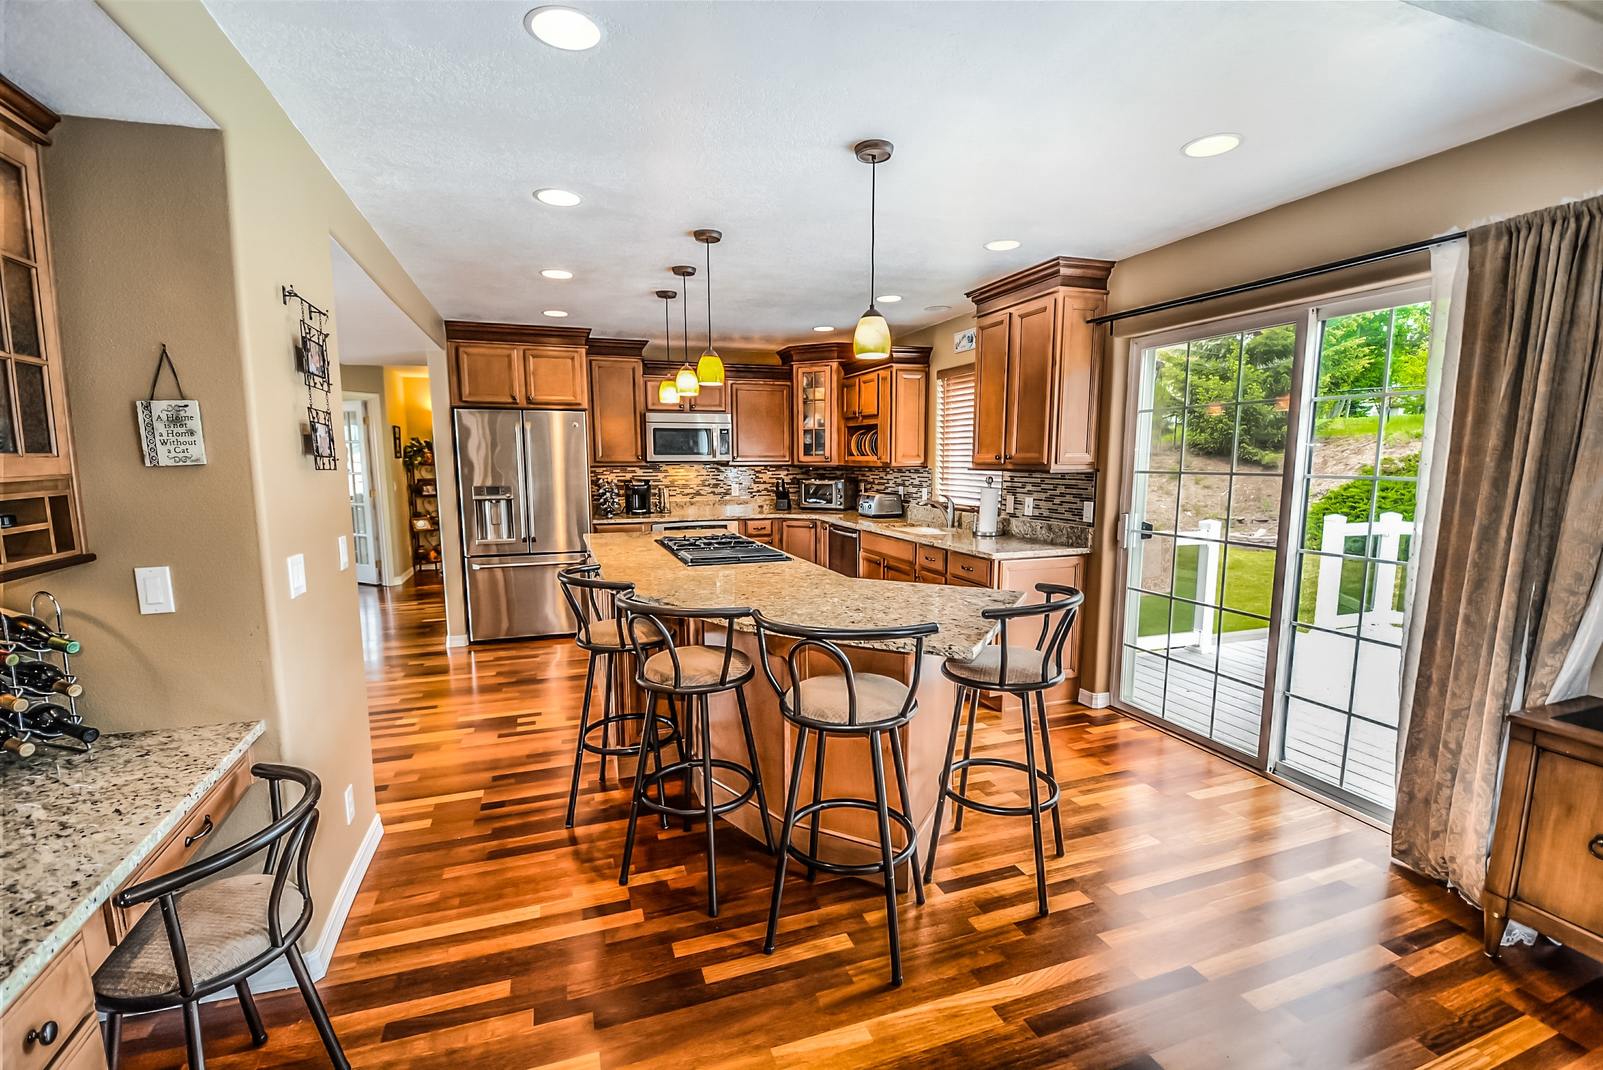
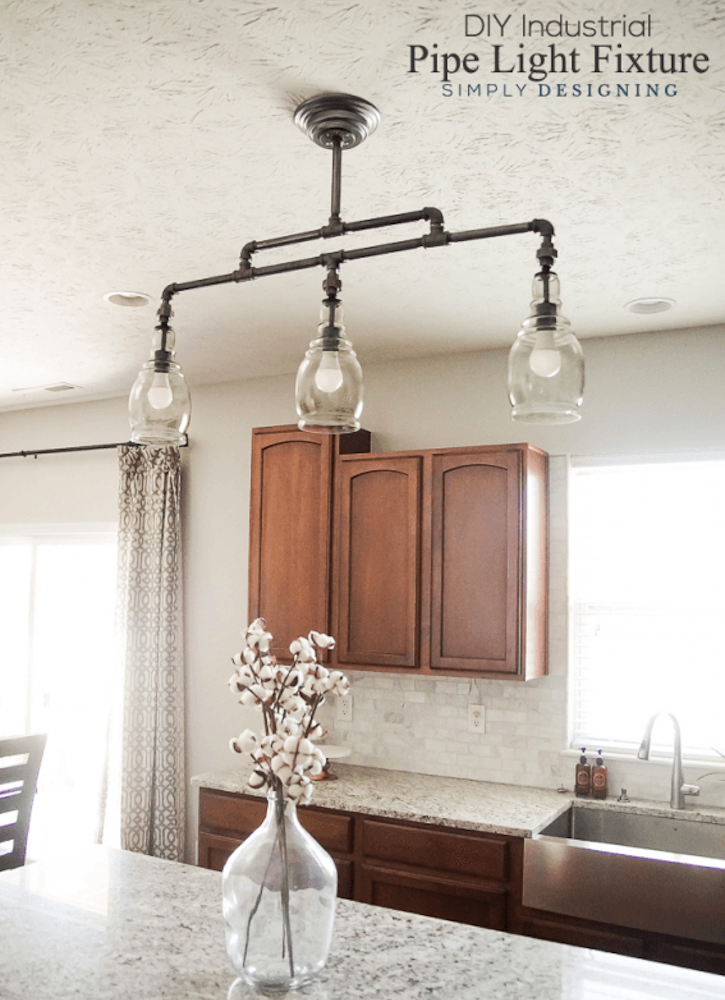
This can be achieved by incorporating different types of lighting such as pendant lights, under cabinet lights, and recessed lighting. These options not only provide better lighting for specific tasks, but they also add a touch of style and personality to your kitchen.
Maximizing Natural Light for a Healthier and More Energy-Efficient Kitchen
/DSC_0268-3b917e92940e4869859fa29983d2063c.jpeg) Aside from task lighting, another alternative to overhead kitchen lights is maximizing natural light.
Natural light not only provides a healthier and more pleasant environment, but it also reduces the need for artificial lighting, making your kitchen more energy-efficient.
This can be achieved by adding larger windows, skylights, or even a glass door to your kitchen. Not only will this brighten up the space, but it will also bring a sense of nature and the outdoors into your home.
Aside from task lighting, another alternative to overhead kitchen lights is maximizing natural light.
Natural light not only provides a healthier and more pleasant environment, but it also reduces the need for artificial lighting, making your kitchen more energy-efficient.
This can be achieved by adding larger windows, skylights, or even a glass door to your kitchen. Not only will this brighten up the space, but it will also bring a sense of nature and the outdoors into your home.
In Conclusion
 In today's modern kitchen design, overhead lights are no longer the go-to option. By removing them and incorporating alternative lighting sources, you can not only improve the functionality and aesthetics of your kitchen but also create a healthier and more energy-efficient space. So, if you're looking to upgrade your kitchen design, consider saying goodbye to overhead lights and hello to a more inviting and well-lit space.


