If you've noticed that your kitchen sink hose is leaking, it's important to take action right away. Not only can a leaky hose waste water and drive up your utility bill, it can also cause damage to your cabinets and flooring. But don't worry, fixing a leaky kitchen sink hose is a simple task that you can do yourself. In this guide, we'll walk you through the steps of repairing a leaking kitchen sink hose.How to Fix a Leaky Kitchen Sink Hose


How to Fix a Leaky Kitchen Sink Hose


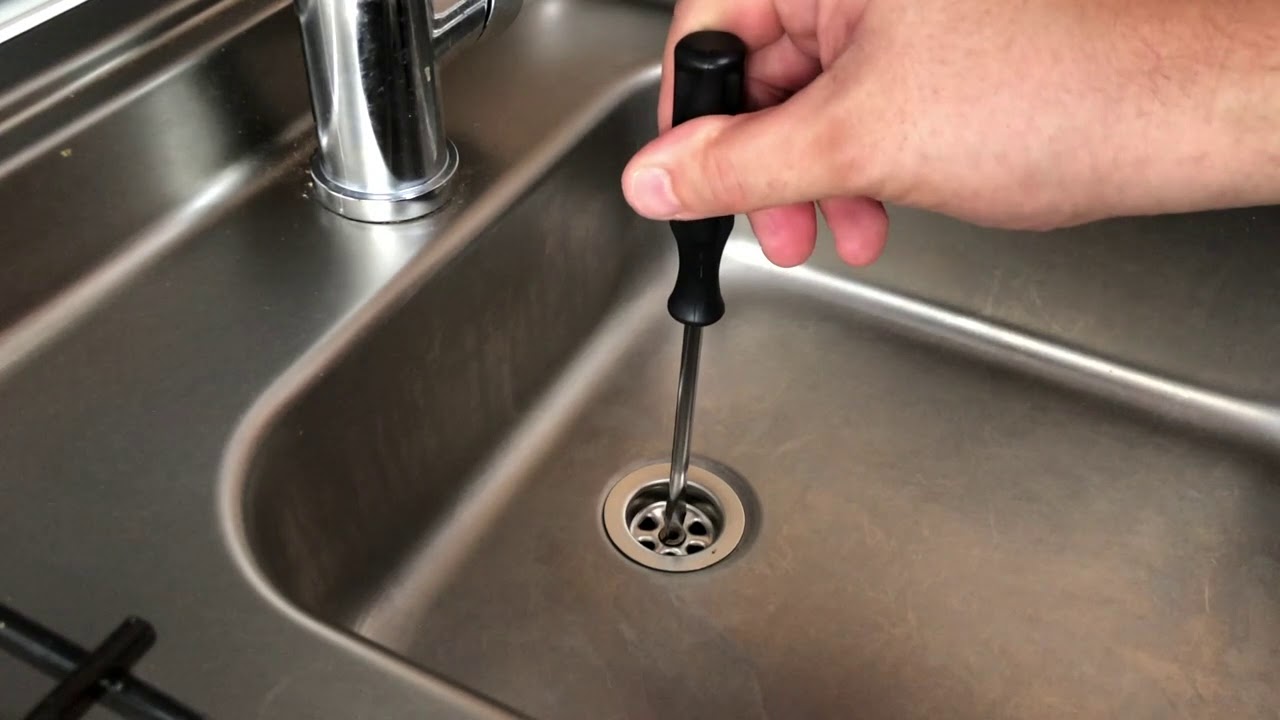
The first step in repairing a leaking kitchen sink hose is to identify the source of the leak. There are a few common causes of kitchen sink hose leaks, such as worn out washers or damaged connections. Once you've identified the source of the leak, you can move on to fixing it.How to Repair a Leaking Kitchen Sink Hose


How to Repair a Leaking Kitchen Sink Hose


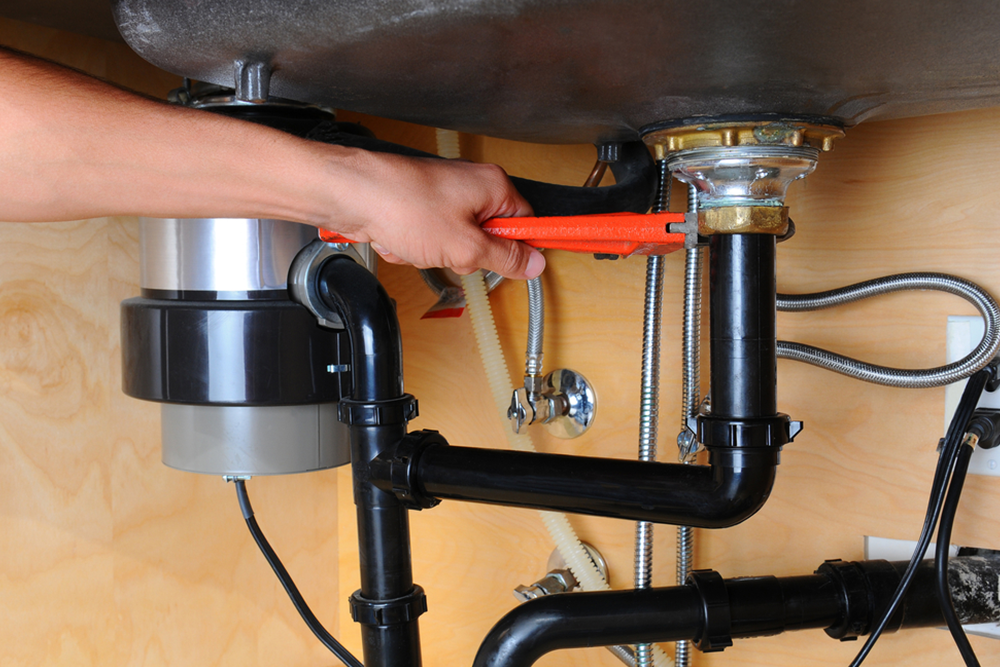
Fixing a leaking kitchen sink hose is a task that can easily be done by yourself. You'll need a few basic tools, such as an adjustable wrench and some plumber's tape. Start by turning off the water supply to your sink and then disconnecting the hose from the faucet. Inspect the hose for any worn out washers or damaged connections. Replace any faulty parts and then reconnect the hose to the faucet. Use plumber's tape to ensure a tight seal. Turn the water supply back on and test for any leaks.DIY Kitchen Sink Hose Leak Repair


DIY Kitchen Sink Hose Leak Repair


There are a few common causes of kitchen sink hose leaks that you should be aware of. One of the most common causes is wear and tear on the washers. Over time, the washers can become worn out and cause leaks. Another common cause is damaged connections, which can occur from frequent use or over-tightening. It's important to regularly inspect your kitchen sink hose for any signs of wear and tear.Common Causes of Kitchen Sink Hose Leaks


Common Causes of Kitchen Sink Hose Leaks


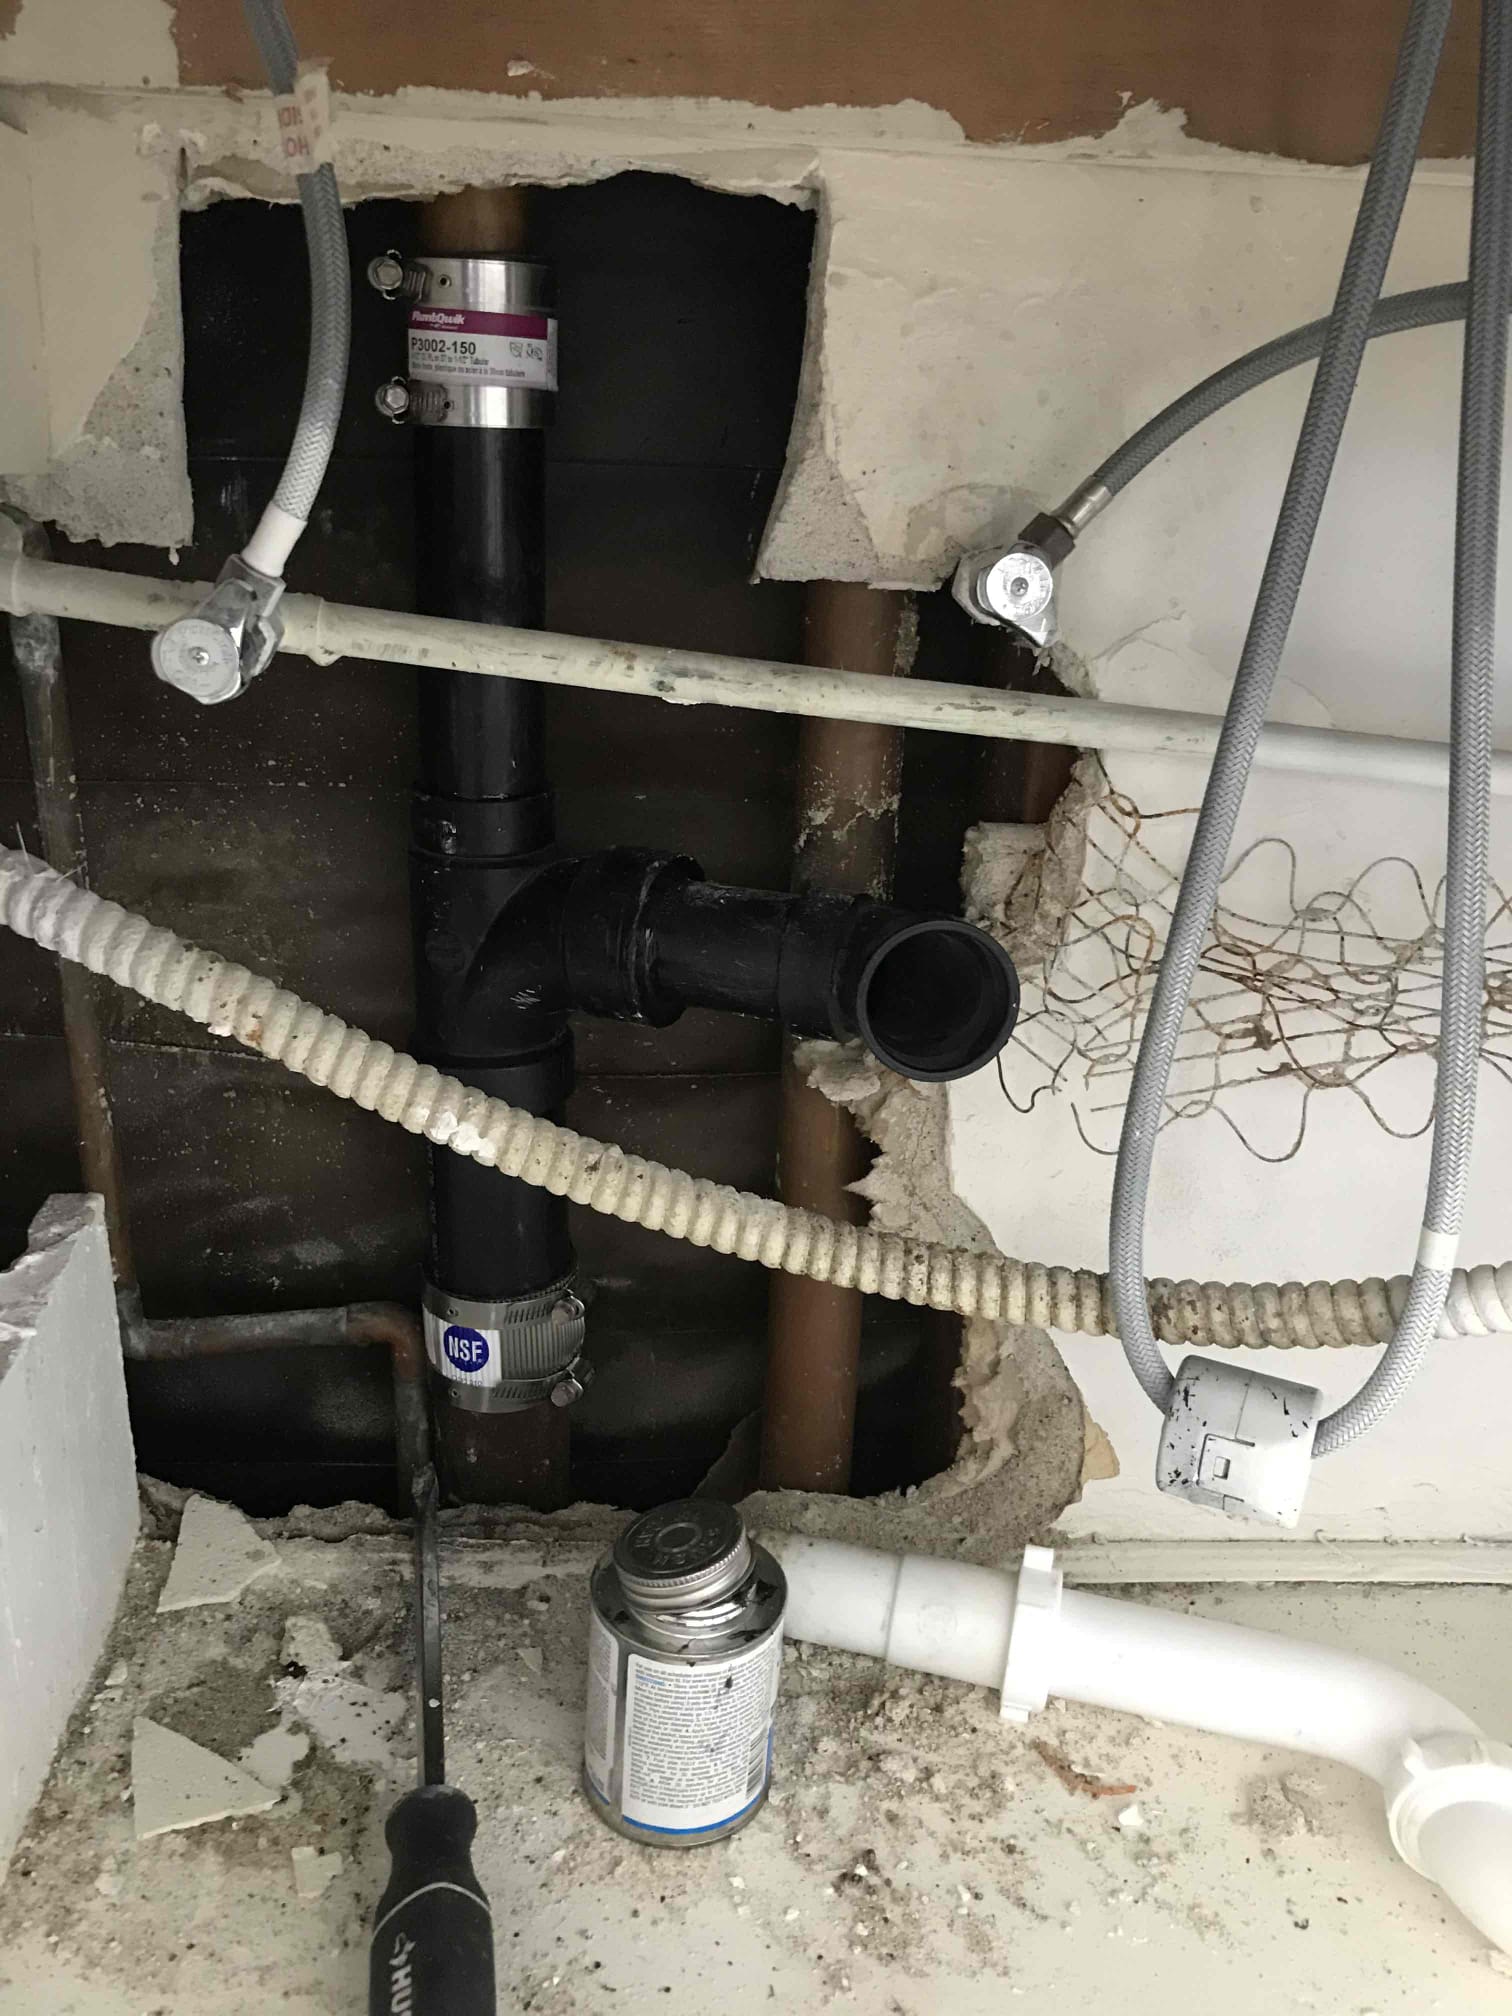
If your kitchen sink hose is beyond repair, you may need to replace it entirely. This may seem like a daunting task, but it can easily be done by following a few simple steps. Start by turning off the water supply and disconnecting the old hose from the faucet. Then, measure the length of the old hose and purchase a new one of the same size. Connect the new hose to the faucet, using plumber's tape to ensure a tight seal. Finally, turn the water supply back on and test for any leaks.Replacing a Leaking Kitchen Sink Hose


Replacing a Leaking Kitchen Sink Hose


If you need a quick fix for a leaking kitchen sink hose, there are a few options available. One option is to use a hose clamp to secure the leaky area. Another option is to use a product specifically designed for fixing leaks, such as a rubber repair tape. These quick fixes may not be a permanent solution, but they can buy you some time until you can properly repair or replace the hose.Quick Fixes for a Leaking Kitchen Sink Hose


Quick Fixes for a Leaking Kitchen Sink Hose


The best way to deal with a leaking kitchen sink hose is to prevent it from happening in the first place. Regularly inspect your hose for any signs of wear and tear and replace any faulty parts. Also, be gentle when connecting and disconnecting the hose to avoid damaging the connections. And remember to turn off the water supply before attempting any repairs.Preventing Kitchen Sink Hose Leaks


Preventing Kitchen Sink Hose Leaks


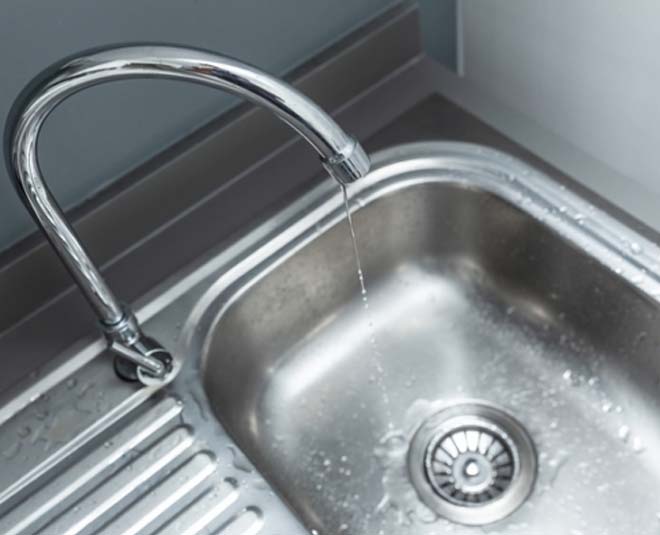
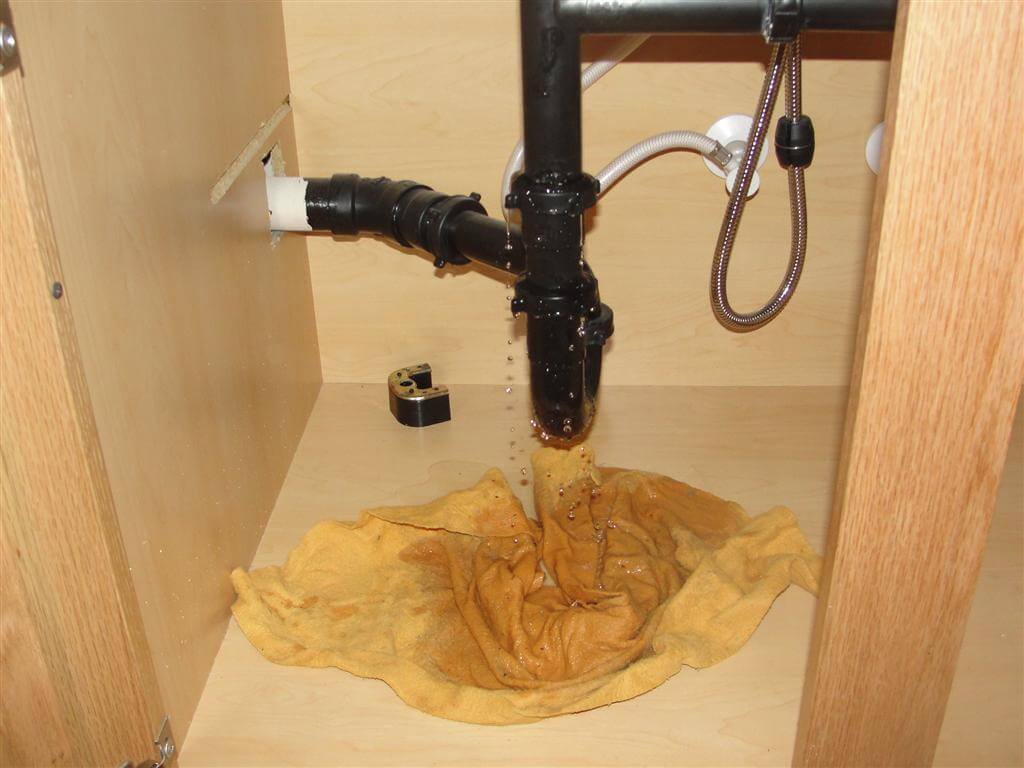
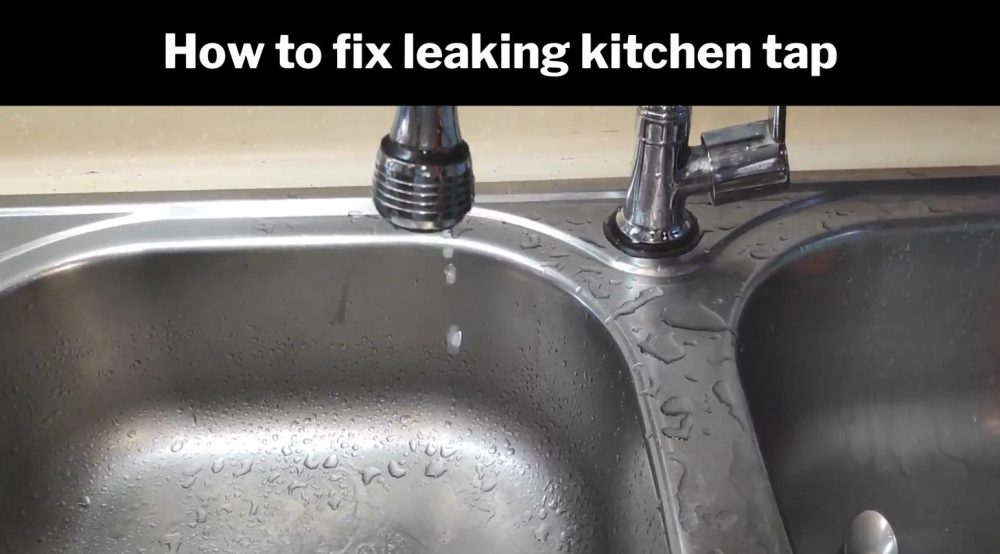
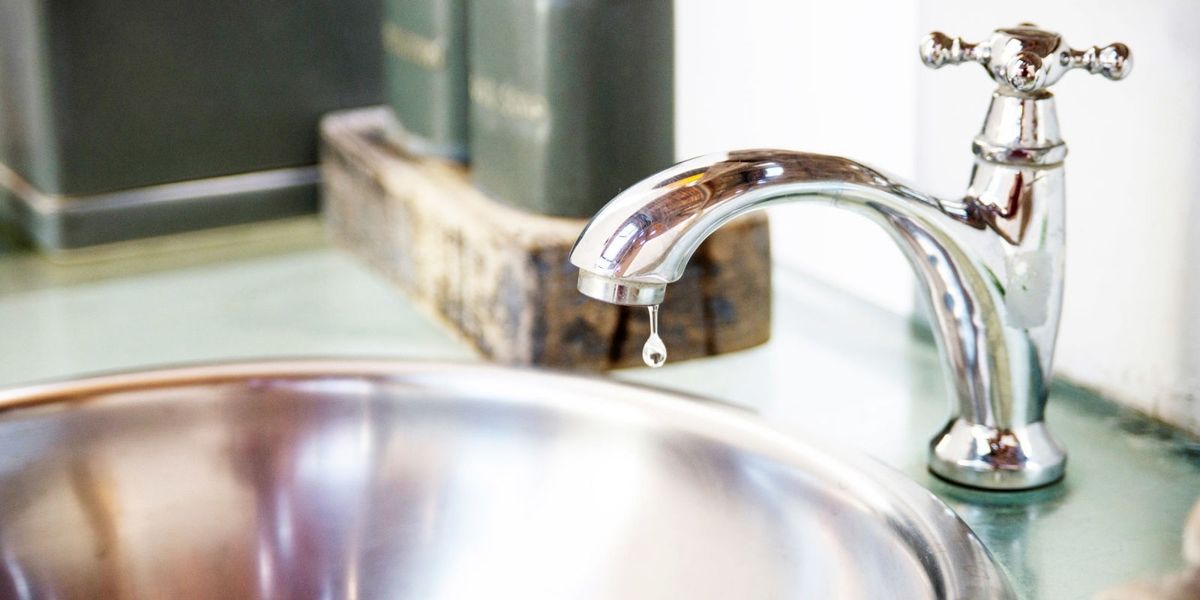
It's important to be on the lookout for any signs of a leaking kitchen sink hose. Some common signs include a pool of water around the base of the sink, a decrease in water pressure, and a musty smell. If you notice any of these signs, it's time to take a closer look at your kitchen sink hose and address any potential leaks.Signs of a Leaking Kitchen Sink Hose

Signs of a Leaking Kitchen Sink Hose

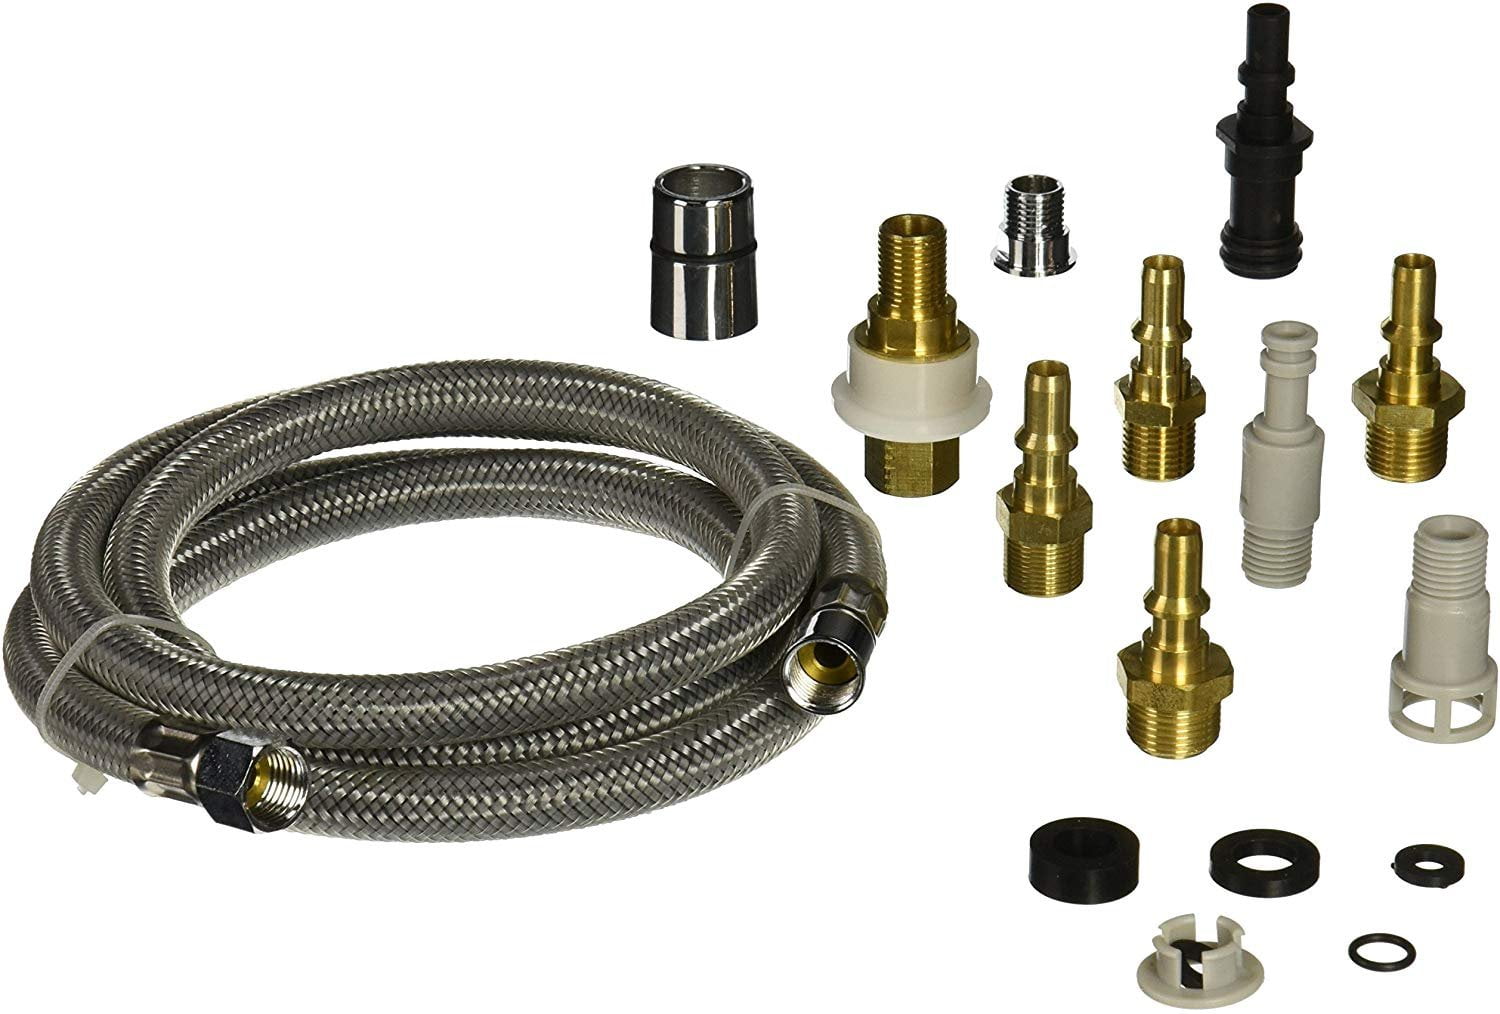
To properly fix a leaking kitchen sink hose, you'll need a few basic tools on hand. These include an adjustable wrench, plumber's tape, and replacement parts such as washers or a new hose. It's important to have these tools ready before attempting any repairs to make the process smoother and more efficient.Tools Needed for Fixing a Leaking Kitchen Sink Hose


Tools Needed for Fixing a Leaking Kitchen Sink Hose

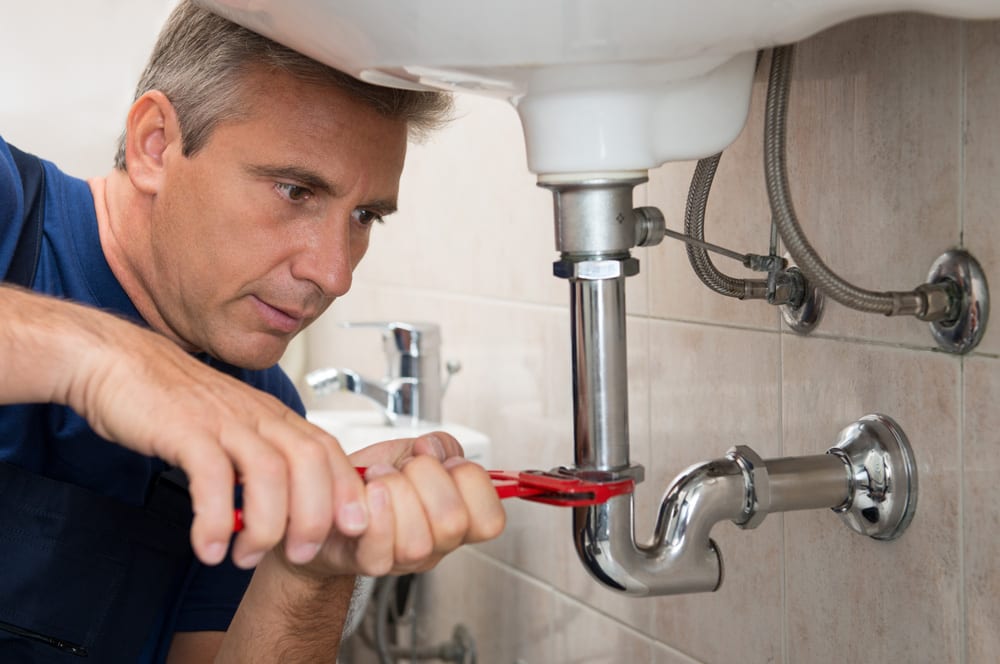

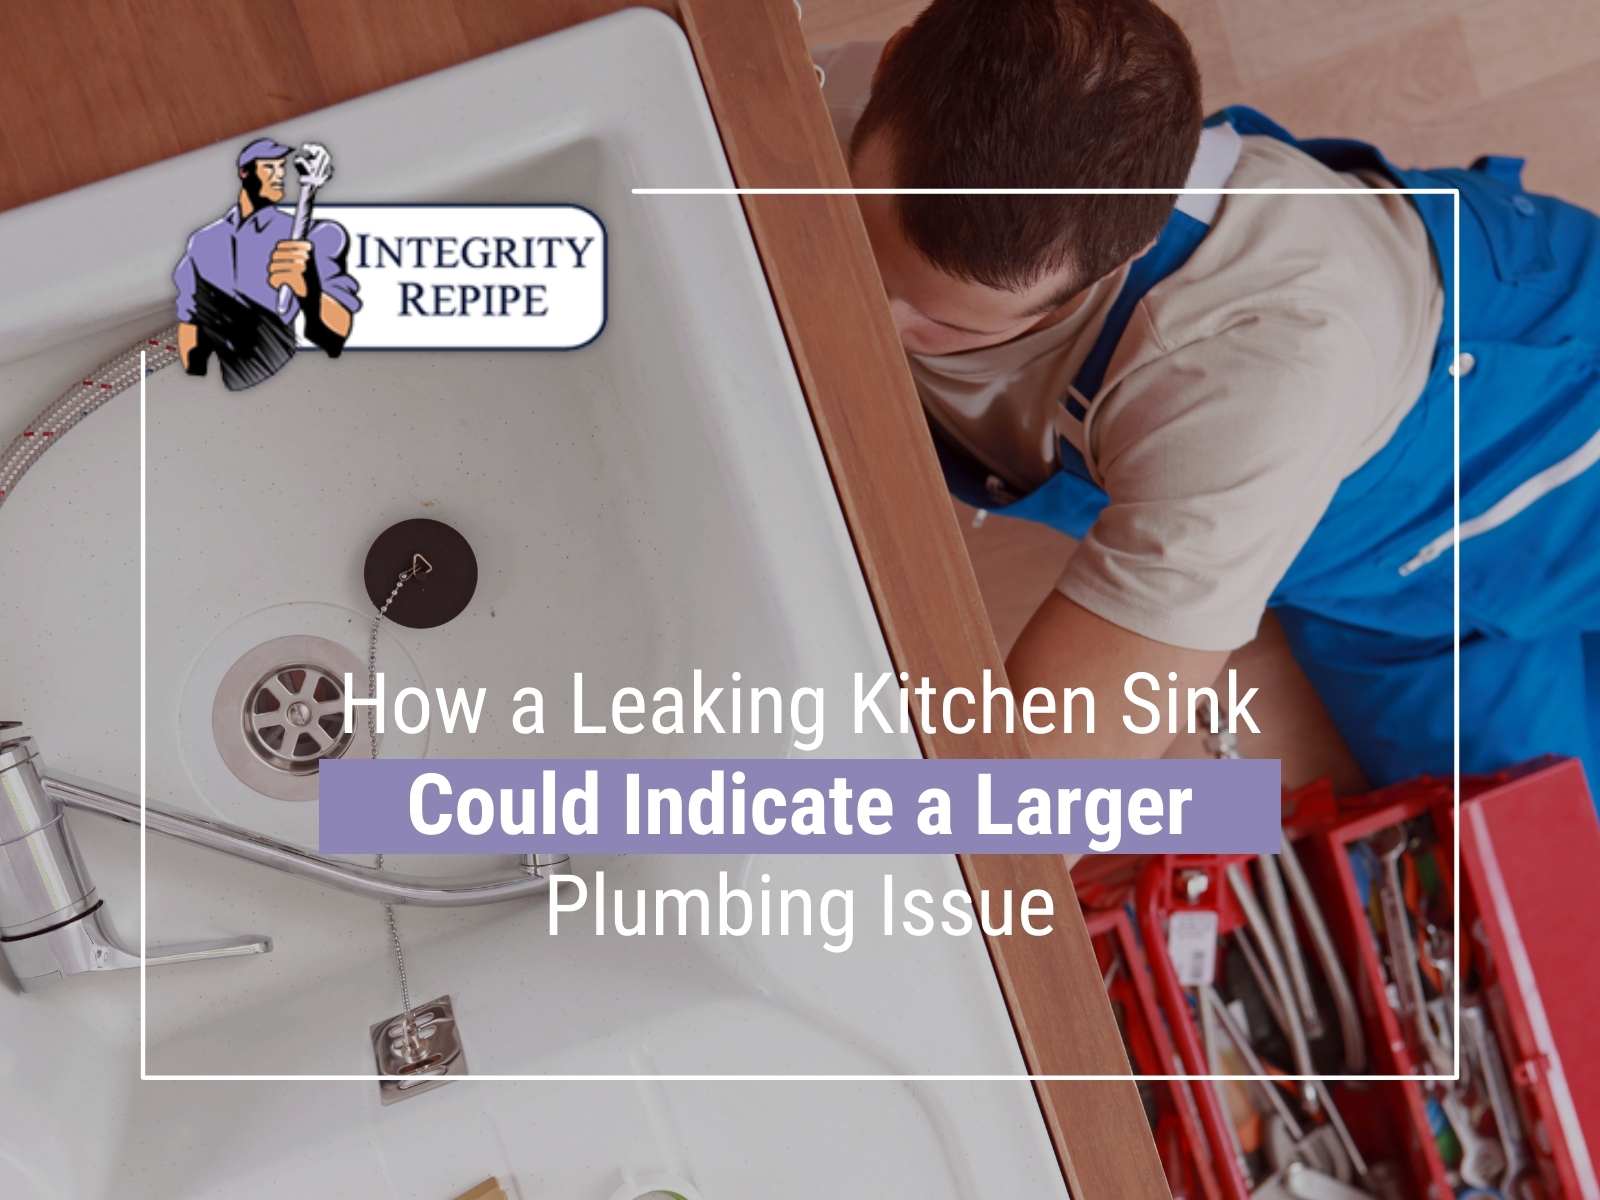
If you're not comfortable fixing a leaking kitchen sink hose yourself, or if the leak is too extensive to fix on your own, it's best to seek professional help. A licensed plumber will have the expertise and tools to quickly and effectively fix any leaks in your kitchen sink hose. While it may cost more, it can save you time and hassle in the long run. In conclusion, a leaking kitchen sink hose is a common issue that can easily be fixed with a few simple steps. Regularly inspecting your hose and addressing any leaks as soon as possible will help prevent further damage and save you money on your utility bill. With the right tools and knowledge, you can easily fix a leaking kitchen sink hose and keep your kitchen running smoothly.Professional Help for a Leaking Kitchen Sink Hose
Professional Help for a Leaking Kitchen Sink Hose


How to Fix a Leaking Kitchen Sink Hose: A Comprehensive Guide

The Importance of a Functional Kitchen Sink Hose
 A kitchen sink hose is a vital component of any household. It allows you to efficiently wash dishes, fill pots with water, and even water your plants. However, when your kitchen sink hose starts leaking, it can be a major inconvenience and lead to water damage in your kitchen. Not to mention, a leaking hose can also increase your water bill and waste precious resources. In this article, we will discuss the common causes of a leaking kitchen sink hose and provide a step-by-step guide on how to fix it.
Common Causes of a Leaking Kitchen Sink Hose
 There are a few reasons why your kitchen sink hose may be leaking. The most common cause is wear and tear due to age. Over time, the rubber seals and connectors in your hose can deteriorate, causing leaks. Another common cause is improper installation or loose connections. If not properly tightened, the hose can develop leaks at the joints. Finally, a clogged hose can also lead to leaks as the water pressure builds up and causes the hose to burst.
Step-by-Step Guide to Fixing a Leaking Kitchen Sink Hose
 Step 1: Turn off the Water Supply
Before attempting to fix the leaking hose, make sure to turn off the water supply to your kitchen sink. This will prevent any water from leaking out and allow you to work on the hose without any interruptions. Step 2: Identify the Source of the Leak
Inspect your kitchen sink hose and identify where the leak is coming from. It could be from the connectors, the rubber seals, or a crack in the hose itself. This will help you determine what needs to be fixed or replaced. Step 3: Replace the Rubber Seals
If the rubber seals are the cause of the leak, you can easily replace them with new ones. Remove the old seals and clean the connectors before installing the new ones. This should fix the leak and improve the overall functionality of your hose. Step 4: Tighten Loose Connections
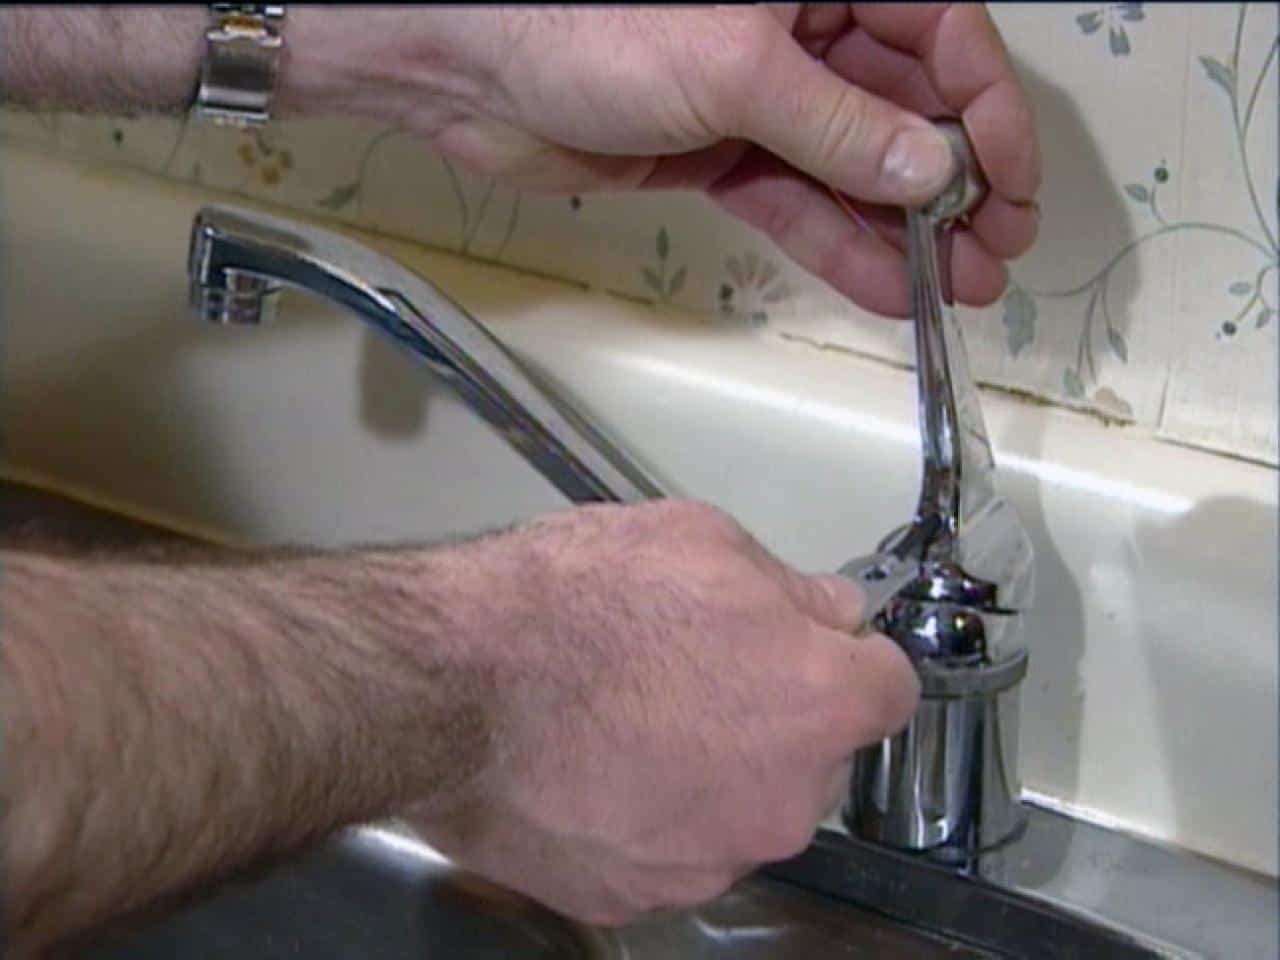
If the leak is coming from a loose connection, use a pair of pliers to tighten it. Make sure not to overtighten as this can damage the connectors. Check all the connections and tighten any that may be loose. Step 5: Clear any Clogs
If your hose is clogged, you can use a plumbing snake or hot water to clear the blockage. This will relieve the pressure and prevent any further leaks. Step 6: Replace the Hose
If the hose itself is damaged, it may need to be replaced. This can be done by disconnecting the old hose and installing a new one. Make sure to properly tighten all the connections to prevent future leaks.
In Conclusion
 A leaking kitchen sink hose may seem like a small issue, but it can lead to bigger problems if not addressed promptly. By following these simple steps, you can fix the leak and ensure your kitchen sink hose is functioning properly. Remember to regularly inspect your hose for any signs of wear and tear to prevent future leaks.


