If your air mattress won't inflate, the first thing you should check for is a leak. A leak in your air mattress can cause it to lose air and become unable to hold its shape. Here's how to fix a leaky air mattress and get it back in working condition. Step 1: Locate the Leak The first step in fixing a leaky air mattress is to locate the source of the leak. Start by inflating the mattress and listening for any hissing sounds. If you can't hear anything, try running your hand over the surface of the mattress to feel for any air escaping. Step 2: Mark the Leak Once you've located the leak, mark it with a piece of tape or a marker so you can easily find it again later. This will also help you keep track of any other leaks you may find. Step 3: Clean the Area Before you can repair the leak, you'll need to clean the area around it. Use a damp cloth to wipe away any dirt or debris that may be on the surface of the mattress. This will ensure that the patch adheres properly. Step 4: Use a Patch Kit If your air mattress came with a patch kit, now is the time to use it. Follow the instructions on the kit to properly seal the leak. If you don't have a patch kit, you can use any strong adhesive, such as super glue or duct tape, to seal the leak. Step 5: Test the Repair After you've sealed the leak, let the adhesive dry completely. Then, inflate the mattress again and check if the leak has been fixed. If there are still any leaks, repeat the process until the mattress is fully sealed.How to Fix a Leaky Air Mattress


How to Fix a Leaky Air Mattress


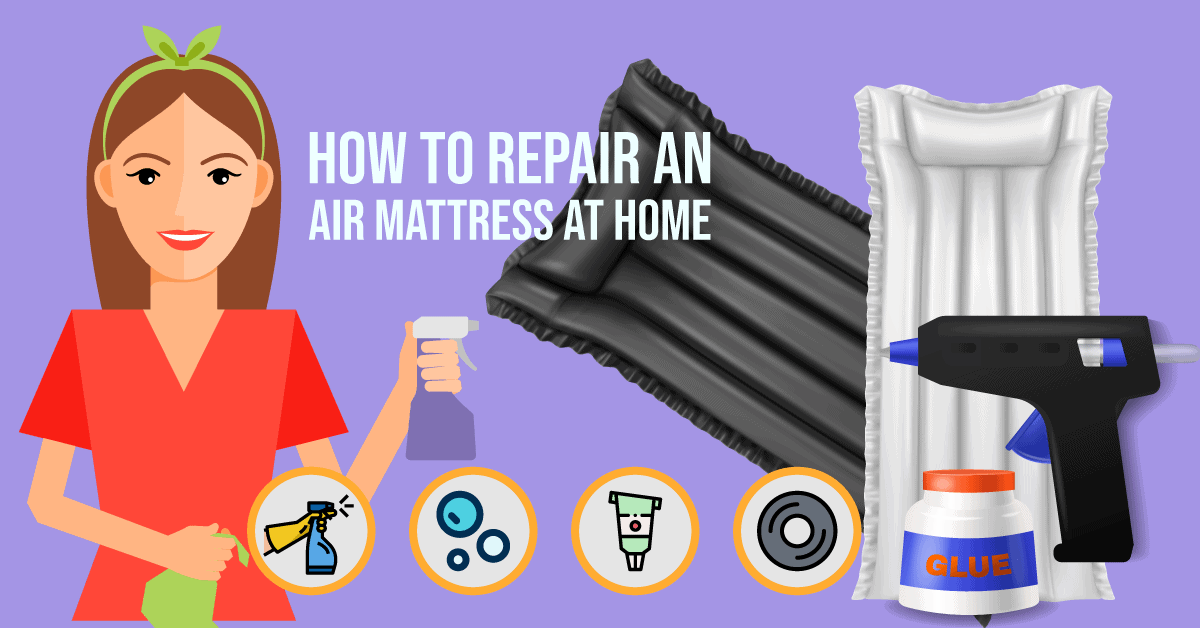
If your air mattress has developed a hole or tear, it may require more extensive repairs. Here's how to repair an air mattress and get it back to its original condition. Step 1: Gather the Necessary Tools Before you can start repairing your air mattress, you'll need to gather some tools. These may include a patch kit, scissors, and a repair adhesive, such as super glue or duct tape. Step 2: Deflate the Mattress Make sure the mattress is fully deflated before attempting any repairs. This will make it easier to work with and ensure that the air doesn't escape while you're trying to seal the hole. Step 3: Clean the Area Clean the area around the hole or tear with a damp cloth. This will help the adhesive stick better and create a stronger seal. Step 4: Patch the Hole If you're using a patch kit, follow the instructions provided to properly seal the hole. If you're using adhesive, apply it to both sides of the hole and press them together firmly. If necessary, use a heavy object to keep the patch in place while the adhesive dries. Step 5: Reinforce the Repair To ensure a strong and long-lasting repair, you may want to reinforce the patch with additional adhesive or duct tape. This will provide extra support and prevent the hole from re-opening.How to Repair an Air Mattress


How to Repair an Air Mattress


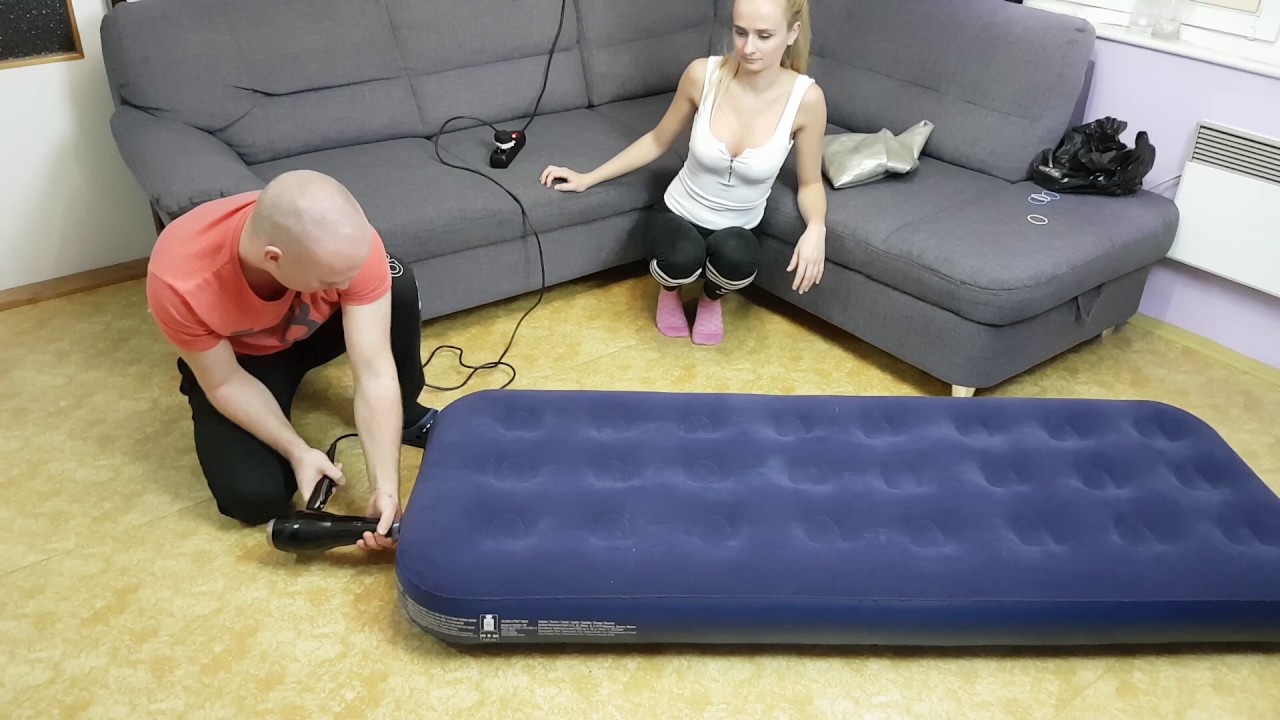
If your air mattress pump isn't working or you don't have access to one, there are still ways to inflate your mattress. Here's how to inflate an air mattress without a pump. Method 1: Use Your Mouth The simplest and most common way to inflate an air mattress without a pump is to use your mouth. While this may take some time and effort, it can be done by blowing air directly into the valve of the mattress. Method 2: Use a Vacuum If you have a vacuum cleaner with a hose attachment, you can use it to inflate your air mattress. Simply attach the hose to the valve and turn on the vacuum. This will suck air into the mattress and inflate it quickly. Method 3: Use a Hair Dryer If you have a hair dryer with a cool setting, you can use it to inflate your air mattress. Set the hair dryer to cool and hold it close to the valve, blowing air into the mattress. This method may take a bit longer, but it's an effective way to inflate your mattress without a pump.How to Inflate an Air Mattress Without a Pump
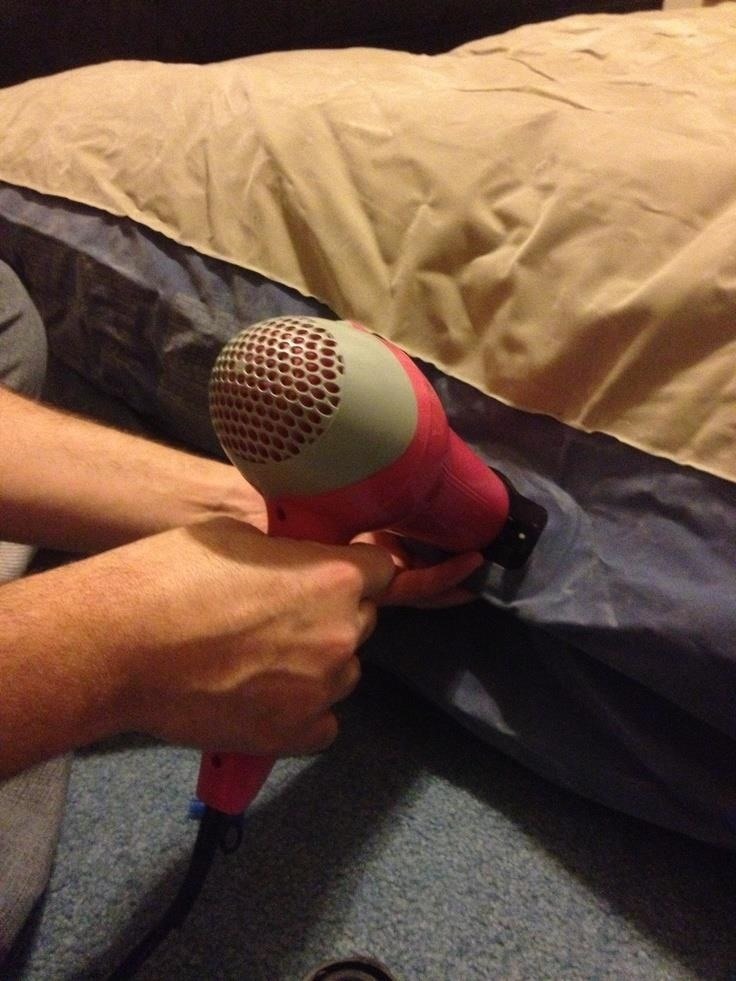


How to Inflate an Air Mattress Without a Pump


If you have a tear or hole in your air mattress, it's important to patch it as soon as possible to prevent it from getting worse. Here's how to patch an air mattress to keep it in good condition. Step 1: Deflate the Mattress Make sure the mattress is fully deflated before attempting any repairs. This will make it easier to work with and ensure that the air doesn't escape while you're trying to seal the hole. Step 2: Clean the Area Clean the area around the hole or tear with a damp cloth. This will help the adhesive stick better and create a stronger seal. Step 3: Apply Adhesive If you're using a patch kit, follow the instructions provided to properly seal the hole. If you're using adhesive, apply it to both sides of the hole and press them together firmly. If necessary, use a heavy object to keep the patch in place while the adhesive dries. Step 4: Reinforce the Repair To ensure a strong and long-lasting repair, you may want to reinforce the patch with additional adhesive or duct tape. This will provide extra support and prevent the hole from re-opening.How to Patch an Air Mattress


How to Patch an Air Mattress


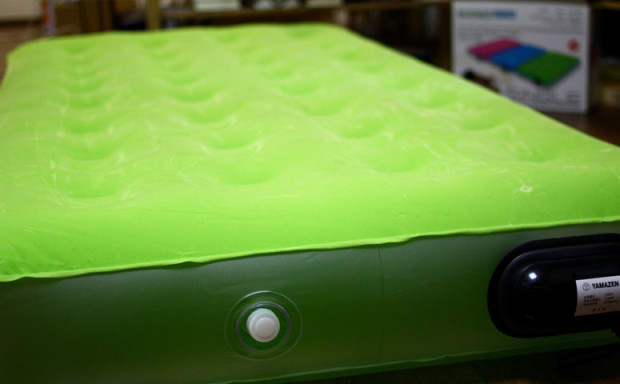
If your air mattress won't stay inflated, there's likely a leak somewhere. Here's how to find a leak in an air mattress and fix it. Step 1: Inflate the Mattress The first step in finding a leak is to inflate the mattress. This will make it easier to locate the source of the problem. Step 2: Listen and Feel for Air Escaping Place your ear close to the mattress and listen for any hissing sounds. If you can't hear anything, try running your hand over the surface of the mattress to feel for any air escaping. Step 3: Check the Valve If you can't find any holes or tears, the leak may be coming from the valve. Check to make sure it is tightly closed and not damaged in any way. Step 4: Use Soapy Water If you're still having trouble finding the leak, mix some dish soap with water and spray it onto the surface of the mattress. Look for any bubbles forming, as this indicates a leak. Step 5: Mark the Leak Once you've located the leak, mark it with a piece of tape or a marker so you can easily find it again later.How to Find a Leak in an Air Mattress


How to Find a Leak in an Air Mattress


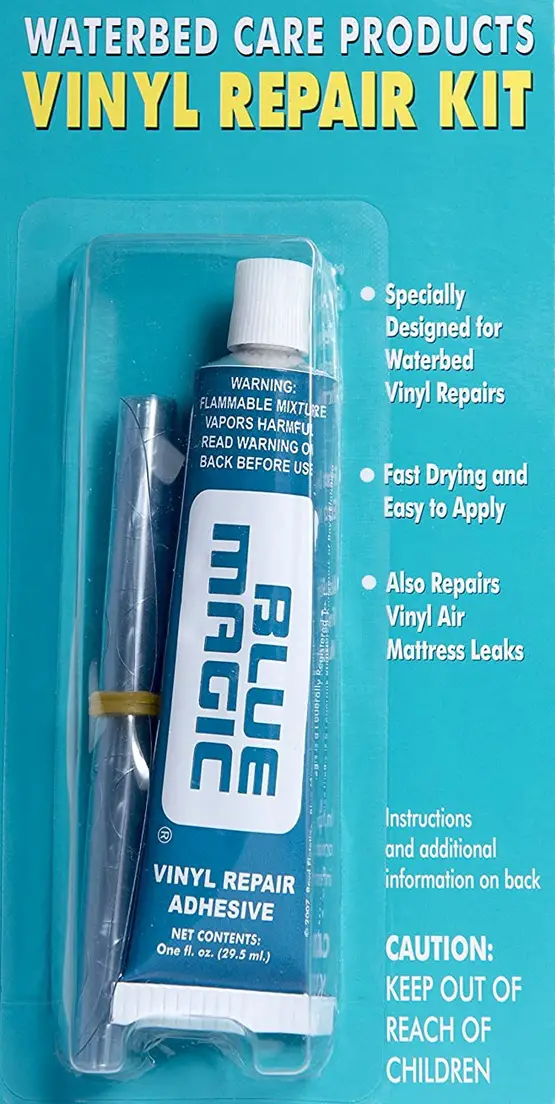
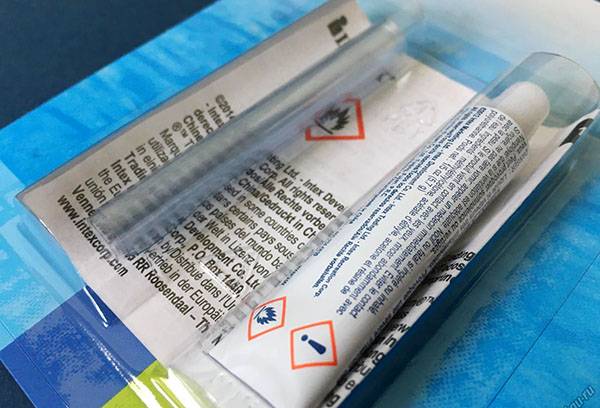
If your air mattress came with a repair kit, it's important to know how to use it properly. Here's how to use an air mattress repair kit to fix any leaks or tears. Step 1: Gather the Tools Make sure you have all the necessary tools from the repair kit, including patches, adhesive, and any other materials that may be included. Step 2: Clean the Area Before starting any repairs, make sure the area around the leak is clean and free of any dirt or debris. Step 3: Apply the Patch Follow the instructions provided in the repair kit to properly apply the patch. Make sure to press down firmly and smooth out any air bubbles. Step 4: Let it Dry Allow the adhesive to dry completely before inflating the mattress again. This may take a few hours, so be patient. Step 5: Reinforce as Needed If the patch doesn't seem to be holding, you may need to reinforce it with additional adhesive or duct tape.How to Use an Air Mattress Repair Kit

How to Use an Air Mattress Repair Kit


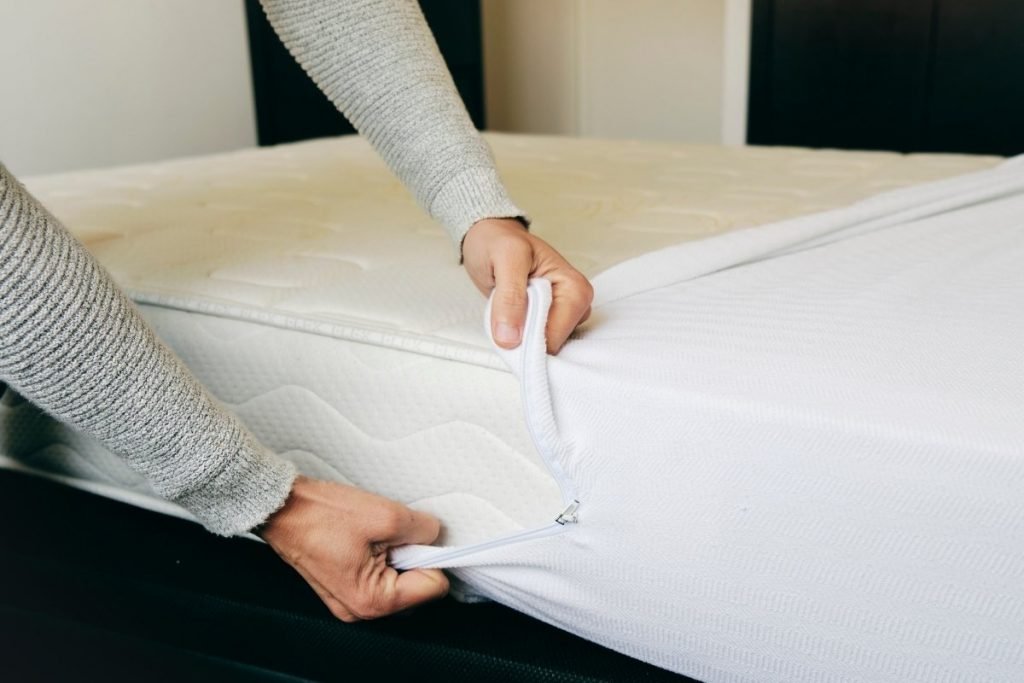
The best way to fix a leaky air mattress is to prevent it from happening in the first place. Here are some tips to help you prevent air mattress leaks and keep your mattress in good condition. Tip 1: Be Careful When Inflating When inflating your air mattress, be careful not to over-inflate it. This can put excess pressure on the seams and cause them to tear over time. Tip 2: Avoid Sharp Objects If possible, keep your air mattress away from any sharp objects or surfaces. These can easily puncture the mattress and cause leaks. Tip 3: Use a Mattress Cover Investing in a mattress cover can help protect your air mattress from any potential damage. It can also make it more comfortable to sleep on. Tip 4: Store Properly When not in use, make sure to deflate and store your air mattress properly. This will help prevent any unnecessary wear and tear.How to Prevent Air Mattress Leaks

How to Prevent Air Mattress Leaks


Properly storing your air mattress can help prevent leaks and keep it in good condition for longer. Here's how to store an air mattress to keep it in top shape. Step 1: Clean and Deflate Before storing your air mattress, make sure it is clean and completely deflated. This will prevent any mold or mildew from forming. Step 2: Fold It Up Fold the mattress up neatly, making sure to avoid any sharp creases or bends that could cause damage. Step 3: Store in a Dry Place Make sure to store your air mattress in a dry place where it won't be exposed to moisture. This will help prevent any mold or mildew from growing.How to Store an Air Mattress


How to Store an Air Mattress


Keeping your air mattress clean is important for its overall lifespan and for your health. Here's how to clean an air mattress to keep it in good condition. Step 1: Use a Mild Cleaner Avoid using harsh chemicals or cleaners on your air mattress, as these can damage the material. Instead, use a mild soap and water to clean the surface. Step 2: Scrub Gently When cleaning your air mattress, be gentle and avoid scrubbing too hard. This can cause the material to wear down over time. Step 3: Dry Thoroughly After cleaning, make sure to dry the mattress completely before storing or using it again. Any leftover moisture can lead to mold or mildew growth.How to Clean an Air Mattress


How to Clean an Air Mattress


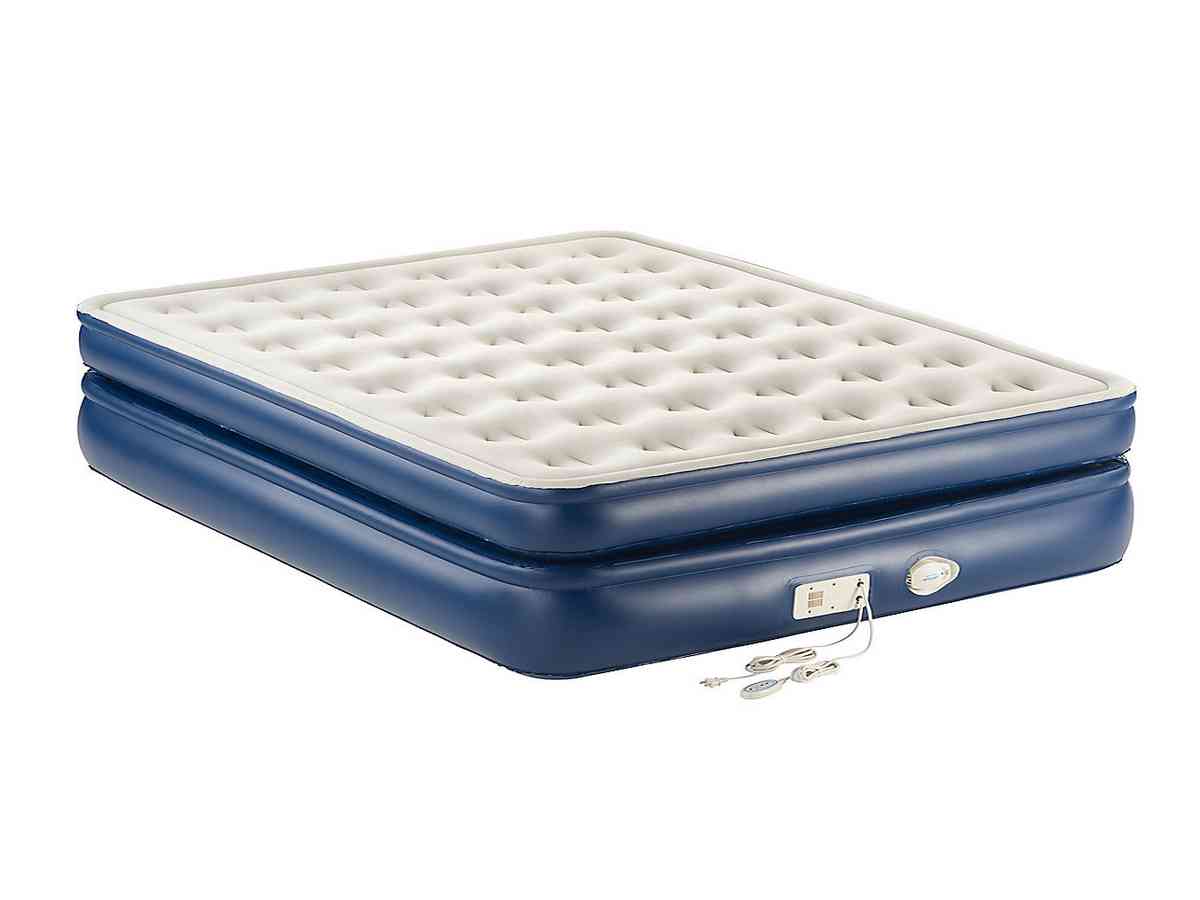
When it comes to air mattresses, not all are created equal. Here's how to choose the right air mattress for your needs and ensure a comfortable night's sleep. Consider Size First and foremost, consider what size of air mattress you need. Are you looking for a twin, full, queen, or king? Make sure to choose a size that will comfortably fit your needs. Look for Durability When choosing an air mattress, look for one that is made from durable materials and has strong seams. This will help prevent leaks and ensure the mattress lasts for a long time. Consider Height Some air mattresses are designed to be low to the ground, while others have a taller profile. Think about what height will be most comfortable for you and choose accordingly. Read Reviews Before purchasing an air mattress, read reviews from other customers to get an idea of its quality and comfort level. This can help you make a more informed decision. Choose a Reputable Brand Lastly, choose an air mattress from a reputable brand known for their quality and customer satisfaction. This will ensure you're getting a good product that will meet your needs.How to Choose the Right Air Mattress for Your Needs


How to Choose the Right Air Mattress for Your Needs


Troubleshooting Your Air Mattress: Why Won't It Inflate?

The Importance of a Good Night's Sleep
 A good night's sleep is essential for our overall well-being and productivity. After a long day, we all look forward to a comfortable and restful sleep. But what happens when your air mattress refuses to inflate? It can be frustrating and can disrupt your sleep routine.
There are several reasons why your air mattress may not be inflating properly, and it's important to understand the root cause to find a solution.
Let's explore some common issues and learn how to troubleshoot them.
A good night's sleep is essential for our overall well-being and productivity. After a long day, we all look forward to a comfortable and restful sleep. But what happens when your air mattress refuses to inflate? It can be frustrating and can disrupt your sleep routine.
There are several reasons why your air mattress may not be inflating properly, and it's important to understand the root cause to find a solution.
Let's explore some common issues and learn how to troubleshoot them.
Check Your Air Pump
 The most common reason for an air mattress not inflating is a faulty air pump.
Before jumping to any conclusions, check if your air pump is working correctly. Make sure it is properly connected to the mattress and the power source. If it's a manual pump, check if the valves are closed tightly. If it's an electric pump, make sure the battery or power cord is functioning. If the pump seems to be the issue, try using a different pump or consider getting a replacement.
The most common reason for an air mattress not inflating is a faulty air pump.
Before jumping to any conclusions, check if your air pump is working correctly. Make sure it is properly connected to the mattress and the power source. If it's a manual pump, check if the valves are closed tightly. If it's an electric pump, make sure the battery or power cord is functioning. If the pump seems to be the issue, try using a different pump or consider getting a replacement.
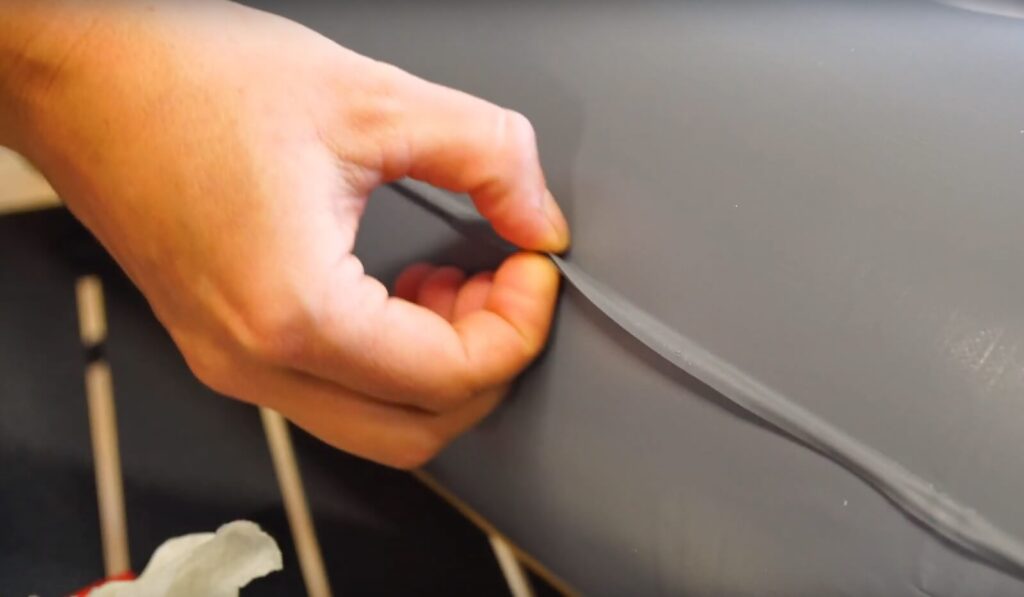
Inspect the Valves and Seams
 If your air pump is working fine, the next step is to check the valves and seams of your air mattress.
Over time, these areas can wear out and become prone to leaks.
Make sure the valves are closed tightly and the seams are intact.
If you notice any tears or holes, try patching them up with a repair kit or consider getting a new mattress altogether.
If your air pump is working fine, the next step is to check the valves and seams of your air mattress.
Over time, these areas can wear out and become prone to leaks.
Make sure the valves are closed tightly and the seams are intact.
If you notice any tears or holes, try patching them up with a repair kit or consider getting a new mattress altogether.
Is the Air Mattress the Right Size?
 Another common mistake is using the wrong size air mattress for your bed frame.
If your air mattress is too small or too big for your bed frame, it may not inflate correctly. Make sure to check the measurements before purchasing an air mattress and ensure that it fits your bed frame perfectly.
Another common mistake is using the wrong size air mattress for your bed frame.
If your air mattress is too small or too big for your bed frame, it may not inflate correctly. Make sure to check the measurements before purchasing an air mattress and ensure that it fits your bed frame perfectly.
Check the Air Pressure
 If your air mattress has been in storage for a while, it's possible that the air pressure has decreased.
In this case, you may need to add more air to the mattress. Check the recommended air pressure for your specific model and use a pump to reach the desired level.
It's also a good idea to periodically check the air pressure and make adjustments as needed to maintain its firmness.
If your air mattress has been in storage for a while, it's possible that the air pressure has decreased.
In this case, you may need to add more air to the mattress. Check the recommended air pressure for your specific model and use a pump to reach the desired level.
It's also a good idea to periodically check the air pressure and make adjustments as needed to maintain its firmness.
Conclusion
 In conclusion,
a malfunctioning air pump, faulty valves or seams, incorrect size, or low air pressure can all contribute to an air mattress not inflating properly.
Make sure to regularly check your air mattress for any signs of wear and tear and address any issues promptly to ensure a comfortable and restful sleep. With these troubleshooting tips, you can now enjoy a fully inflated air mattress and a good night's rest.
In conclusion,
a malfunctioning air pump, faulty valves or seams, incorrect size, or low air pressure can all contribute to an air mattress not inflating properly.
Make sure to regularly check your air mattress for any signs of wear and tear and address any issues promptly to ensure a comfortable and restful sleep. With these troubleshooting tips, you can now enjoy a fully inflated air mattress and a good night's rest.