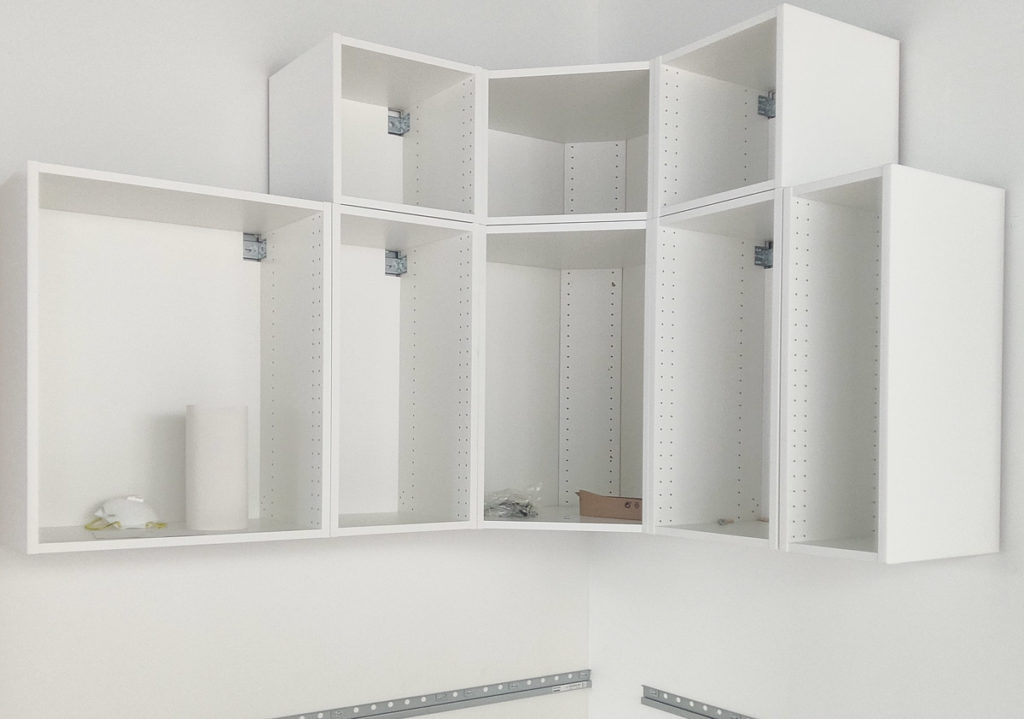
Installing IKEA kitchen cabinets can seem like a daunting task, but with the right tools and knowledge, it can be a straightforward process. Whether you're a DIY enthusiast or just looking to save some money on your kitchen renovation, IKEA cabinets are a popular and budget-friendly option. In this guide, we will go through the step-by-step process of installing IKEA kitchen cabinets to help you achieve a professional and functional kitchen.How to Install IKEA Kitchen Cabinets
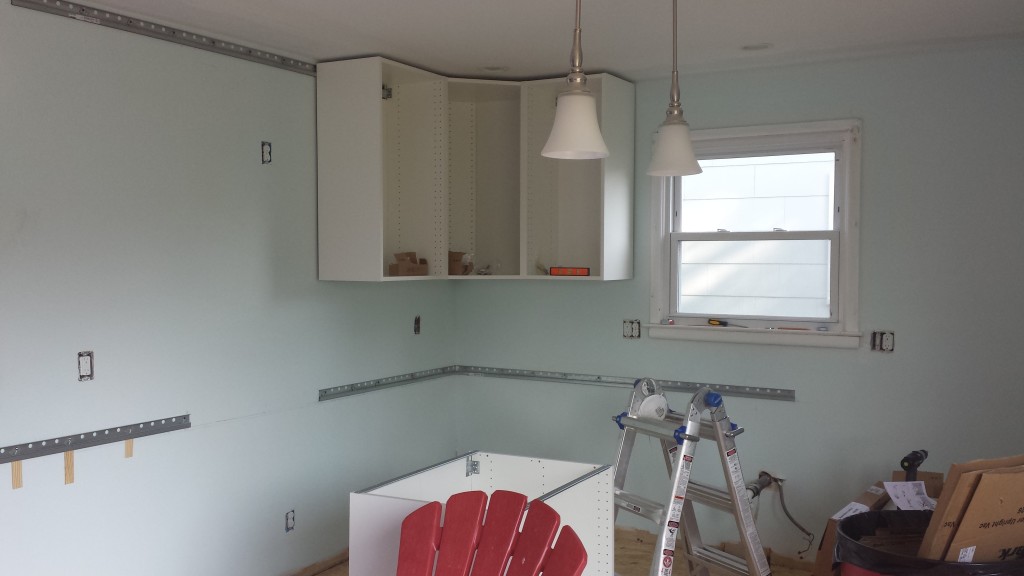
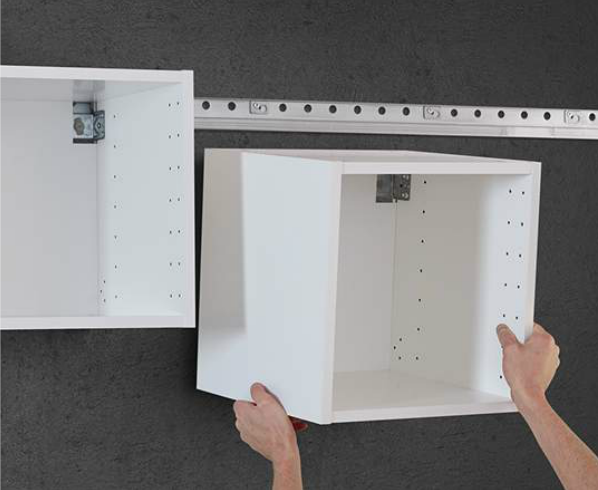
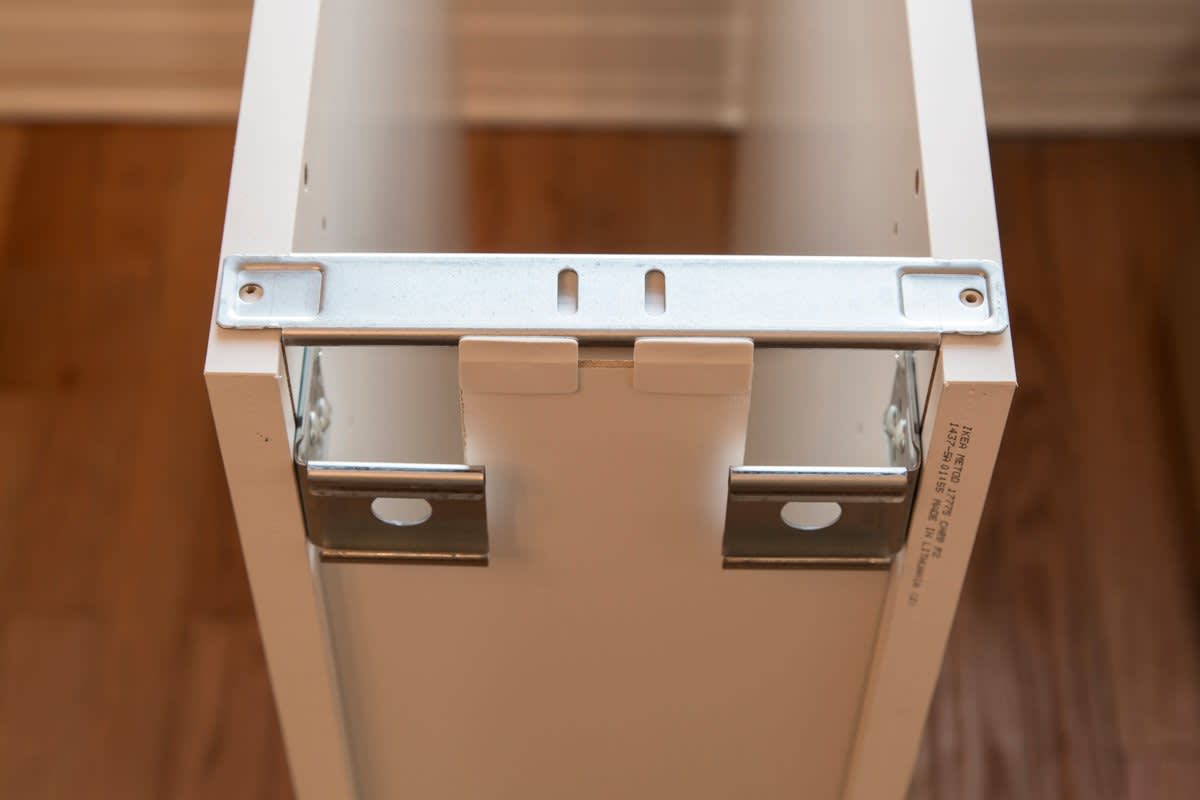
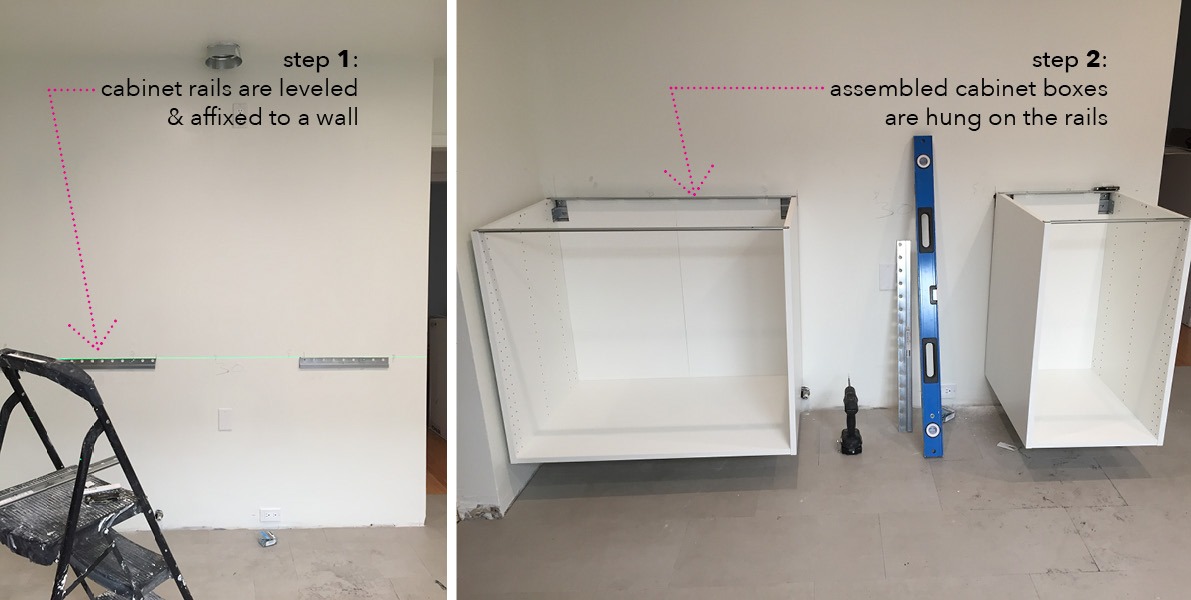
Before you begin installing your IKEA kitchen cabinets, it's essential to understand the process of hanging them. The hanging method used for IKEA cabinets is called the rail system, where a metal rail is installed on the wall and the cabinets are hung on the rail. This method allows for a secure and level installation. Keep in mind that the rail system needs to be installed correctly for the cabinets to hang properly and support the weight. Let's dive into the step-by-step guide for hanging IKEA cabinets.How to Hang IKEA Cabinets
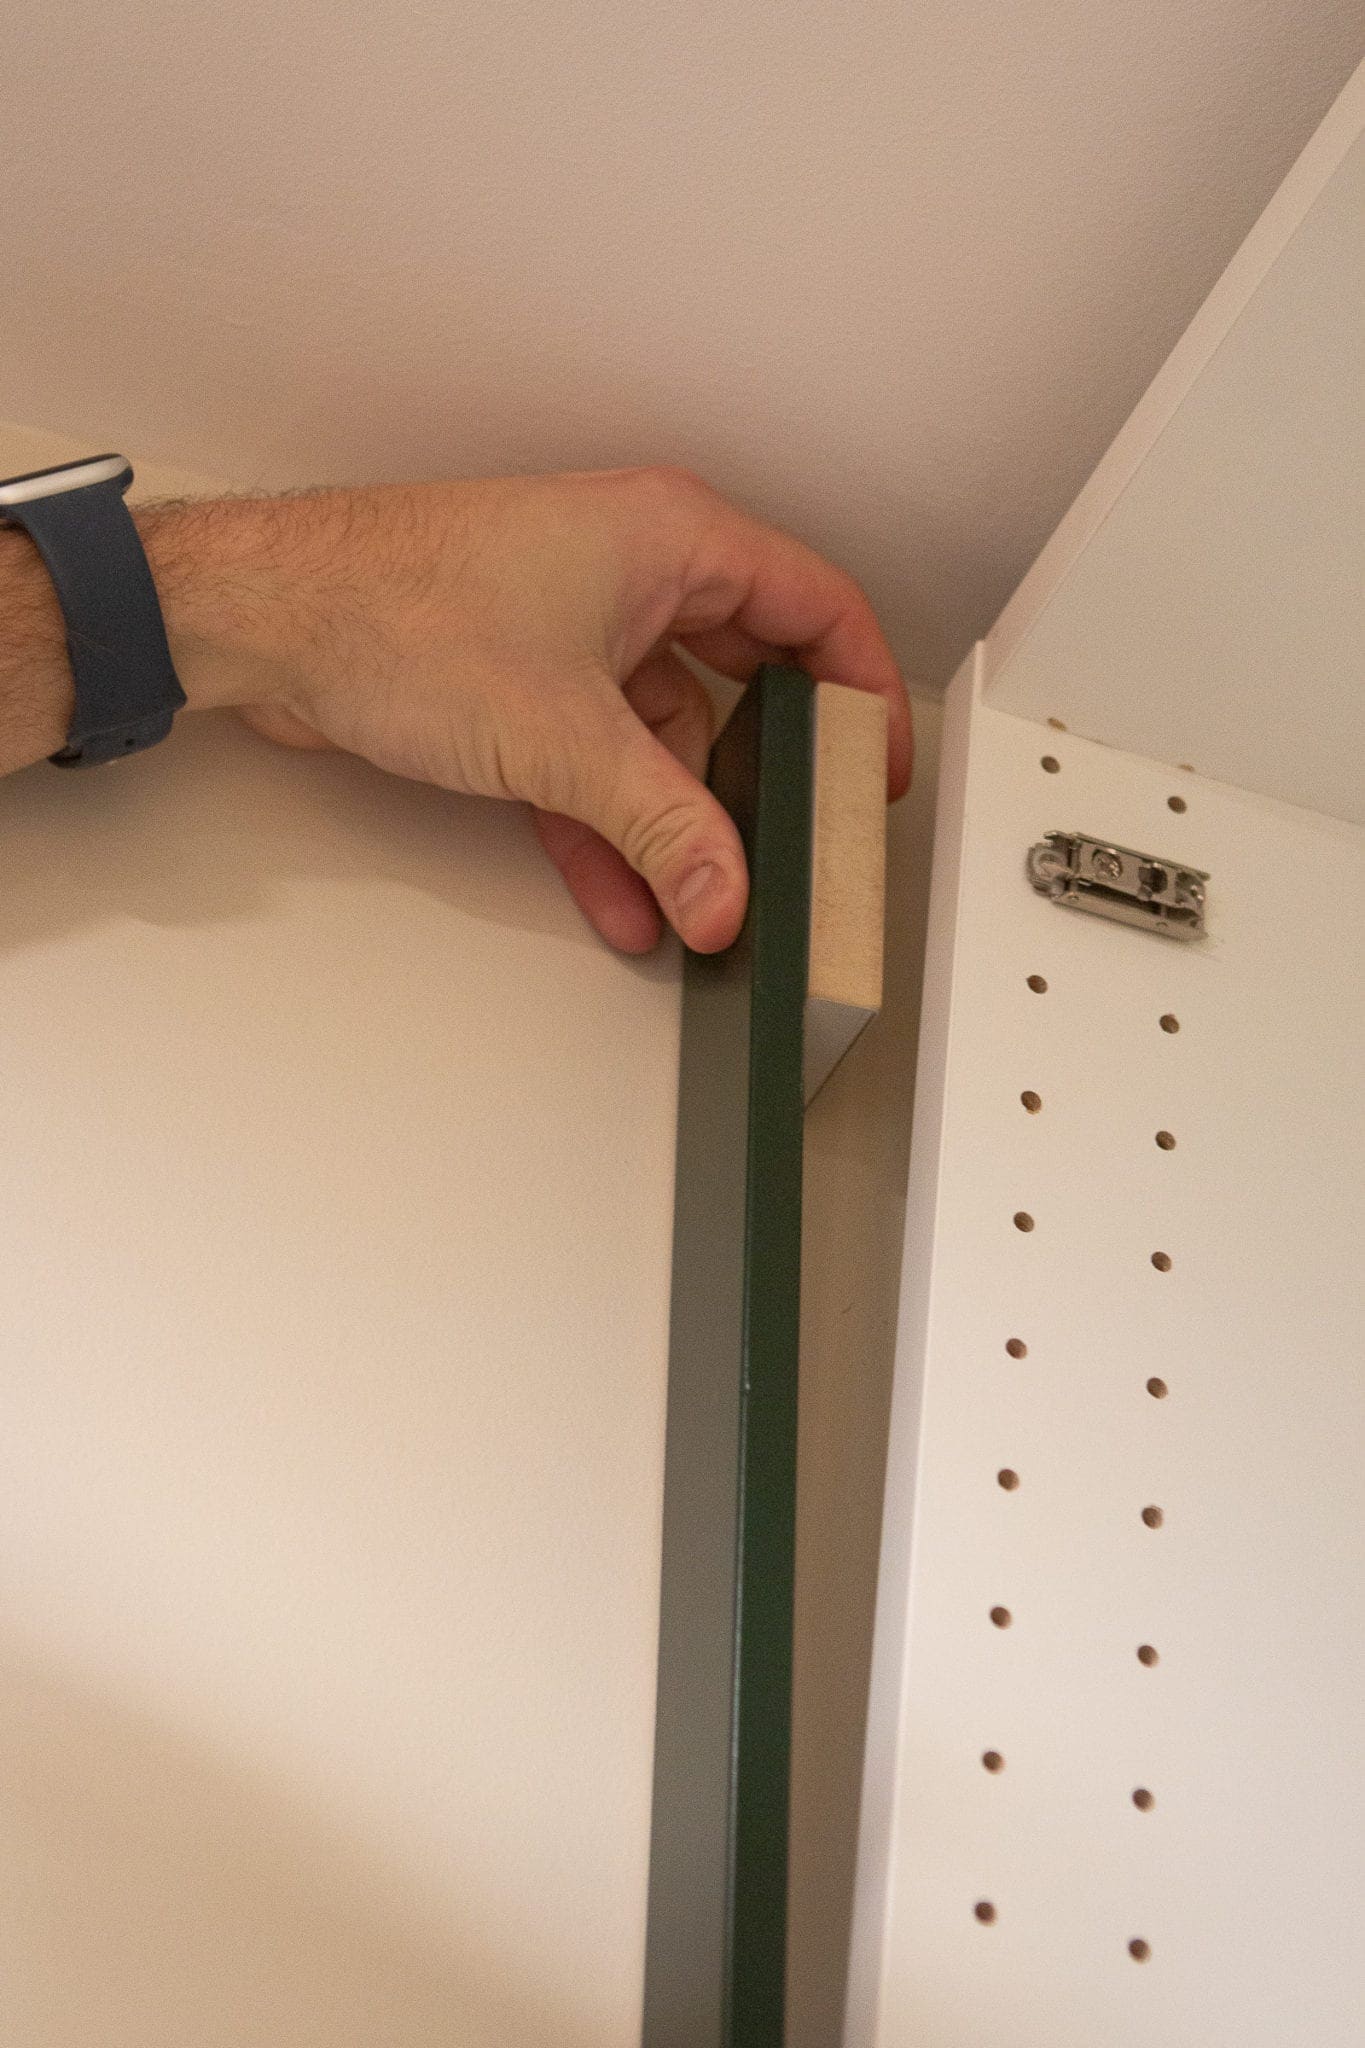
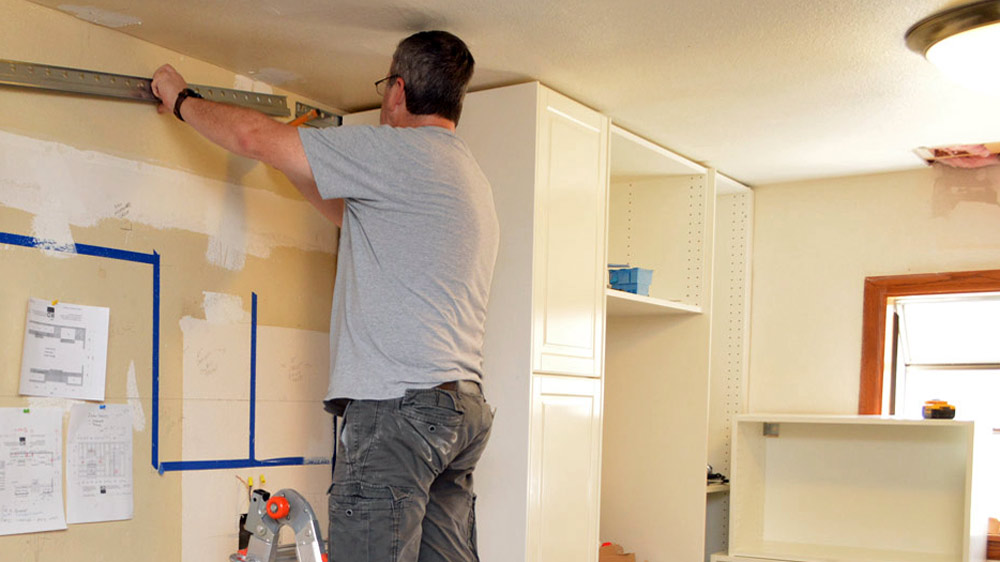
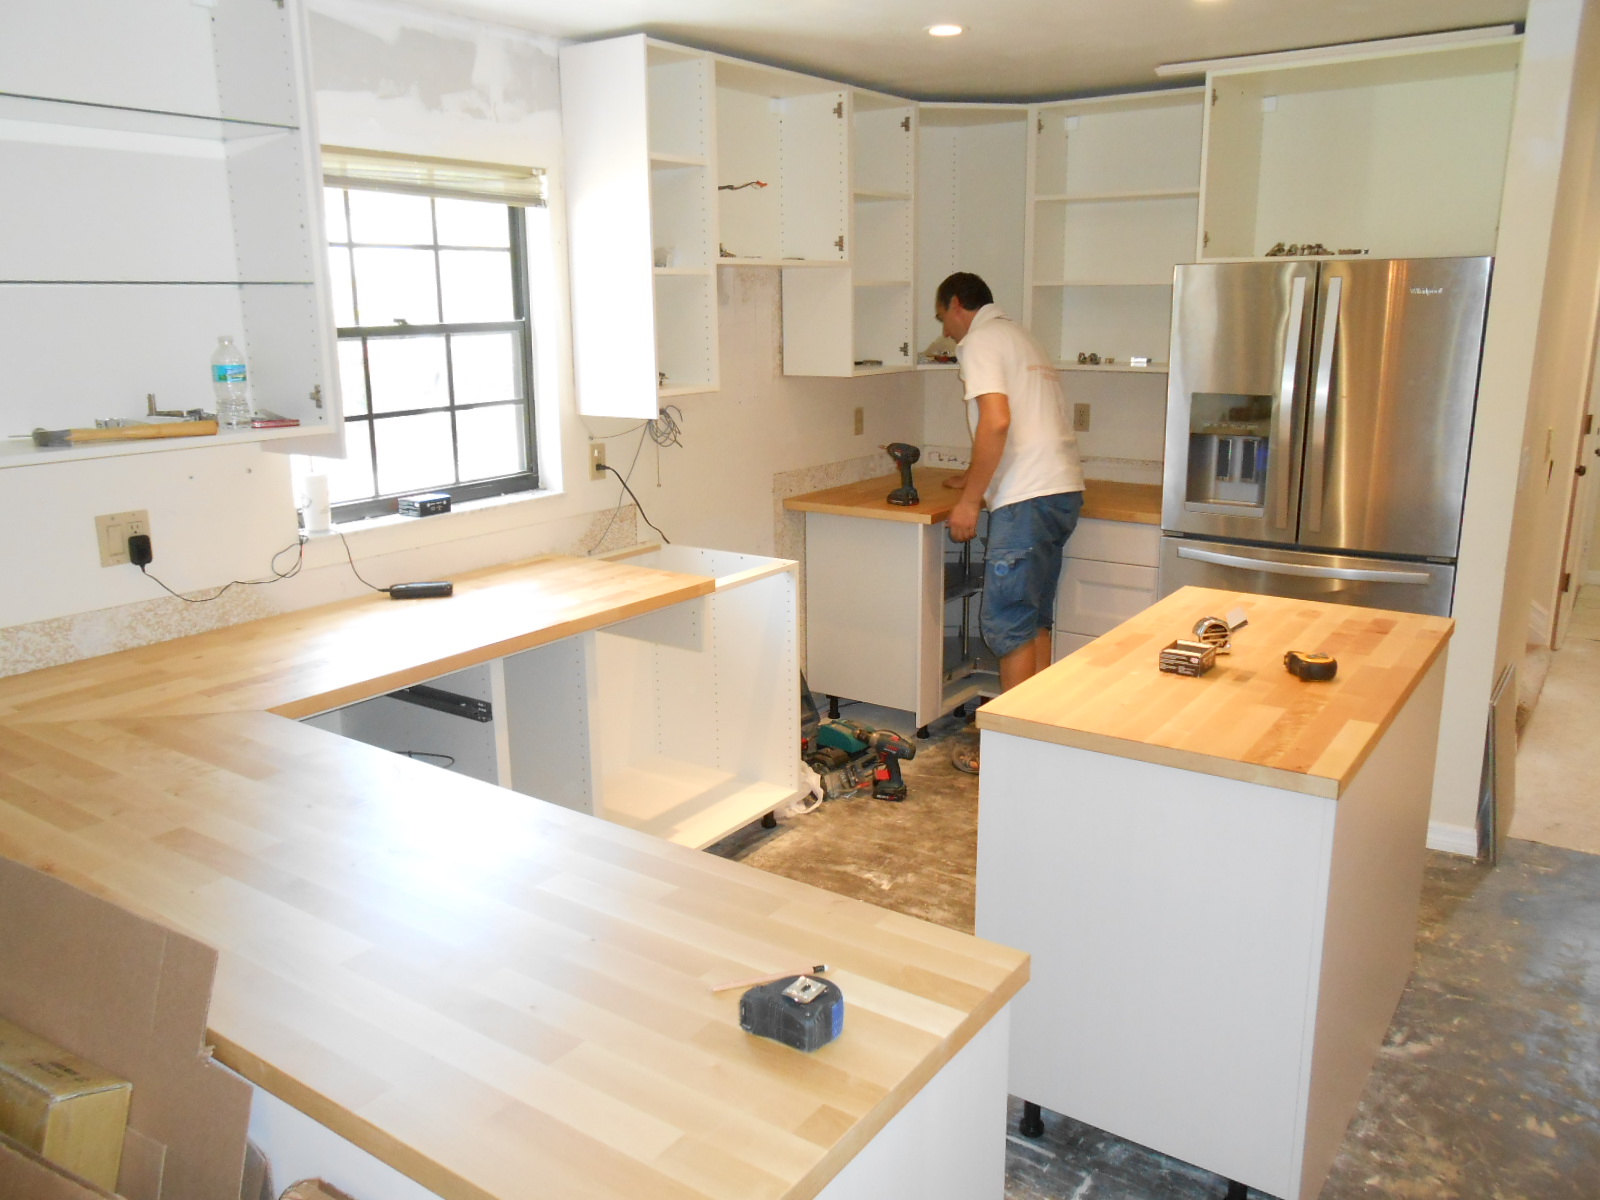
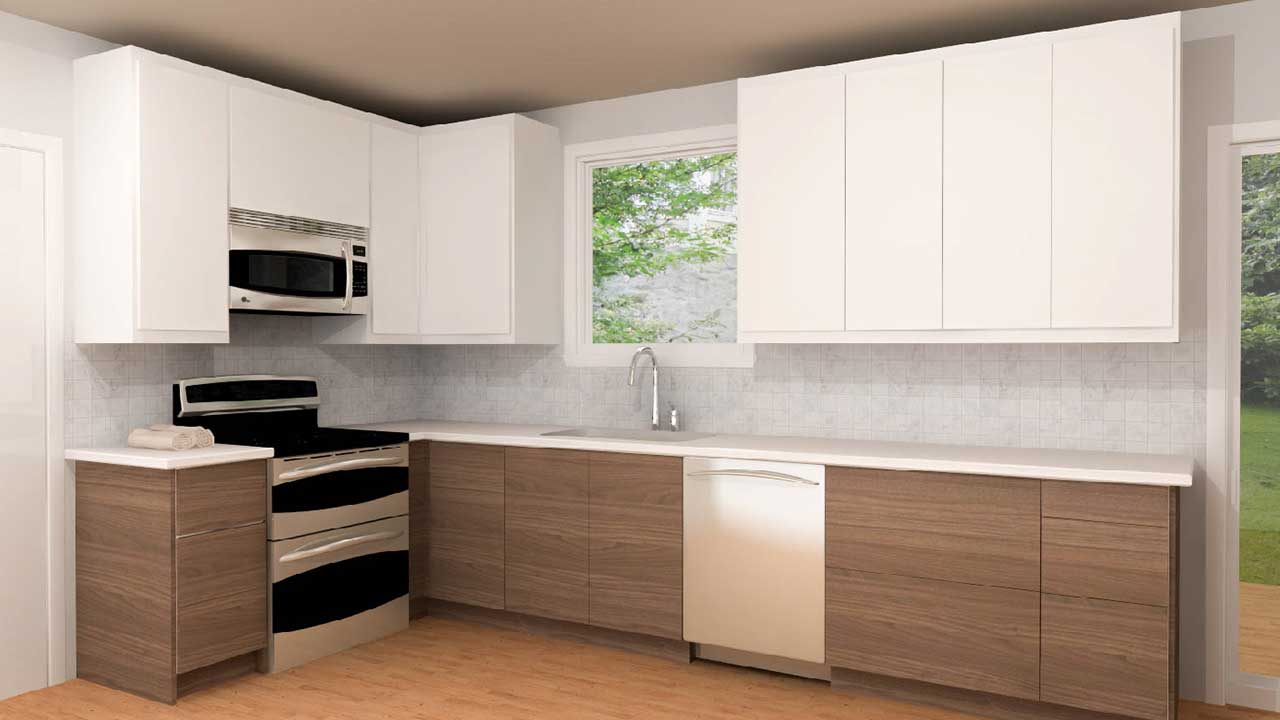
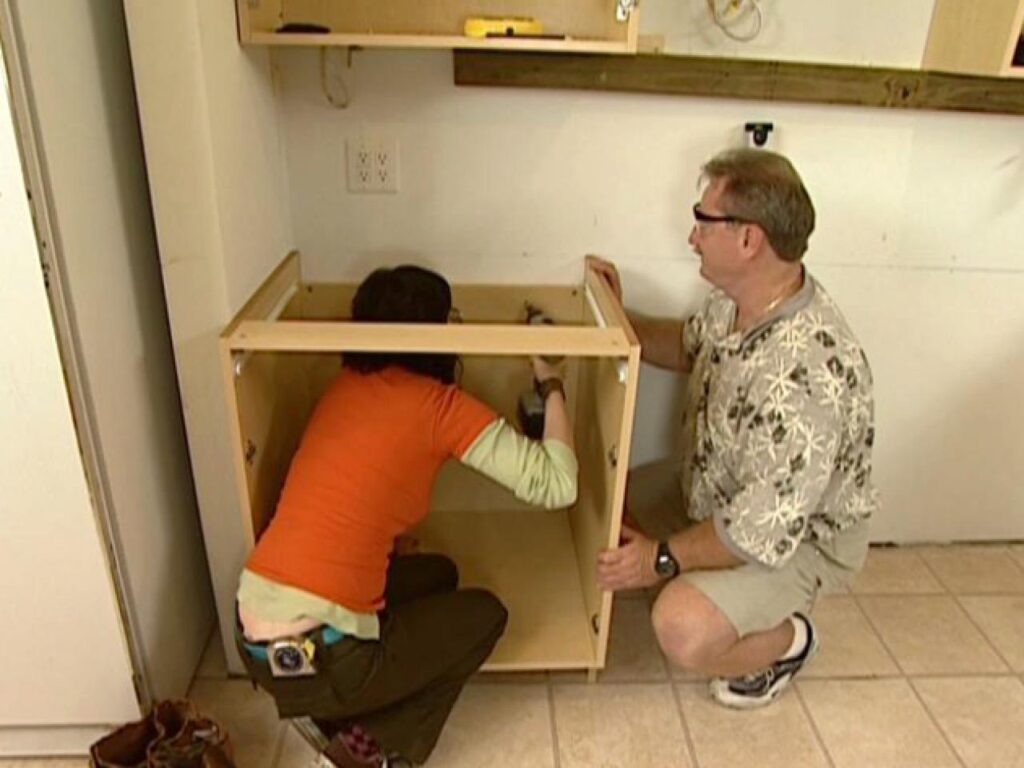
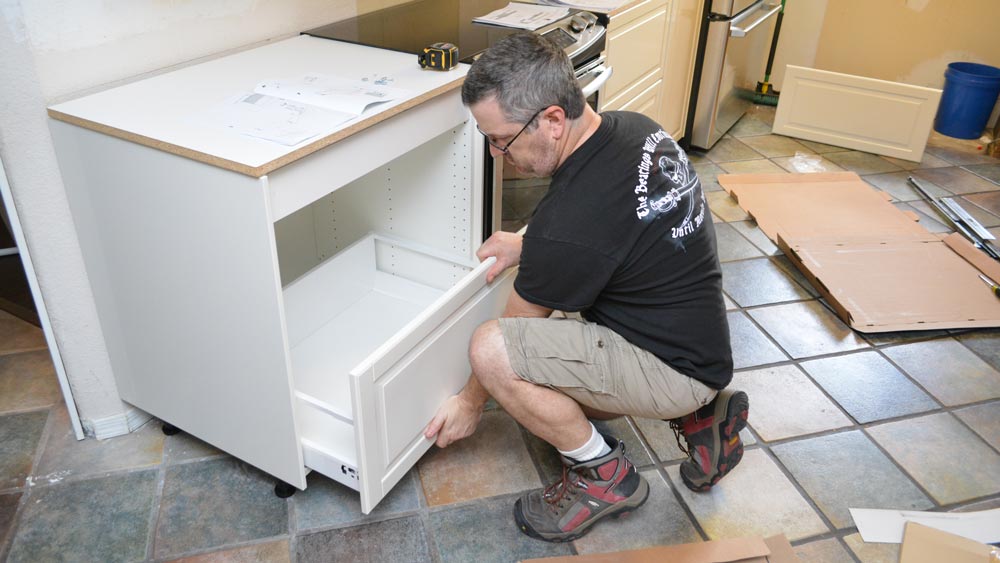
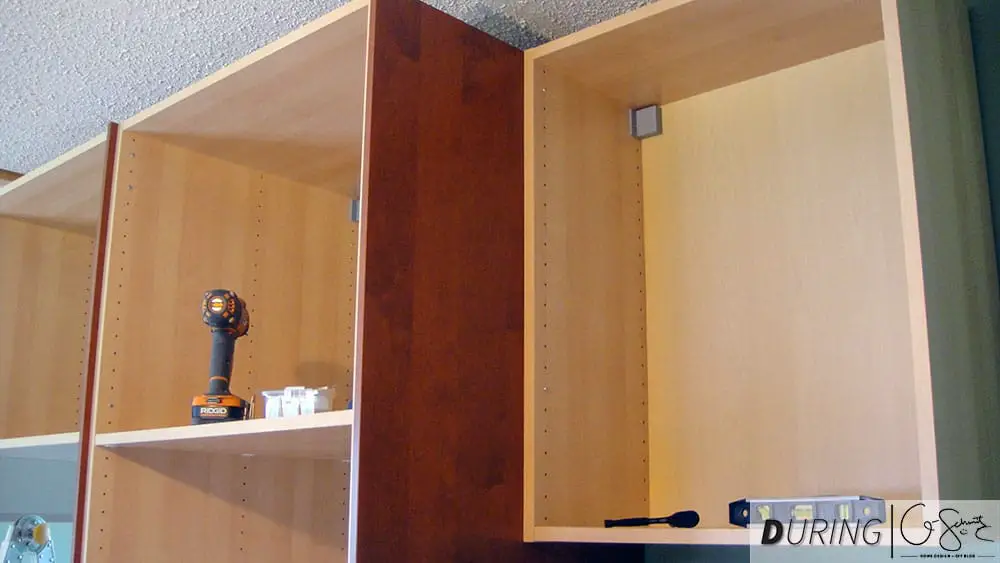
Now that you have a general understanding of how to hang IKEA cabinets, let's go through the installation process step-by-step. Step 1: Measure and plan your kitchen layout Before purchasing your IKEA cabinets, it's essential to measure your kitchen space and plan the layout. This will help you determine how many cabinets you need and their sizes. It's also crucial to consider the placement of appliances, sinks, and other fixtures in your kitchen. This planning stage will save you time and avoid any issues during installation. Step 2: Assemble the cabinets Once you have your cabinets, it's time to assemble them according to the instructions provided by IKEA. Make sure to have all the necessary tools and follow the steps carefully. Assembled cabinets are easier to handle and install. Step 3: Install the rail system Using a stud finder, locate the studs on your kitchen wall and mark them. Then, using a level, draw a line to indicate where the top of the rail will be installed. Follow the instructions provided by IKEA to install the rail securely. Make sure the rail is level, and the screws are tightened. Step 4: Hang the cabinets on the rail With the help of a friend or family member, carefully lift the cabinets and hang them on the rail. Use the adjustment screws on the back of the cabinet to level them. Make sure to secure the cabinets to the wall using screws provided by IKEA. Step 5: Secure the cabinets together Using the provided screws, secure the cabinets together at the top and bottom. This will create a seamless and sturdy installation. Step 6: Install the doors and drawers Follow the instructions provided by IKEA to install the doors and drawers onto the cabinets. Make sure they are aligned and level.Step-by-Step Guide to Installing IKEA Kitchen Cabinets
As with any DIY project, there are some tips and tricks that can make the process of mounting IKEA kitchen wall cabinets easier and more efficient. Tip 1: Use a laser level Using a laser level can save you time and ensure that your cabinets are level and straight. It's a useful tool when installing the rail system and hanging the cabinets. Tip 2: Label the cabinets Before disassembling the cabinets for assembly, label them according to their location in the kitchen. This will make it easier to install them in the correct order and avoid any mix-ups. Tip 3: Have a helper Having a friend or family member to help you with the installation process can make it go much smoother. They can hold the cabinets in place while you secure them and help with any heavy lifting.Mounting IKEA Kitchen Wall Cabinets: Tips and Tricks
While IKEA kitchen cabinets are relatively easy to install, there are a few things you should know before starting the process. Know your measurements and layout As mentioned before, it's crucial to measure your kitchen space accurately and plan the layout before purchasing your cabinets. This will save you time and any issues during installation. Follow the instructions carefully IKEA provides detailed instructions for assembling and installing their cabinets. Make sure to follow them carefully to ensure a successful installation. Use the right tools and materials Having the right tools and materials is crucial for a smooth installation. Make sure you have all the necessary tools and follow the instructions provided by IKEA.IKEA Kitchen Cabinet Installation: What You Need to Know
If you're new to DIY projects or have never installed kitchen cabinets before, don't worry. With the right tools and knowledge, installing IKEA kitchen cabinets can be a manageable task. Here are a few tips for beginners: Don't rush Take your time and follow the instructions carefully. Rushing can lead to mistakes and issues with the installation. Ask for help If you're feeling overwhelmed or unsure, don't hesitate to ask for help from a friend, family member, or professional. Watch tutorials There are many helpful tutorials online that can guide you through the installation process. Watching a few before starting can give you a better understanding of what to expect.Installing IKEA Kitchen Cabinets: A Beginner's Guide
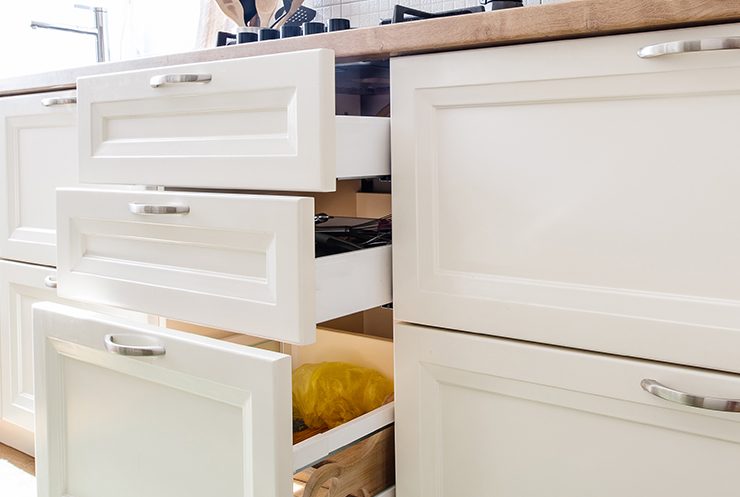
The process of assembling and installing IKEA kitchen wall cabinets is straightforward and can be done with a few simple steps. Step 1: Assemble the cabinets Assemble the cabinets according to the instructions provided by IKEA. Make sure to have all the necessary tools and follow the steps carefully. Step 2: Install the suspension rail Follow the instructions provided by IKEA to install the suspension rail securely on the wall. Make sure it's level and the screws are tightened. Step 3: Hang the cabinets on the suspension rail With the help of a friend or family member, carefully lift the cabinets and hang them on the suspension rail. Use the adjustment screws on the cabinet to level them. Step 4: Secure the cabinets together Using the provided screws, secure the cabinets together at the top and bottom. Step 5: Install the doors and drawers Follow the instructions provided by IKEA to install the doors and drawers onto the cabinets. Make sure they are aligned and level.How to Assemble and Install IKEA Kitchen Wall Cabinets
While IKEA kitchen cabinets are relatively easy to install, there are some common mistakes that can be easily avoided. Not measuring properly Measuring your kitchen space accurately is essential for a successful installation. Make sure to double-check your measurements before purchasing your cabinets. Not following instructions Following the instructions provided by IKEA is crucial for a smooth installation. Make sure to read and follow them carefully. Not securing the cabinets properly It's essential to secure the cabinets to the wall and to each other to ensure a sturdy and safe installation. Make sure to use the provided screws and follow the instructions provided by IKEA.IKEA Kitchen Cabinet Installation: Common Mistakes to Avoid
Before starting the process of mounting IKEA kitchen wall cabinets, it's essential to have the right tools and materials to ensure a successful installation. Tools needed: - Stud finder - Level - Drill - Screwdriver - Hammer Materials needed: - IKEA cabinets - Suspension rail - Screws provided by IKEAMounting IKEA Kitchen Wall Cabinets: Tools and Materials Needed
If you prefer a visual guide, IKEA provides a step-by-step video tutorial for mounting their kitchen wall cabinets. This can be a helpful resource to follow along with during the installation process. By following these tips and tricks and the step-by-step guide, you can successfully install IKEA kitchen cabinets and achieve a functional and stylish kitchen. Remember to take your time, follow the instructions carefully, and ask for help if needed. Good luck with your kitchen renovation!Step-by-Step Video Tutorial for Mounting IKEA Kitchen Wall Cabinets
Additional Tips for Mounting IKEA Kitchen Wall Cabinets
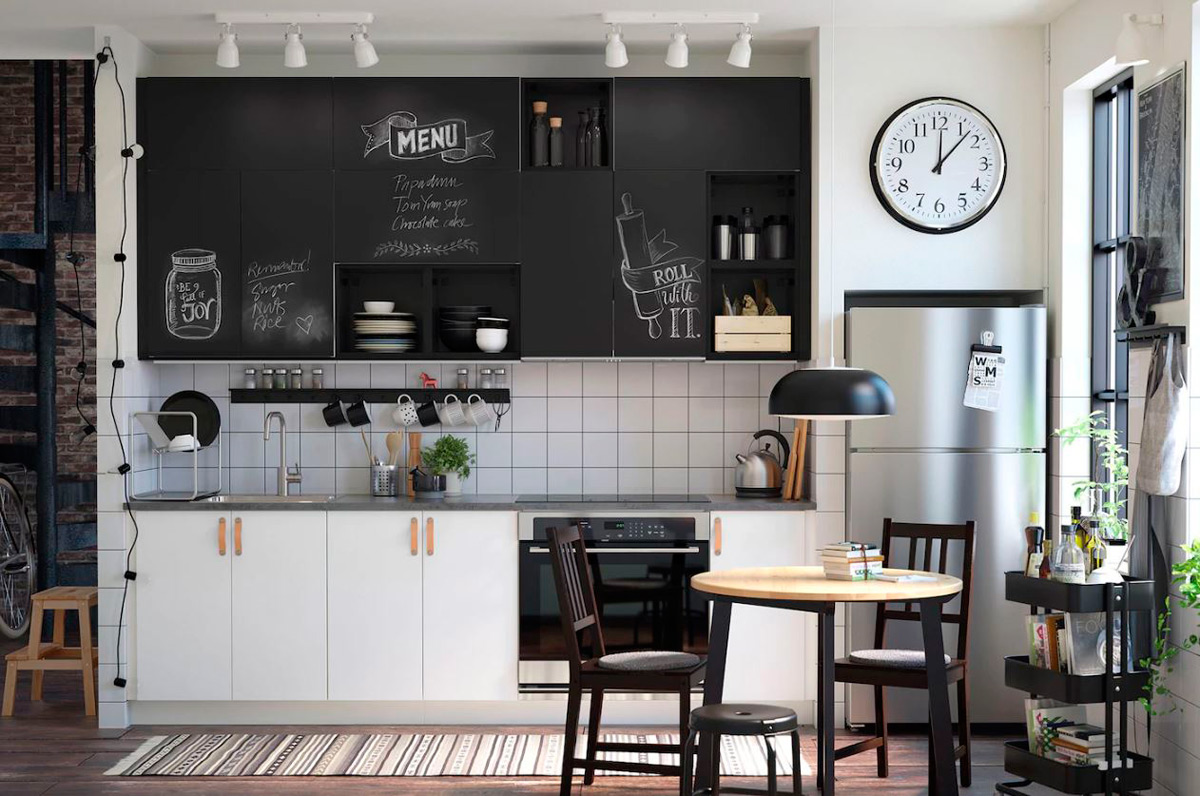
Proper Measurements for a Perfect Fit
 When it comes to installing
IKEA kitchen wall cabinets
, precise measurements are crucial to ensure a seamless fit and a professional look. Before purchasing your cabinets, make sure to carefully measure the space where they will be mounted. Take into consideration any obstacles such as light fixtures, windows, or outlets. It's also important to measure the distance between the cabinets and the countertop to ensure there is enough space for appliances and workspace.
Accurate measurements will save you time and frustration in the long run.
Assemble Before You Install
 IKEA cabinets
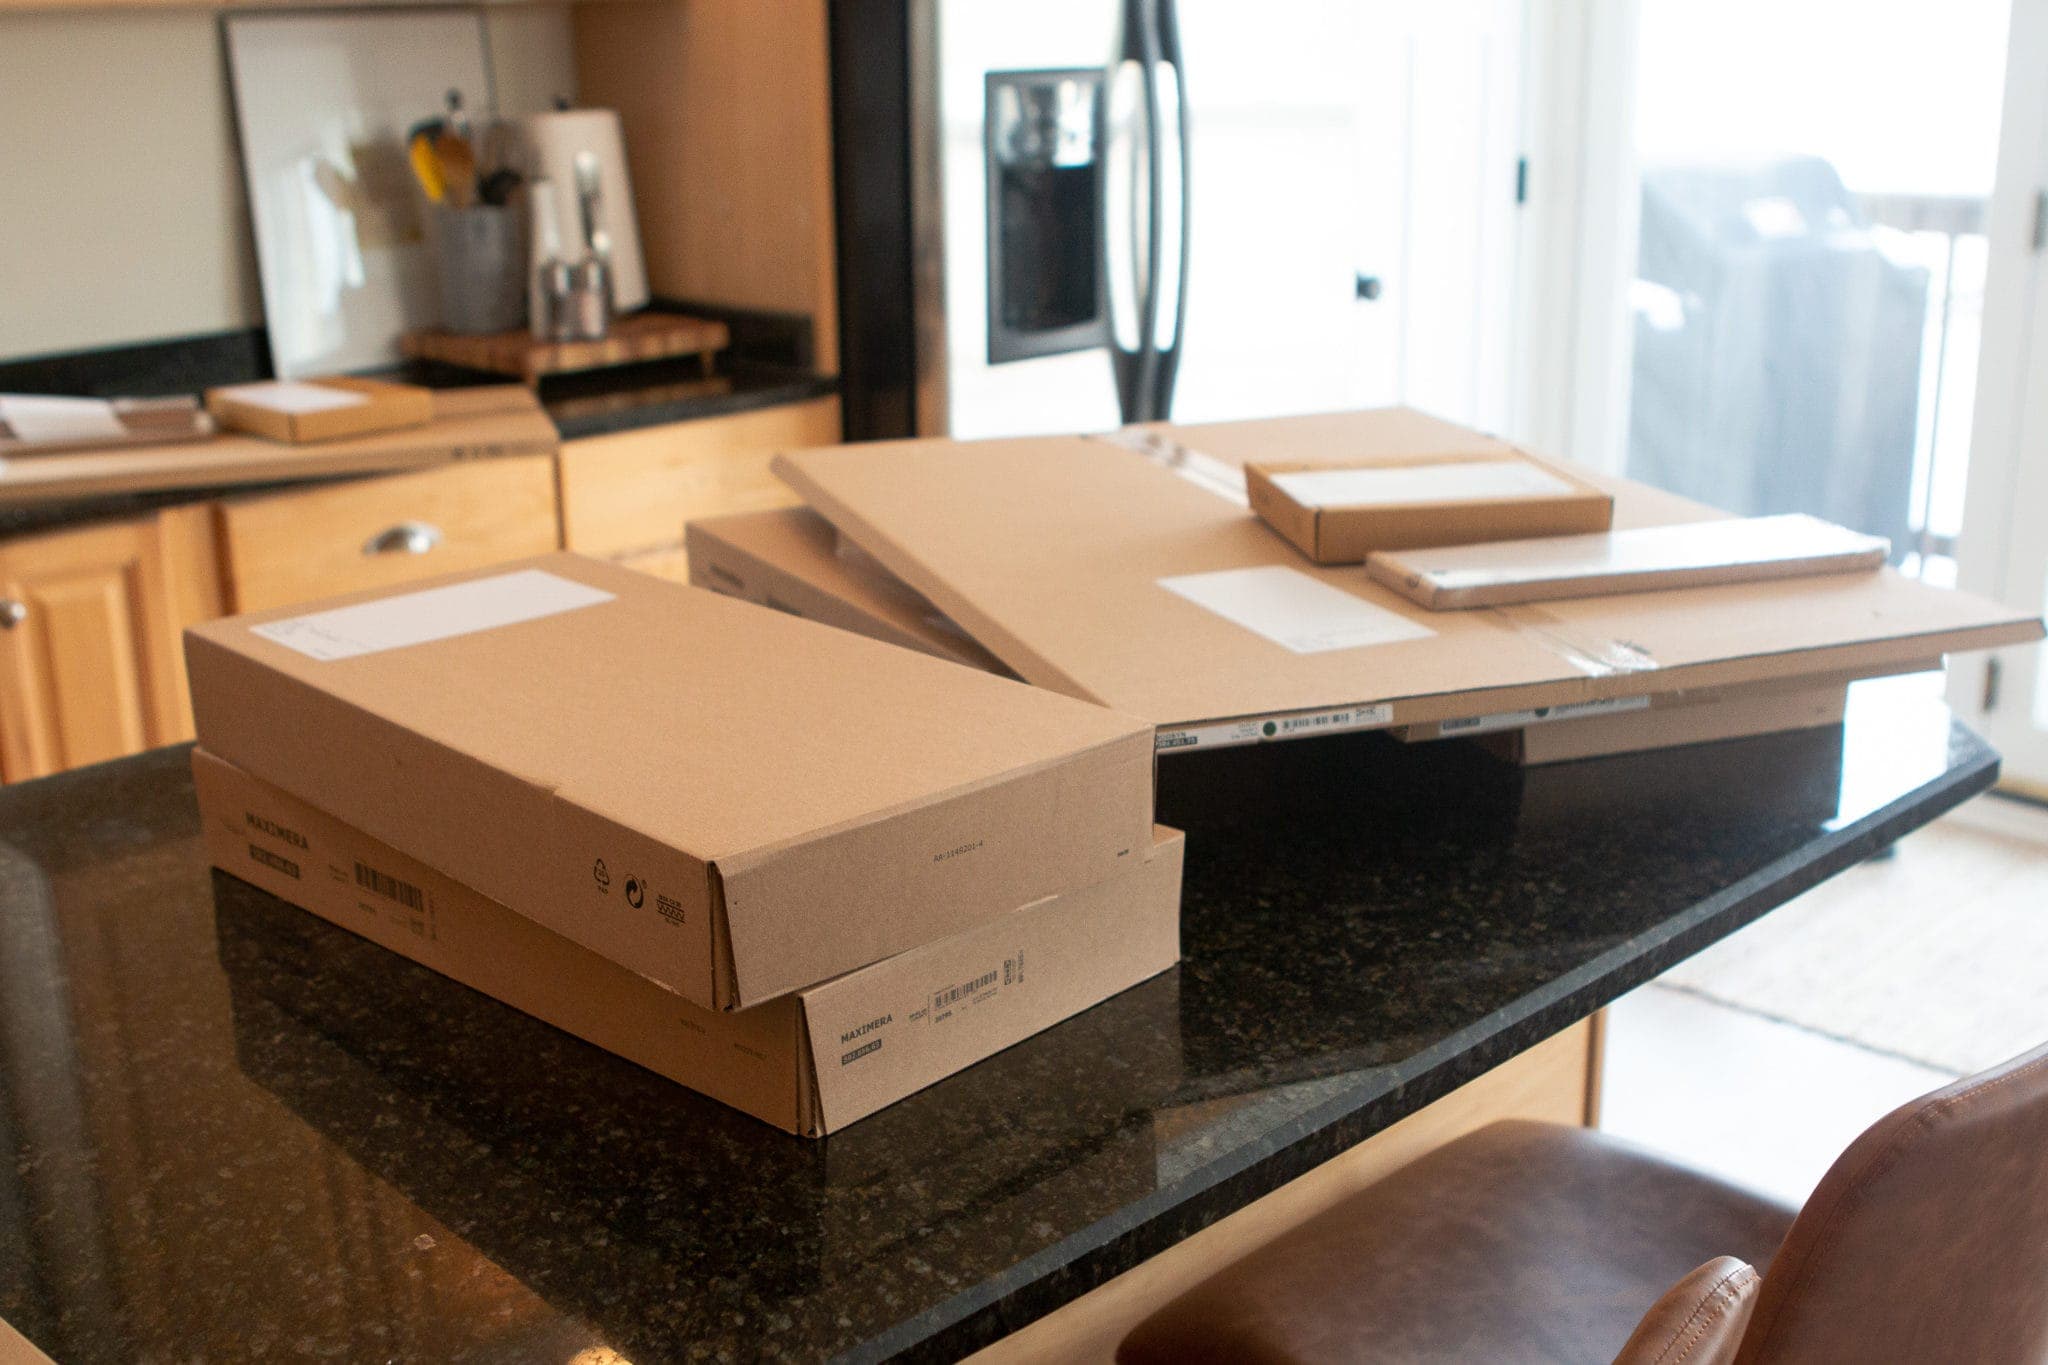
come in flat packs and require assembly before installation. It's essential to follow the instructions carefully and have all of the necessary tools on hand. Assemble the cabinet boxes and attach the doors before mounting them on the wall. This will make the installation process much easier and ensure that everything is aligned correctly.
Remember to take your time and double-check each step to avoid any mistakes.
Secure the Cabinets Properly
 To ensure that your
IKEA kitchen wall cabinets
are securely mounted, it's important to use the appropriate hardware. Use wall anchors for extra support and make sure to attach the cabinets to studs for maximum stability. It's also recommended to have someone assist you in holding the cabinets while you secure them to the wall. This will help to prevent any accidents and ensure that the cabinets are level and secure.
Properly securing your cabinets will not only ensure their safety, but also the safety of anyone using your kitchen.
Consider Professional Installation
 If you are not confident in your DIY skills or do not have the time to install your
IKEA kitchen wall cabinets
yourself, consider hiring a professional. Not only will they have the necessary expertise and tools, but they will also ensure that your cabinets are installed correctly and with precision. This will save you time and effort, and you can rest assured that your cabinets will be mounted securely and look professional.
Remember, it's always better to invest in a professional installation than to risk damaging your cabinets or compromising their safety.
By following these additional tips, you can ensure a smooth and successful installation of your
IKEA kitchen wall cabinets
. With careful measurements, proper assembly, and secure installation, your cabinets will not only look great but also function efficiently. Whether you choose to DIY or hire a professional,
proper installation is key to achieving the kitchen of your dreams.


