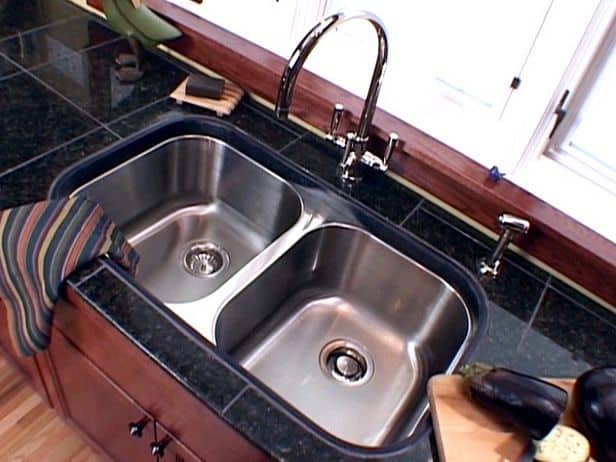
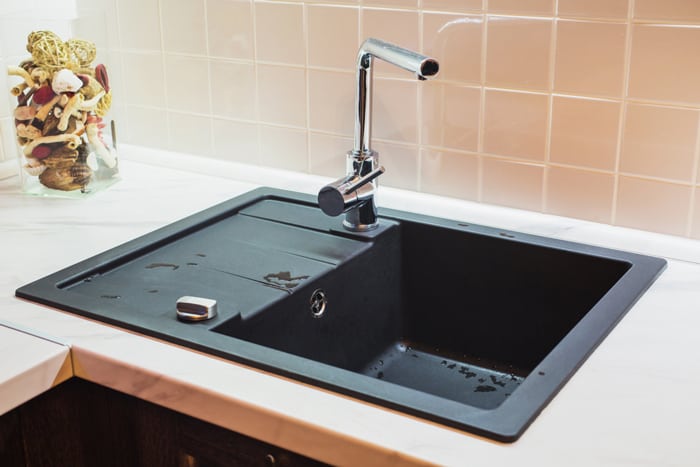
How to Install an Undermount Sink
Installing an undermount sink in your kitchen is a great way to add a modern and sleek look while also maximizing countertop space. However, it can seem like a daunting task to take on yourself. With the right tools, materials, and techniques, you can easily mount an undermount kitchen sink on your own. In this guide, we will walk you through the step-by-step process of mounting an undermount sink, as well as common mistakes to avoid and tips for a successful installation.


How to Install an Undermount Sink


How to Mount an Undermount Sink
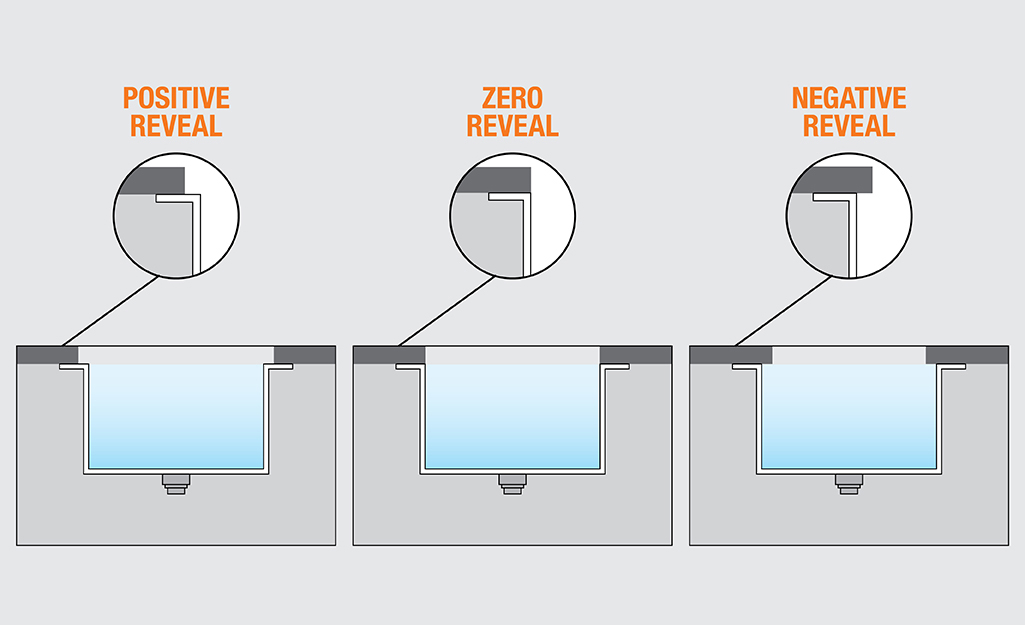
The process of mounting an undermount sink involves securing the sink to the underside of the countertop. This not only creates a seamless look but also makes it easier to clean your countertops. Before starting the installation, make sure to measure your sink and countertop to ensure they are the correct size and fit. You will also need to gather all the necessary tools and materials for the job.


How to Mount an Undermount Sink


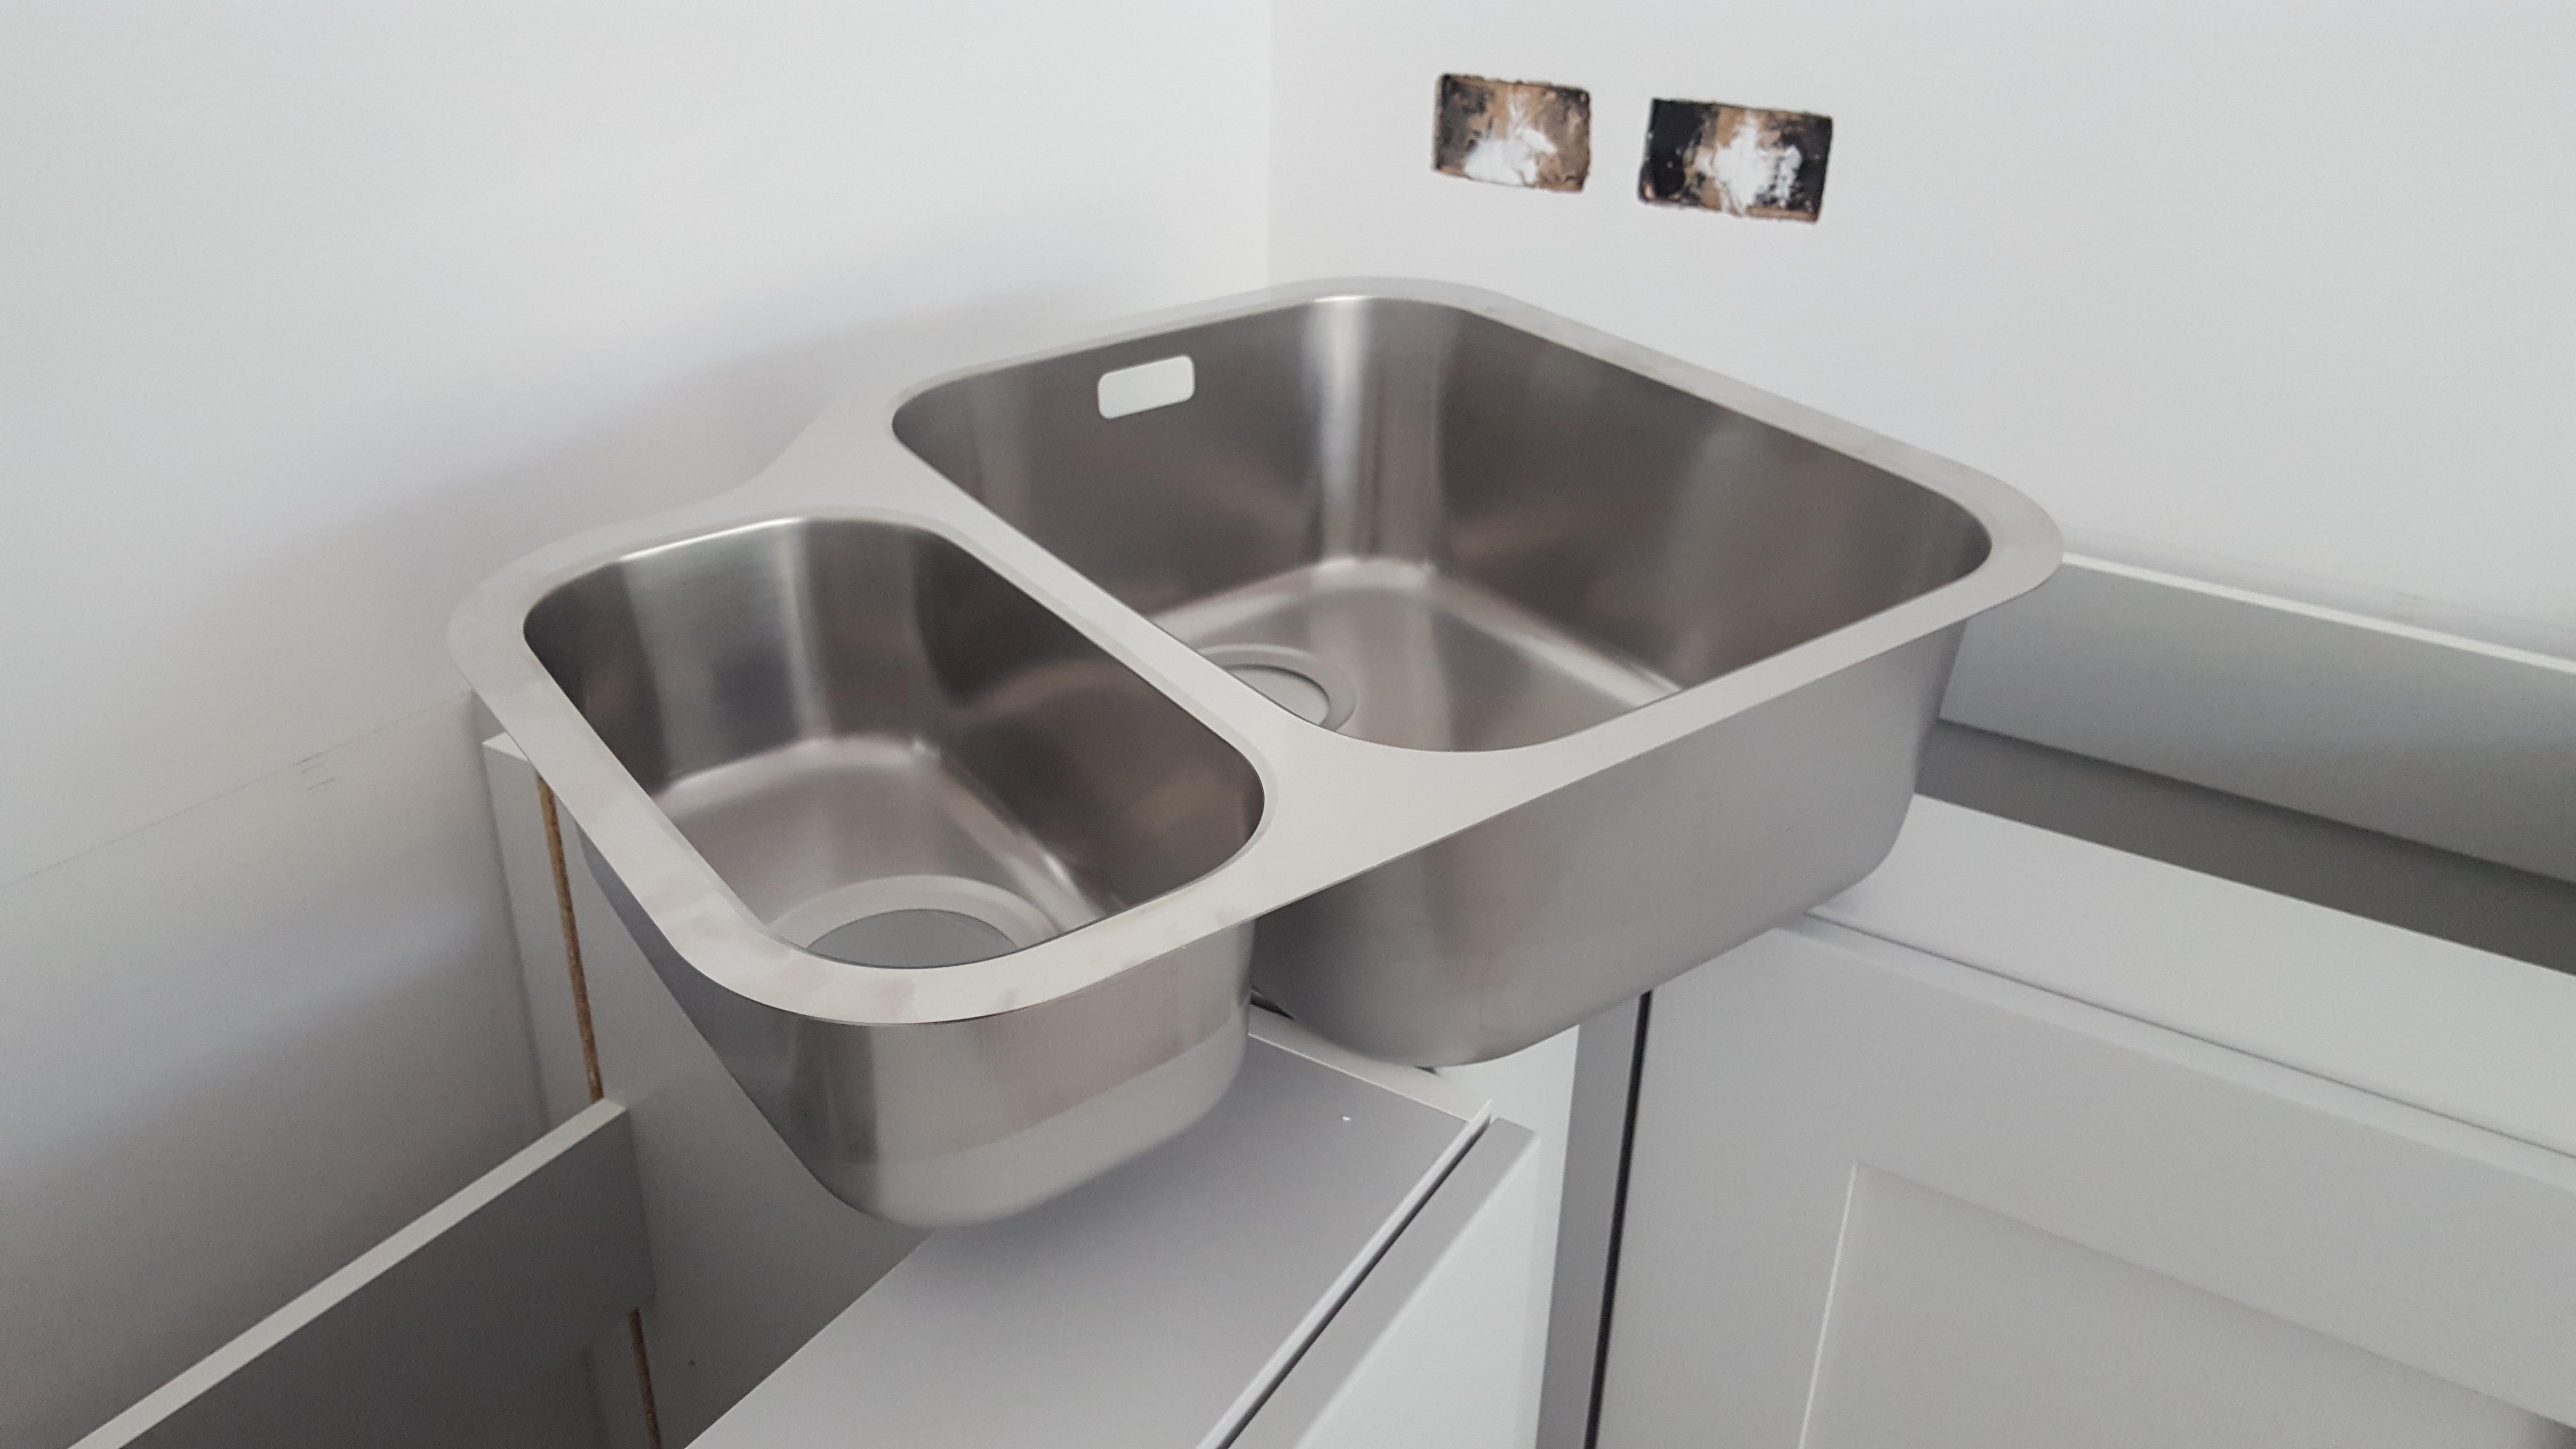
Step-by-Step Guide for Mounting an Undermount Kitchen Sink
Follow these steps to successfully mount an undermount kitchen sink:
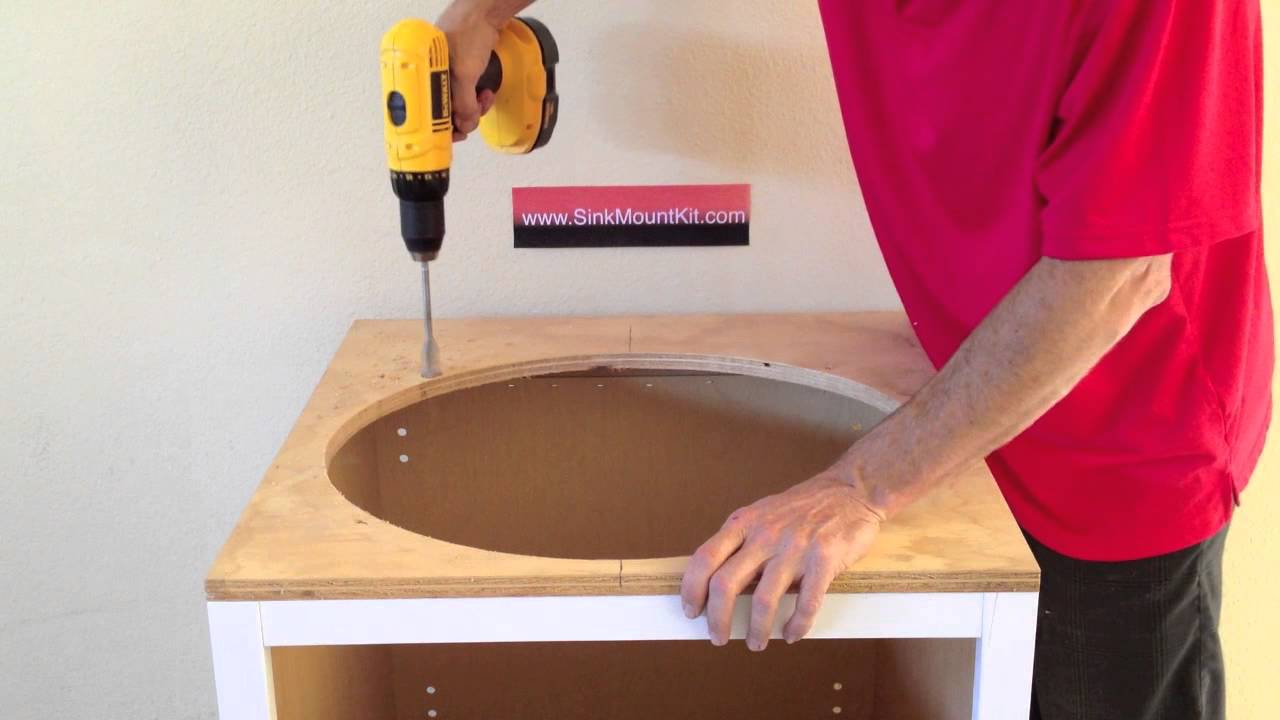
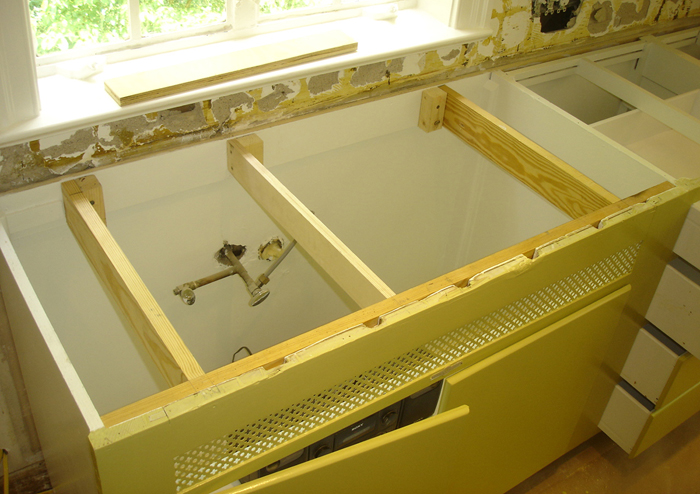
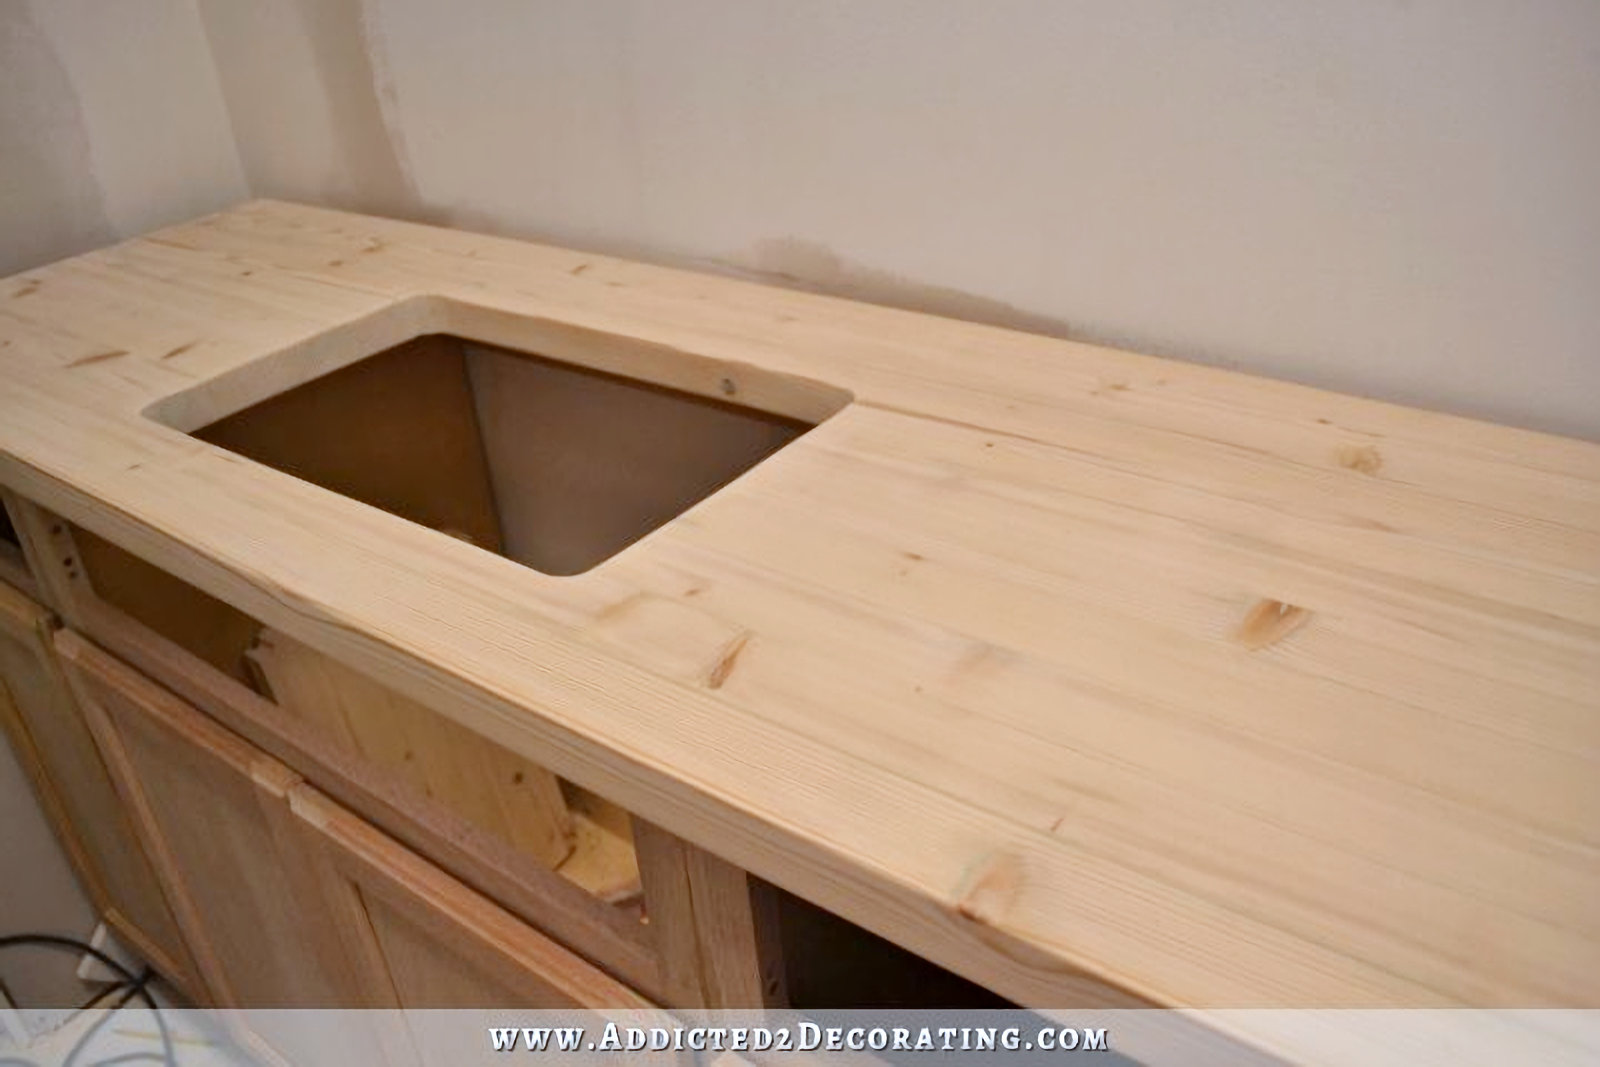
Step 1: Prepare the Sink and Countertop
Before installing the sink, make sure to clean the underside of the countertop and the sink thoroughly. You can use a mild cleaner and a soft cloth to remove any dirt and debris. Once both are clean, dry them completely.
Step 2: Apply Silicone Sealant
Apply a thin layer of silicone sealant around the rim of the sink, ensuring it is evenly spread. This will help create a watertight seal between the sink and the countertop.
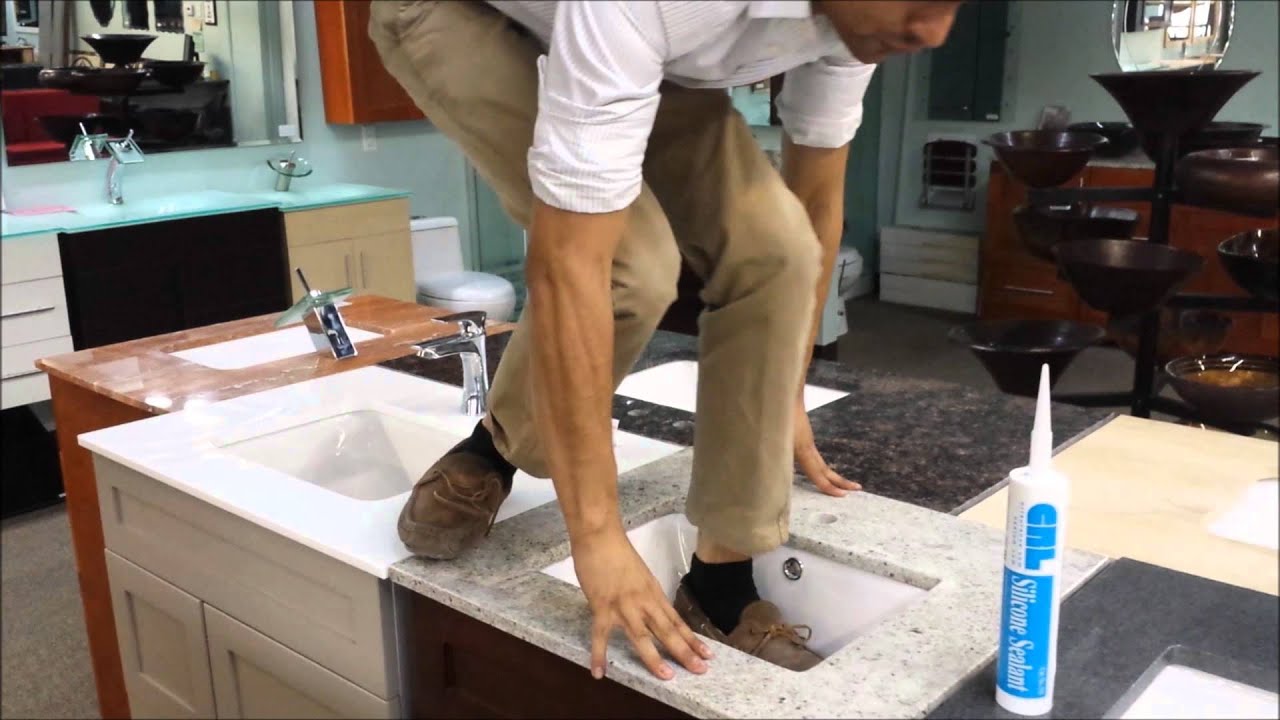
Step 3: Position the Sink
Place the sink into the hole on the countertop, pressing down gently to ensure it adheres to the silicone sealant. Use a clean cloth to remove any excess sealant that may have squeezed out.
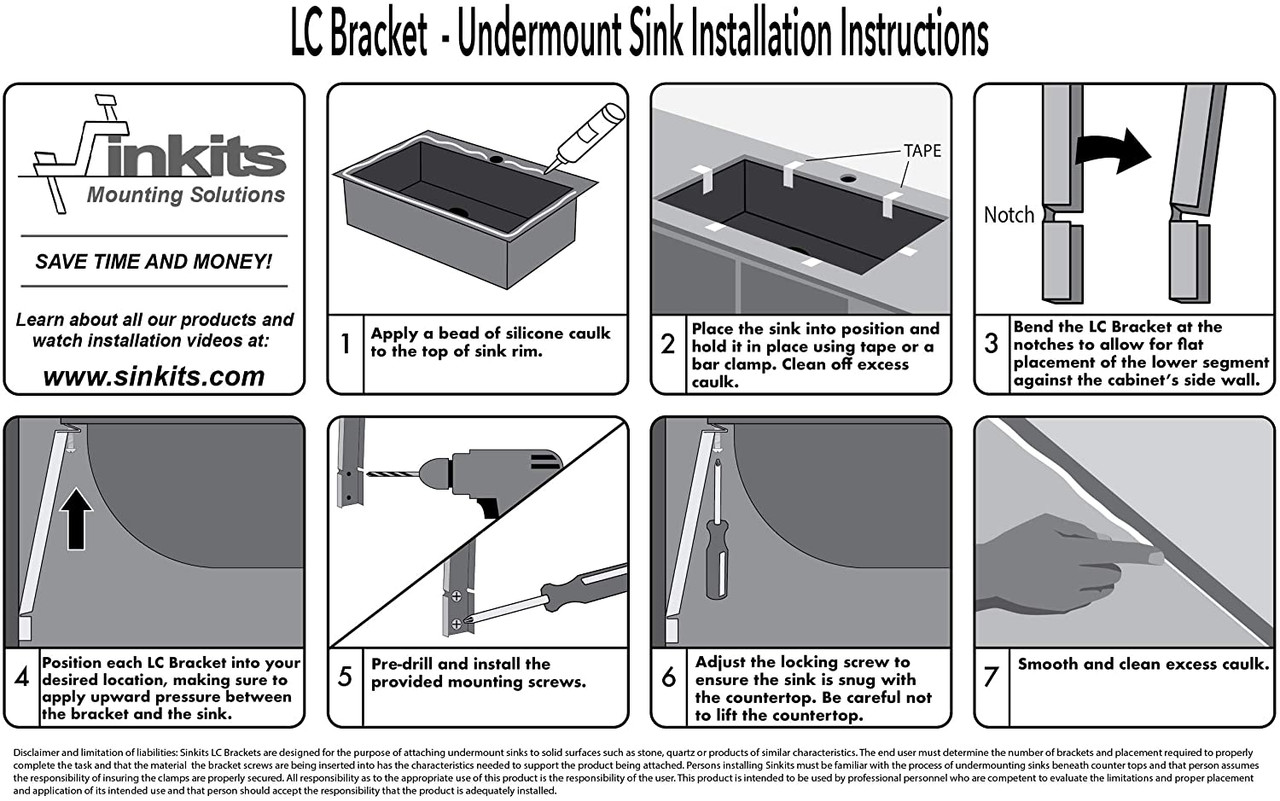
Step 4: Secure the Sink Clips
Undermount sinks come with clips that are used to secure the sink to the countertop. Place the clips onto the edge of the sink and tighten them with a screwdriver. Make sure to evenly distribute the clips around the sink.
Step 5: Let the Sealant Dry
Allow the sealant to dry completely according to the manufacturer's instructions before moving on to the next step.
Step 6: Test for Leaks
Once the sealant is dry, run water into the sink to test for any leaks. If you notice any, tighten the clips or add more sealant as needed.


Step-by-Step Guide for Mounting an Undermount Kitchen Sink

:no_upscale()/cdn.vox-cdn.com/uploads/chorus_asset/file/19495086/drain_0.jpg)


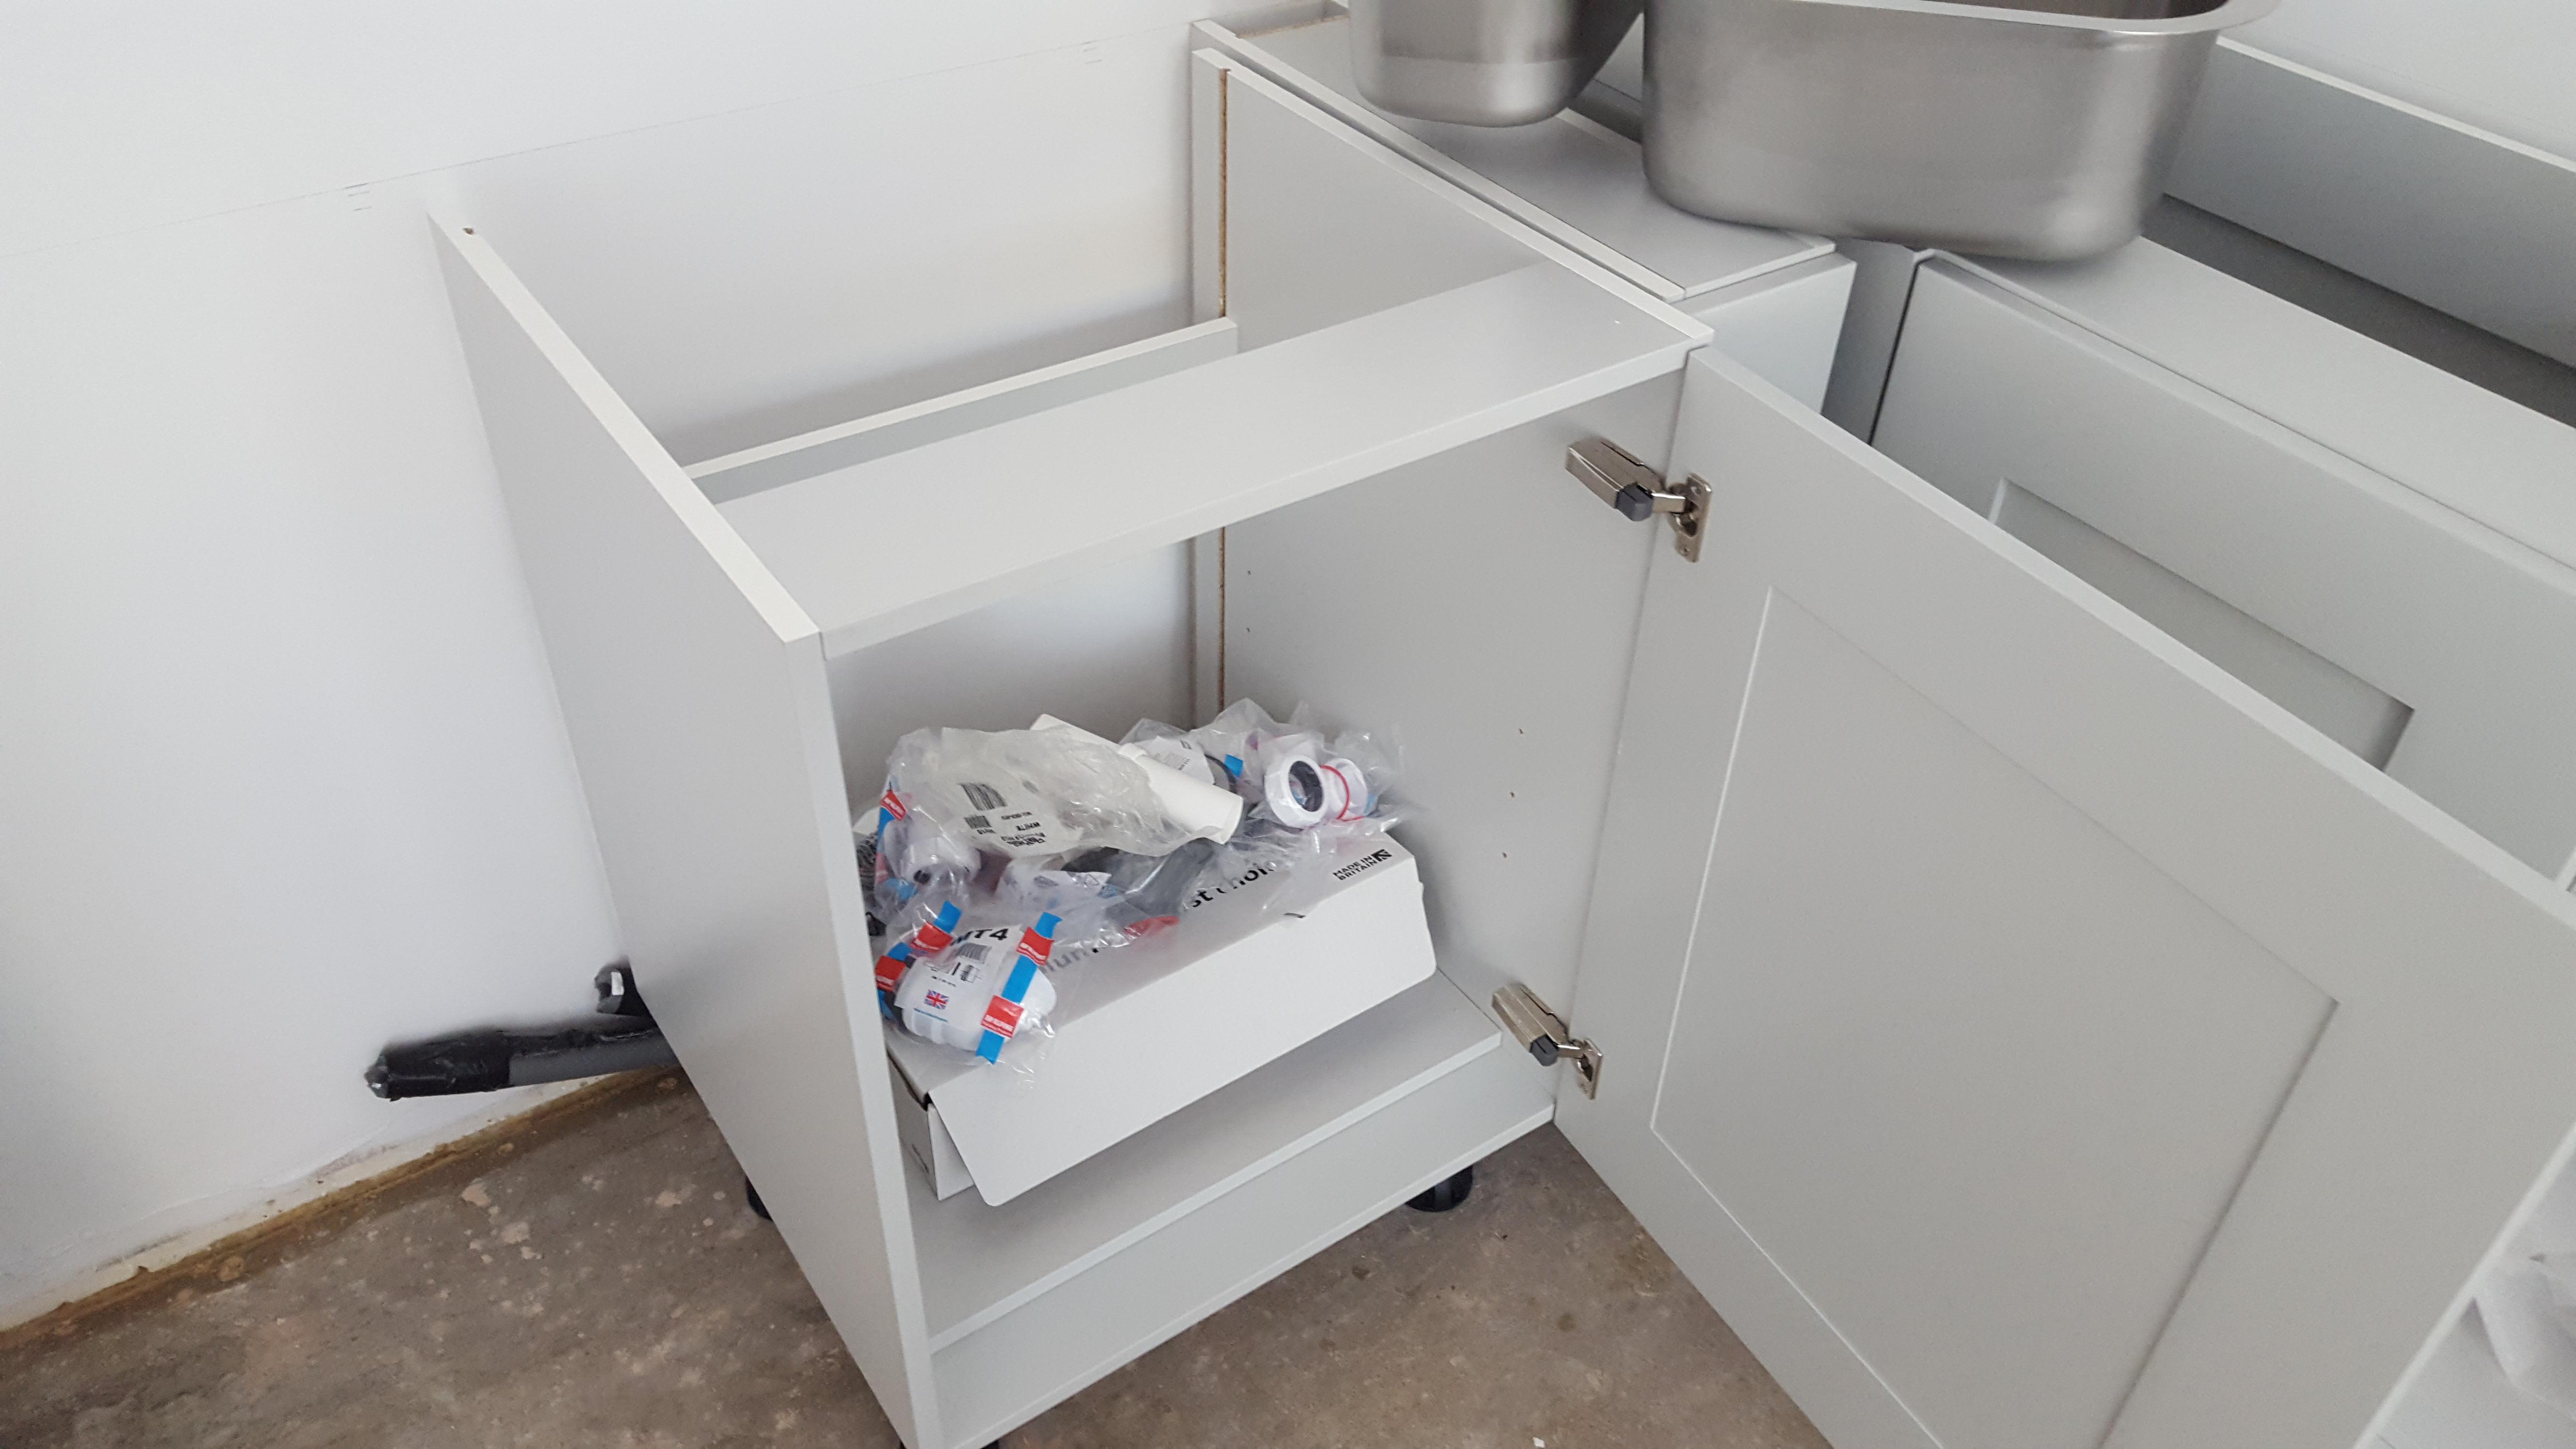
DIY Undermount Sink Installation
While it may seem intimidating, installing an undermount sink can be a DIY project with the right tools and instructions. Not only will it save you money, but it will also give you a sense of accomplishment. Just make sure to follow the steps carefully and take your time to ensure a successful installation.


DIY Undermount Sink Installation


Tools and Materials Needed for Mounting an Undermount Kitchen Sink
To mount an undermount kitchen sink, you will need the following tools and materials:
Tools:
- Screwdriver
- Caulking gun
- Measuring tape
- Pencil
- Level
- Adjustable wrench
- Drill with drill bits
Materials:
- Undermount sink
- Silicone sealant
- Sink clips
- Clean cloth


Tools and Materials Needed for Mounting an Undermount Kitchen Sink


Proper Techniques for Mounting an Undermount Kitchen Sink
When it comes to mounting an undermount kitchen sink, there are a few techniques that can help ensure a successful installation:
Use the Right Amount of Sealant: Applying too much sealant can cause it to squeeze out and create a messy look. On the other hand, not using enough sealant can result in leaks. Be sure to use the recommended amount according to the manufacturer's instructions.
Adjust the Sink Clips: Sink clips are used to hold the sink in place. Make sure to adjust them as needed to evenly distribute the weight of the sink and ensure a secure fit.
Allow Time for Drying: It's important to let the sealant dry completely before using the sink. This usually takes a few hours, but check the manufacturer's instructions for the recommended drying time.


Proper Techniques for Mounting an Undermount Kitchen Sink

Common Mistakes to Avoid When Mounting an Undermount Kitchen Sink
Here are some common mistakes to avoid when mounting an undermount kitchen sink:
Not Measuring Correctly: It's crucial to measure the sink and countertop accurately before beginning the installation. This will ensure a proper fit and avoid any potential issues.
Using the Wrong Sealant: Make sure to use a silicone sealant that is specifically designed for kitchen and bathroom use. Using the wrong type of sealant can result in leaks and damage to your sink and countertop.
Skipping the Drying Time: Rushing the installation by not allowing the sealant to dry completely can lead to leaks and an unstable sink. Follow the manufacturer's instructions for the recommended drying time.


Common Mistakes to Avoid When Mounting an Undermount Kitchen Sink


How to Secure an Undermount Sink to the Countertop
Securing an undermount sink to the countertop is an important step in the installation process. This is typically done using sink clips, which are screwed onto the underside of the countertop and hold the sink in place. Make sure to tighten the clips evenly and adjust them as needed for a secure fit.


How to Secure an Undermount Sink to the Countertop


Tips for a Successful Undermount Sink Mounting
Here are some tips to help ensure a successful undermount sink mounting:
Take Your Time: Installing an undermount sink may seem like a daunting task, but taking your time and following the steps carefully will help ensure a successful installation.
Enlist Help: It's always a good idea to have a second set of hands when mounting an undermount sink. This will make it easier to position and secure the sink properly.
Follow Instructions: Be sure to follow the manufacturer's instructions for the specific sink you are installing. This will ensure you use the right tools and techniques for a successful installation.


Tips for a Successful Undermount Sink Mounting


Professional vs. DIY Undermount Sink Mounting: Which is Better?
Ultimately, the decision to hire a professional or tackle the undermount sink mounting yourself depends on your budget and level of confidence. While hiring a professional can save you time and ensure a perfect installation, doing it yourself can save you money and give you a sense of accomplishment. Just make sure to do your research and follow the steps carefully for a successful DIY undermount sink installation.


Professional vs. DIY Undermount Sink Mounting: Which is Better?


Why Choose an Undermount Kitchen Sink?

Efficiency and Aesthetics Combined

When it comes to designing your dream kitchen, there are many factors to consider. From the color scheme to the layout, every element plays a significant role in creating a functional and visually appealing space. One of the most important decisions you'll have to make is choosing the right kitchen sink. While there are various options available, undermount kitchen sinks have become increasingly popular in recent years. So what sets these sinks apart from the rest?
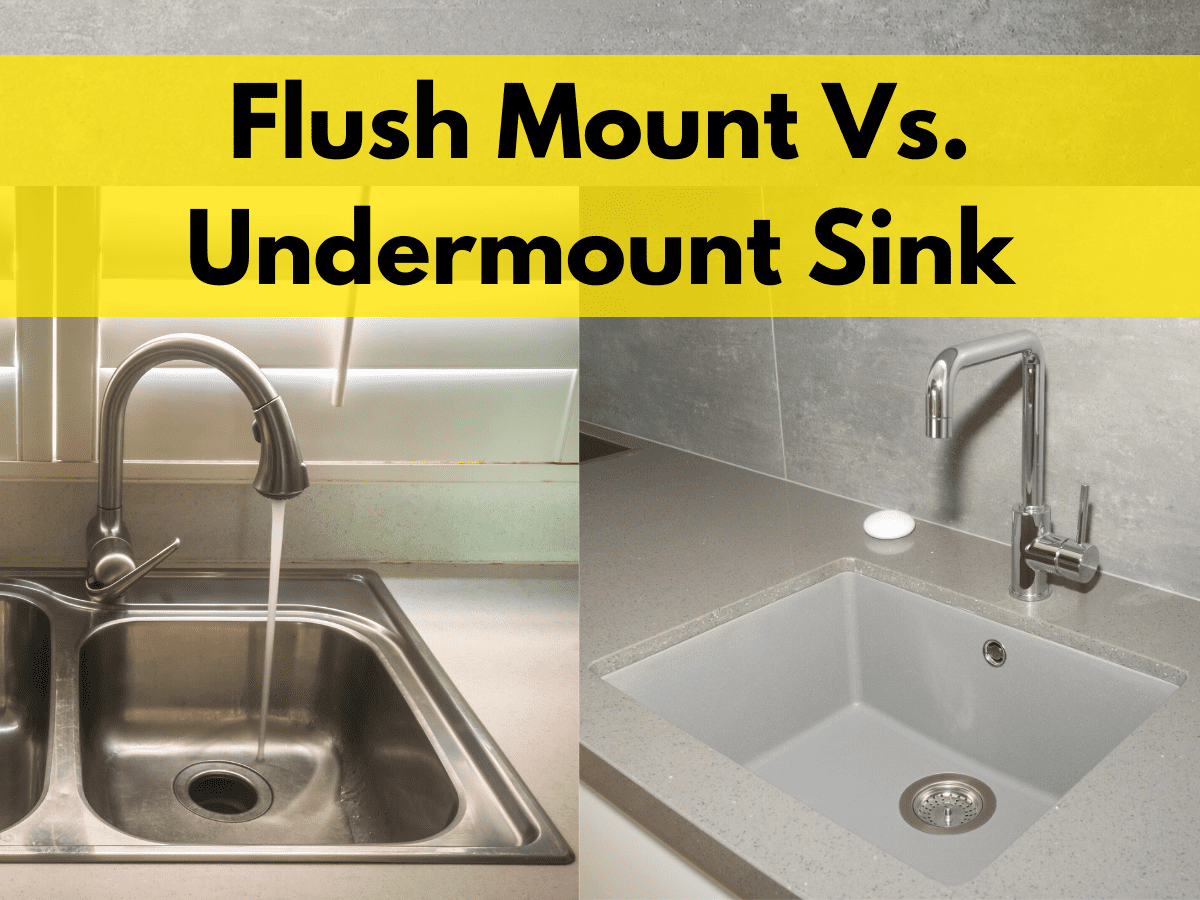
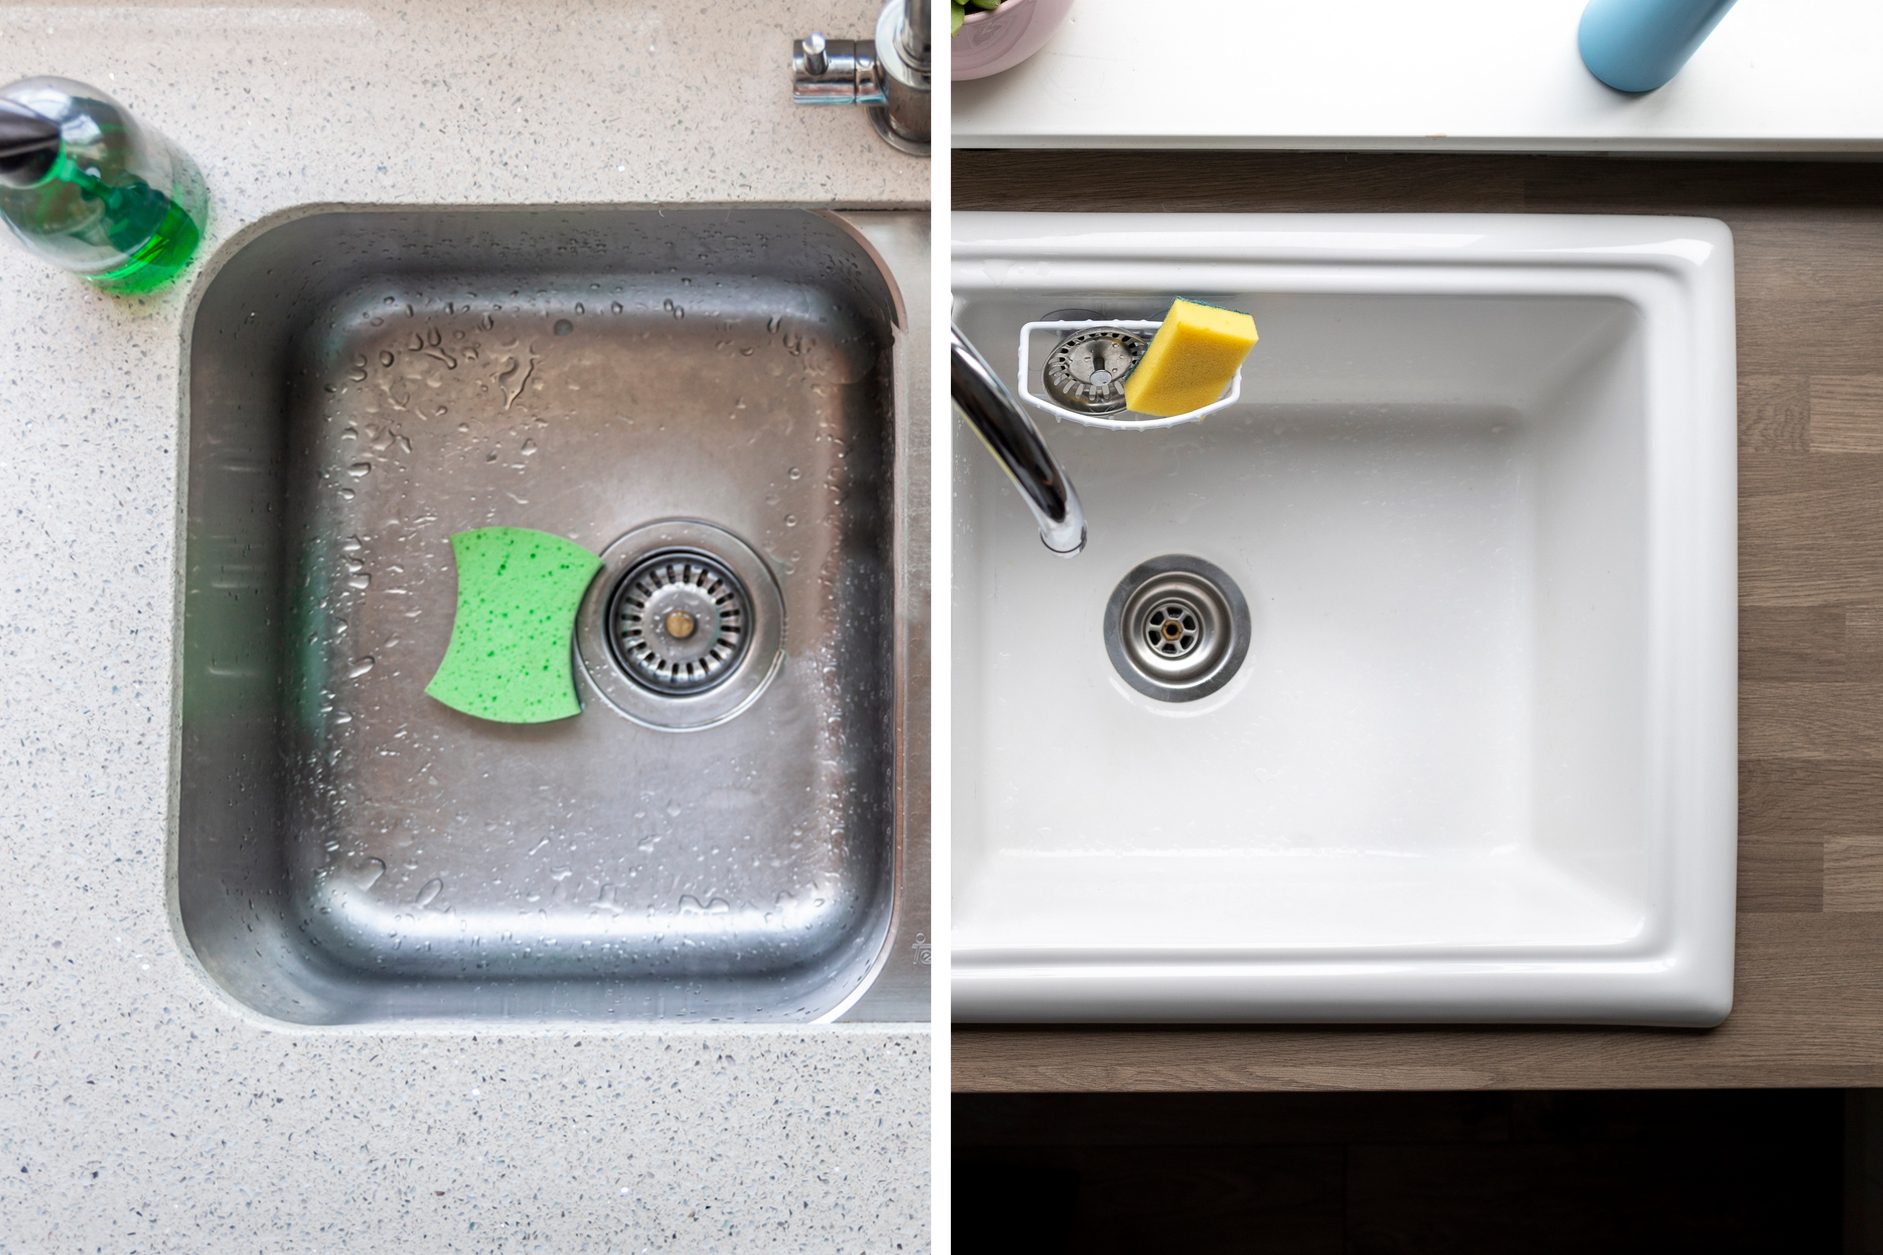
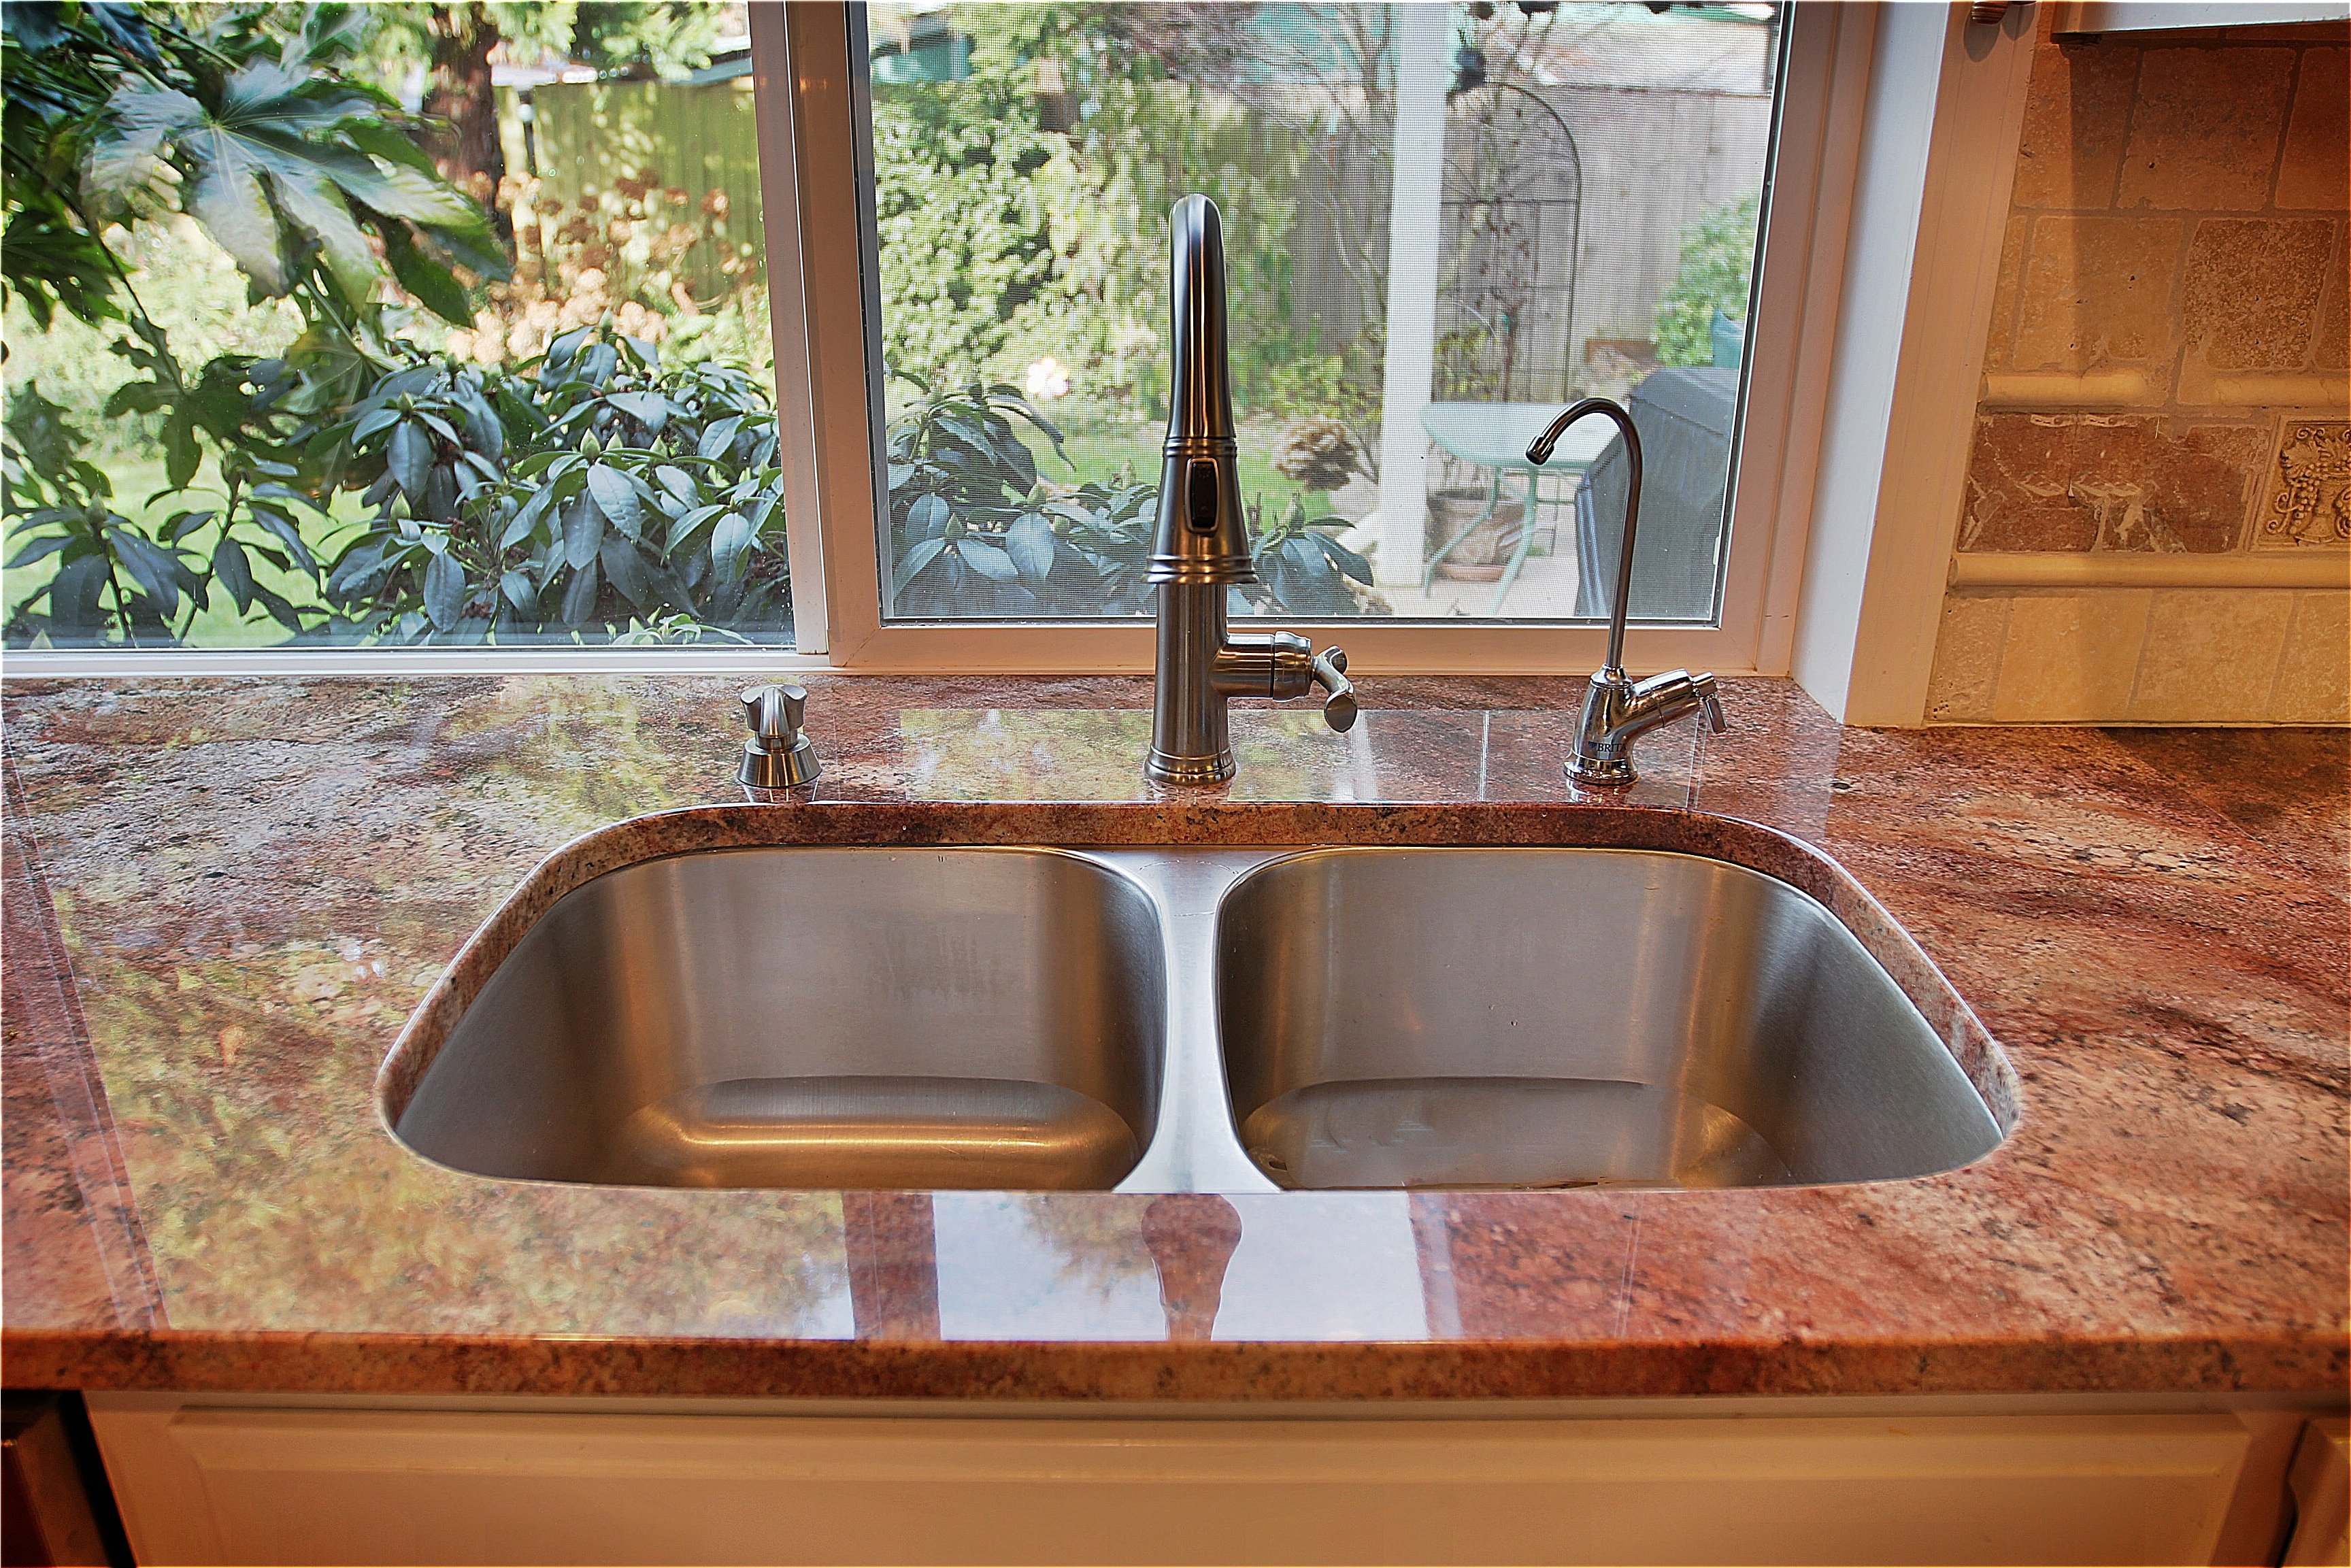
Seamless Integration

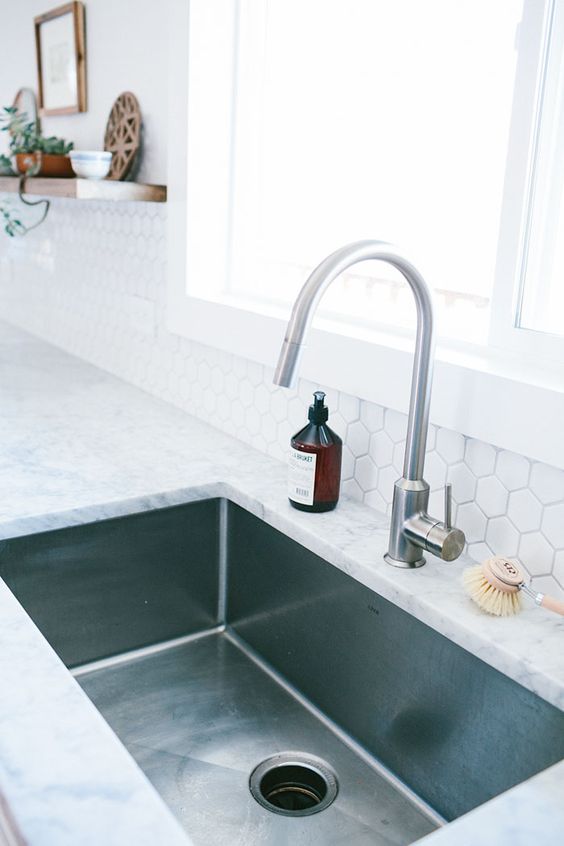
Unlike traditional top-mount sinks , undermount sinks are installed underneath the countertop. This means that the edges of the sink are hidden, creating a seamless and clean look. This not only adds to the overall aesthetics of your kitchen but also makes cleaning and maintenance much easier. Without any edges or crevices, there is no place for dirt and grime to accumulate, making it a hygienic and low-maintenance option.
Maximizes Counter Space

Another advantage of undermount sinks is that they free up valuable counter space. Since the sink is installed underneath the countertop, there is no need for a lip or rim to support it. This allows for a larger basin and more usable counter space, making it perfect for smaller kitchens or those who love to cook and need all the space they can get.
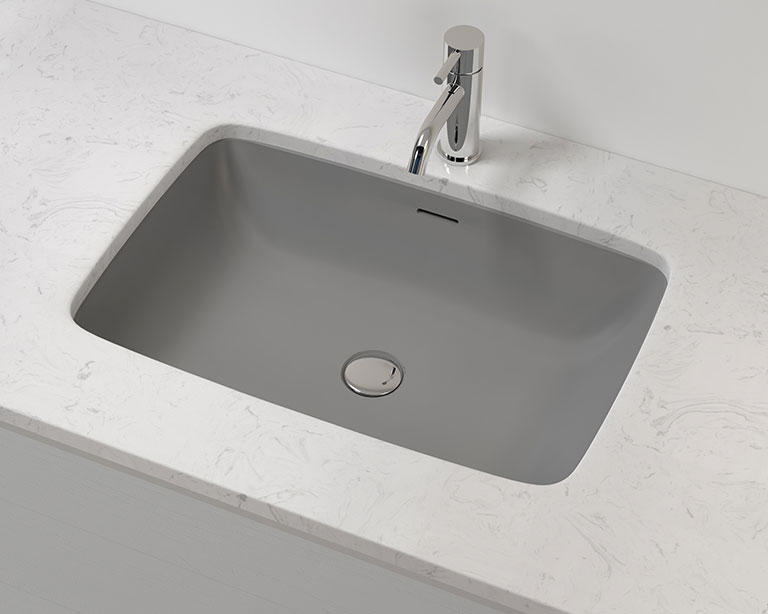
Durable and Long-Lasting
Undermount sinks are typically made from high-quality materials such as stainless steel, granite, or fireclay, making them durable and long-lasting. These materials offer resistance to scratches, stains, and heat, ensuring that your sink stays in top condition for years to come. Additionally, since there is no exposed edge, there is less risk of chipping or damage.
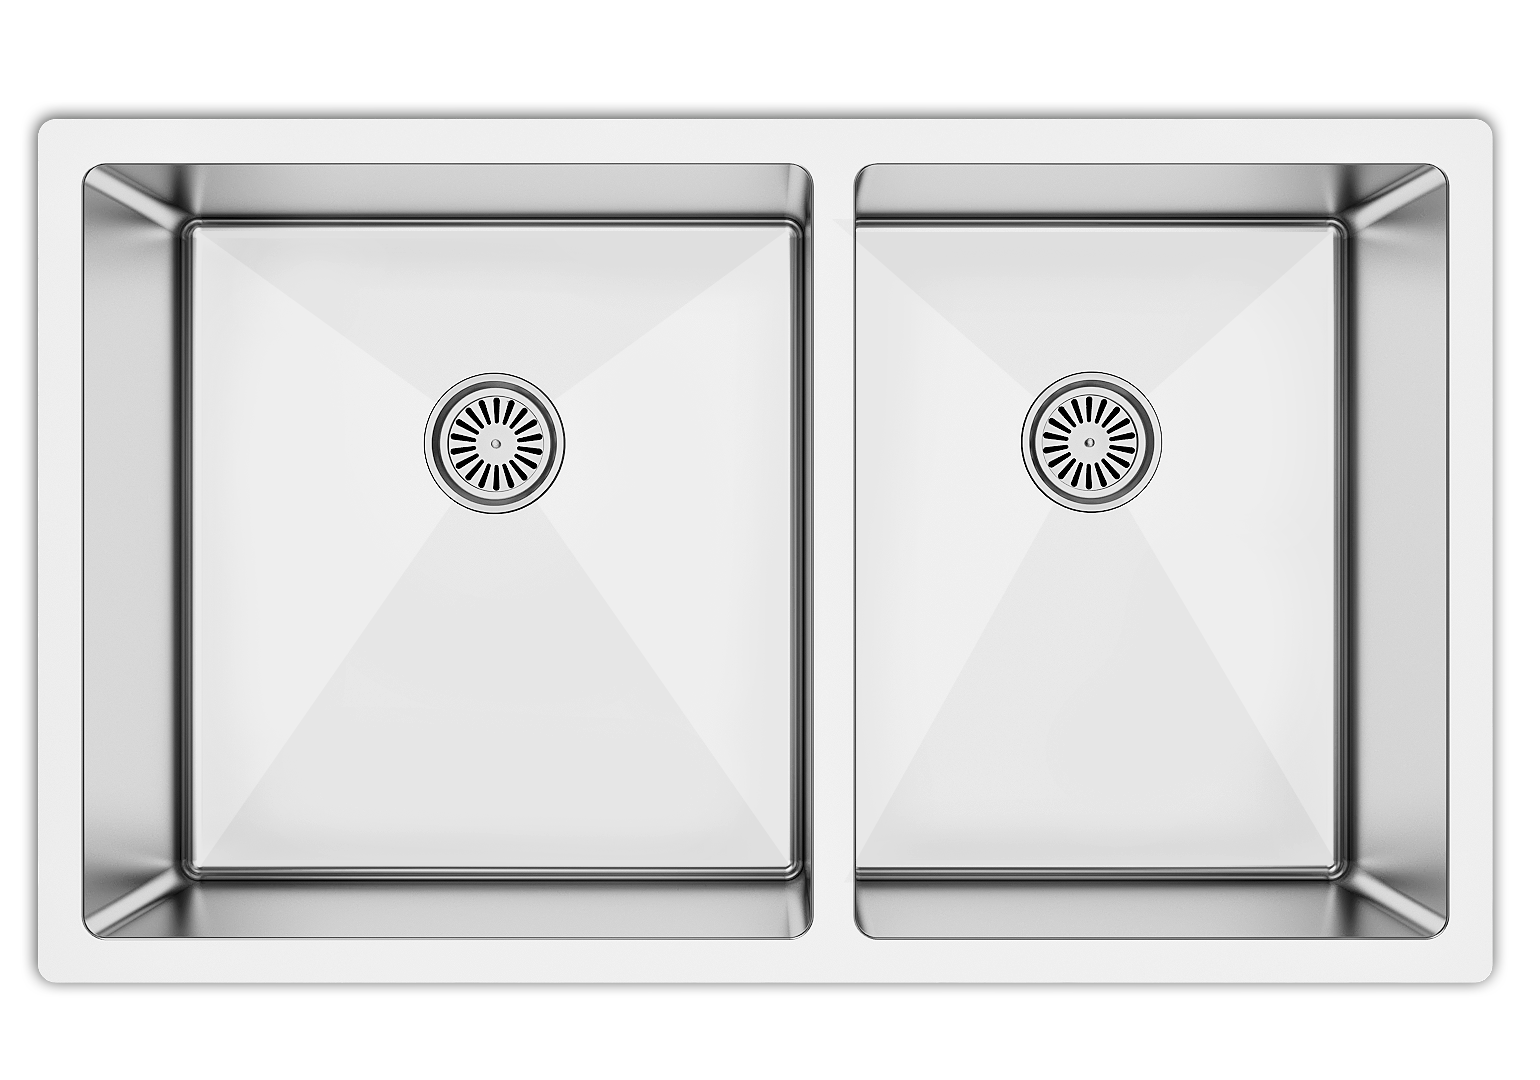
Customizable Options
Undermount sinks come in various shapes, sizes, and materials, making them highly customizable. This allows you to choose a sink that not only fits your kitchen's design but also meets your specific needs. From single to double basins, deep to shallow bowls, and even options with built-in accessories, the possibilities are endless.
Conclusion

Undermount kitchen sinks offer both efficiency and aesthetics, making them a popular choice for modern kitchens. With seamless integration, maximized counter space, durability, and customizable options, it's no wonder why more and more homeowners are choosing this type of sink for their kitchen design. So if you're looking to upgrade your kitchen, consider an undermount sink for a sleek and functional addition.