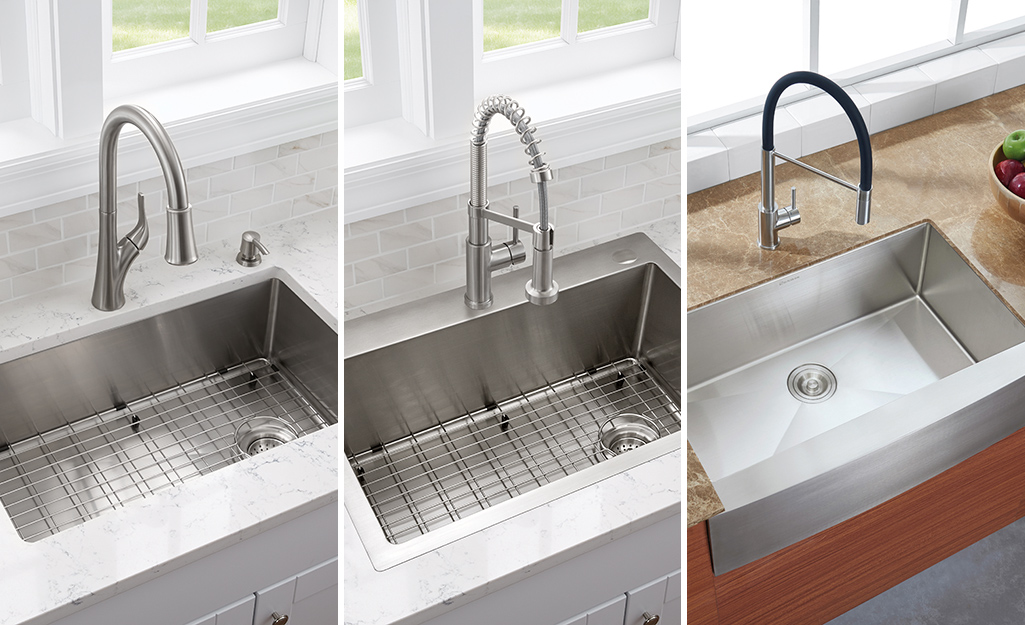
If you're looking to upgrade your kitchen with a new sink, Moen has you covered. With their high-quality and stylish kitchen sinks, you can easily transform your kitchen into a functional and beautiful space. But before you can start using your new Moen kitchen sink, you'll need to install it properly. In this article, we'll go through the step-by-step process of installing a Moen kitchen sink, as well as provide some helpful tips and troubleshooting advice.How to Install a Moen Kitchen Sink

How to Install a Moen Kitchen Sink

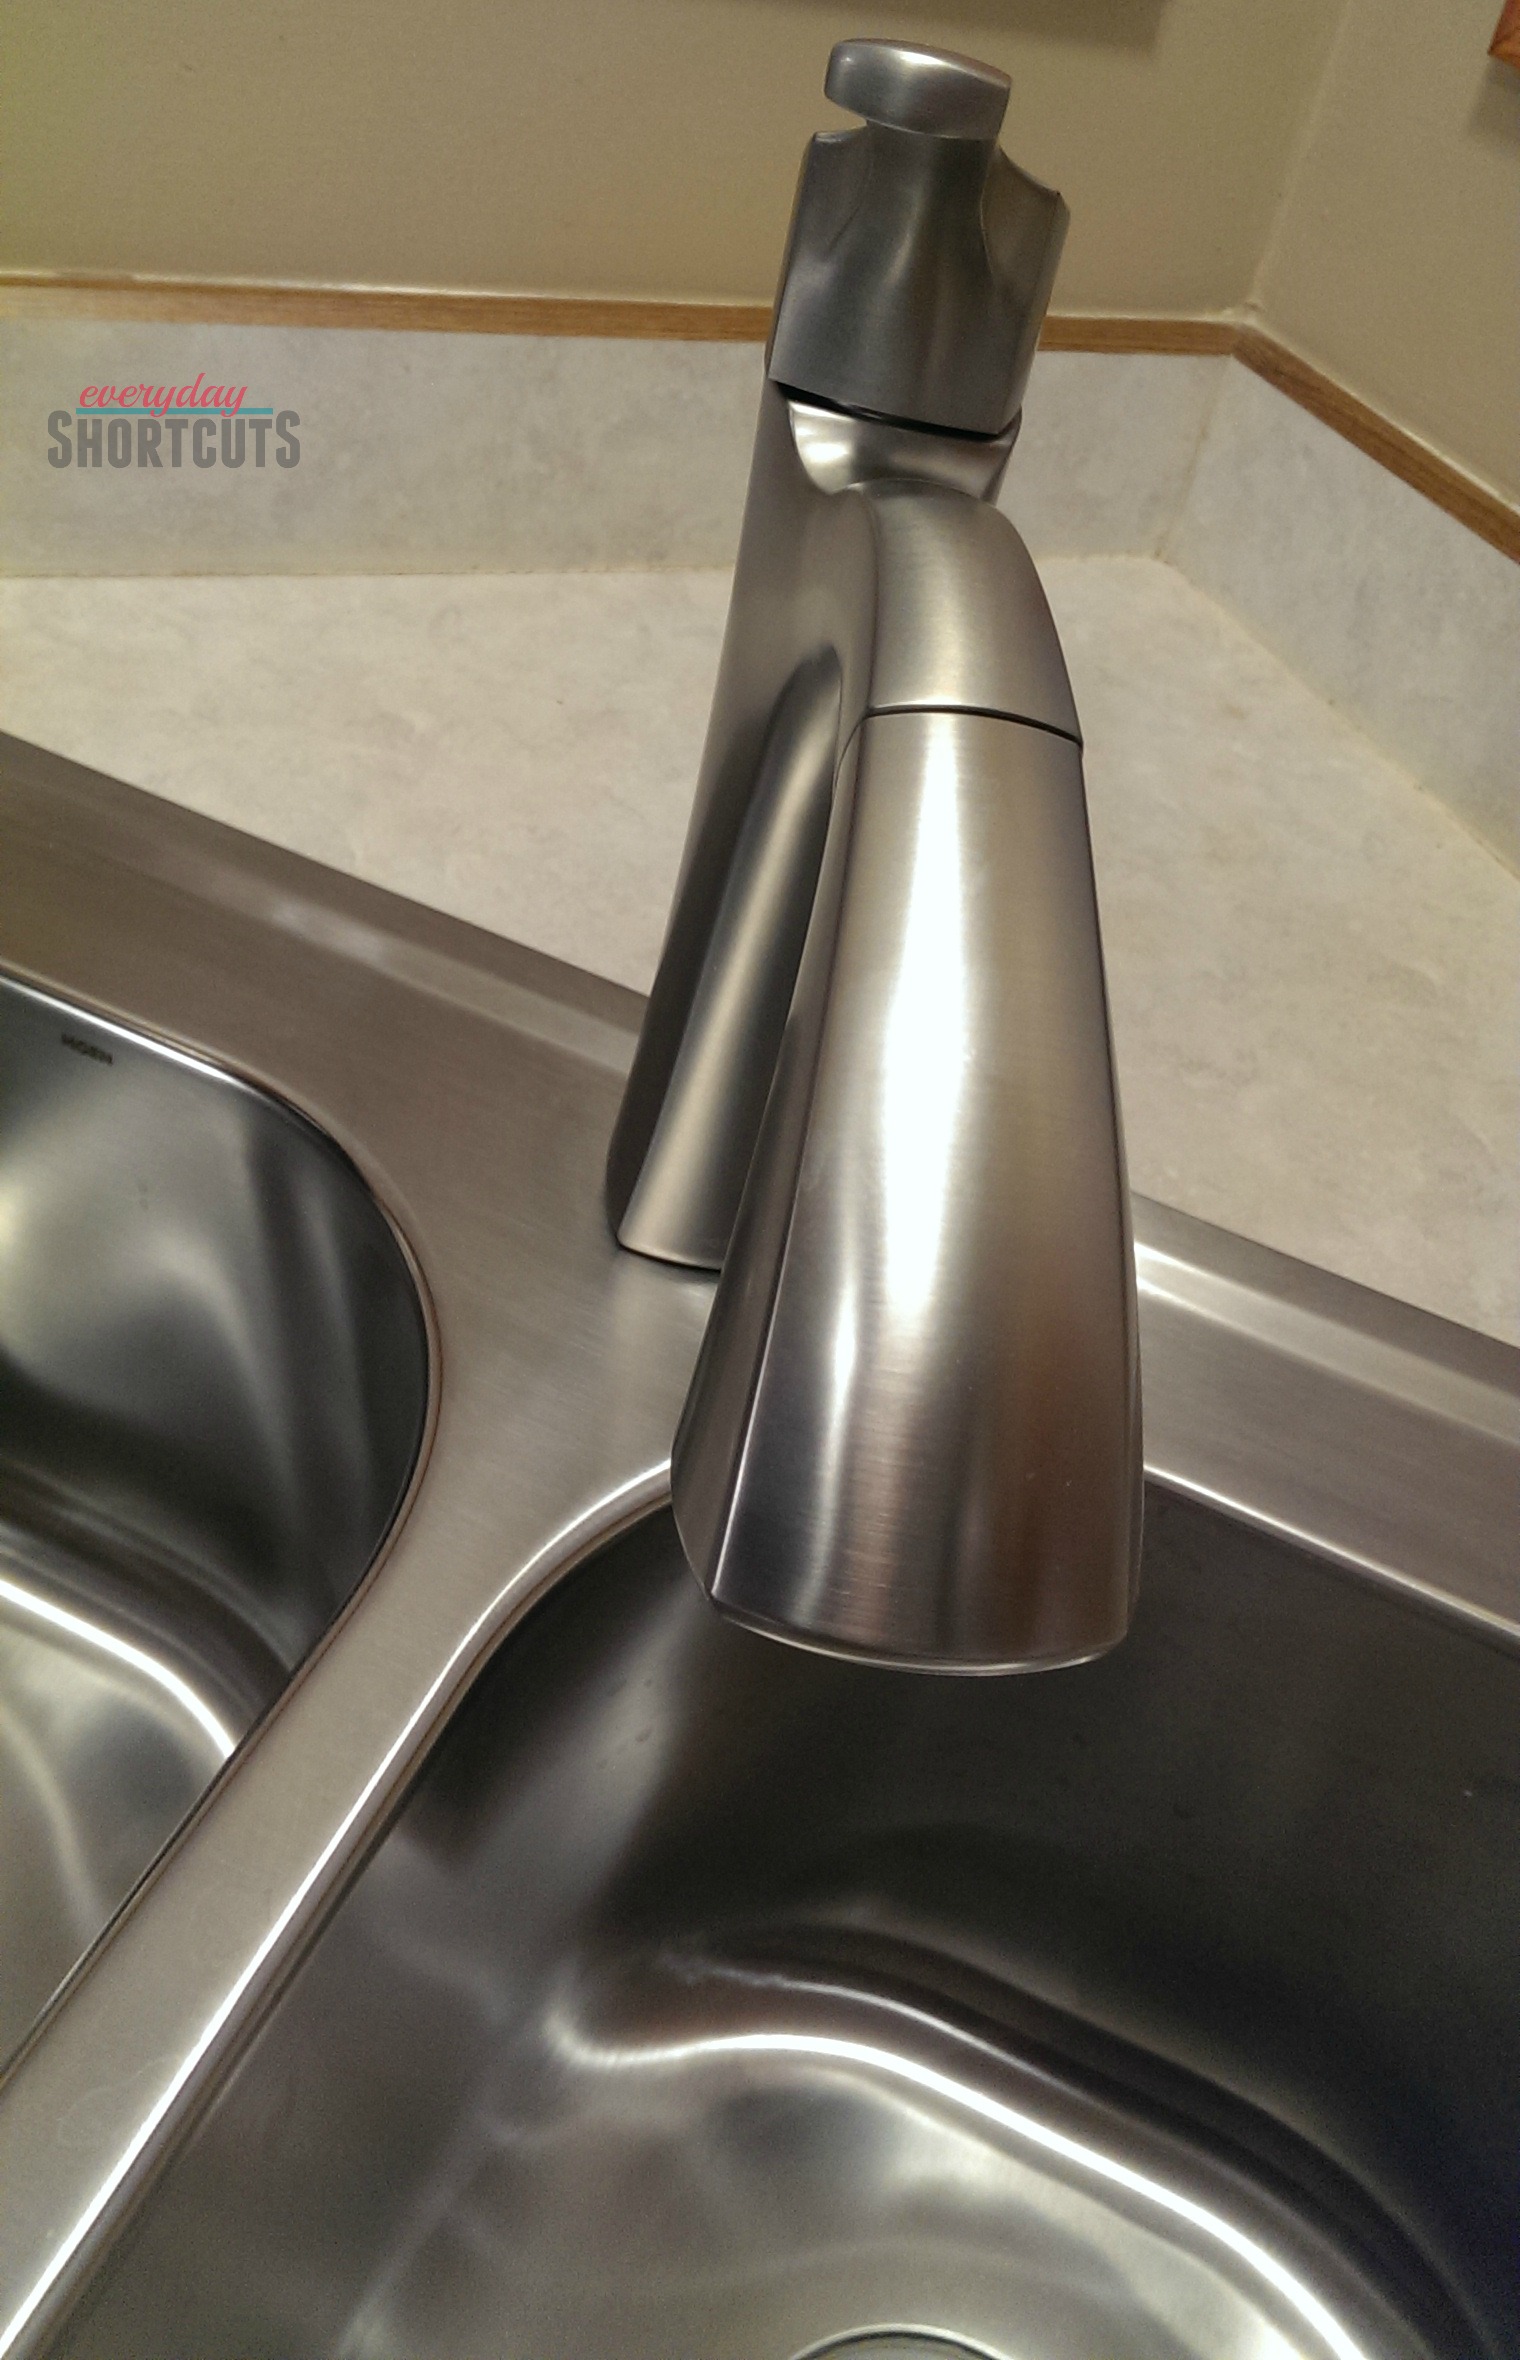
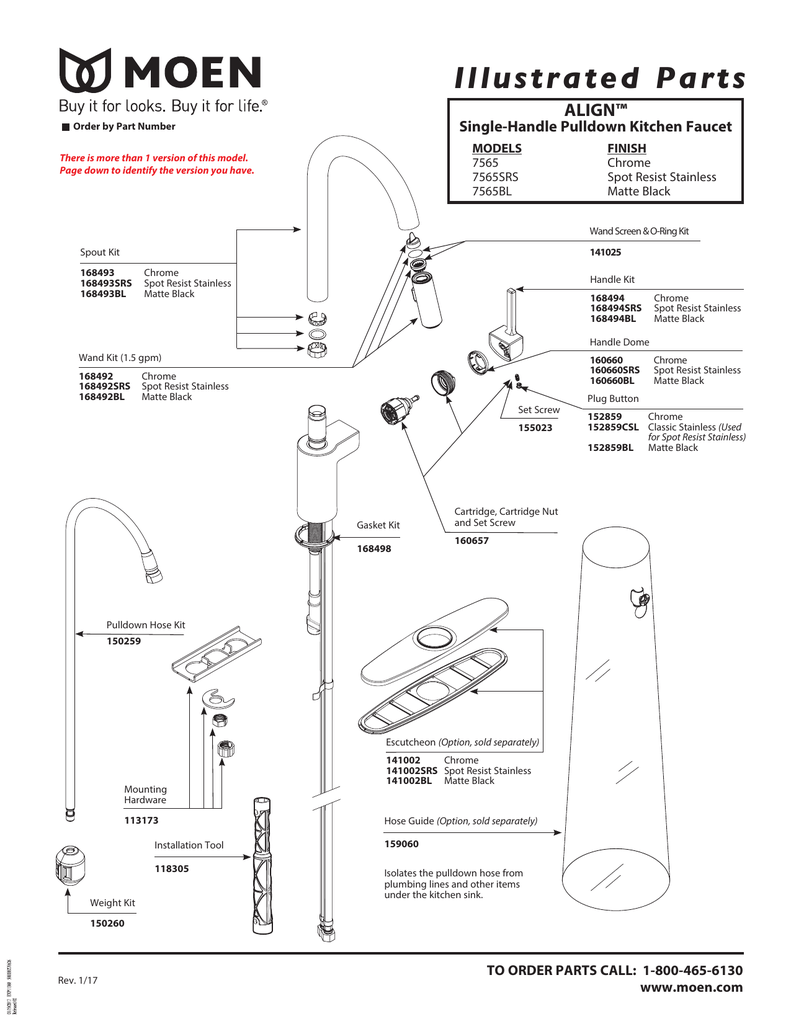
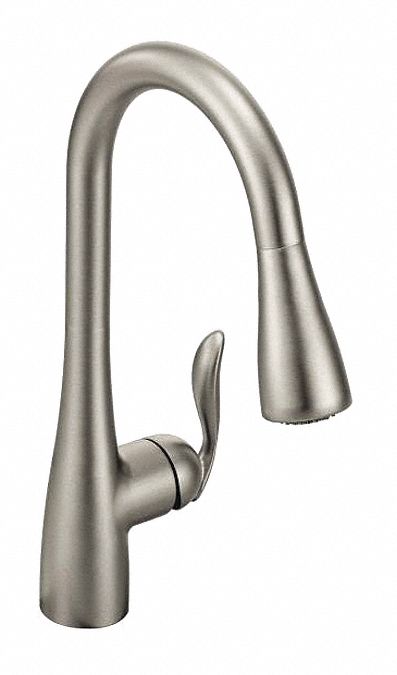
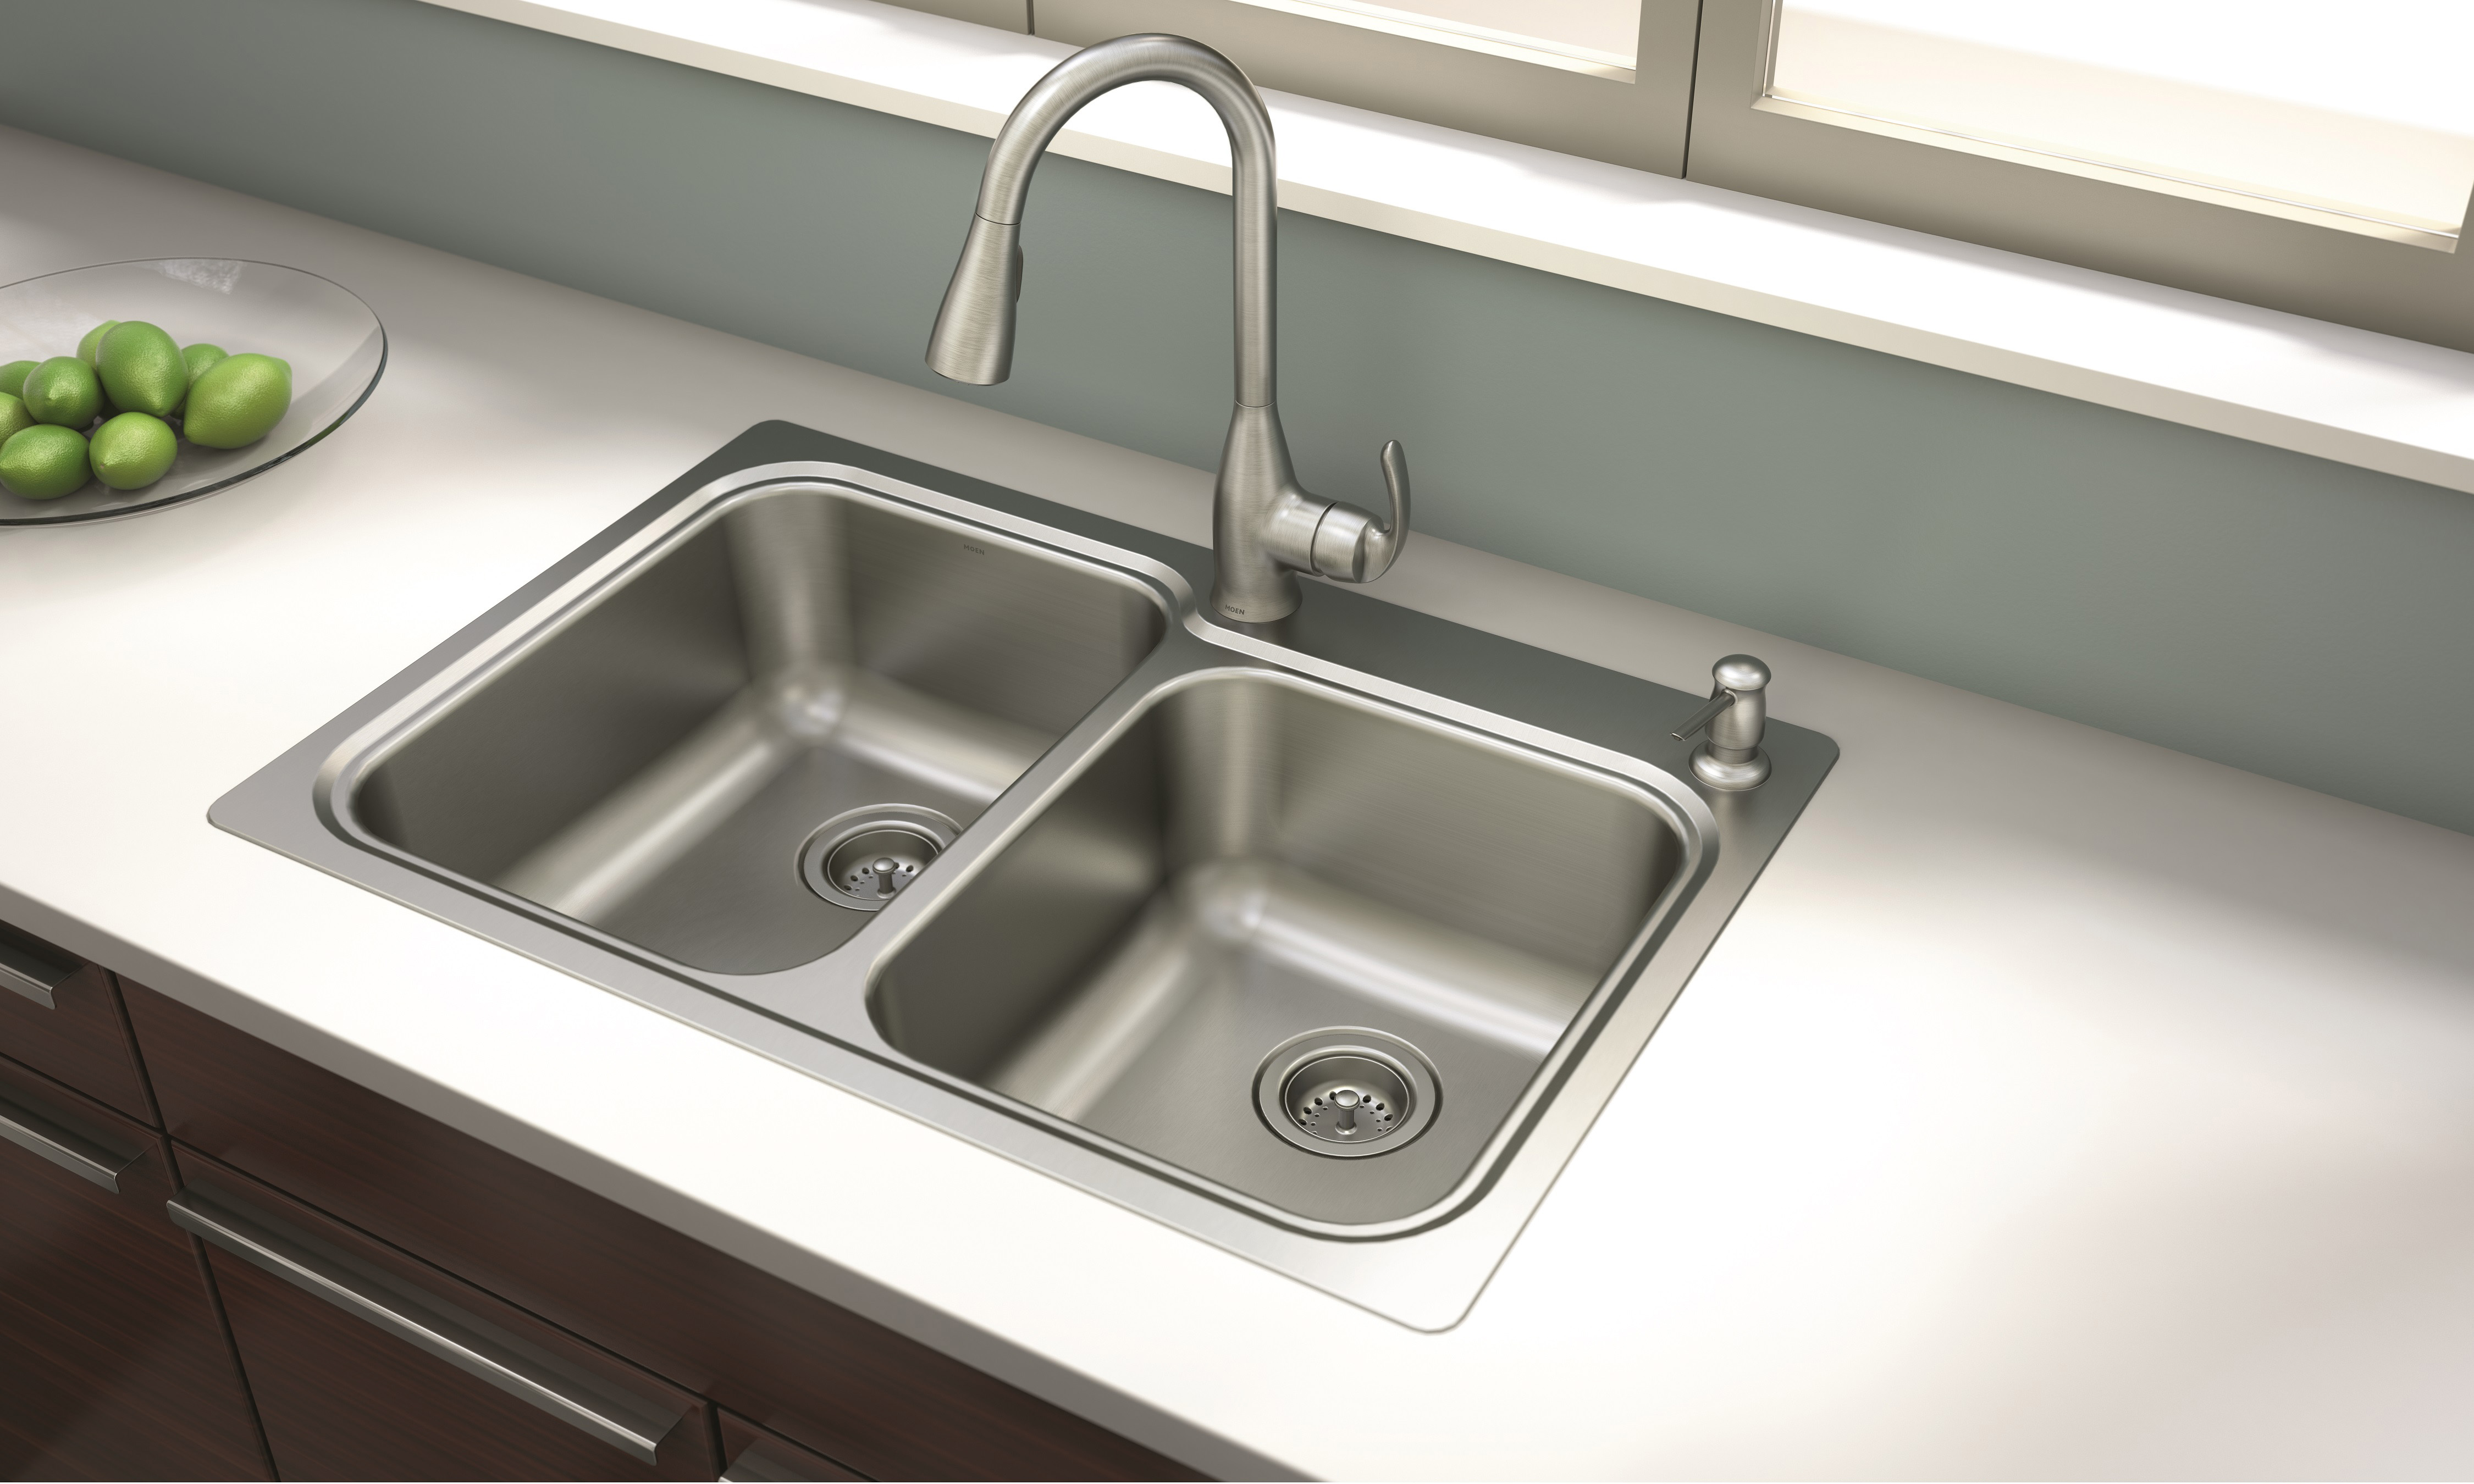
/installing-a-moen-kitchen-faucet-2718847-05-18a8625ea2ea4e04a984f3df633399cc.jpg)


Before we dive into the installation process, it's important to note that the instructions for installing a Moen kitchen sink apply to their kitchen faucets as well. So if you're also planning on upgrading your faucet, you can follow the same steps outlined in this article. Now, let's get started with the installation process!How to Install a Moen Kitchen Faucet

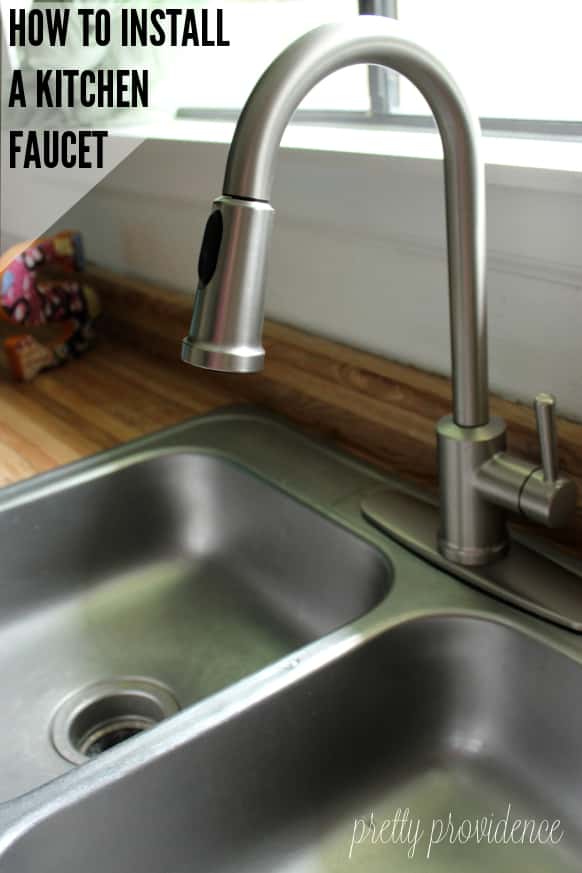

How to Install a Moen Kitchen Faucet
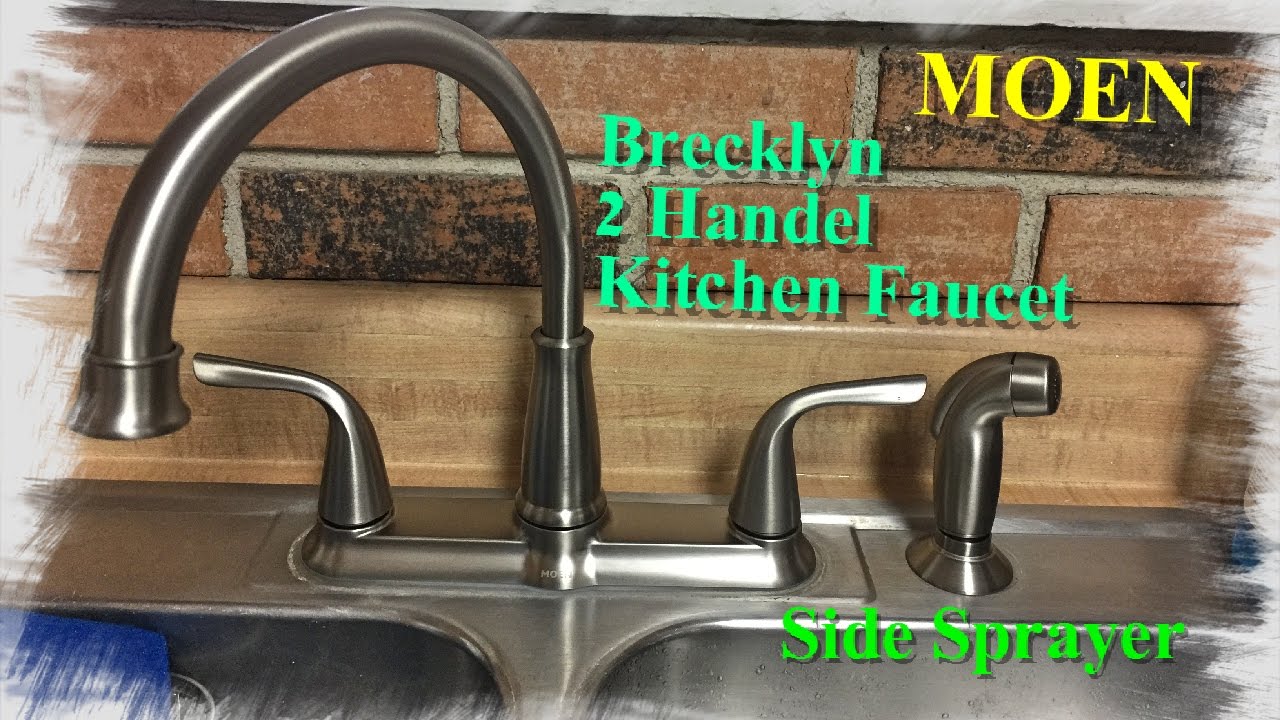


Before you begin the installation, make sure you have all the necessary tools and materials. You'll need a wrench, pliers, plumber's tape, and a screwdriver. It's also helpful to have an assistant to help you hold the sink in place while you work. Next, you'll want to carefully read the Moen kitchen sink installation guide that comes with your sink. This will provide you with specific instructions for your particular model, as well as any additional tools or materials you may need.Moen Kitchen Sink Installation Guide


Moen Kitchen Sink Installation Guide


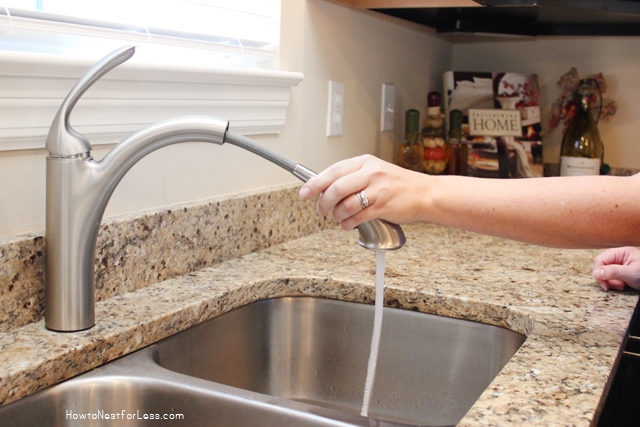
If you're a visual learner, you may find it helpful to watch a Moen kitchen sink installation video before you begin. This can give you a better understanding of the process and help you feel more confident as you tackle the installation.Moen Kitchen Sink Installation Video

Moen Kitchen Sink Installation Video


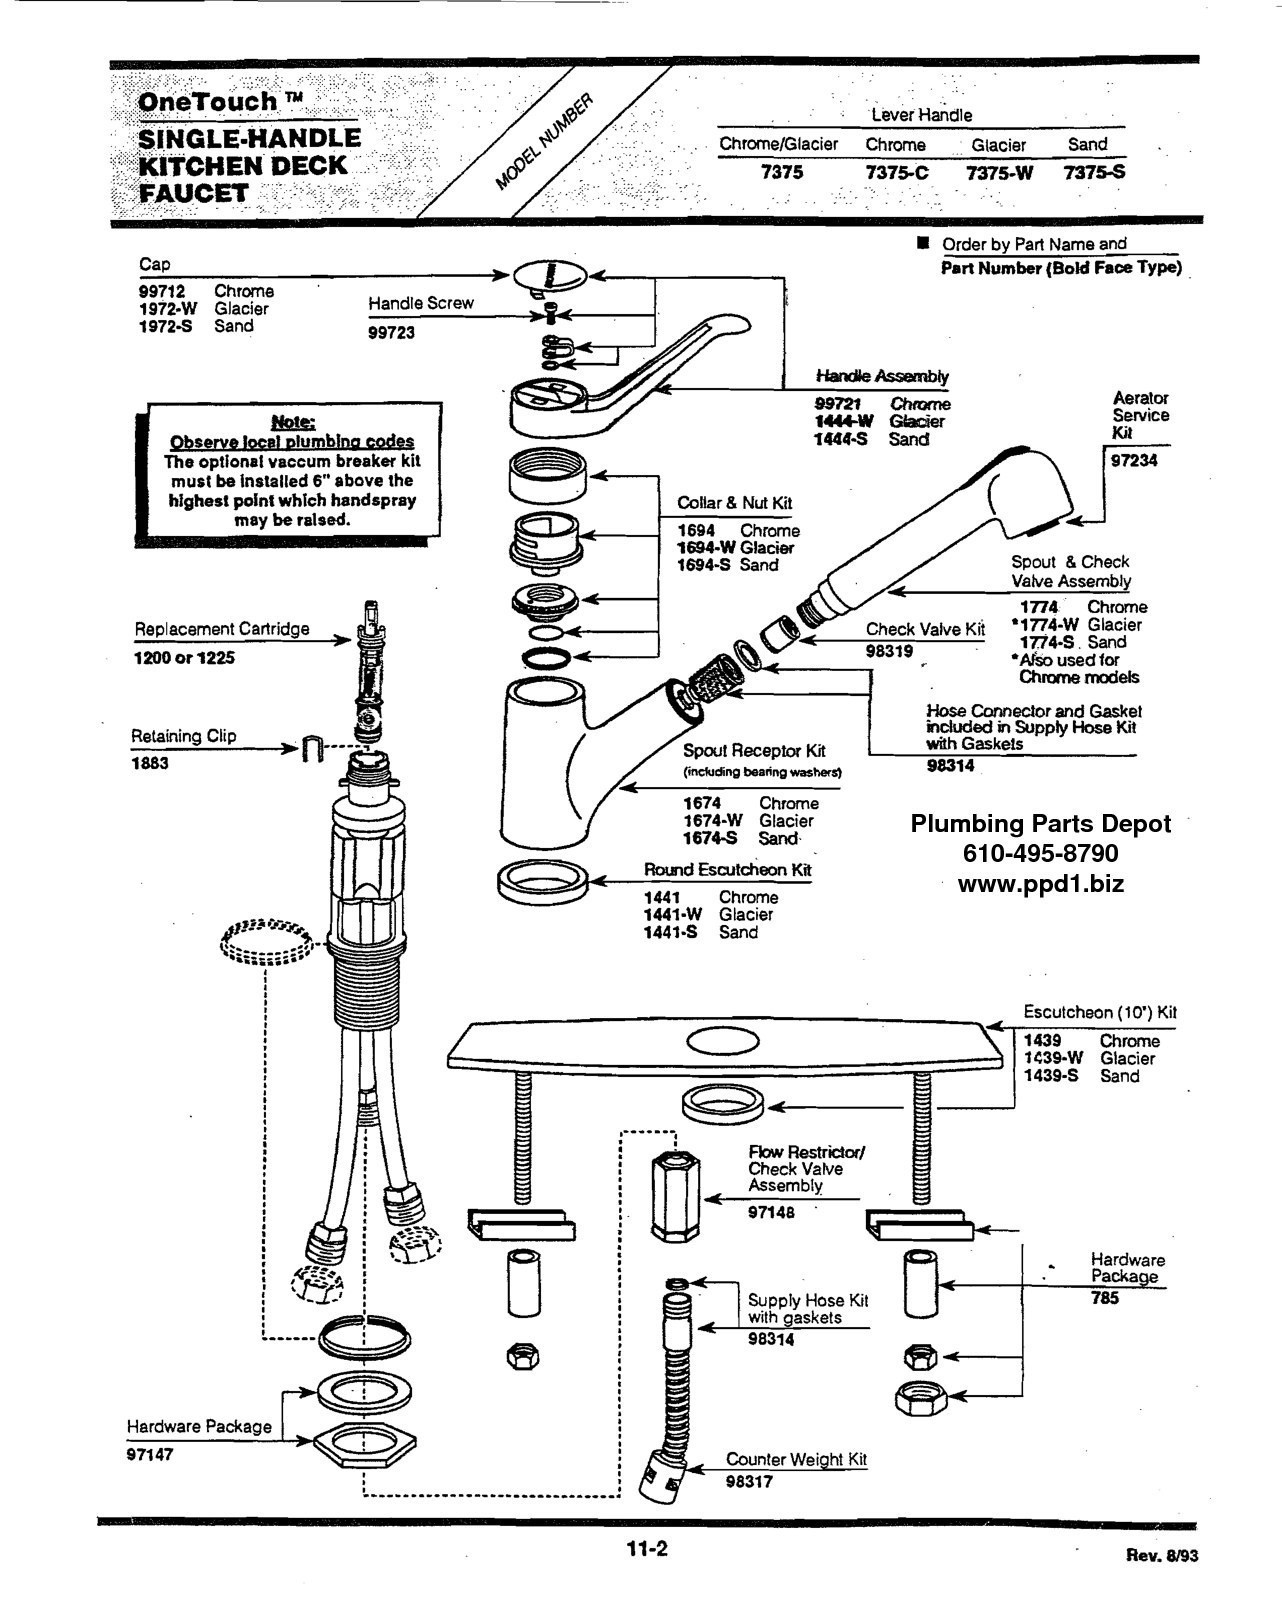
If you prefer written instructions, you can also refer to the Moen kitchen sink installation manual that comes with your sink. This will provide you with detailed step-by-step instructions, as well as diagrams and illustrations to guide you through the process.Moen Kitchen Sink Installation Manual
Moen Kitchen Sink Installation Manual


If you want to have a digital copy of the installation guide and manual, you can download a Moen kitchen sink installation PDF from their website. This can be helpful for referencing during the installation process, as well as for future maintenance and repairs.Moen Kitchen Sink Installation PDF

Moen Kitchen Sink Installation PDF

Now that you have all the necessary tools and materials, it's time to start installing your Moen kitchen sink. Here are a few tips to keep in mind to make the process go smoothly:Moen Kitchen Sink Installation Tips

Moen Kitchen Sink Installation Tips
/how-to-install-a-sink-drain-2718789-hero-24e898006ed94c9593a2a268b57989a3.jpg)
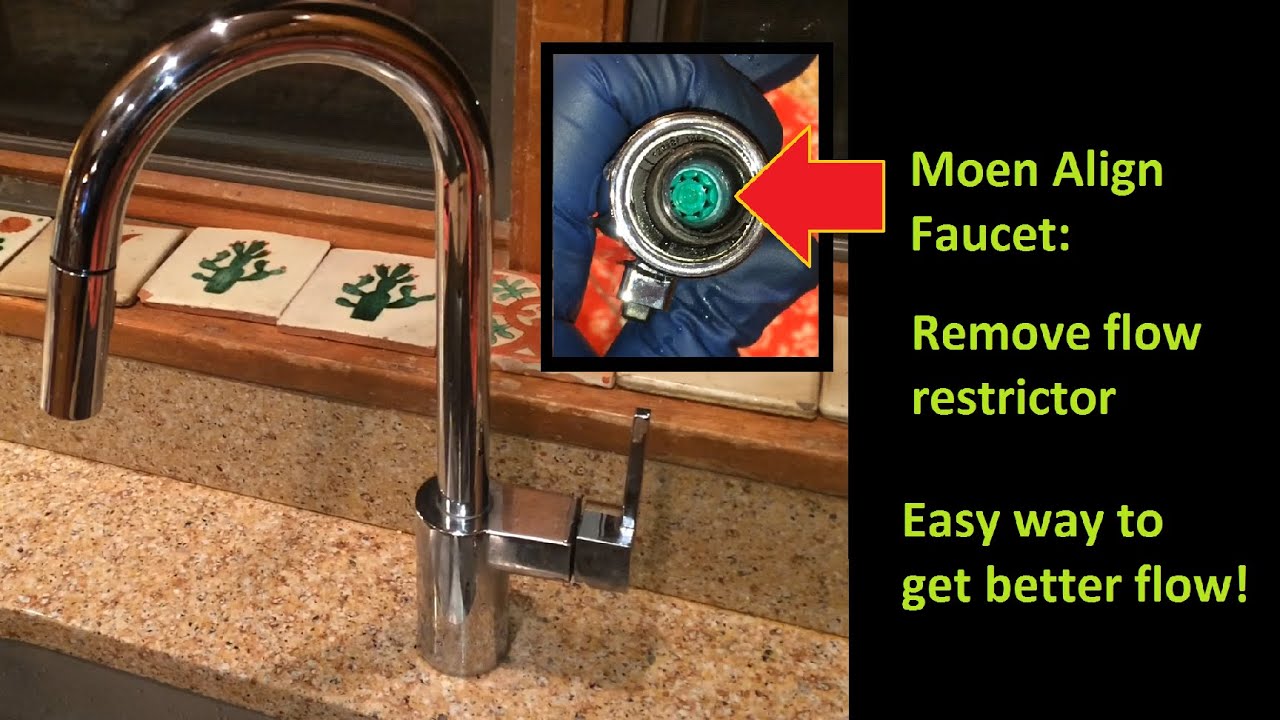
If you encounter any issues during the installation process, don't panic! Here are some common problems and how to troubleshoot them:Moen Kitchen Sink Installation Troubleshooting

Moen Kitchen Sink Installation Troubleshooting


To give you a better understanding of the installation process, here is a step-by-step guide:Moen Kitchen Sink Installation Step-by-Step


Moen Kitchen Sink Installation Step-by-Step

Here is a list of the tools and materials you will need for installing a Moen kitchen sink:Moen Kitchen Sink Installation Tools

Moen Kitchen Sink Installation Tools


Introduction to Installing a Moen Kitchen Sink

Understanding the Importance of Proper Installation
 Installing a new kitchen sink may seem like a daunting task, but with the right instructions and tools, it can be a smooth and rewarding process. One of the most popular and trusted brands for kitchen sinks is Moen, known for their quality and durability. Whether you are a DIY enthusiast or hiring a professional plumber, it is crucial to follow the
moen kitchen sink installation instructions
to ensure a successful and long-lasting installation.
Installing a new kitchen sink may seem like a daunting task, but with the right instructions and tools, it can be a smooth and rewarding process. One of the most popular and trusted brands for kitchen sinks is Moen, known for their quality and durability. Whether you are a DIY enthusiast or hiring a professional plumber, it is crucial to follow the
moen kitchen sink installation instructions
to ensure a successful and long-lasting installation.
Gathering the Necessary Tools and Materials
 Before starting the installation process, make sure you have all the necessary tools and materials at hand. This will save you time and frustration during the installation. You will need a
wrench
,
screwdriver
,
plumber's putty
,
plumbing tape
, and
silicone caulk
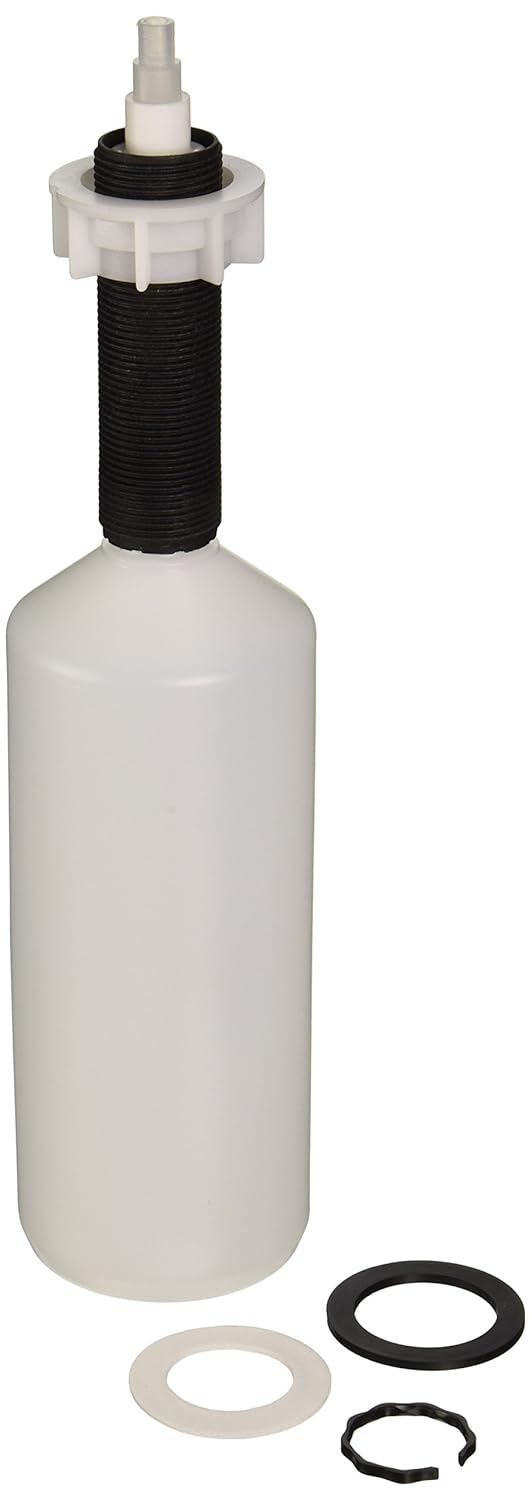
. Make sure the sink you have purchased is the correct size for your countertop and has all the necessary pieces, including the
drain assembly
and
mounting hardware
.
Before starting the installation process, make sure you have all the necessary tools and materials at hand. This will save you time and frustration during the installation. You will need a
wrench
,
screwdriver
,
plumber's putty
,
plumbing tape
, and
silicone caulk
. Make sure the sink you have purchased is the correct size for your countertop and has all the necessary pieces, including the
drain assembly
and
mounting hardware
.
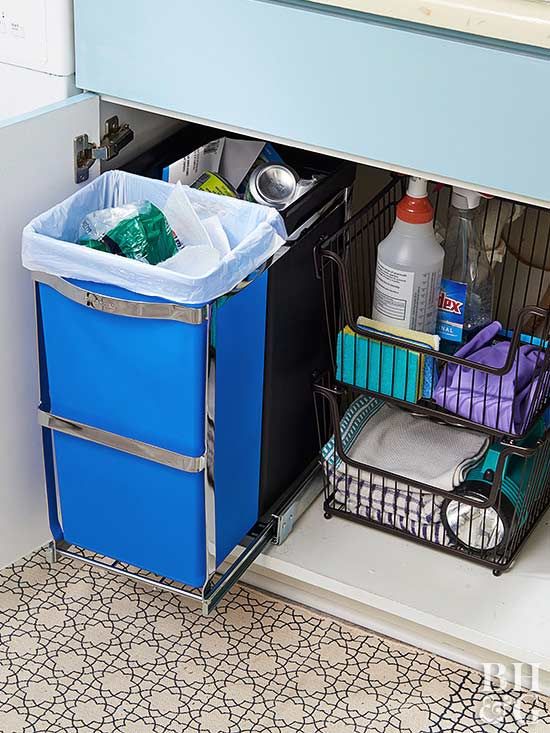
Preparing for Installation
 Once you have all the tools and materials ready, the first step is to turn off the water supply to your kitchen. This can usually be done by turning off the shut-off valves under the sink. Next, remove any old sink and clean the area thoroughly. It is important to have a clean and level surface for the new sink to be installed on. If your new sink comes with a template, use it to mark the cut-out area on your countertop. If not, you can use the sink itself as a guide.
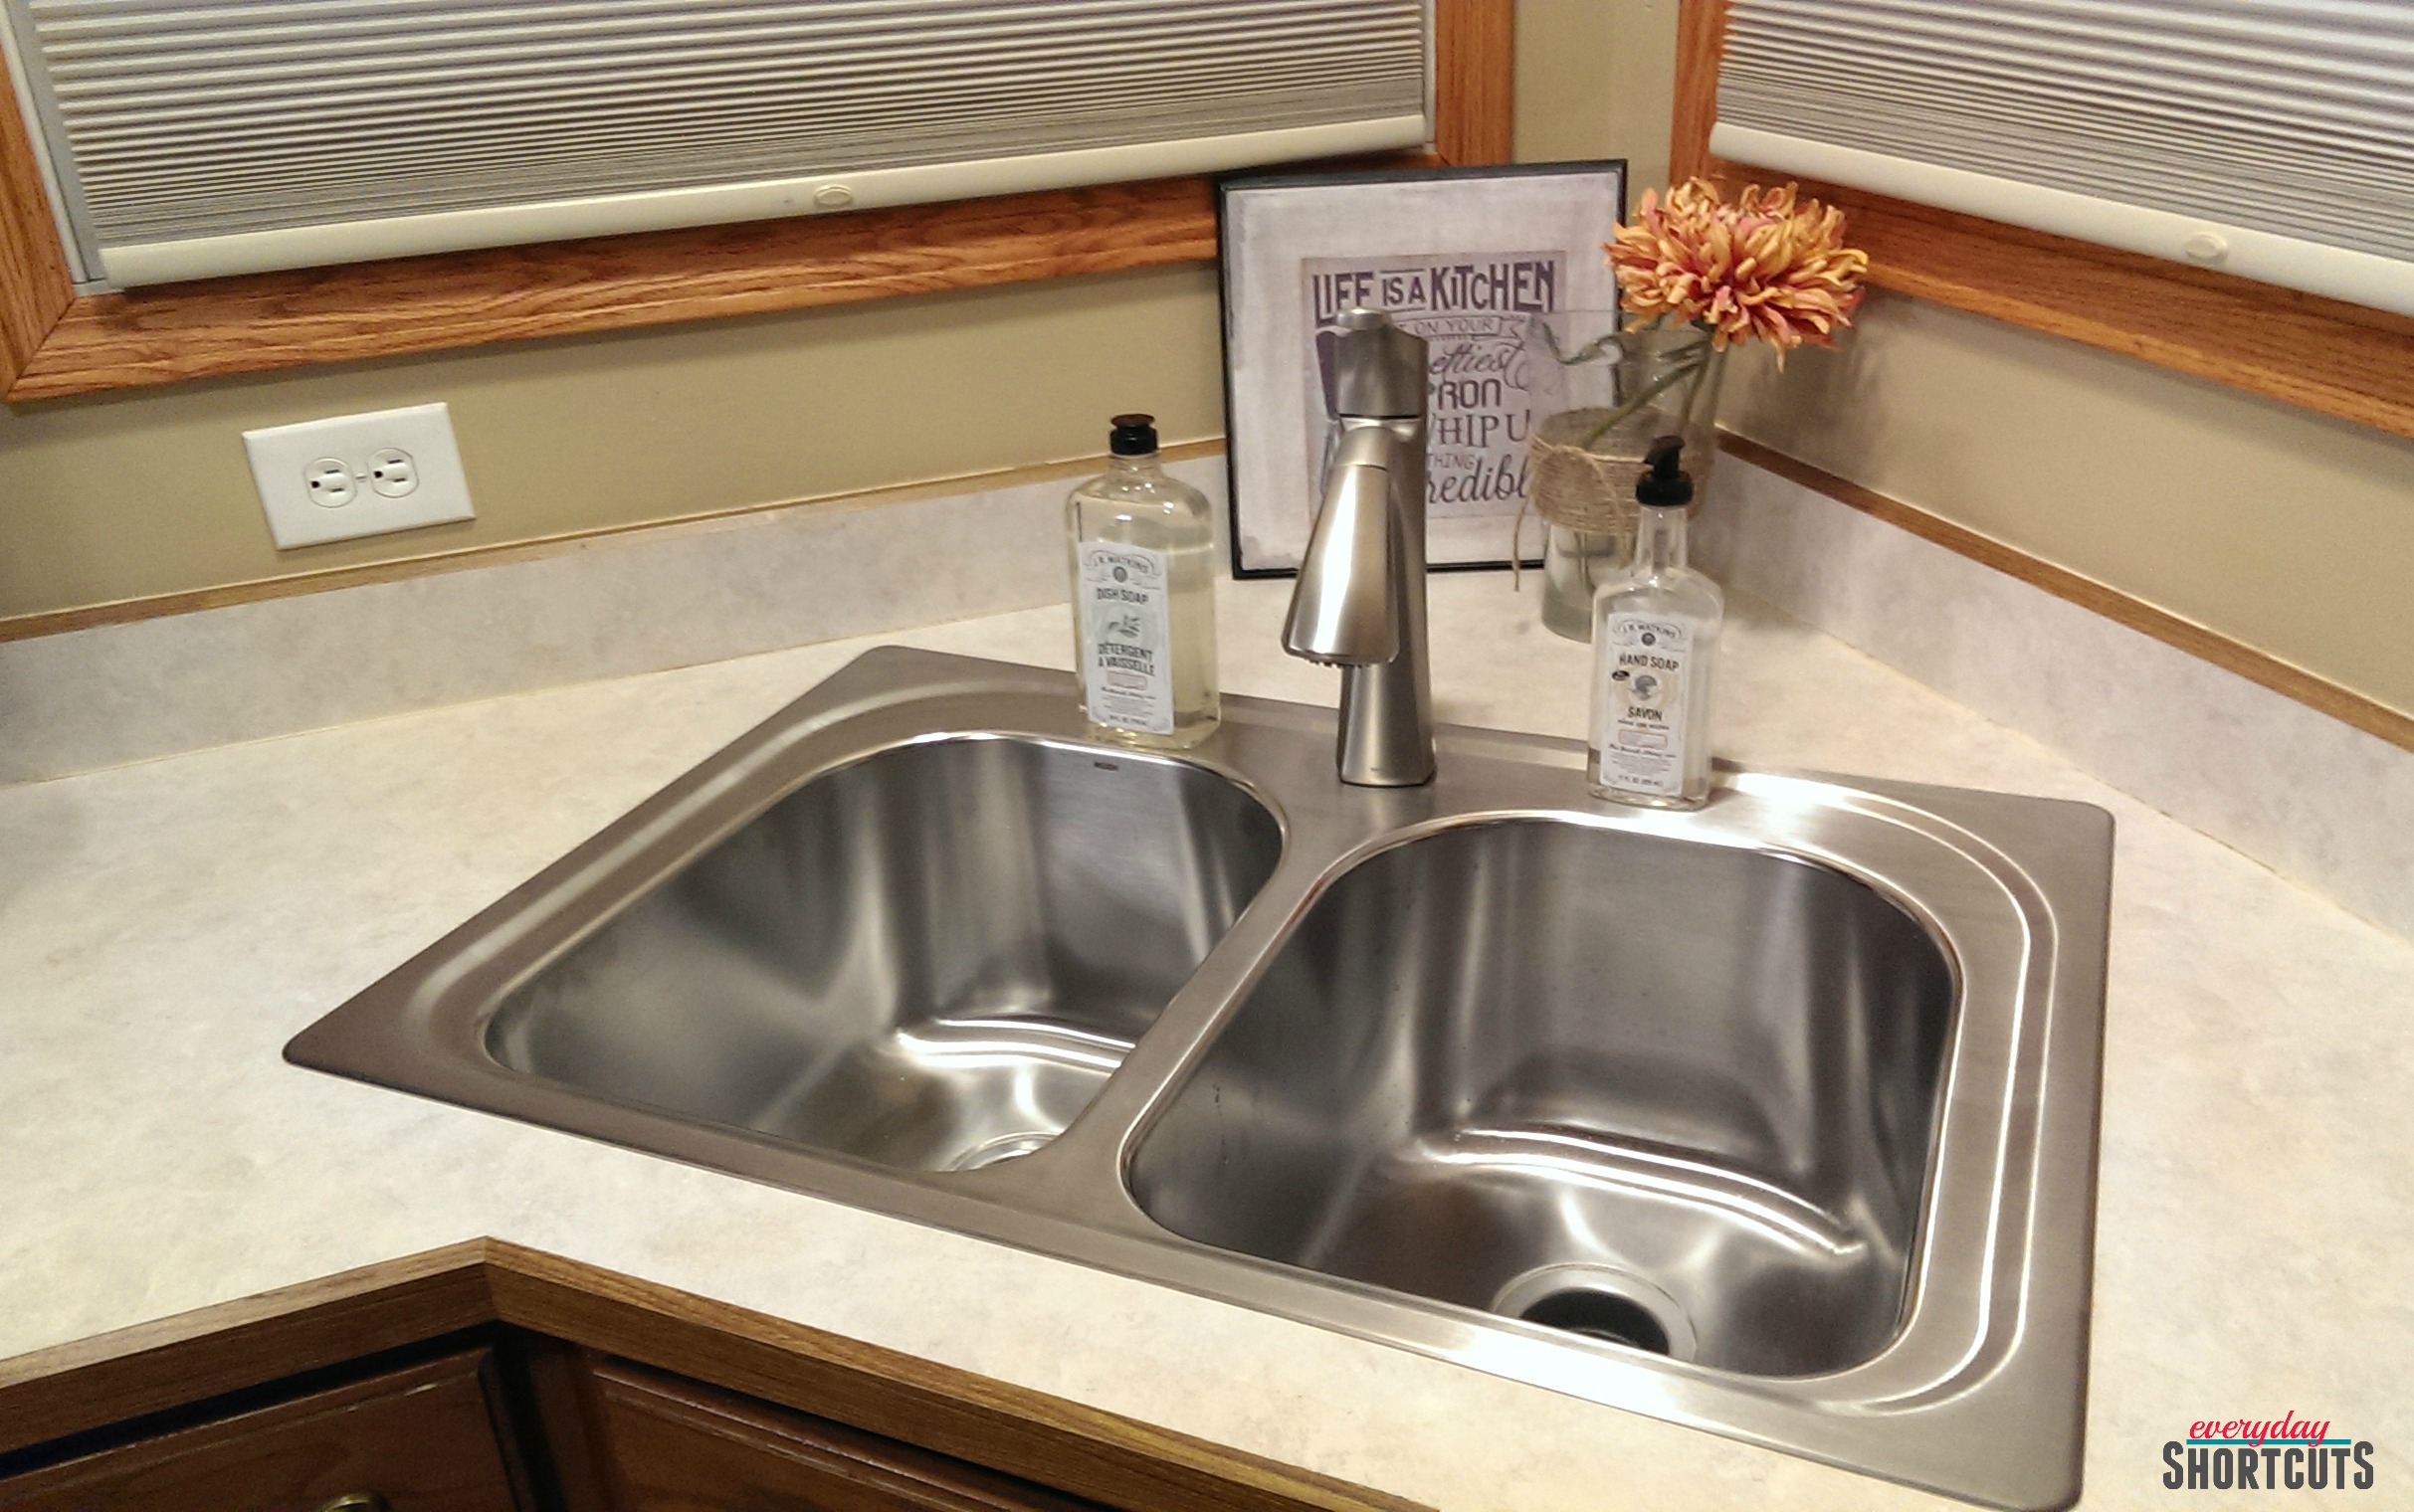
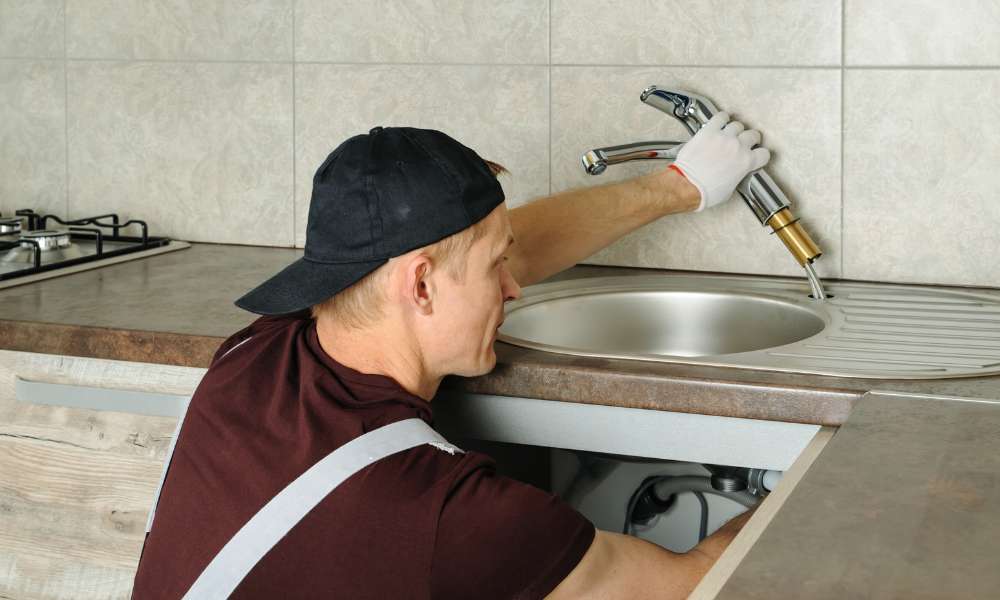
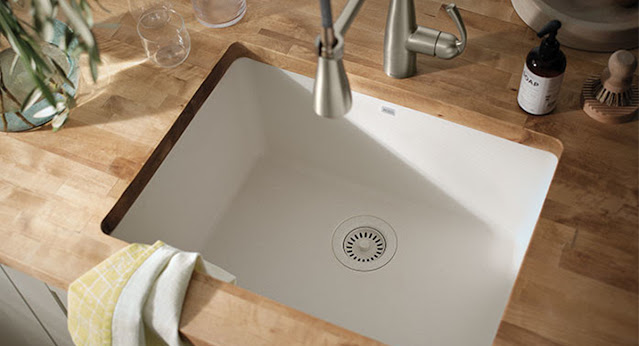
Installing the Sink
:max_bytes(150000):strip_icc()/installing-a-moen-kitchen-faucet-2718847-hero-80764e1087fc4d26919082f212cf3d0a.jpg) With the cut-out area marked, use a jigsaw or reciprocating saw to carefully cut out the hole for the sink. Next, apply a thin layer of
plumber's putty
around the edge of the sink's flange. Place the sink into the cut-out and press down firmly to create a seal with the putty. From under the sink, secure the mounting hardware to the sink and then attach the mounting clips to the countertop. Use a wrench to tighten the clips and ensure the sink is securely in place.
With the cut-out area marked, use a jigsaw or reciprocating saw to carefully cut out the hole for the sink. Next, apply a thin layer of
plumber's putty
around the edge of the sink's flange. Place the sink into the cut-out and press down firmly to create a seal with the putty. From under the sink, secure the mounting hardware to the sink and then attach the mounting clips to the countertop. Use a wrench to tighten the clips and ensure the sink is securely in place.
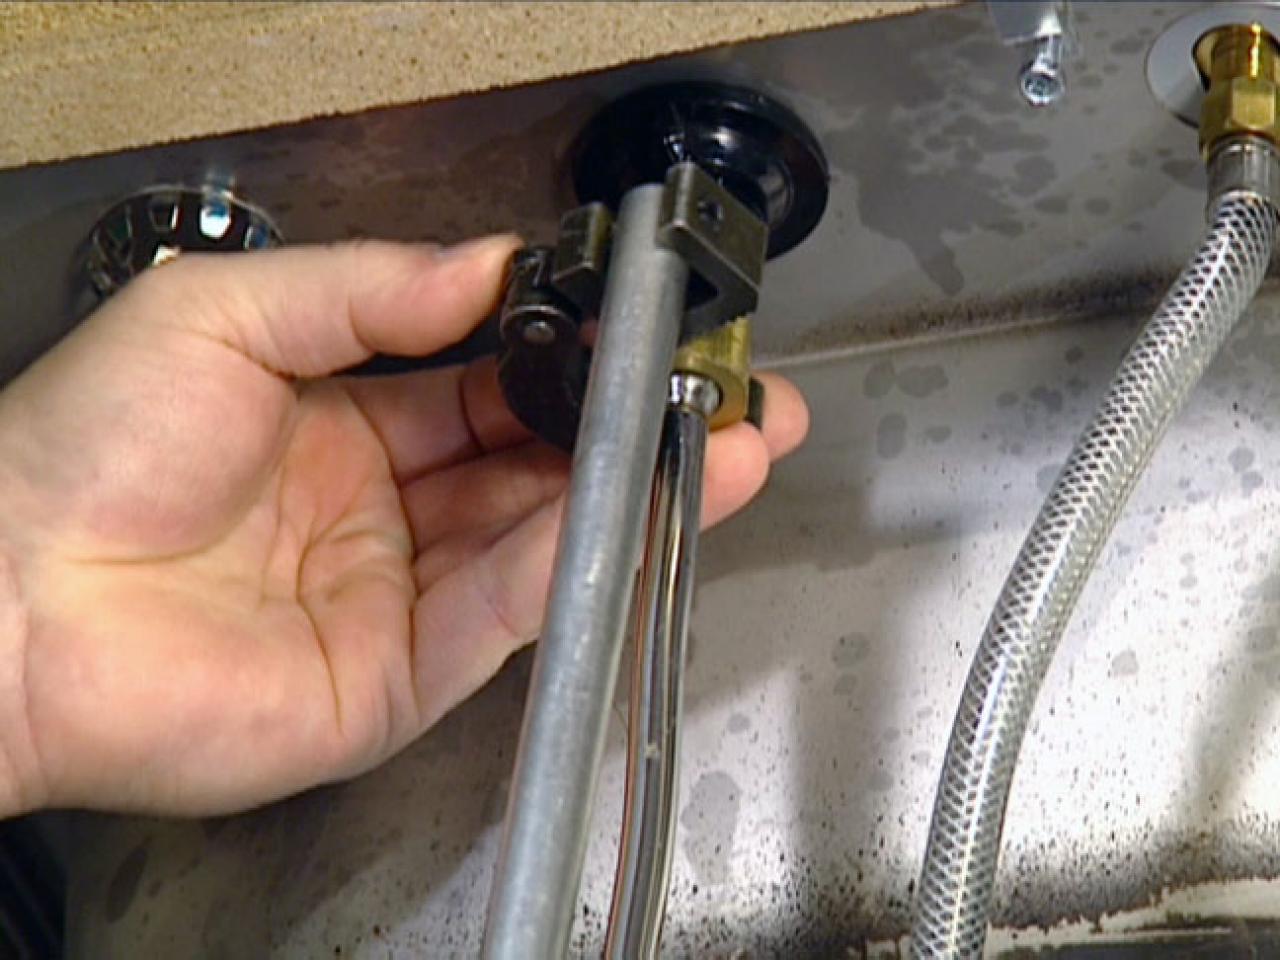
Connecting the Plumbing
 With the sink in place, it's time to connect the plumbing. Apply
plumbing tape
to the threads of the drain assembly and screw it into the drain hole at the bottom of the sink. Next, connect the hot and cold water supply lines to the corresponding shut-off valves. Turn the water supply back on and check for any leaks. If there are none, you can proceed to install the
garbage disposal
, if you have one, and connect it to the drain.
With the sink in place, it's time to connect the plumbing. Apply
plumbing tape
to the threads of the drain assembly and screw it into the drain hole at the bottom of the sink. Next, connect the hot and cold water supply lines to the corresponding shut-off valves. Turn the water supply back on and check for any leaks. If there are none, you can proceed to install the
garbage disposal
, if you have one, and connect it to the drain.
Applying the Finishing Touches
 To complete the installation, apply a bead of
silicone caulk
around the edge of the sink to create a watertight seal. This will also give your sink a clean and polished look. Wipe away any excess caulk with a damp cloth and let it dry for at least 24 hours before using the sink.
To complete the installation, apply a bead of
silicone caulk
around the edge of the sink to create a watertight seal. This will also give your sink a clean and polished look. Wipe away any excess caulk with a damp cloth and let it dry for at least 24 hours before using the sink.
In Conclusion
 Following the
moen kitchen sink installation instructions
is essential for a successful and hassle-free installation. Taking the time to properly install your Moen kitchen sink will ensure its longevity and functionality in your daily kitchen tasks. With the right tools and materials, and by following these steps, you can have a beautiful and functional kitchen sink in no time.
Following the
moen kitchen sink installation instructions
is essential for a successful and hassle-free installation. Taking the time to properly install your Moen kitchen sink will ensure its longevity and functionality in your daily kitchen tasks. With the right tools and materials, and by following these steps, you can have a beautiful and functional kitchen sink in no time.