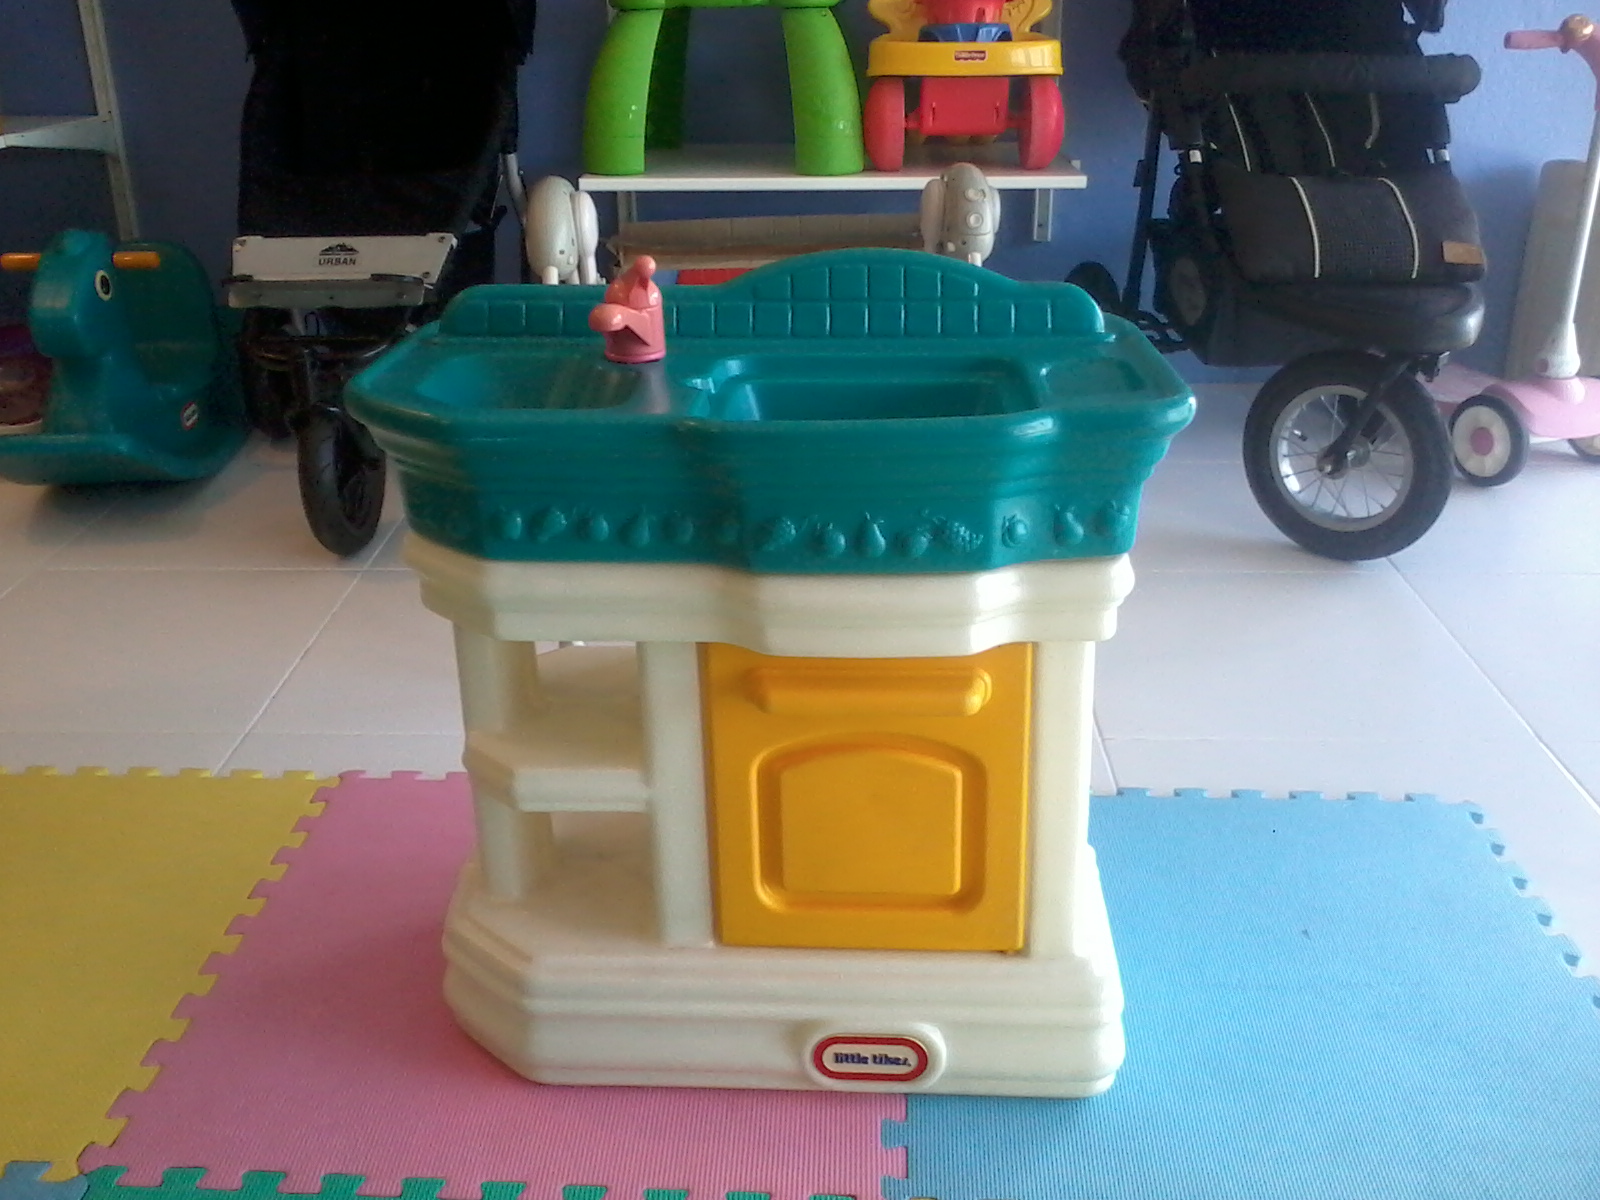
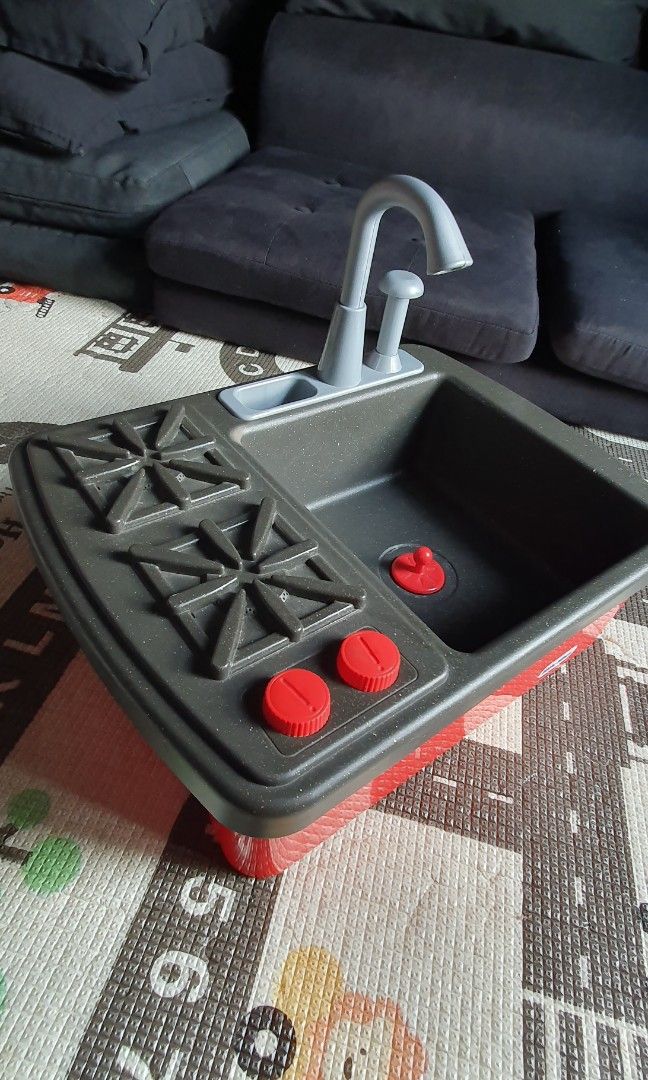
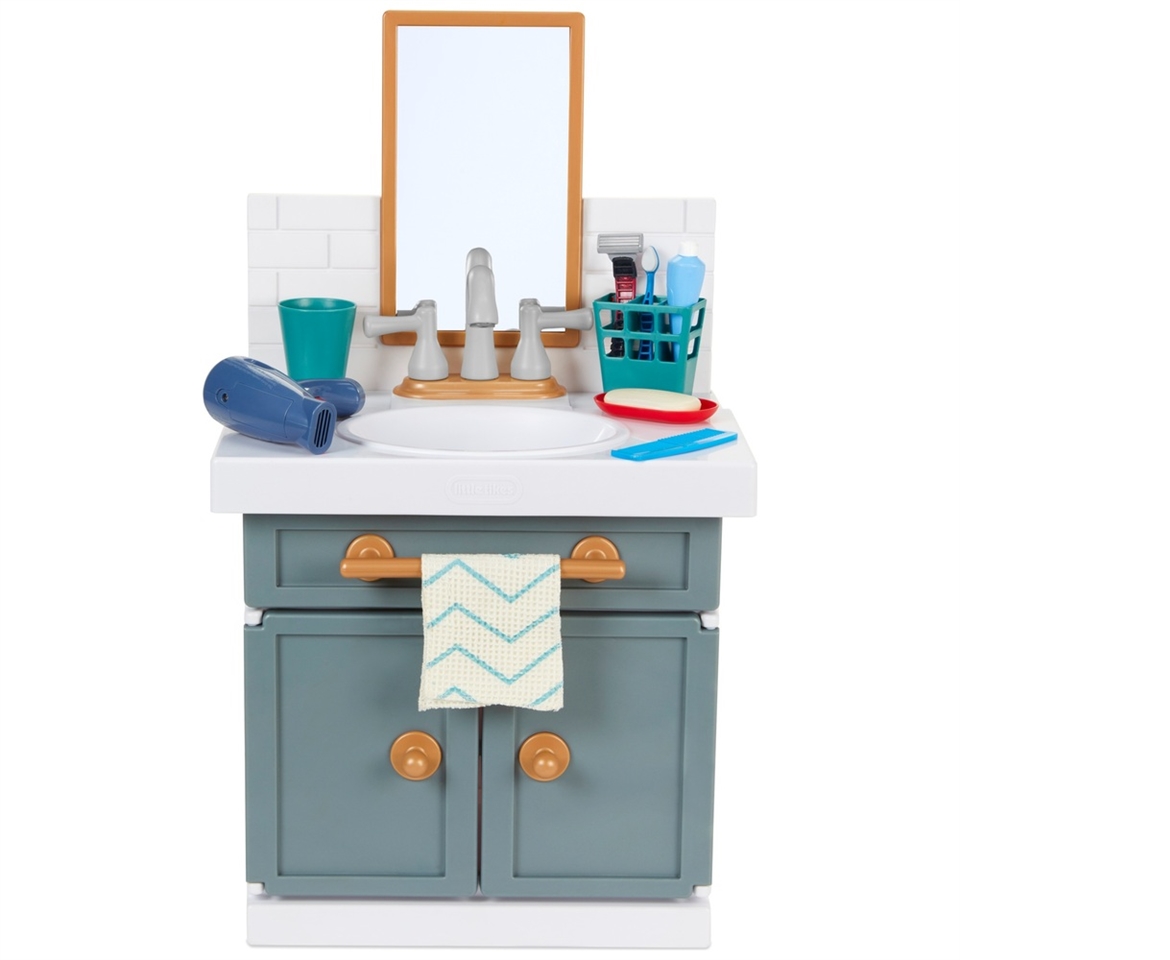
The Little Tikes Bathroom Sink Assembly is a popular choice for parents looking to create a fun and interactive bathroom experience for their little ones. This colorful and durable sink is designed specifically for children, with a height and size that is perfect for their tiny hands. In this article, we will walk you through the assembly process for this beloved product and provide you with some tips and tricks along the way.Introduction


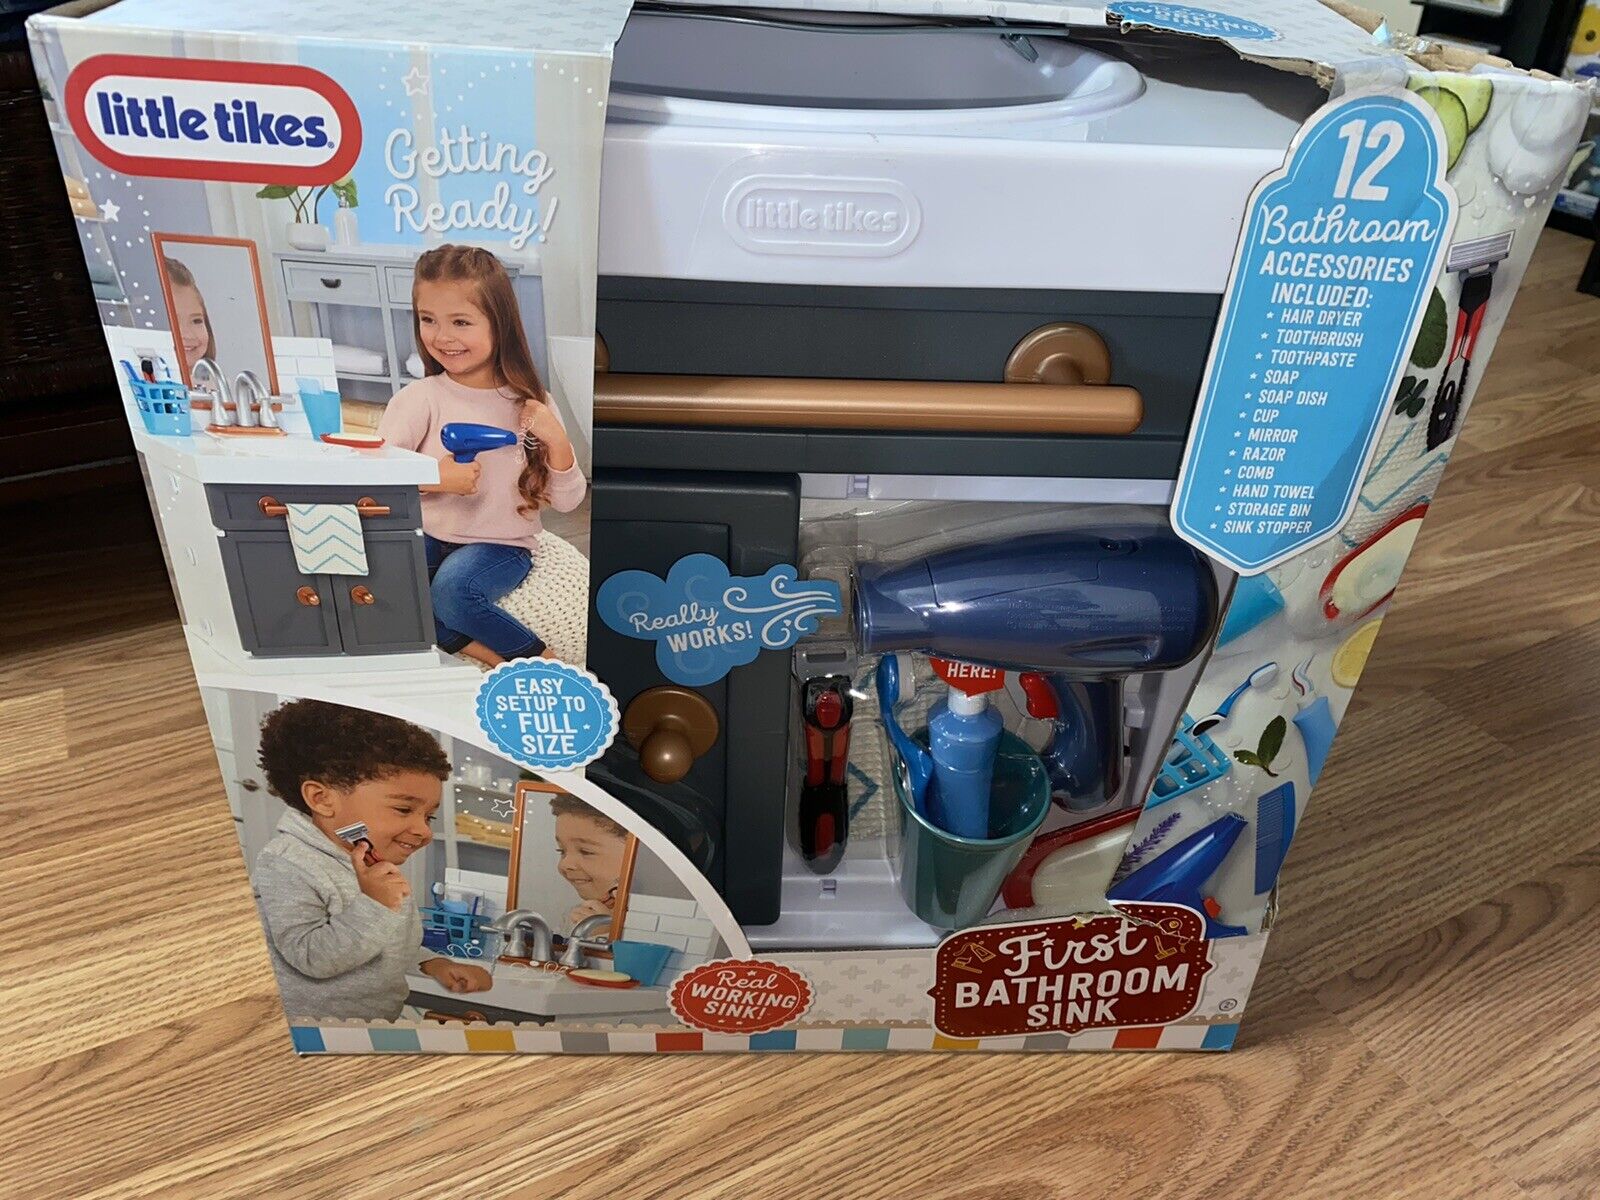
Little Tikes Bathroom Sink Assembly


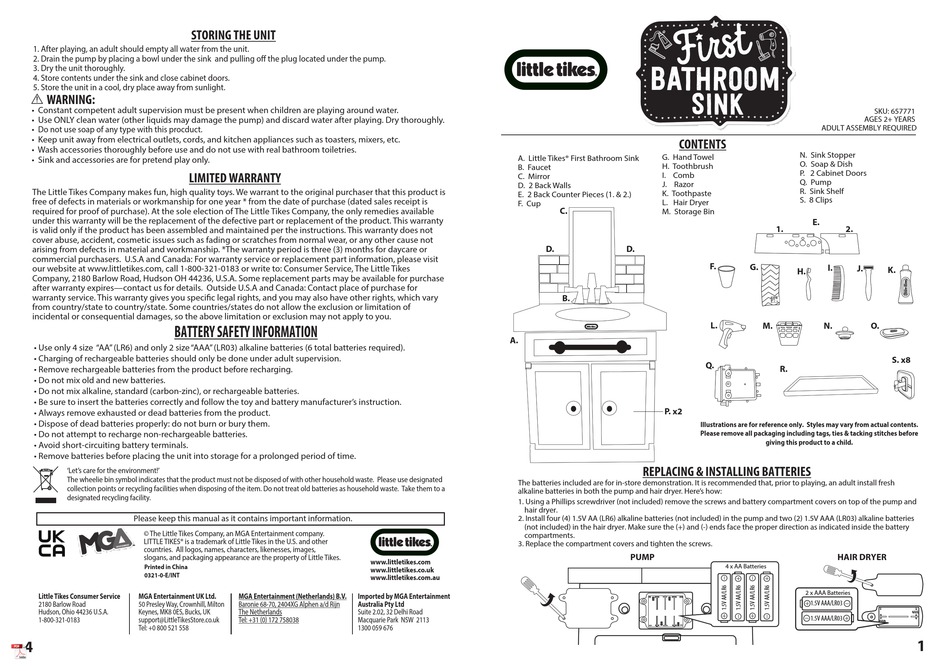

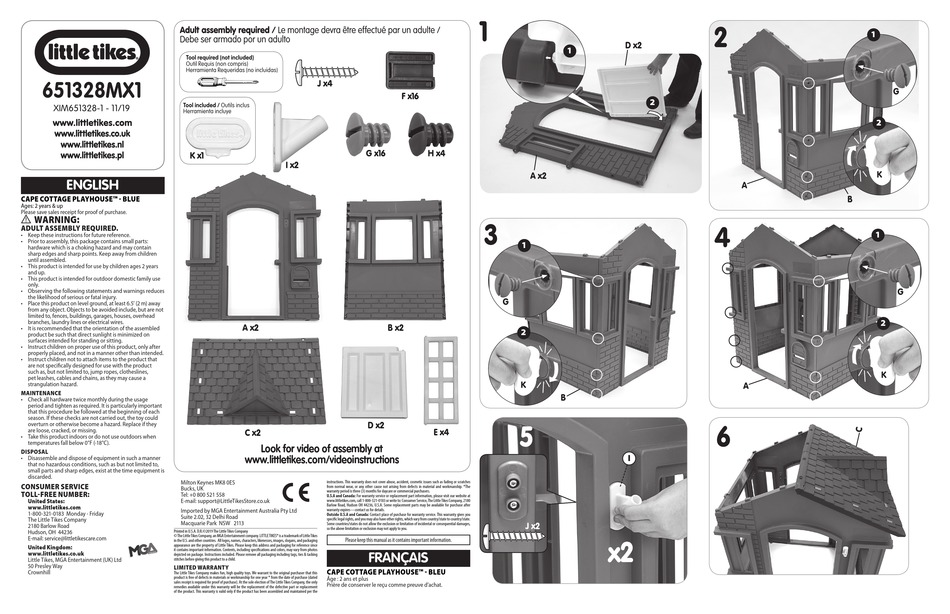
Before starting the assembly process, it is important to gather all the necessary tools. The Little Tikes Bathroom Sink Assembly comes with all the required hardware, but you will need a screwdriver and possibly a hammer to complete the assembly. Make sure you have these tools on hand before starting.Gather Your Tools

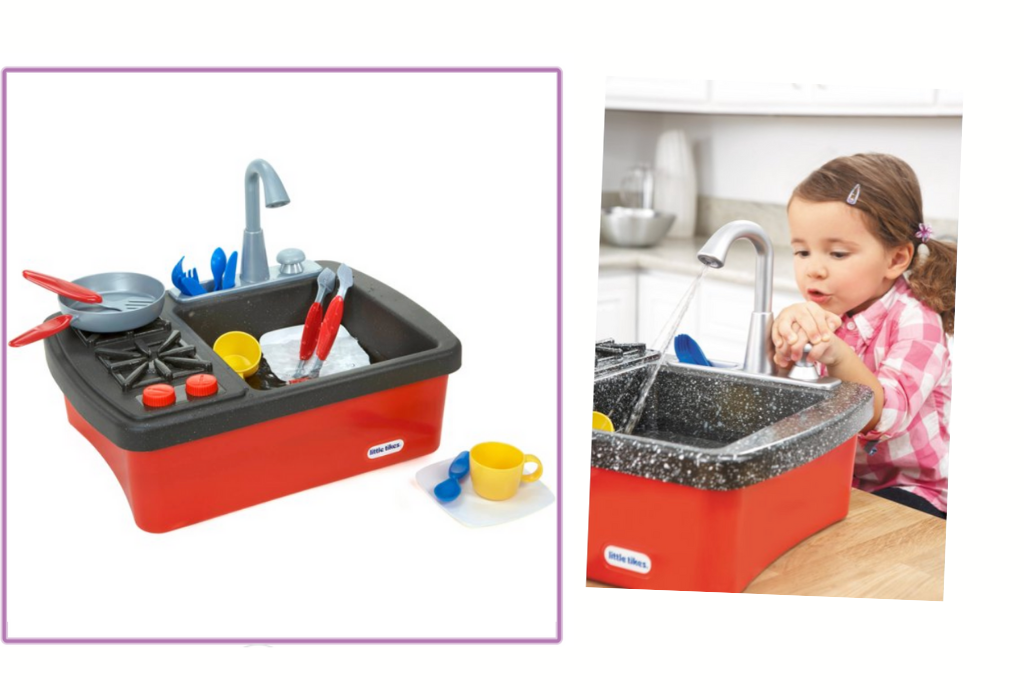
Little Tikes Sink Assembly


The first step is to attach the legs to the base of the sink. Using the provided screws, attach each leg to the designated holes on the base. Use the screwdriver to tighten the screws securely.Step 1: Attach the Legs

Little Tikes Bathroom Assembly

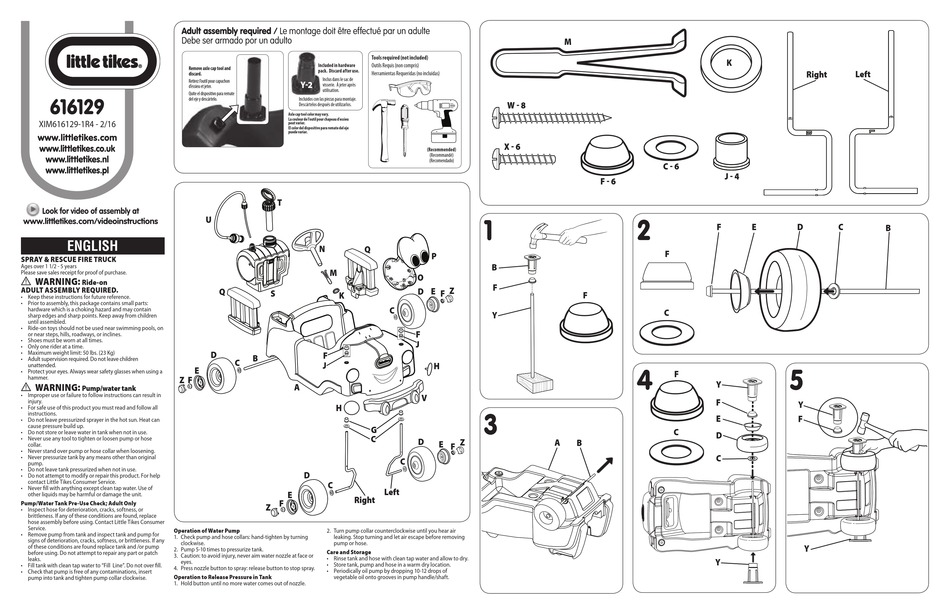
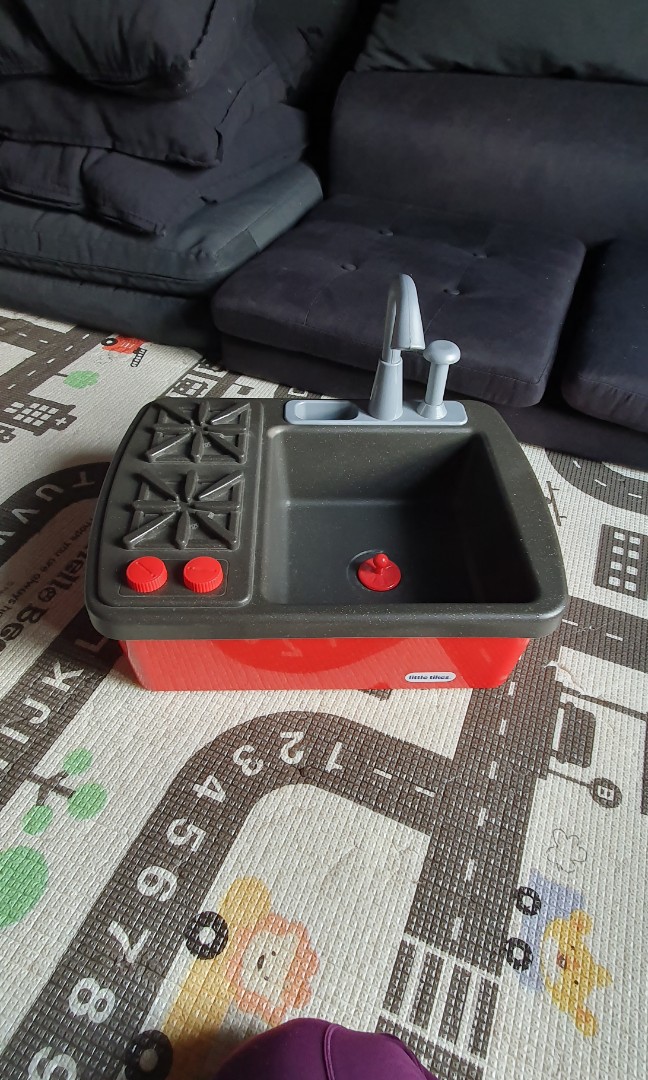
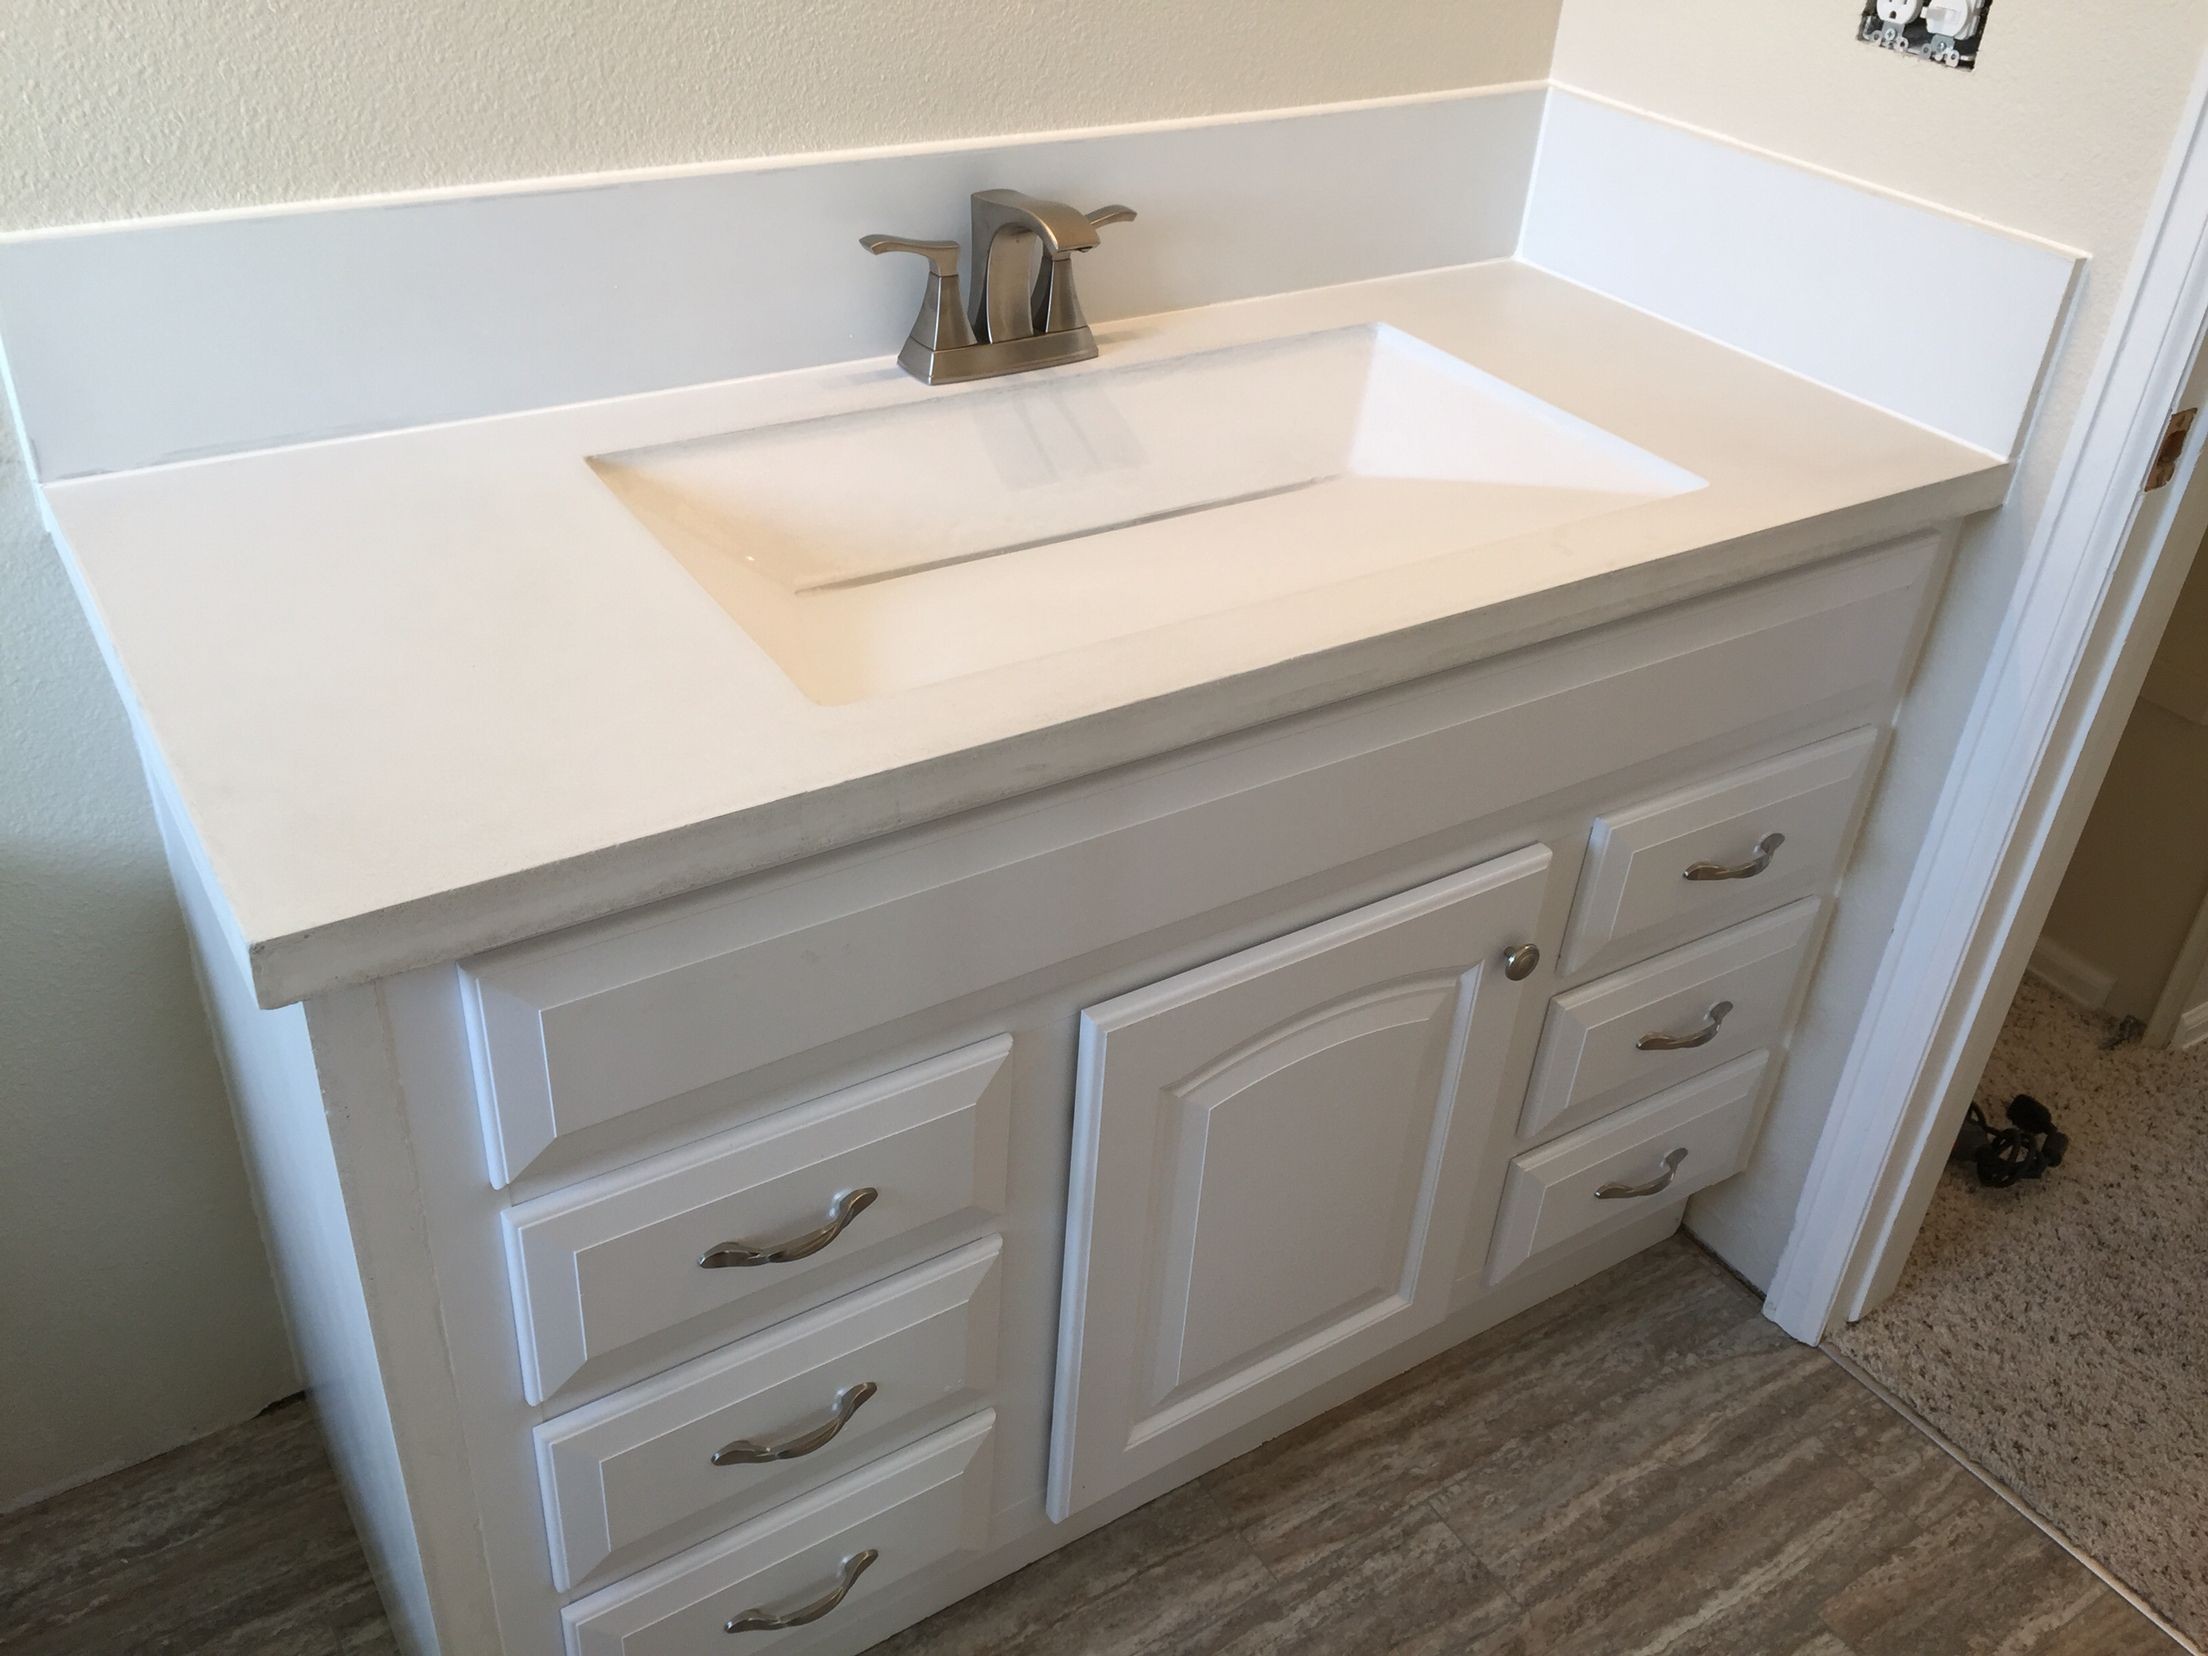
Next, place the sink bowl on top of the base and align it with the holes on the legs. Secure the sink bowl to the base using the provided screws. Again, use the screwdriver to tighten the screws.Step 2: Attach the Sink Bowl

Little Tikes Sink
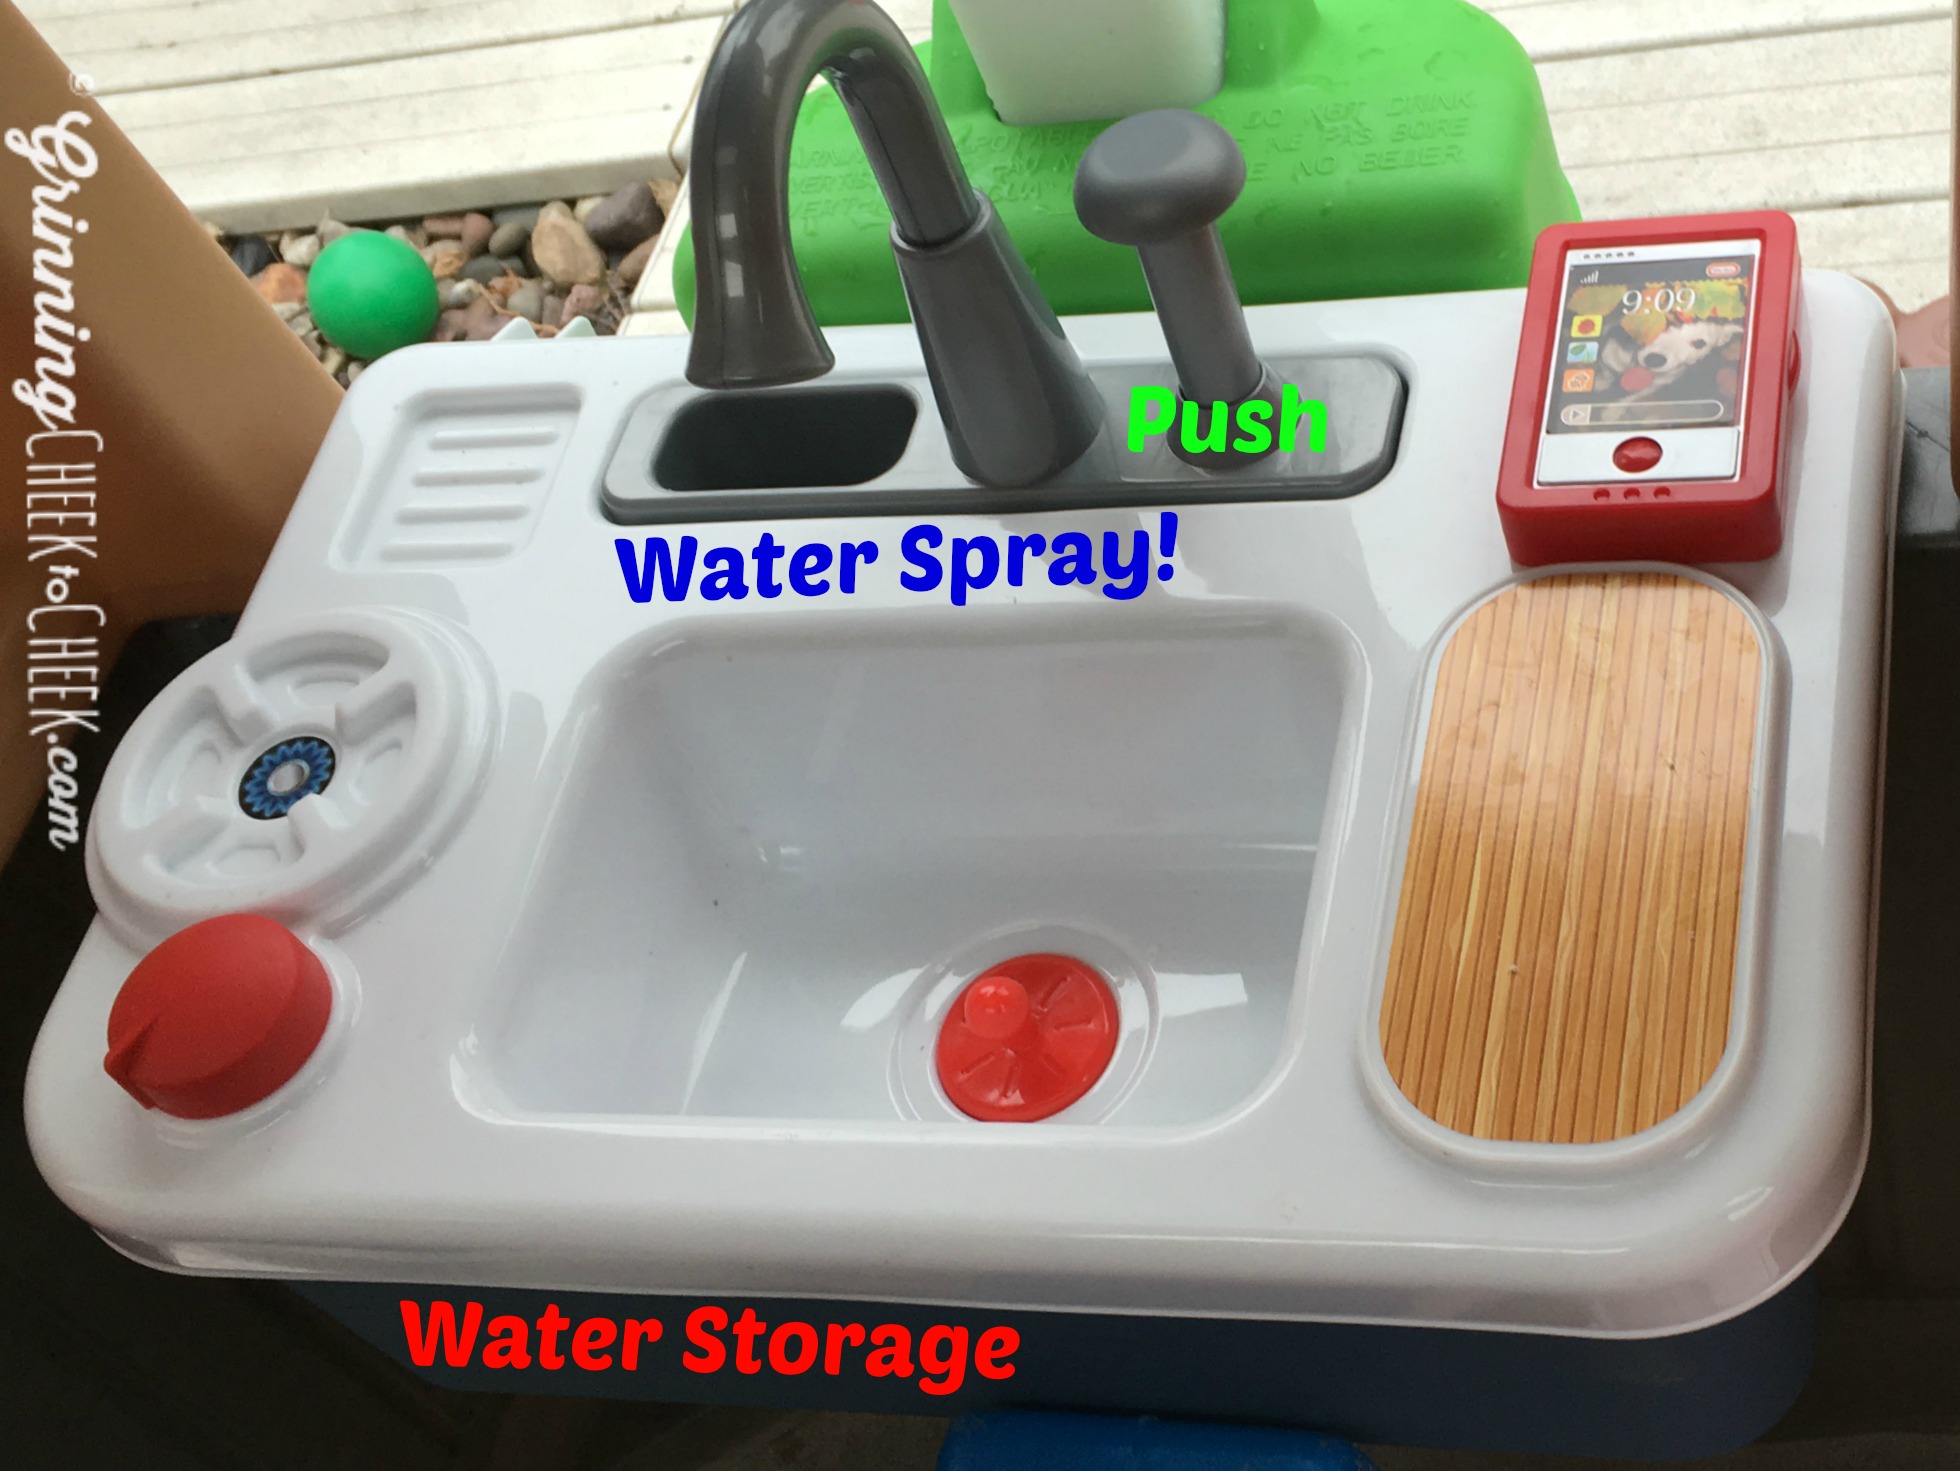

Now it's time to attach the faucet to the sink. First, insert the faucet through the designated hole on the sink bowl. Then, use the provided nuts and bolts to secure the faucet from underneath the sink. Use the screwdriver to tighten the bolts securely.Step 3: Attach the Faucet


Bathroom Sink Assembly


The final step is to attach the drain to the bottom of the sink bowl. Place the rubber gasket and plastic ring onto the drain, then insert it into the designated hole on the sink bowl. Secure it in place using the provided nut and bolt. Use the screwdriver to tighten the bolt securely.Step 4: Attach the Drain


Little Tikes Assembly


Here are some tips and tricks to keep in mind while assembling the Little Tikes Bathroom Sink:Tips and Tricks


Bathroom Sink


The Little Tikes Bathroom Sink Assembly is a great addition to any child's bathroom. It is not only functional, but also adds a touch of fun and playfulness to the space. By following the simple steps outlined in this article, you can easily assemble this sink and provide your child with a fun and interactive bathroom experience. So go ahead and get started on creating your little one's very own bathroom sink today!Conclusion

Little Tikes


Creating a Functional and Adorable Bathroom for Your Little Ones
Introducing the Little Tikes Bathroom Sink Assembly
 As a parent, designing and decorating your child's bedroom is likely at the top of your list when it comes to house design. However, it's important not to overlook the other rooms in your house, especially the bathroom. This space is not only essential for daily routines, but it can also be a fun and creative space for your little ones to explore and learn. That's where the Little Tikes Bathroom Sink Assembly comes in.
Designed specifically for children,
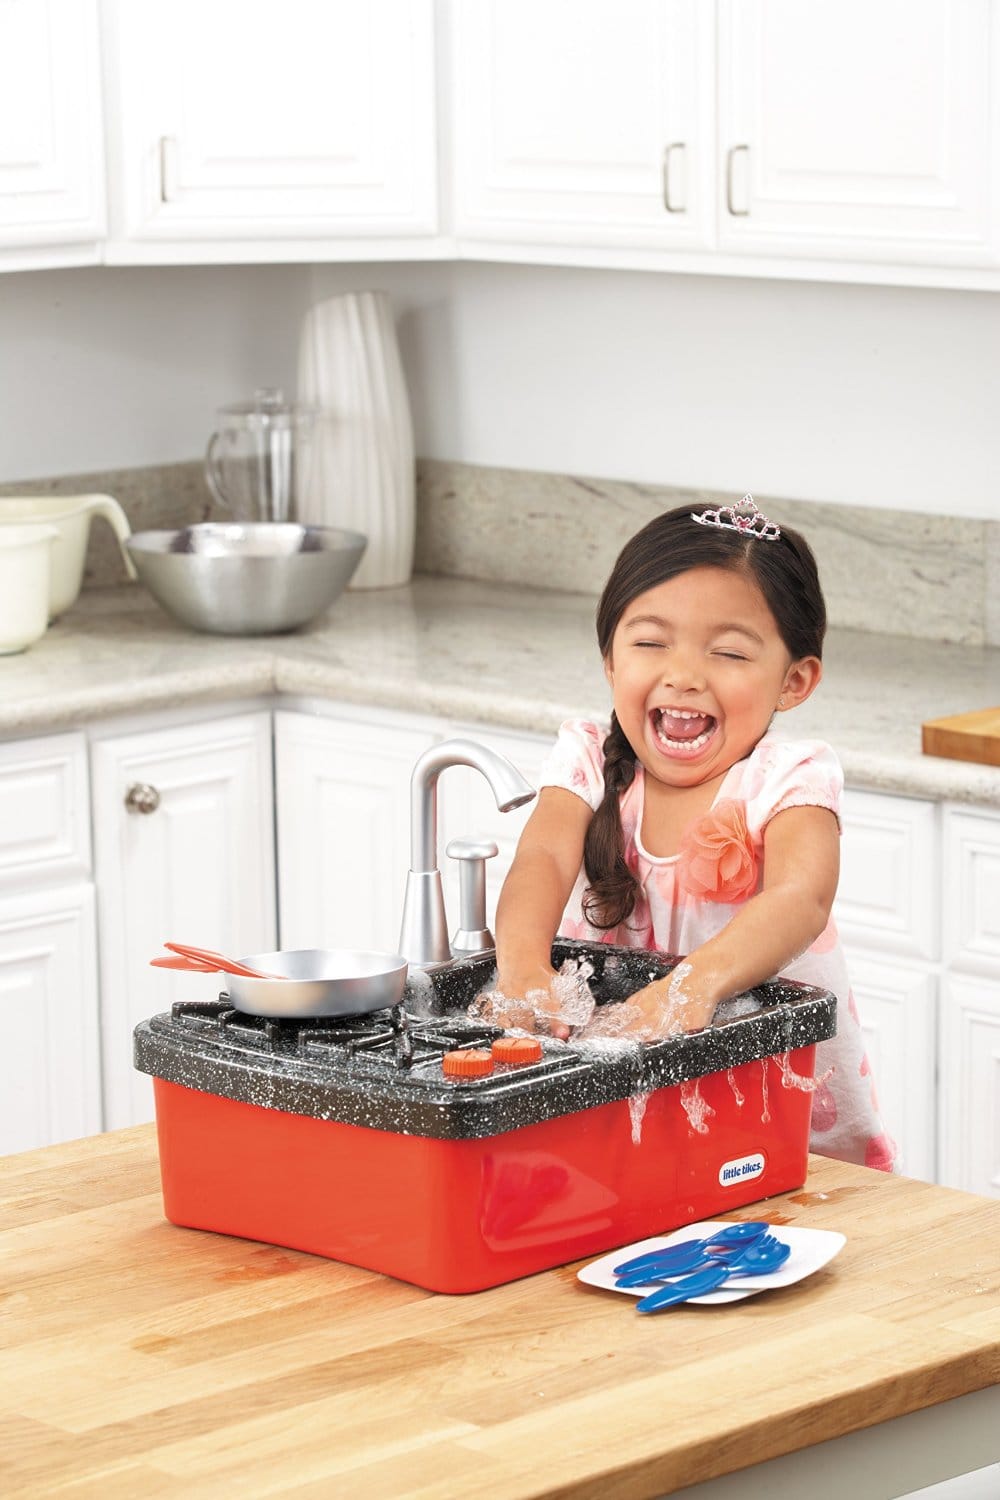
this adorable and functional sink is the perfect addition to any kid-friendly bathroom. Its compact size and bright colors make it appealing to young children, while its practical features make it a parent's dream.
One of the standout features of the Little Tikes Bathroom Sink Assembly is its
easy assembly process.
With just a few simple steps, you can have this sink set up and ready to use. This means less stress and hassle for parents, and more fun for your little ones.
In addition to its easy assembly, this sink also boasts
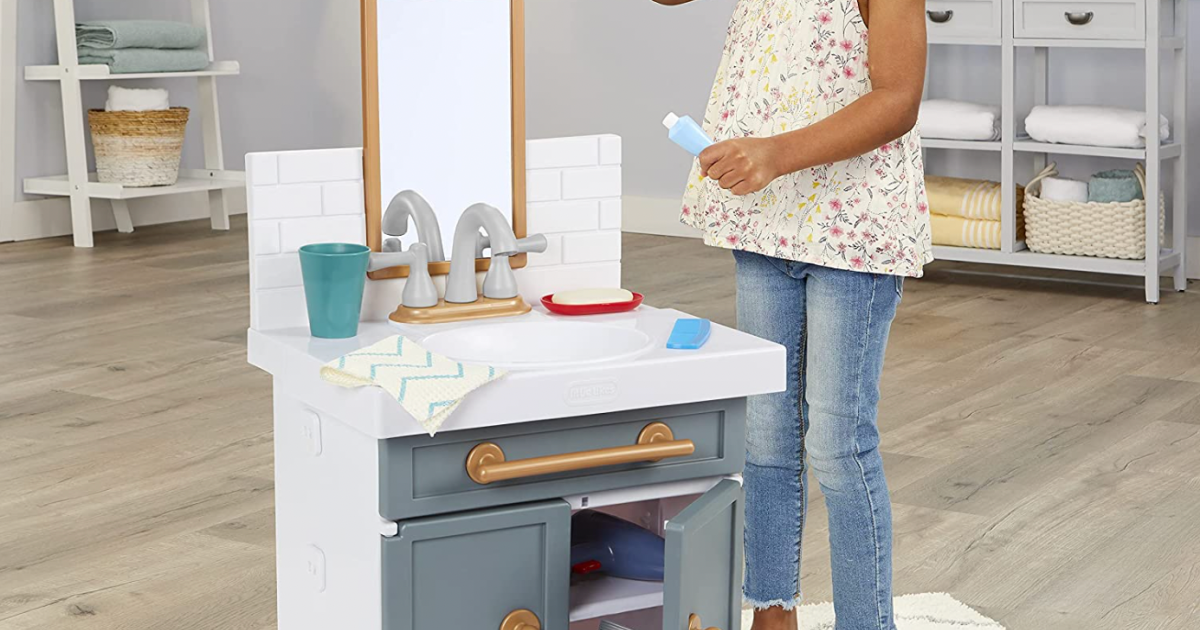
adjustable height settings
to accommodate children of different ages and heights. This means your child can use this sink for years to come, making it a cost-effective and long-lasting addition to your bathroom.
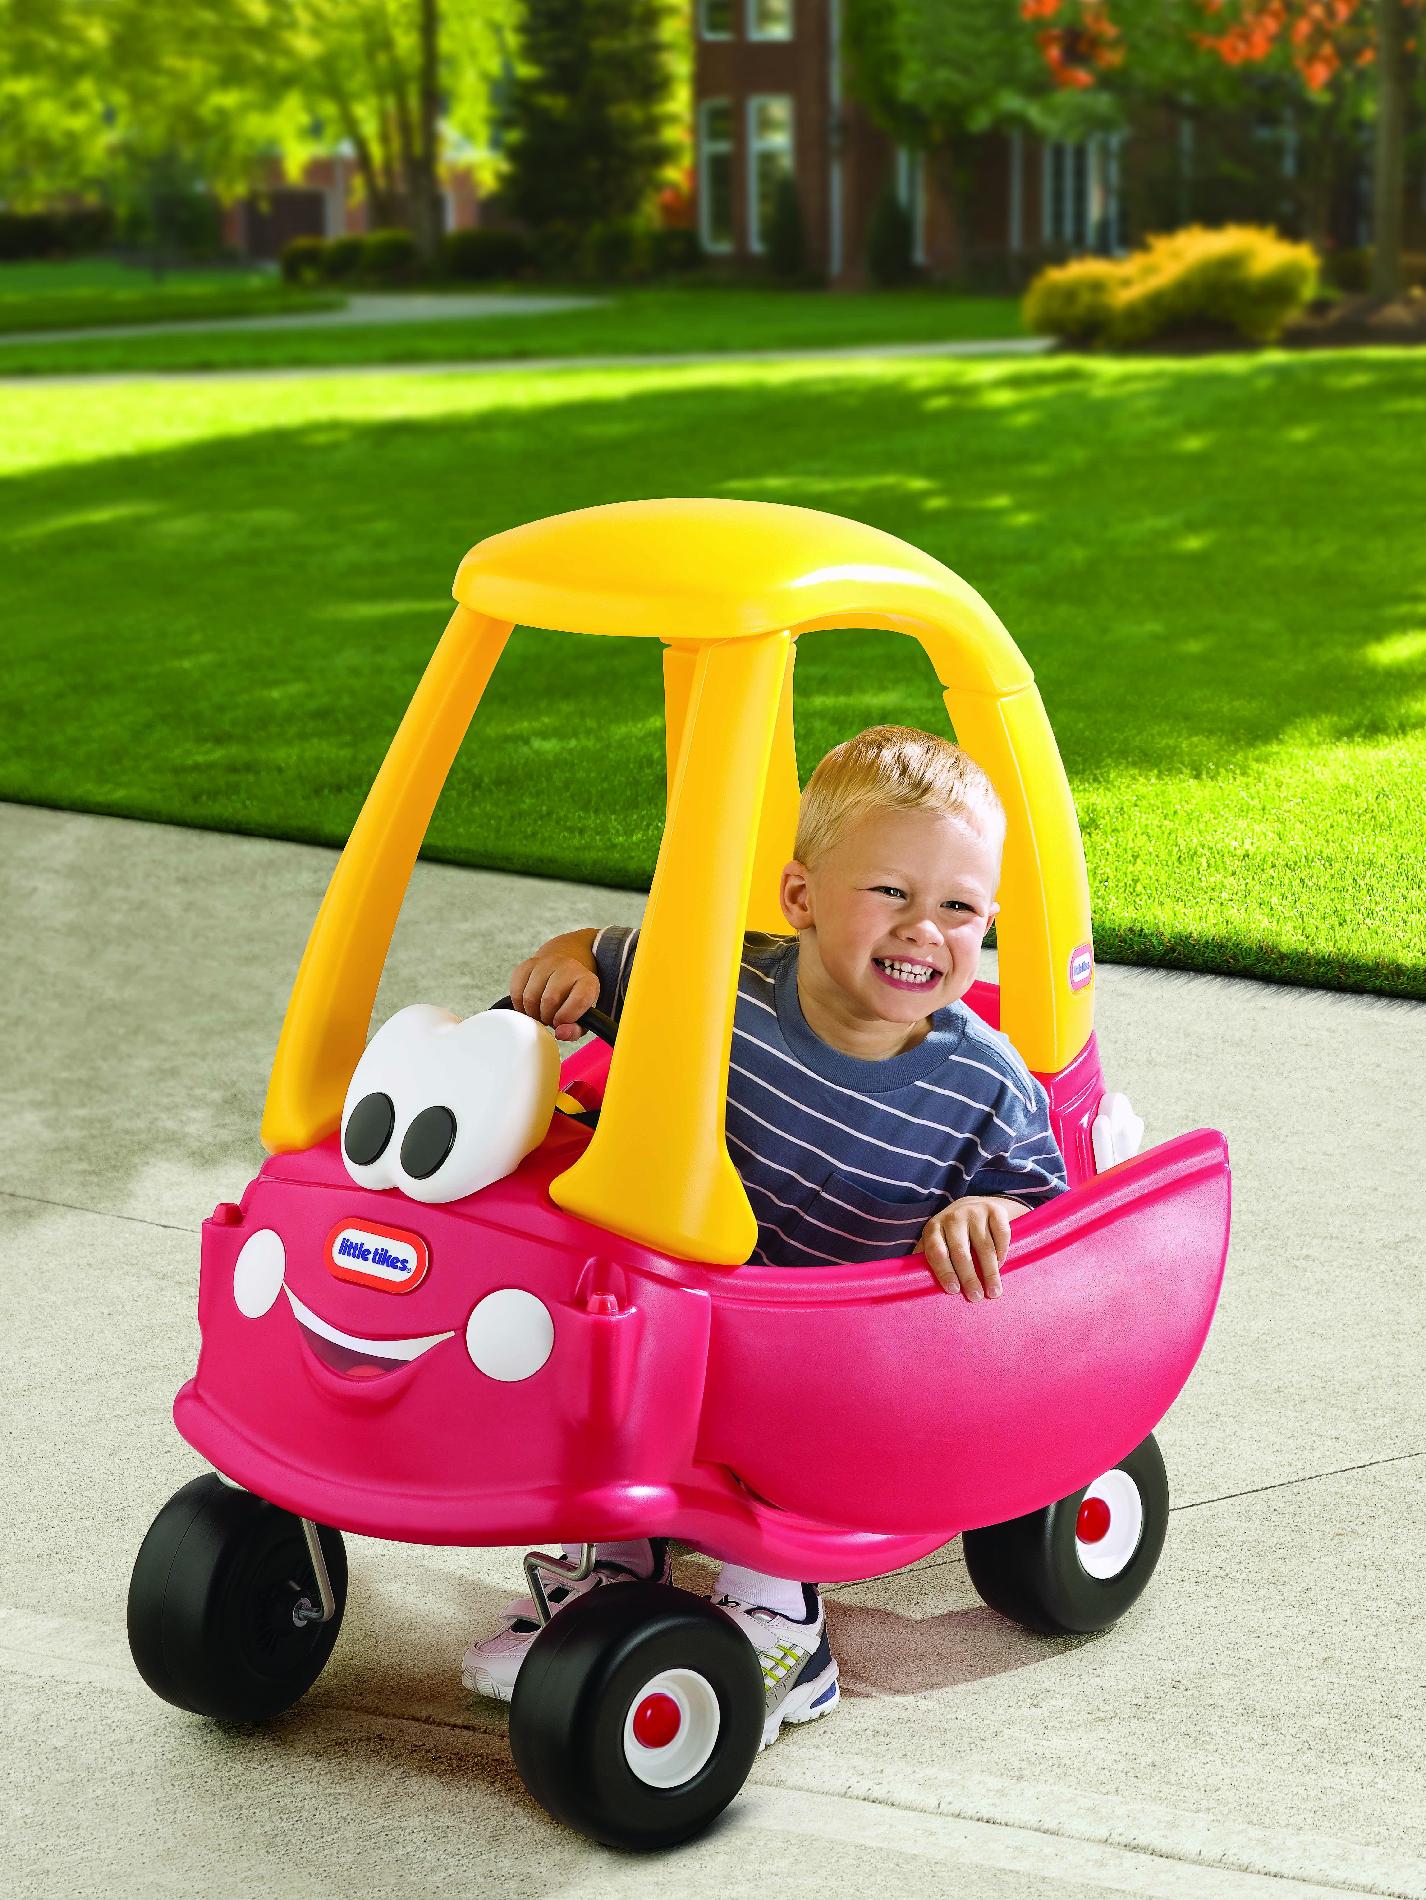
But the Little Tikes Bathroom Sink Assembly isn't just functional – it's also incredibly cute and appealing to young children. Its
adorable design
with fun and vibrant colors will make your child excited to brush their teeth and wash their hands. It's a great way to make the bathroom a more inviting and enjoyable space for your little ones.
In conclusion, the Little Tikes Bathroom Sink Assembly is a must-have for any household with young children. Its practical features, easy assembly, and adorable design make it a perfect addition to any kid-friendly bathroom. So why settle for a boring and standard sink when you can have a functional and adorable one for your little ones? Make bath time more fun and enjoyable with the Little Tikes Bathroom Sink Assembly.
As a parent, designing and decorating your child's bedroom is likely at the top of your list when it comes to house design. However, it's important not to overlook the other rooms in your house, especially the bathroom. This space is not only essential for daily routines, but it can also be a fun and creative space for your little ones to explore and learn. That's where the Little Tikes Bathroom Sink Assembly comes in.
Designed specifically for children,
this adorable and functional sink is the perfect addition to any kid-friendly bathroom. Its compact size and bright colors make it appealing to young children, while its practical features make it a parent's dream.
One of the standout features of the Little Tikes Bathroom Sink Assembly is its
easy assembly process.
With just a few simple steps, you can have this sink set up and ready to use. This means less stress and hassle for parents, and more fun for your little ones.
In addition to its easy assembly, this sink also boasts
adjustable height settings
to accommodate children of different ages and heights. This means your child can use this sink for years to come, making it a cost-effective and long-lasting addition to your bathroom.
But the Little Tikes Bathroom Sink Assembly isn't just functional – it's also incredibly cute and appealing to young children. Its
adorable design
with fun and vibrant colors will make your child excited to brush their teeth and wash their hands. It's a great way to make the bathroom a more inviting and enjoyable space for your little ones.
In conclusion, the Little Tikes Bathroom Sink Assembly is a must-have for any household with young children. Its practical features, easy assembly, and adorable design make it a perfect addition to any kid-friendly bathroom. So why settle for a boring and standard sink when you can have a functional and adorable one for your little ones? Make bath time more fun and enjoyable with the Little Tikes Bathroom Sink Assembly.