1. How to Repair a Leaking Air Mattress
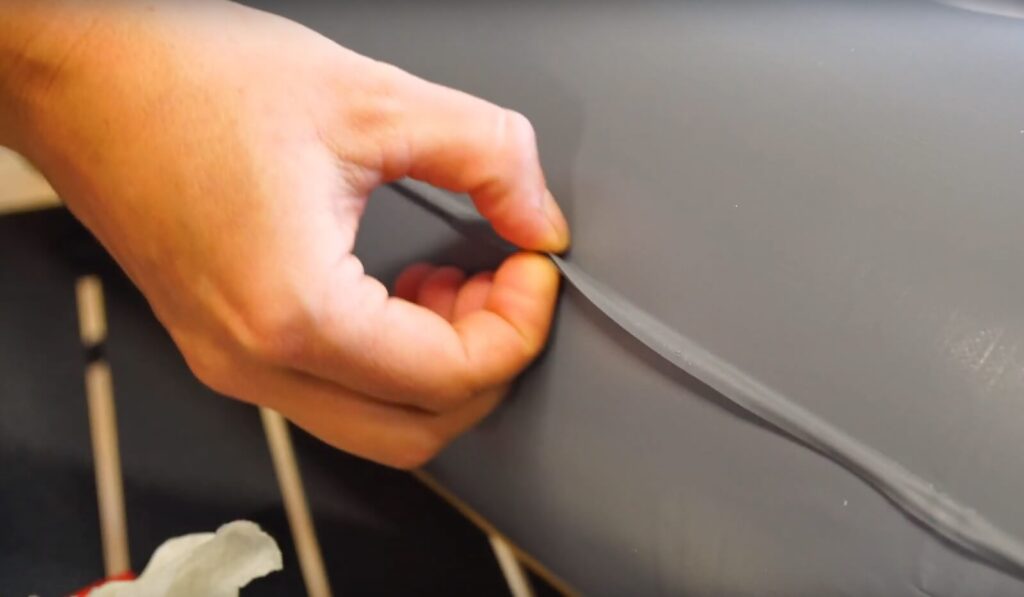
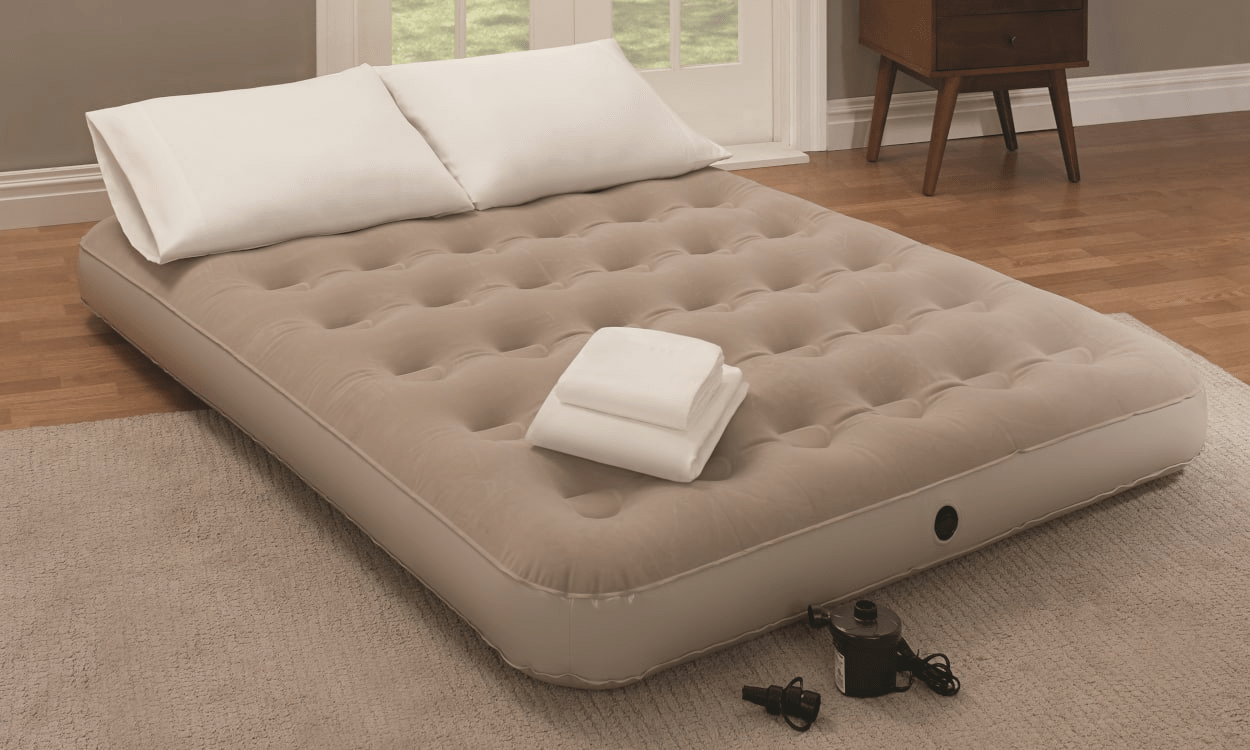
If you've ever woken up in the middle of the night, feeling the cold hard ground underneath you, chances are your air mattress has sprung a leak. But before you give up on your comfy sleeping pad, know that repairing a leaking air mattress is easier than you might think. With a few simple steps, you can have your air mattress back up and running in no time.
First, you'll need to locate the source of the leak. This can be done by inflating the mattress and feeling for any escaping air or listening for the tell-tale hissing sound. Once you've located the leak, you can move on to fixing it.
2. Quick and Easy Air Mattress Leak Repair
For a quick and easy fix, try using duct tape or a patch kit specifically designed for air mattresses. Simply clean and dry the area around the leak, then apply the tape or patch, making sure to smooth out any air bubbles. This should provide a temporary fix until you can properly repair the mattress.
3. DIY Air Mattress Repair: Fixing Leaks at Home
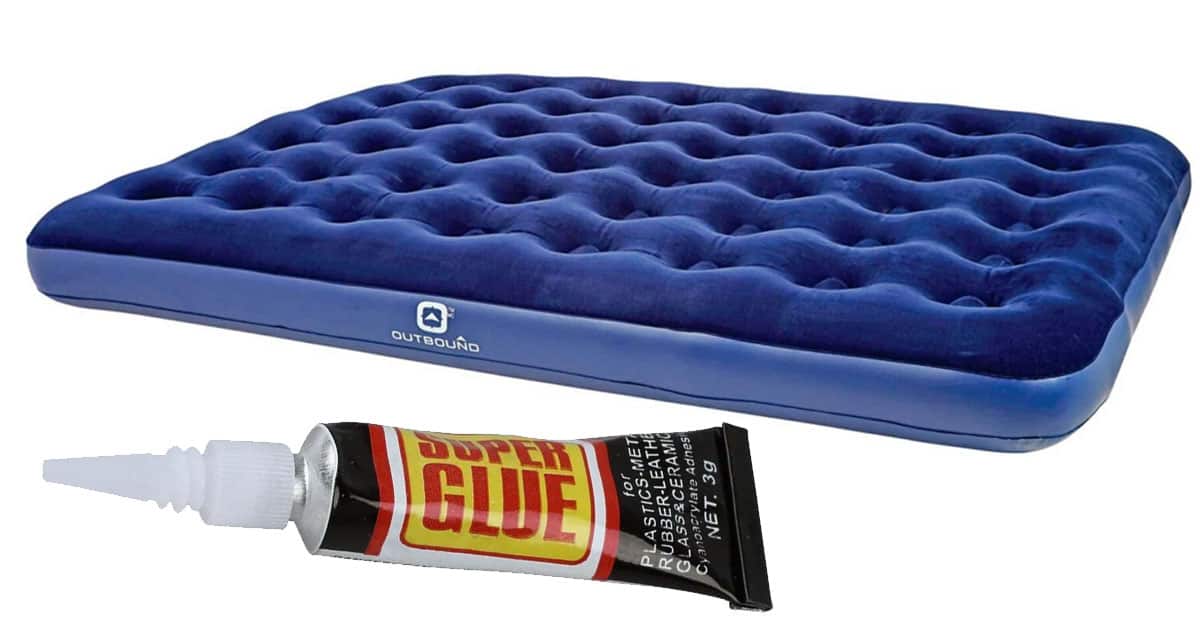
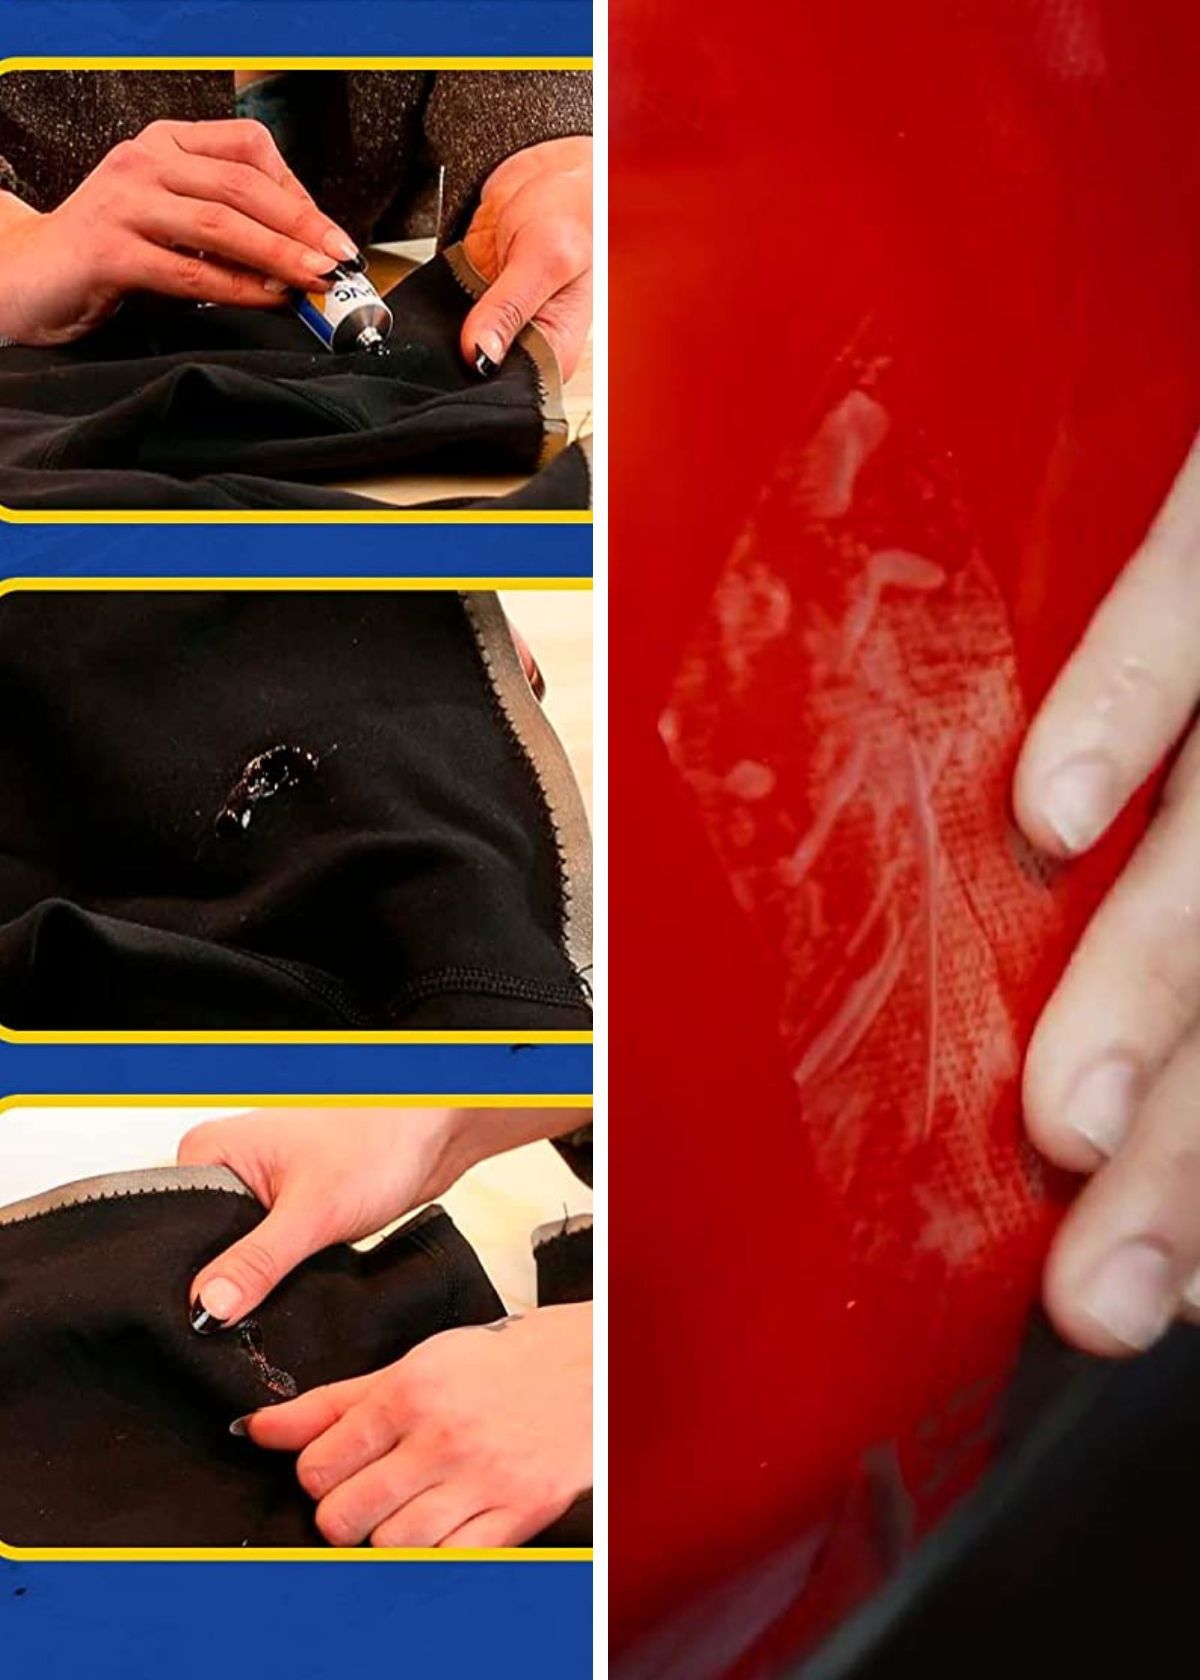
If you prefer a more DIY approach, you can easily fix a leaking air mattress at home with a few household items. First, deflate the mattress and clean the area around the leak with rubbing alcohol. Next, take a small piece of duct tape and place it over the hole, then cover the tape with a layer of super glue. This will create a strong bond and seal the leak.
4. Tips for Finding and Fixing Leaks in Your Air Mattress
Prevention is always better than a cure, so to avoid future leaks in your air mattress, it's important to properly store and use it. Avoid placing the mattress on rough or sharp surfaces, and always make sure to fully inflate and deflate it before storing. Additionally, regularly check for leaks and patch them as soon as you notice them to prevent them from getting worse.
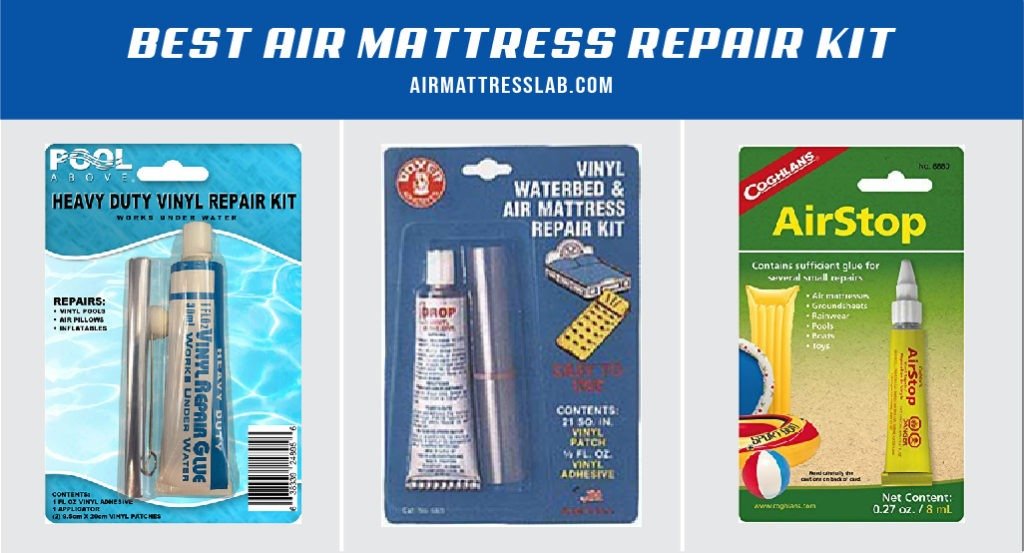
5. The Best Air Mattress Repair Kits for Fixing Leaks
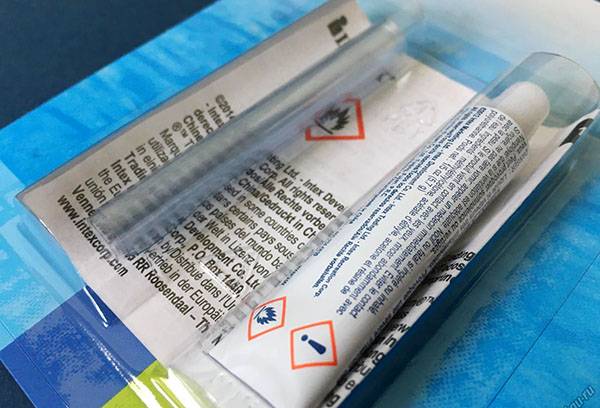
If you want to be prepared for any future leaks, consider investing in an air mattress repair kit. These kits typically come with patches, adhesive, and other tools you'll need to fix a leak. They are also compact and easy to bring with you on camping trips or vacations.
6. Common Causes of Air Mattress Leaks and How to Prevent Them
Understanding the common causes of air mattress leaks can help you prevent them in the future. Some common culprits include over-inflation, sharp objects, and wear and tear over time. To avoid over-inflating, make sure to follow the recommended air pressure for your specific mattress. To prevent punctures, always place the mattress on a smooth surface and avoid using it near sharp objects. And finally, regular use of the mattress can also cause wear and tear, so make sure to properly maintain and store it.
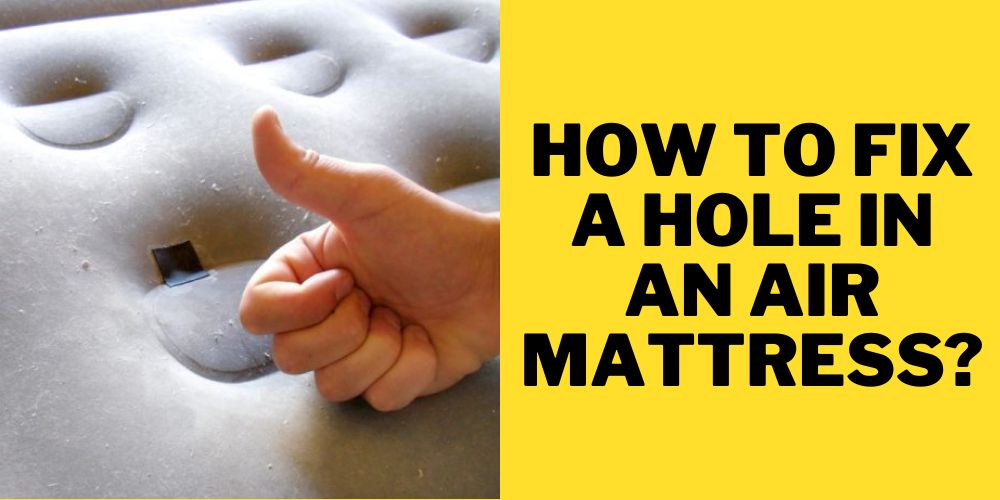
7. How to Patch a Hole in an Air Mattress
If you have a larger hole or tear in your air mattress, you may need to use a patch to fix it. First, clean and dry the area around the hole. Then, cut a patch from a piece of thick fabric or use a patch from a repair kit. Apply a layer of adhesive to the patch and the area around the hole, then place the patch over the hole and press firmly. Allow the adhesive to dry completely before inflating the mattress again.
8. Step-by-Step Guide to Fixing a Leaking Air Mattress
If you prefer a step-by-step guide, here's a simple process for fixing a leaking air mattress:
Step 1: Locate the leak by inflating the mattress and feeling for escaping air or listening for a hissing sound.
Step 2: Clean and dry the area around the leak.
Step 3: Use duct tape, a patch, or a repair kit to fix the leak.
Step 4: Properly store and maintain your air mattress to prevent future leaks.
9. Troubleshooting Air Mattress Leaks: What to Do When Your Mattress Won't Stay Inflated
If you're having trouble keeping your air mattress inflated, it could be due to a leak. However, there are a few other common issues that could be causing the problem. Make sure the air valve is fully closed and there are no holes or tears in the mattress. If everything seems to be in order, try inflating the mattress to a higher pressure to see if that helps.
10. How to Find and Repair Leaks in Your Air Mattress
In conclusion, finding and repairing a leak in your air mattress is a simple process that can save you from having to constantly replace your sleeping pad. By following these tips, you can easily fix a leak and prevent future ones, ensuring a comfortable and uninterrupted night's sleep. So don't give up on your air mattress just yet – with a little bit of effort, you can have it back in top shape in no time.
How to Repair a Leaking Air Mattress: A Step-by-Step Guide
Introduction
 There's nothing quite as frustrating as waking up in the middle of the night to find that your air mattress has deflated. Whether you're using it for camping, guests, or as a temporary bed, a leaking air mattress can quickly become a headache. But fear not, with the right tools and techniques, you can easily repair your air mattress and get back to a good night's sleep. In this article, we'll guide you through the process of
leaking air mattress repair
step-by-step.
Step 1: Locate the Leak
 The first step in repairing a leaking air mattress is to find the source of the leak. This can be done by
inflating the mattress and listening for any hissing sounds
. If the hole is large enough, you may also be able to feel the air escaping. Another method is to
apply soapy water to the mattress and look for bubbles
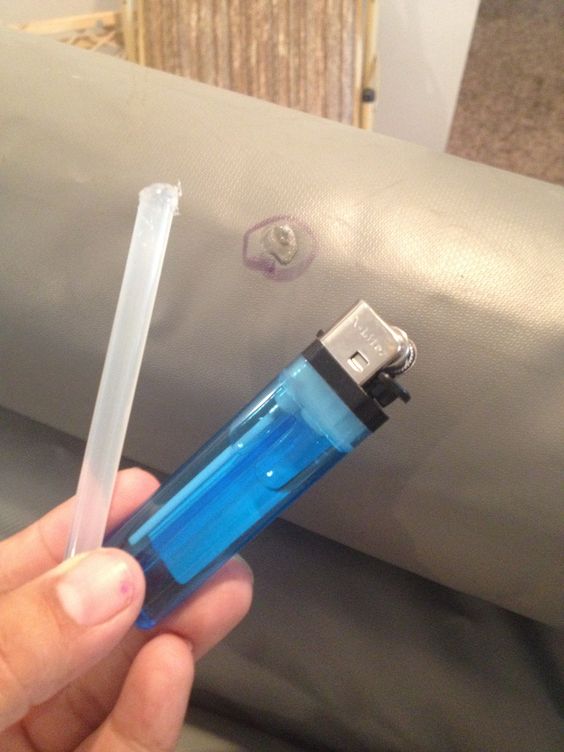
where the leak is located. Once you have located the leak, mark it with a piece of tape or a marker.
Step 2: Prepare the Area
 Before beginning the repair, it's important to
clean and dry the area around the leak
. This will ensure that the patch sticks properly and creates a strong seal. Use a mild soap and water to clean the area, and then dry it thoroughly with a towel.
Step 3: Patch the Leak
 There are a few different methods for patching a leak in an air mattress, but one of the most effective is using a
vinyl patch kit
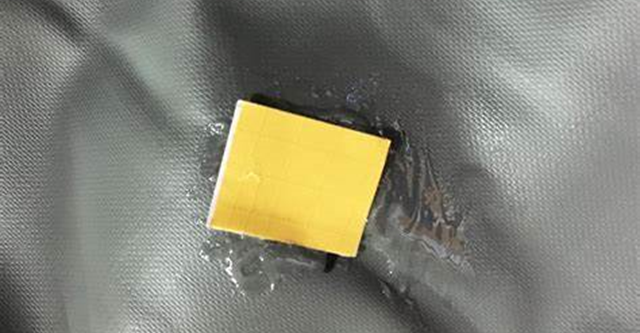
. These kits can be found at most hardware or camping stores and come with everything you need to repair your air mattress. Simply follow the instructions on the kit to cut and apply the patch over the marked area.
Step 4: Use a Repair Sealant
 Another option for repairing a leaking air mattress is to use a
repair sealant
. This method is best for smaller holes or tears and is a quick and easy solution. The sealant is applied directly to the leak and forms a strong bond, creating an airtight seal.
Step 5: Let it Dry
 Once you have patched the leak, it's important to give it time to dry completely. This can take anywhere from 2-24 hours depending on the type of repair method used. It's best to leave the mattress inflated during this time to ensure the patch adheres properly.
Step 6: Test the Repair
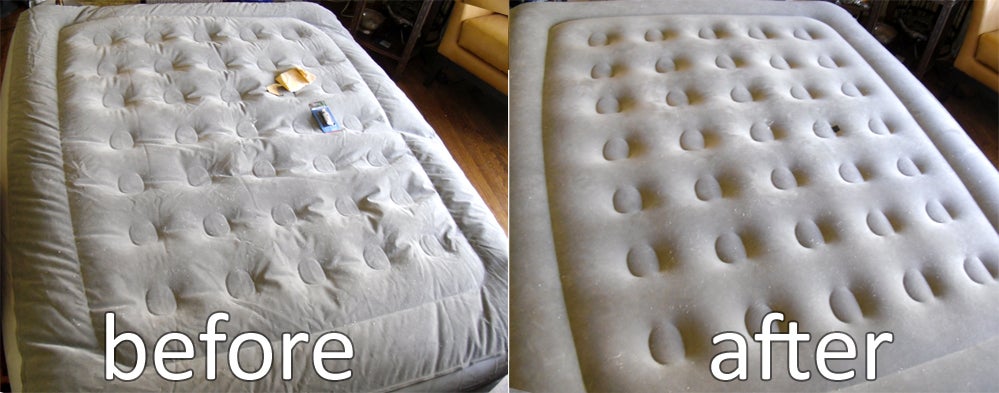 After the patch has dried, it's time to test it out.
Re-inflate the mattress and listen for any hissing sounds
or feel for any air escaping. If the patch is holding up, then congratulations, you have successfully repaired your leaking air mattress!
Conclusion
 A leaking air mattress doesn't have to be a cause for frustration. With these simple steps, you can easily repair your mattress and get back to a comfortable night's sleep. Remember to always
clean and dry the area before patching
and
test the repair before using the mattress again
. With proper maintenance and care, your air mattress can last for many more peaceful nights.














:max_bytes(150000):strip_icc()/aerobed-opti-comfort-queen-air-mattress-with-headboard-93c9f99d65ee4cce88edf90b9411b1cd.jpg)

