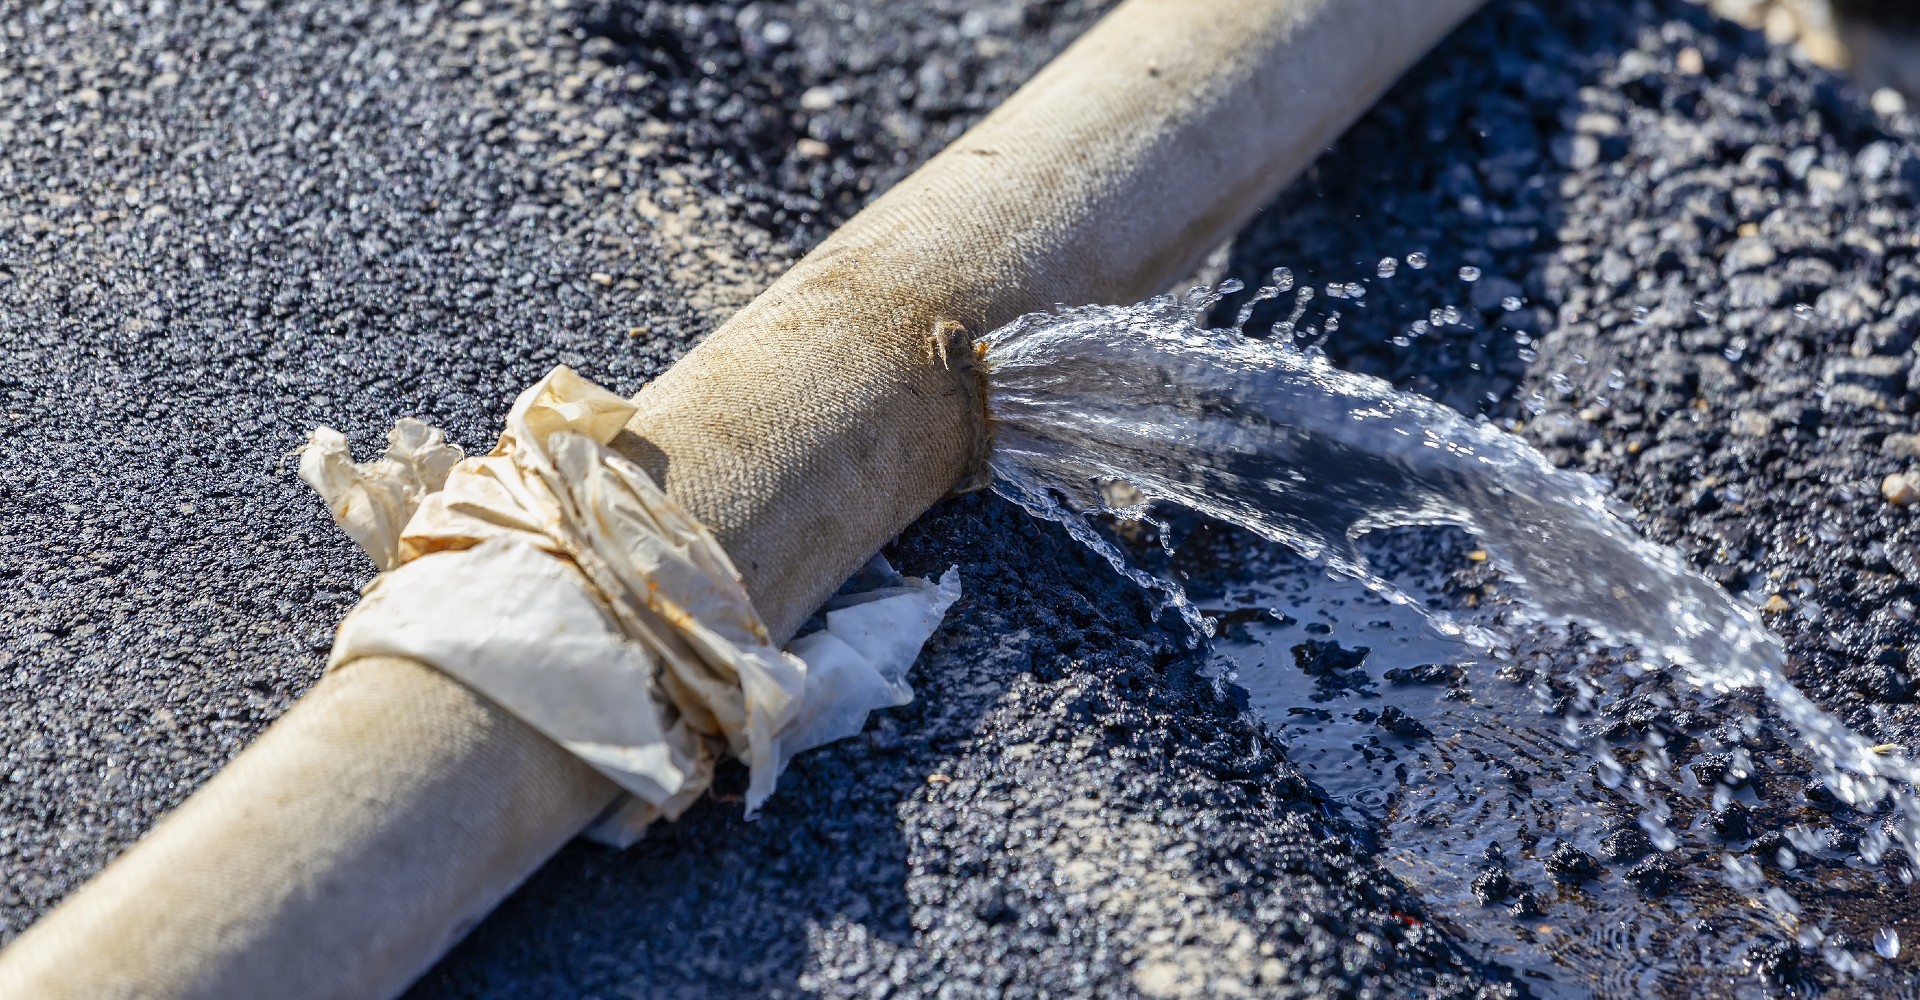
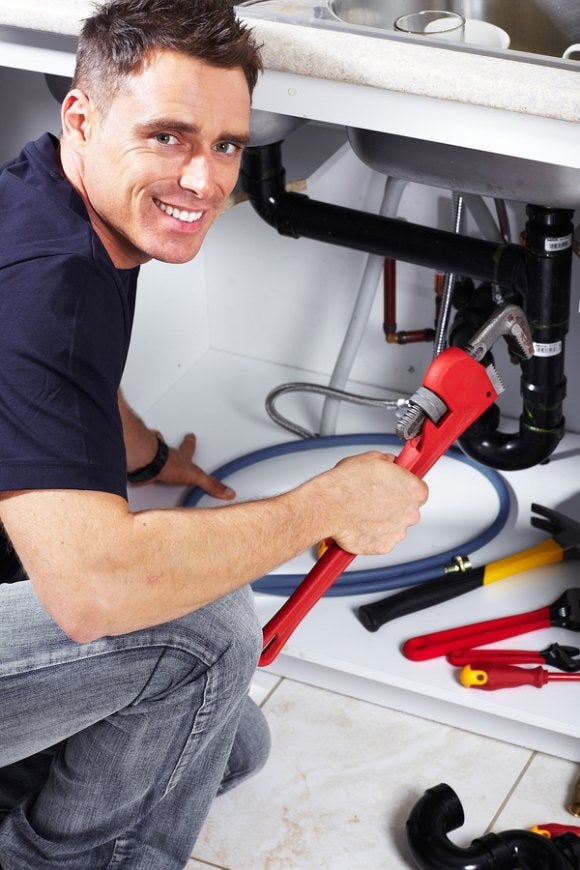
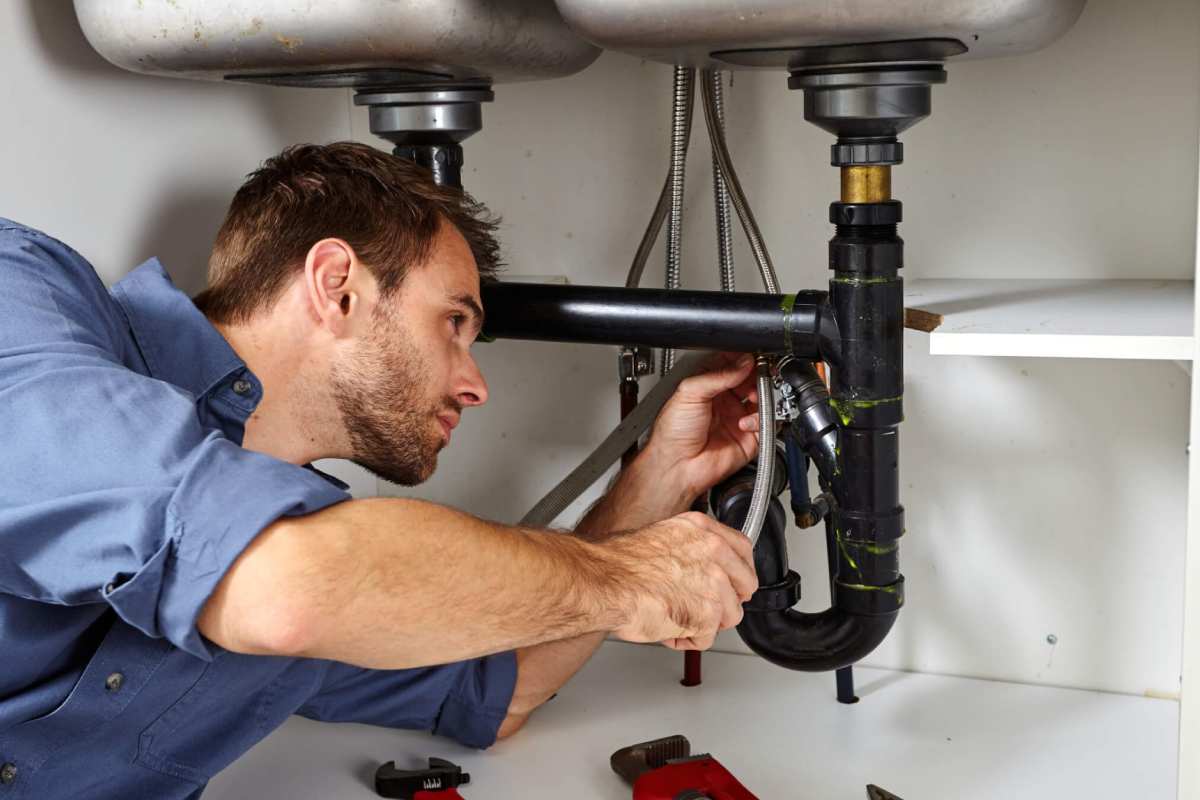
One of the most common household plumbing issues is a leaky bathroom sink drain. This is not only a nuisance but can also lead to water damage and increased water bills. If you have noticed a constant dripping noise or a wet floor around your bathroom sink, chances are you have a leak. The culprit of this leak is often the jamb nut, a small but important piece of hardware that secures the drain in place.1. Identifying the Problem: The Dripping Bathroom Sink Leak


leak
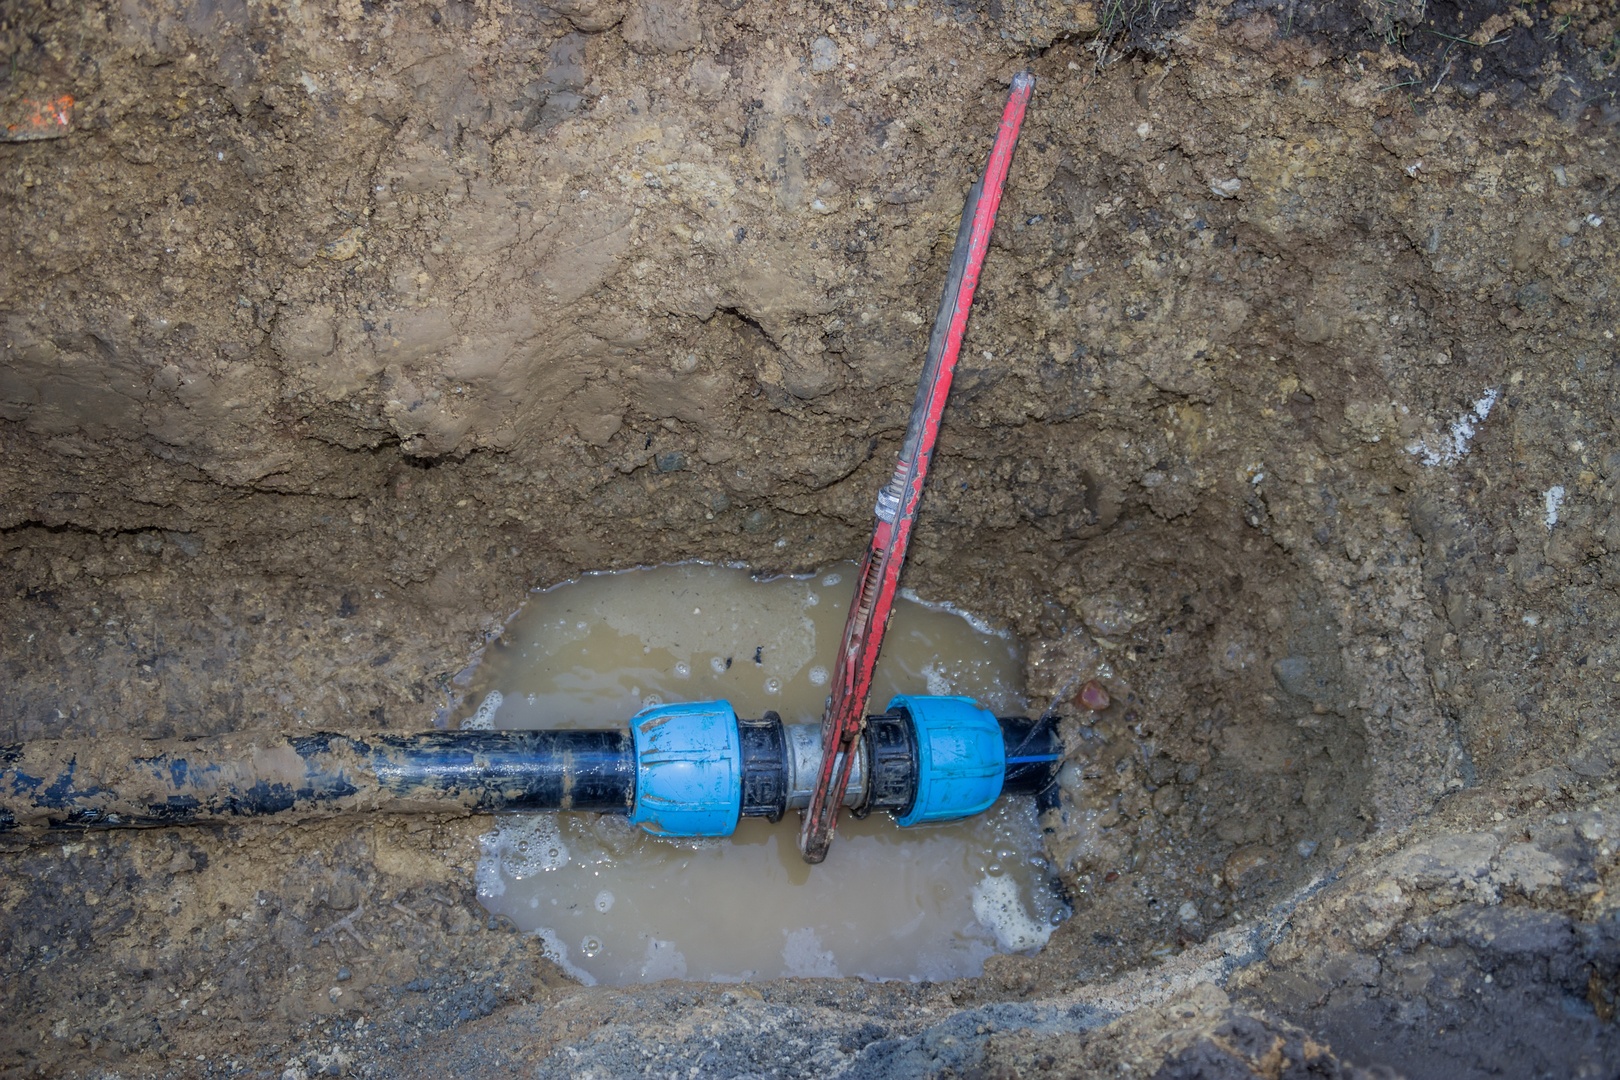
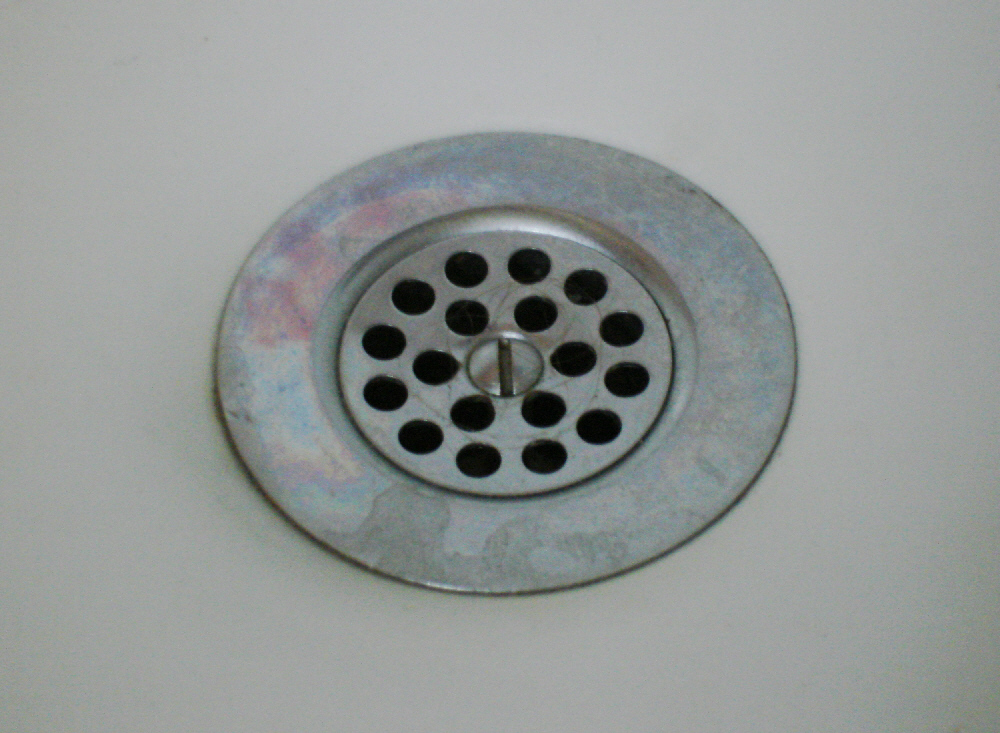
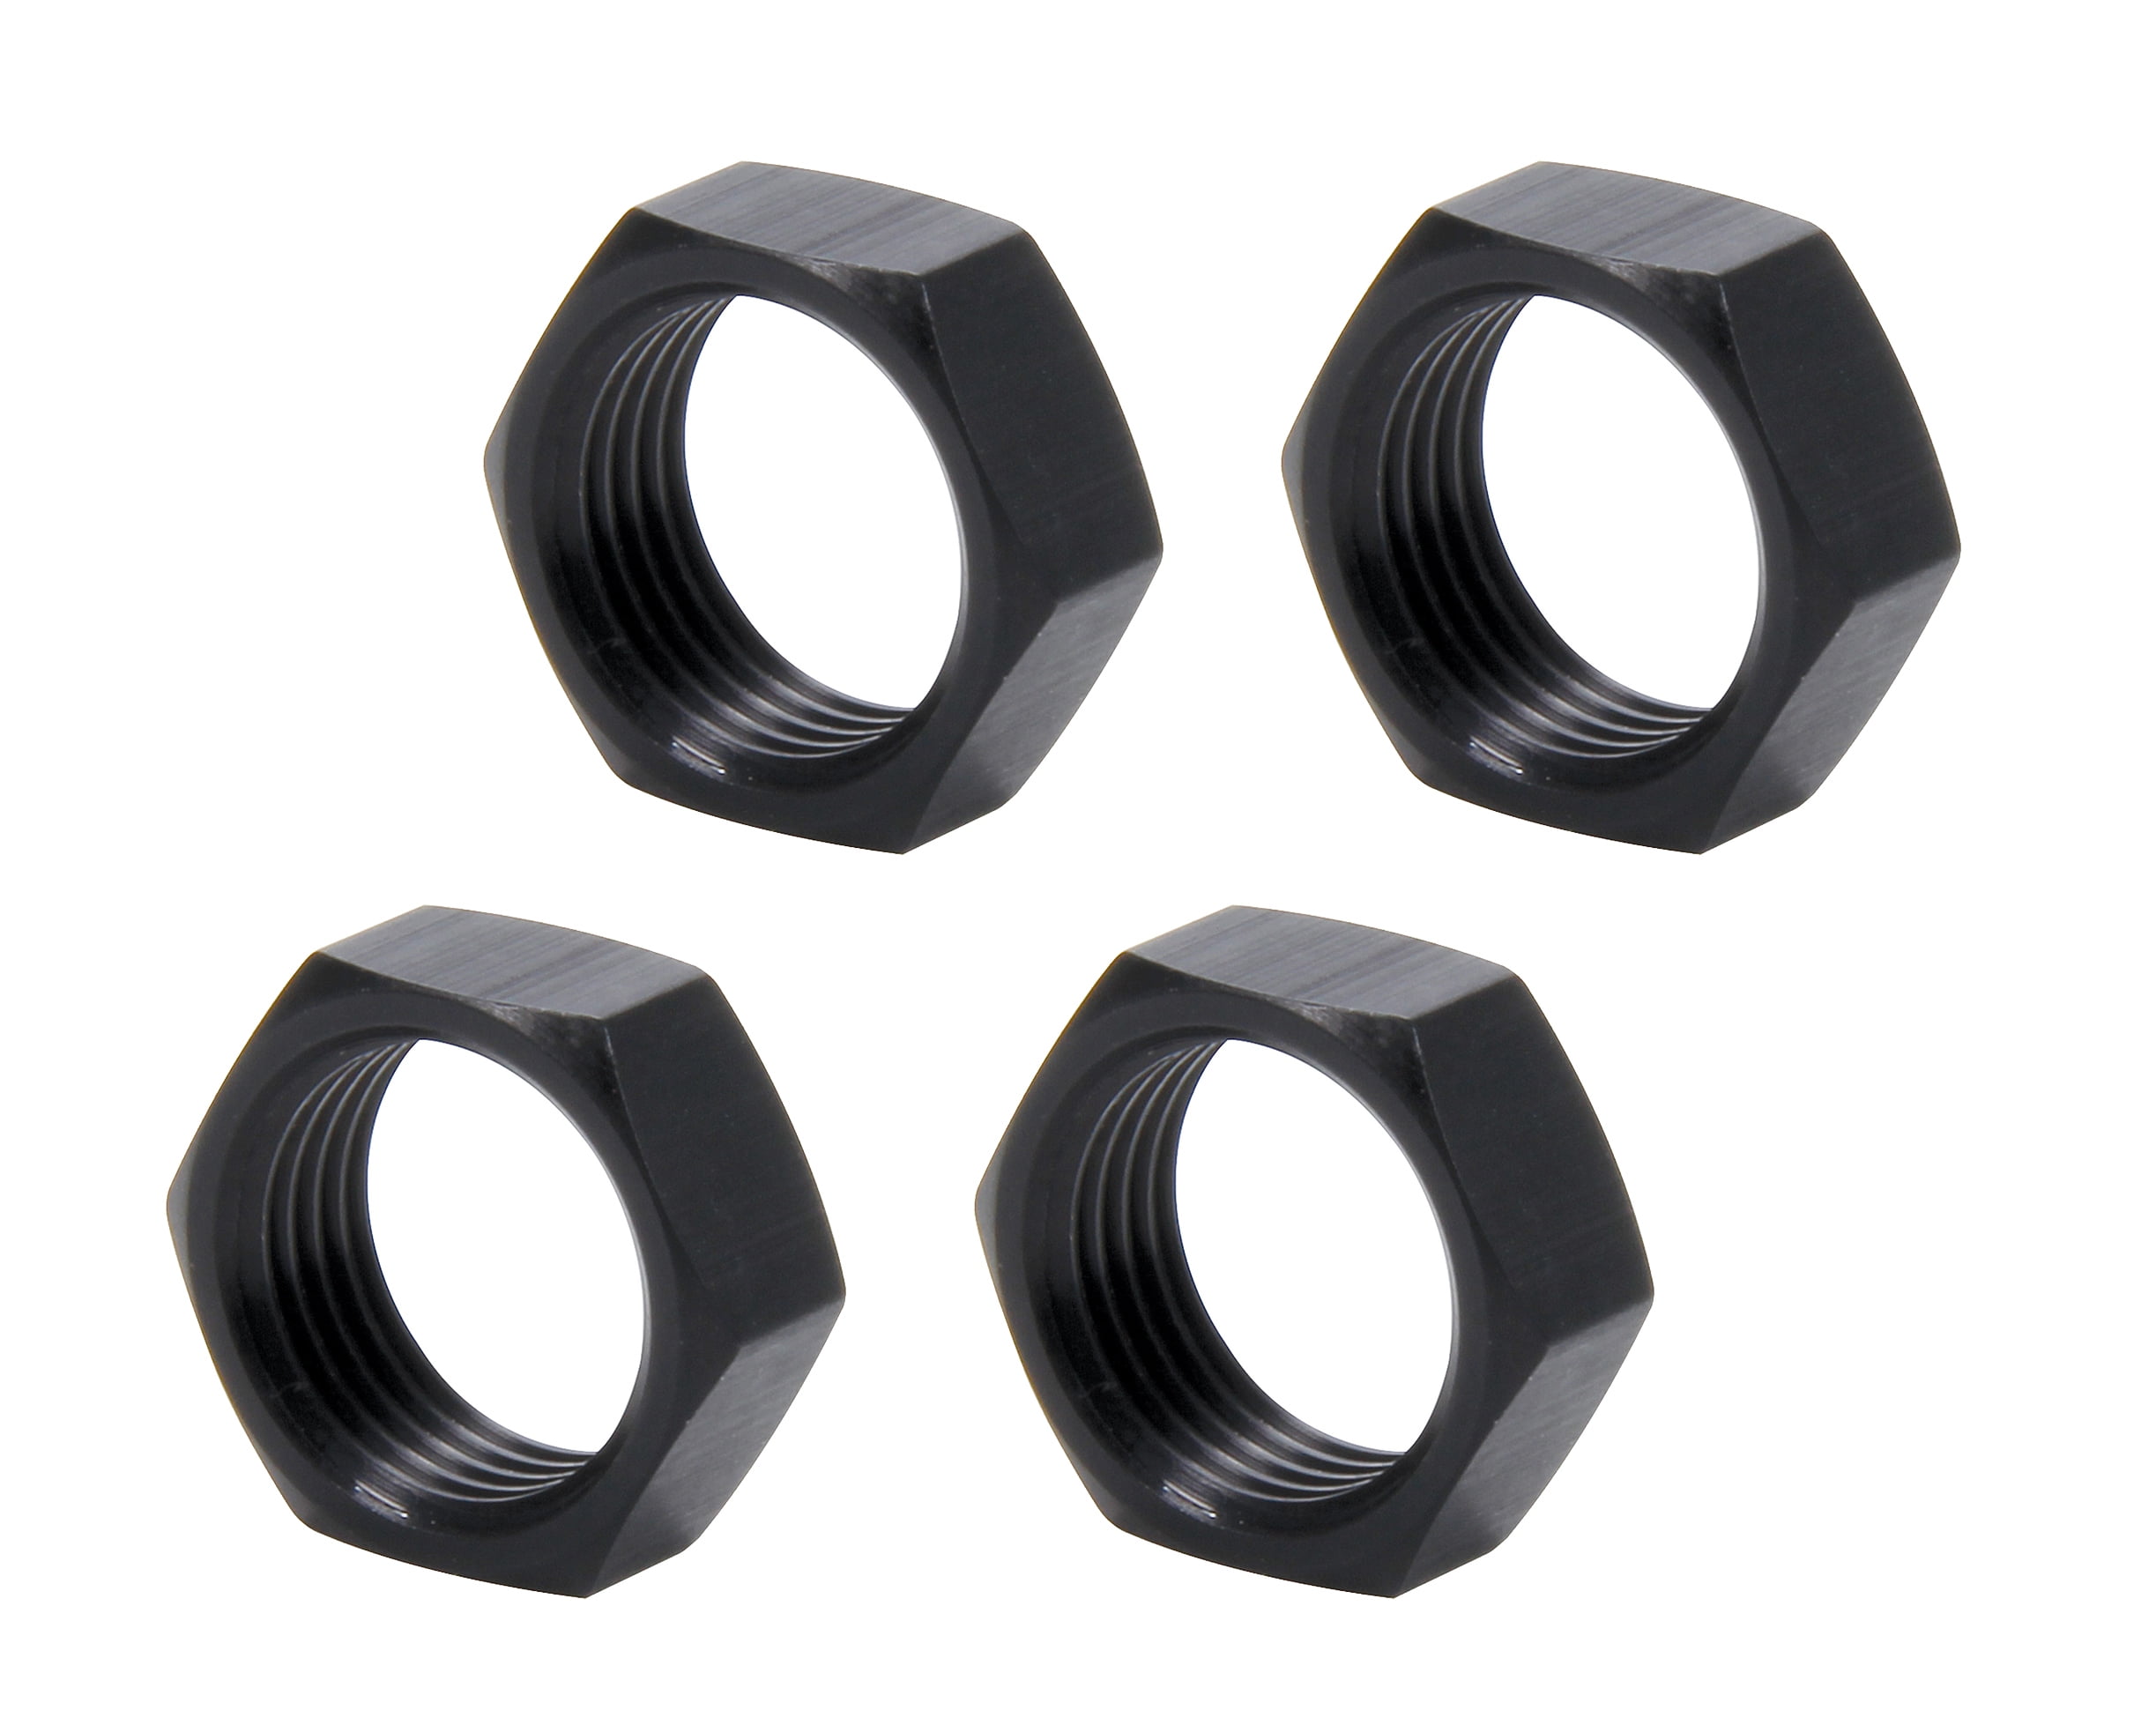
The jamb nut is a small, round nut that is typically made of plastic or metal. It is located at the bottom of the bathroom sink drain, just above the P-trap. The main function of the jamb nut is to secure the drain in place and prevent any water from leaking out. It is an essential component of the drain system and plays a crucial role in keeping the sink functioning properly.2. Understanding the Jamb Nut and Its Function


bathroom sink


There are several reasons why the jamb nut may start leaking. One of the most common causes is wear and tear. Over time, the constant flow of water and exposure to harsh chemicals can cause the nut to become loose or damaged. Another reason may be improper installation, where the nut was not tightened enough or was not aligned correctly. In some cases, the jamb nut may also crack or break due to excessive force or corrosion.3. Reasons for Jamb Nut Leaks


drain

If you have identified the jamb nut as the source of the leak, the good news is that it can be easily fixed. The first step is to turn off the water supply to the sink. Then, using a wrench or pliers, unscrew the jamb nut and remove it from the drain. Check for any cracks, damage, or buildup and clean the nut and the drain thoroughly. If the nut is damaged, you will need to replace it with a new one. If not, you can simply reattach and tighten the nut.4. Steps to Fix a Jamb Nut Leak

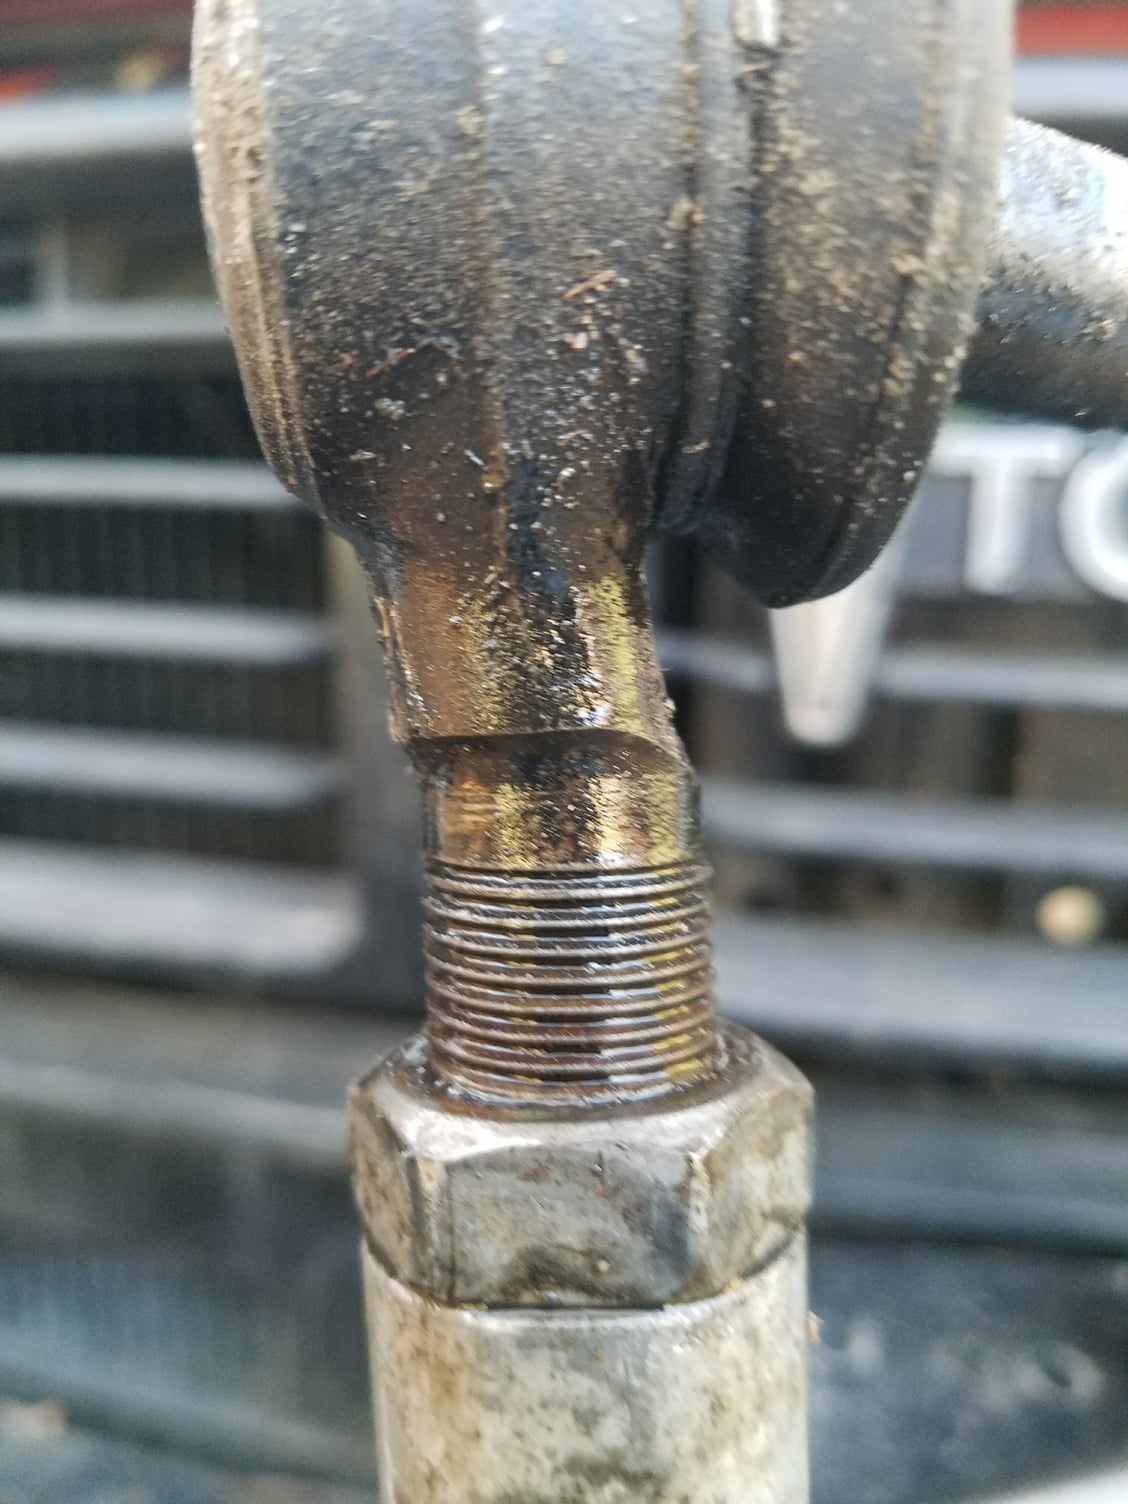

jamb nut


If you are not confident in your plumbing skills or if the jamb nut is severely damaged, it is best to call a professional plumber. They will have the necessary tools and expertise to fix the leak and prevent any further damage. Additionally, if you have tried fixing the nut and the leak persists, it may be a sign of a bigger issue with the drain system that requires professional attention.5. When to Call a Plumber


past
/Getty_future_in_the_past-168619593-56af9fbb5f9b58b7d01b2f58.jpg)


As the saying goes, prevention is better than cure. To avoid dealing with a leaky jamb nut, there are a few preventative measures you can take. Regularly check the nut for any signs of wear and tear and tighten it if necessary. Avoid using harsh chemicals or excessive force when cleaning the sink. Additionally, consider investing in a hair catcher to prevent any clogs and buildup that may cause pressure on the jamb nut.6. Preventing Jamb Nut Leaks


fix


The jamb nut is not the only component of the bathroom sink drain system that can cause leaks. Other common causes include a faulty seal, a cracked drain pipe, or a loose faucet. It is essential to identify the source of the leak accurately to fix it effectively. If you are unsure, it is best to consult a plumber.7. Other Common Causes of Bathroom Sink Leaks


repair


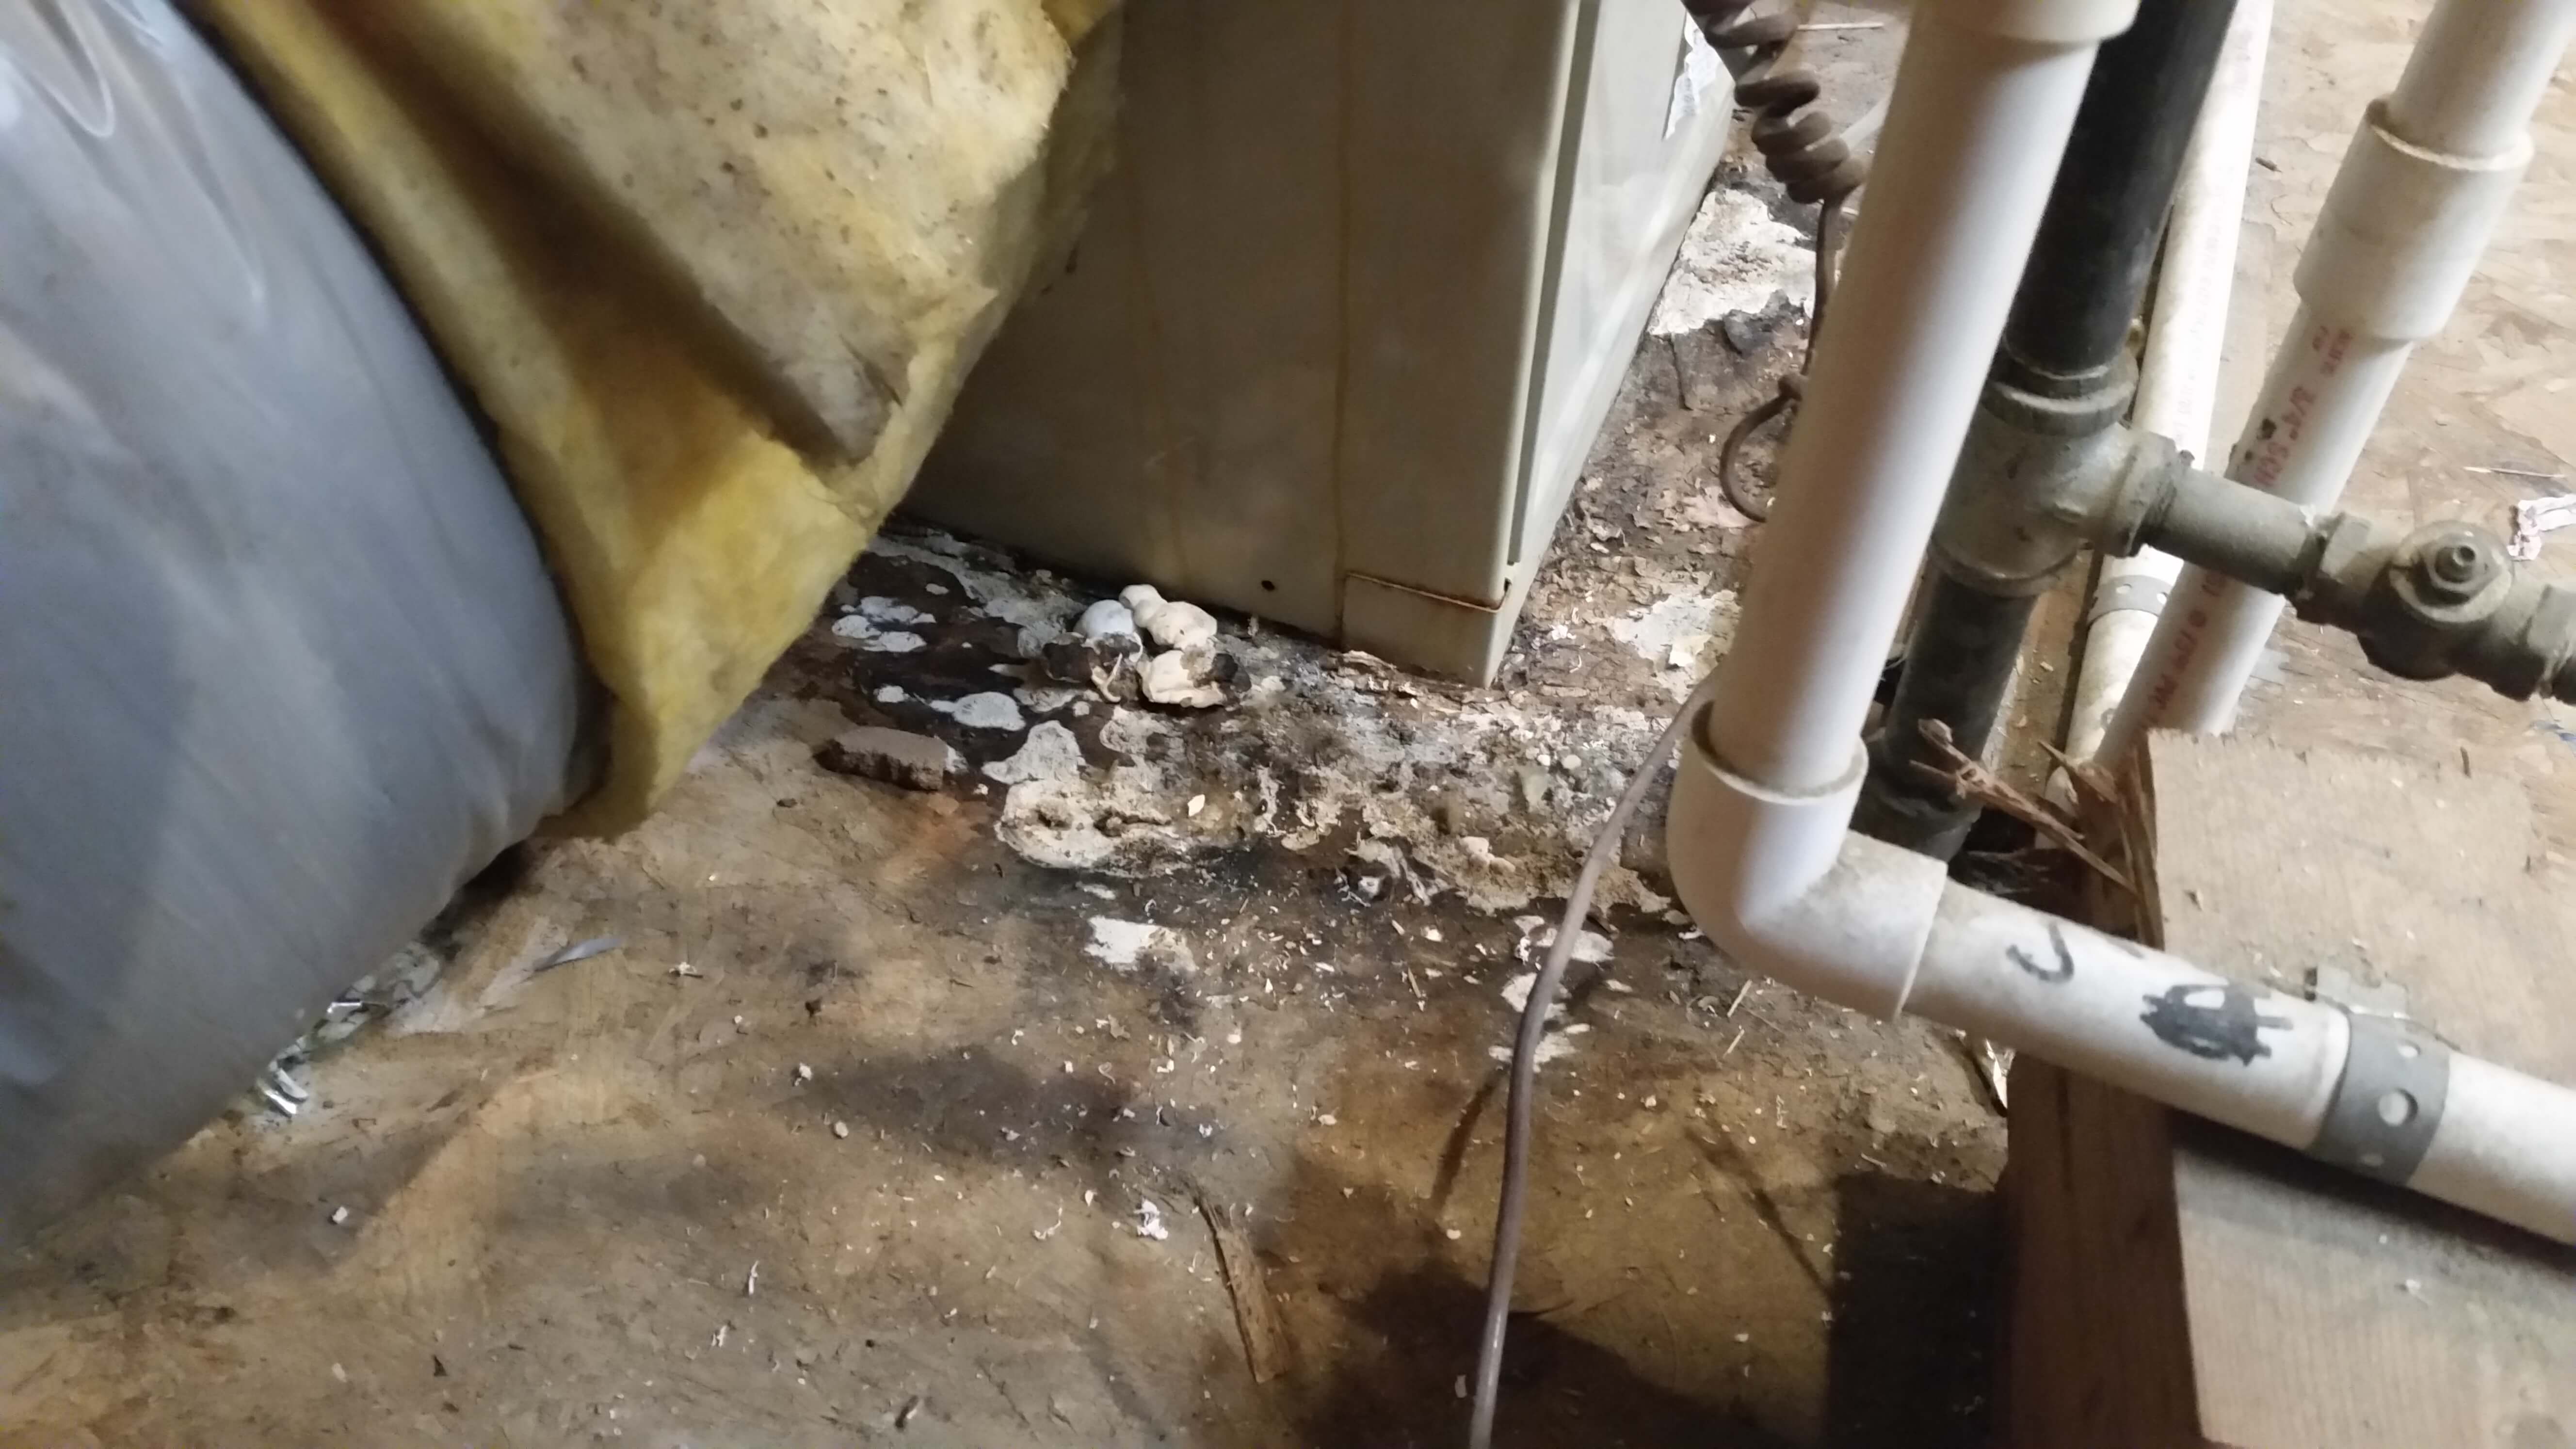
While a leaky jamb nut may seem like a minor issue, it can lead to more significant problems if left unattended. Besides wasting water and increasing your utility bills, it can also cause mold and mildew growth, which can be harmful to your health. It can also lead to structural damage to your bathroom, resulting in costly repairs. Therefore, it is crucial to fix leaks as soon as they are identified.8. Importance of Fixing Leaks


plumber


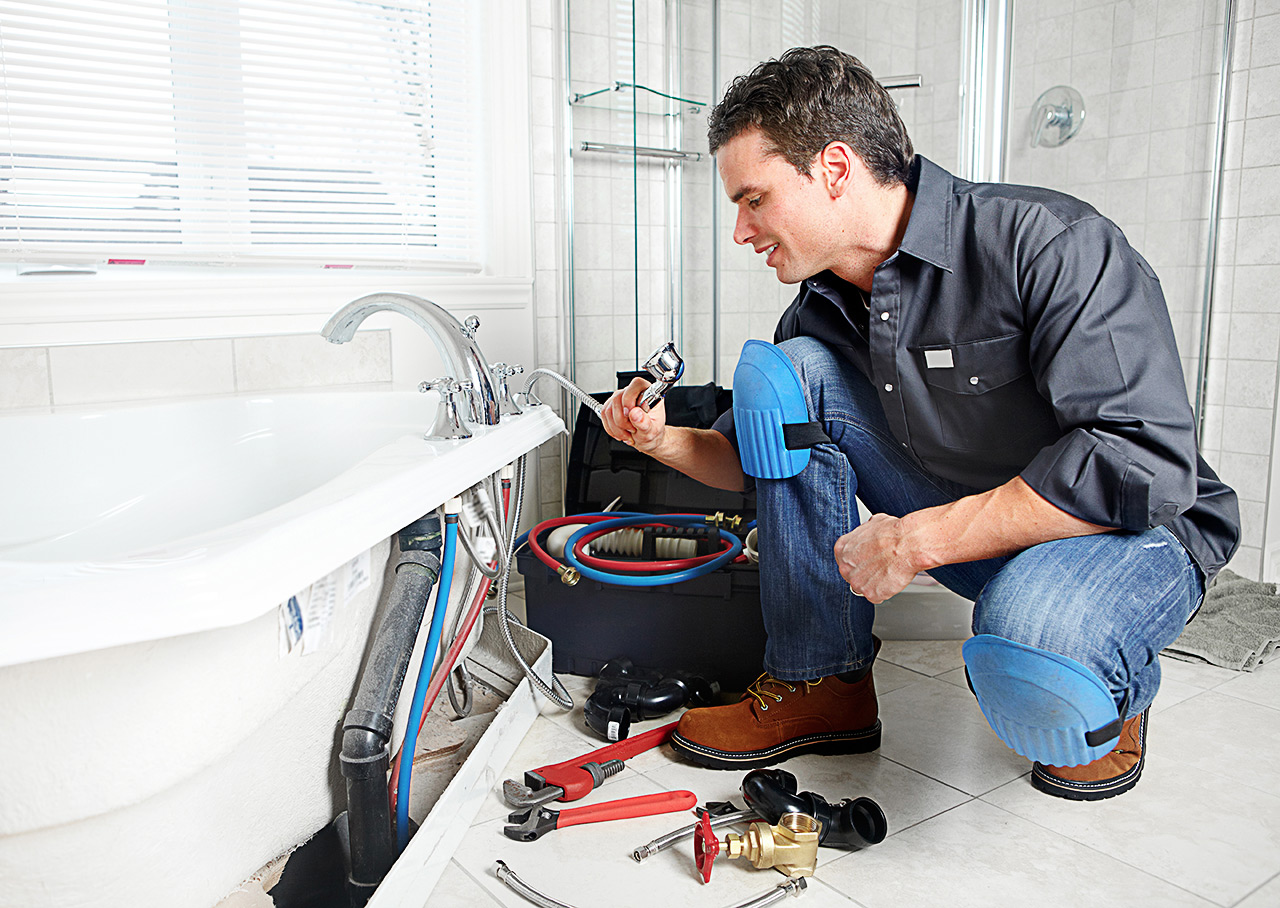

While some leaks, such as a loose jamb nut, can be fixed easily with basic plumbing knowledge, others may require professional services. If you are not experienced in plumbing, it is best to leave the job to a professional to avoid causing more damage. Additionally, a plumber can also provide a thorough inspection of the drain system and identify any other potential issues.9. DIY vs. Professional Plumbing Services


water


A leaky jamb nut may seem like a minor inconvenience, but it can quickly escalate into a bigger problem. By understanding the function of the jamb nut and knowing how to fix and prevent leaks, you can ensure a functional and leak-free bathroom sink. Remember, if you are unsure or unable to fix the leak, do not hesitate to call a professional for assistance.10. Conclusion: A Leak-Free Bathroom Sink


dripping


How to Fix a Leak from a Bathroom Sink Drain Past the Jamb Nut

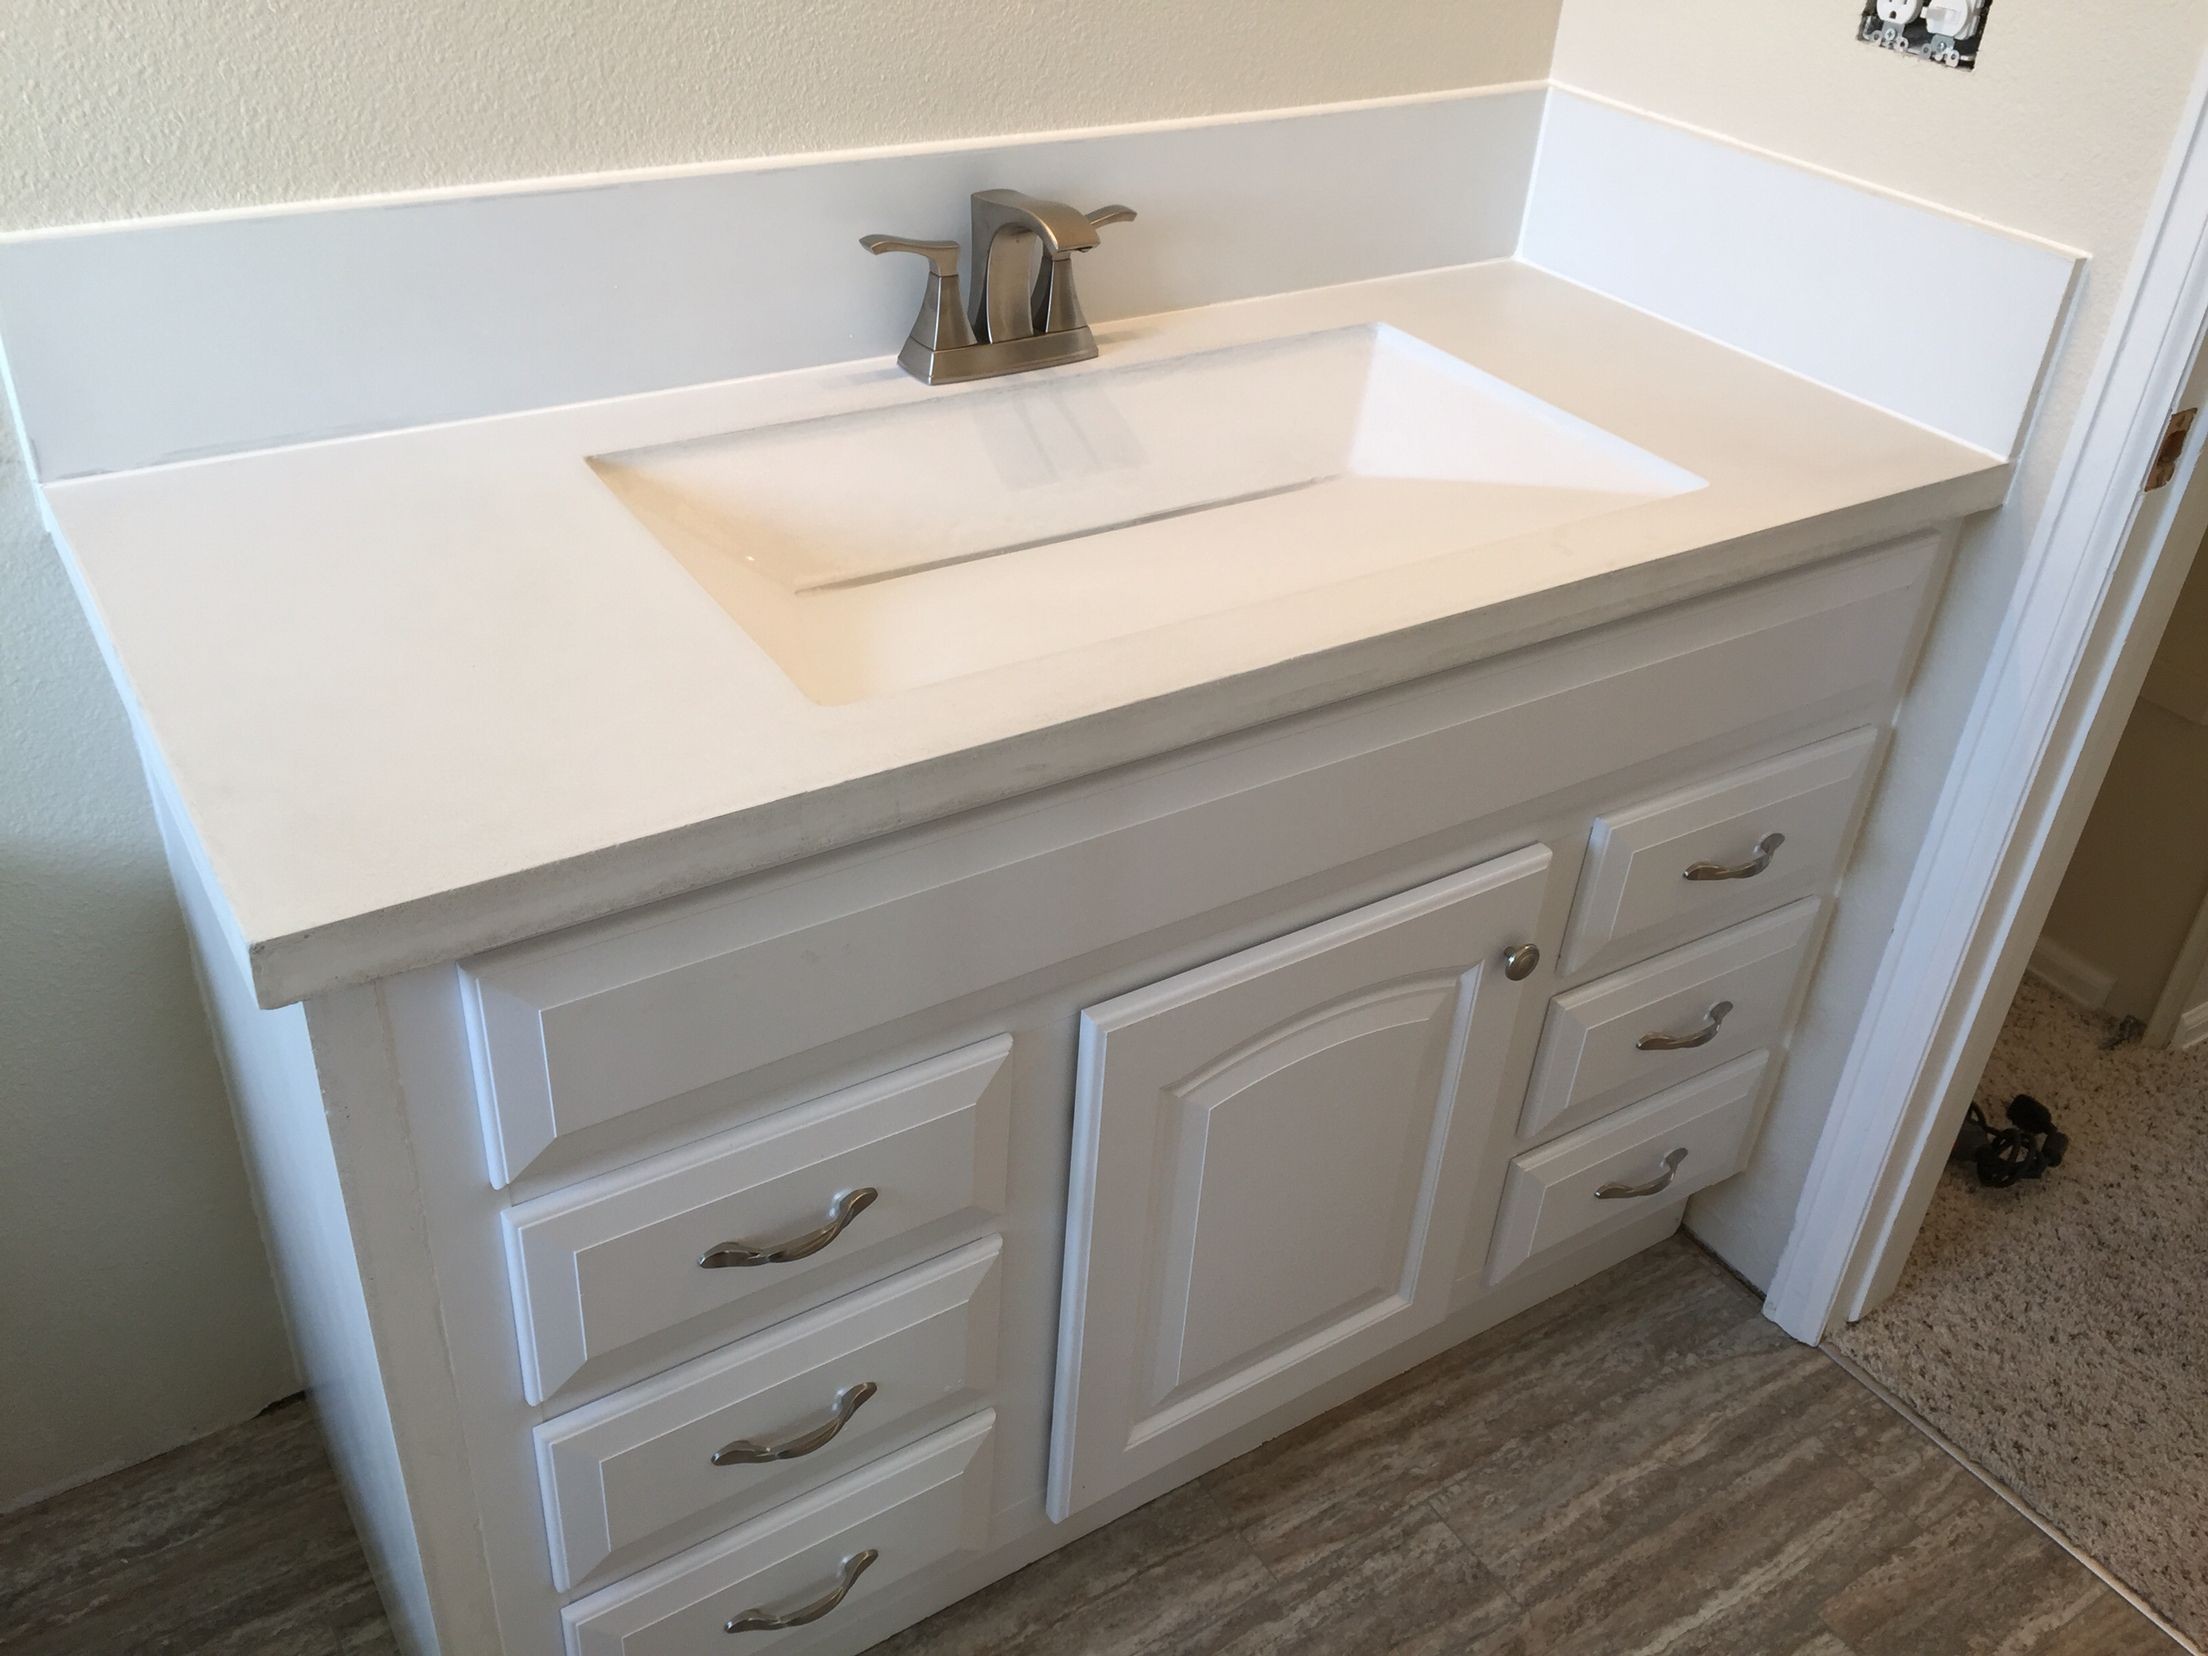
A leak from a bathroom sink drain can not only be annoying, but it can also lead to potential water damage and costly repairs. One common cause of a bathroom sink drain leak is when the water is leaking past the jamb nut. The jamb nut is the large, hexagonal-shaped nut that connects the drain to the bottom of the sink. If you notice water leaking from the jamb nut, don't panic. In this article, we'll guide you through the steps on how to fix a leak from a bathroom sink drain past the jamb nut.
Step 1: Gather Your Tools

Before you begin fixing the leak, make sure you have all the necessary tools. These include:
- Adjustable wrench - to loosen and tighten the jamb nut
- Bucket - to catch any water that may spill out
- Screwdriver - to remove any screws holding the drain in place
- Plumber's putty - to create a watertight seal
- Replacement jamb nut and washers - in case the old ones are damaged
Step 2: Turn Off the Water Supply

Before you start working on the sink, make sure to turn off the water supply. Look for the shut-off valves under the sink and turn them clockwise to shut off the water. If you can't find the shut-off valves, you can turn off the main water supply to your house.
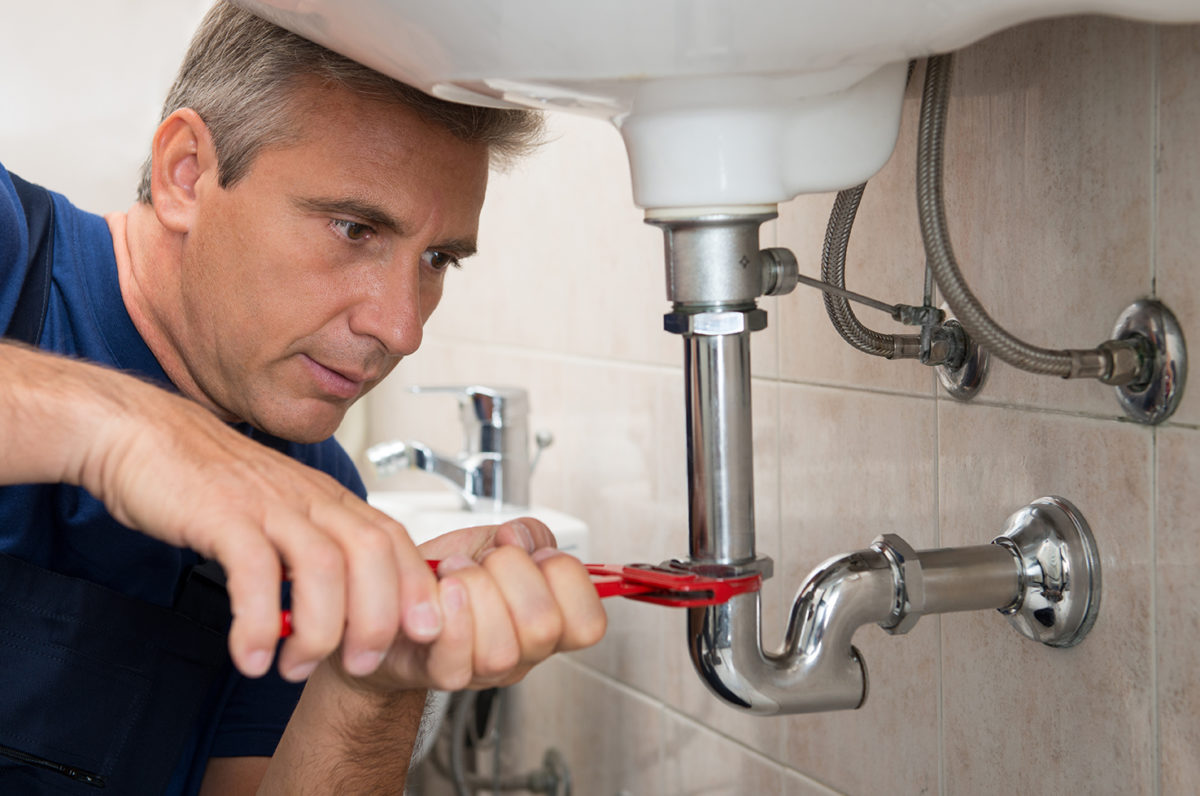
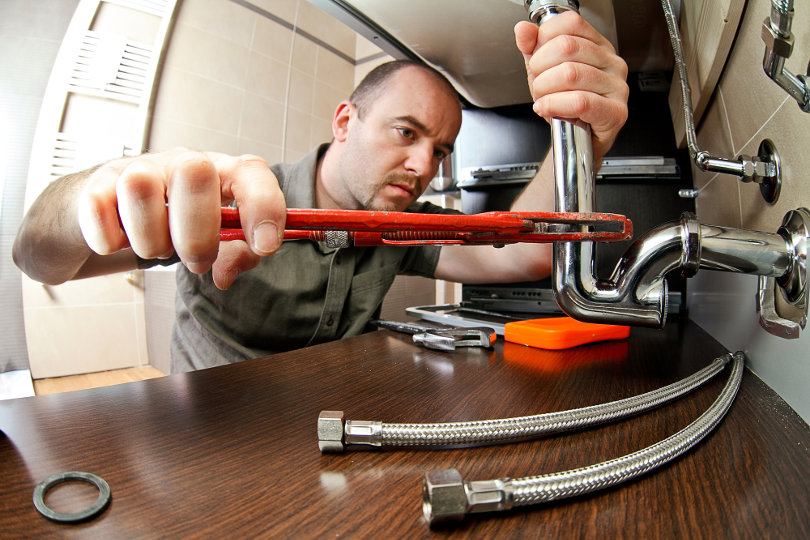
Step 3: Remove the Drain

Using a screwdriver, remove any screws holding the drain in place. Then, use the adjustable wrench to loosen and remove the jamb nut. Be careful not to damage the pipes while doing this.
Step 4: Inspect the Jamb Nut and Washers

Once the jamb nut is removed, inspect it for any cracks or damage. If it's damaged, replace it with a new one. Also, check the rubber washers on either side of the jamb nut. If they are worn out or damaged, replace them as well.
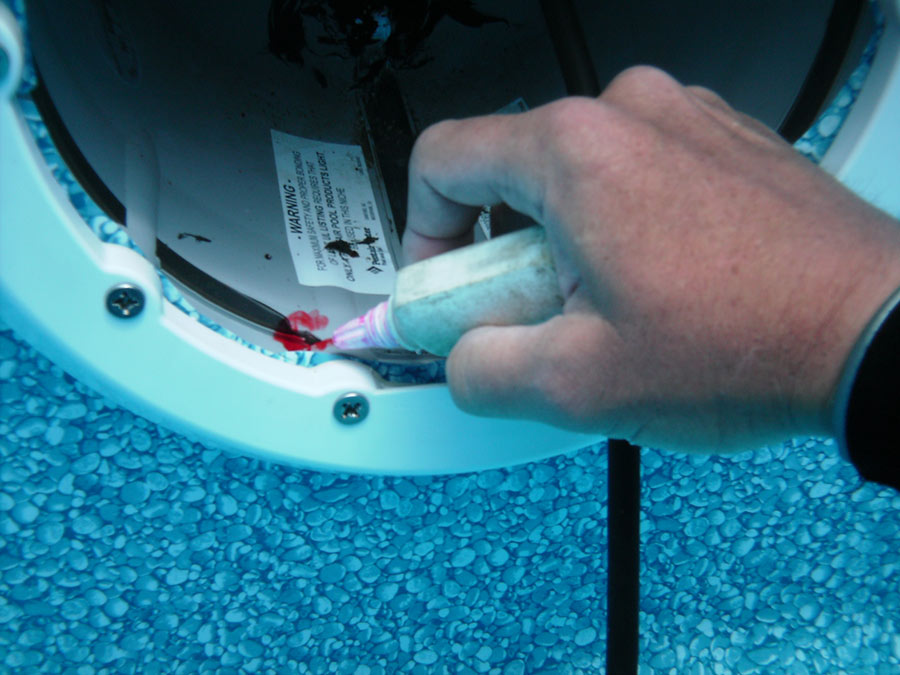
Step 5: Apply Plumber's Putty

Using your hands, roll a small amount of plumber's putty into a long, thin strip. Then, wrap the putty around the drain opening on the bottom of the sink. This will create a watertight seal between the sink and the drain.
Step 6: Reinstall the Jamb Nut

Place the jamb nut back onto the drain and tighten it using the adjustable wrench. Make sure it's tight enough to create a seal, but not so tight that it damages the pipes.
Step 7: Check for Leaks

After everything is back in place, turn the water supply back on and check for any leaks. If there are still leaks, try tightening the jamb nut a little more. If the leak persists, it may be a sign of a larger issue and it's best to call a professional plumber.
By following these steps, you should be able to fix a leak from a bathroom sink drain past the jamb nut. However, if you're not comfortable with DIY plumbing, it's always best to seek the help of a professional. Regularly checking for leaks and fixing them promptly can save you from future headaches and costly repairs. Happy fixing!