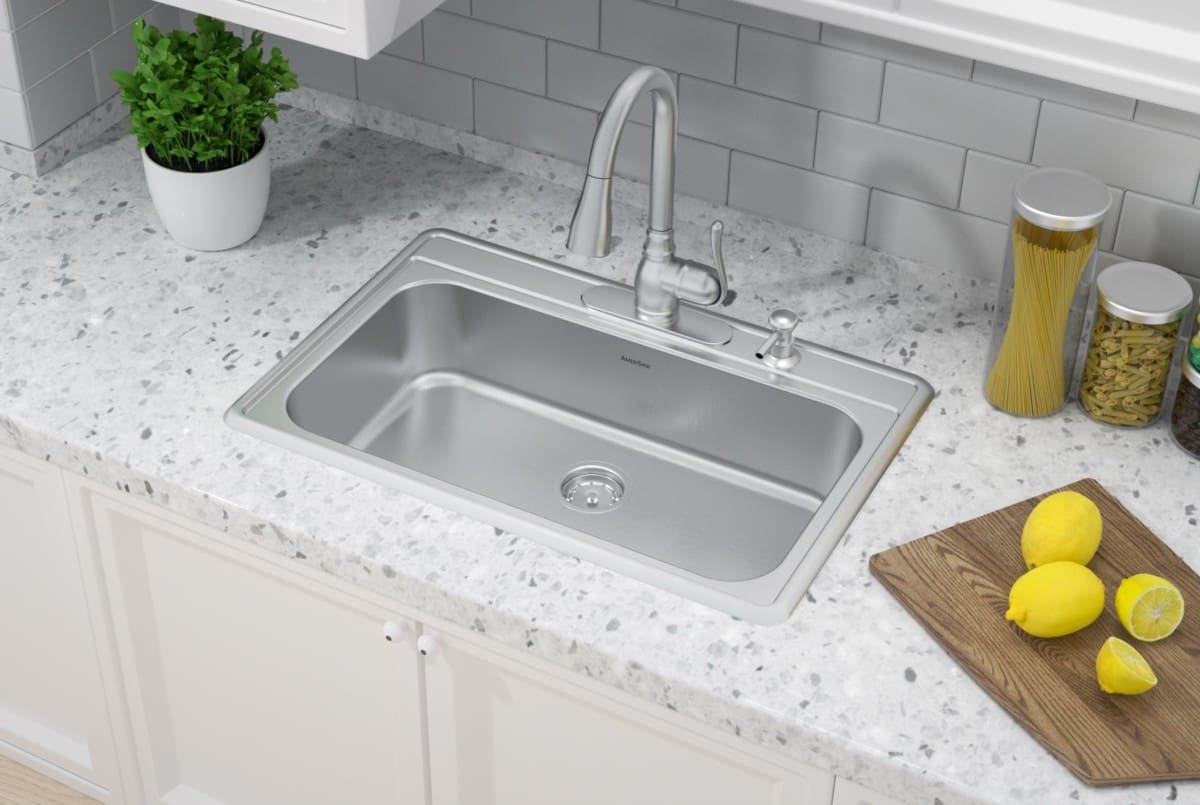
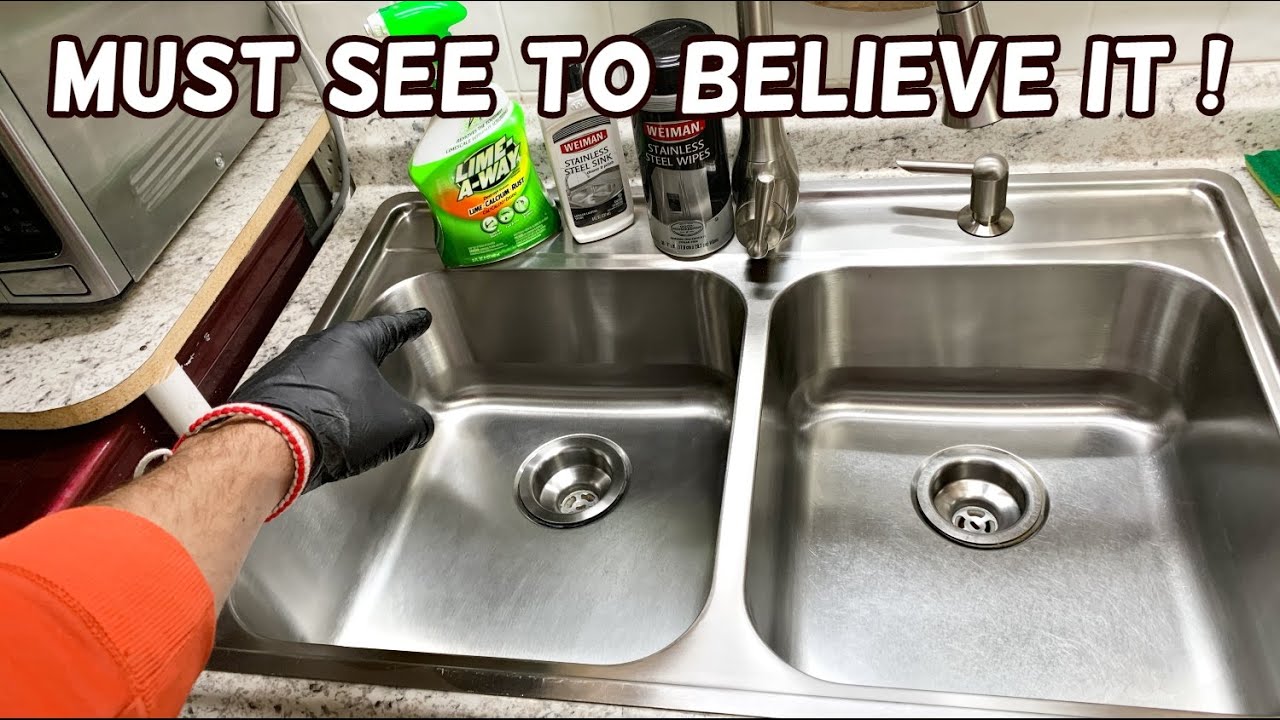
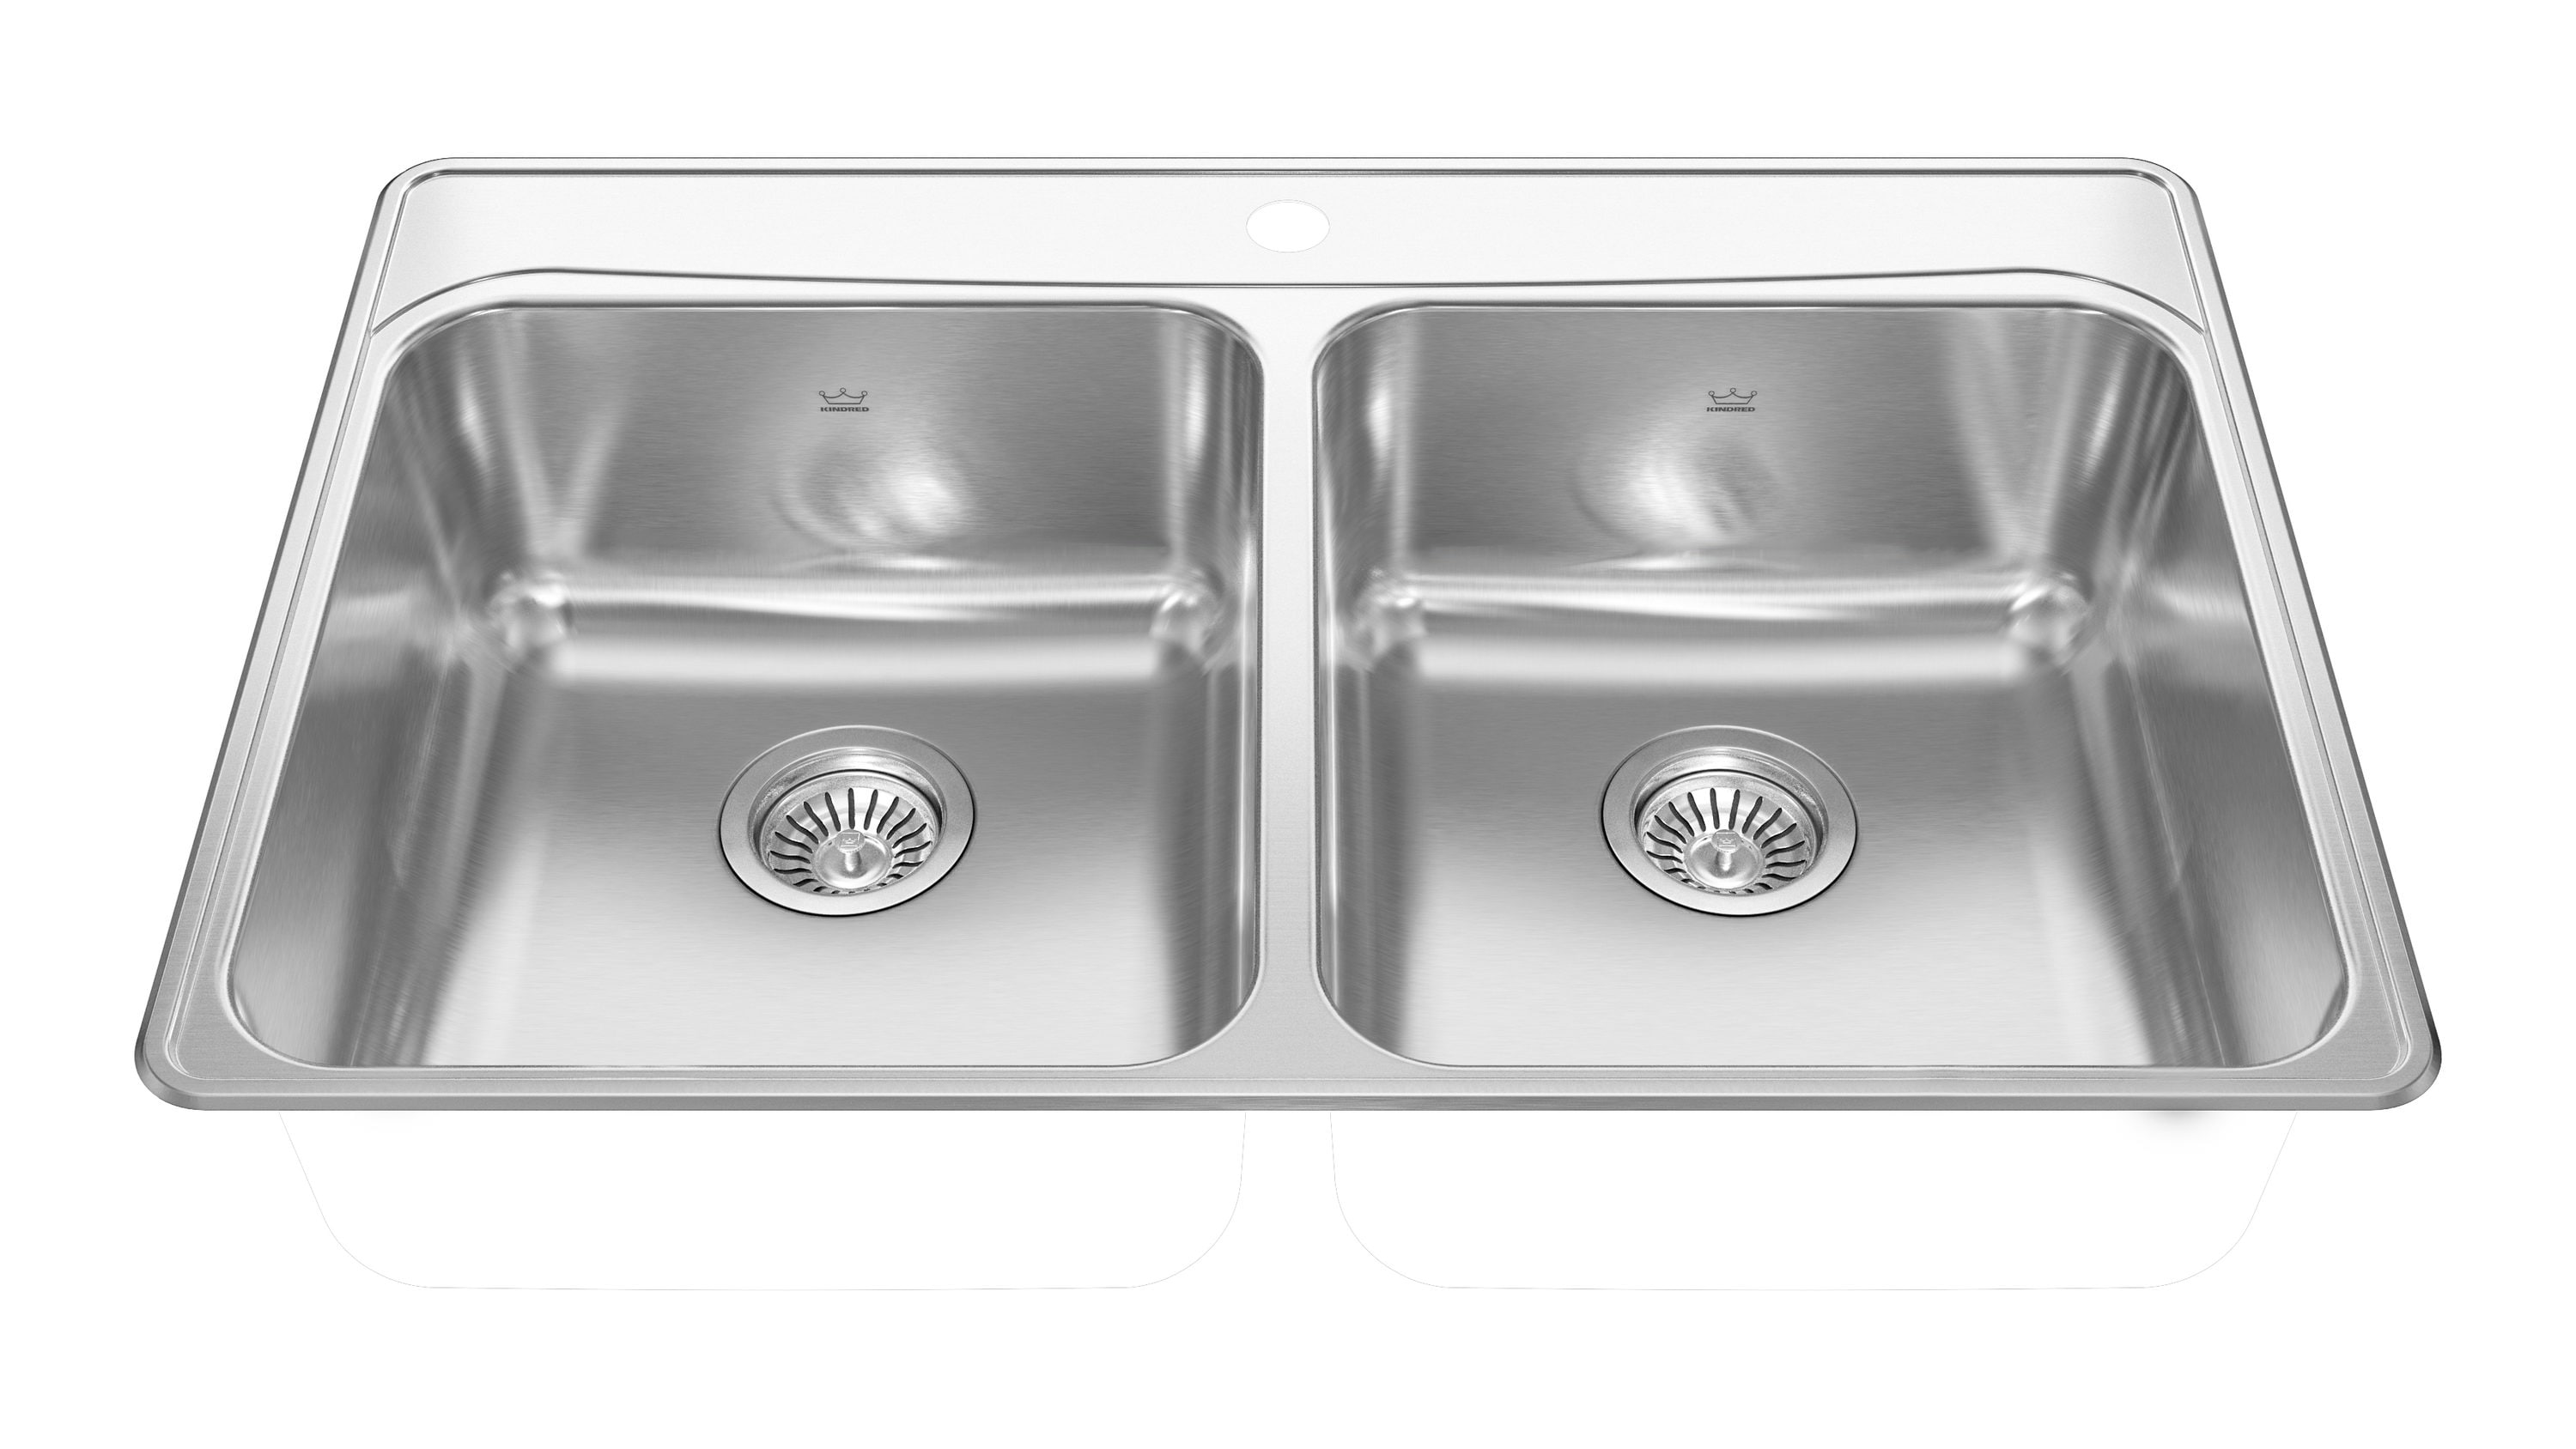
If you're in the market for a new kitchen sink, look no further than the Kraus top mount stainless steel kitchen sink. This sleek and functional sink is the perfect addition to any kitchen, and with the right tools and know-how, you can easily install it yourself. In this guide, we'll walk you through the step-by-step process of installing a Kraus top mount stainless steel kitchen sink, so you can have your new sink up and running in no time.How to Install a Kraus Top Mount Stainless Steel Kitchen Sink


How to Install a Kraus Top Mount Stainless Steel Kitchen Sink


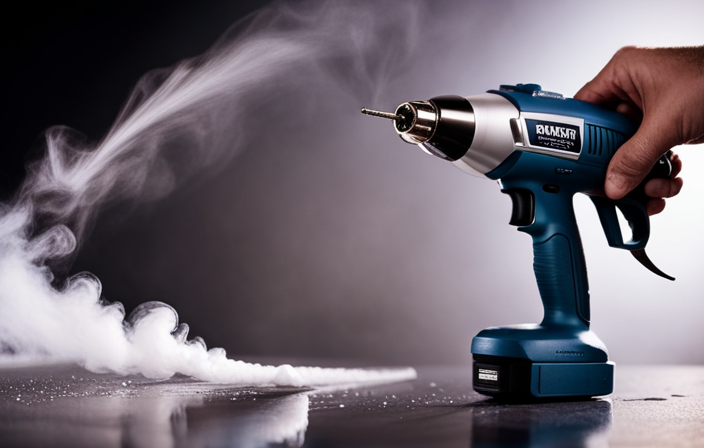
Before you begin the installation process, there are a few things you'll need to gather. These include a drill, a wrench, plumber's tape, silicone caulk, and a hacksaw. You'll also need the installation kit that comes with your Kraus top mount stainless steel kitchen sink. Once you have all of your tools and materials, you're ready to get started.Kraus Top Mount Stainless Steel Kitchen Sink Installation Guide


Kraus Top Mount Stainless Steel Kitchen Sink Installation Guide


Step 1: Prepare the Sink - Begin by placing the sink upside down on a flat surface and attaching the mounting brackets to the underside of the sink. These brackets will secure the sink to the countertop. Next, attach the faucet and drain assembly to the sink according to the manufacturer's instructions. Step 2: Measure and Mark - Once the sink is prepared, you'll need to measure and mark the placement of the sink on your countertop. Use a tape measure to ensure the sink is centered and evenly placed. Step 3: Cut the Countertop - Using a drill, create starter holes in the corners of the marked area. Then, use a hacksaw to cut along the marked lines, creating a hole for the sink to fit into. Step 4: Apply Plumber's Tape - Before placing the sink, wrap plumber's tape around the threaded portion of the drain assembly. This will create a watertight seal and prevent leaks. Step 5: Install the Sink - Carefully place the sink into the hole in the countertop, making sure it is centered and level. Apply a bead of silicone caulk around the edge of the sink to create a seal between the sink and the countertop. Step 6: Secure the Sink - Using a wrench, tighten the mounting brackets to secure the sink to the underside of the countertop. Make sure the sink is firmly in place and does not move or shift. Step 7: Connect Plumbing - Once the sink is secured, you can connect the plumbing. Use the manufacturer's instructions to properly attach the water supply lines and drain pipes. Step 8: Test for Leaks - Once everything is connected, turn on the water and check for any leaks. If you notice any, tighten connections or add more plumber's tape to create a tight seal. Step 9: Clean Up - Once you've confirmed there are no leaks, clean up any excess caulk or debris from the installation process. Step 10: Enjoy Your New Sink - With the installation complete, you can now enjoy your new Kraus top mount stainless steel kitchen sink. Make sure to follow the manufacturer's instructions for proper maintenance and care to keep your sink looking and functioning like new.Step-by-Step Instructions for Installing a Kraus Top Mount Stainless Steel Kitchen Sink


Step-by-Step Instructions for Installing a Kraus Top Mount Stainless Steel Kitchen Sink


Here are a few tips and tricks to keep in mind when installing your Kraus top mount stainless steel kitchen sink:Installing a Kraus Top Mount Stainless Steel Kitchen Sink: Tips and Tricks


Installing a Kraus Top Mount Stainless Steel Kitchen Sink: Tips and Tricks


Installing a Kraus top mount stainless steel kitchen sink can be a rewarding DIY project. With the right tools and instructions, you can save money and have the satisfaction of completing the installation yourself. Remember to take your time, follow the instructions carefully, and don't hesitate to seek professional help if needed.DIY Guide for Installing a Kraus Top Mount Stainless Steel Kitchen Sink


DIY Guide for Installing a Kraus Top Mount Stainless Steel Kitchen Sink


With its sleek design and durable construction, the Kraus top mount stainless steel kitchen sink is a popular choice for many homeowners. By following this installation guide, you can easily install this sink in your own kitchen and enjoy its many benefits for years to come. Don't be intimidated by the installation process – with a little patience and the right tools, you can have your new sink up and running in no time.Kraus Top Mount Stainless Steel Kitchen Sink: Installation Made Easy


Kraus Top Mount Stainless Steel Kitchen Sink: Installation Made Easy
Proper installation of your Kraus top mount stainless steel kitchen sink is crucial for its functionality and longevity. By following the steps in this guide and using quality tools and materials, you can ensure that your sink is installed correctly and will provide you with many years of use.How to Properly Install a Kraus Top Mount Stainless Steel Kitchen Sink

How to Properly Install a Kraus Top Mount Stainless Steel Kitchen Sink


This guide has provided you with a comprehensive step-by-step process for installing a Kraus top mount stainless steel kitchen sink. By following these instructions and tips, you can install your sink with confidence and enjoy its many benefits in your kitchen.Kraus Top Mount Stainless Steel Kitchen Sink Installation: A Comprehensive Guide


Kraus Top Mount Stainless Steel Kitchen Sink Installation: A Comprehensive Guide
To recap, here is a step-by-step guide for installing your Kraus top mount stainless steel kitchen sink:Step-by-Step Guide for Installing a Kraus Top Mount Stainless Steel Kitchen Sink

Step-by-Step Guide for Installing a Kraus Top Mount Stainless Steel Kitchen Sink
To ensure a successful installation, here are a few do's and don'ts to keep in mind:Kraus Top Mount Stainless Steel Kitchen Sink: Installation Do's and Don'ts


Kraus Top Mount Stainless Steel Kitchen Sink: Installation Do's and Don'ts


Why Choose a Kraus Top Mount Stainless Steel Kitchen Sink for Your Home

Efficiency and Durability
 When it comes to designing your dream kitchen, every detail matters. From the color of the cabinets to the type of countertop, every decision has an impact on the overall look and functionality of the space. One of the most important elements in a kitchen is the sink, and the Kraus top mount stainless steel kitchen sink is a great option to consider. This type of sink offers both efficiency and durability, making it a top choice for homeowners and professional designers alike.
Efficiency
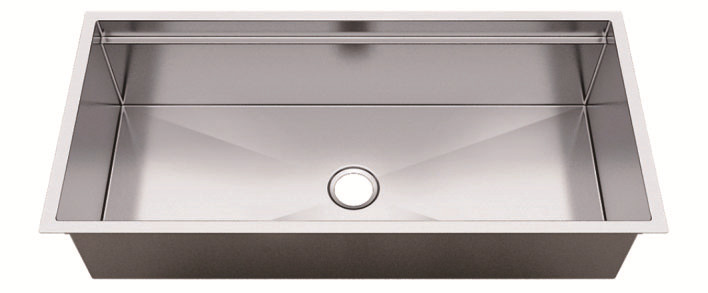
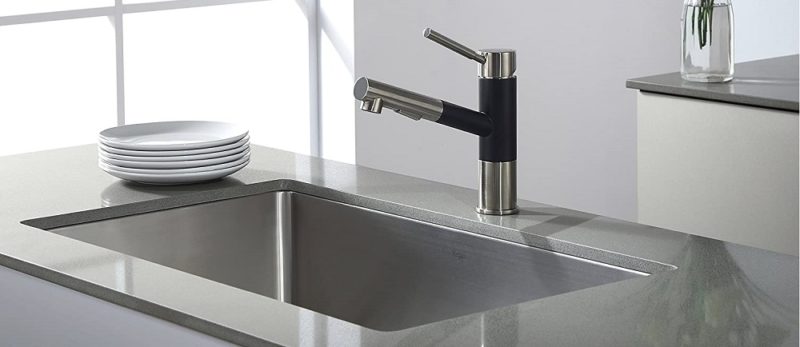
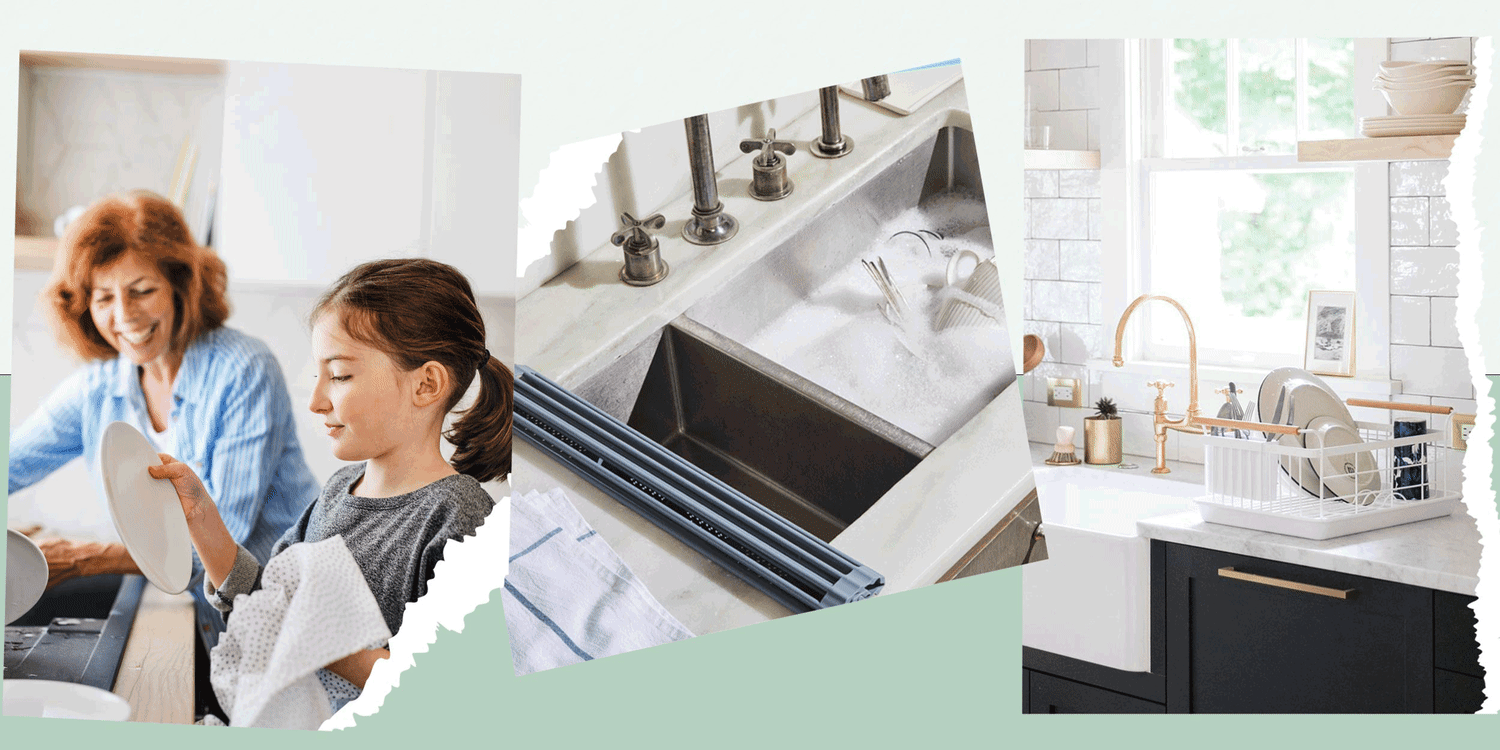
The Kraus top mount stainless steel kitchen sink is designed with efficiency in mind. The top mount installation method allows for easy and quick installation, saving you time and hassle during the remodel process. Additionally, the deep bowl design and spacious dimensions make it perfect for handling large pots and pans, as well as everyday dishes. The smooth surface and rounded corners also make it easy to clean, making kitchen cleanup less of a chore.
Durability
Stainless steel is a top choice for kitchen sinks due to its durability. The Kraus top mount stainless steel kitchen sink is no exception. The high-quality stainless steel used in these sinks is resistant to scratches, dents, and stains, making it a long-lasting addition to your home. It is also heat resistant, making it a great option for hot pots and pans. With proper care and maintenance, a Kraus top mount stainless steel sink can last for years to come, making it a worthwhile investment for your home.
When it comes to designing your dream kitchen, every detail matters. From the color of the cabinets to the type of countertop, every decision has an impact on the overall look and functionality of the space. One of the most important elements in a kitchen is the sink, and the Kraus top mount stainless steel kitchen sink is a great option to consider. This type of sink offers both efficiency and durability, making it a top choice for homeowners and professional designers alike.
Efficiency
The Kraus top mount stainless steel kitchen sink is designed with efficiency in mind. The top mount installation method allows for easy and quick installation, saving you time and hassle during the remodel process. Additionally, the deep bowl design and spacious dimensions make it perfect for handling large pots and pans, as well as everyday dishes. The smooth surface and rounded corners also make it easy to clean, making kitchen cleanup less of a chore.
Durability
Stainless steel is a top choice for kitchen sinks due to its durability. The Kraus top mount stainless steel kitchen sink is no exception. The high-quality stainless steel used in these sinks is resistant to scratches, dents, and stains, making it a long-lasting addition to your home. It is also heat resistant, making it a great option for hot pots and pans. With proper care and maintenance, a Kraus top mount stainless steel sink can last for years to come, making it a worthwhile investment for your home.
Design and Style
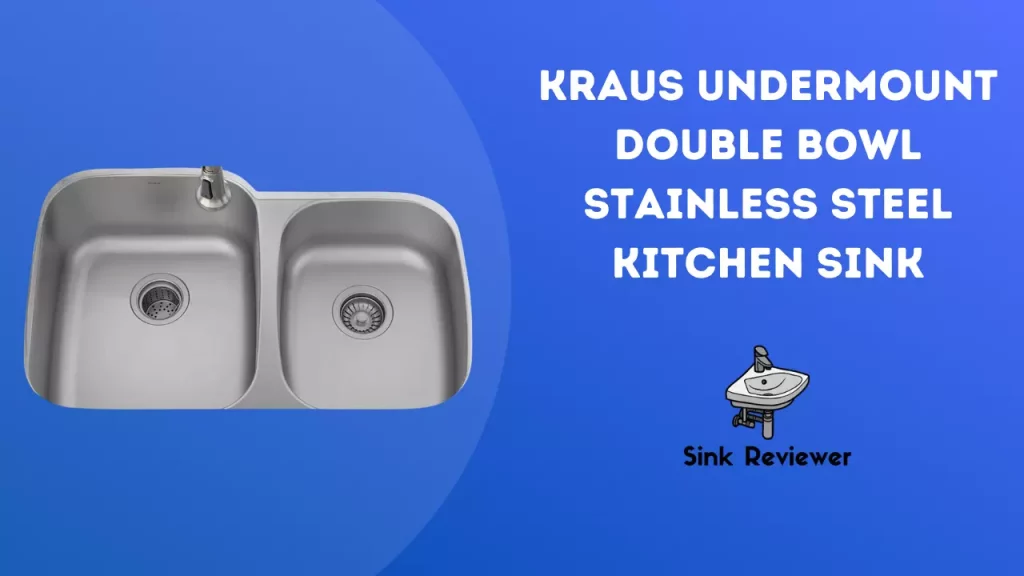
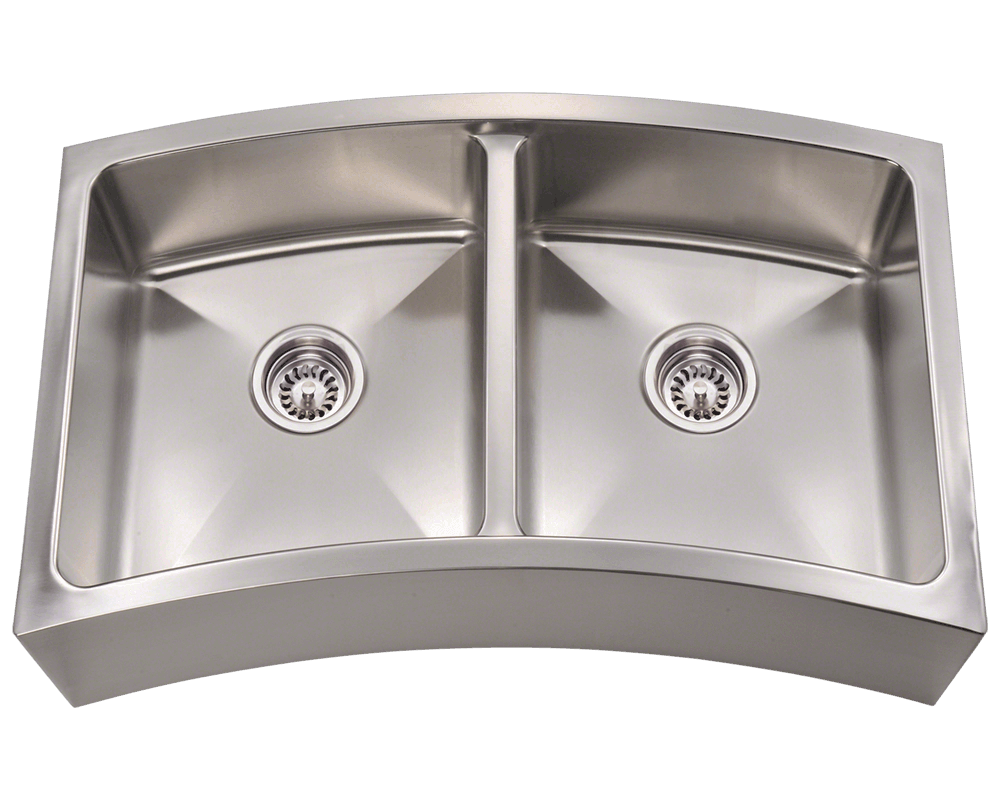
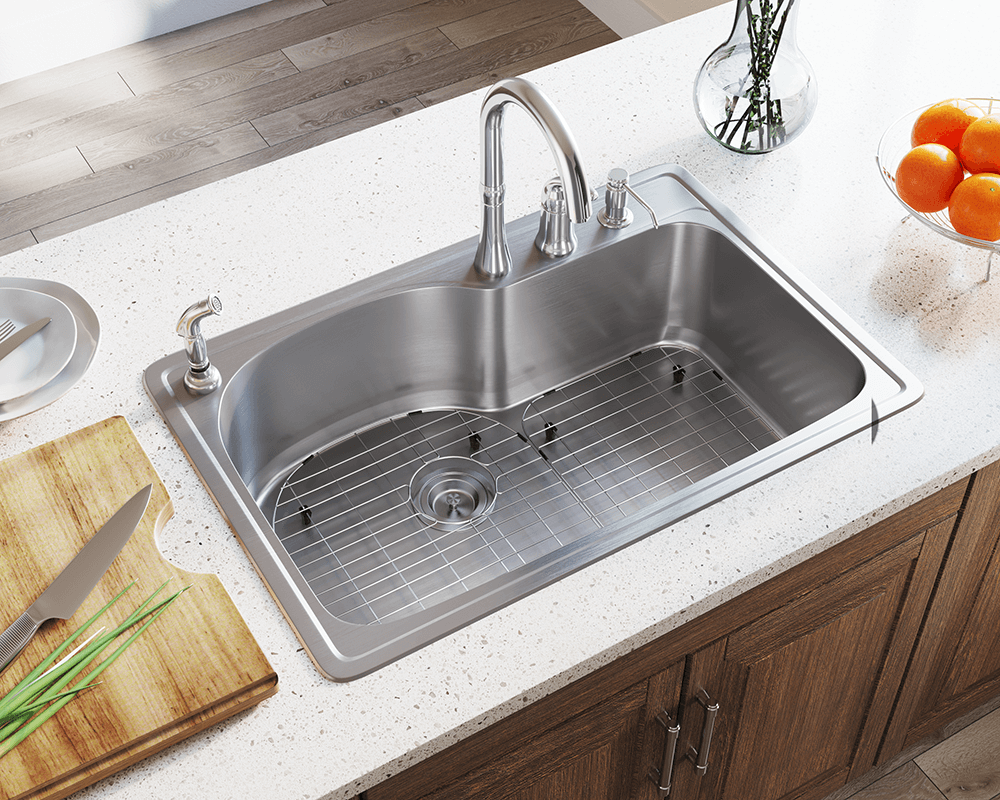 In addition to its functionality and durability, the Kraus top mount stainless steel kitchen sink also offers a sleek and modern design. The clean lines and polished finish add a touch of elegance to any kitchen, while the neutral color complements a variety of design styles. This sink also comes with various options for number of bowls and sizes, allowing you to choose the best fit for your kitchen layout and needs.
Conclusion
When it comes to choosing a kitchen sink, the Kraus top mount stainless steel sink is a top contender. Its efficiency, durability, and stylish design make it a great addition to any kitchen. Consider this sink for your next kitchen remodel or upgrade, and enjoy the benefits it has to offer for years to come.
In addition to its functionality and durability, the Kraus top mount stainless steel kitchen sink also offers a sleek and modern design. The clean lines and polished finish add a touch of elegance to any kitchen, while the neutral color complements a variety of design styles. This sink also comes with various options for number of bowls and sizes, allowing you to choose the best fit for your kitchen layout and needs.
Conclusion
When it comes to choosing a kitchen sink, the Kraus top mount stainless steel sink is a top contender. Its efficiency, durability, and stylish design make it a great addition to any kitchen. Consider this sink for your next kitchen remodel or upgrade, and enjoy the benefits it has to offer for years to come.