Are you looking to upgrade your bathroom with a new Kohler drop-in sink? Installing a new sink can be a great way to give your bathroom a fresh new look. However, the installation process can seem daunting if you've never done it before. But don't worry, with the right tools and a little bit of know-how, you can easily install a Kohler drop-in bathroom sink on your own. In this guide, we'll walk you through the step-by-step process of installing a Kohler drop-in sink, as well as provide some tips and tricks to help ensure a successful installation.Kohler Drop-In Bathroom Sink Installation Guide
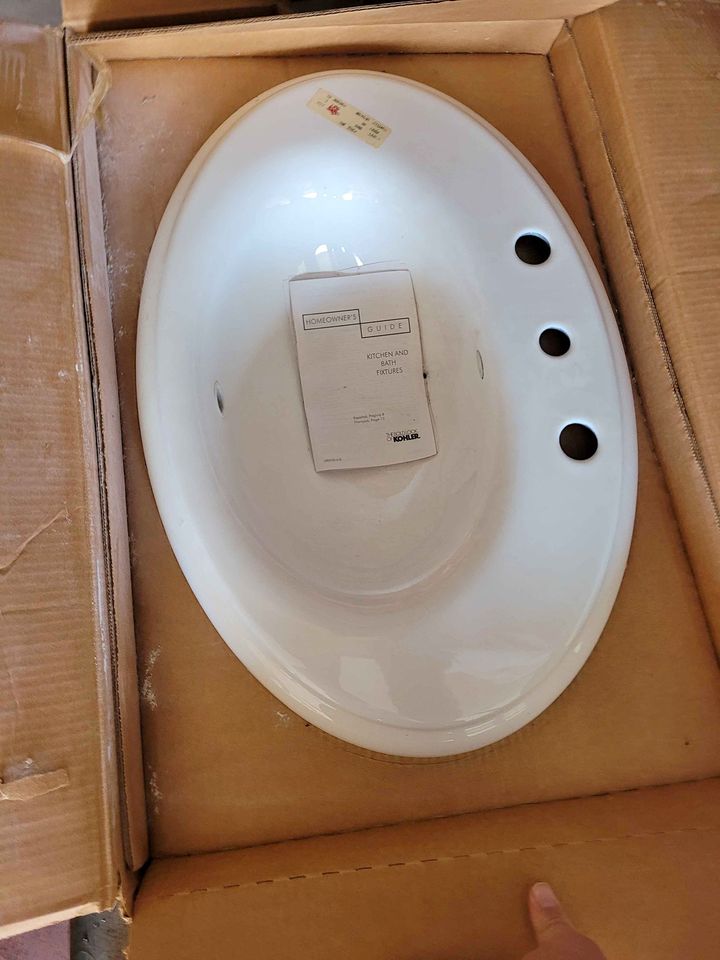
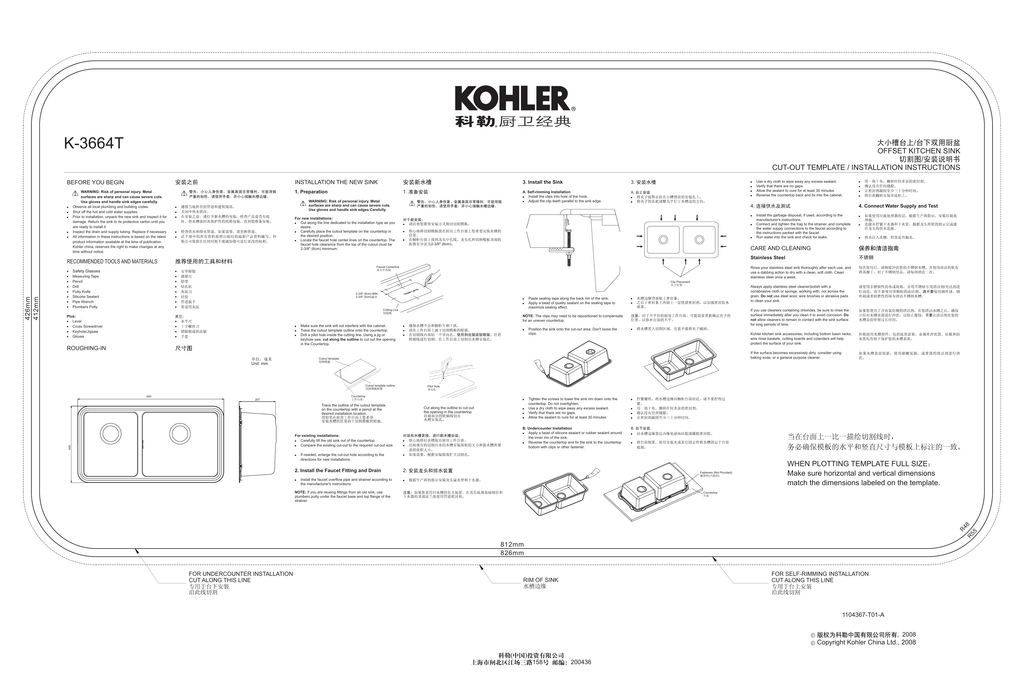
The first step in installing a Kohler drop-in sink is to gather all the necessary tools and materials. You will need a tape measure, a level, a drill, a screwdriver, plumber's putty, silicone caulk, and a wrench. It's important to make sure that you have all the necessary tools and materials before starting the installation process. Next, you'll want to turn off the water supply to your bathroom. This can typically be done by turning off the shut-off valves located under the sink. If you can't find the shut-off valves, you may need to turn off the main water supply to your home. Once the water is turned off, you can remove the old sink if you have one. If not, you can skip this step and move on to installing the new sink. To remove the old sink, you'll need to disconnect the water supply lines and the drain pipe. Then, use a wrench to loosen and remove the mounting clips that hold the sink in place. Once the sink is removed, you can clean the area where the new sink will be installed. Now it's time to install the new sink. Start by placing the sink upside down on a flat surface. Apply a thin layer of plumber's putty around the edge of the sink. This will create a watertight seal between the sink and the countertop. Next, carefully place the sink into the opening in the countertop. Use a level to make sure the sink is straight and adjust if necessary. Once the sink is in place, you can secure it with mounting clips. These can typically be found in the package with the sink or purchased separately. Place the clips under the sink and tighten them with a screwdriver. This will hold the sink securely in place. Next, you'll need to connect the water supply lines and the drain pipe. Be sure to use new washers and nuts to ensure a tight seal. Once everything is connected, turn the water supply back on and check for any leaks. If there are no leaks, you can move on to the final step. The last step is to apply a bead of silicone caulk around the edge of the sink where it meets the countertop. This will provide a watertight seal and prevent any water from leaking underneath the sink. Use your finger or a caulk tool to smooth out the caulk and remove any excess. Allow the caulk to dry completely before using the sink.How to Install a Kohler Drop-In Bathroom Sink
To summarize, here is a step-by-step guide for installing a Kohler drop-in bathroom sink:Step-by-Step Guide for Installing a Kohler Drop-In Bathroom Sink
Here are some additional tips to keep in mind when installing a Kohler drop-in bathroom sink:Kohler Drop-In Bathroom Sink Installation Tips
Installing a Kohler drop-in bathroom sink is a DIY project that can save you money and give you a sense of accomplishment. However, if you don't feel confident in your plumbing skills, it's always best to hire a professional to ensure the installation is done correctly. Improper installation can lead to leaks and other issues that can end up costing you more in the long run.DIY Kohler Drop-In Bathroom Sink Installation
If you're a visual learner, there are plenty of video tutorials available online that can guide you through the installation process. These tutorials can be especially helpful if you're installing a sink for the first time. Watching someone else do it can give you a better understanding of the steps involved and any potential pitfalls to watch out for.Kohler Drop-In Bathroom Sink Installation Video Tutorial
One of the most common mistakes people make when installing a Kohler drop-in sink is not properly securing the sink with mounting clips. This can lead to a loose sink and potential leaks. Another common mistake is not using enough plumber's putty or silicone caulk, which can also lead to leaks. Be sure to follow the manufacturer's instructions carefully to avoid these mistakes.Common Mistakes to Avoid When Installing a Kohler Drop-In Bathroom Sink
Here is a list of the tools and materials you will need for a successful Kohler drop-in bathroom sink installation:Tools and Materials Needed for Kohler Drop-In Bathroom Sink Installation
Deciding whether to hire a professional or tackle the installation yourself ultimately depends on your level of comfort and experience with plumbing projects. If you feel confident in your abilities and have the necessary tools and materials, a DIY installation can save you money. However, if you're unsure or don't have the time to do it yourself, hiring a professional can ensure the job is done correctly and efficiently.Professional vs. DIY Kohler Drop-In Bathroom Sink Installation
If you encounter any issues during the installation process, such as leaks or a sink that won't sit level, don't panic. It's important to remain calm and assess the situation. Check that all connections are tight and that the sink is properly secured with mounting clips. If the issue persists, consult the manufacturer's instructions or consider hiring a professional for assistance. Now that you know how to install a Kohler drop-in bathroom sink, you can confidently tackle this project and give your bathroom a beautiful upgrade. Just remember to gather all necessary tools and materials, follow the manufacturer's instructions, and use our tips and tricks for a successful installation. Happy renovating!Troubleshooting Common Issues During Kohler Drop-In Bathroom Sink Installation
Why Choose a Kohler Drop-In Bathroom Sink for Your Home

Enhance Your Bathroom's Design with a Kohler Drop-In Sink
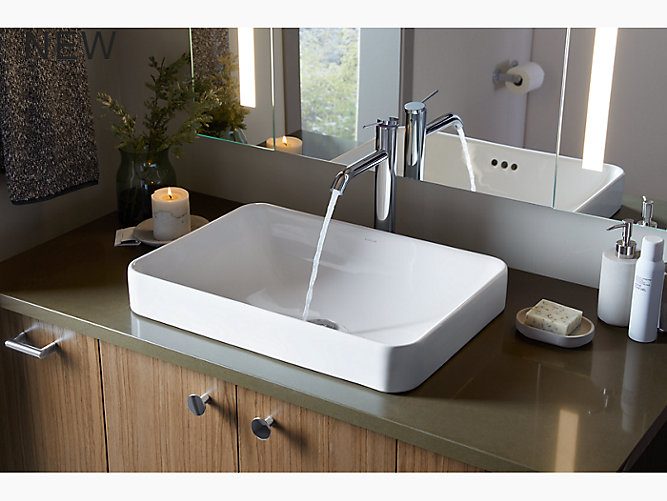 When it comes to designing your bathroom, every detail matters. From the color scheme to the fixtures, each element plays a crucial role in creating a cohesive and functional space. One important feature that often goes overlooked is the sink. However, a sink is not just a practical necessity in the bathroom; it can also serve as a focal point and enhance the overall design of the room.
If you're looking for a sleek and modern option for your bathroom sink, consider a Kohler drop-in sink. This type of sink is installed by dropping it into a countertop or vanity, creating a seamless and clean look. But why choose a Kohler drop-in sink over other options? Let's dive into the many benefits and advantages of this type of sink.
Stylish and Versatile Design
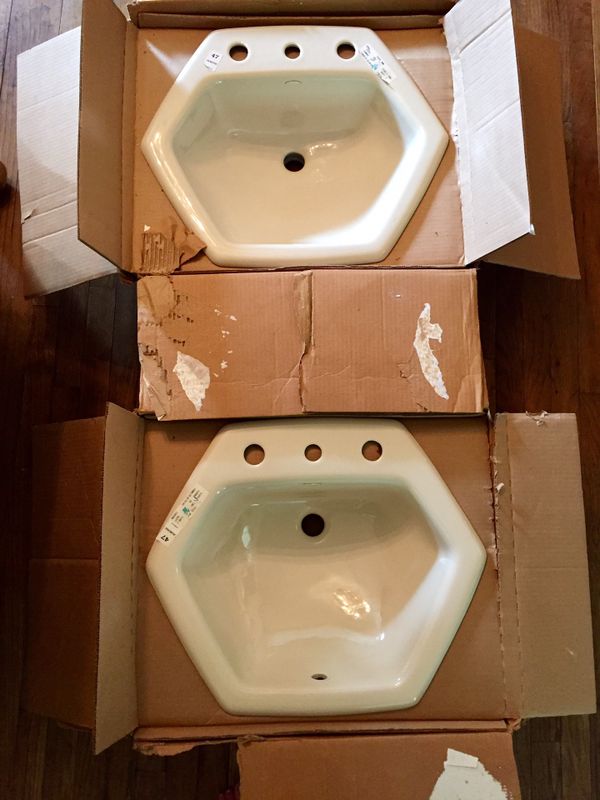
Kohler is known for its innovative and visually appealing designs, and their drop-in sinks are no exception. With a wide range of styles, colors, and materials to choose from, you can easily find a Kohler drop-in sink that complements your bathroom's aesthetic. Whether you prefer a classic and timeless look or a more modern and edgy design, Kohler has something for every taste.
Durability and Quality
A bathroom sink is an investment that you want to last for years to come. With Kohler, you can rest assured that you're getting a high-quality and durable product. Made with premium materials, these sinks are built to withstand daily use and maintain their beauty for a long time. Plus, Kohler offers a lifetime warranty on their products, giving you peace of mind and confidence in your purchase.
Easy Installation
One of the main advantages of a drop-in sink is its simple installation process. Unlike undermount sinks, which require specialized skills and tools, a drop-in sink can be installed by anyone with basic DIY knowledge. This not only saves you time and money but also gives you the flexibility to change out your sink in the future without any hassle.
Functionality and Convenience
Aside from its aesthetic appeal, a Kohler drop-in sink also offers practical benefits. The wide rim around the sink provides ample space for your bathroom essentials, such as toothbrushes, soap, and lotion. This makes it easier to keep your sink area organized and clutter-free. Additionally, the raised rim also helps contain water and prevents it from spilling onto your countertop.
In conclusion, a Kohler drop-in sink is an excellent choice for anyone looking to elevate their bathroom's design. With its stylish design, durability, easy installation, and convenient features, it's no wonder why this type of sink is a popular choice among homeowners. So why settle for a basic sink when you can have a Kohler drop-in sink that not only looks great but also adds value to your home?


















.png)


:max_bytes(150000):strip_icc()/steam-cleaning-professional-vs-diy-2908776-hero-24ffd77737924bca908036dabcdcbbad.jpg)
