Are you ready to upgrade your living space with a stylish and functional addition? Look no further than the Kivik sofa bed. This versatile piece of furniture not only provides comfortable seating, but also easily transforms into a bed for overnight guests. However, the assembly process may seem intimidating for some. Don't worry, we've got you covered with our step-by-step Kivik sofa bed assembly guide. Follow these instructions and you'll have your new sofa bed ready to use in no time. Kivik Sofa Bed Assembly Instructions
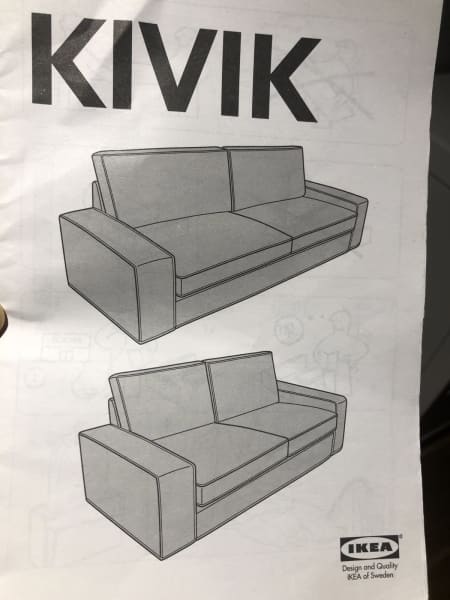

Kivik Sofa Bed Assembly Instructions

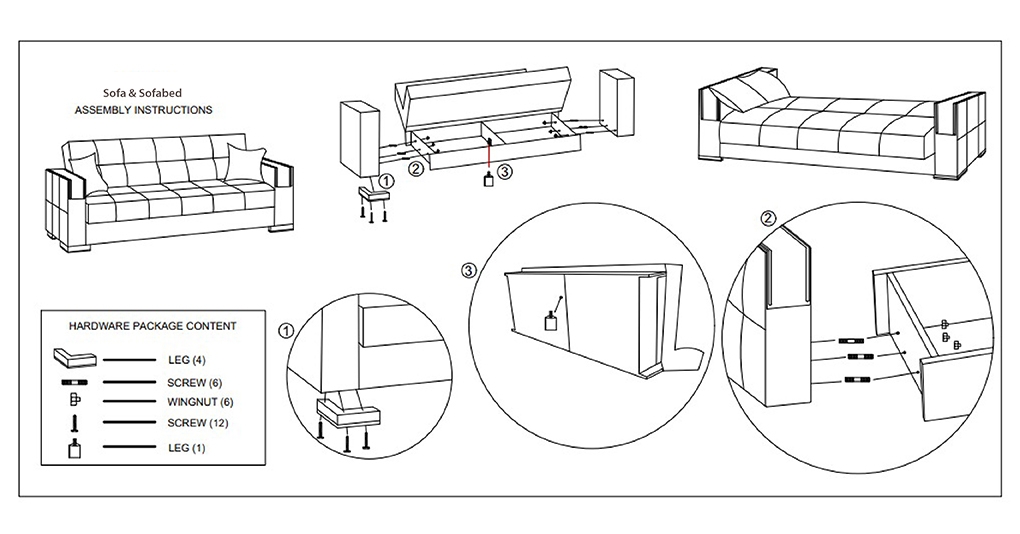

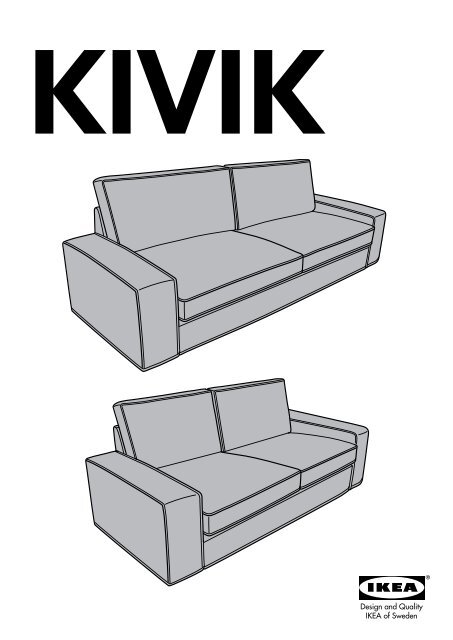
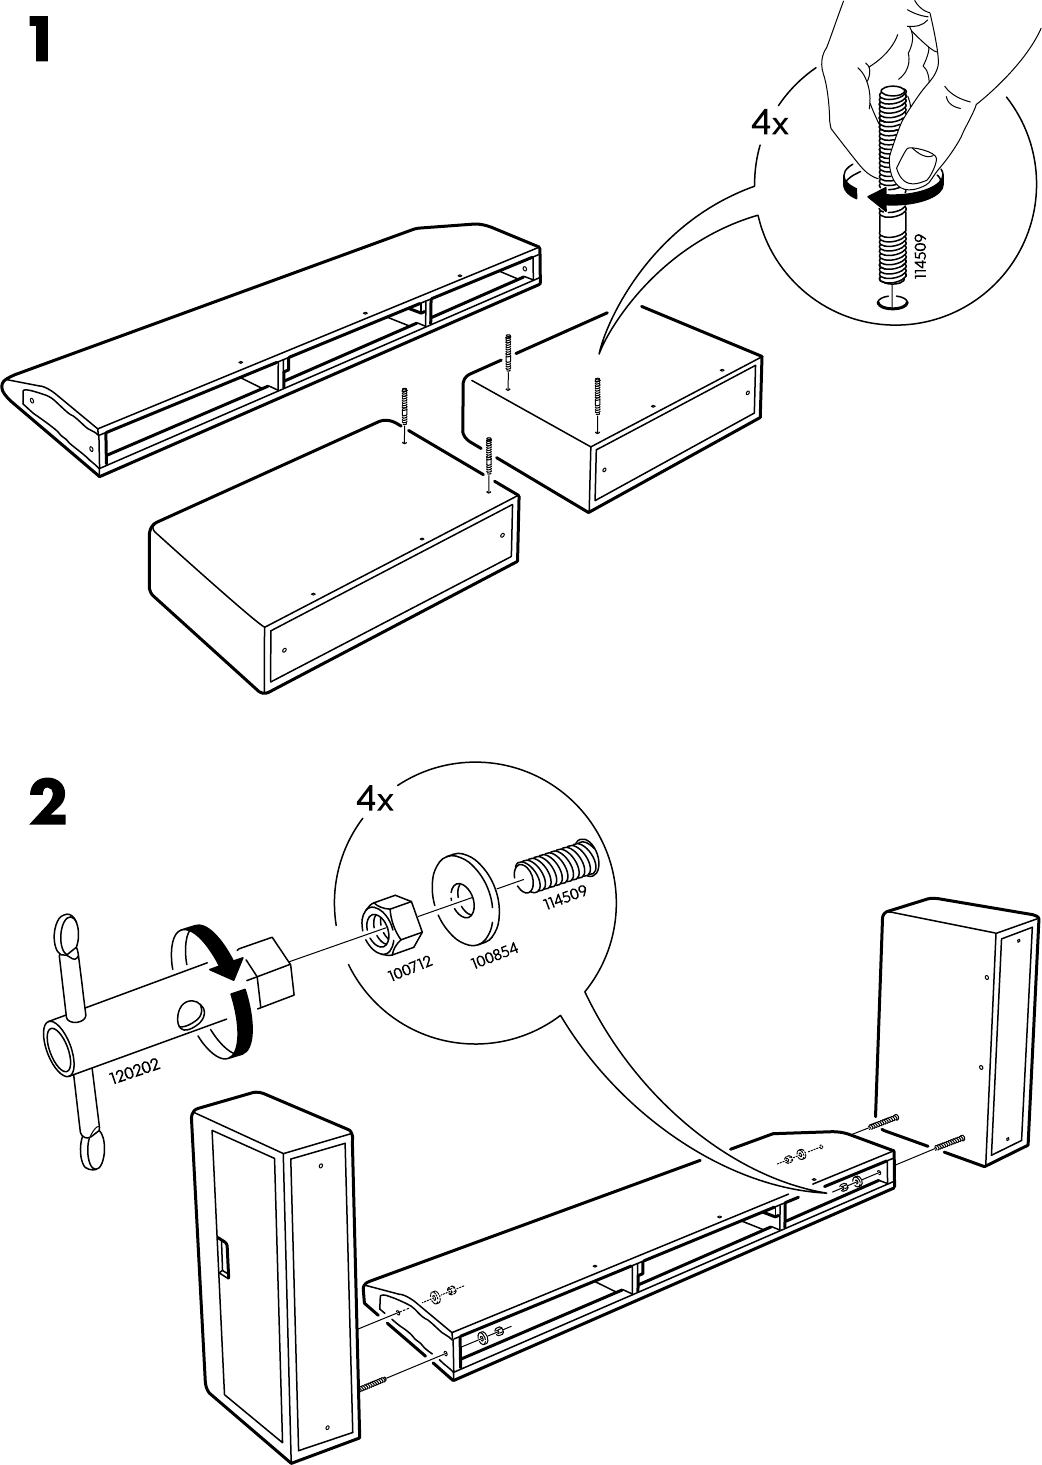
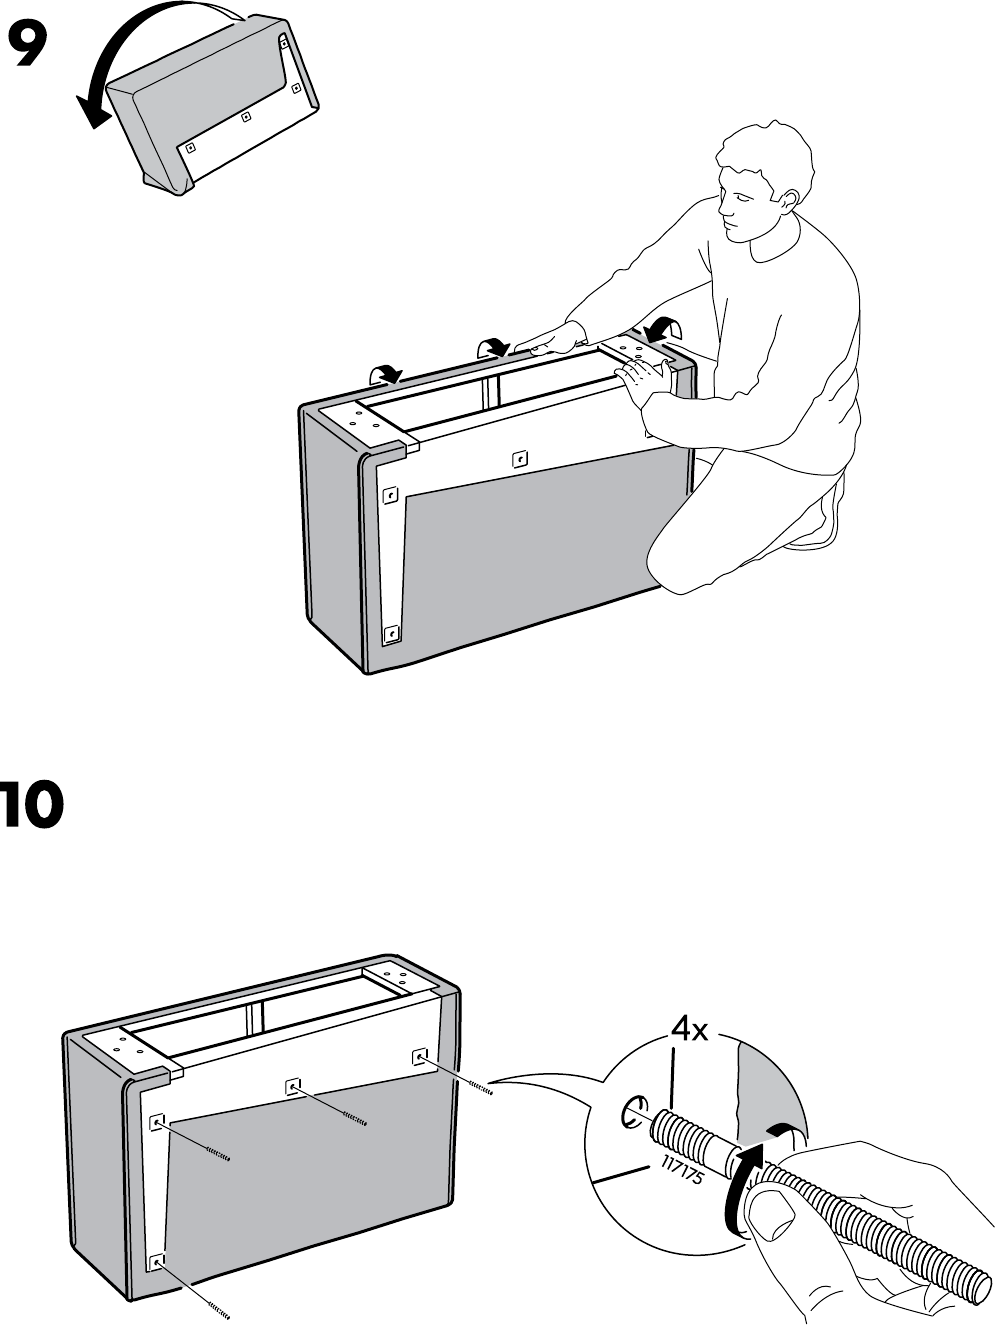
Before you begin, make sure you have all the necessary tools and parts. The Kivik sofa bed assembly kit typically includes the frame, cushions, legs, screws, and an Allen key. It's also helpful to have a friend or family member assist you during the assembly process. Step 1: Lay out all the parts and cushions in a clear space. Make sure you have enough room to work comfortably. Step 2: Start by attaching the legs to the frame. Use the included screws and the Allen key to secure them in place. Make sure they are tightly fastened to ensure stability. Step 3: Next, attach the arms to the frame. Again, use the screws and Allen key to secure them in place. Make sure they are aligned properly and tightly fastened. Step 4: Now it's time to attach the backrest. Carefully slide it into place and secure it with the screws and Allen key. Be sure to follow the instructions carefully to ensure the backrest is attached correctly. Step 5: Once the backrest is secure, it's time to attach the cushions. Simply place them on the frame and push them down to secure them in place. How to Assemble a Kivik Sofa Bed


How to Assemble a Kivik Sofa Bed


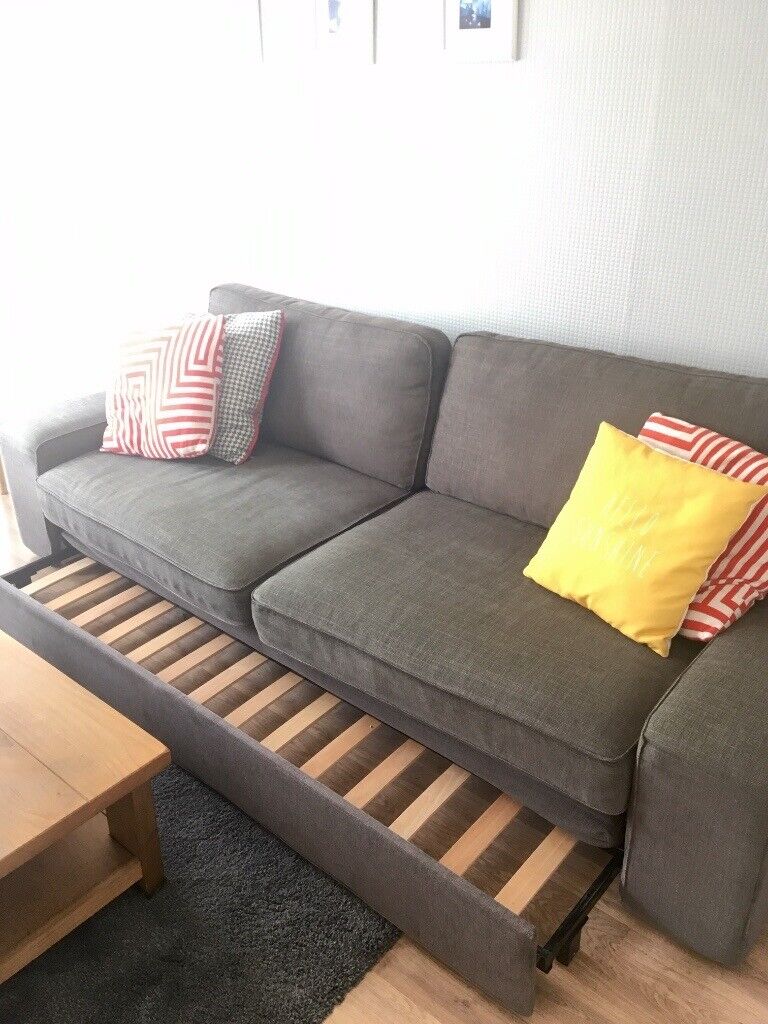
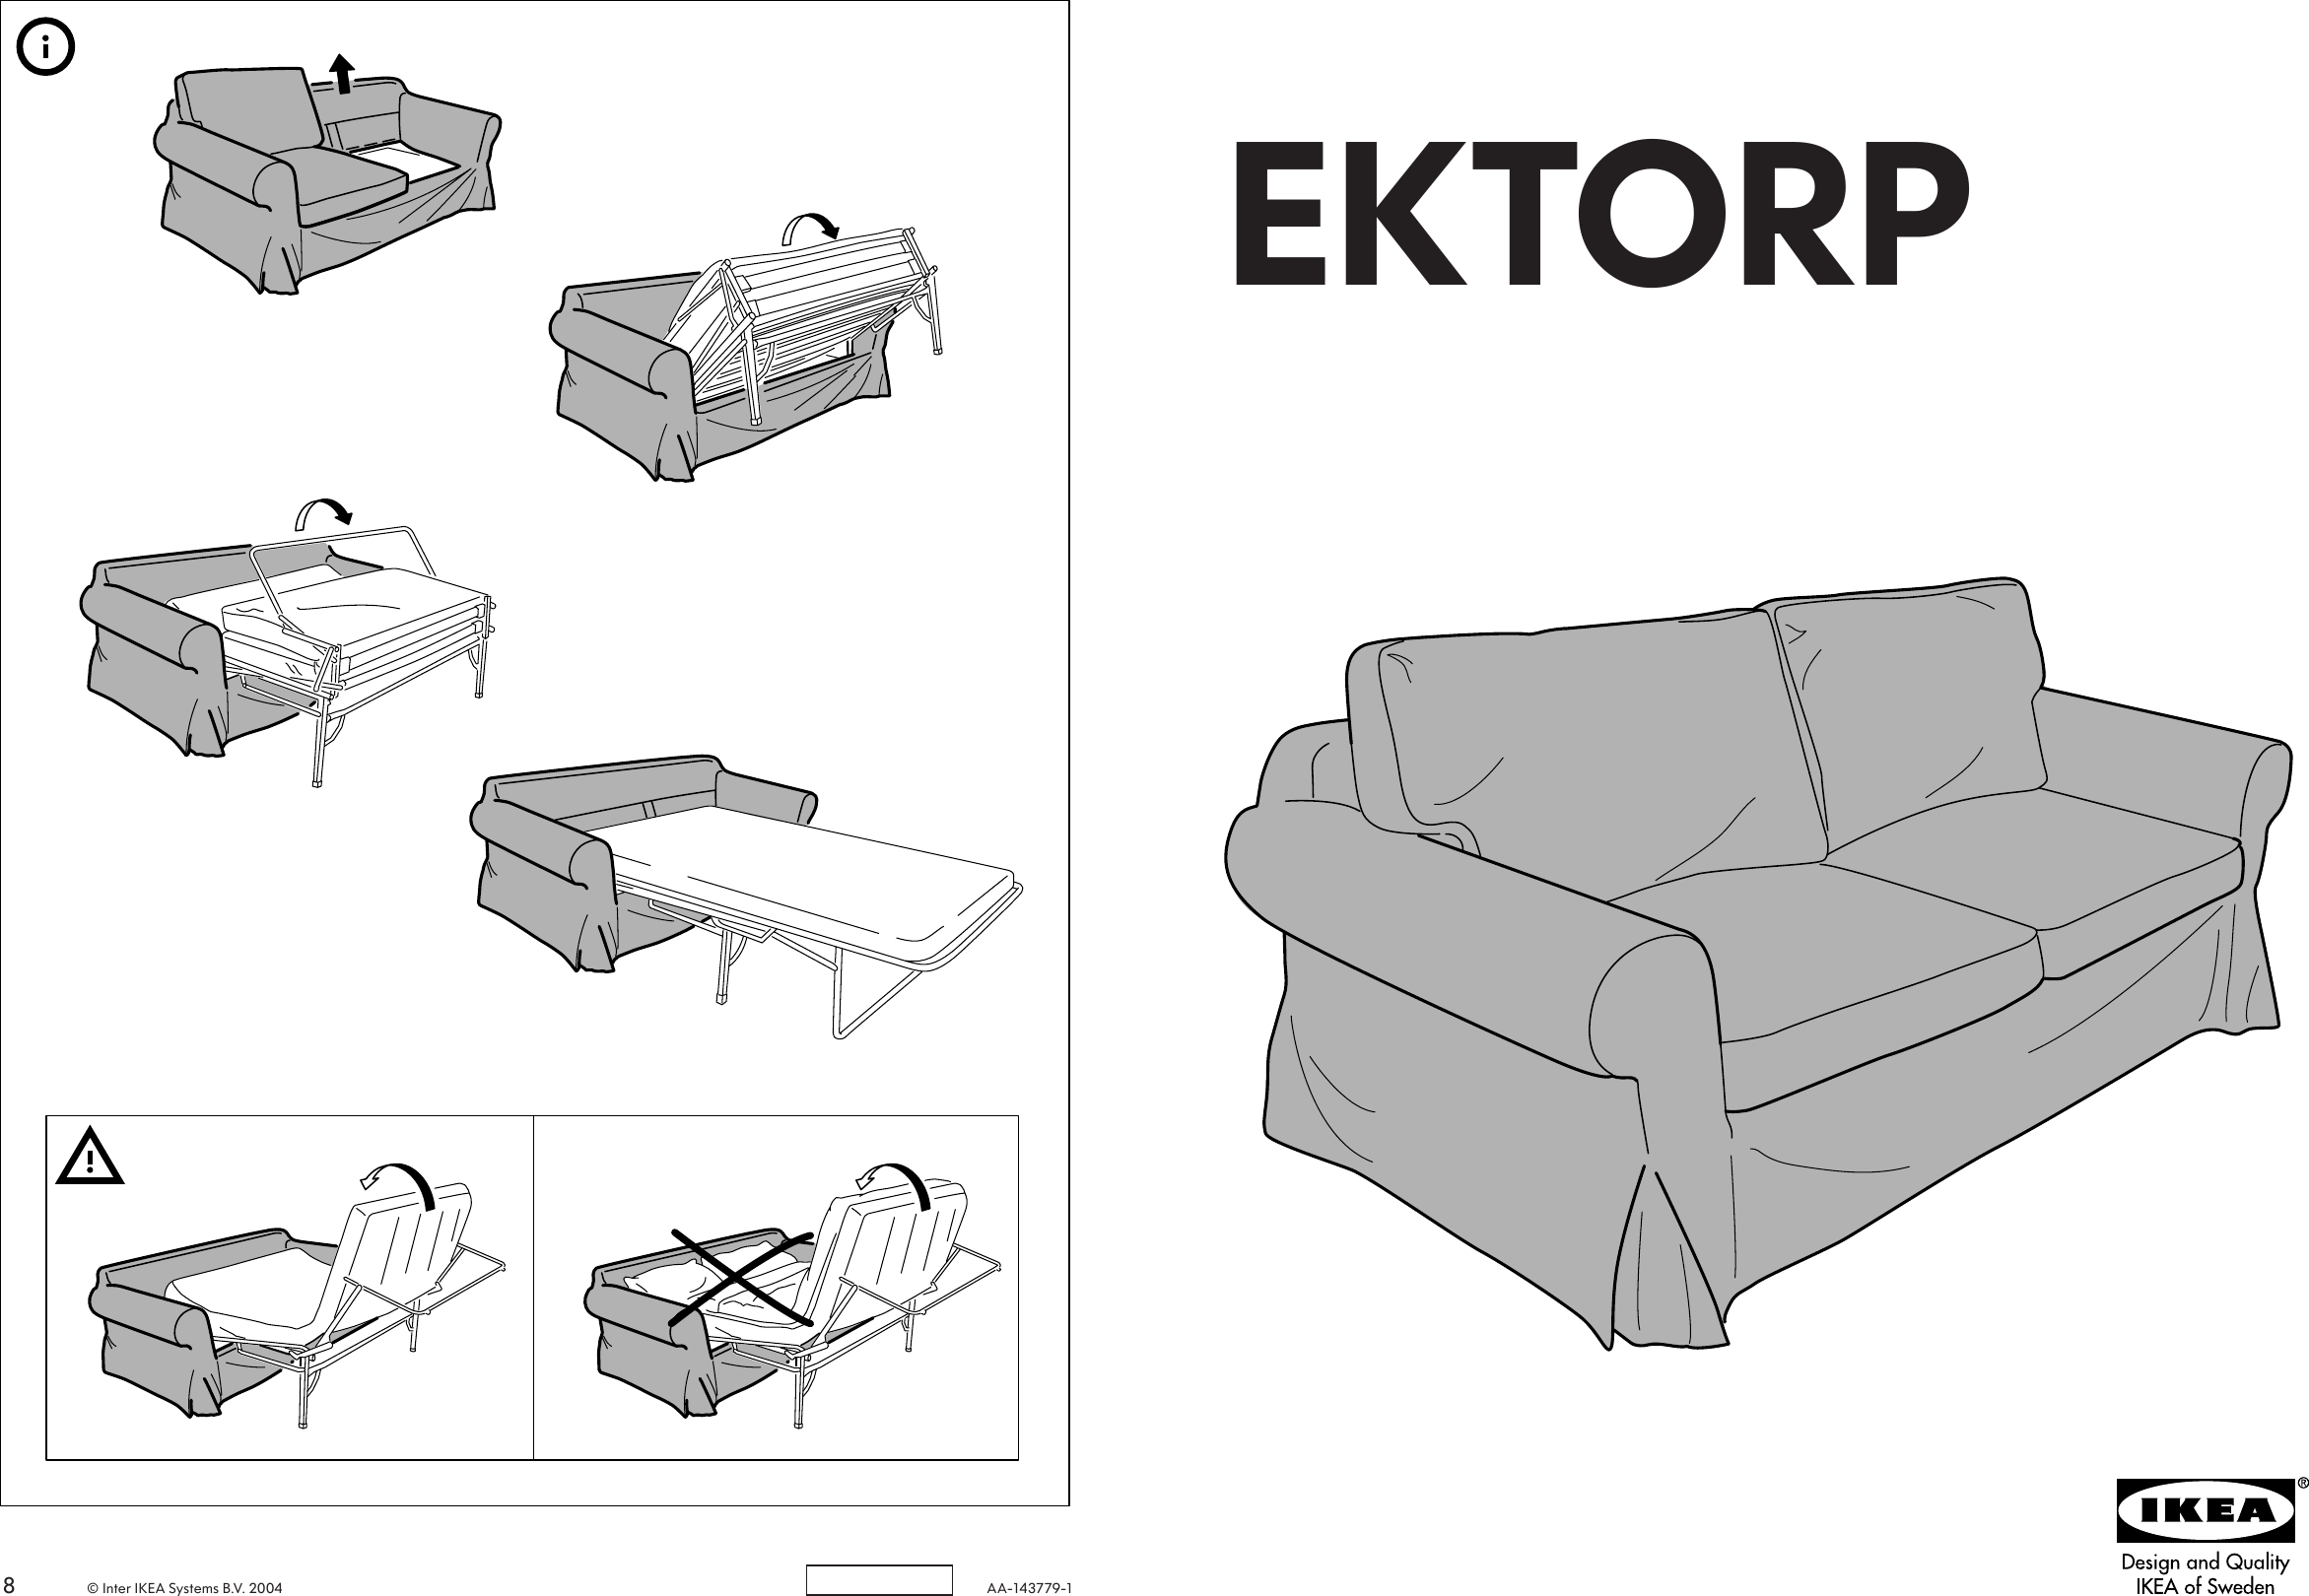
Now that the main frame is assembled, it's time to put together the bed function of the sofa. Follow these steps to complete the assembly process: Step 1: Start by unfolding the bed frame and pulling out the slats. The slats should click into place and form a flat surface. Step 2: Next, attach the bed brackets to the frame. These brackets will hold the mattress in place when the sofa is in bed form. Step 3: Place the mattress onto the bed frame and secure it with the brackets. Make sure the mattress is centered and secure. Step 4: Finally, attach the bed straps to the frame and the backrest. These straps will keep the backrest in place when the sofa is in bed form. Step-by-Step Kivik Sofa Bed Assembly


Step-by-Step Kivik Sofa Bed Assembly


Now that your Kivik sofa bed is fully assembled, it's time to test it out. Pull out the bed and make sure it's stable and comfortable. Sit on the sofa and adjust the cushions to your liking. Congratulations, you now have a stylish and functional sofa bed ready to use. If you encounter any issues during the assembly process, don't panic. Here are some troubleshooting tips to help you out: Kivik Sofa Bed Assembly Guide

Kivik Sofa Bed Assembly Guide


- Make sure all parts and tools are present before starting the assembly process. - Take your time and follow the instructions carefully. - Have a friend or family member assist you during the assembly process. - Double check that all parts are securely fastened before using the sofa bed. Kivik Sofa Bed Assembly Tips


Kivik Sofa Bed Assembly Tutorial


- If you're having trouble attaching the arms, try flipping the frame upside down to make it easier. - Don't tighten the screws until all parts are in place to avoid misalignment. - Use a power drill to speed up the assembly process. Kivik Sofa Bed Assembly Tricks
Kivik Sofa Bed Assembly Video


- If the backrest is not attaching properly, make sure the slats are fully extended and the bed frame is locked in place. - If the cushions feel loose, adjust the straps underneath to secure them in place. - If the sofa bed feels unstable, make sure all parts are tightly fastened and the legs are level. With these Kivik sofa bed assembly instructions, you'll have your new piece of furniture ready to use in no time. Sit back, relax, and enjoy your new stylish and functional sofa bed. Kivik Sofa Bed Assembly Troubleshooting
Kivik Sofa Bed Assembly Manual

How a Kivik Sofa Bed Can Transform Your Space into a Functional and Stylish Haven

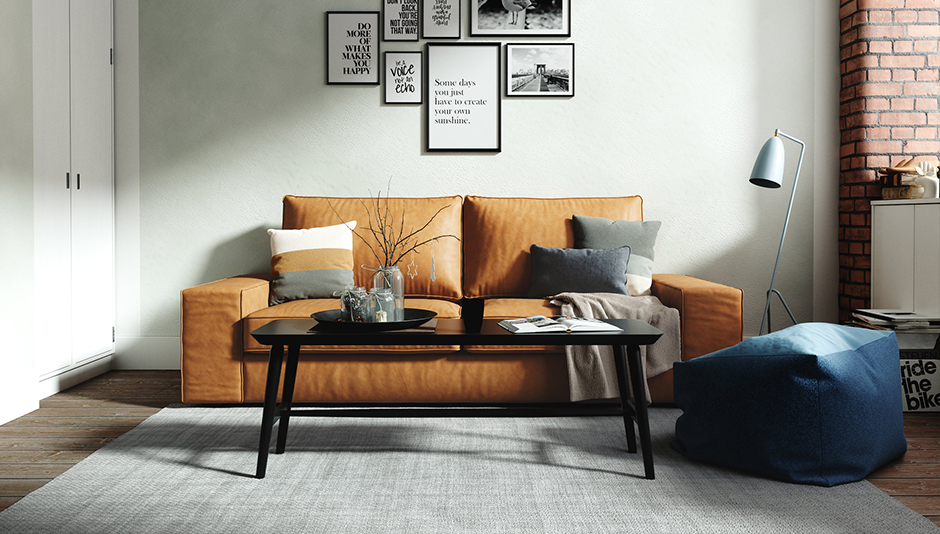
Comfort and Versatility: The Perfect Combination
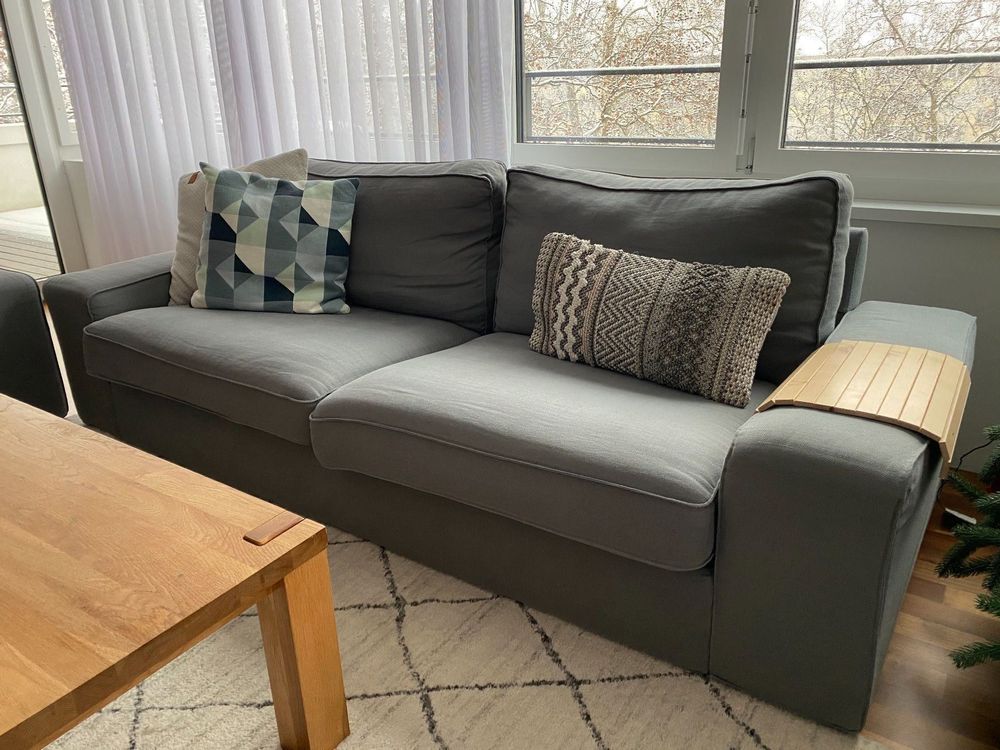
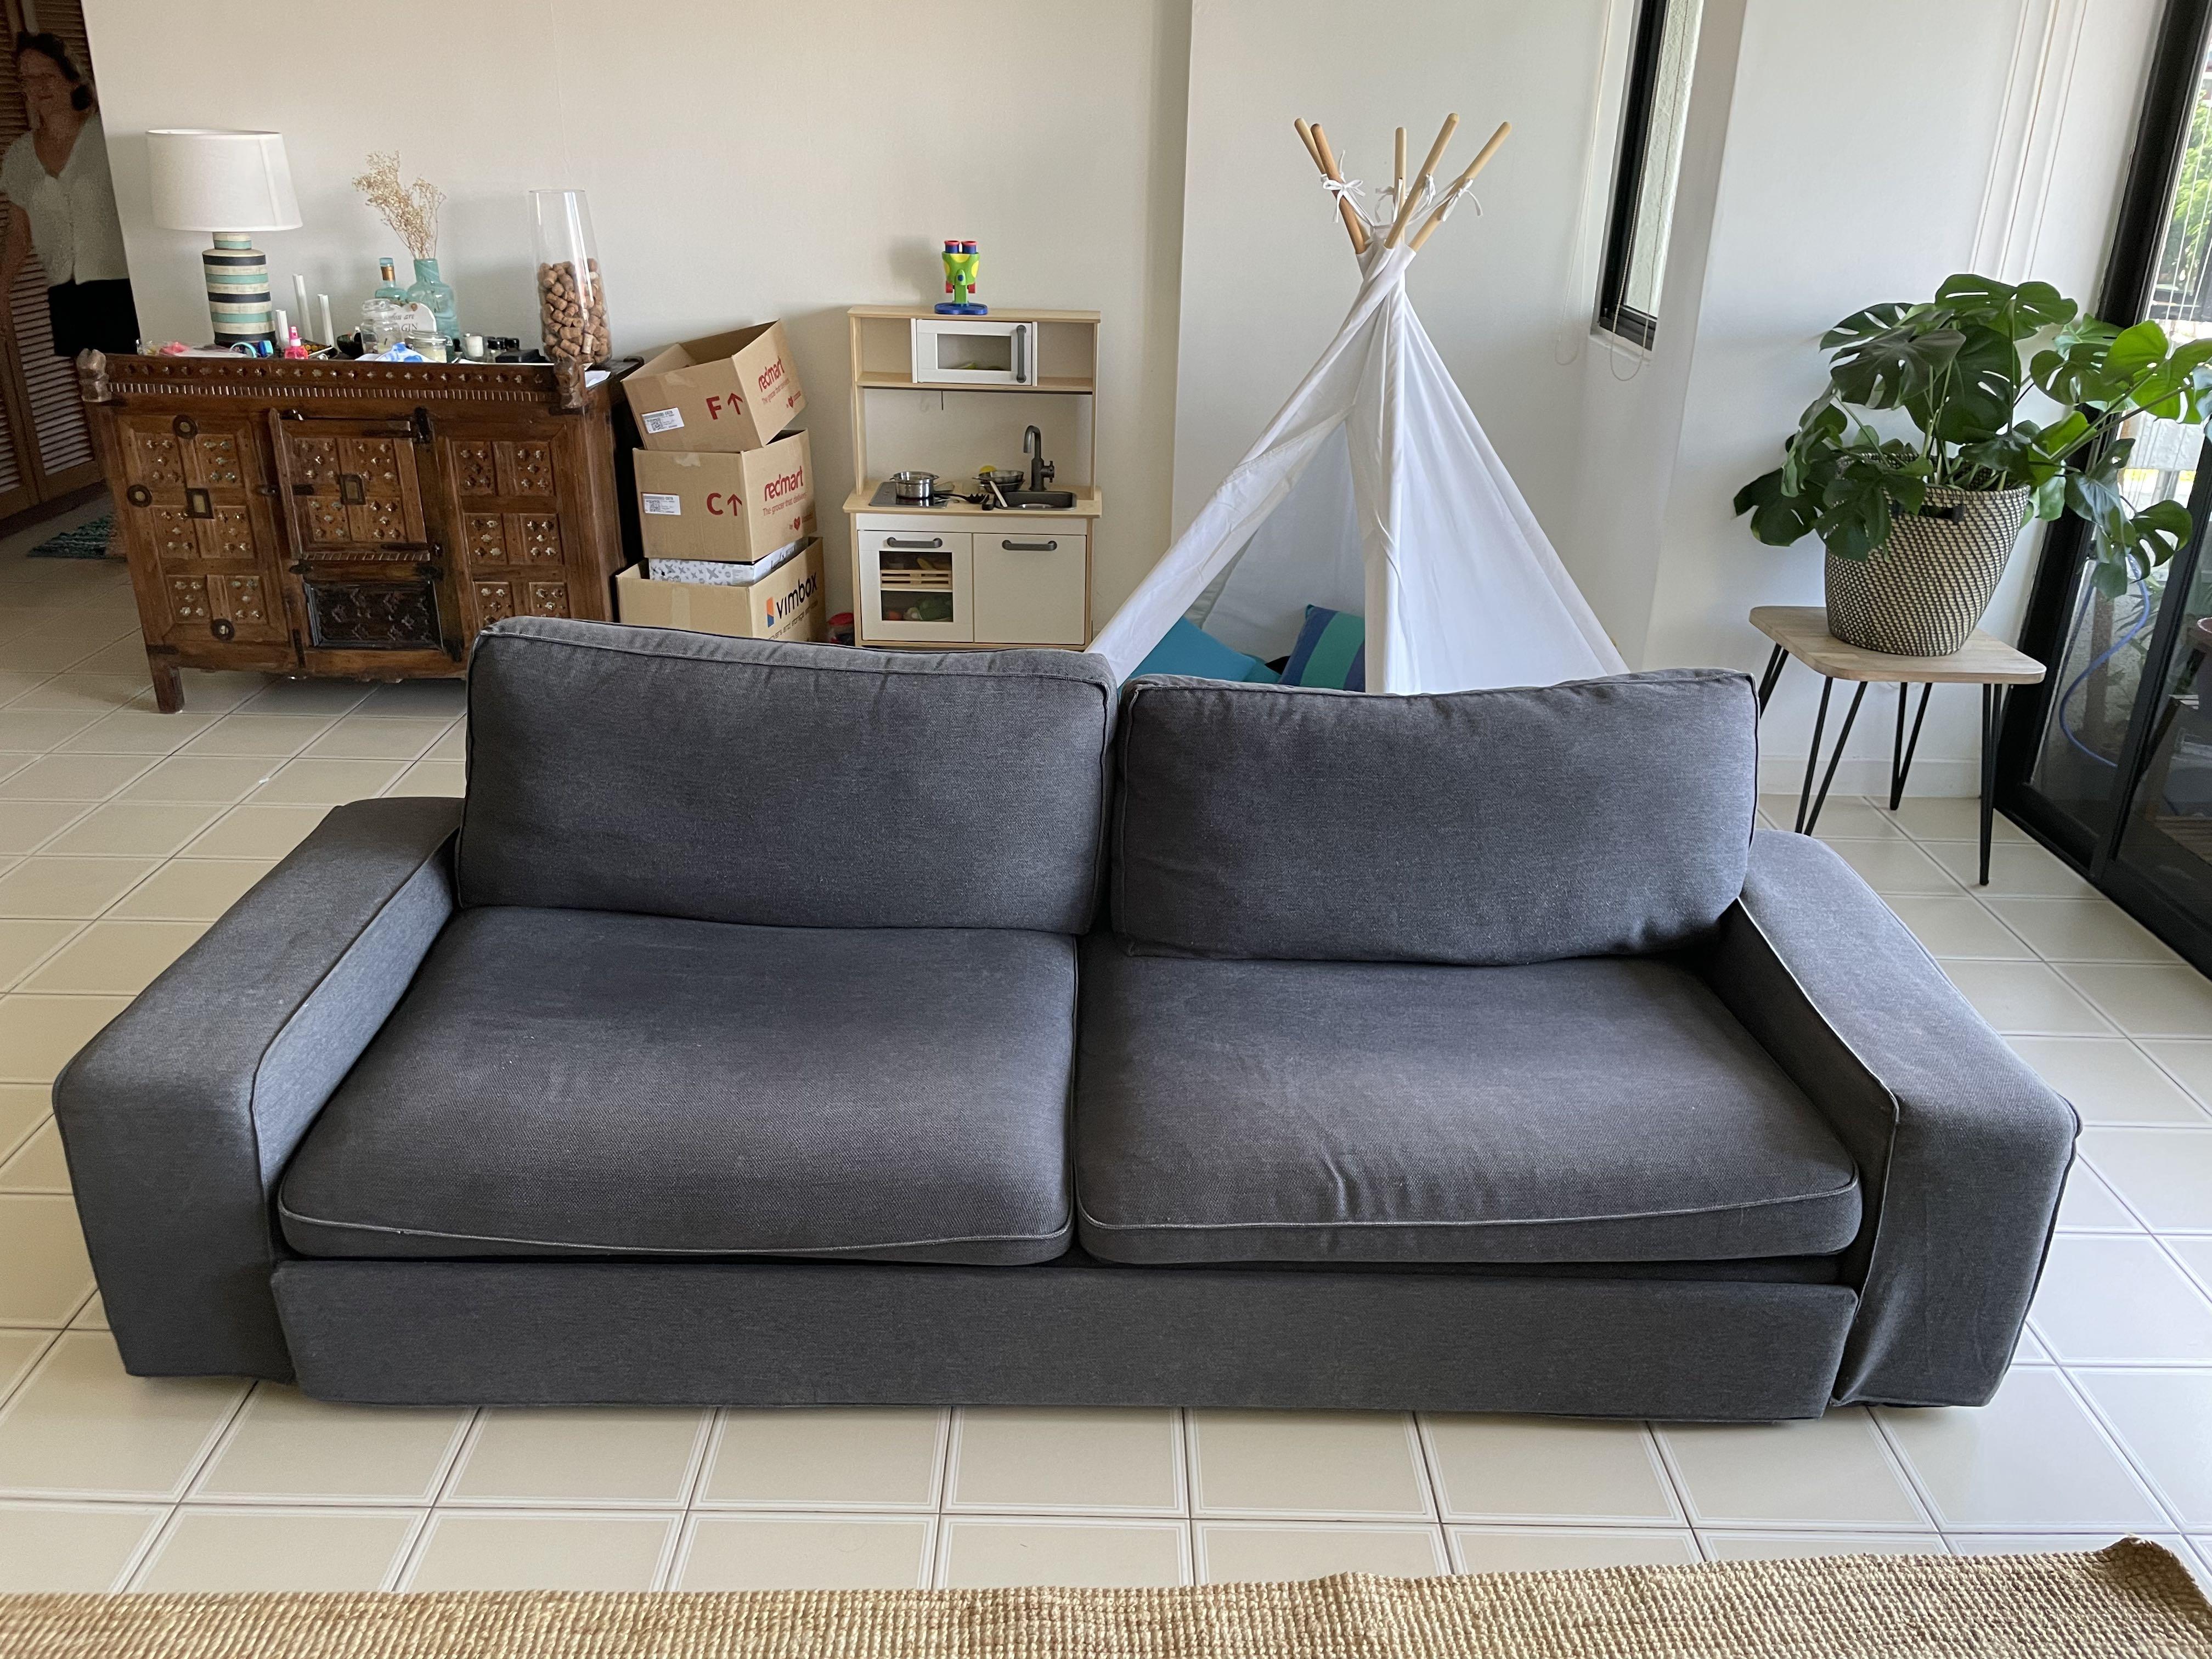
 Looking for a sofa bed that offers both comfort and versatility? Look no further than the Kivik Sofa Bed. This modern and sleek piece of furniture not only serves as a comfortable place to sit and relax, but also easily converts into a bed when needed. It's the perfect solution for small spaces or for those who love to entertain and have guests stay over.
Designed with Style in Mind
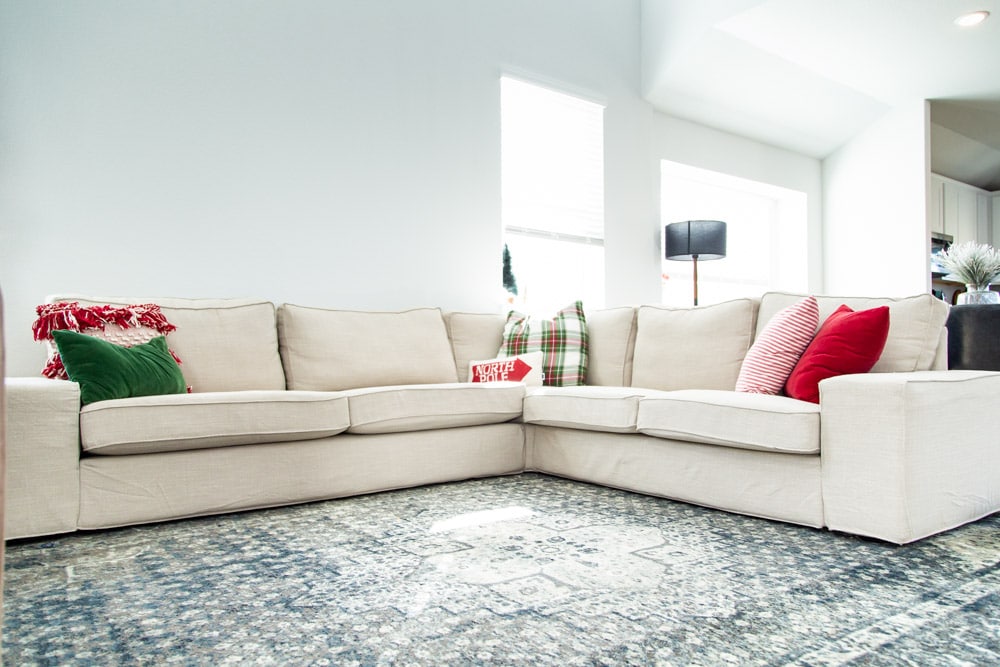
 The Kivik Sofa Bed is not only functional, but also adds a touch of style to any room. With its clean lines and minimalist design, it can easily fit into any home decor style. Whether you have a modern, contemporary, or traditional home, the Kivik Sofa Bed will seamlessly blend in and enhance the overall aesthetic of the space.
Easy Assembly for a Stress-Free Experience
 Assembly of the Kivik Sofa Bed is a breeze, thanks to the detailed and easy-to-follow instructions. With just a few simple steps, you can have your sofa bed ready to use in no time. No need to hire a professional or struggle with complicated instructions. The Kivik Sofa Bed is designed for a stress-free assembly process, so you can start enjoying your new piece of furniture right away.
Space-Saving Solution for Small Homes
 Living in a small space doesn't mean you have to sacrifice comfort and style. The Kivik Sofa Bed is the perfect space-saving solution for those who have limited space but still want to have a functional and stylish home. During the day, it can serve as a comfortable sofa for lounging or entertaining, and at night, it can easily transform into a cozy bed for a good night's sleep.
Invest in Quality and Durability
 When it comes to furniture, investing in quality and durability is key. The Kivik Sofa Bed is made with high-quality materials and is built to last. Its sturdy construction and durable fabrics ensure that it will withstand daily use and last for years to come. You can rest assured that your investment in the Kivik Sofa Bed will pay off in the long run.
Transform Your Space with the Kivik Sofa Bed
 In conclusion, the Kivik Sofa Bed is not just a piece of furniture, but a versatile and stylish addition to any home. Its comfort, style, easy assembly, space-saving features, and durability make it the perfect choice for anyone looking to transform their space into a functional and inviting haven. Invest in a Kivik Sofa Bed today and experience the ultimate in comfort and style.