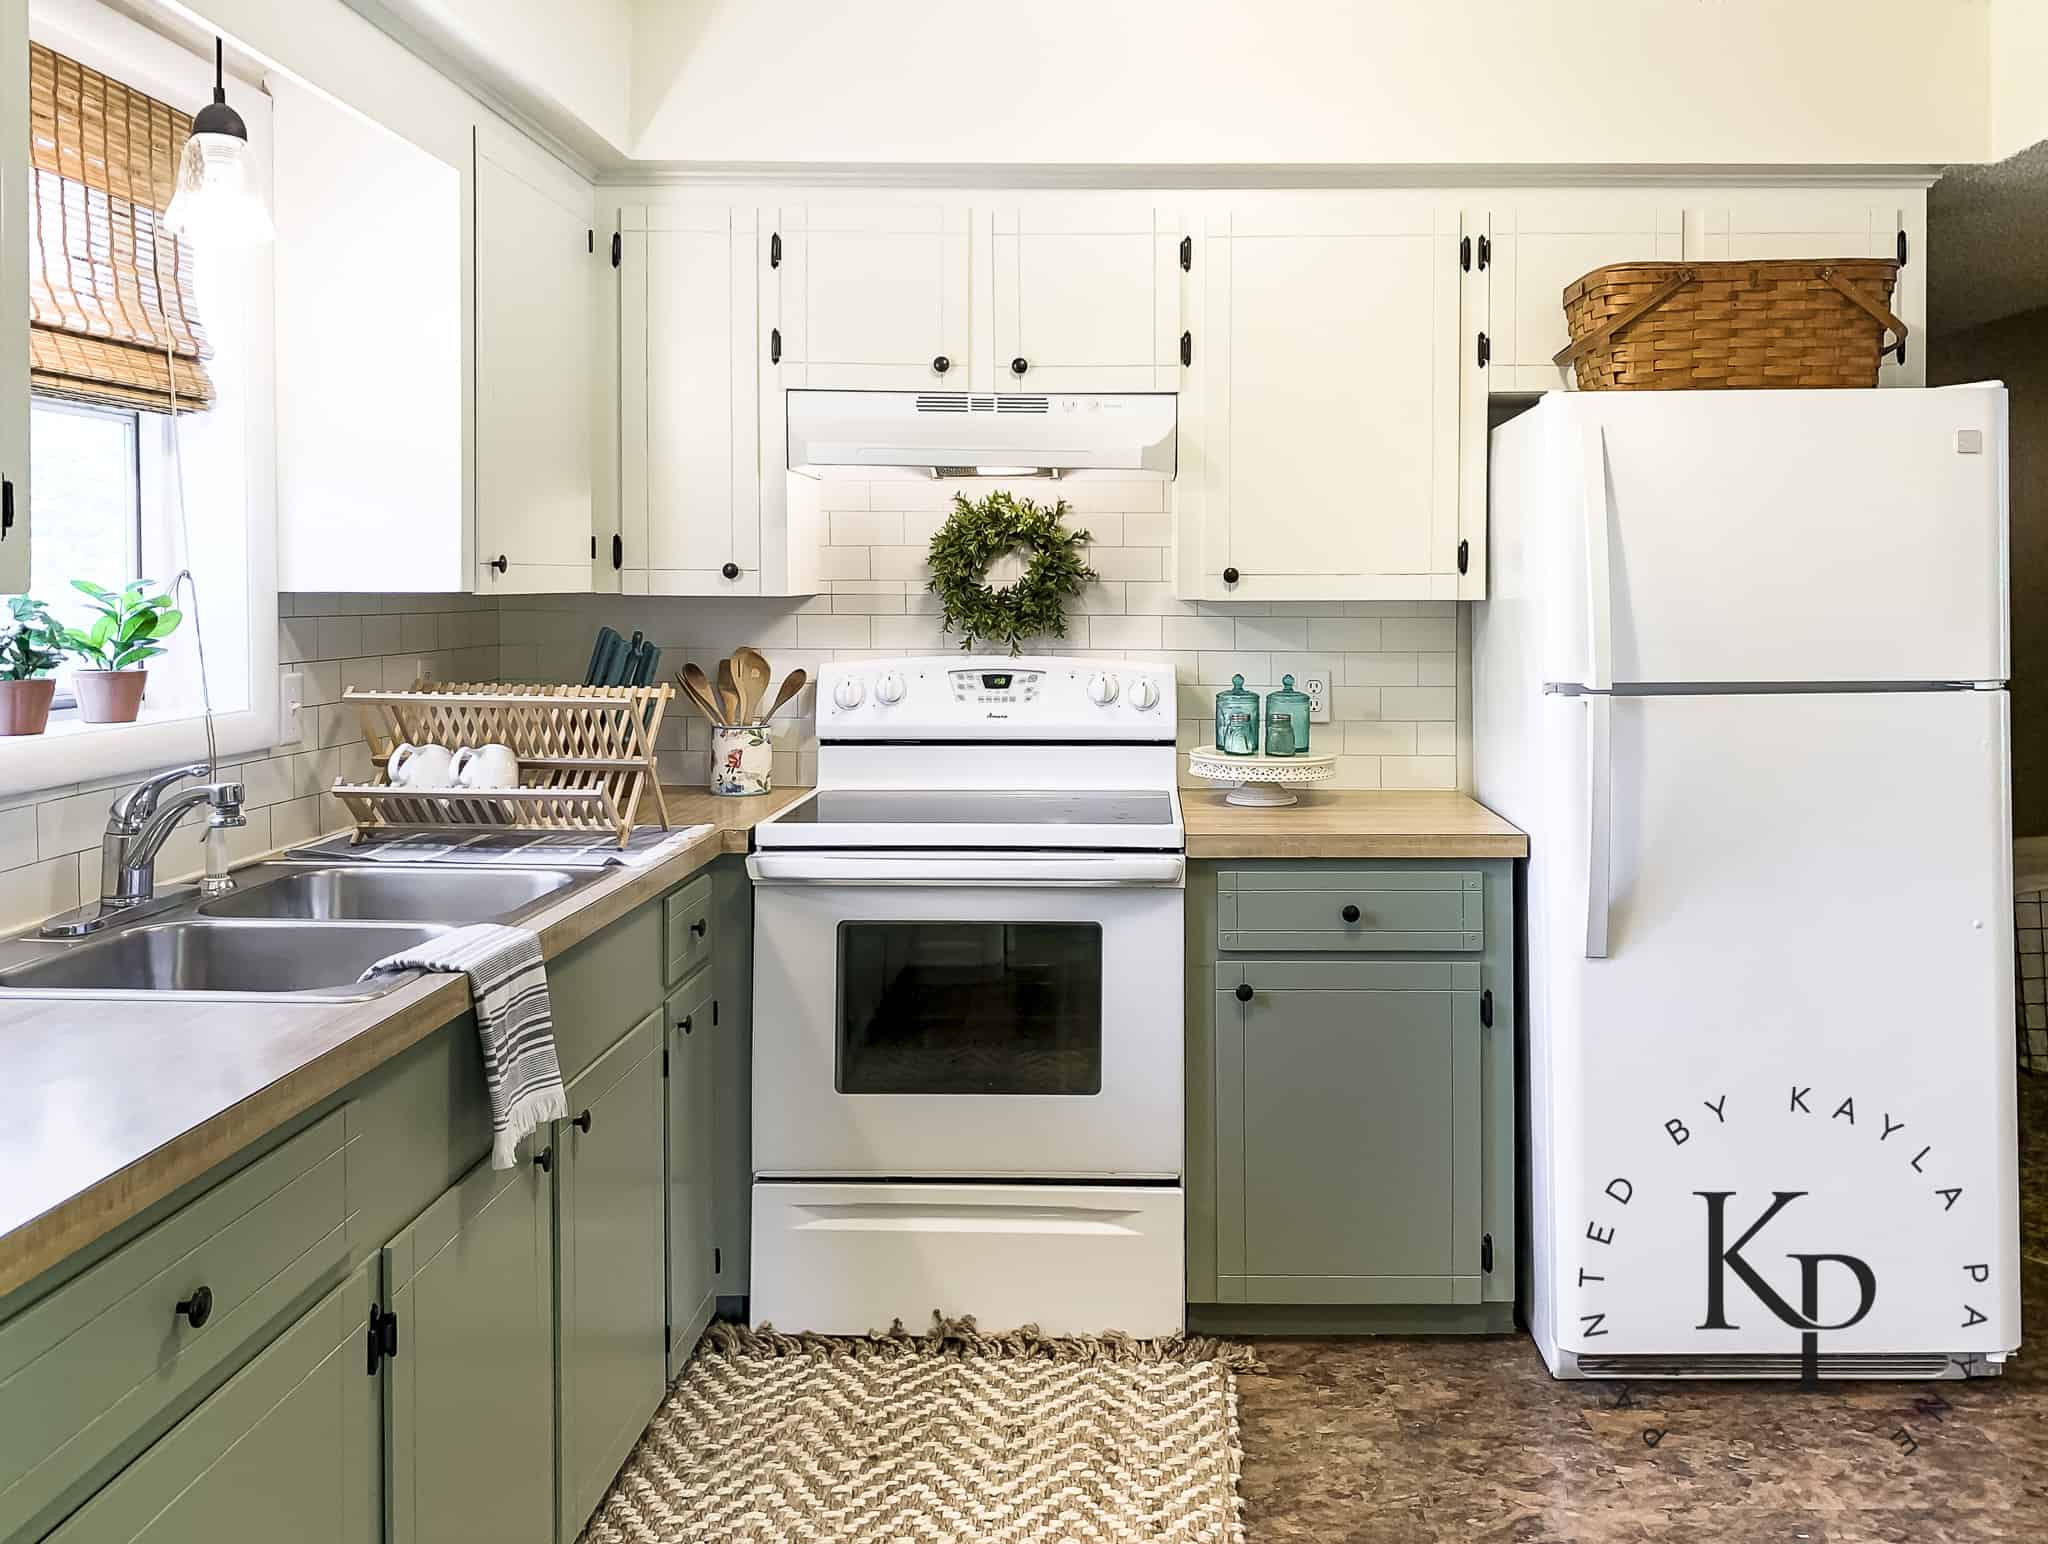
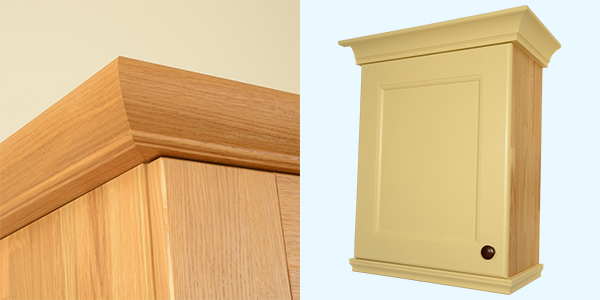
Kitchen wall unit coving is a great way to add a finishing touch to your kitchen cabinets. It not only adds a decorative element but also covers any gaps between the wall and the cabinets. If you're looking to install kitchen wall unit coving, here's a step-by-step guide to help you out. Step 1: Measure and Cut Before you start, measure the length of the wall where you'll be installing the coving. Take into account any corners or obstacles that you'll need to cut around. Once you have the measurements, use a saw to cut the coving to the desired length. Step 2: Sand the Edges Use sandpaper to smooth out the edges of the coving. This will ensure a clean and seamless finish when installed. Step 3: Mark the Wall Use a pencil to mark where the coving will be placed on the wall. This will serve as a guide when you're attaching the coving. Step 4: Apply Adhesive Using a caulking gun, apply a small bead of adhesive along the back of the coving. Make sure to spread it evenly to ensure proper adhesion. Step 5: Place the Coving Carefully place the coving on the marked wall, making sure it's level and straight. Use a level to double-check and adjust if needed. Press the coving firmly against the wall to ensure a strong bond. Step 6: Secure with Nails For added security, you can use small nails to secure the coving in place. Make sure to countersink the nails and fill the holes with wood filler for a seamless finish. Step 7: Paint and Finish If desired, you can paint the coving to match your kitchen cabinets. You can also use a wood filler to fill in any gaps or imperfections before painting. Congratulations, you now have a beautifully installed kitchen wall unit coving!How to Install Kitchen Wall Unit Coving


How to Install Kitchen Wall Unit Coving


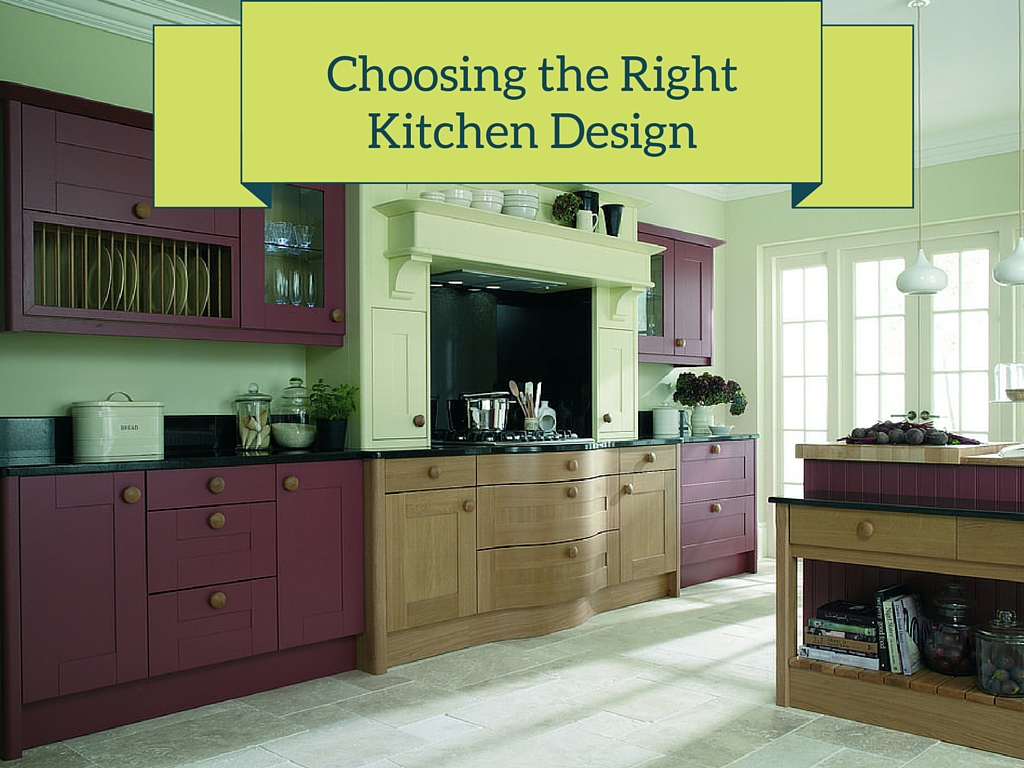
Choosing the right kitchen wall unit coving is crucial to achieving the desired look and functionality for your kitchen. Here are some factors to consider when making your selection. Design and Style Consider the overall design and style of your kitchen when choosing coving. If you have a modern kitchen, opt for sleek and simple coving. For a more traditional look, choose coving with more intricate designs. Material Kitchen wall unit coving comes in various materials such as wood, plastic, and metal. Choose a material that will complement the rest of your kitchen and is durable enough to withstand everyday use. Size and Shape The size and shape of the coving will affect its appearance and functionality. Consider the height and depth of your cabinets to determine the appropriate size of the coving. You can also choose from different shapes such as curved, angled, or straight. Budget Kitchen wall unit coving can range from affordable to high-end. Set a budget and choose a coving that fits within your price range while still meeting your design and functionality needs. By considering these factors, you can select the perfect coving for your kitchen and achieve a cohesive and beautiful look.How to Choose the Right Kitchen Wall Unit Coving


How to Choose the Right Kitchen Wall Unit Coving


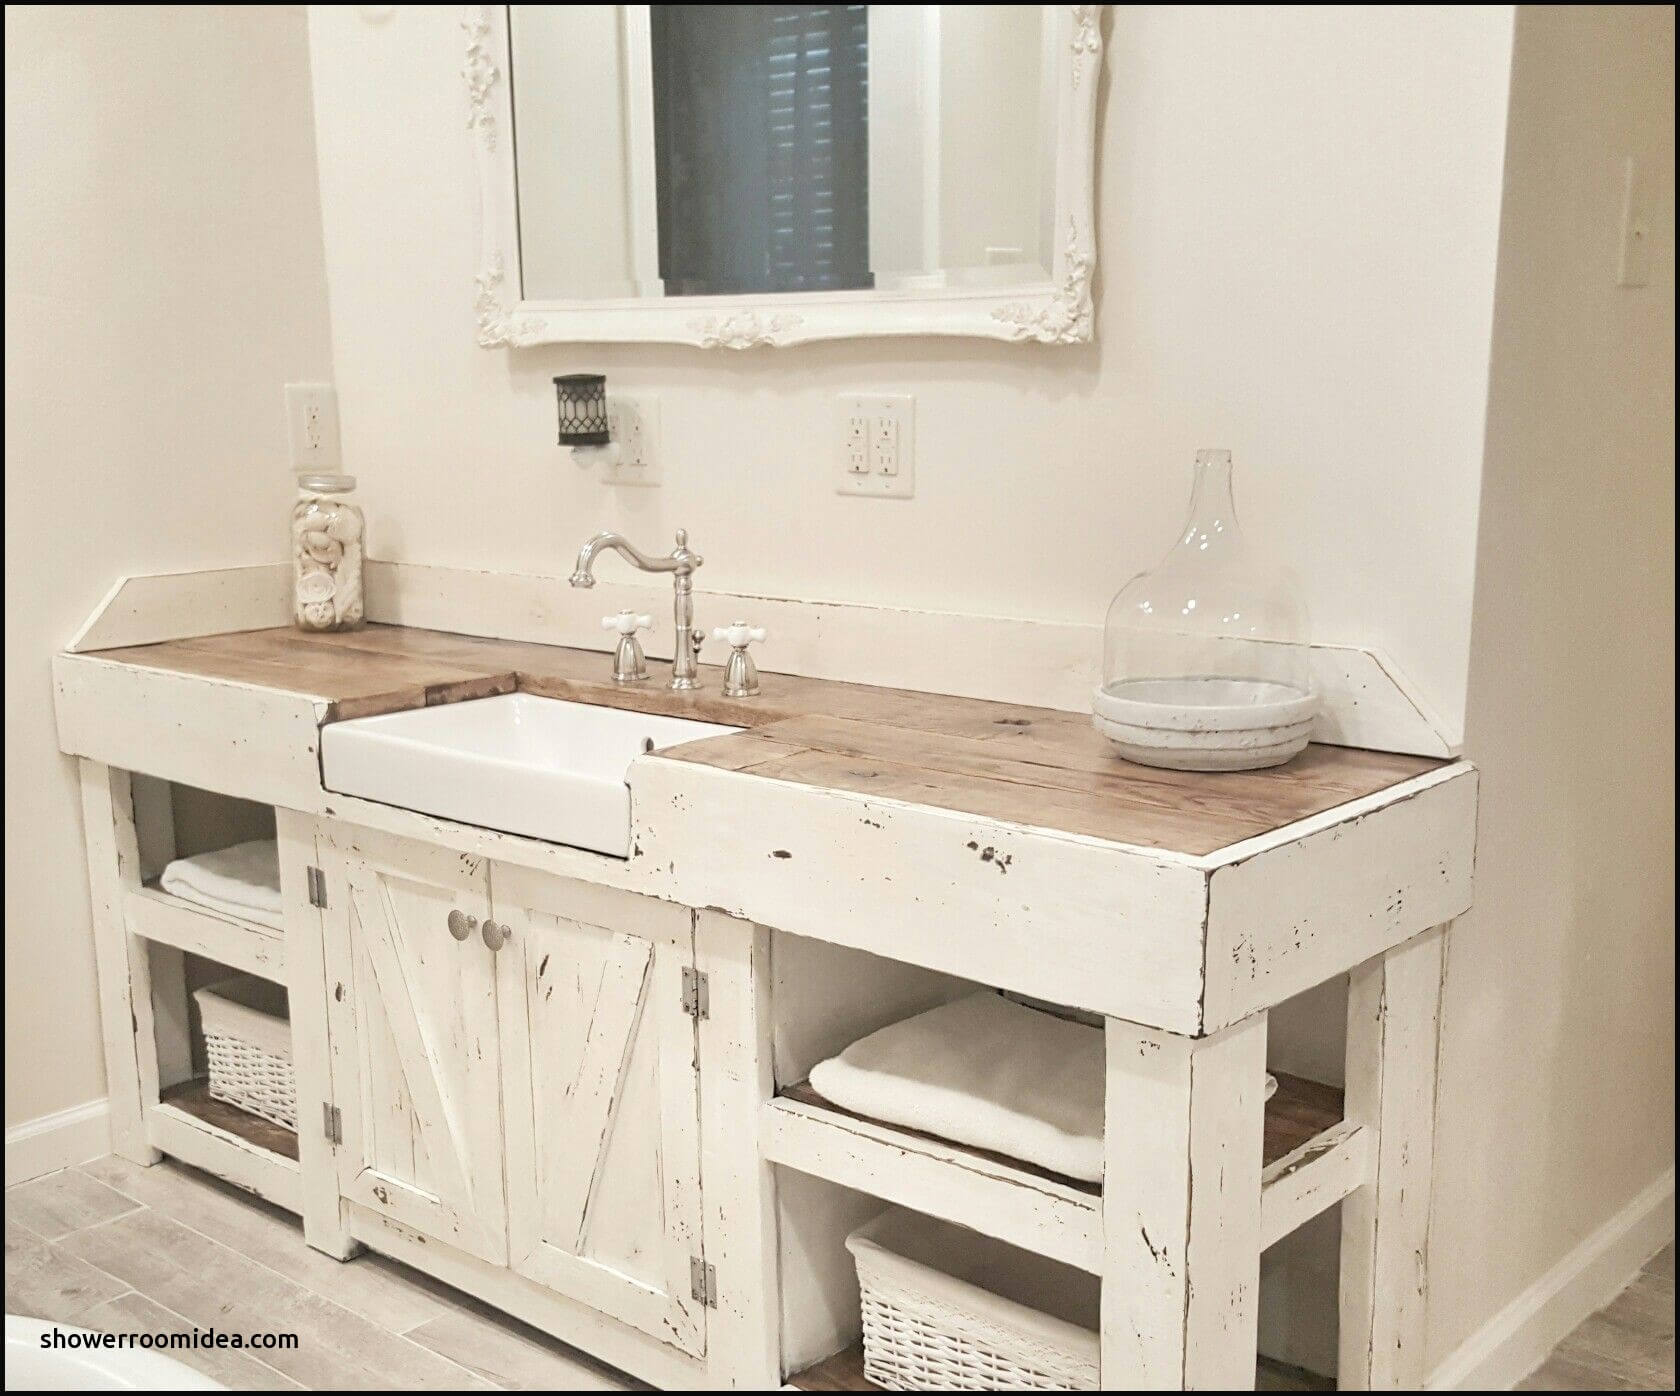
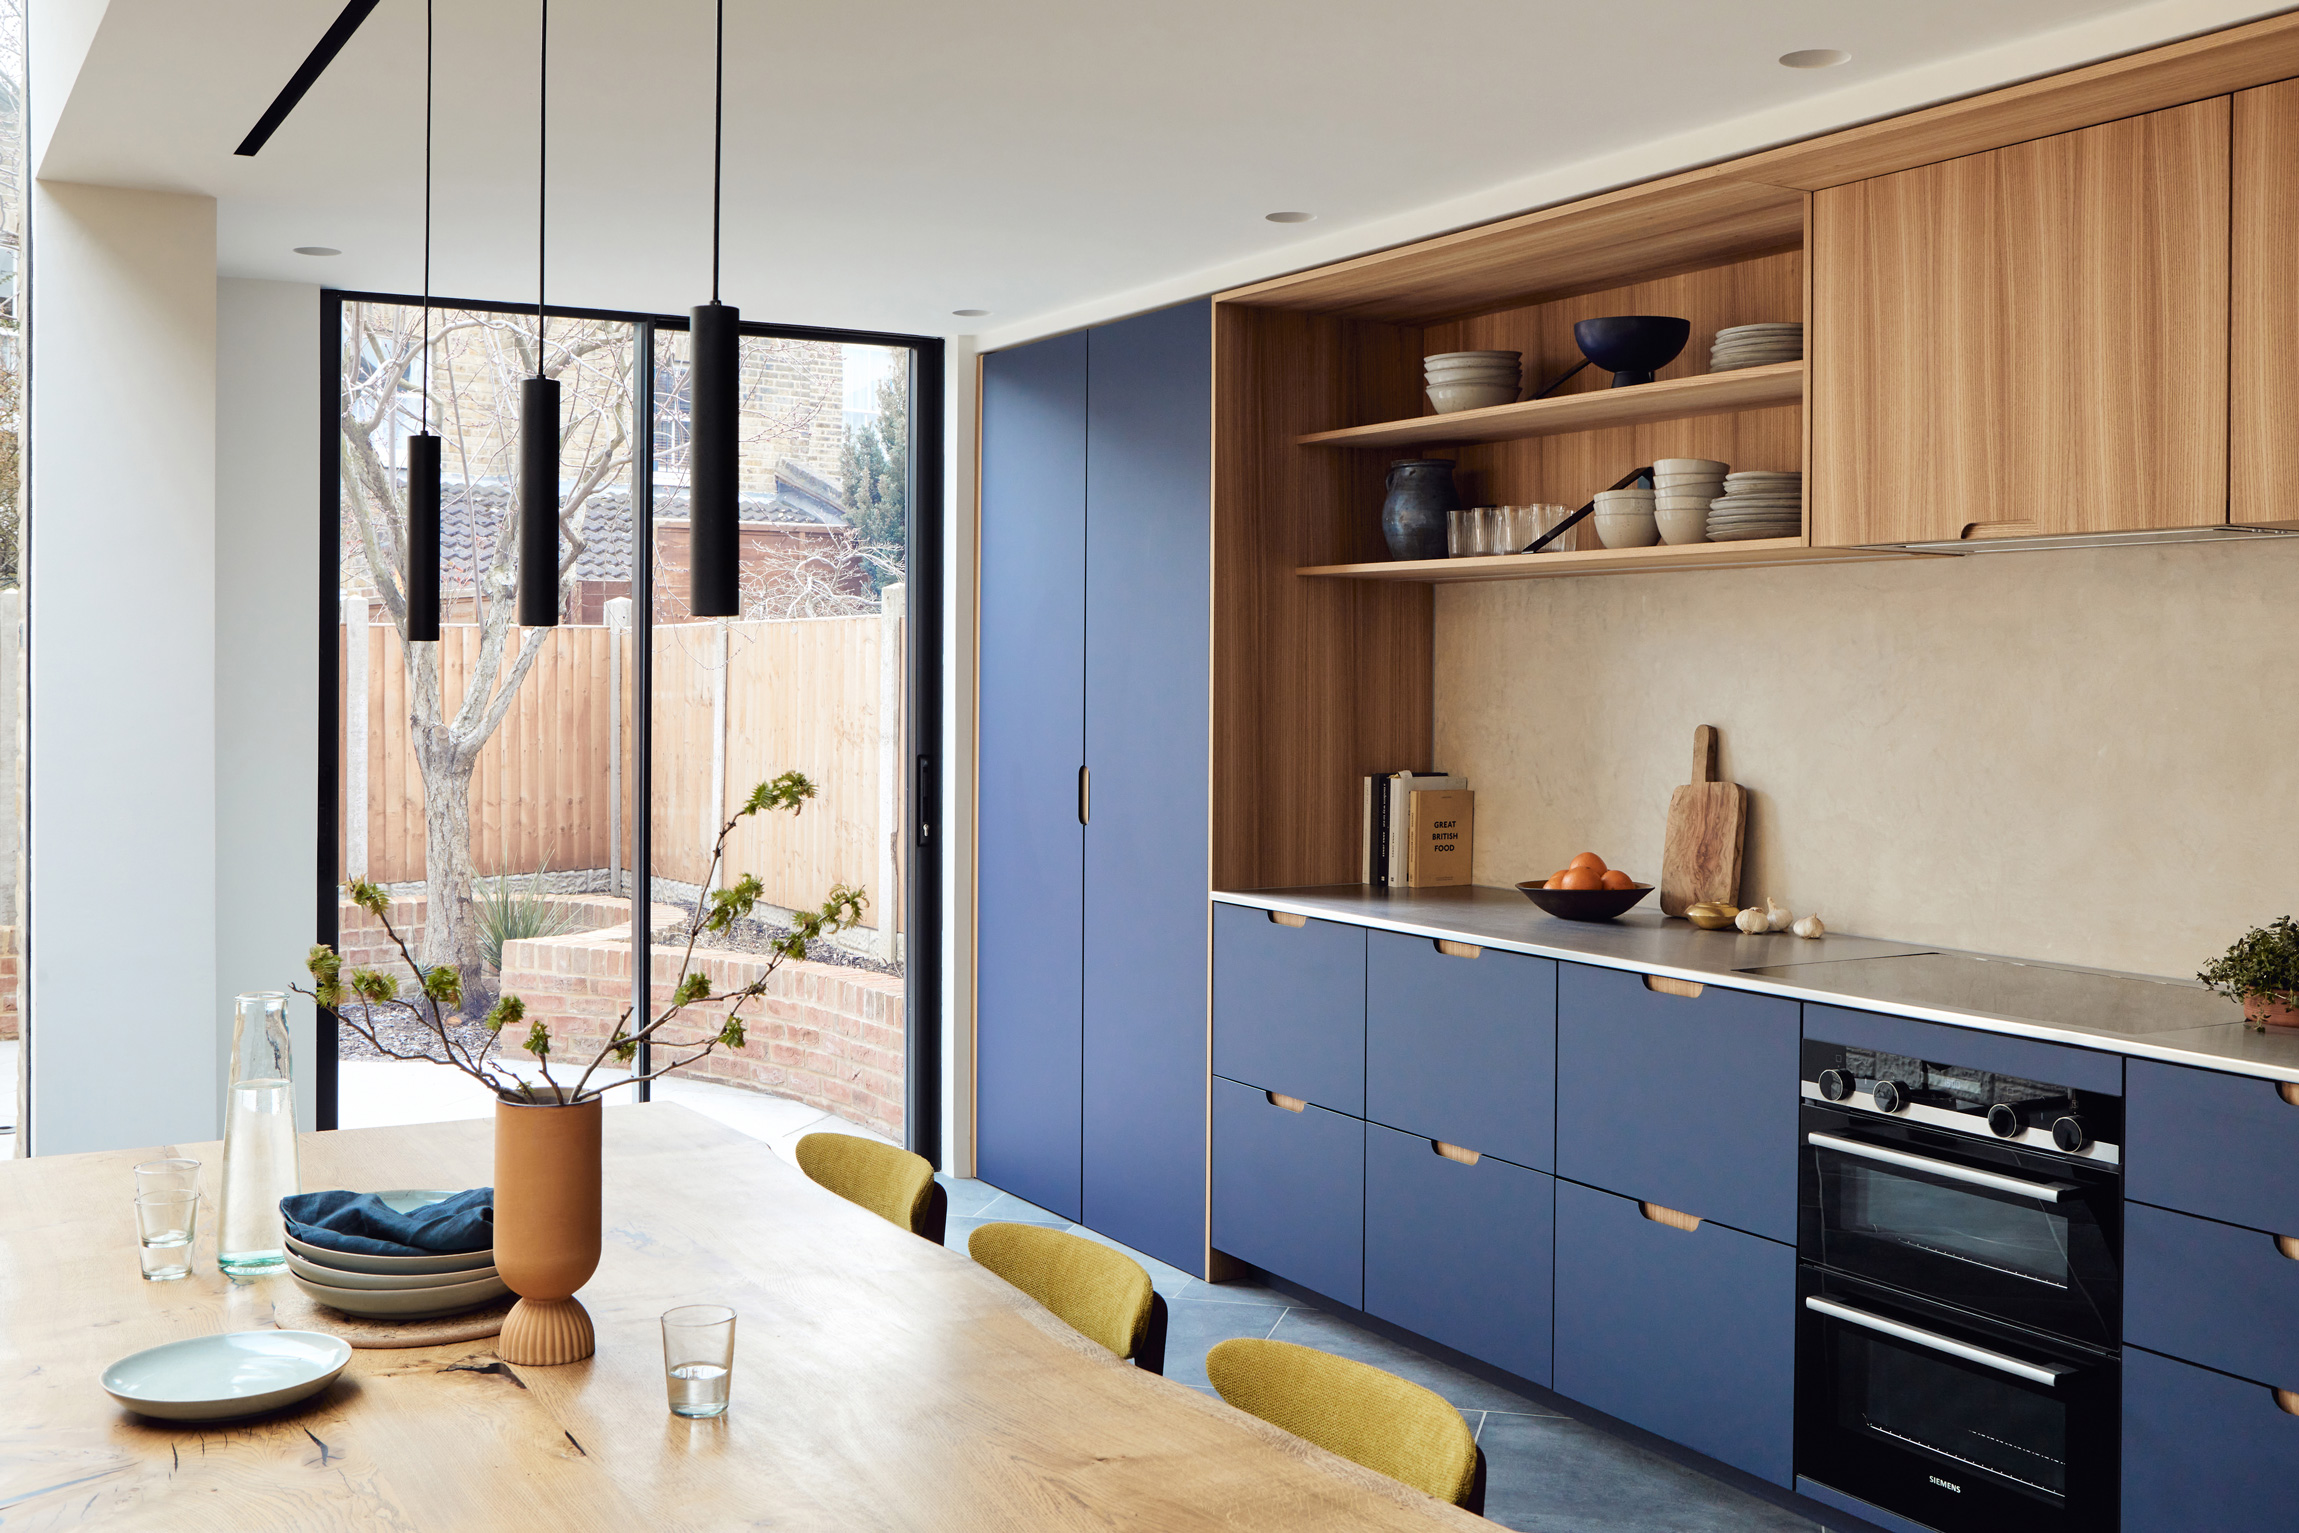
Kitchen wall unit coving is a versatile and stylish addition to any kitchen. Here are our top 10 ideas to inspire your coving design. 1. Simple and Sleek For a modern and minimalist look, opt for a simple and sleek coving design that blends seamlessly with your cabinets. 2. Shiplap Coving Add a touch of farmhouse charm to your kitchen with shiplap coving. It can be painted or stained to match your cabinets and adds texture to the walls. 3. Decorative Crown Molding Crown molding is a classic choice for kitchen wall unit coving. Choose a design that complements the style of your kitchen for a timeless look. 4. Beadboard Coving Beadboard coving adds a touch of elegance and texture to your kitchen walls. It can also be painted or stained to match your cabinets. 5. Glass Front Cabinets with Coving If you have glass front cabinets, consider adding coving behind them for a finished and cohesive look. 6. Contrasting Colors For a bold and eye-catching look, opt for coving in a contrasting color to your cabinets. 7. Curved Coving Curved coving adds a unique and stylish touch to your kitchen walls. It's perfect for adding dimension and breaking up straight lines. 8. Metallic Accents Add a touch of glamour to your kitchen with metallic coving, such as gold or silver. It's perfect for a modern or industrial-style kitchen. 9. Rope Molding Rope molding coving adds a whimsical and nautical touch to your kitchen. It's perfect for beach or coastal-themed homes. 10. Stained Wood Coving For a warm and rustic look, opt for stained wood coving. It adds a touch of nature and complements wood cabinets beautifully.Top 10 Kitchen Wall Unit Coving Ideas

Top 10 Kitchen Wall Unit Coving Ideas


Kitchen wall unit coving comes in various types and materials, each with its own unique features and benefits. Here are the most common types and materials of kitchen wall unit coving. Wood Wood coving is a popular choice for its durability and versatility. It can be painted or stained to match your kitchen cabinets and adds a warm and natural touch to the space. Plastic Plastic coving is a budget-friendly option and is easy to install. It also comes in a variety of designs and can be painted or left as is. Metal Metal coving is a durable and stylish option for modern kitchens. It comes in various finishes such as chrome, brass, and copper, and can add a sleek and industrial look to your kitchen. Polyurethane Polyurethane coving is a lightweight and affordable option that can mimic the look of wood or plaster. It's also easy to install and comes in a variety of designs and finishes. Stone For a luxurious and unique look, consider stone coving. It adds a touch of elegance and can be customized to match your kitchen's color scheme and style.Kitchen Wall Unit Coving: Types and Materials

Kitchen Wall Unit Coving: Types and Materials


If you're feeling handy and want to save some money, you can install kitchen wall unit coving yourself. Here's a step-by-step guide to help you through the process. Step 1: Gather Materials Before you start, make sure you have all the necessary materials such as coving, adhesive, saw, sandpaper, level, and nails. Step 2: Measure and Cut Measure the length of the wall where you'll be installing coving and cut the coving to the desired length using a saw. Step 3: Sand the Edges Use sandpaper to smooth out the edges of the coving for a seamless finish. Step 4: Apply Adhesive Using a caulking gun, apply a small bead of adhesive along the back of the coving. Step 5: Place the Coving Place the coving on the marked wall, making sure it's level and straight. Press firmly against the wall to ensure a strong bond. Step 6: Secure with Nails If desired, you can use small nails to secure the coving in place for added security. Step 7: Paint and Finish Finally, you can paint the coving to match your kitchen's color scheme and fill in any gaps or imperfections with wood filler before painting.DIY Kitchen Wall Unit Coving: Step-by-Step Guide


DIY Kitchen Wall Unit Coving: Step-by-Step Guide


Kitchen wall unit coving has its own set of pros and cons to consider before making a decision. Here's a breakdown of the advantages and disadvantages of using coving in your kitchen. Pros: - Adds a decorative element to your kitchen - Covers any gaps between the wall and cabinets - Can be painted or stained to match your cabinets - Comes in a variety of materials, designs, and sizes Cons: - Can be expensive depending on the material and design chosen - May require professional installation for a seamless finish - Can collect dust and grime in the crevices - Can be difficult to clean and maintainKitchen Wall Unit Coving: Pros and Cons

Kitchen Wall Unit Coving: Pros and Cons
If you're looking to update the look of your kitchen, painting your coving is a simple and inexpensive way to do so. Here's how to paint kitchen wall unit coving in a few easy steps. Step 1: Prepare the Area Start by removing any furniture or items near the coving to avoid getting paint on them. Cover the floor and countertops with a drop cloth or old sheets. Step 2: Clean the Coving Wipe down the coving with a damp cloth to remove any dirt and grime. Let it dry completely before proceeding. Step 3: Prime the Coving Using a paintbrush or roller, apply a coat of primer to the coving. This will help the paint adhere better and prevent any stains or discoloration from showing through. Step 4: Paint the Coving Once the primer is dry, use a paintbrush or roller to apply your desired paint color to the coving. You may need to apply two coats for a more even and opaque finish. Step 5: Let it Dry Allow the paint to dry completely before touching or adding any additional coats. And voila, you now have a freshly painted kitchen wall unit coving!How to Paint Kitchen Wall Unit Coving


How to Paint Kitchen Wall Unit Coving


Proper maintenance and care can help prolong the life of your kitchen wall unit coving and keep it looking its best. Here are some tips to help you maintain your coving. Cleaning: Regularly wipe down the coving with a damp cloth to remove any dust or grime. You can also use a mild soap solution for tougher stains. Preventive Measures: To prevent any damage, avoid hanging heavy objects on the coving or using harsh chemicals to clean it. Repairs: If there are any cracks or chips in the coving, use wood filler or caulk to fill them in before painting over for a seamless finish. By following these simple maintenance tips, you can keep your kitchen wall unit coving looking like new for years to come.Kitchen Wall Unit Coving: Maintenance and Care
Kitchen Wall Unit Coving: Maintenance and Care

If you're ready to purchase kitchen wall unit coving, here are some places where you can find a variety of options to choose from. Home Improvement Stores Home improvement stores such as Home Depot and Lowe's carry a wide range of coving options in different materials, designs, and sizes. Online Retailers You can also find a variety of coving options on online retailers such as Amazon, Wayfair, and Overstock. Specialty Stores If you're looking for a specific type or design of coving, consider checking out specialty stores that specialize in kitchen and home decor. Local Hardware Stores Your local hardware store may also carry coving options. This is a great option if you're looking for more affordable and basic designs.Kitchen Wall Unit Coving: Where to Buy


Kitchen Wall Unit Coving: Where to Buy


The cost of kitchen wall unit coving can vary depending on the material, design, and size. Here's a breakdown of the average costs to help you budget for your coving project. Wood: $5-$15 per linear footKitchen Wall Unit Coving: Cost and Budgeting

Kitchen Wall Unit Coving: Cost and Budgeting
The Benefits of Adding Kitchen Wall Unit Coving to Your House Design

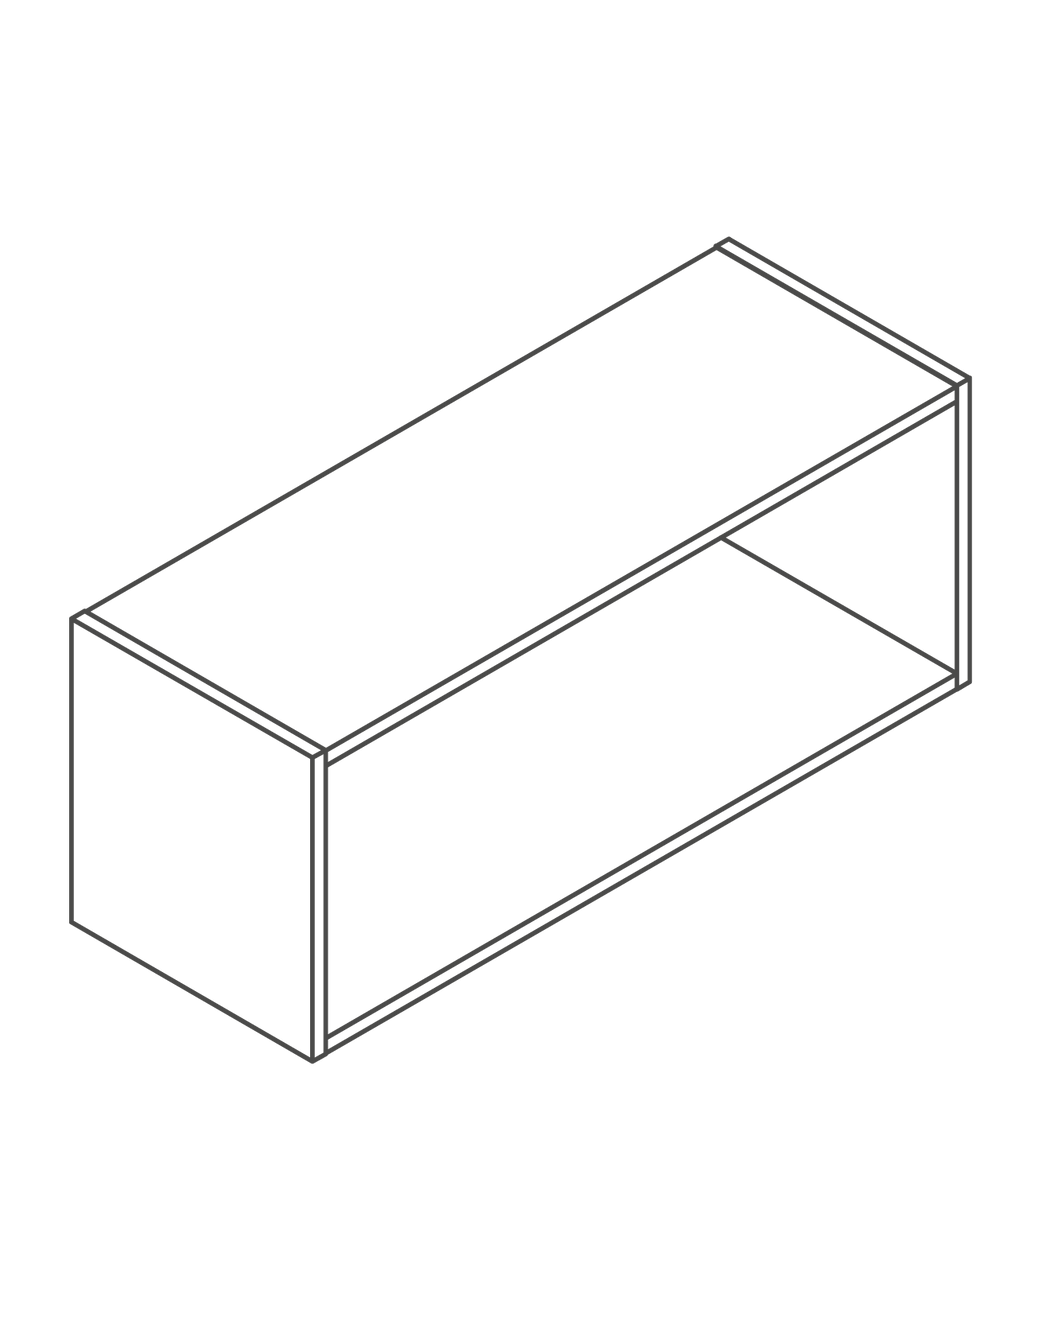
Enhance the Overall Aesthetic of Your Kitchen
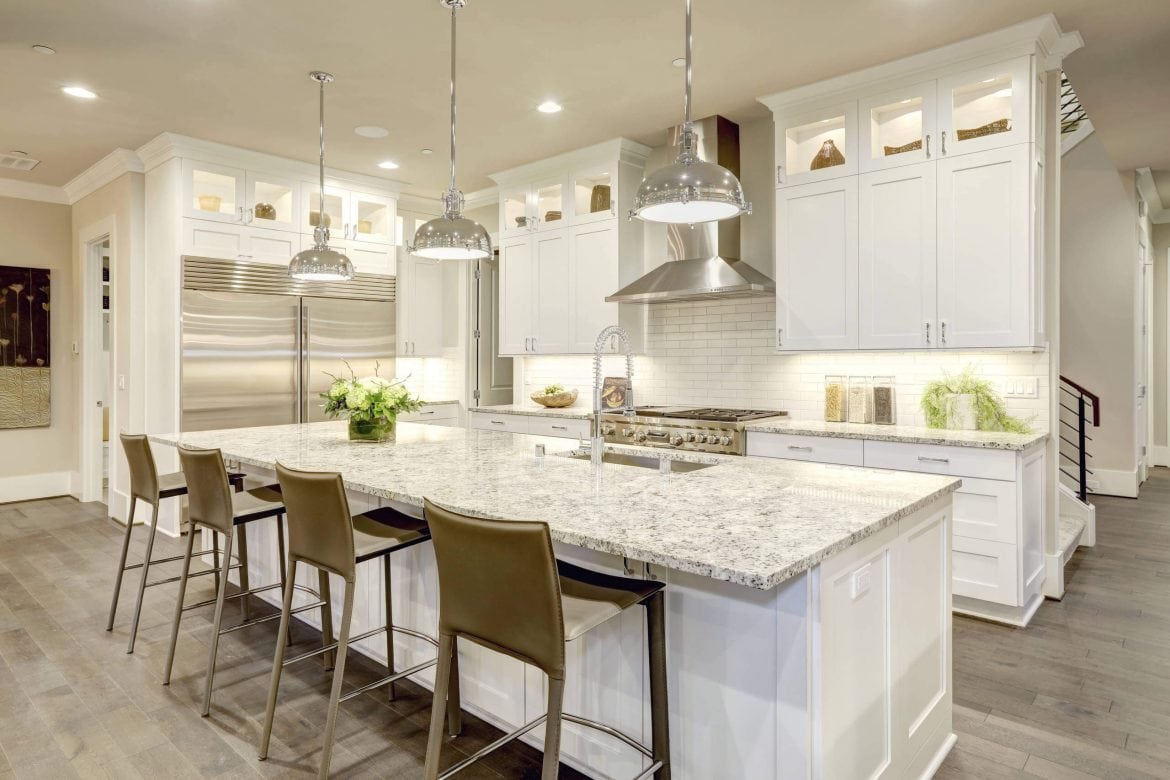
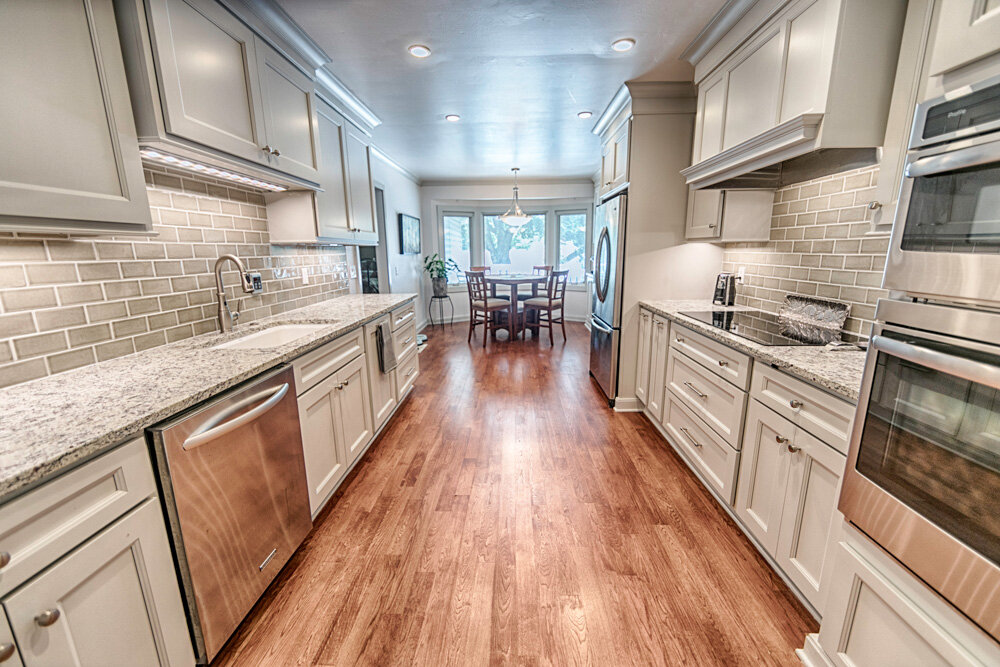
 Adding kitchen wall unit coving to your home can greatly enhance the overall aesthetic of your kitchen. This decorative moulding can add a touch of elegance and sophistication to an otherwise plain and simple kitchen. With various designs and finishes available, you can choose one that complements your existing kitchen design or create a statement piece that adds character to your space. The
intricate details
of coving can also create a sense of depth and dimension, making your kitchen feel more spacious and visually appealing.
Adding kitchen wall unit coving to your home can greatly enhance the overall aesthetic of your kitchen. This decorative moulding can add a touch of elegance and sophistication to an otherwise plain and simple kitchen. With various designs and finishes available, you can choose one that complements your existing kitchen design or create a statement piece that adds character to your space. The
intricate details
of coving can also create a sense of depth and dimension, making your kitchen feel more spacious and visually appealing.
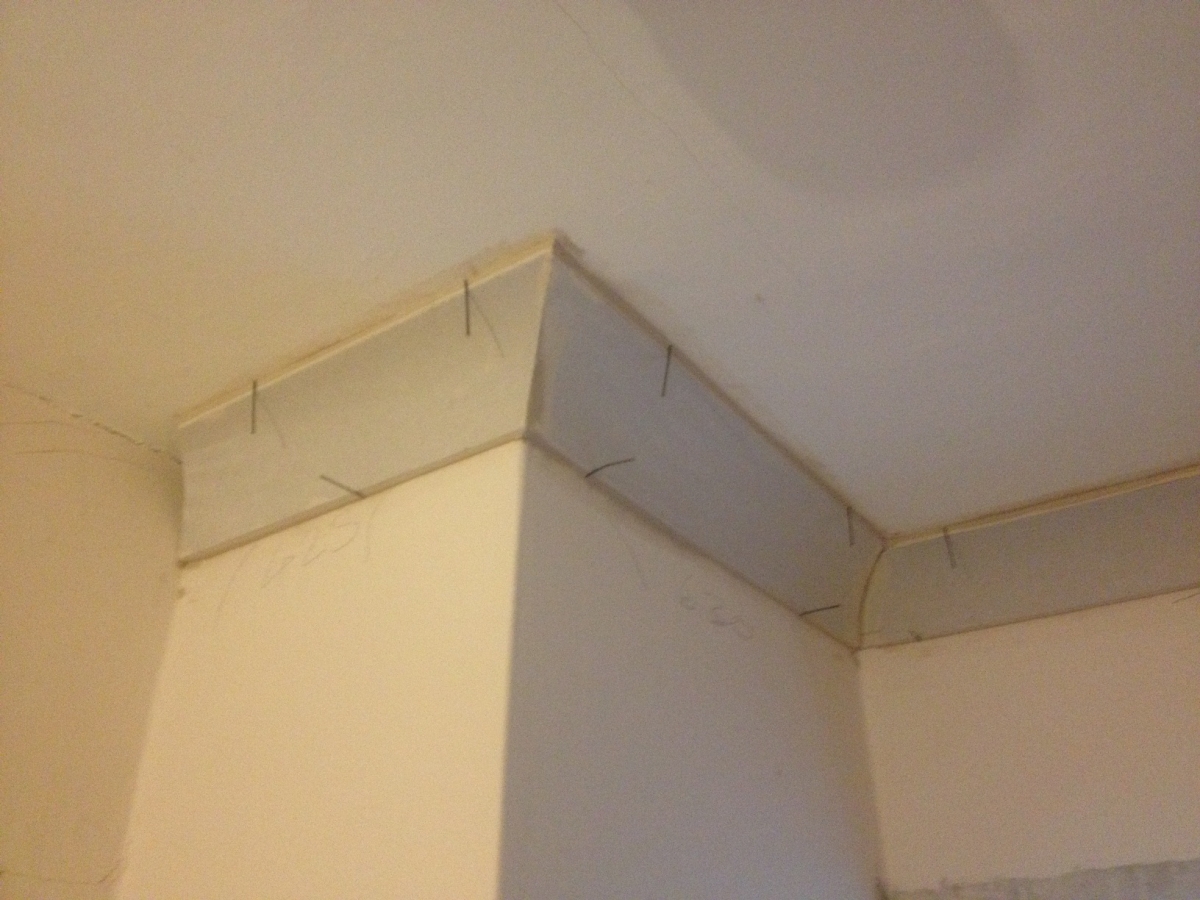
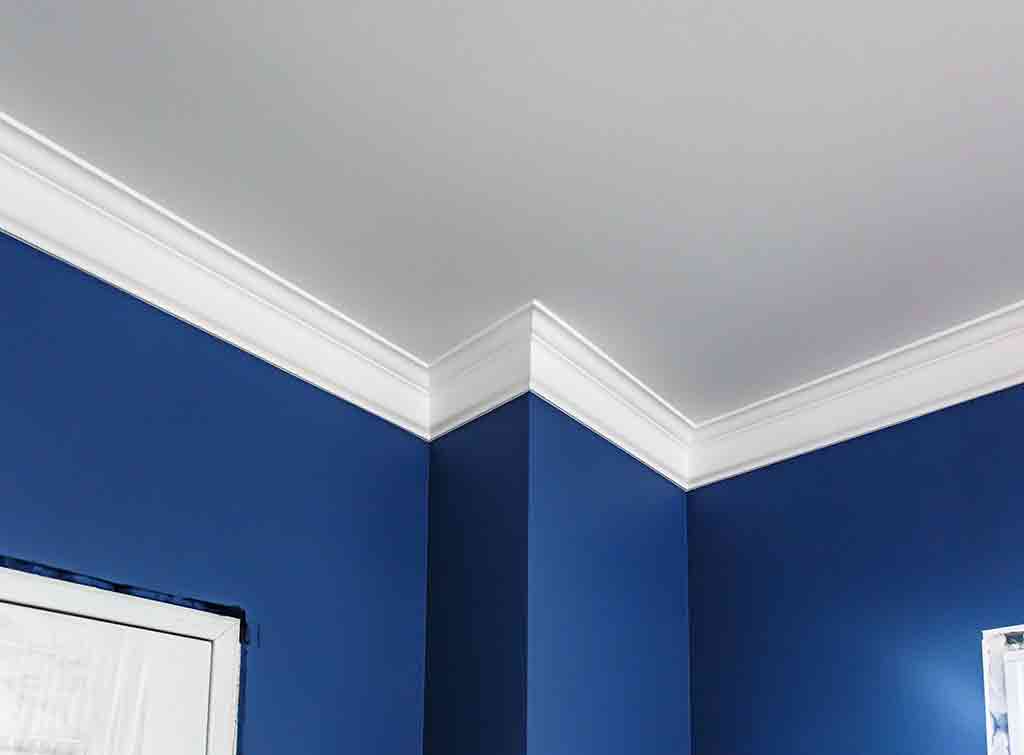
Hide Imperfections and Gaps
 One of the main purposes of kitchen wall unit coving is to
hide imperfections and gaps
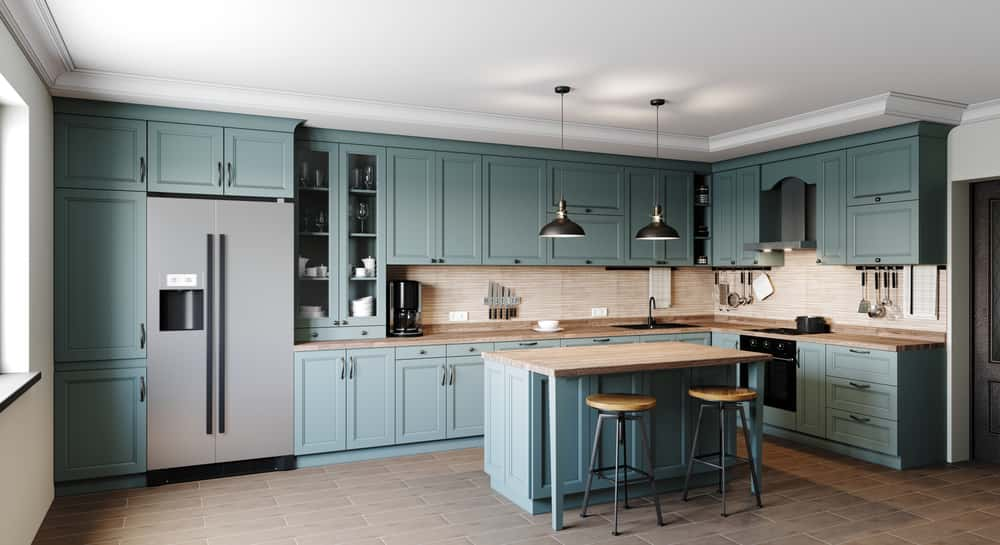
between the wall and the ceiling. This can be especially useful in older homes where the walls and ceilings may not be perfectly straight. Coving can also be used to cover up any unsightly wires or pipes that may be running along the top of your kitchen cabinets. This not only improves the overall look of your kitchen, but it also creates a more streamlined and polished appearance.
One of the main purposes of kitchen wall unit coving is to
hide imperfections and gaps
between the wall and the ceiling. This can be especially useful in older homes where the walls and ceilings may not be perfectly straight. Coving can also be used to cover up any unsightly wires or pipes that may be running along the top of your kitchen cabinets. This not only improves the overall look of your kitchen, but it also creates a more streamlined and polished appearance.
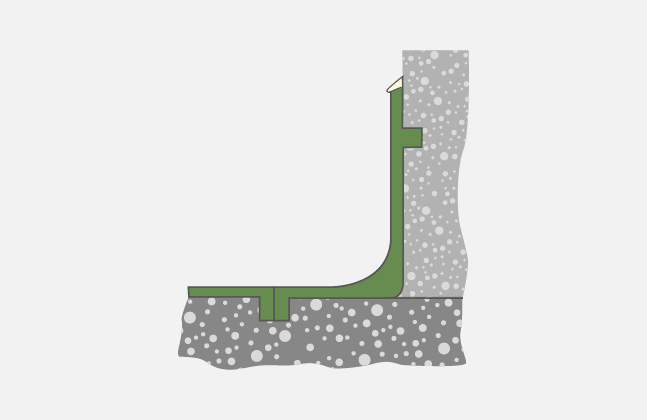
Protect Your Kitchen Walls
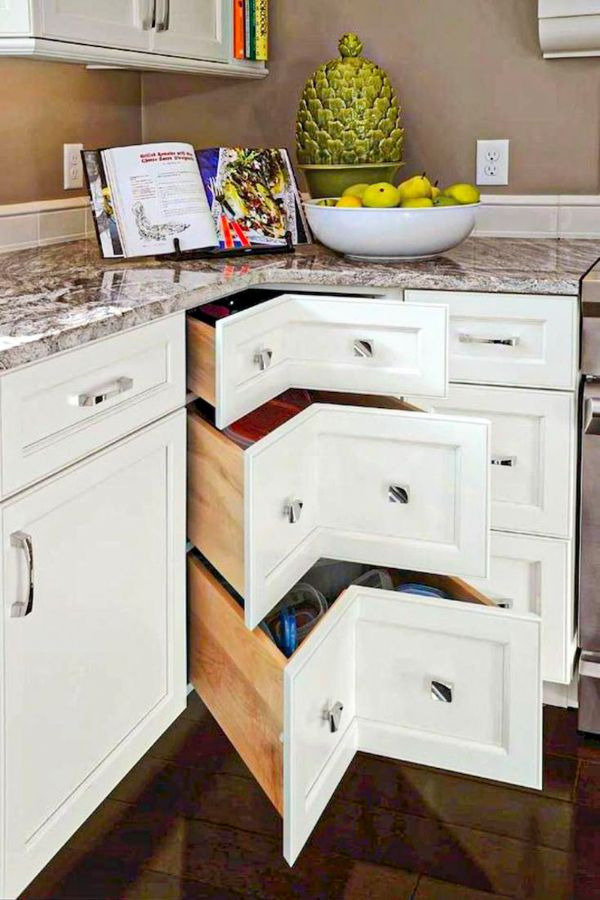
 Kitchen walls are prone to damage from splashes, steam, and heat from cooking. Adding coving can provide an extra layer of protection to your walls, as it acts as a barrier between the cabinets and the wall. This can prevent any damage or discoloration over time, saving you from costly repairs in the long run. Additionally, coving can also help to
reduce the buildup of dust and grime
in the corners of your kitchen, making it easier to clean and maintain.
Kitchen walls are prone to damage from splashes, steam, and heat from cooking. Adding coving can provide an extra layer of protection to your walls, as it acts as a barrier between the cabinets and the wall. This can prevent any damage or discoloration over time, saving you from costly repairs in the long run. Additionally, coving can also help to
reduce the buildup of dust and grime
in the corners of your kitchen, making it easier to clean and maintain.
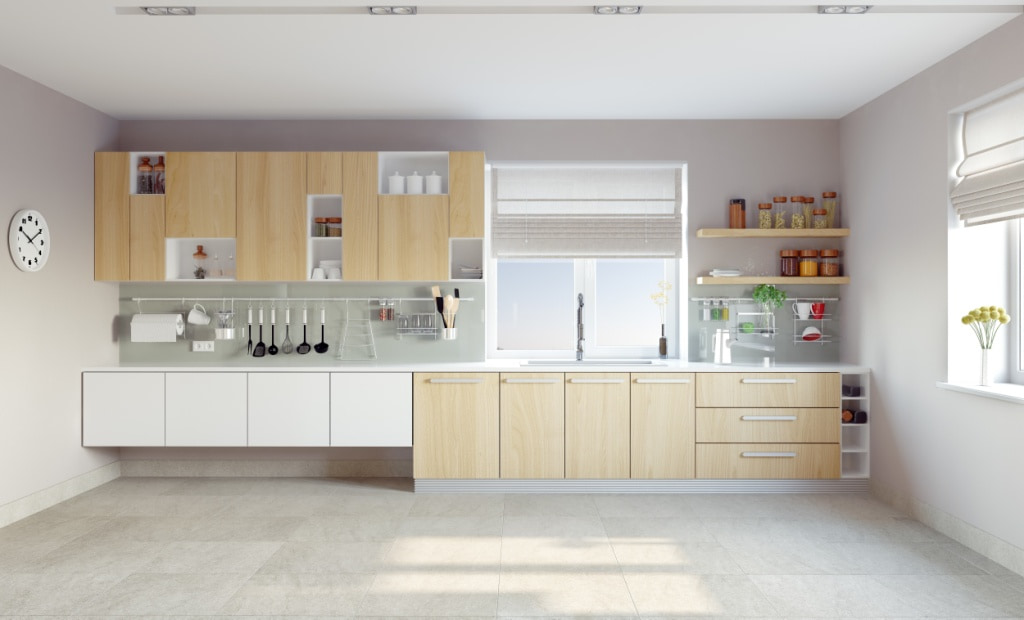
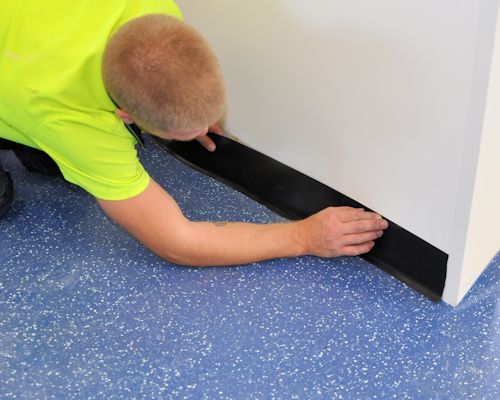
Easy Installation and Customization
 Kitchen wall unit coving is a relatively easy and affordable way to update the look of your kitchen. It comes in various materials such as wood, plaster, and PVC, making it
versatile and customizable
to fit your specific design preferences. The installation process is also straightforward, and with the right tools and techniques, it can be done as a DIY project. However, for a more professional and seamless finish, it is recommended to hire a skilled installer.
In conclusion, adding kitchen wall unit coving to your house design not only enhances the aesthetic appeal of your kitchen but also serves practical purposes such as protecting your walls and hiding imperfections. With its easy installation and customization options, coving is a great way to add a touch of elegance and character to your kitchen. So why not consider adding coving to your kitchen design and elevate the overall look of your home?
Kitchen wall unit coving is a relatively easy and affordable way to update the look of your kitchen. It comes in various materials such as wood, plaster, and PVC, making it
versatile and customizable
to fit your specific design preferences. The installation process is also straightforward, and with the right tools and techniques, it can be done as a DIY project. However, for a more professional and seamless finish, it is recommended to hire a skilled installer.
In conclusion, adding kitchen wall unit coving to your house design not only enhances the aesthetic appeal of your kitchen but also serves practical purposes such as protecting your walls and hiding imperfections. With its easy installation and customization options, coving is a great way to add a touch of elegance and character to your kitchen. So why not consider adding coving to your kitchen design and elevate the overall look of your home?