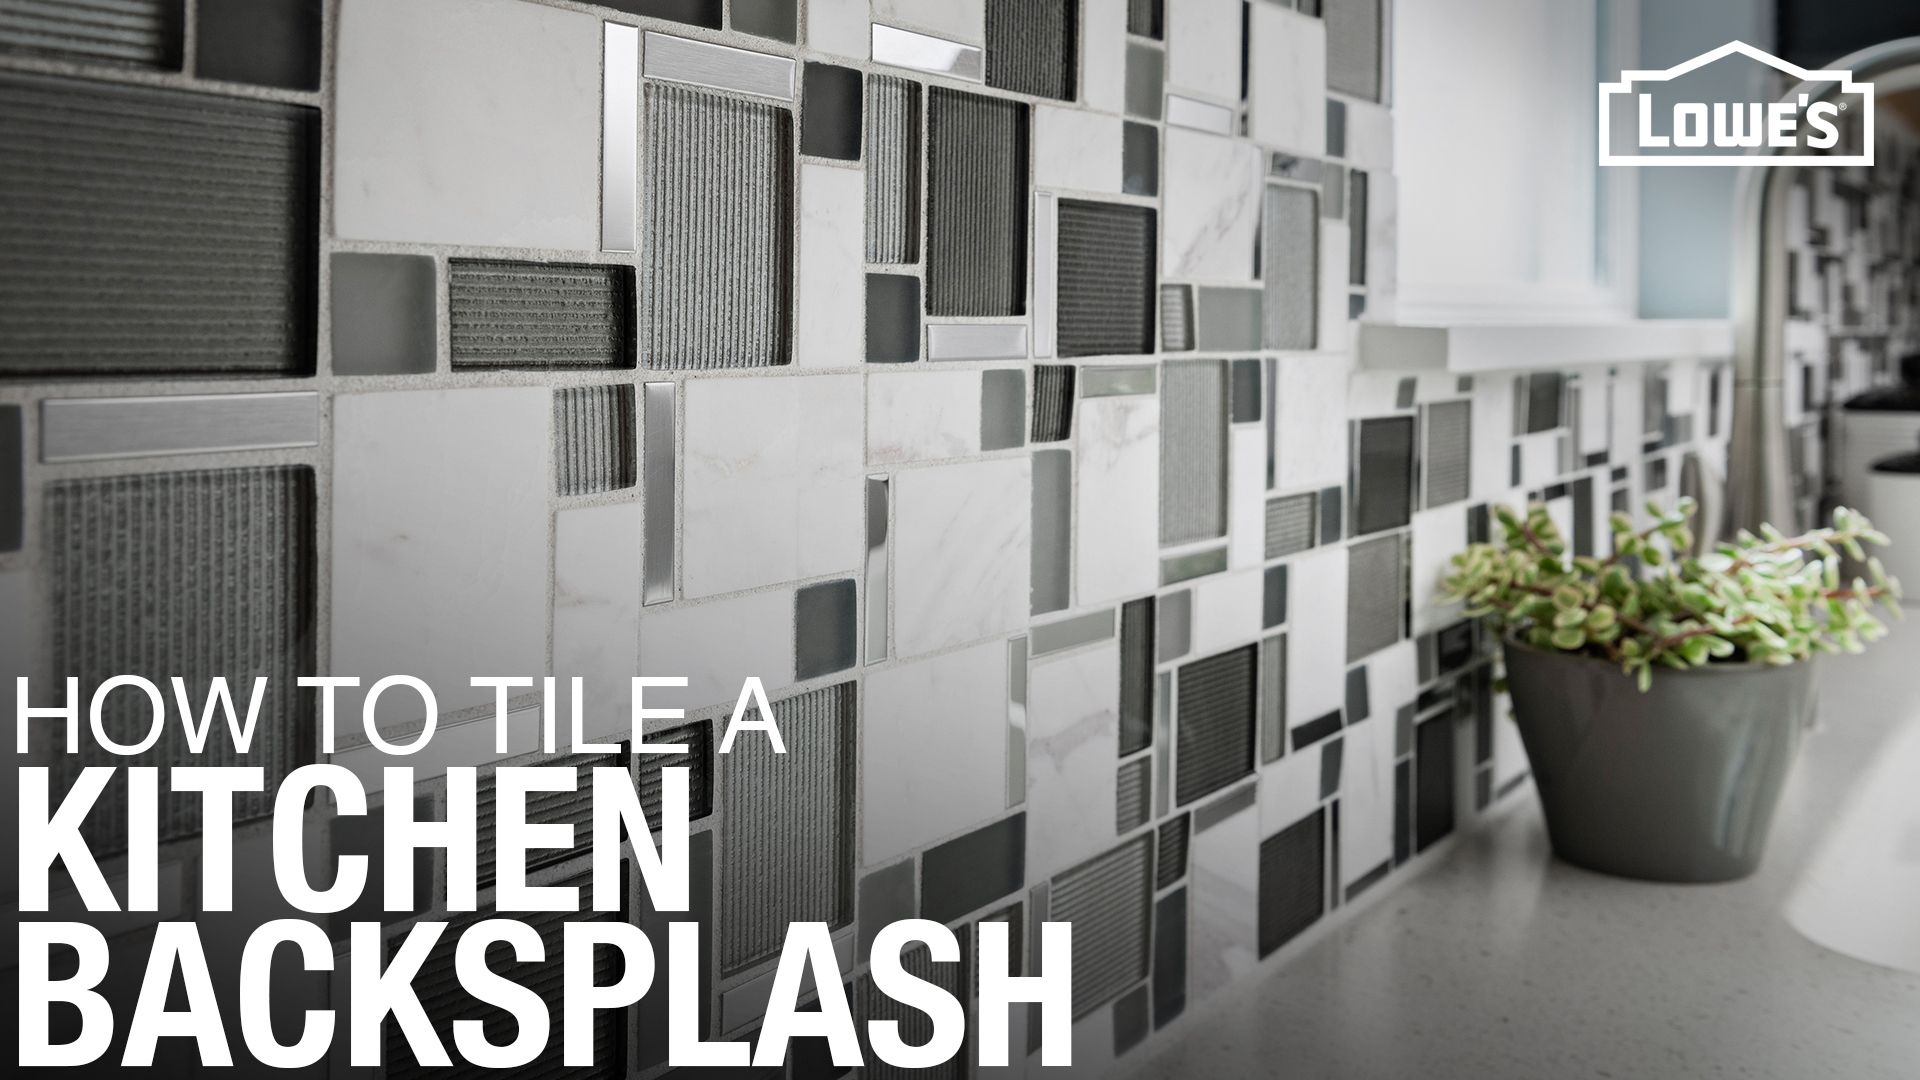
Are you looking to give your kitchen a fresh and updated look? One of the best ways to do that is by installing a new tile backsplash. Not only does it add a touch of style and personality, but it also protects your walls from splatters and spills. If you're a DIY enthusiast, installing a kitchen tile backsplash can be a fun and rewarding project. With the right tools and a little bit of patience, you can transform your kitchen in no time. In this guide, we'll show you how to install a kitchen tile backsplash step by step. Let's get started!How to Install a Kitchen Tile Backsplash | DIY Tutorial | The DIY Mommy

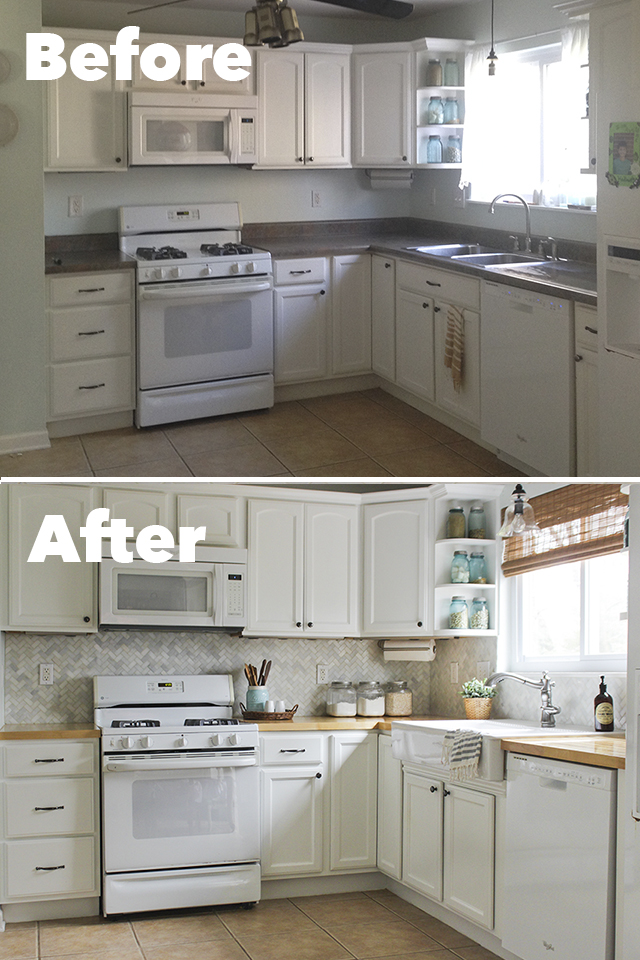

How to Install a Kitchen Tile Backsplash


Before you begin, it's important to have all the necessary materials and tools on hand. You will need:How to Install a Kitchen Tile Backsplash - HGTV


DIY Tutorial


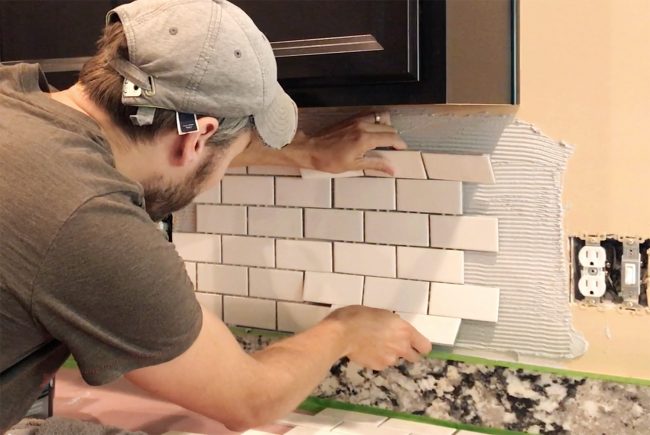
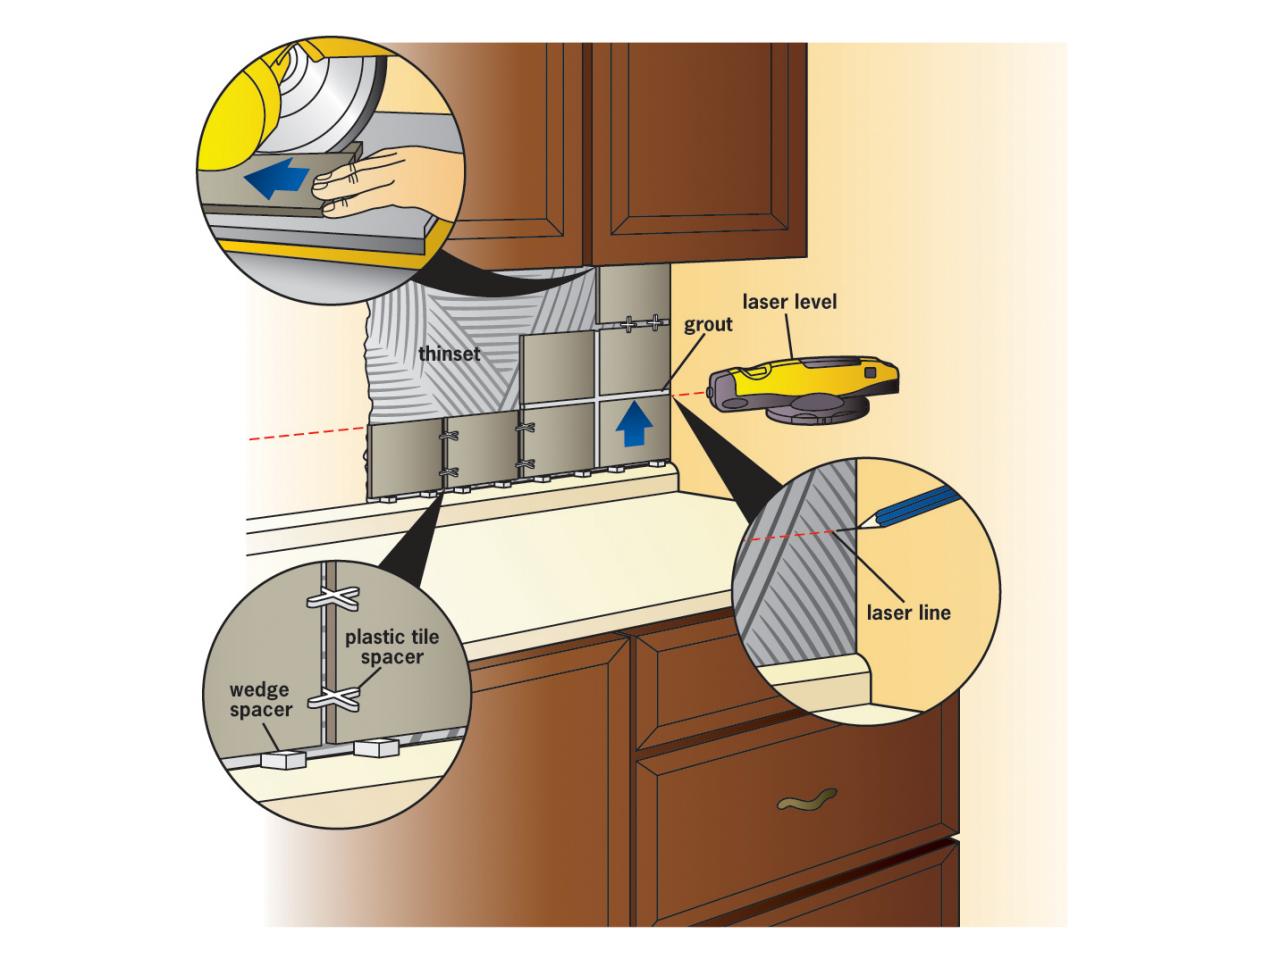
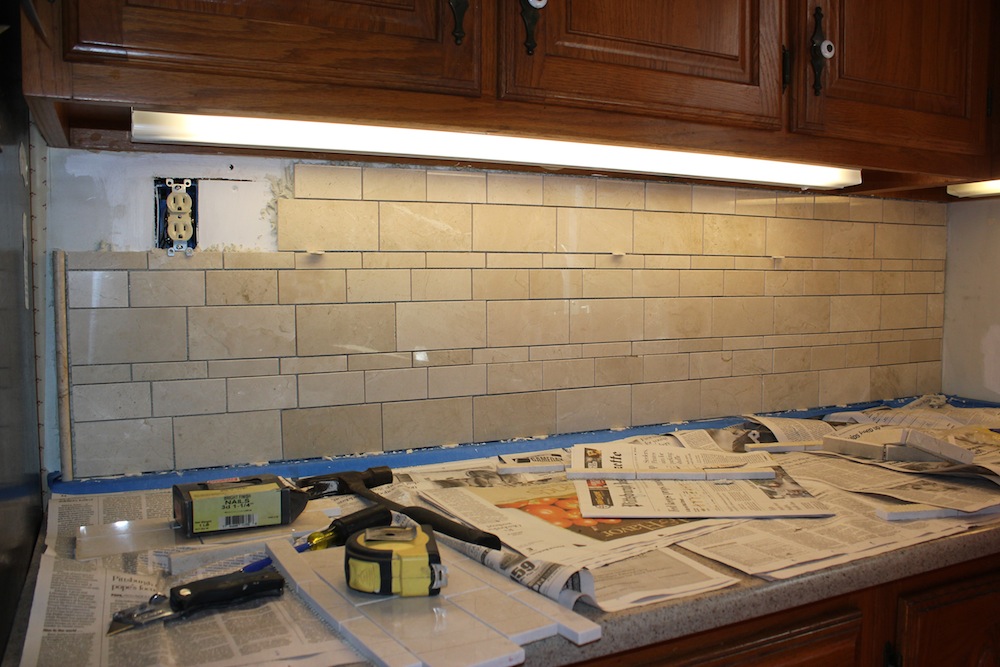
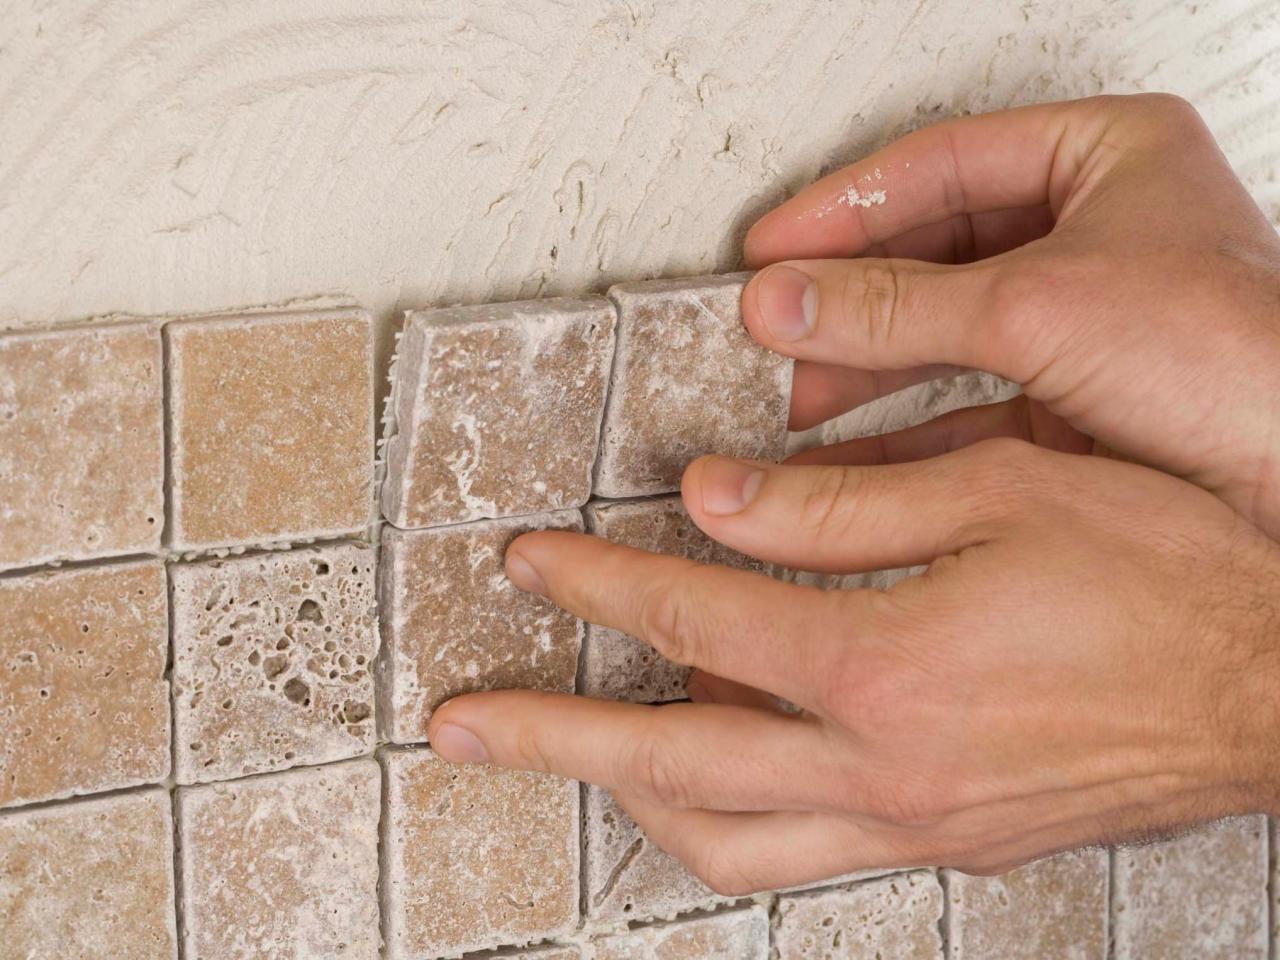
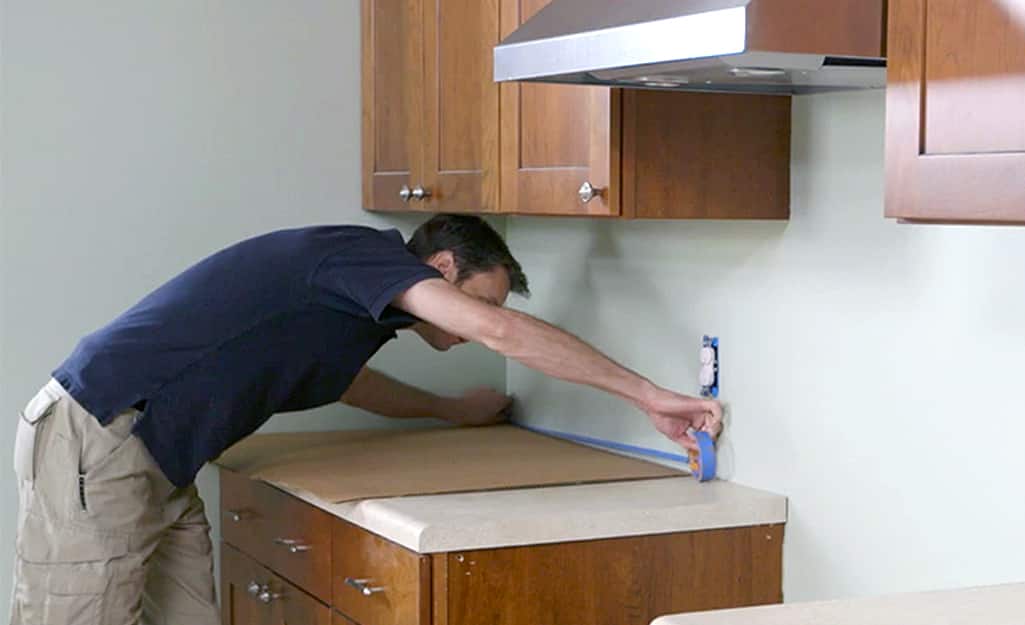
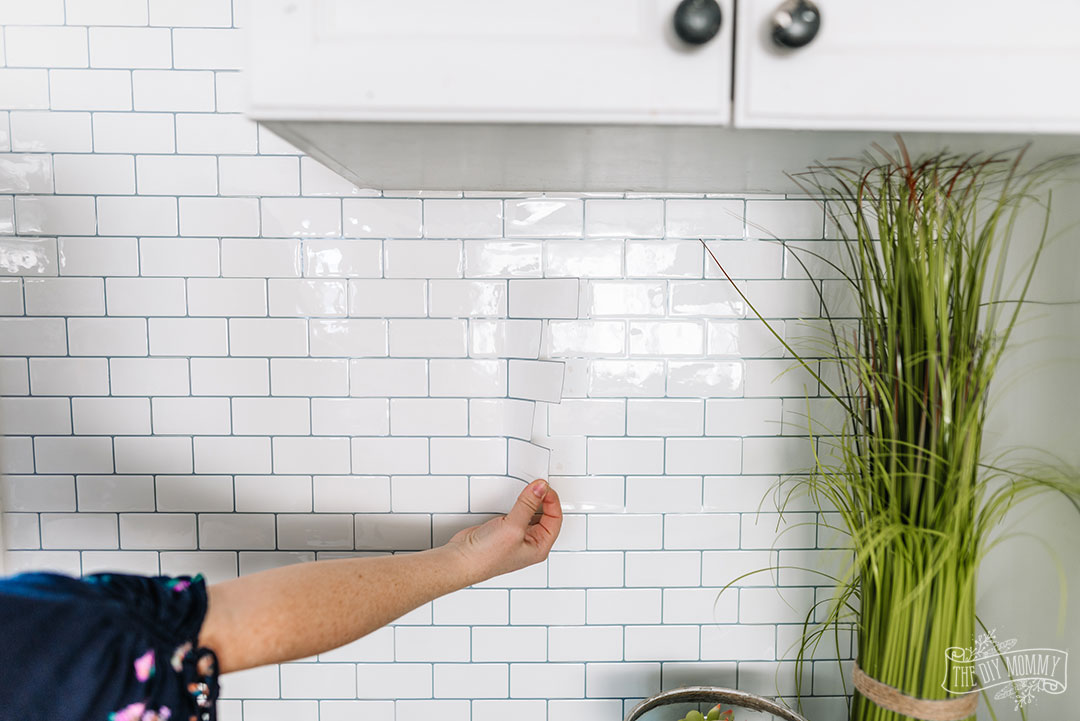
Step 1: Prepare the wall. Before you start installing your tile backsplash, make sure the wall is clean and free of any debris. If there are any holes or cracks, fill them in and let them dry completely. Step 2: Measure and mark. Use a level and a pencil to mark a straight line where you want the bottom of your backsplash to be. Start from the center and work your way outwards. This will ensure that your tiles are evenly spaced and centered. Step 3: Apply adhesive. Using a notched trowel, spread the tile adhesive onto the wall in small sections. Make sure to cover the entire area where you will be placing the tiles. Step 4: Place the tiles. Carefully press each tile onto the adhesive, using the marked line as a guide. Use tile spacers to keep the tiles evenly spaced and level with one another. Step 5: Cut tiles. Use a tile cutter to cut tiles to fit around any corners or edges. Measure twice and cut once to ensure a perfect fit.How to Install a Tile Backsplash - The Home Depot


The DIY Mommy


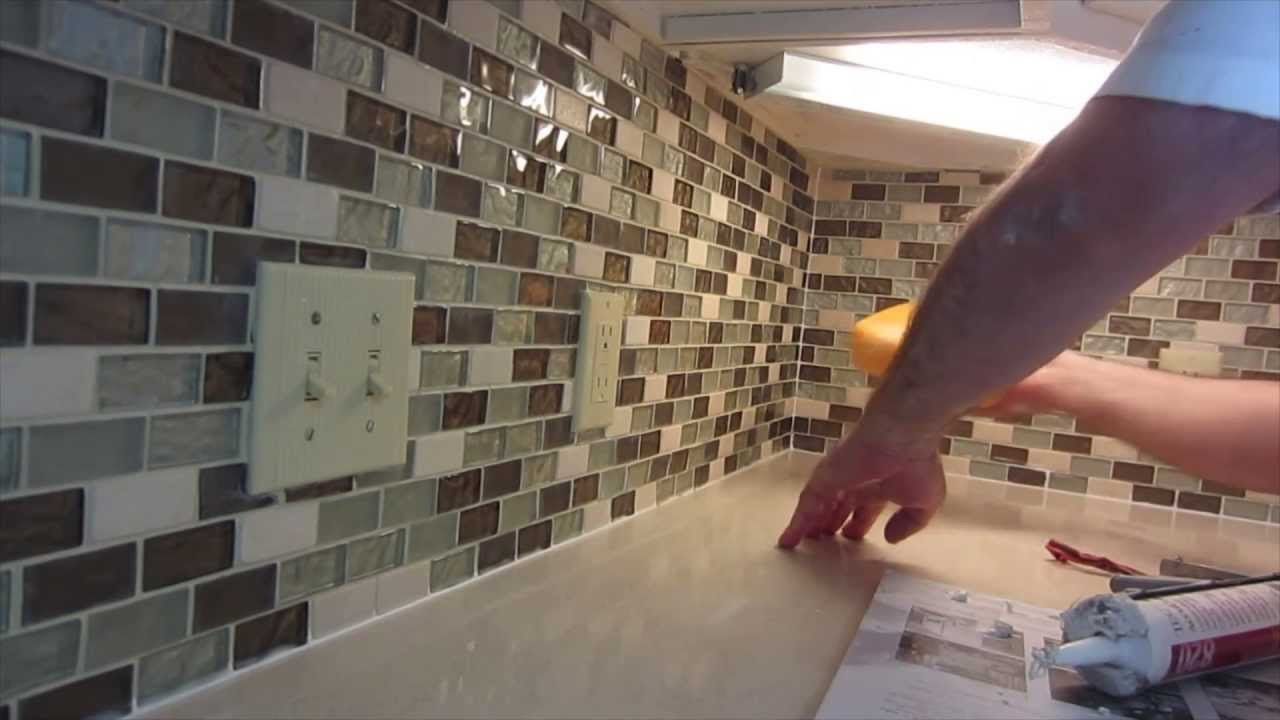
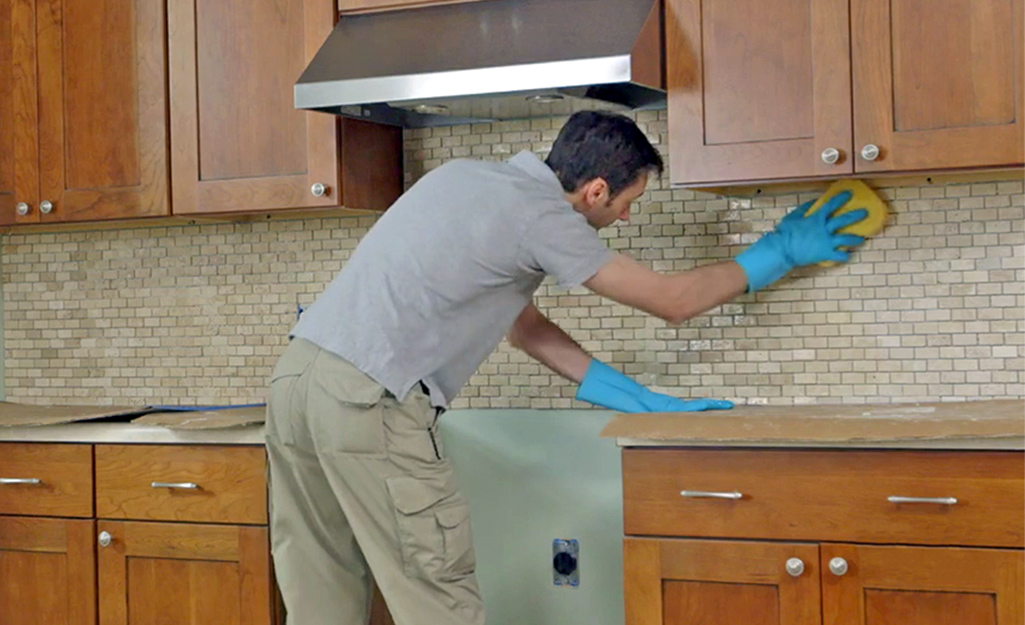
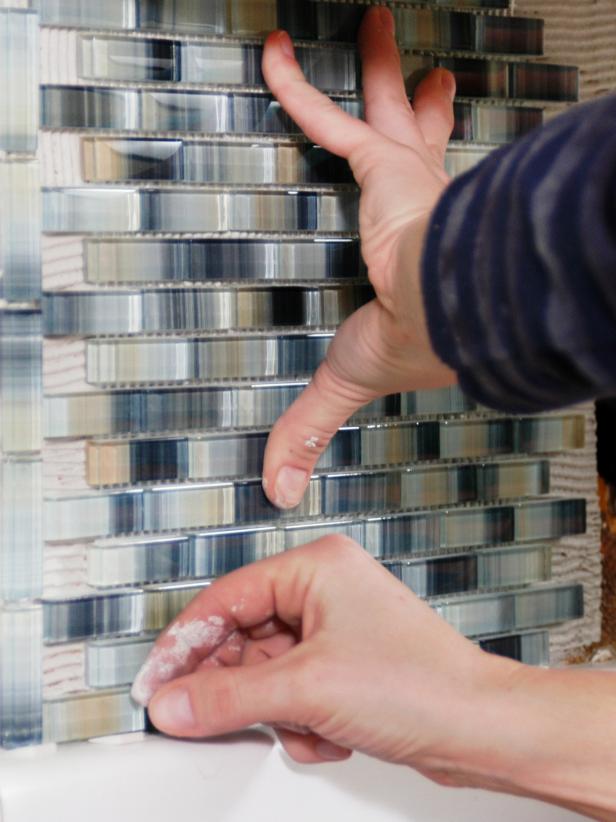
Step 6: Let the tiles dry. Allow the tiles to set for at least 24 hours before moving on to the next step. Step 7: Apply grout. Once the tiles are set, it's time to fill in the gaps with grout. Using a grout float, press the grout into the spaces between the tiles at a 45-degree angle. Be sure to wipe away any excess grout with a damp sponge as you go. Step 8: Let the grout dry. Once you have filled in all the gaps, let the grout dry for about 15-20 minutes. Then, using a clean cloth, gently wipe away any remaining haze from the tiles. Step 9: Seal the grout. To protect your grout from stains and water damage, apply a grout sealer according to the manufacturer's instructions.How to Install a Tile Backsplash - Lowe's

How to Install a Kitchen Tile Backsplash - HGTV


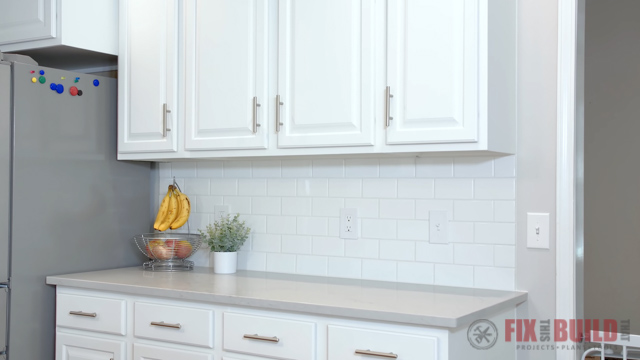
Step 10: Enjoy your new backsplash! Once the grout sealer has dried, your tile backsplash is complete and ready to enjoy. Admire your hard work and bask in the satisfaction of a job well done! Installing a tile backsplash is a great way to add a personal touch to your kitchen. With a little bit of time and effort, you can create a beautiful and functional backsplash that will make your kitchen stand out. Follow these steps and you'll have a stunning new backsplash in no time!How to Install a Tile Backsplash - This Old House


How to Install a Tile Backsplash - The Home Depot


Still not confident in your DIY skills? Don't worry, there are plenty of resources available to help you along the way. From online tutorials to instructional videos, you can find all the guidance you need to install a tile backsplash like a pro. Remember, practice makes perfect. Don't be afraid to make mistakes, and always double-check your measurements before cutting. With a little bit of patience and determination, you can successfully install a beautiful tile backsplash in your kitchen.How to Install a Tile Backsplash - DIY Network

How to Install a Tile Backsplash - Lowe's


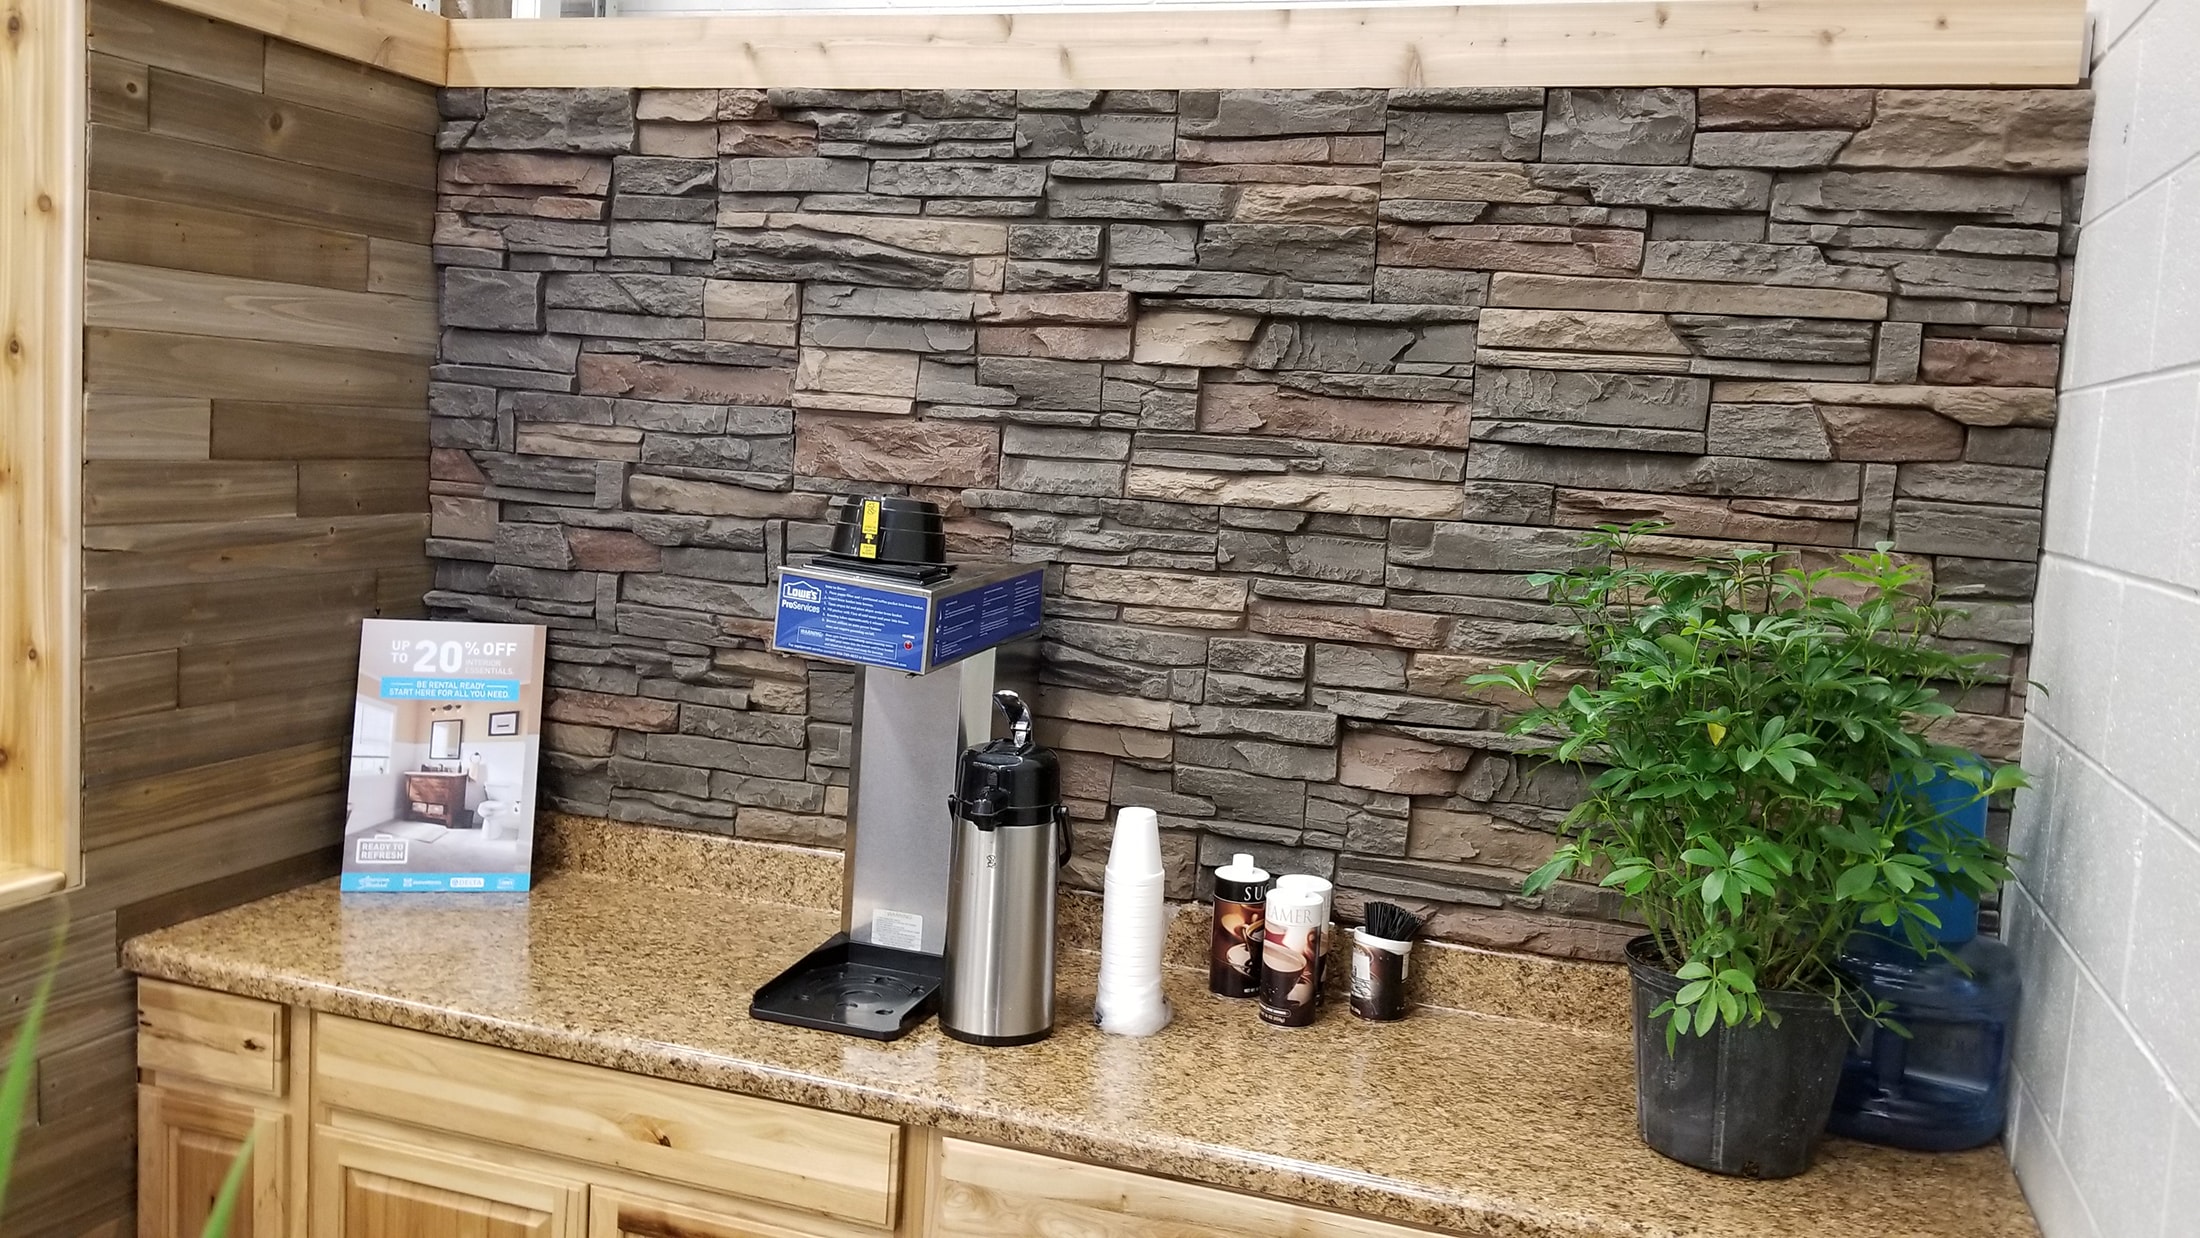

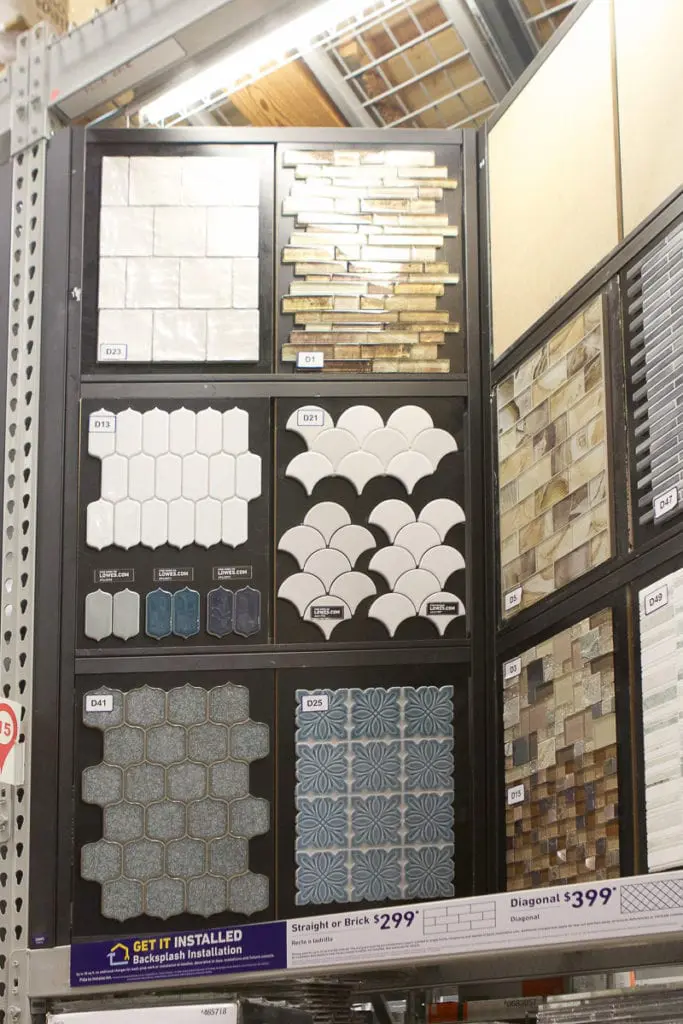
Looking for some inspiration for your tile backsplash? Check out home improvement magazines and websites for different design ideas. You can also visit home improvement stores to see different tile options in person and get a better sense of what will work best in your kitchen. Don't be afraid to get creative with your tile design. You can mix and match different colors and patterns to create a unique and eye-catching backsplash that reflects your personal style.How to Install a Tile Backsplash - Bob Vila


How to Install a Tile Backsplash - This Old House


One of the best things about installing a tile backsplash is that it's a relatively affordable project. You can find a variety of tiles at different price points, so you can choose one that fits your budget. Plus, with a little bit of elbow grease, you can save money by doing it yourself instead of hiring a professional. So why wait? Transform your kitchen with a beautiful tile backsplash and give it the update it deserves!How to Install a Tile Backsplash - Family Handyman


How to Install a Tile Backsplash - DIY Network


In conclusion, installing a tile backsplash is a great way to add a touch of style and personality to your kitchen. With the right tools and a little bit of patience, you can successfully complete this project and create a beautiful and functional backsplash that will make your kitchen stand out. Remember to take your time, measure twice, and follow the steps outlined in this guide. And don't forget to have fun and get creative with your tile design. With these tips and resources, you'll have a stunning new backsplash in no time. Happy DIY-ing!How to Install a Tile Backsplash - Better Homes & Gardens


How to Install a Tile Backsplash - Bob Vila


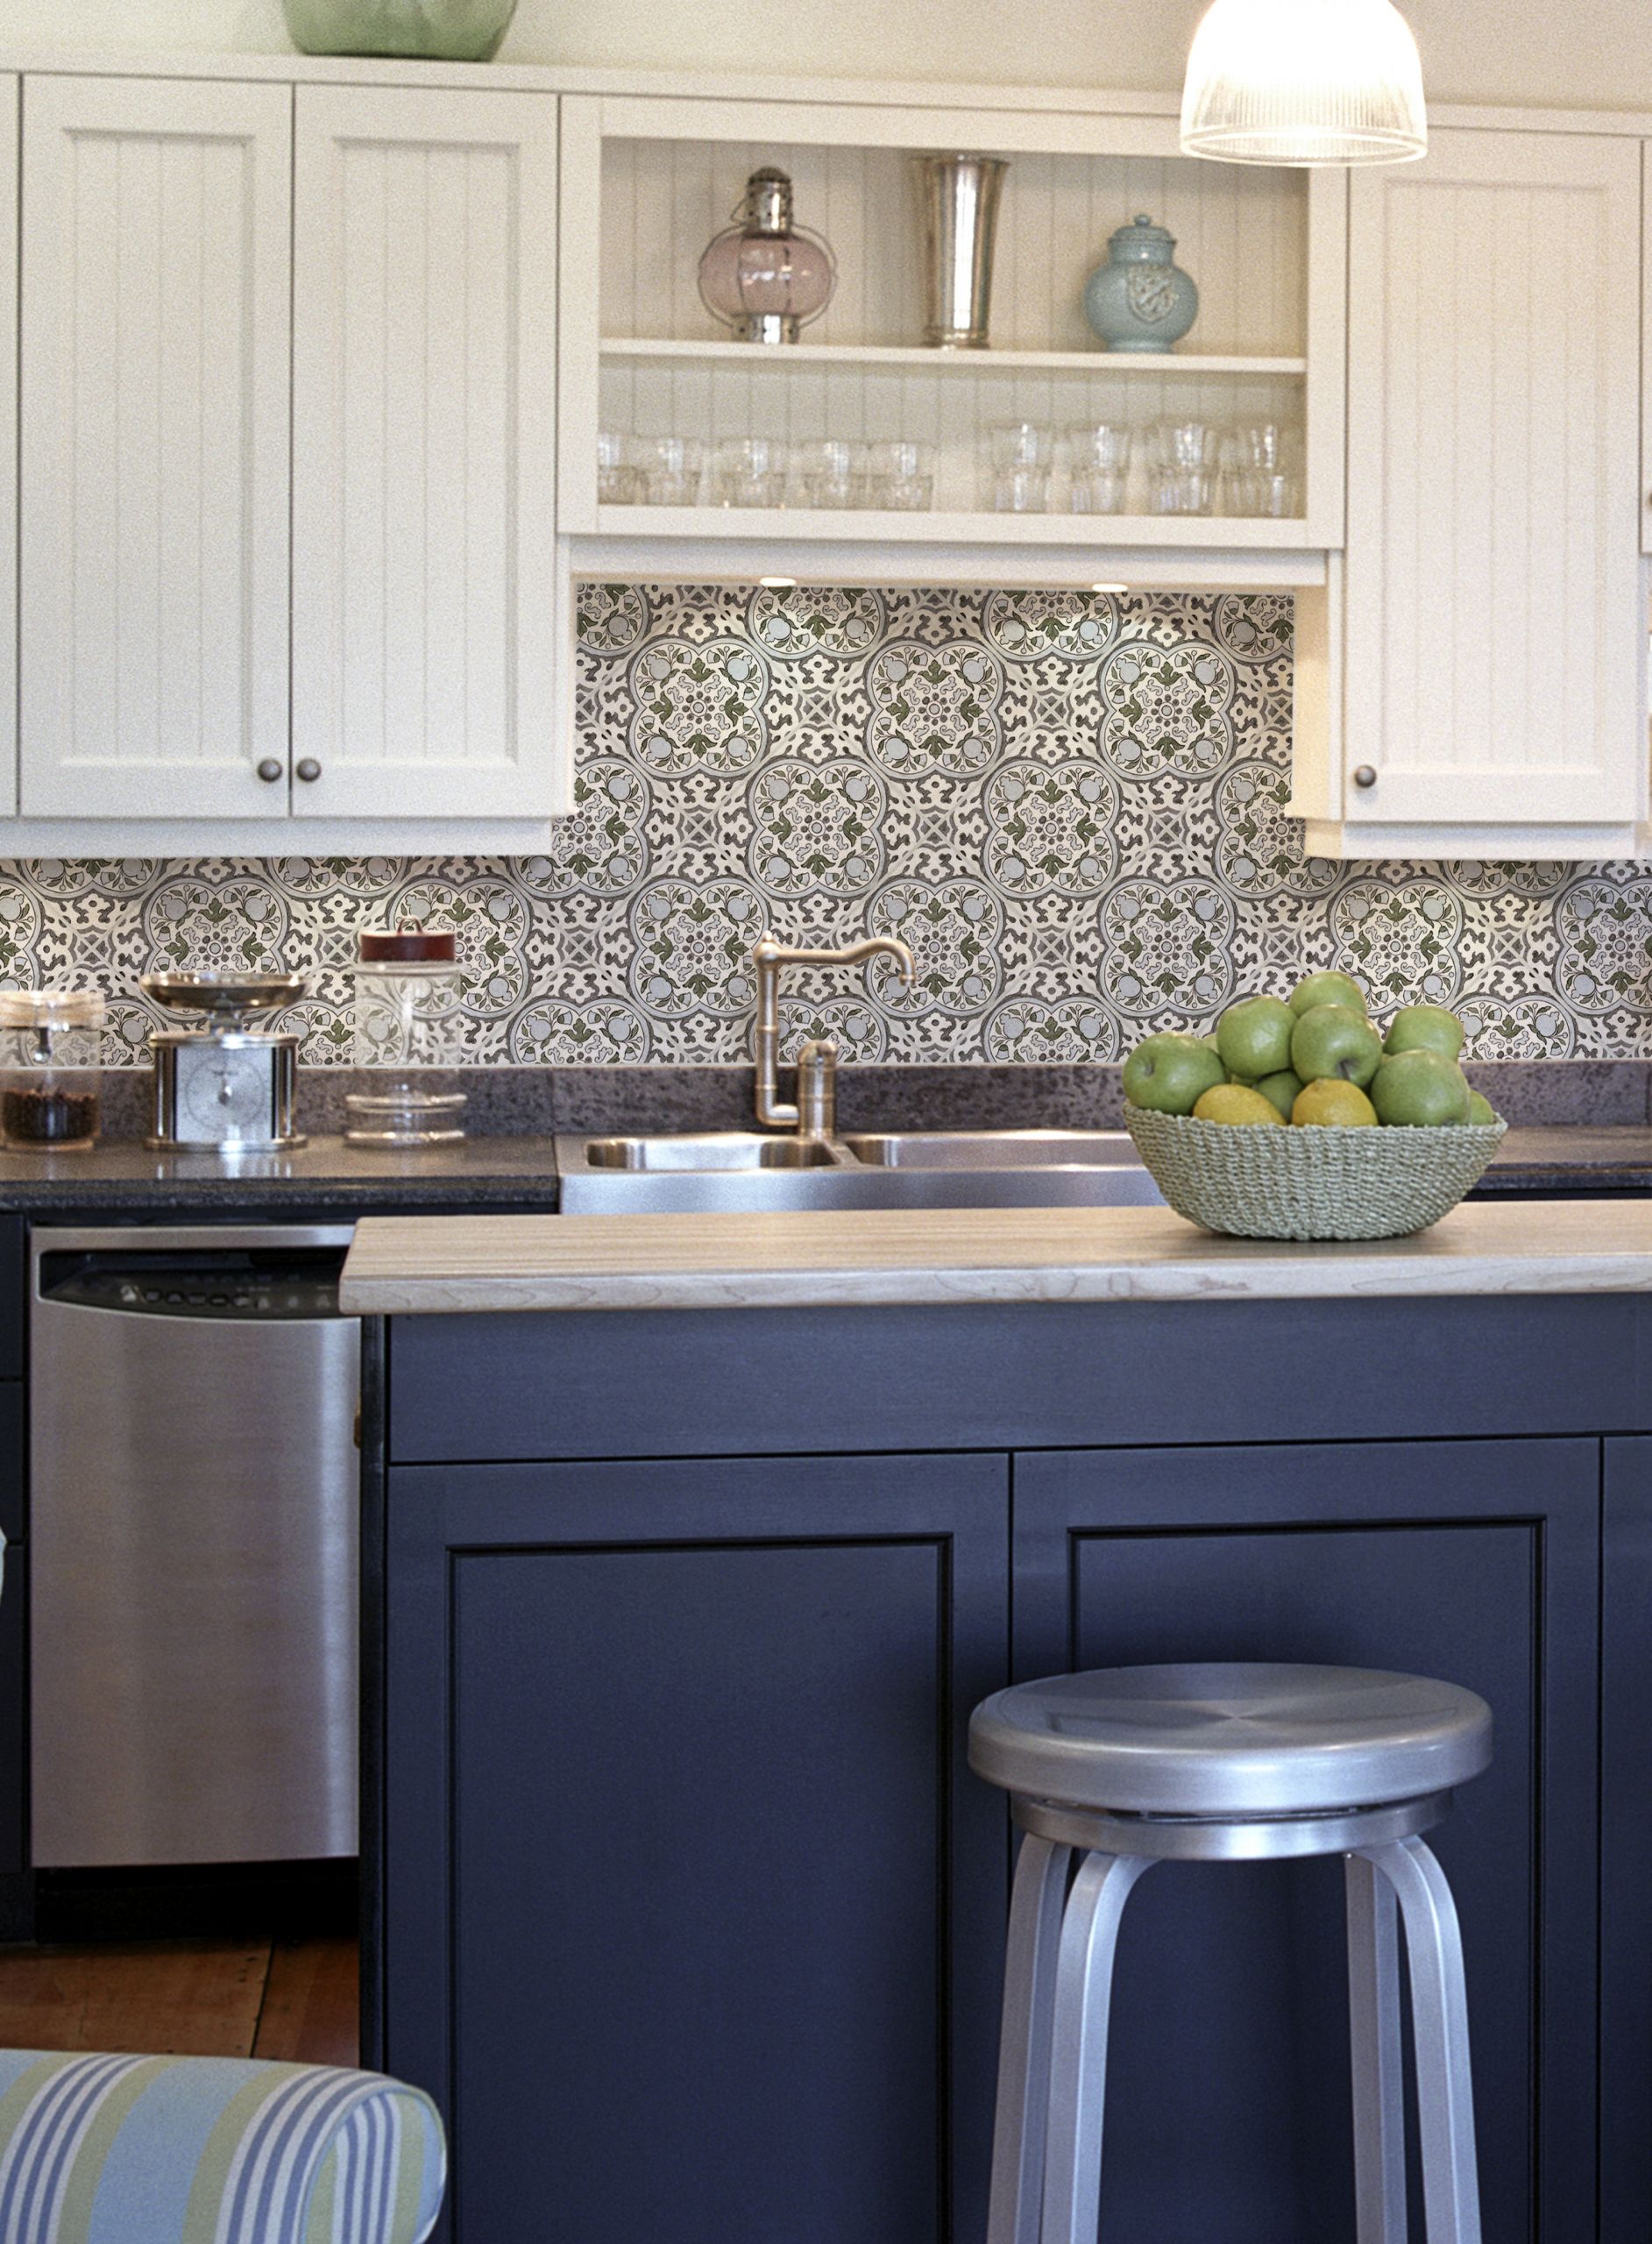
Choosing the Right Kitchen Wall Tile for Your Home

Enhance the Aesthetics of Your Kitchen with the Perfect Wall Tiles
 When it comes to designing your dream kitchen, every detail matters - including the choice of
kitchen wall tiles
. These versatile and functional tiles not only protect your walls from spills and stains, but they also add a touch of style and personality to your kitchen. With a plethora of options available in the market, it can be overwhelming to choose the right one for your space. That's why we have put together this comprehensive guide to help you make an informed decision.
When it comes to designing your dream kitchen, every detail matters - including the choice of
kitchen wall tiles
. These versatile and functional tiles not only protect your walls from spills and stains, but they also add a touch of style and personality to your kitchen. With a plethora of options available in the market, it can be overwhelming to choose the right one for your space. That's why we have put together this comprehensive guide to help you make an informed decision.
Durability and Maintenance
 The first thing to consider when selecting
kitchen wall tiles
is their durability and maintenance. Since the kitchen is one of the busiest areas in a house, it is crucial to choose tiles that can withstand daily wear and tear. Ceramic and porcelain tiles are popular choices for kitchen walls as they are durable, water-resistant, and easy to clean. Natural stone tiles, such as marble and granite, are also a great option for those looking for a more luxurious and timeless look. However, keep in mind that they may require sealing and regular maintenance to keep them looking their best.
The first thing to consider when selecting
kitchen wall tiles
is their durability and maintenance. Since the kitchen is one of the busiest areas in a house, it is crucial to choose tiles that can withstand daily wear and tear. Ceramic and porcelain tiles are popular choices for kitchen walls as they are durable, water-resistant, and easy to clean. Natural stone tiles, such as marble and granite, are also a great option for those looking for a more luxurious and timeless look. However, keep in mind that they may require sealing and regular maintenance to keep them looking their best.
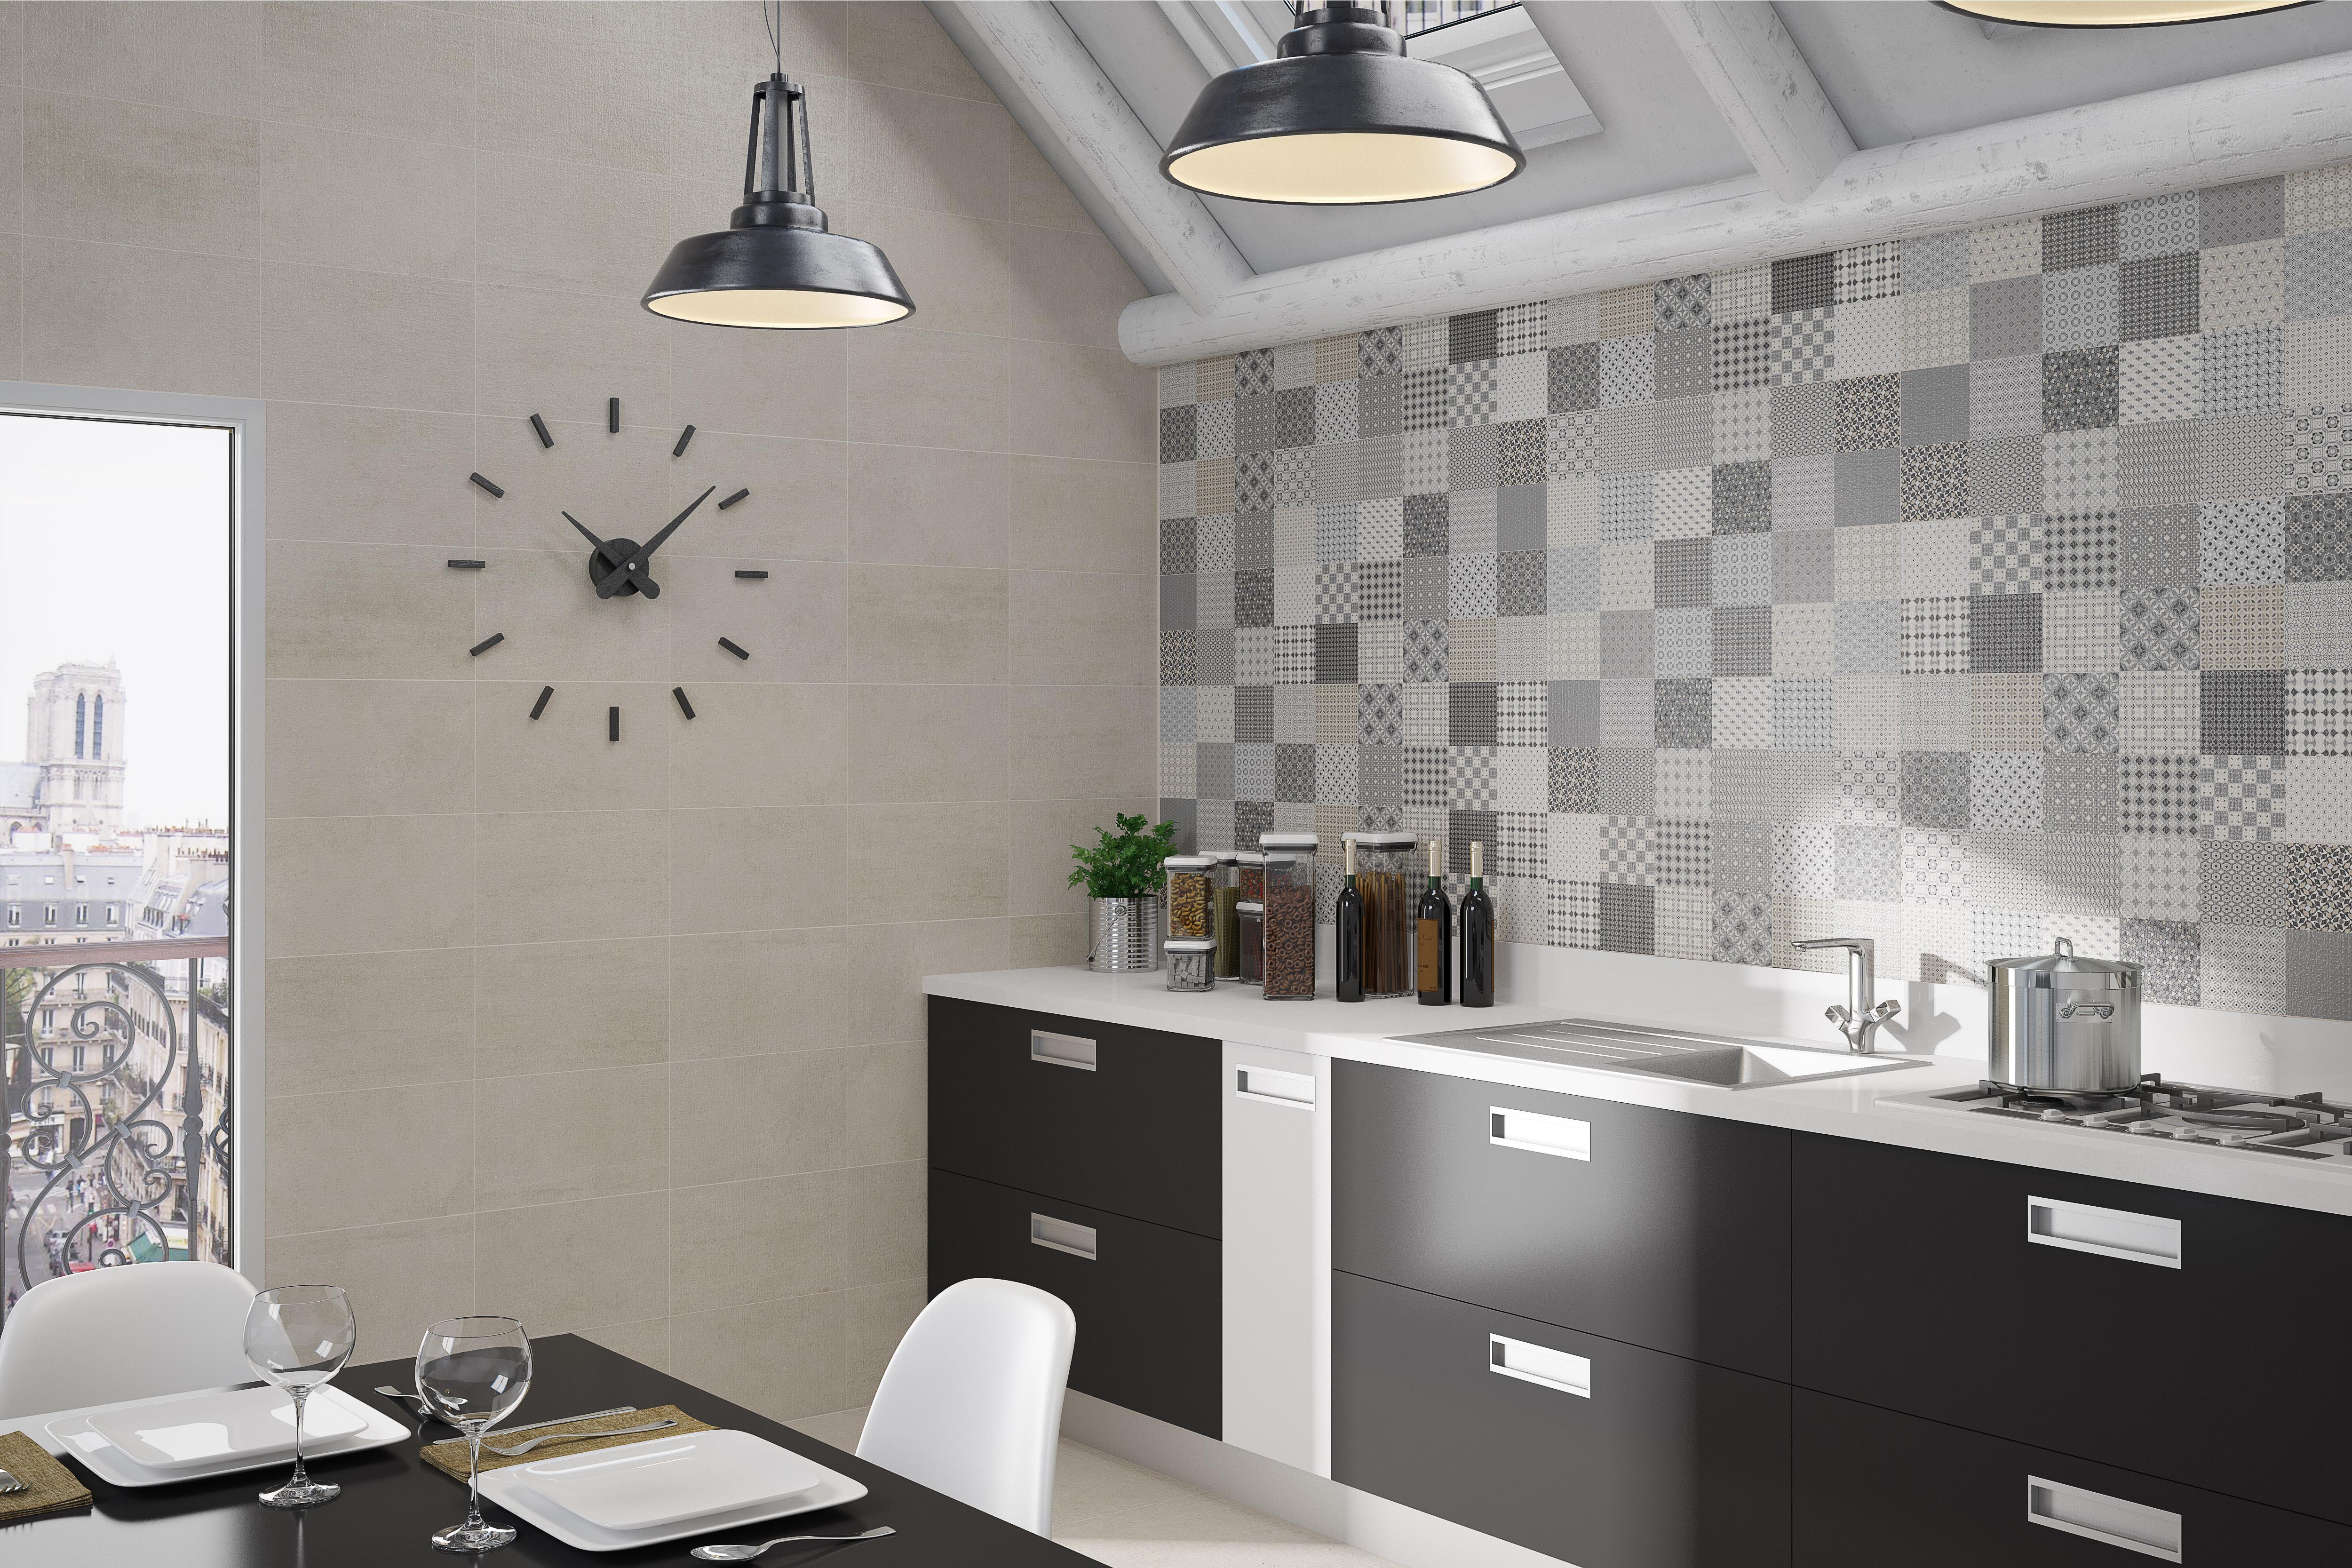
Color and Design
 The color and design of your
kitchen wall tiles
can make a significant impact on the overall look and feel of your kitchen. While white tiles are a classic choice, they can also make your kitchen appear cold and clinical. Consider incorporating pops of color or patterns to add some character to your space. You can also opt for
related keywords
such as subway tiles or mosaic tiles for a more unique and eye-catching design. Just be sure to choose a color and pattern that complements the rest of your kitchen's design elements.
The color and design of your
kitchen wall tiles
can make a significant impact on the overall look and feel of your kitchen. While white tiles are a classic choice, they can also make your kitchen appear cold and clinical. Consider incorporating pops of color or patterns to add some character to your space. You can also opt for
related keywords
such as subway tiles or mosaic tiles for a more unique and eye-catching design. Just be sure to choose a color and pattern that complements the rest of your kitchen's design elements.
Size and Layout
 The size and layout of your
kitchen wall tiles
can also play a crucial role in the overall aesthetic. Larger tiles can make a small kitchen appear more spacious, while smaller tiles can create a more intricate and detailed look. The layout of the tiles can also make a significant impact - for example, a herringbone pattern can add a touch of elegance and sophistication to your kitchen. Consider experimenting with different sizes and layouts to find the perfect fit for your space.
The size and layout of your
kitchen wall tiles
can also play a crucial role in the overall aesthetic. Larger tiles can make a small kitchen appear more spacious, while smaller tiles can create a more intricate and detailed look. The layout of the tiles can also make a significant impact - for example, a herringbone pattern can add a touch of elegance and sophistication to your kitchen. Consider experimenting with different sizes and layouts to find the perfect fit for your space.
Budget and Installation
 Last but not least, it is essential to consider your budget and the installation process when choosing
kitchen wall tiles
. While ceramic and porcelain tiles tend to be more budget-friendly, natural stone tiles can be more expensive. Additionally, the installation cost may vary depending on the type of tile and the complexity of the design. It is best to consult with a professional
featured keyword
to get an accurate estimate and ensure that the tiles are installed correctly.
In conclusion, selecting the right
kitchen wall tiles
is crucial in creating a functional and aesthetically pleasing kitchen. Consider the durability, color and design, size and layout, as well as your budget and installation process when making your decision. With the perfect tiles, you can transform your kitchen into a beautiful and inviting space that you will love spending time in.
Last but not least, it is essential to consider your budget and the installation process when choosing
kitchen wall tiles
. While ceramic and porcelain tiles tend to be more budget-friendly, natural stone tiles can be more expensive. Additionally, the installation cost may vary depending on the type of tile and the complexity of the design. It is best to consult with a professional
featured keyword
to get an accurate estimate and ensure that the tiles are installed correctly.
In conclusion, selecting the right
kitchen wall tiles
is crucial in creating a functional and aesthetically pleasing kitchen. Consider the durability, color and design, size and layout, as well as your budget and installation process when making your decision. With the perfect tiles, you can transform your kitchen into a beautiful and inviting space that you will love spending time in.