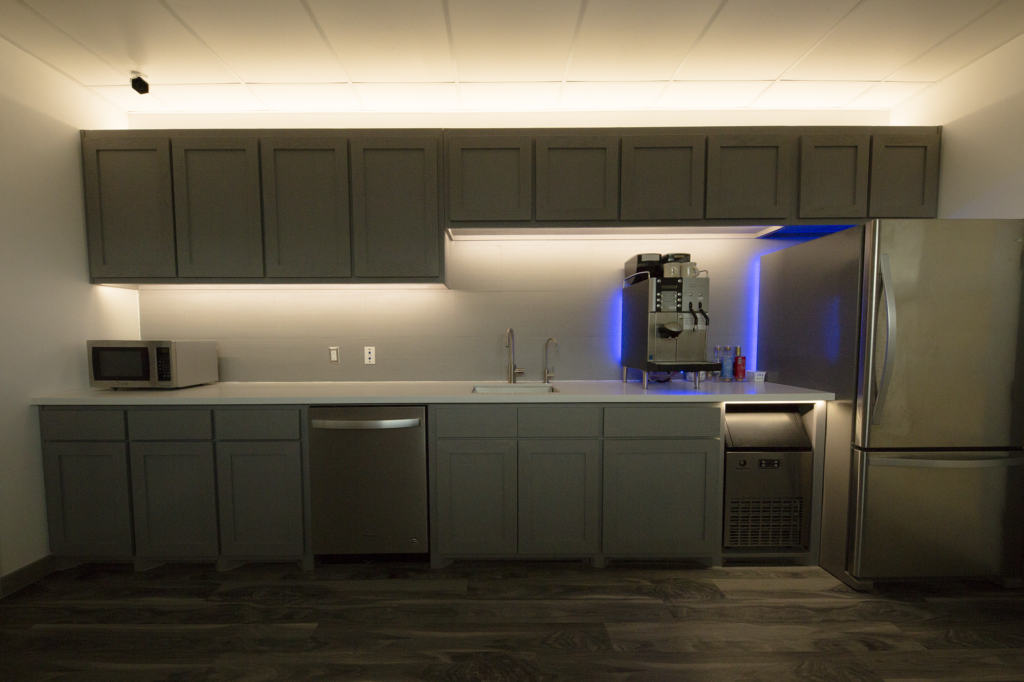
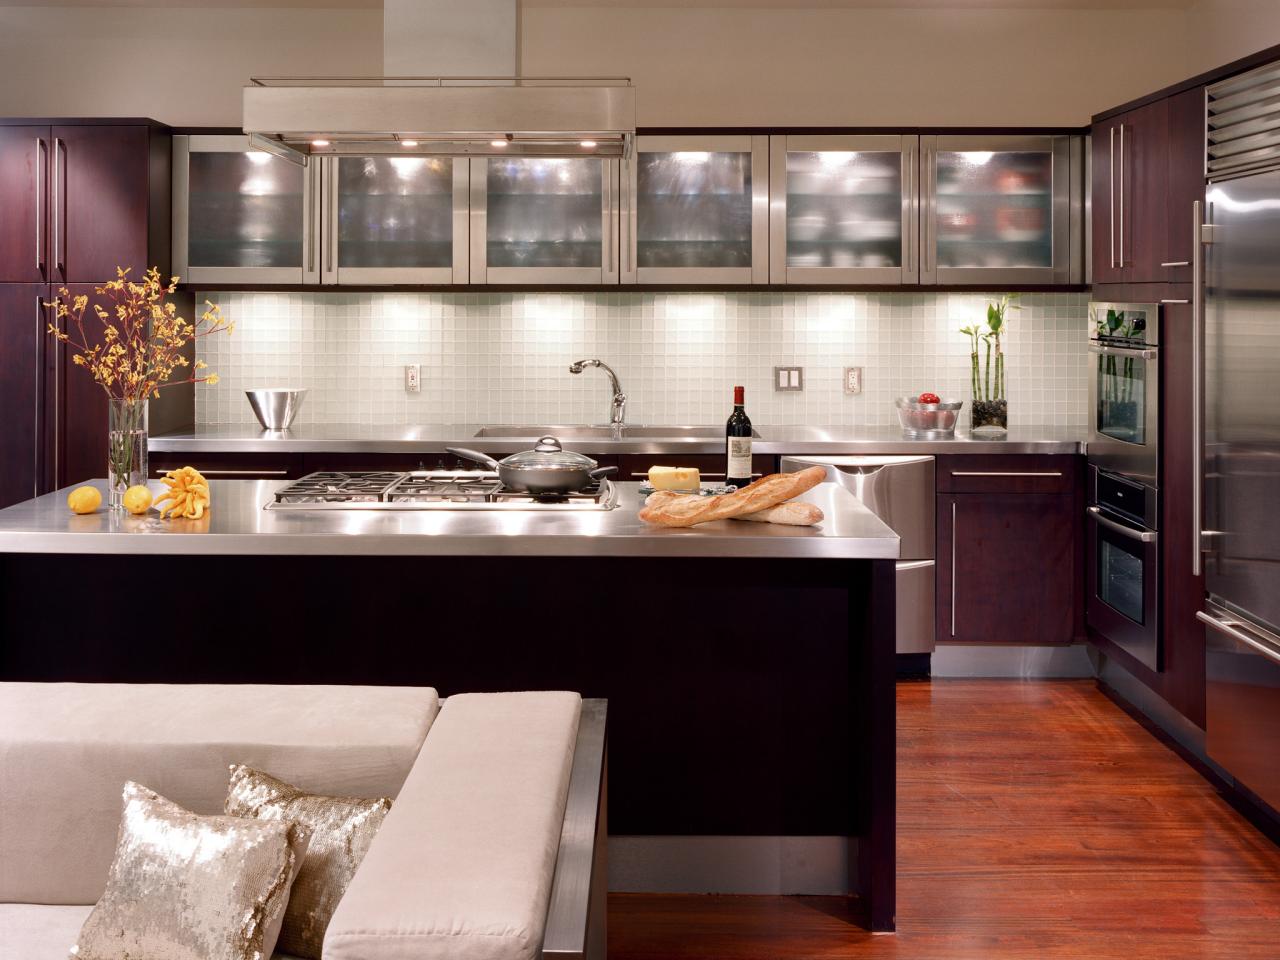
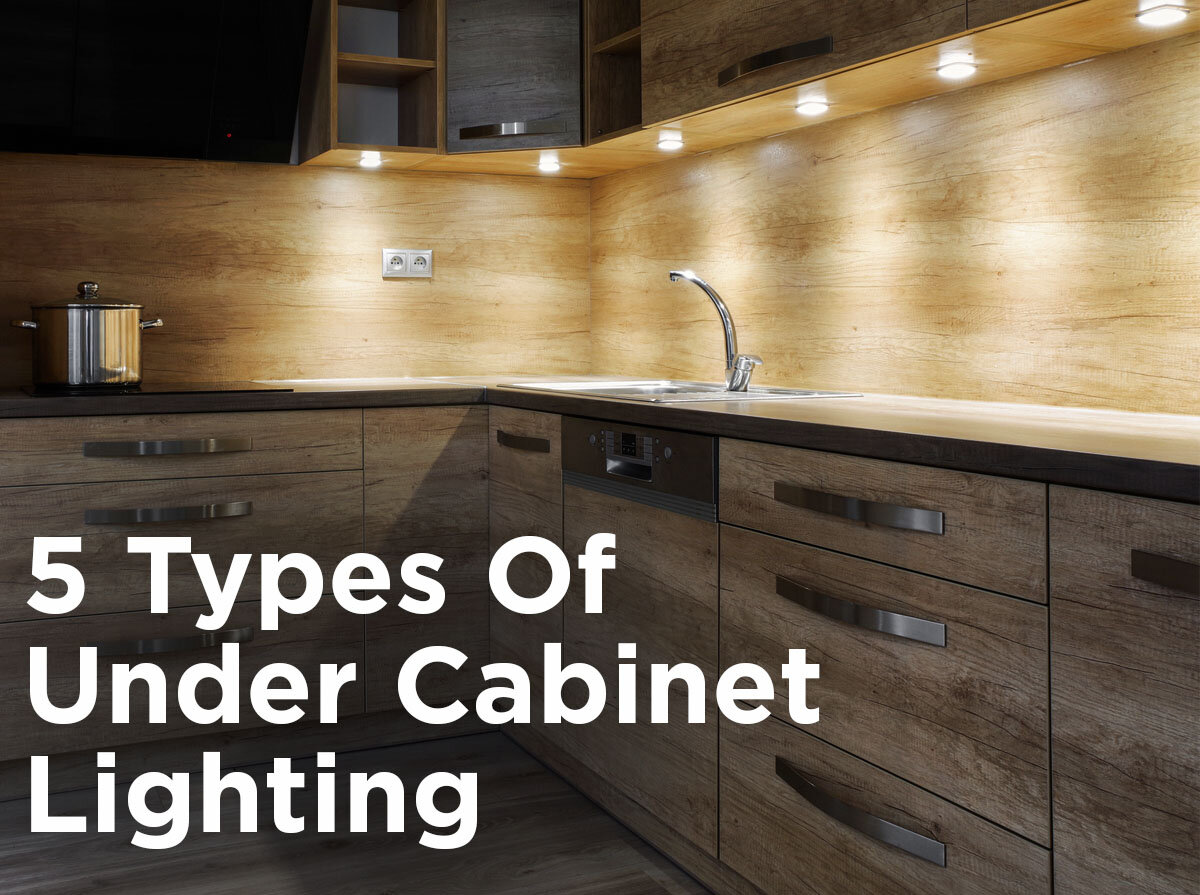
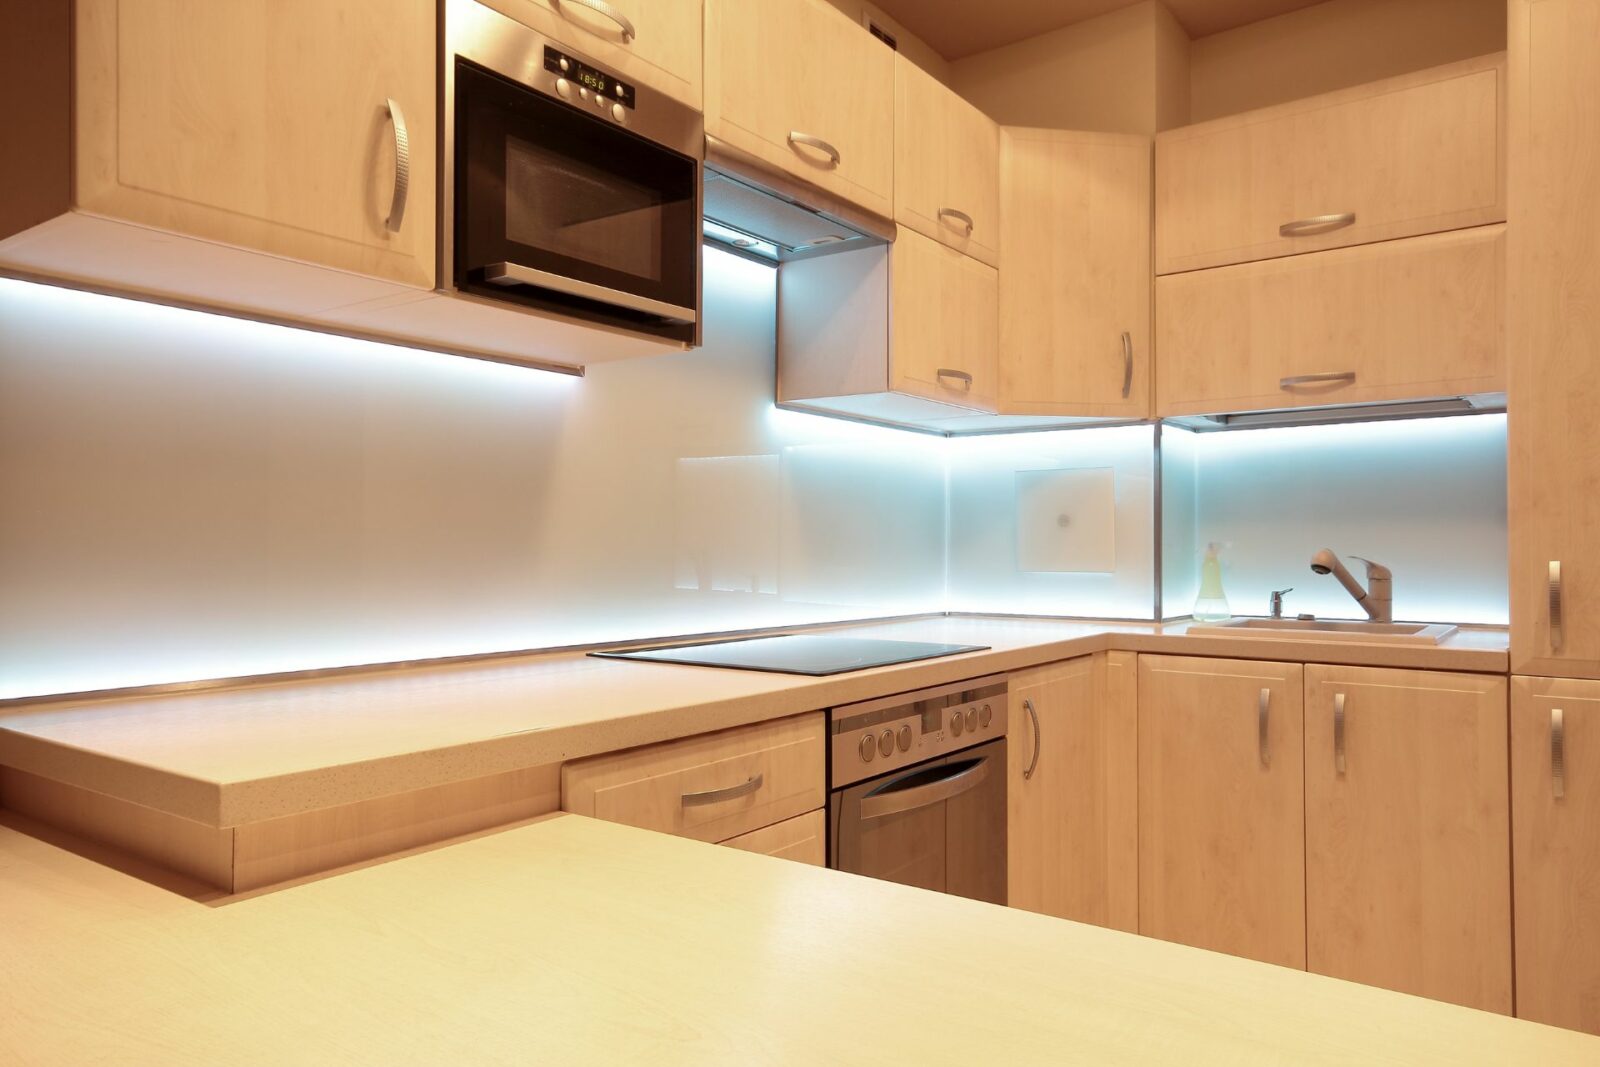
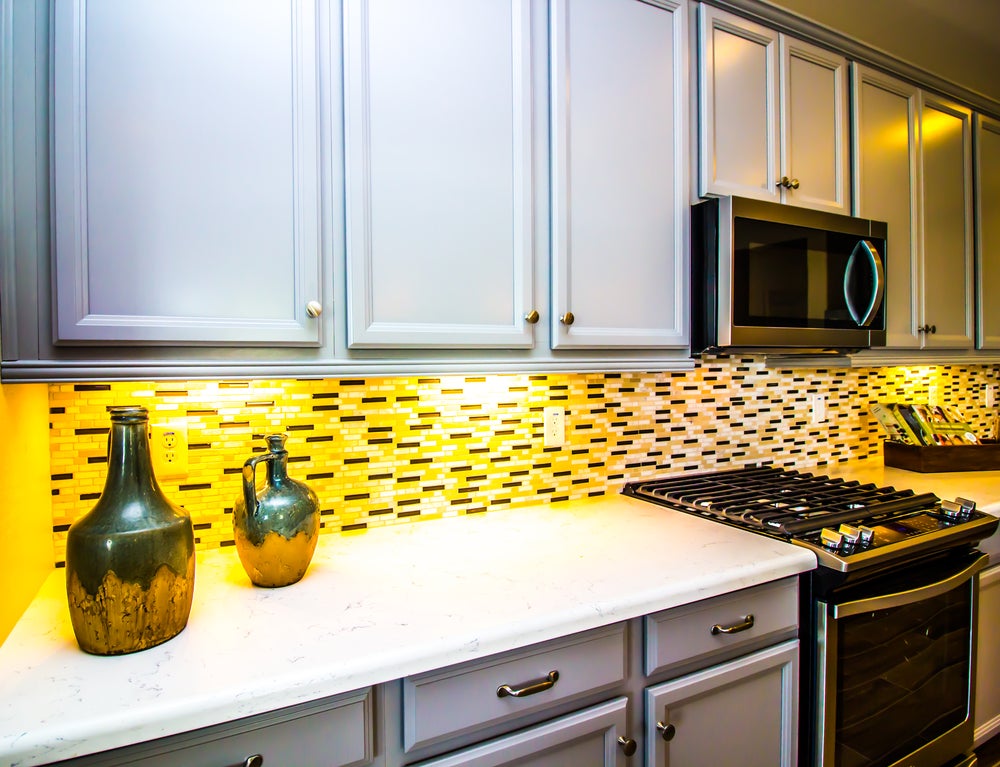
Are you tired of dim and dull lighting in your kitchen? Want to add a touch of style and functionality to your cooking space? Look no further than under cabinet lighting. Not only does it provide ample light for your kitchen tasks, but it also adds a beautiful ambiance to your space. In this article, we will guide you through the process of installing under cabinet lighting in 6 easy steps.How to Install Under Cabinet Lighting in Your Kitchen
If you're a fan of DIY projects and want to save some money, installing under cabinet lights in your kitchen is a great way to upgrade your kitchen's lighting without breaking the bank. With just a few tools and some basic knowledge of electrical wiring, you can have your under cabinet lights up and running in no time. DIY Kitchen Lighting Upgrade: How to Install Under Cabinet Lights
Before you begin the installation process, it's important to understand the wiring involved in under cabinet lighting. Most under cabinet lights are low-voltage and require a transformer to convert the electricity from your home's standard voltage to a lower voltage. This makes them safe and easy to install. Wiring Under Cabinet Lights in Your Kitchen
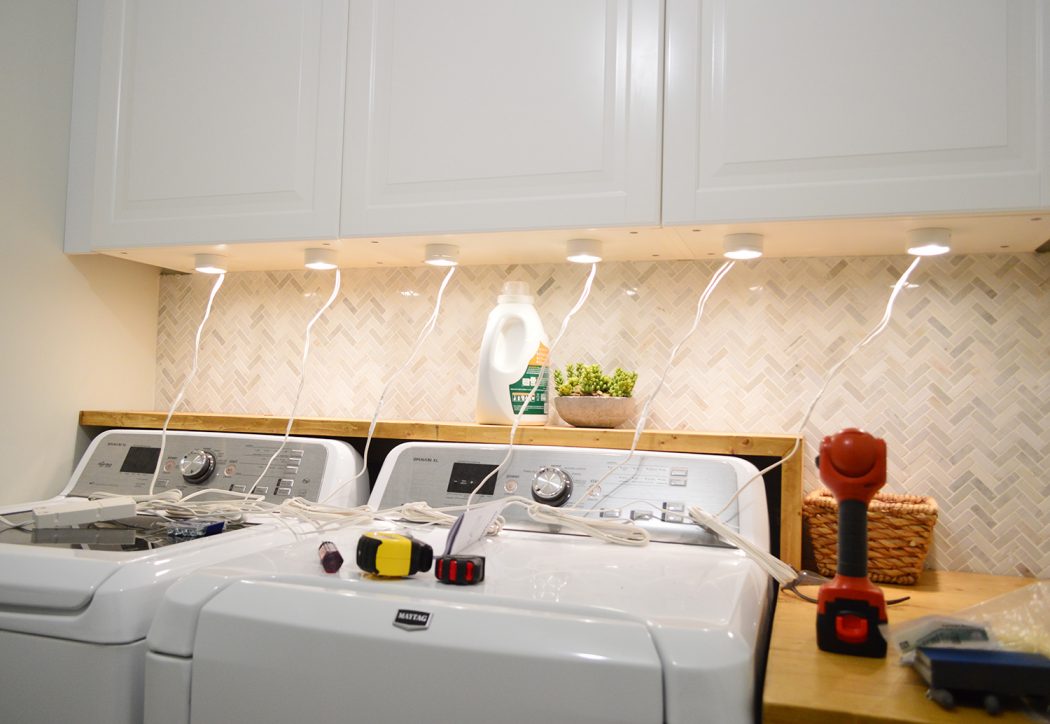
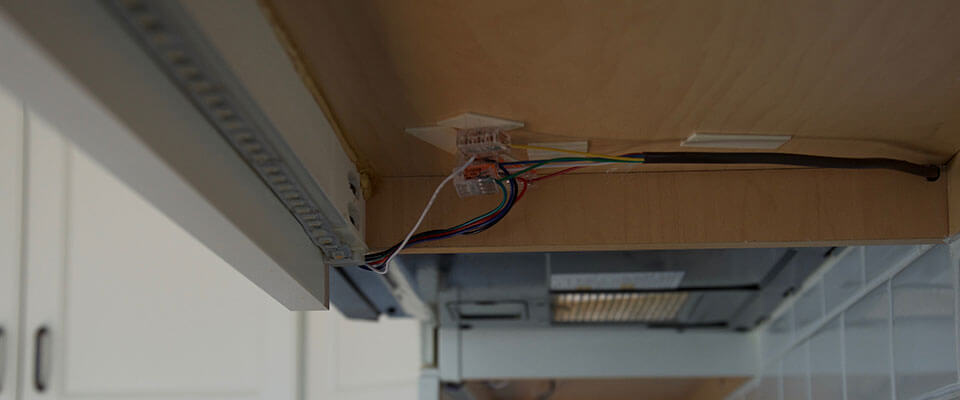
Step 1: Choose the type of under cabinet lighting you want to install. There are three main types - plug-in, battery-operated, and hardwired. Plug-in lights are the easiest to install as they simply need to be plugged into an outlet. Battery-operated lights are easy to install but will require frequent battery changes. Hardwired lights require electrical wiring and are the most permanent option. Step 2: Gather your tools and materials. You will need a drill, screws, wire strippers, wire nuts, and a transformer (if needed). Step 3: Plan the placement of your lights. Decide where you want to install the lights and mark the locations with a pencil. Step 4: Install the lights. If you're using plug-in or battery-operated lights, simply follow the manufacturer's instructions. For hardwired lights, use a drill to create a hole for the wires to go through and secure the lights with screws. Step 5: Connect the wiring. If you're using plug-in lights, simply plug them into an outlet. For hardwired lights, use wire nuts to connect the wires from the lights to the wires from the transformer. Make sure to follow the manufacturer's instructions for proper wiring. Step 6: Test the lights. Once everything is connected, turn on the lights to make sure they are working properly.How to Wire Under Cabinet Lighting in Your Kitchen
If you're a visual learner, here is a step-by-step guide to help you wire under cabinet lights in your kitchen: Step 1: Gather your tools and materials: drill, screws, wire strippers, wire nuts, and a transformer (if needed). Step 2: Plan the placement of your lights: mark the locations with a pencil. Step 3: Install the lights: use a drill to create a hole for the wires to go through and secure the lights with screws. Step 4: Connect the wiring: use wire nuts to connect the wires from the lights to the wires from the transformer. Step 5: Test the lights: turn on the lights to make sure they are working properly.Step-by-Step Guide to Wiring Under Cabinet Lights in Your Kitchen
If you're new to DIY projects, installing under cabinet lighting may seem intimidating. However, with the right tools and knowledge, it can be a simple and rewarding project. Here are some tips for beginners: - Make sure to turn off the power before starting any electrical work. - Follow the manufacturer's instructions carefully. - Take your time and double-check your work. - If you're unsure about any step, consult a professional.Under Cabinet Lighting Installation: A Beginner's Guide
With so many options available, it can be overwhelming to choose the right under cabinet lighting for your kitchen. Here are some factors to consider when making your decision: - Type of lighting: Decide if you want plug-in, battery-operated, or hardwired lights. - Color temperature: Choose between warm, cool, or daylight bulbs to create the desired ambiance in your kitchen. - Size and style: Consider the size and style of your cabinets and choose lights that will fit seamlessly. - Budget: Set a budget and stick to it.How to Choose the Right Under Cabinet Lighting for Your Kitchen
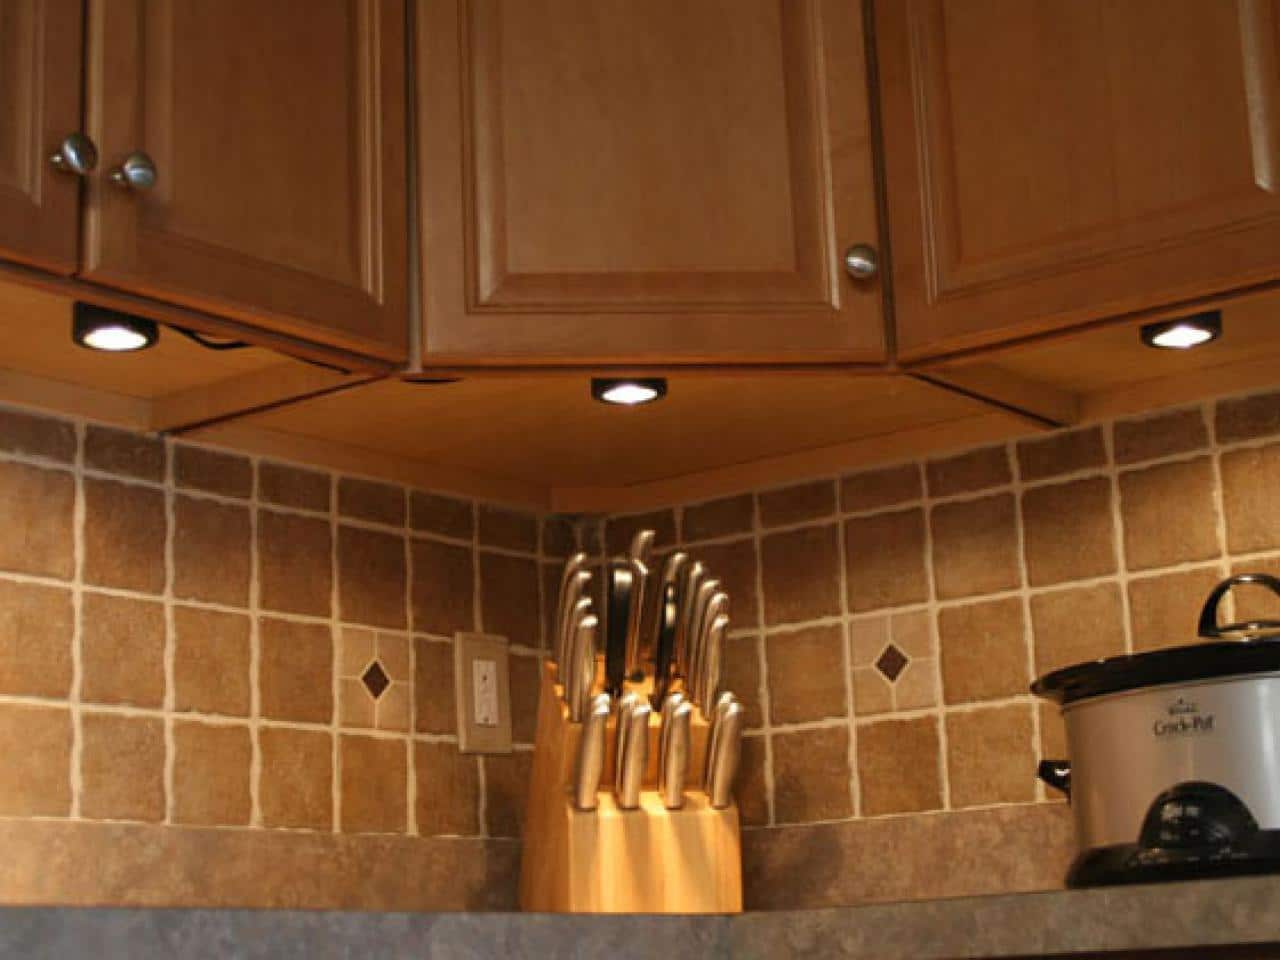
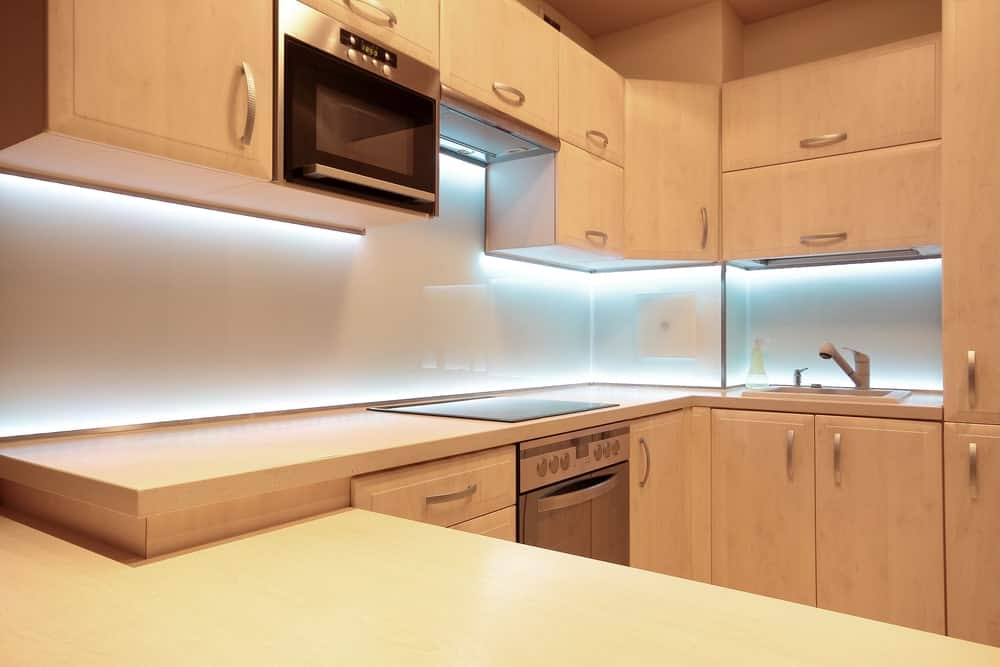
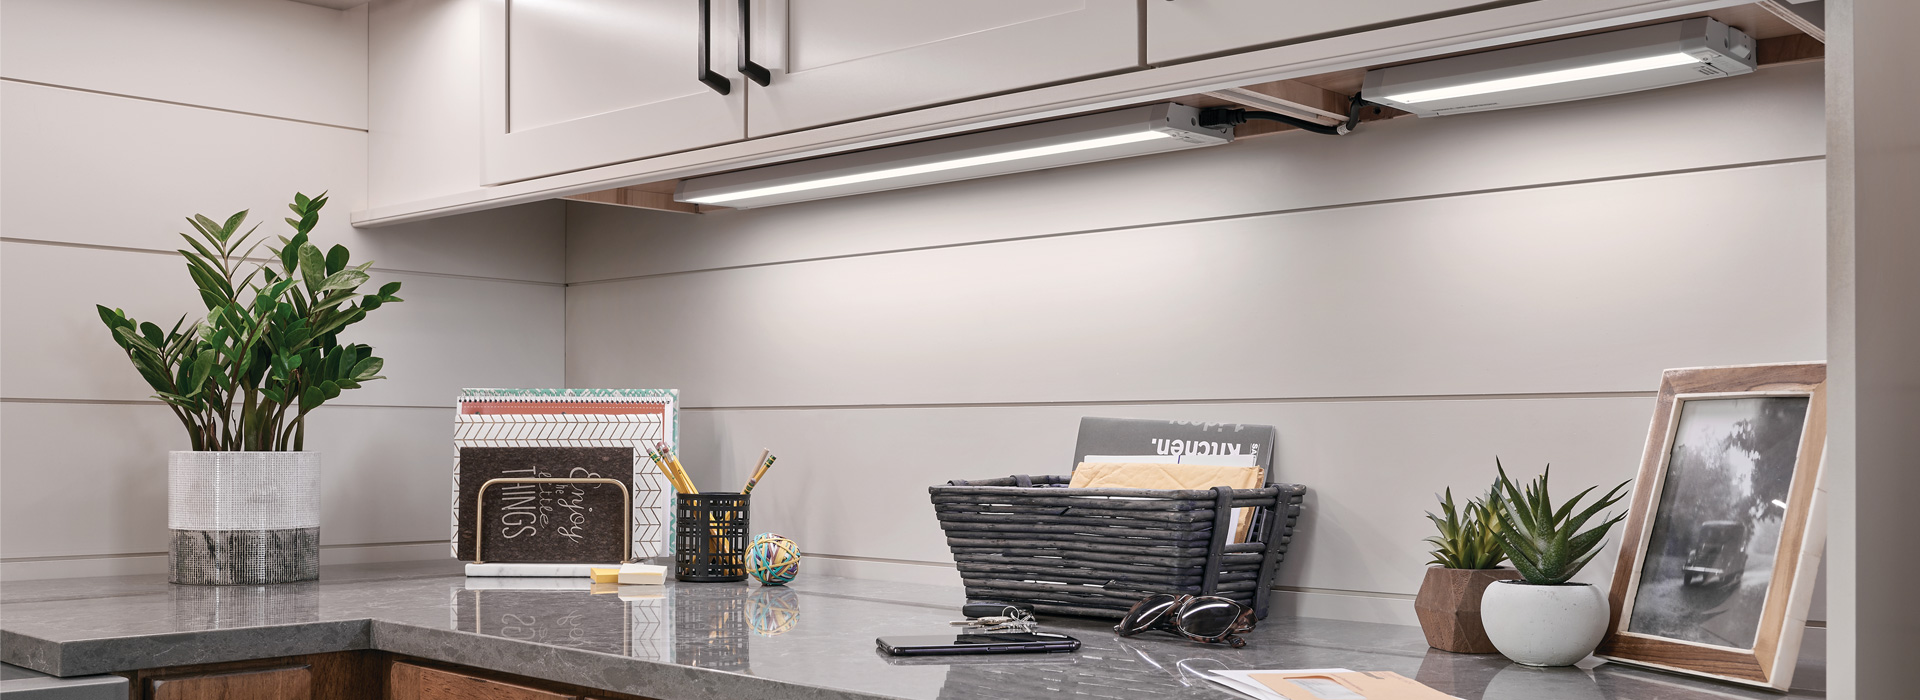
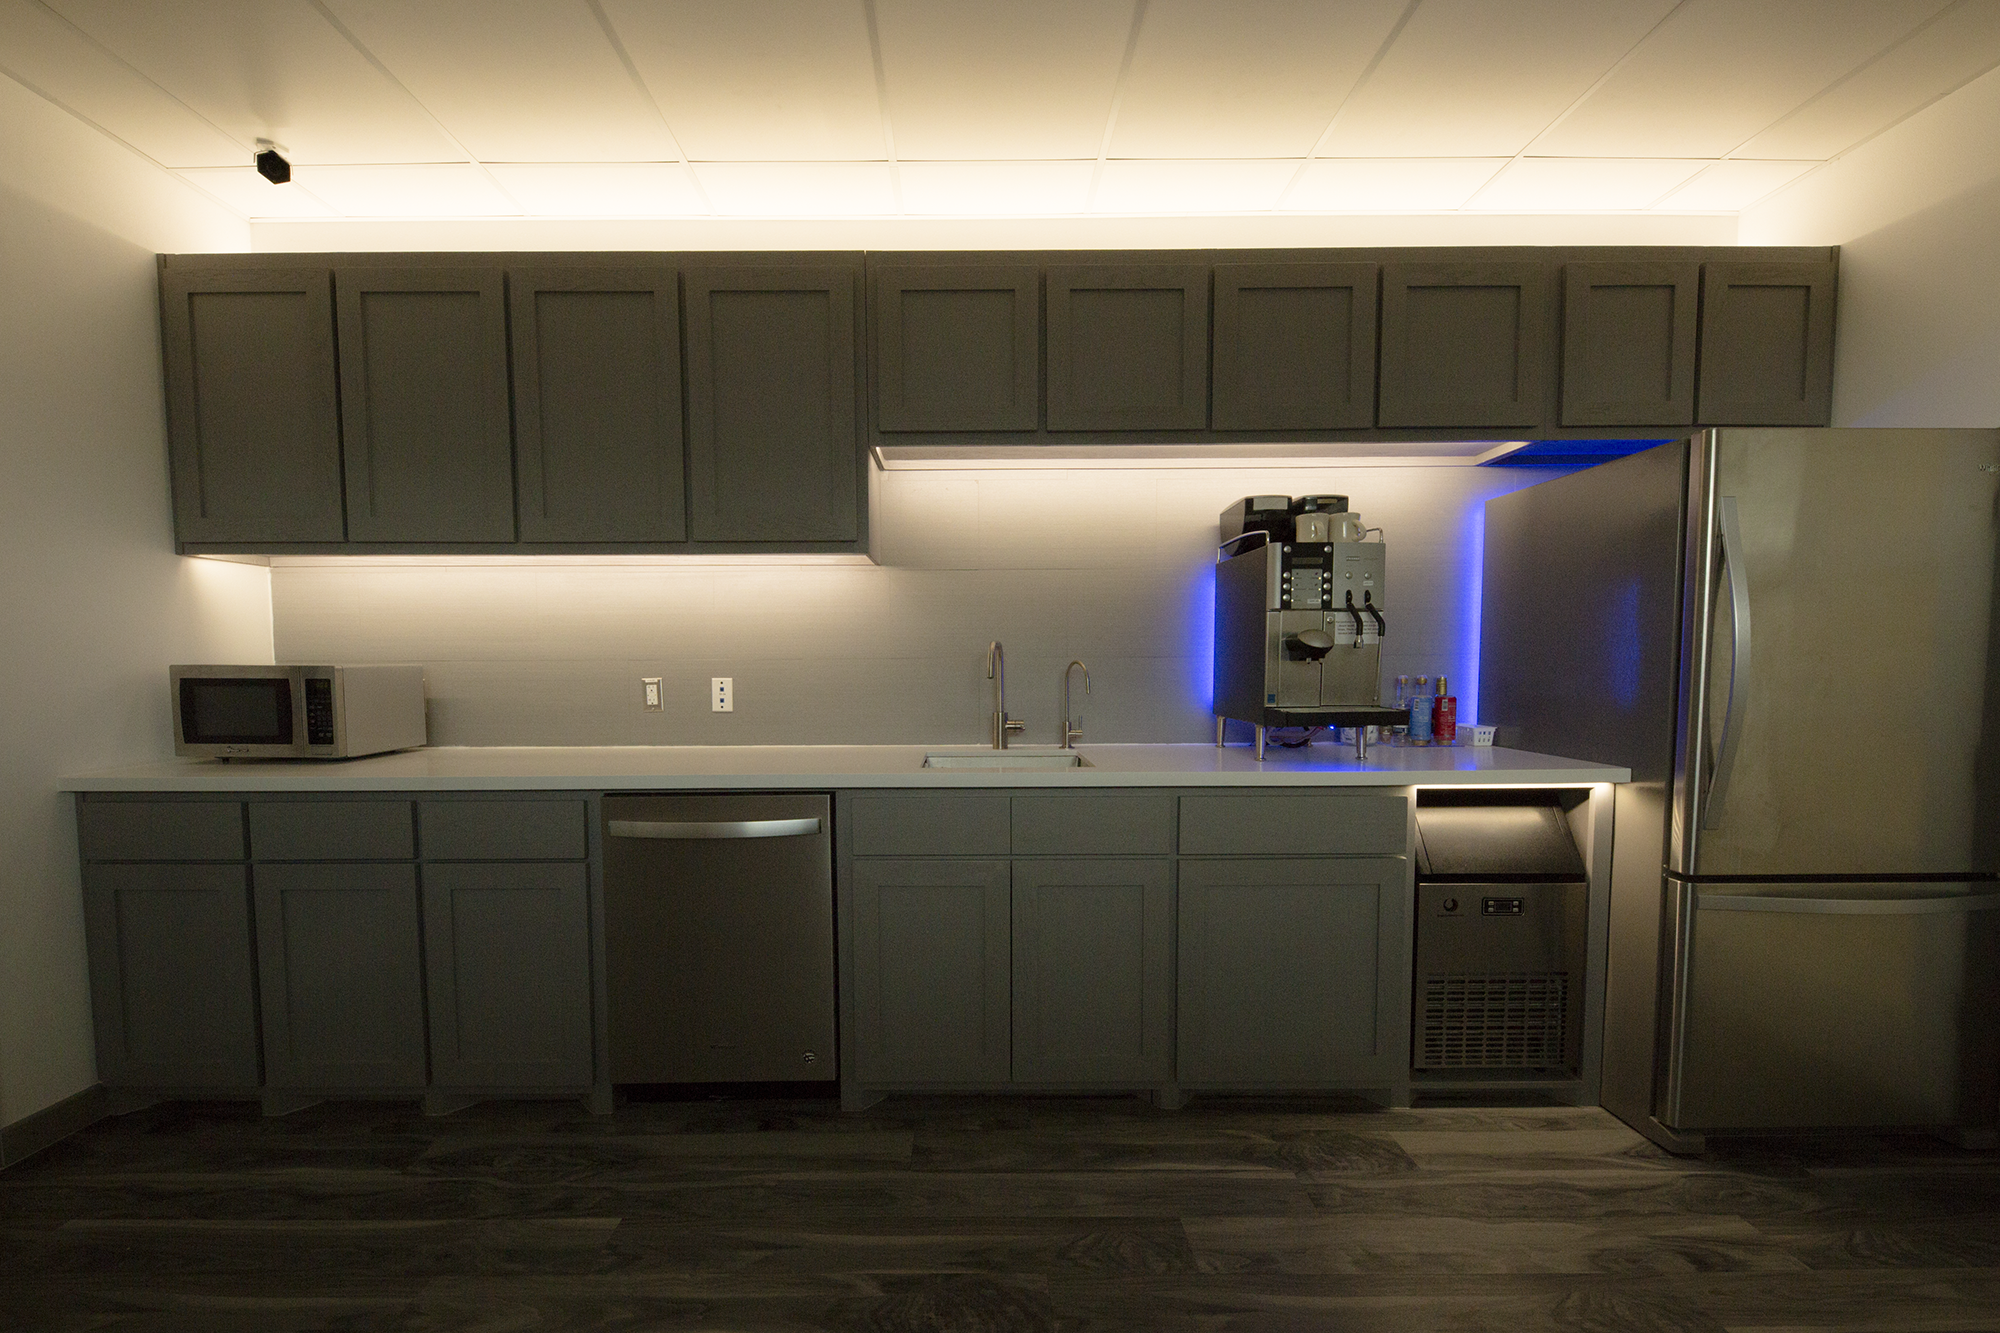
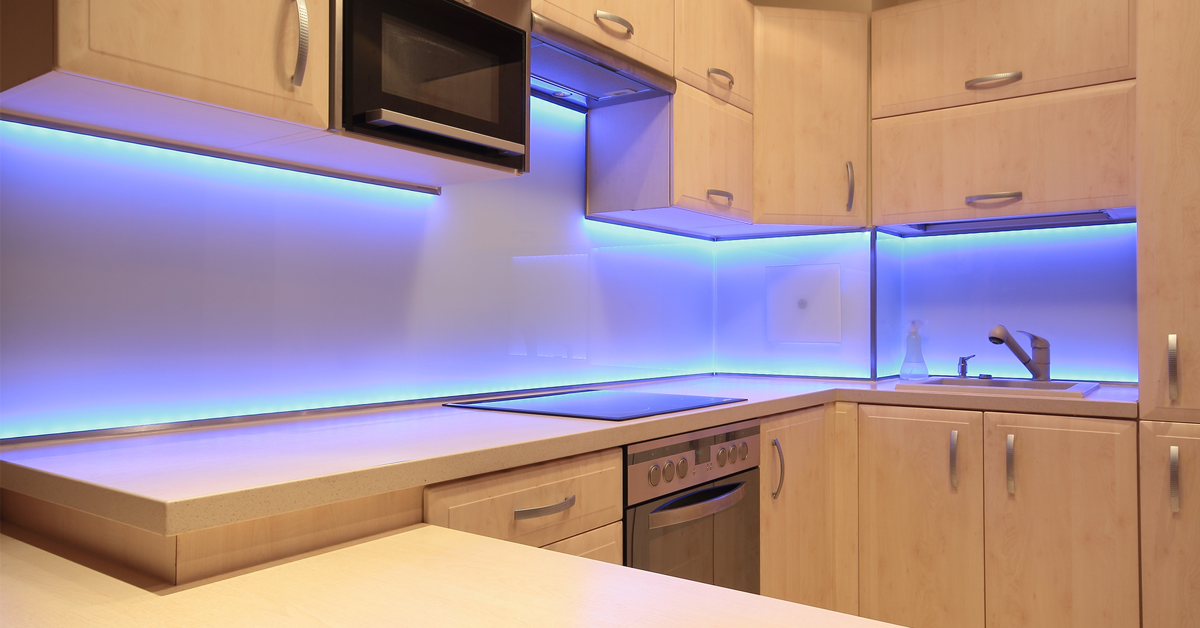
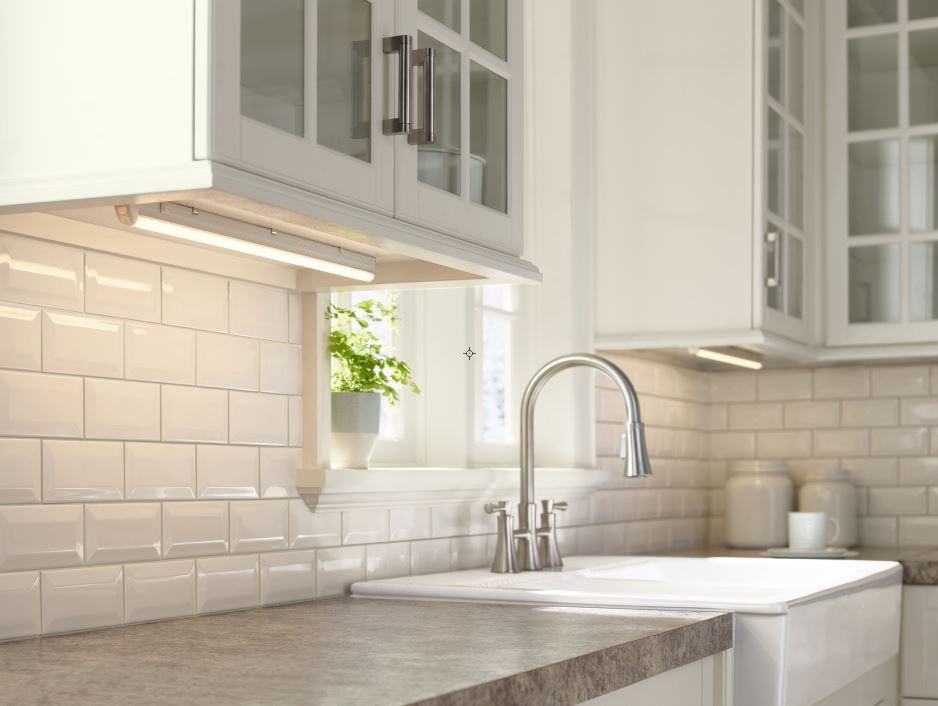
Looking for some inspiration for your under cabinet lighting? Here are our top 10 ideas: 1. LED strip lights for a modern and sleek look. 2. Puck lights for a versatile and adjustable option. 3. Rope lights for a soft and subtle glow. 4. Tape lights for a seamless and hidden lighting option. 5. Fluorescent lights for a budget-friendly and energy-efficient choice. 6. Dimmable lights for adjustable brightness levels. 7. Motion sensor lights for added convenience and energy savings. 8. Color-changing lights for a fun and customizable option. 9. Glass shelf lighting for a unique and modern touch. 10. Battery-operated lights for easy installation and flexibility in placement.Top 10 Under Cabinet Lighting Ideas for Your Kitchen
Now that you know the basics of installing under cabinet lighting, here are some expert tips to help you along the way: - Use a stud finder to locate studs for secure installation. - Install lights towards the front of the cabinet for better task lighting. - Use a level to make sure your lights are installed straight. - Consider using a light switch instead of plugging in the lights individually. - Use a wire cover to hide any visible wires. With these tips and ideas, you can easily install under cabinet lighting in your kitchen and transform the look and functionality of your space. So, why wait? Upgrade your kitchen lighting today and enjoy a well-lit and beautiful cooking space.Expert Tips for Installing Under Cabinet Lighting in Your Kitchen
How to Properly Wire Kitchen Under Cabinet Lights for a Functional and Stylish Design
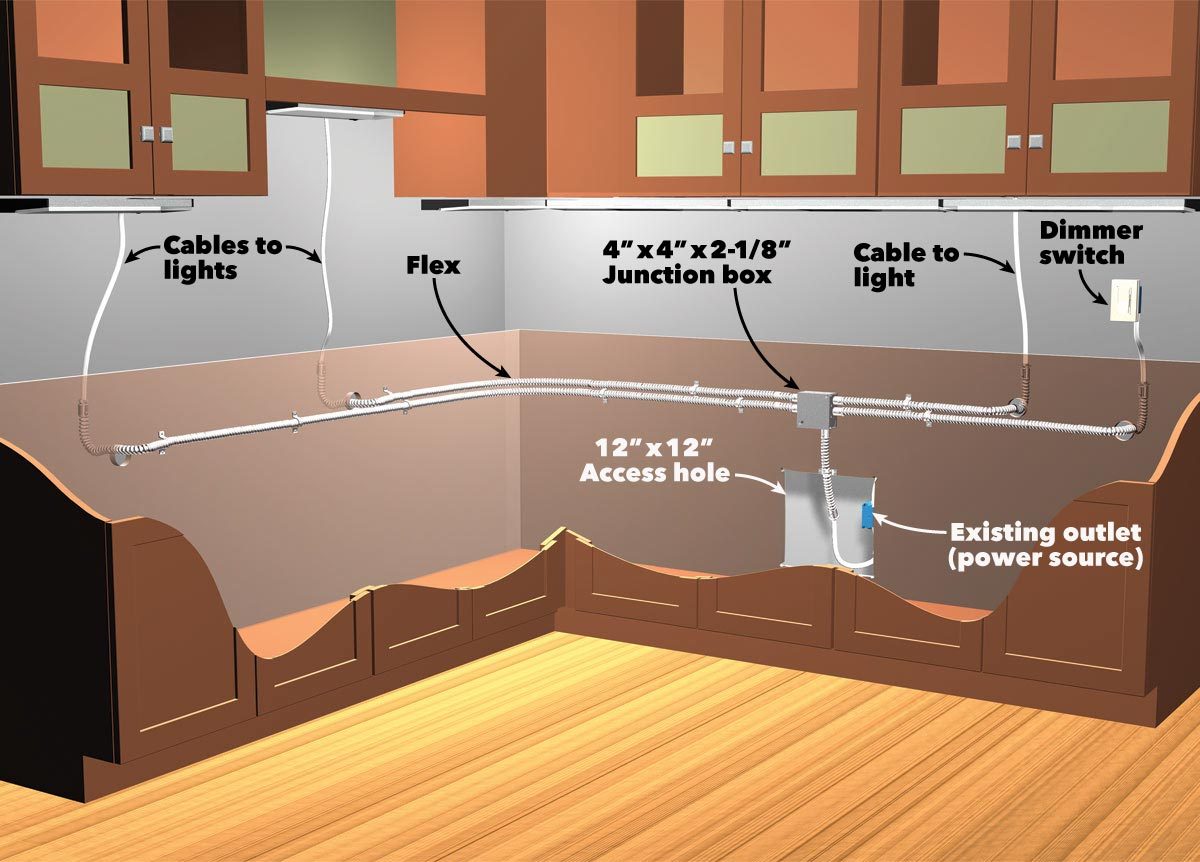
Why Kitchen Under Cabinet Lights are a Must-Have Feature
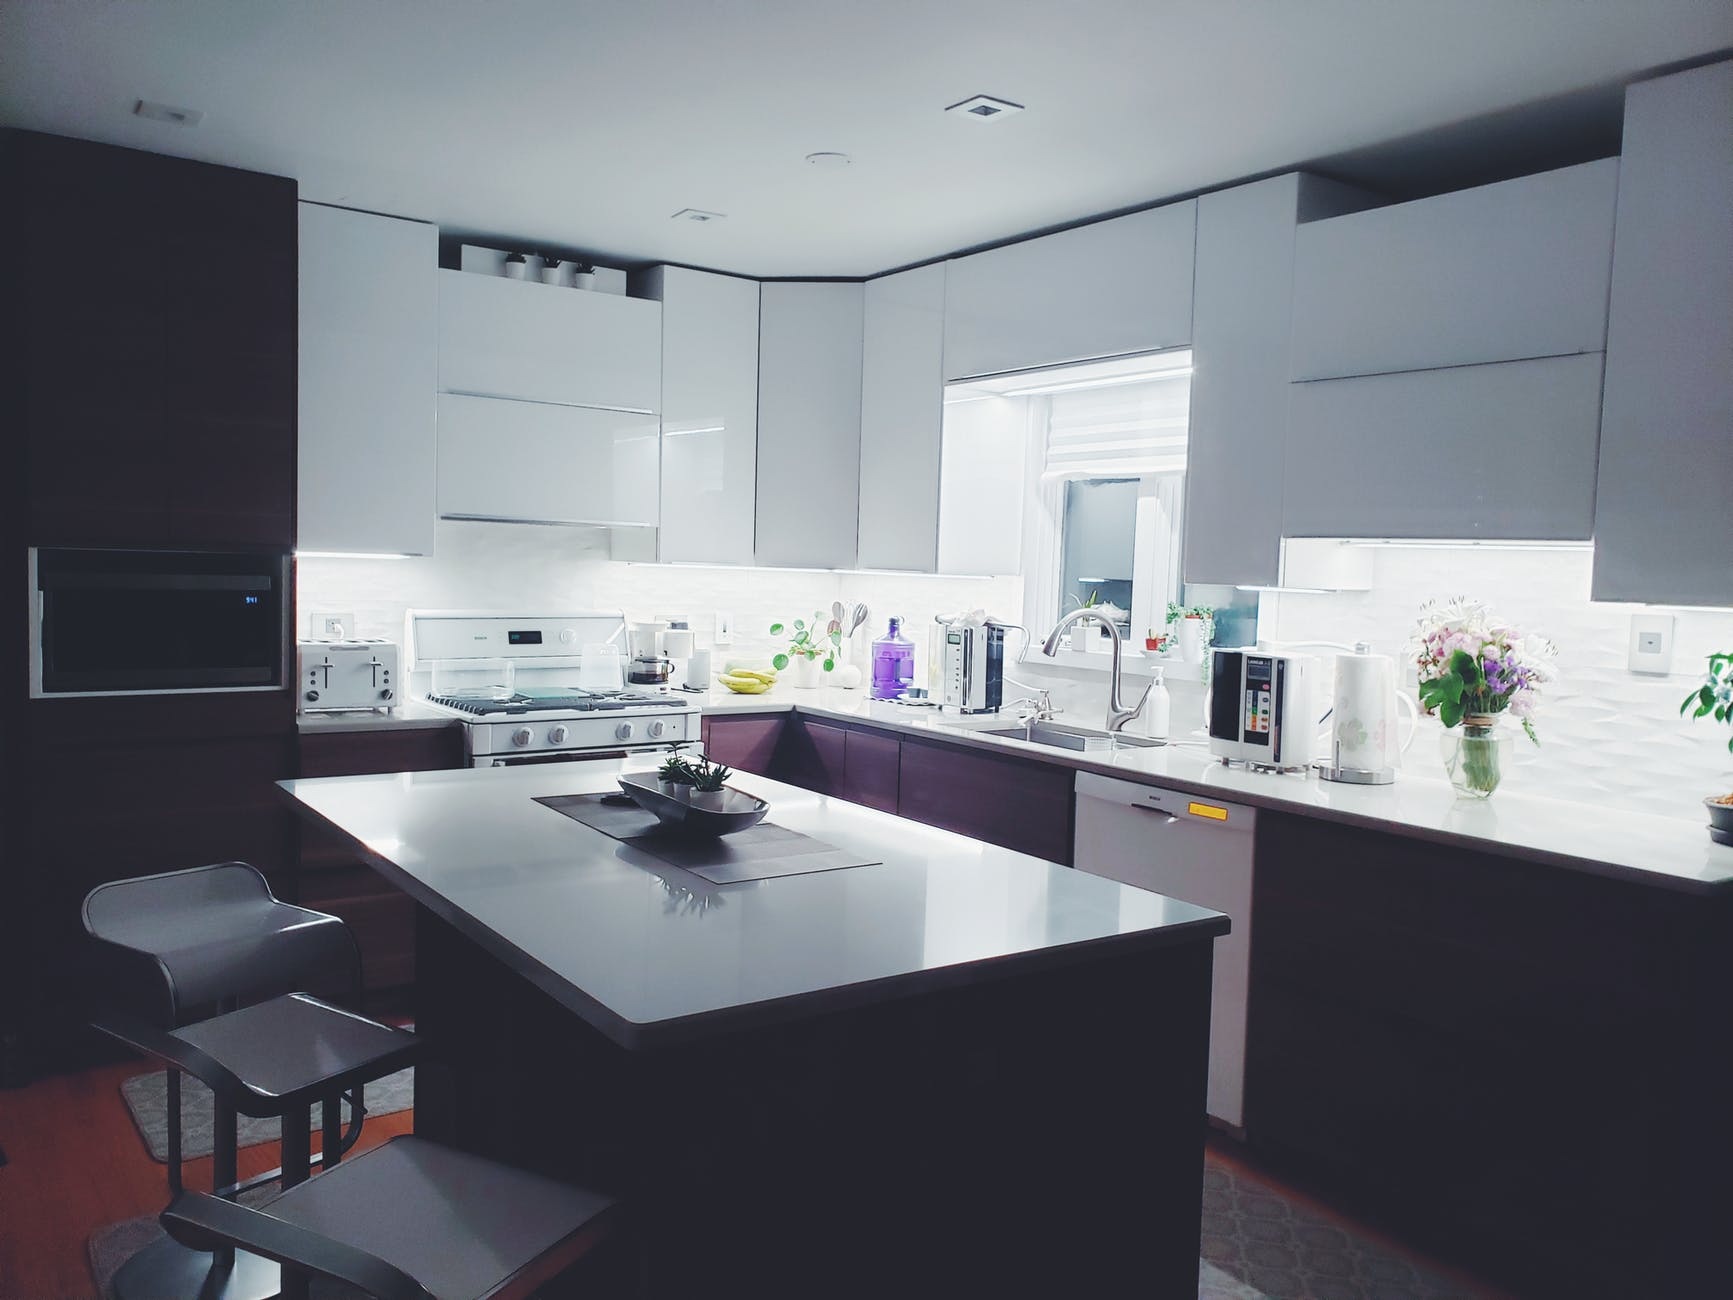
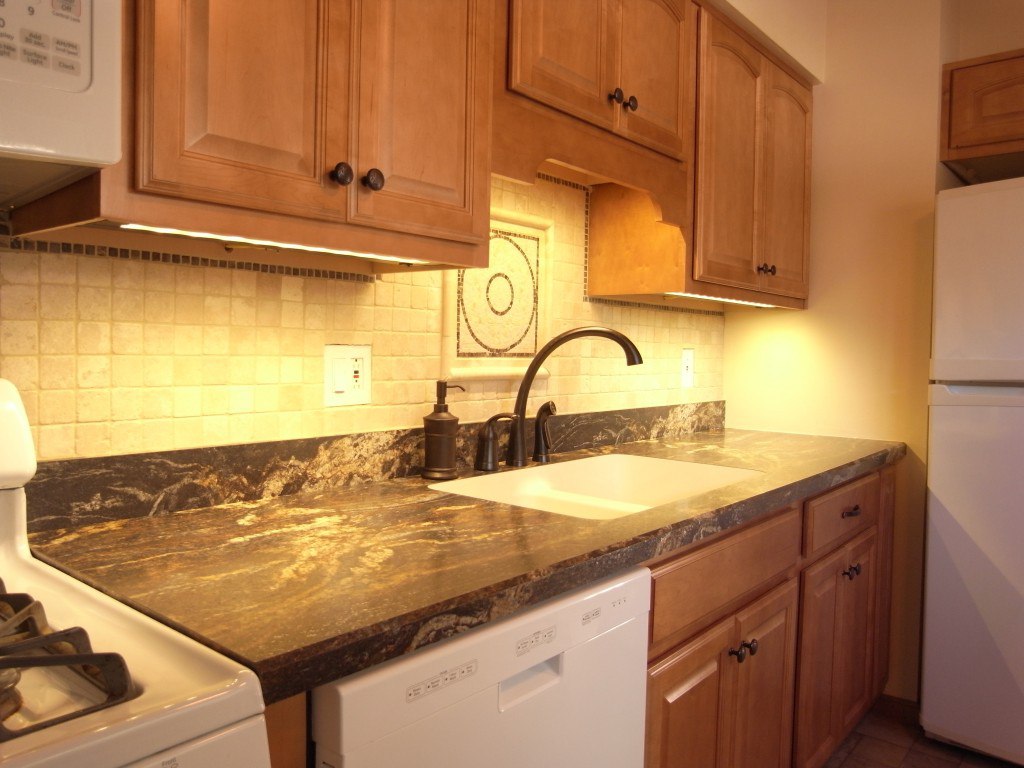
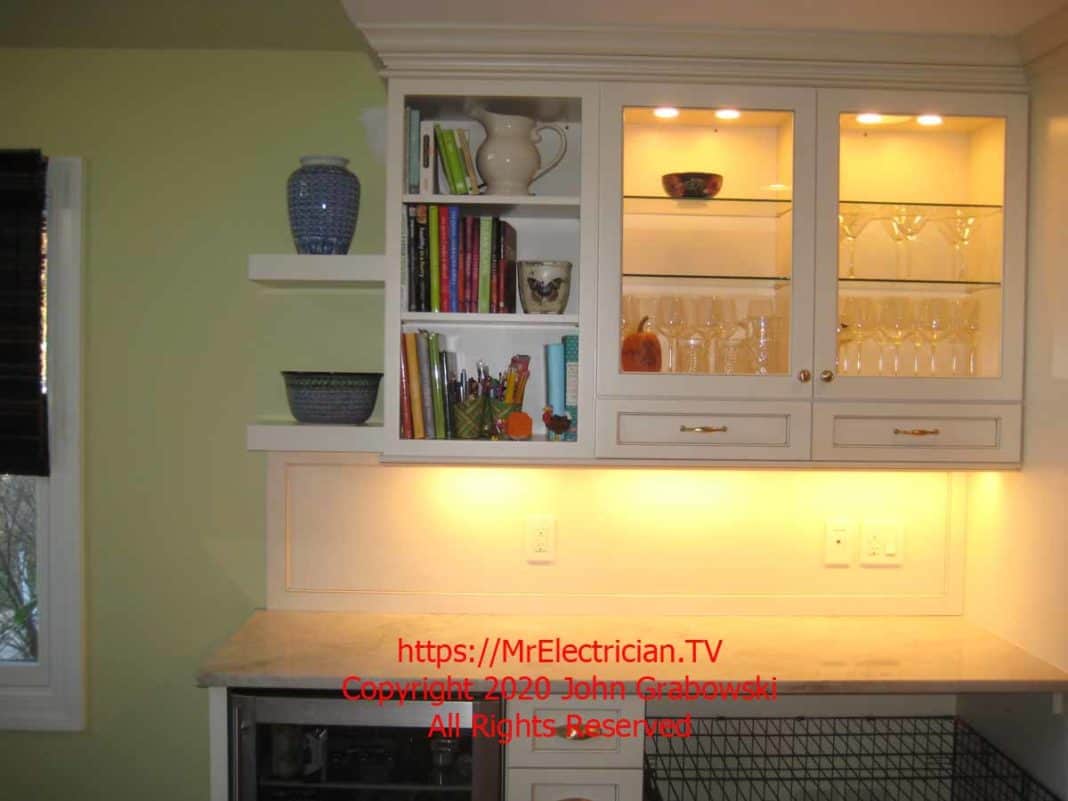
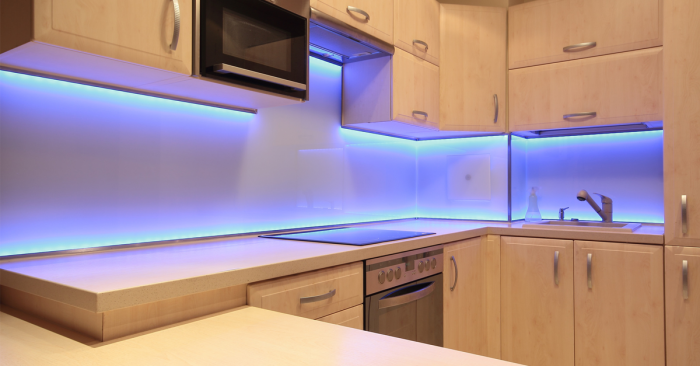
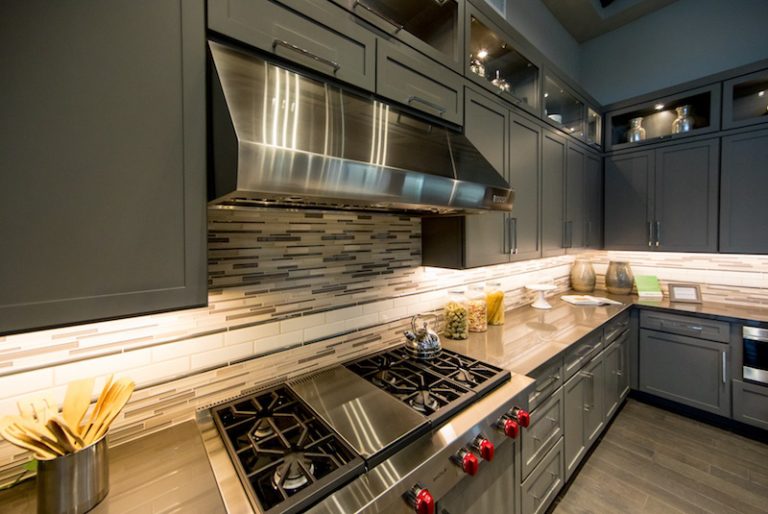
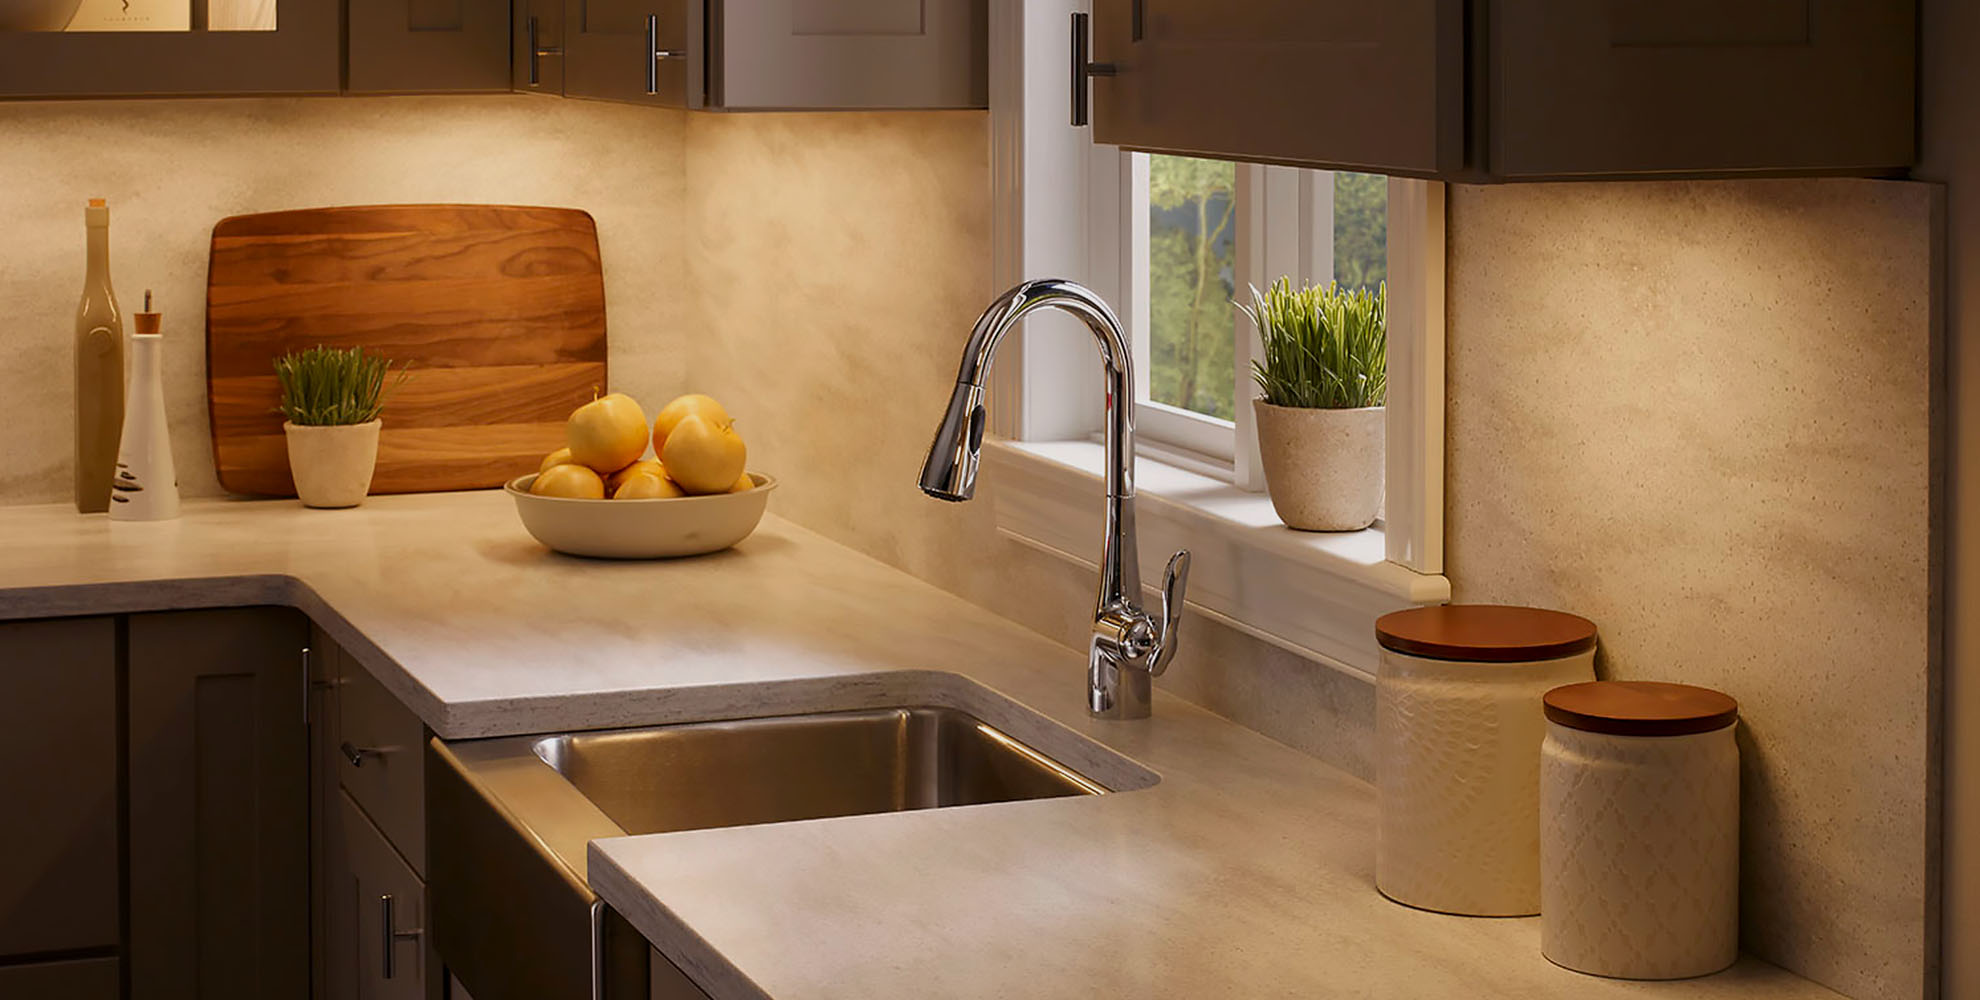
 Adding under cabinet lights in your kitchen not only enhances the overall design, but also provides practical benefits. These lights can brighten up your work area, making it easier to see while cooking, preparing meals, or washing dishes. They also create a warm and inviting ambiance, perfect for entertaining guests or simply enjoying a quiet night in. Additionally, under cabinet lights can help save energy by providing targeted lighting, rather than relying solely on overhead lights.
Tools and Materials Needed for the Wiring Process
 Before starting the wiring process, it's important to gather all the necessary tools and materials. This includes
electrical wires
,
wire cutters
,
wire strippers
,
electrical tape
,
light fixtures
, and
mounting hardware
. It's also important to have a
power drill
and
measuring tape
on hand for proper installation.
Step-by-Step Guide to Wiring Kitchen Under Cabinet Lights
 Step 1:
Measure the length of the cabinet where the lights will be installed and purchase the appropriate length of electrical wire.
Step 2:
Turn off the power to the kitchen by switching off the circuit breaker.
Step 3:
Use the power drill to create a small hole in the back of the cabinet for the wire to pass through.
Step 4:
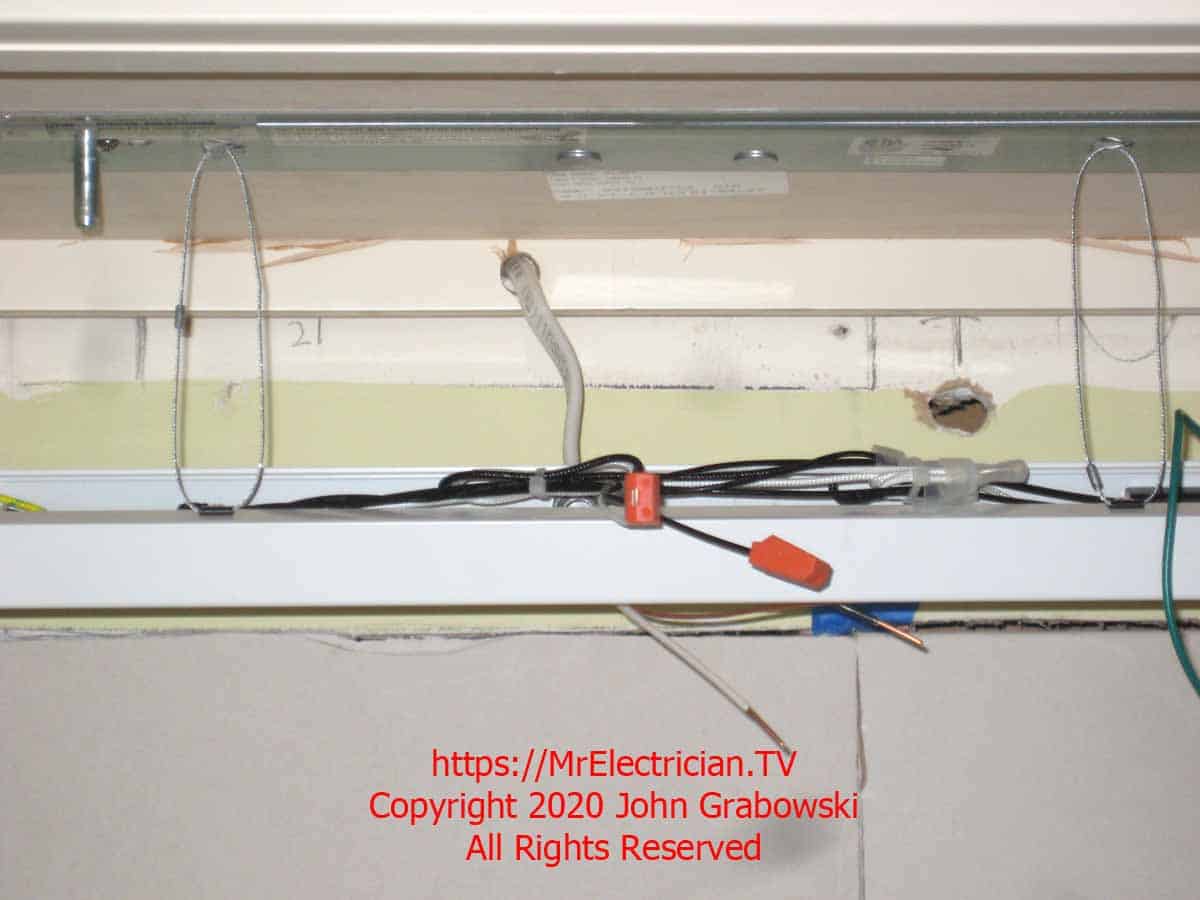
Feed the wire through the hole and route it to the location of the first light fixture.
Step 5:
Use the wire cutters to trim the wire to the desired length, leaving a few extra inches for flexibility.
Step 6:
Strip the ends of the wire using the wire strippers.
Step 7:
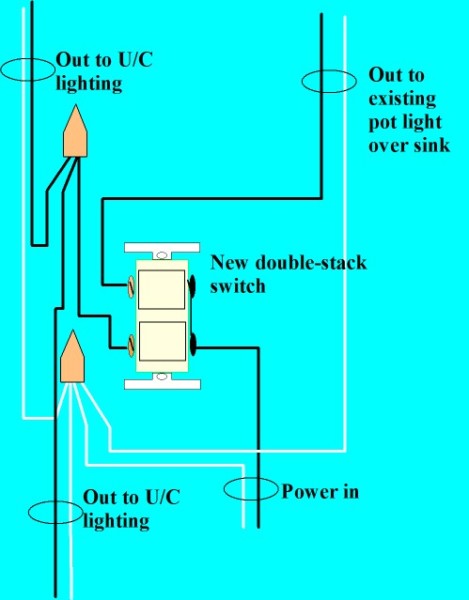
Connect the black wire from the light fixture to the black wire from the electrical wire, and the white wire from the light fixture to the white wire from the electrical wire. Use wire nuts to secure the connections and wrap them with electrical tape for added safety.
Step 8:
Repeat the process for each additional light fixture, connecting them in a series.
Step 9:
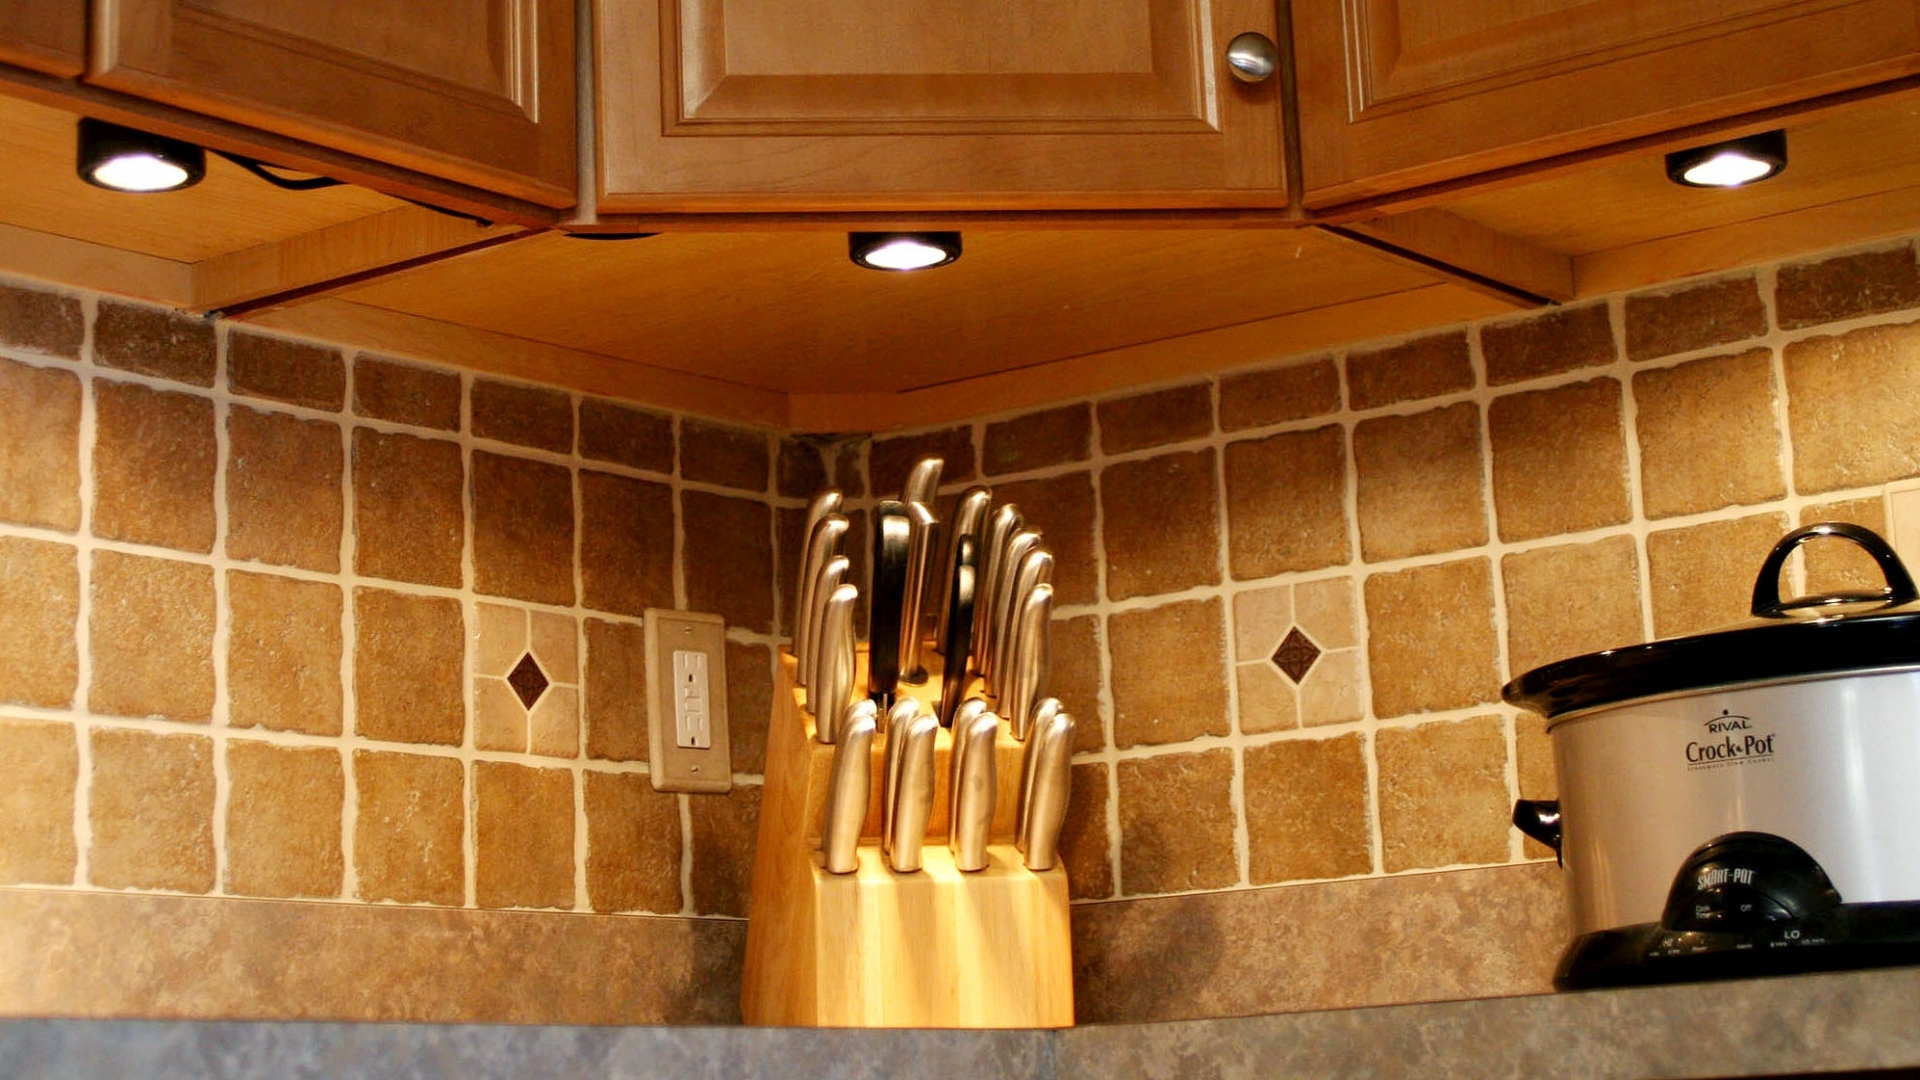
Use mounting hardware to install the light fixtures under the cabinet, following the manufacturer's instructions.
Step 10:
Once all the light fixtures are installed, turn the power back on and test the lights to ensure they are functioning properly.
Don't Forget Safety First
 When working with electrical wiring, it's important to always put safety first. Make sure to turn off the power before starting any work, and use caution when handling live wires. If you're unsure about any step in the process, it's best to consult a professional electrician.
Final Thoughts
 Wiring kitchen under cabinet lights may seem like a daunting task, but with the right tools and materials, it can be a simple and rewarding DIY project. By following this guide and putting safety first, you can achieve a functional and stylish kitchen design with the added bonus of energy efficiency. So go ahead and brighten up your kitchen with under cabinet lights!



























.jpg?format=1500w)


