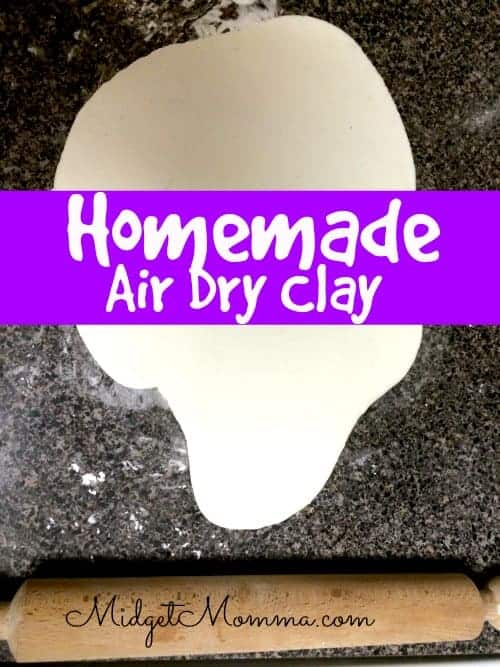
1. Introduction to Air Dry Clay
If you're looking for a fun and versatile art project to do at home, then look no further than air dry clay! This easy-to-use material is perfect for creating all kinds of crafts and sculptures, and best of all, you don't even need a kiln to set it. With just a few simple ingredients and some creativity, you can make your own air dry clay right at your kitchen table. In this article, we'll show you how to make the perfect batch of air dry clay for all your crafting needs.

How to Make Air Dry Clay


2. Gather Your Ingredients
To make air dry clay, you'll need a few basic ingredients that you can easily find at your local grocery or craft store. These include flour, salt, water, and oil. You'll also need a mixing bowl, a spoon or spatula, and a flat surface for kneading the clay.


The Kitchen Table Classroom


3. Mix the Flour and Salt
In your mixing bowl, combine two cups of all-purpose flour and one cup of salt. Use your spoon or spatula to stir the two ingredients together until they are well combined.


How to Make Air Dry Clay
4. Add the Water and Oil
Next, slowly pour one cup of water into the flour and salt mixture. As you pour, use your spoon or spatula to stir the ingredients together. Once the water is fully incorporated, add one tablespoon of oil and continue stirring until the dough starts to come together.

The Kitchen Table Classroom
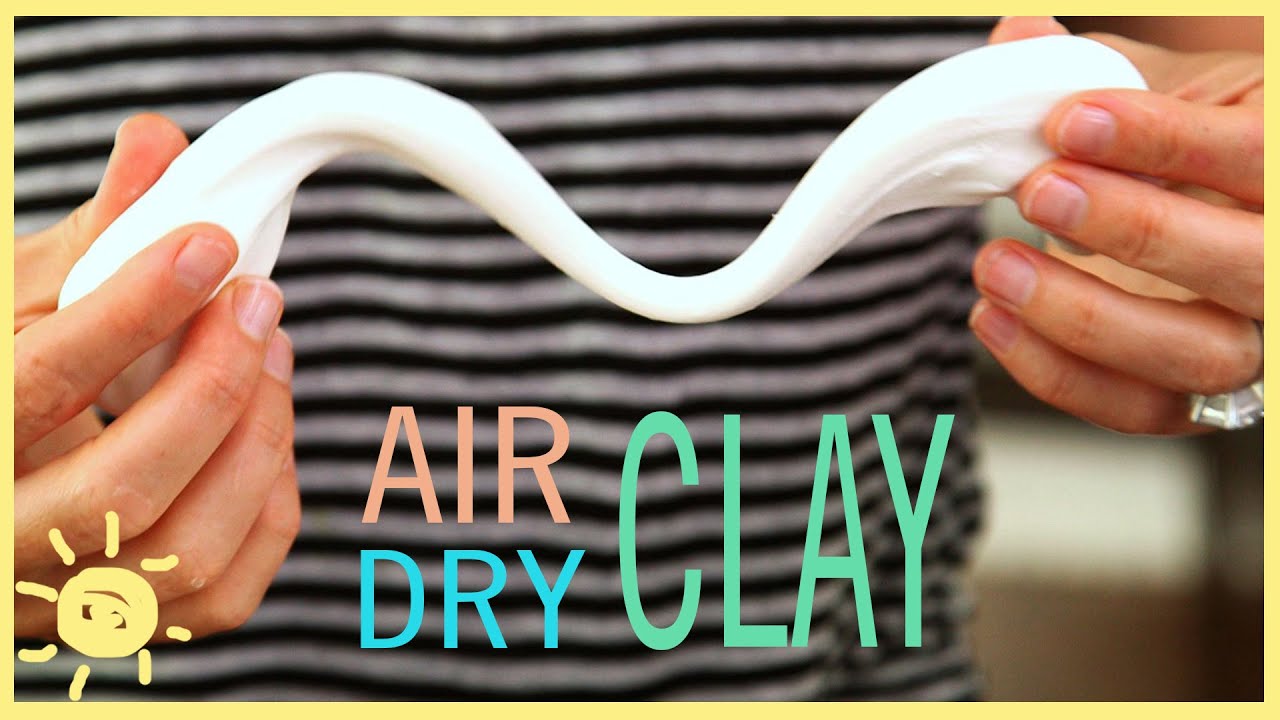
5. Knead the Dough
Once the dough has formed, turn it out onto a flat surface and begin kneading it with your hands. Knead for about five minutes, until the dough is smooth and pliable.


How to Make Air Dry Clay
6. Adjust the Consistency
If your dough is too dry, add a little more water. If it is too sticky, add a little more flour. You want the dough to be easy to work with, but not too wet or dry.


The Kitchen Table Classroom
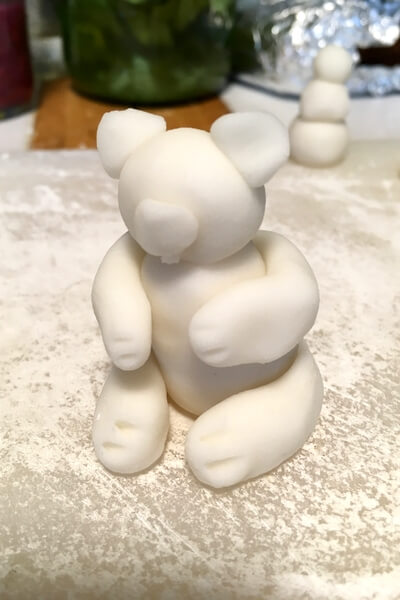
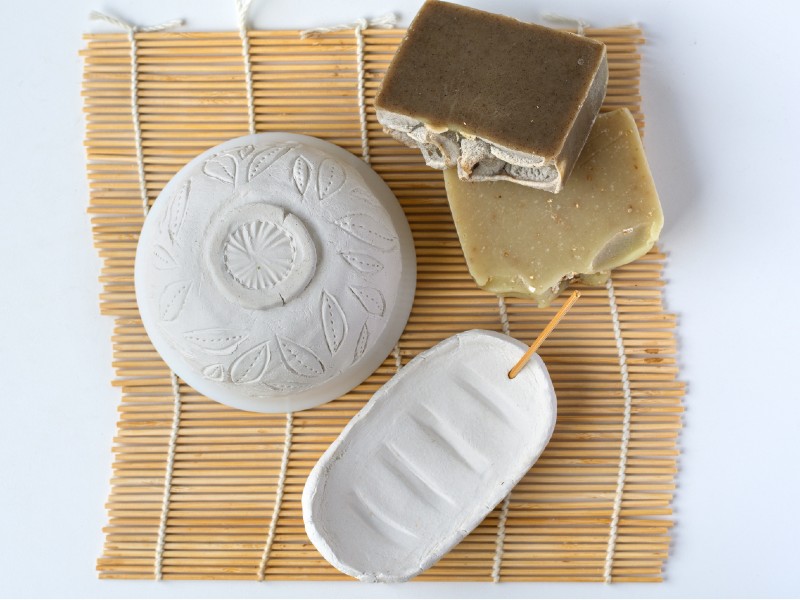
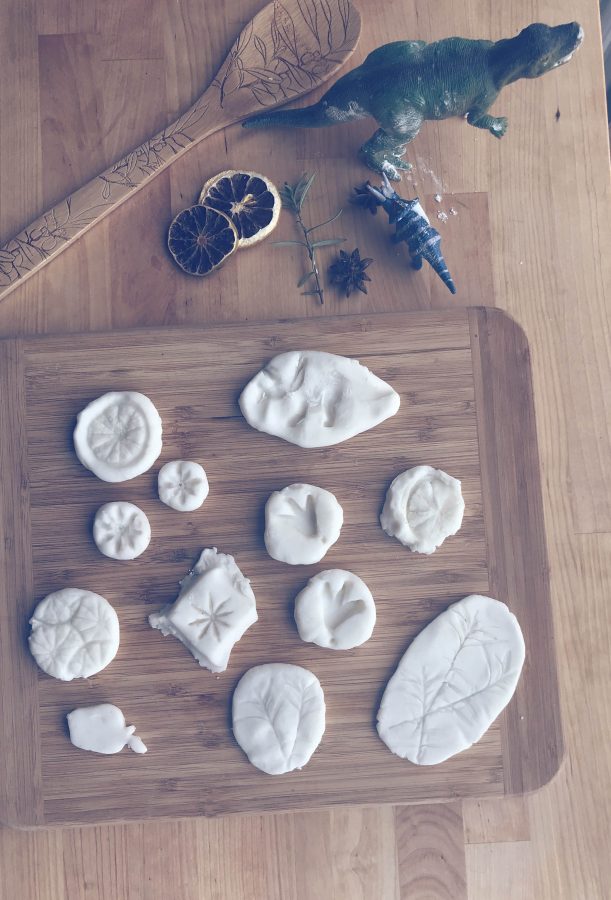
7. Shape and Mold Your Clay
Now comes the fun part - shaping and molding your clay into whatever your heart desires! You can roll it out and use cookie cutters to make fun shapes, or use your hands to sculpt it into 3D objects like animals, flowers, or figurines.

How to Make Air Dry Clay


8. Let It Dry
Once you've finished creating your masterpieces, set them aside to dry. Depending on the size and thickness of your creations, this can take anywhere from a few hours to a few days. You'll know your clay is completely dry when it is hard to the touch.
The Kitchen Table Classroom
9. Paint and Decorate
Once your clay is dry, it's time to add some color and personality! You can use acrylic paints, markers, or even glitter to bring your creations to life. Let your imagination run wild!
How to Make Air Dry Clay


10. Enjoy Your Creations
Congratulations, you've successfully made your own air dry clay and created some amazing pieces of art! You can display your creations around your home, give them as gifts, or even use them as decorations for special occasions. The possibilities are endless!


The Kitchen Table Classroom
Transform Your Kitchen Table into a Creative Classroom with Air Dry Clay

Unleash Your Creativity with Air Dry Clay
 Are you looking for a fun and easy way to spruce up your home decor? Look no further than your very own kitchen table. With the help of
kitchen table classroom air dry clay
, you can transform your plain and boring kitchen table into a creative and artistic masterpiece.
Air dry clay is a versatile and budget-friendly material that allows you to create unique and stunning home decor pieces right at home. Whether you're an experienced crafter or just starting out, air dry clay is perfect for unleashing your creativity and adding a personal touch to your living space.
Are you looking for a fun and easy way to spruce up your home decor? Look no further than your very own kitchen table. With the help of
kitchen table classroom air dry clay
, you can transform your plain and boring kitchen table into a creative and artistic masterpiece.
Air dry clay is a versatile and budget-friendly material that allows you to create unique and stunning home decor pieces right at home. Whether you're an experienced crafter or just starting out, air dry clay is perfect for unleashing your creativity and adding a personal touch to your living space.
Why Choose Air Dry Clay?
 Air dry clay
is a type of clay that does not require any special equipment or high-temperature firing to harden. All you need is some water, your hands, and a few basic tools to mold and shape the clay into any design you desire. It's easy to use and dries naturally in the air, making it a convenient and mess-free option for any DIY project.
Moreover, air dry clay comes in a variety of colors and textures, allowing you to create endless possibilities with your kitchen table as your canvas. You can add a pop of color to your table by creating vibrant coasters or go for a more rustic look with a textured vase. The possibilities are endless, and the only limit is your imagination.
Air dry clay
is a type of clay that does not require any special equipment or high-temperature firing to harden. All you need is some water, your hands, and a few basic tools to mold and shape the clay into any design you desire. It's easy to use and dries naturally in the air, making it a convenient and mess-free option for any DIY project.
Moreover, air dry clay comes in a variety of colors and textures, allowing you to create endless possibilities with your kitchen table as your canvas. You can add a pop of color to your table by creating vibrant coasters or go for a more rustic look with a textured vase. The possibilities are endless, and the only limit is your imagination.
Transform Your Kitchen Table into an Art Studio
 With the help of air dry clay, your kitchen table can turn into a creative classroom for you and your loved ones. You can spend quality time with your family while making beautiful and functional home decor pieces together. It's a great way to bond and create lasting memories while also adding a personal touch to your living space.
So, why wait? Grab some air dry clay and let your imagination run wild. Transform your
kitchen table
into an art studio and bring a touch of creativity and personality into your home. Trust us; your kitchen table will thank you.
With the help of air dry clay, your kitchen table can turn into a creative classroom for you and your loved ones. You can spend quality time with your family while making beautiful and functional home decor pieces together. It's a great way to bond and create lasting memories while also adding a personal touch to your living space.
So, why wait? Grab some air dry clay and let your imagination run wild. Transform your
kitchen table
into an art studio and bring a touch of creativity and personality into your home. Trust us; your kitchen table will thank you.
In Conclusion
 Air dry clay is a fantastic and accessible material that can help you unleash your creativity and elevate your home decor. With just a few simple steps, you can transform your kitchen table into a creative classroom and create beautiful and unique pieces for your home. So, don't hesitate to give it a try and see the magic of air dry clay unfold before your eyes.