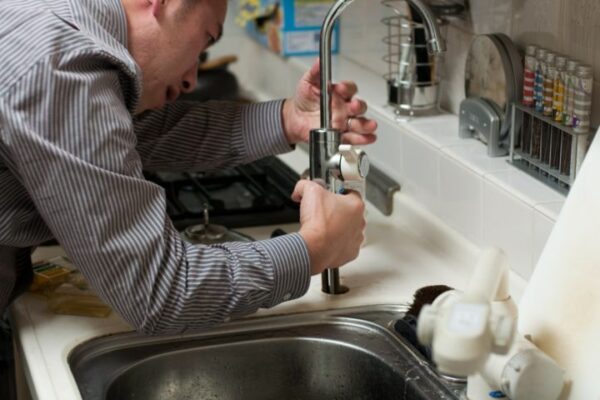
Is your kitchen sink sprayer not working like it used to? It may be time for a replacement. Over time, sprayers can become clogged, leaky, or just stop functioning altogether. But don't worry, replacing your kitchen sink sprayer is a simple task that can be done in no time. In this guide, we'll walk you through the steps of replacing your kitchen sink sprayer and getting your sink back in working order.1. Kitchen Sink Sprayer Replacement


1. Kitchen Sink Sprayer Replacement


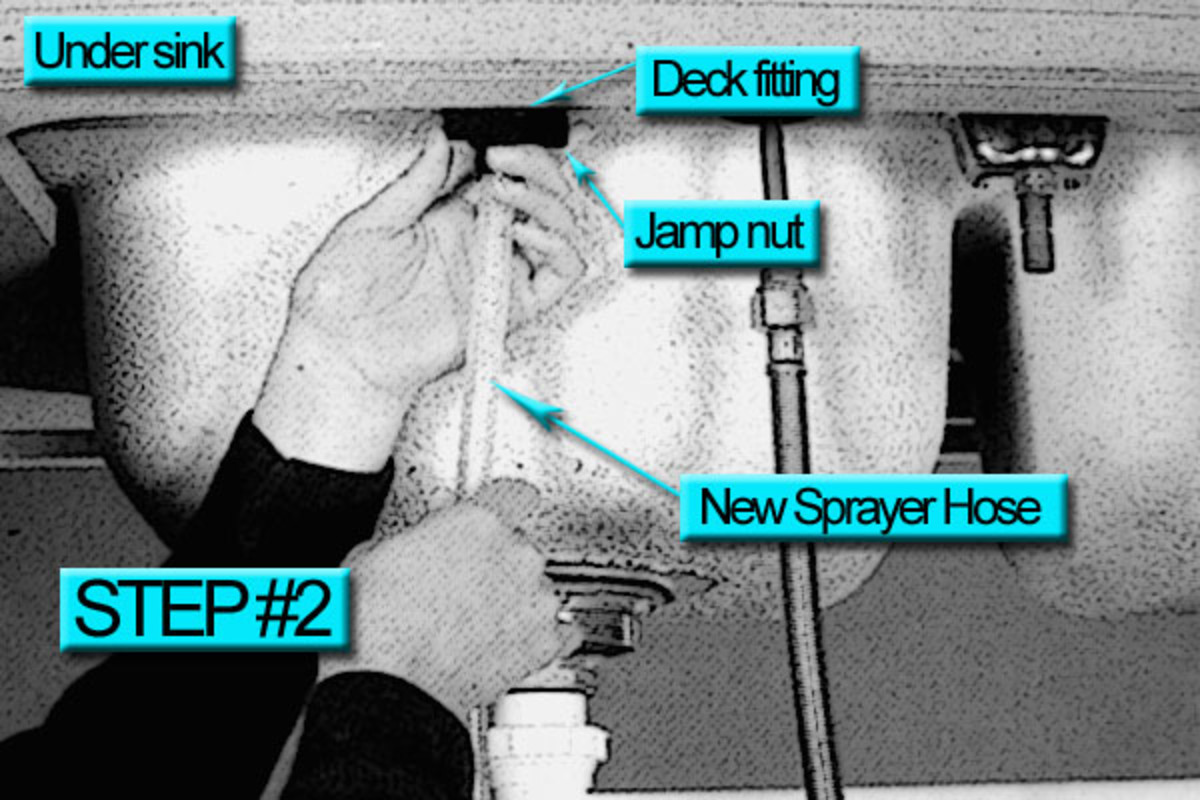
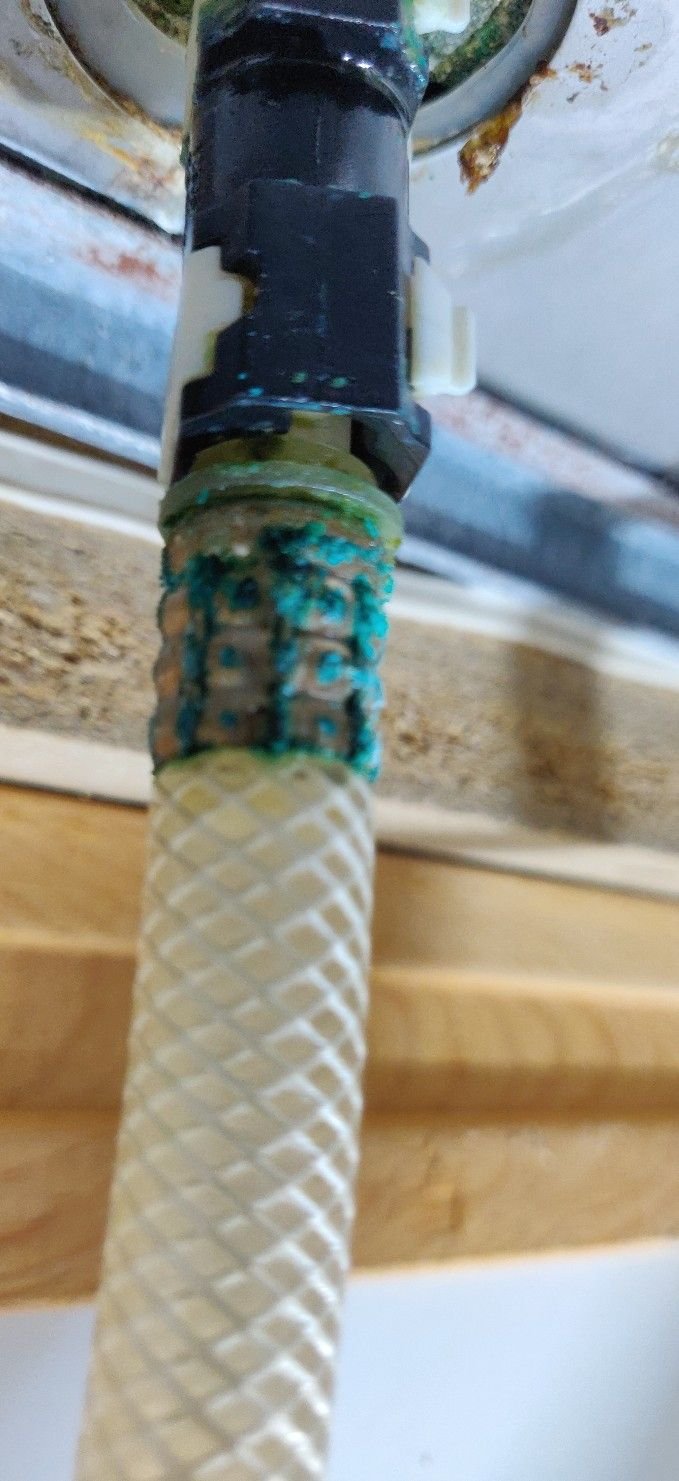
If your kitchen sink sprayer hose is damaged or worn out, it's important to replace it as soon as possible. A damaged hose can lead to leaks and reduced water pressure, making it difficult to use your sink effectively. To replace the hose, start by turning off the water supply to your sink. Then, carefully remove the old hose and replace it with a new one. Be sure to secure the connections tightly to prevent any leaks.2. Kitchen Sink Sprayer Hose Replacement

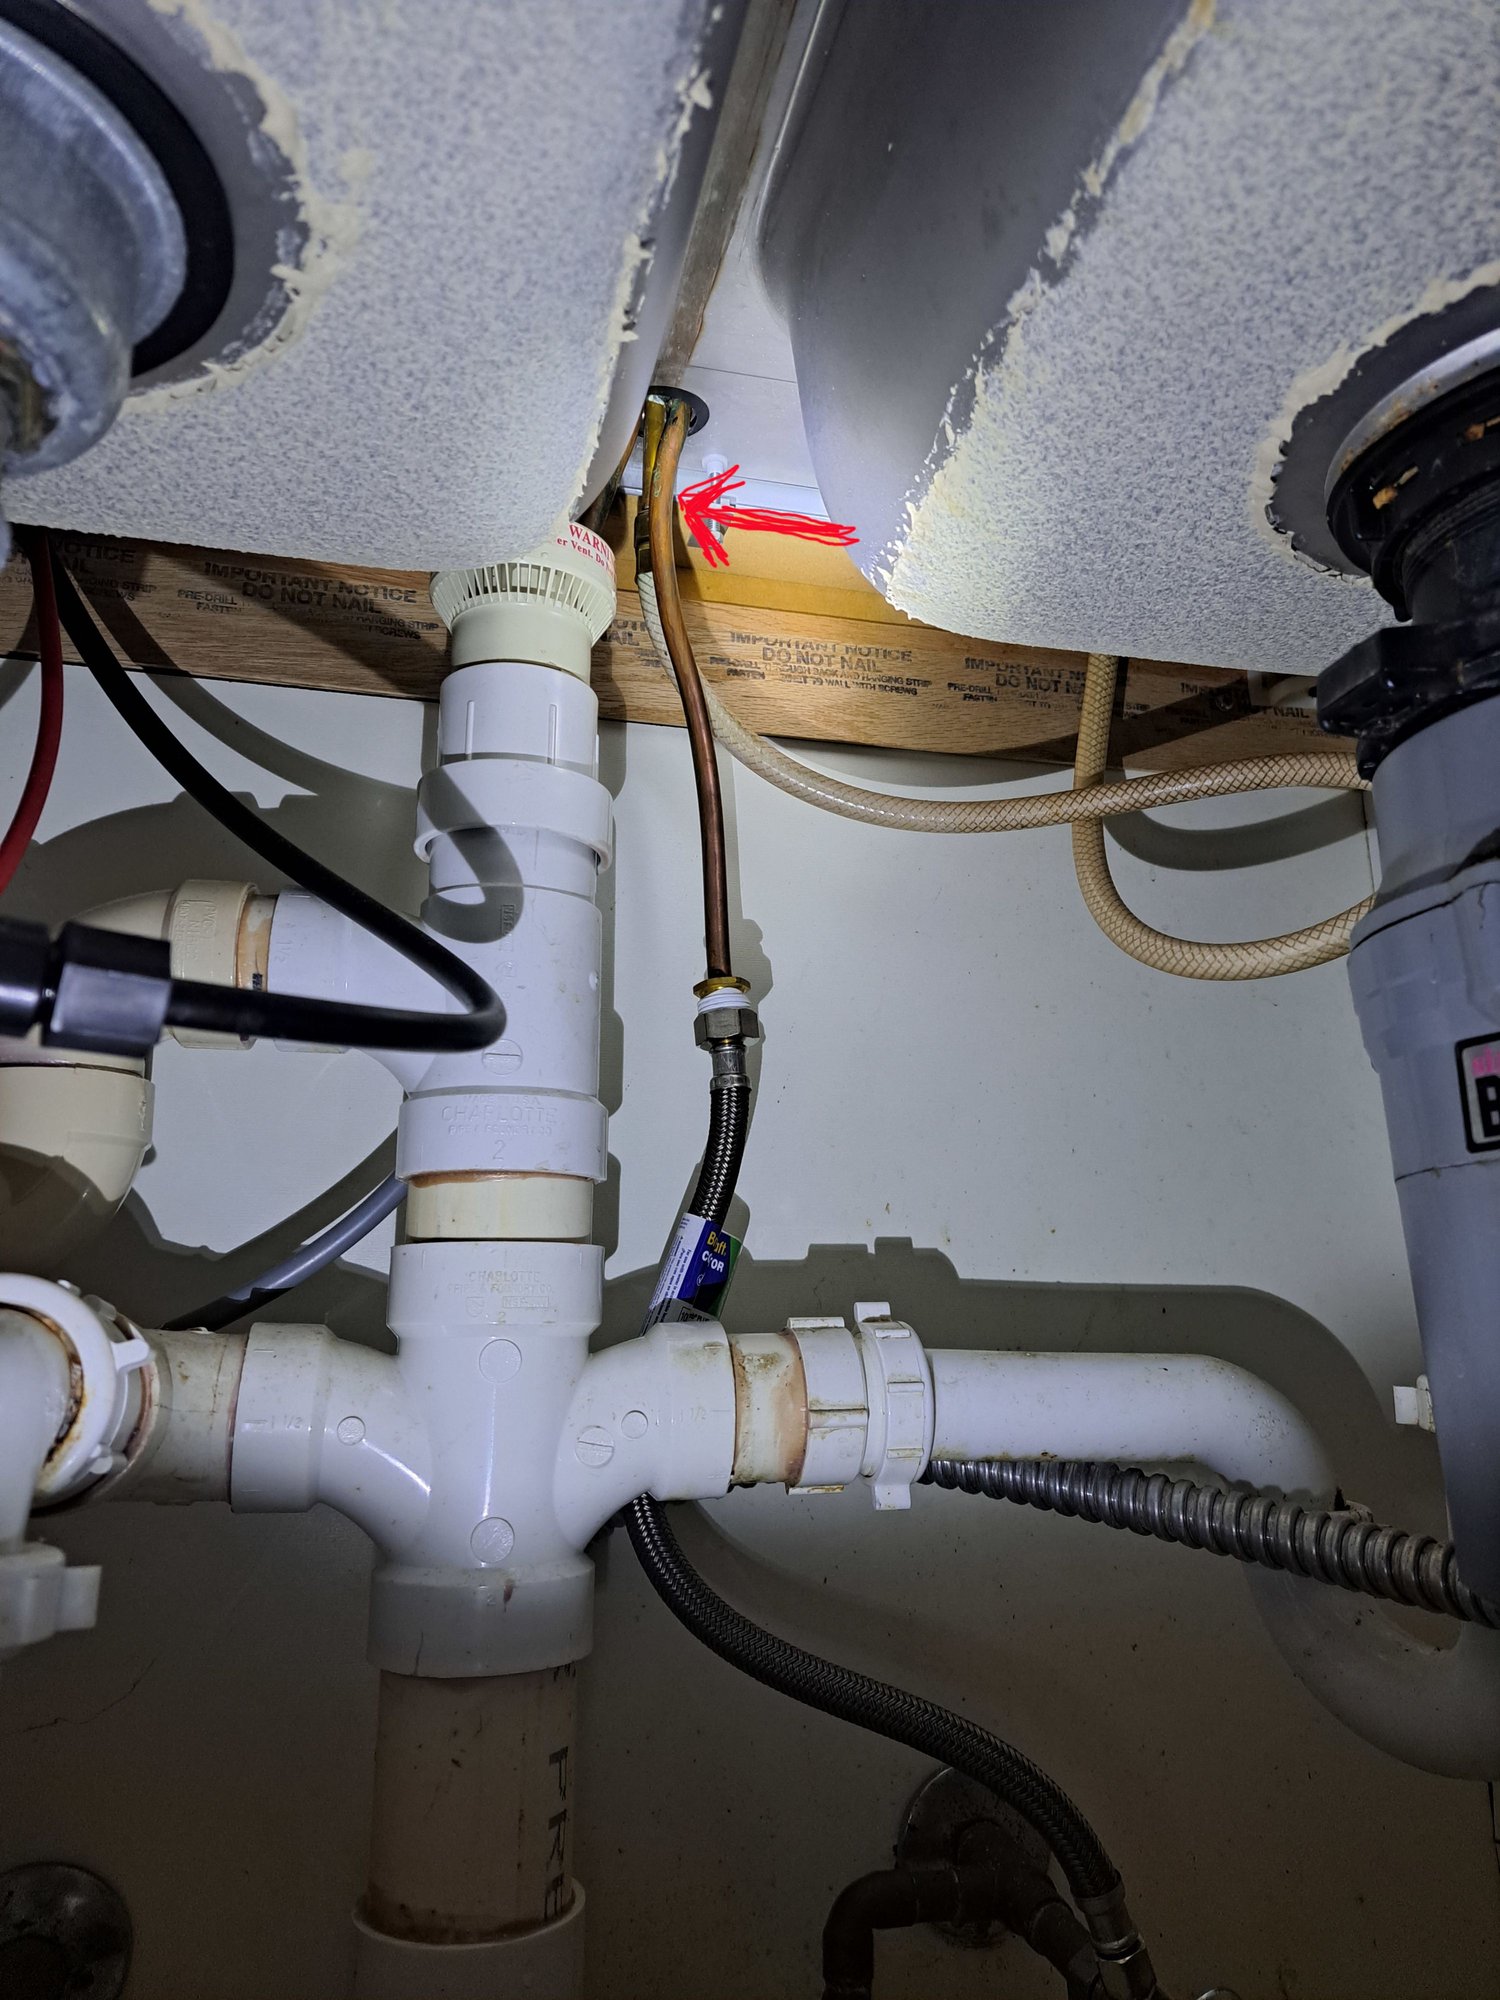

2. Kitchen Sink Sprayer Hose Replacement


:max_bytes(150000):strip_icc()/installing-a-kitchen-sink-sprayer-2718817-03-514088ddb922466eb3d4cd73f3aa85f4.jpg)


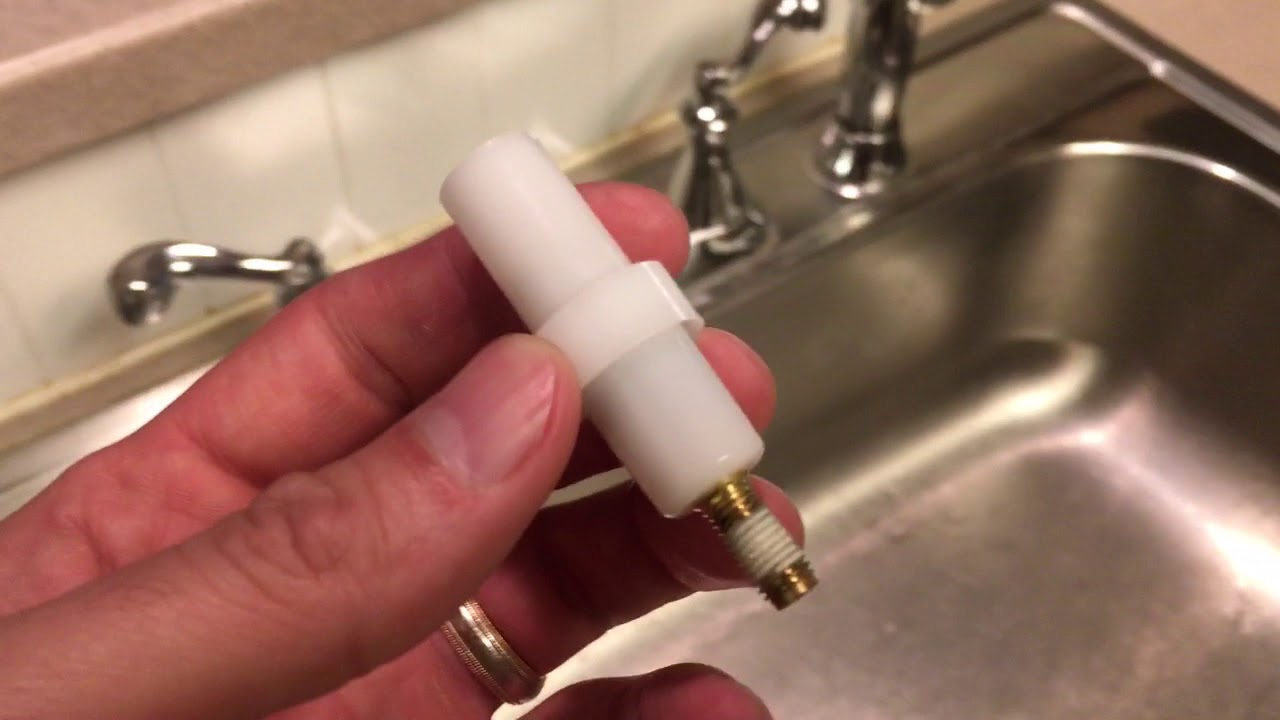
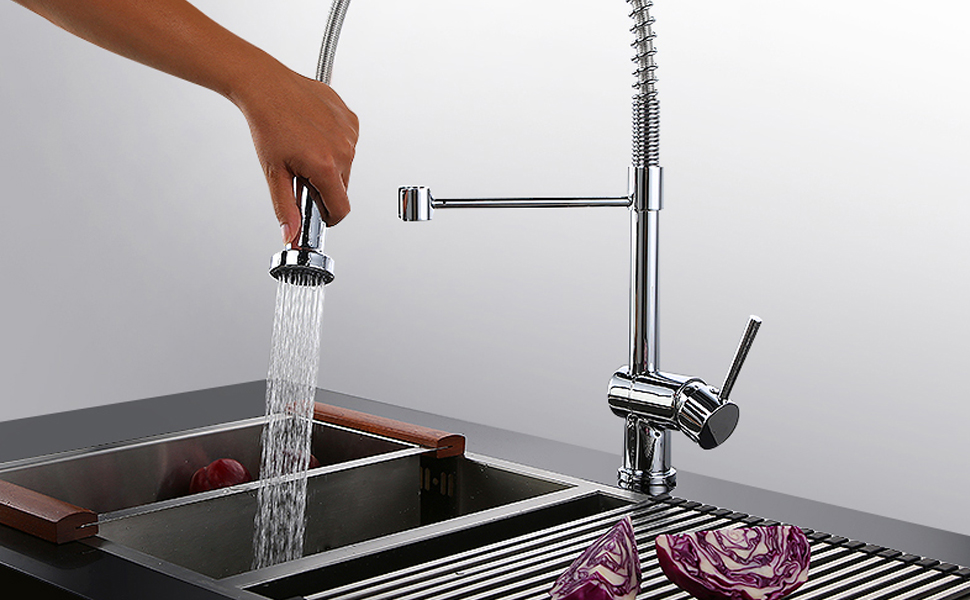
The sprayer head is the part of your kitchen sink sprayer that you use to control the water flow. If this is damaged or not functioning properly, it can make using your sink a frustrating experience. To replace the sprayer head, first, remove the old one by twisting it counterclockwise. Then, attach the new sprayer head by twisting it on clockwise. Be sure to test the new sprayer head before using it to make sure it is working properly.3. Kitchen Sink Sprayer Head Replacement


3. Kitchen Sink Sprayer Head Replacement


If your kitchen sink sprayer is not working at all, it's possible that it just needs to be repaired rather than replaced. The most common issue with a sprayer is a clogged nozzle. To fix this, simply remove the nozzle and clean it thoroughly with a mixture of water and vinegar. If this doesn't solve the problem, you may need to replace the sprayer altogether.4. Kitchen Sink Sprayer Repair


4. Kitchen Sink Sprayer Repair


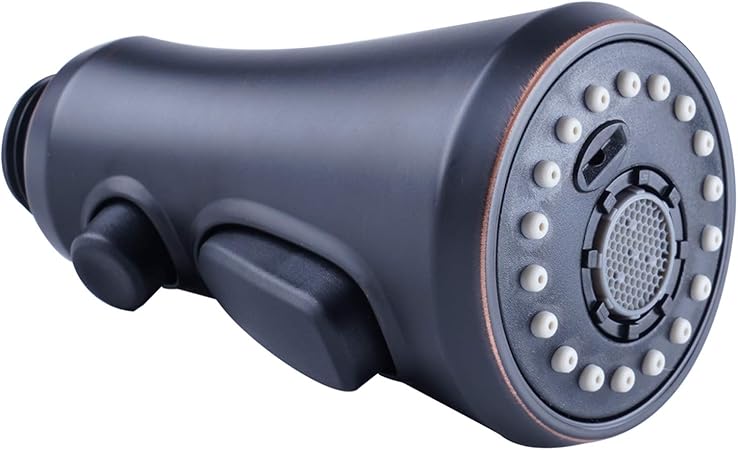
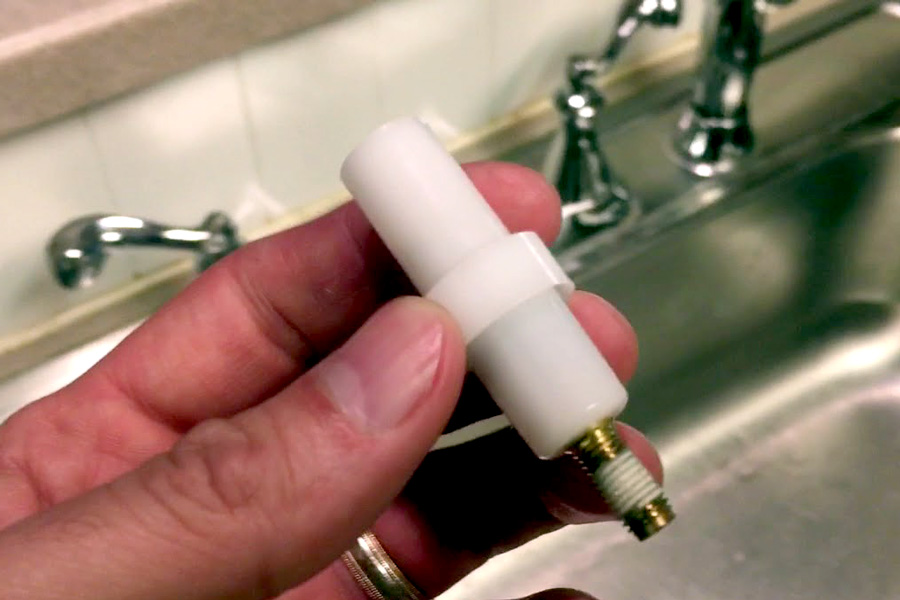
The nozzle is the part of your kitchen sink sprayer that controls the water flow and spray pattern. If your sprayer is not functioning properly, it's possible that the nozzle needs to be replaced. To do this, start by turning off the water supply to your sink. Then, carefully remove the old nozzle and replace it with a new one. Be sure to test the new nozzle before using it to ensure it is working correctly.5. Kitchen Sink Sprayer Nozzle Replacement

5. Kitchen Sink Sprayer Nozzle Replacement


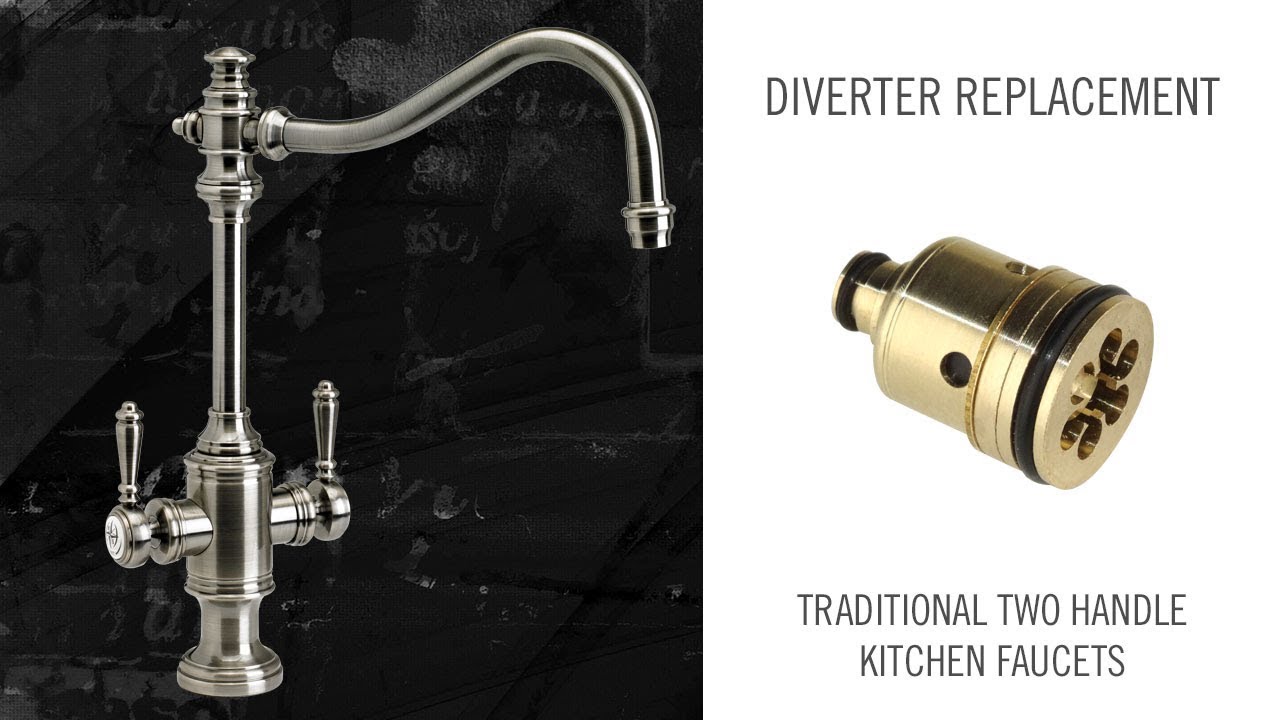
The diverter is a small valve that controls the flow of water between the faucet and the sprayer. If your sink has a separate sprayer, it will have a diverter. Over time, this part can become worn or damaged, leading to reduced water pressure or no water flow at all. To replace the diverter, first, turn off the water supply to your sink. Then, remove the old diverter and replace it with a new one.6. Kitchen Sink Sprayer Diverter Replacement


6. Kitchen Sink Sprayer Diverter Replacement

:max_bytes(150000):strip_icc()/installing-a-kitchen-sink-sprayer-2718817-hero-2b7047468d594da6be2494ba0eebb480.jpg?strip=all)


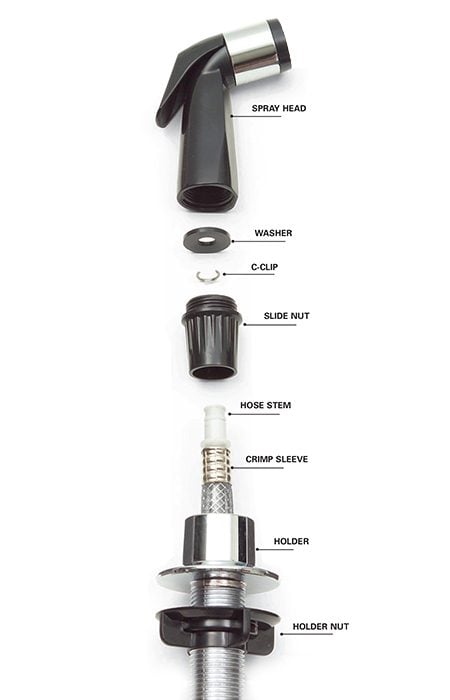
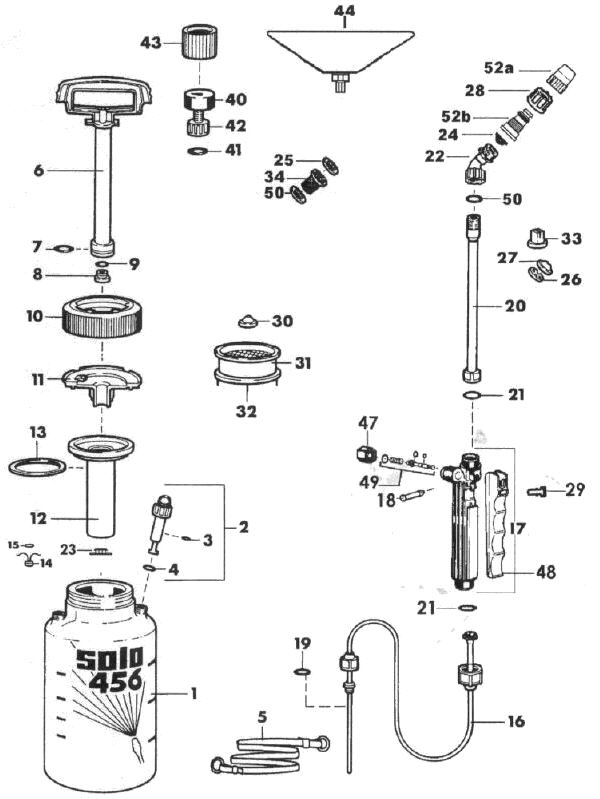
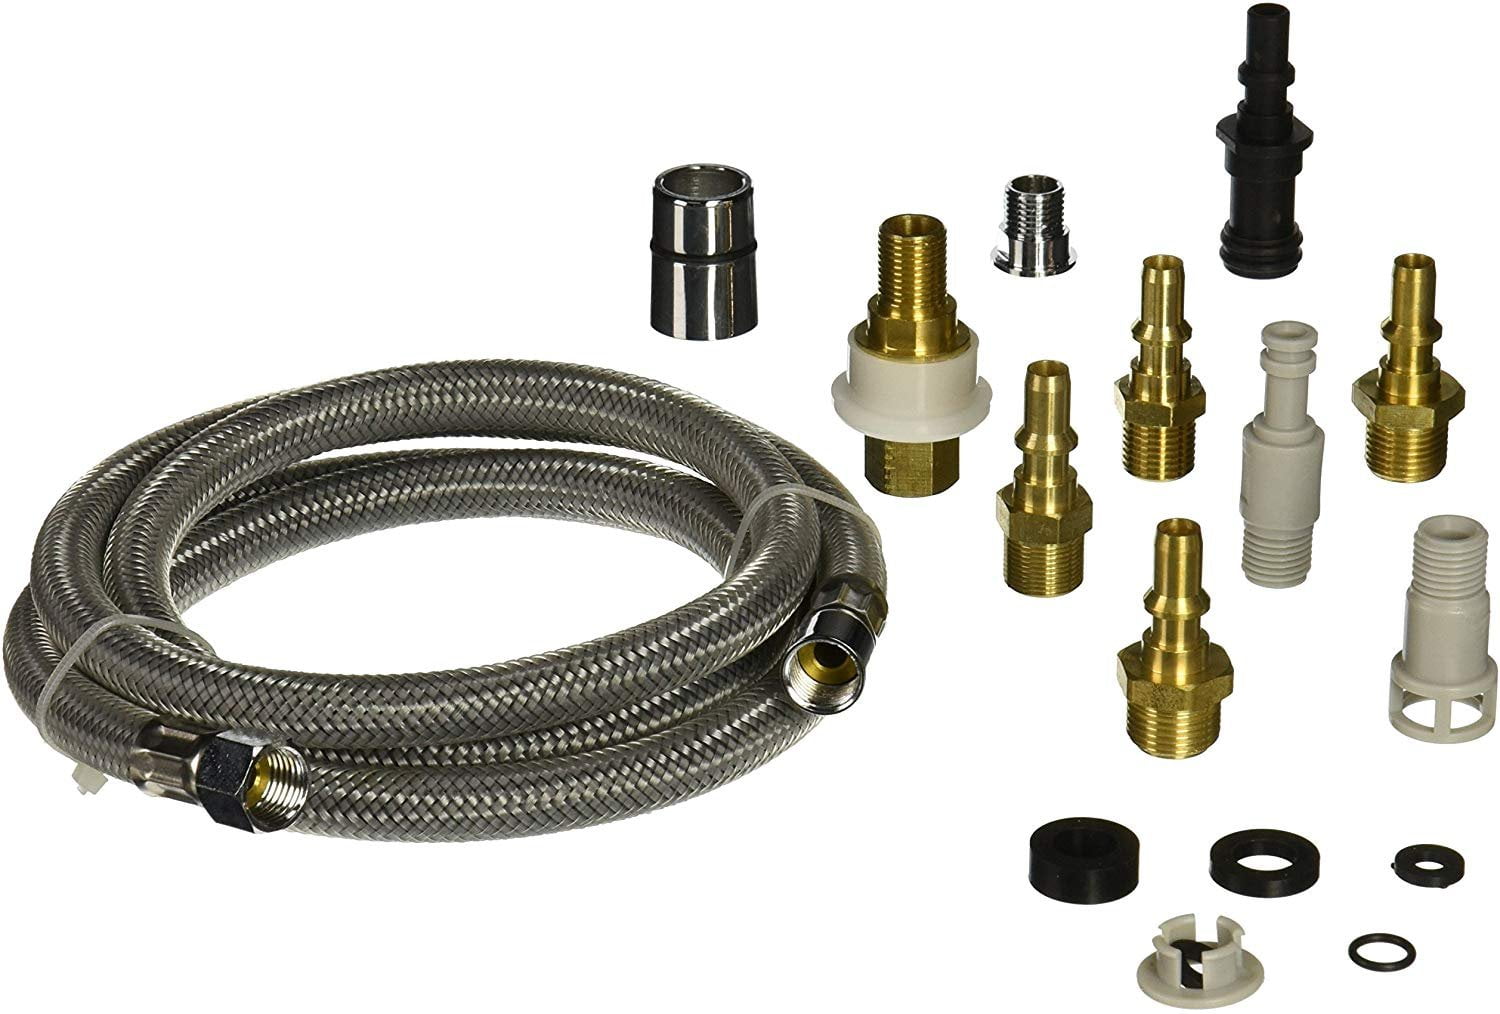
If you're looking to replace specific parts of your kitchen sink sprayer, it's important to make sure you have the right replacement parts. This can include the hose, sprayer head, nozzle, or diverter. Take note of the brand and model of your current sprayer to ensure you get the correct replacement parts. You may also want to consider purchasing a replacement kit, which includes all the necessary parts for a complete sprayer replacement.7. Kitchen Sink Sprayer Replacement Parts


7. Kitchen Sink Sprayer Replacement Parts
A kitchen sink sprayer replacement kit can make the process of replacing your sprayer much easier. These kits often include all the necessary parts, as well as step-by-step instructions for installation. They can also save you time and money by avoiding the need to purchase individual replacement parts. Make sure to choose a kit that is compatible with your current sprayer model.8. Kitchen Sink Sprayer Replacement Kit


8. Kitchen Sink Sprayer Replacement Kit

If your kitchen sink sprayer hose and head are both damaged, it may be more cost-effective to replace them together as a set. This will ensure that the parts are compatible and will save you from having to make multiple purchases. Be sure to check the specifications of the replacement hose and head to ensure they are compatible with your current sprayer.9. Kitchen Sink Sprayer Replacement Hose and Head
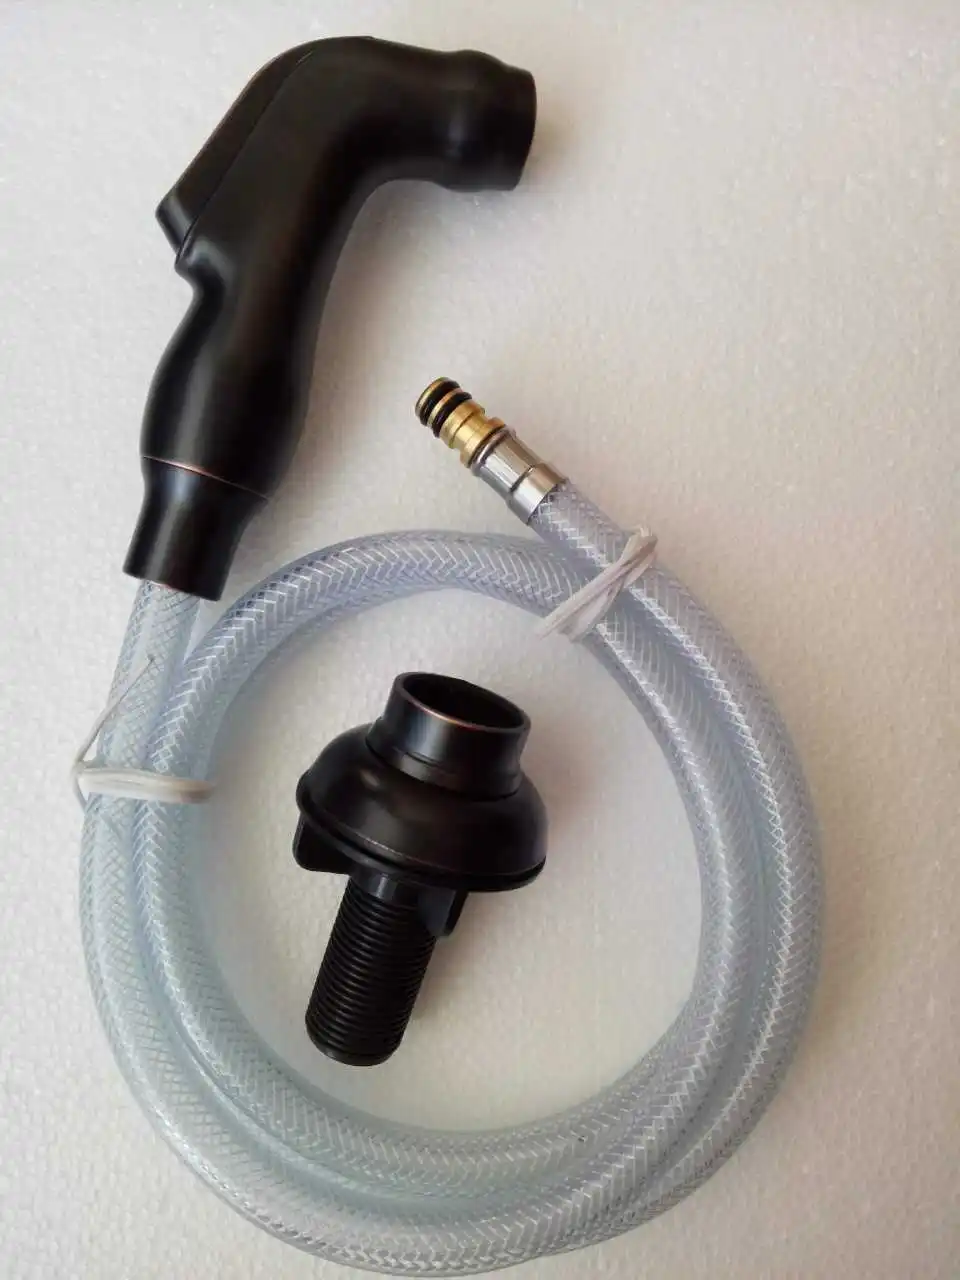
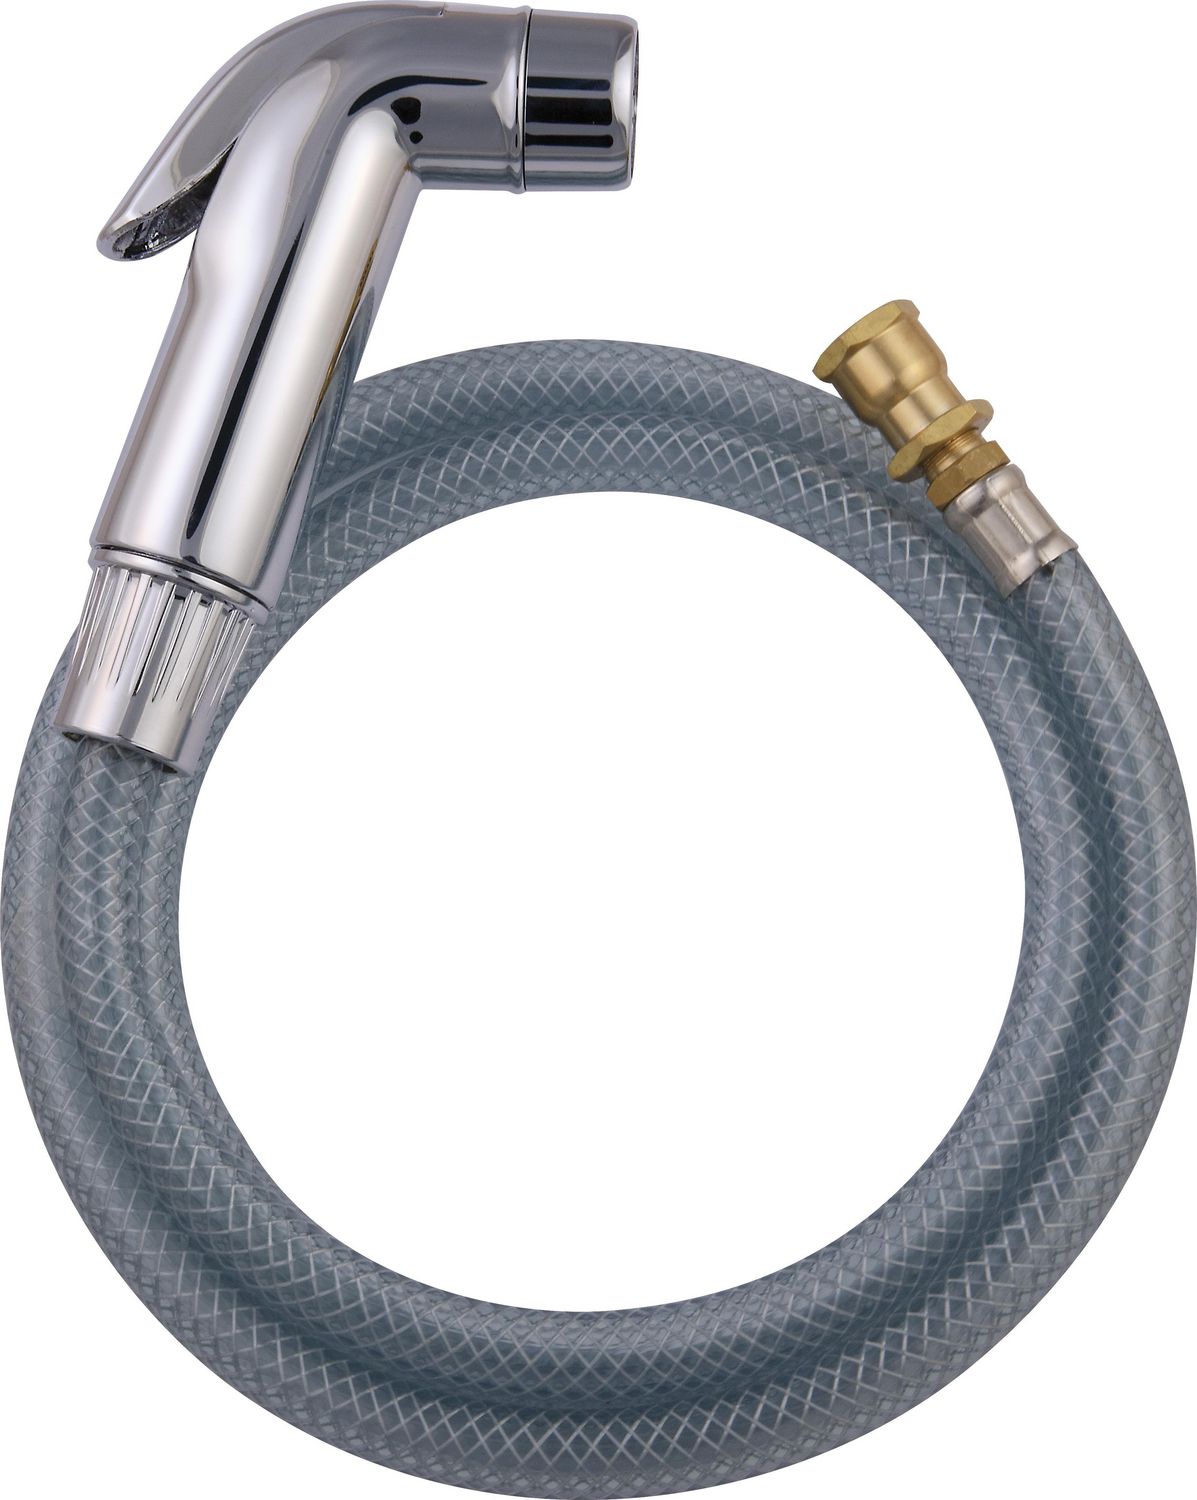
9. Kitchen Sink Sprayer Replacement Hose and Head


While replacing your kitchen sink sprayer may seem like a daunting task, it can be easily done with the right instructions. Be sure to read the instructions that come with your replacement parts carefully and follow them step-by-step. It's also helpful to watch online tutorials or ask for guidance from a professional if needed. With a little patience and the right tools, you can have your kitchen sink sprayer working like new in no time.10. Kitchen Sink Sprayer Replacement Instructions

10. Kitchen Sink Sprayer Replacement Instructions

Why You Should Consider Replacing Your Kitchen Sink Water Sprayer
The Importance of a Functioning Kitchen Sink Water Sprayer
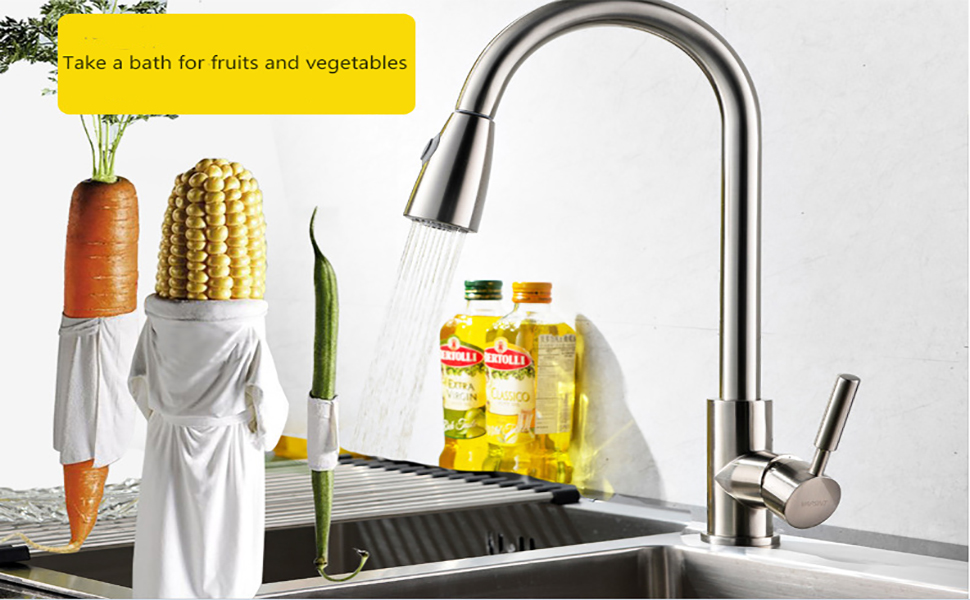
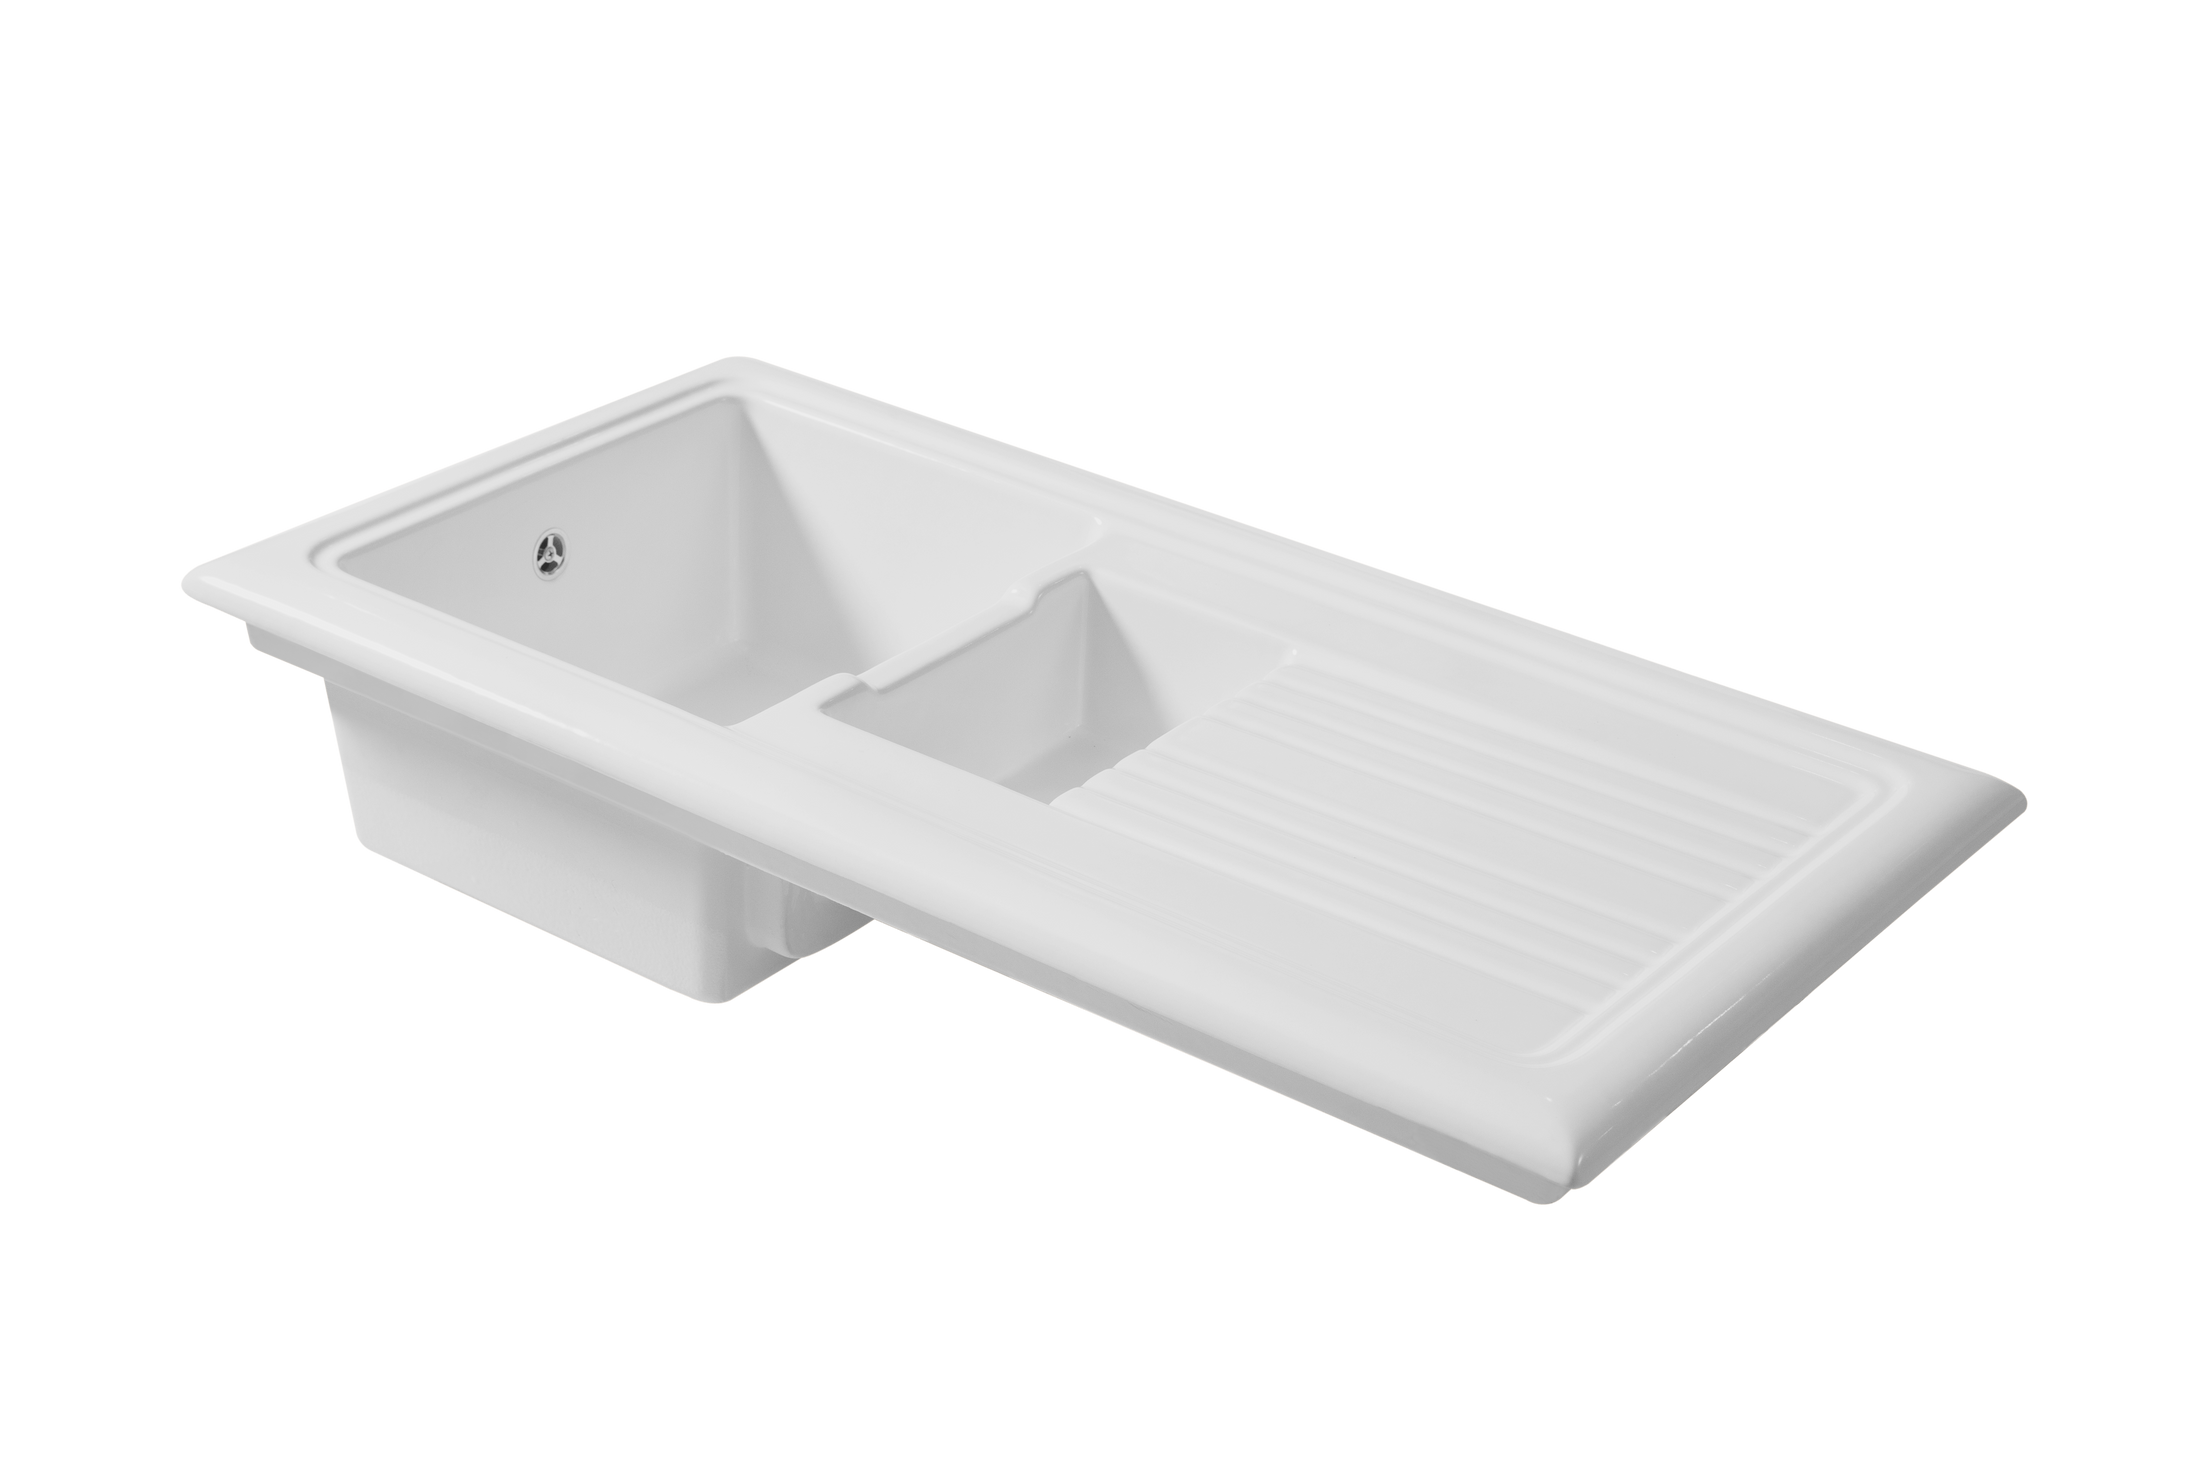
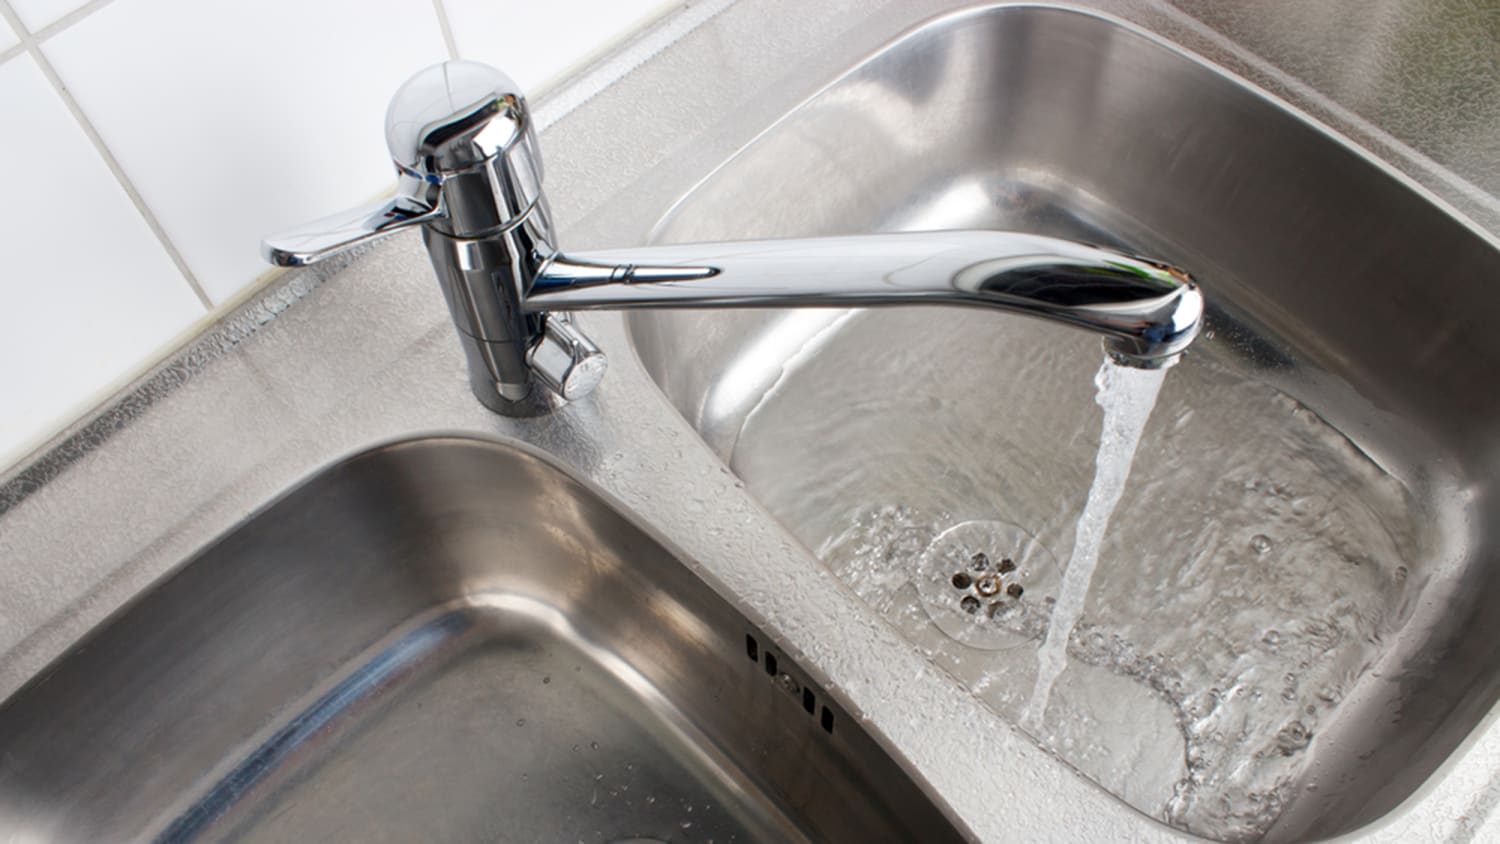
 The kitchen sink is arguably one of the most used fixtures in a household. It is where we wash our hands, clean our dishes, and prepare meals. And a vital component of the sink is the water sprayer, which allows for easy and efficient cleaning. However, over time, the sprayer can become worn out or damaged, affecting its functionality. This is why it is important to consider replacing your kitchen sink water sprayer, to ensure the smooth running of your daily kitchen tasks.
The Benefits of Upgrading Your Kitchen Sink Water Sprayer
/water-overflowing-in-kitchen-sink-200553937-001-5797e6335f9b58461f5a6736.jpg) Efficiency
: A new water sprayer can significantly improve the efficiency of your kitchen sink. With a high-pressure sprayer, you can easily rinse off food debris from dishes and surfaces, saving you time and effort.
Convenience
: An upgraded water sprayer can also provide added convenience in your kitchen. With features like a detachable hose or different spray patterns, you can easily reach all corners of your sink and easily switch between tasks.
Improved Aesthetics
: A new water sprayer can also enhance the overall look of your kitchen. With sleek and modern designs available, you can add a touch of style to your sink while also upgrading its functionality.
Efficiency
: A new water sprayer can significantly improve the efficiency of your kitchen sink. With a high-pressure sprayer, you can easily rinse off food debris from dishes and surfaces, saving you time and effort.
Convenience
: An upgraded water sprayer can also provide added convenience in your kitchen. With features like a detachable hose or different spray patterns, you can easily reach all corners of your sink and easily switch between tasks.
Improved Aesthetics
: A new water sprayer can also enhance the overall look of your kitchen. With sleek and modern designs available, you can add a touch of style to your sink while also upgrading its functionality.
The Process of Replacing Your Kitchen Sink Water Sprayer
 Replacing a kitchen sink water sprayer may seem like a daunting task, but with the right tools and instructions, it can be a relatively simple process. First, turn off the water supply to your sink and remove the old sprayer. Then, follow the instructions provided with your new sprayer to install it properly.
Note:
It is always recommended to consult a professional plumber if you are unsure about the replacement process or encounter any difficulties.
Replacing a kitchen sink water sprayer may seem like a daunting task, but with the right tools and instructions, it can be a relatively simple process. First, turn off the water supply to your sink and remove the old sprayer. Then, follow the instructions provided with your new sprayer to install it properly.
Note:
It is always recommended to consult a professional plumber if you are unsure about the replacement process or encounter any difficulties.
Final Thoughts
 In conclusion, replacing your kitchen sink water sprayer can greatly improve the functionality and aesthetics of your kitchen. It is a simple and cost-effective way to upgrade your kitchen and make daily tasks more efficient and convenient. So, don't wait until your sprayer is completely worn out - consider upgrading it today for a better kitchen experience.