How to Install a Kitchen Sink Waste Kit
Installing a kitchen sink waste kit may seem like a daunting task, but with the right instructions and tools, it can be a simple and straightforward process. A kitchen sink waste kit is essential for proper drainage and preventing clogs in your sink. In this guide, we will walk you through the steps of installing a kitchen sink waste kit, so you can have a functional and efficient sink in no time.

How to Install a Kitchen Sink Waste Kit


:no_upscale()/cdn.vox-cdn.com/uploads/chorus_asset/file/19495086/drain_0.jpg)


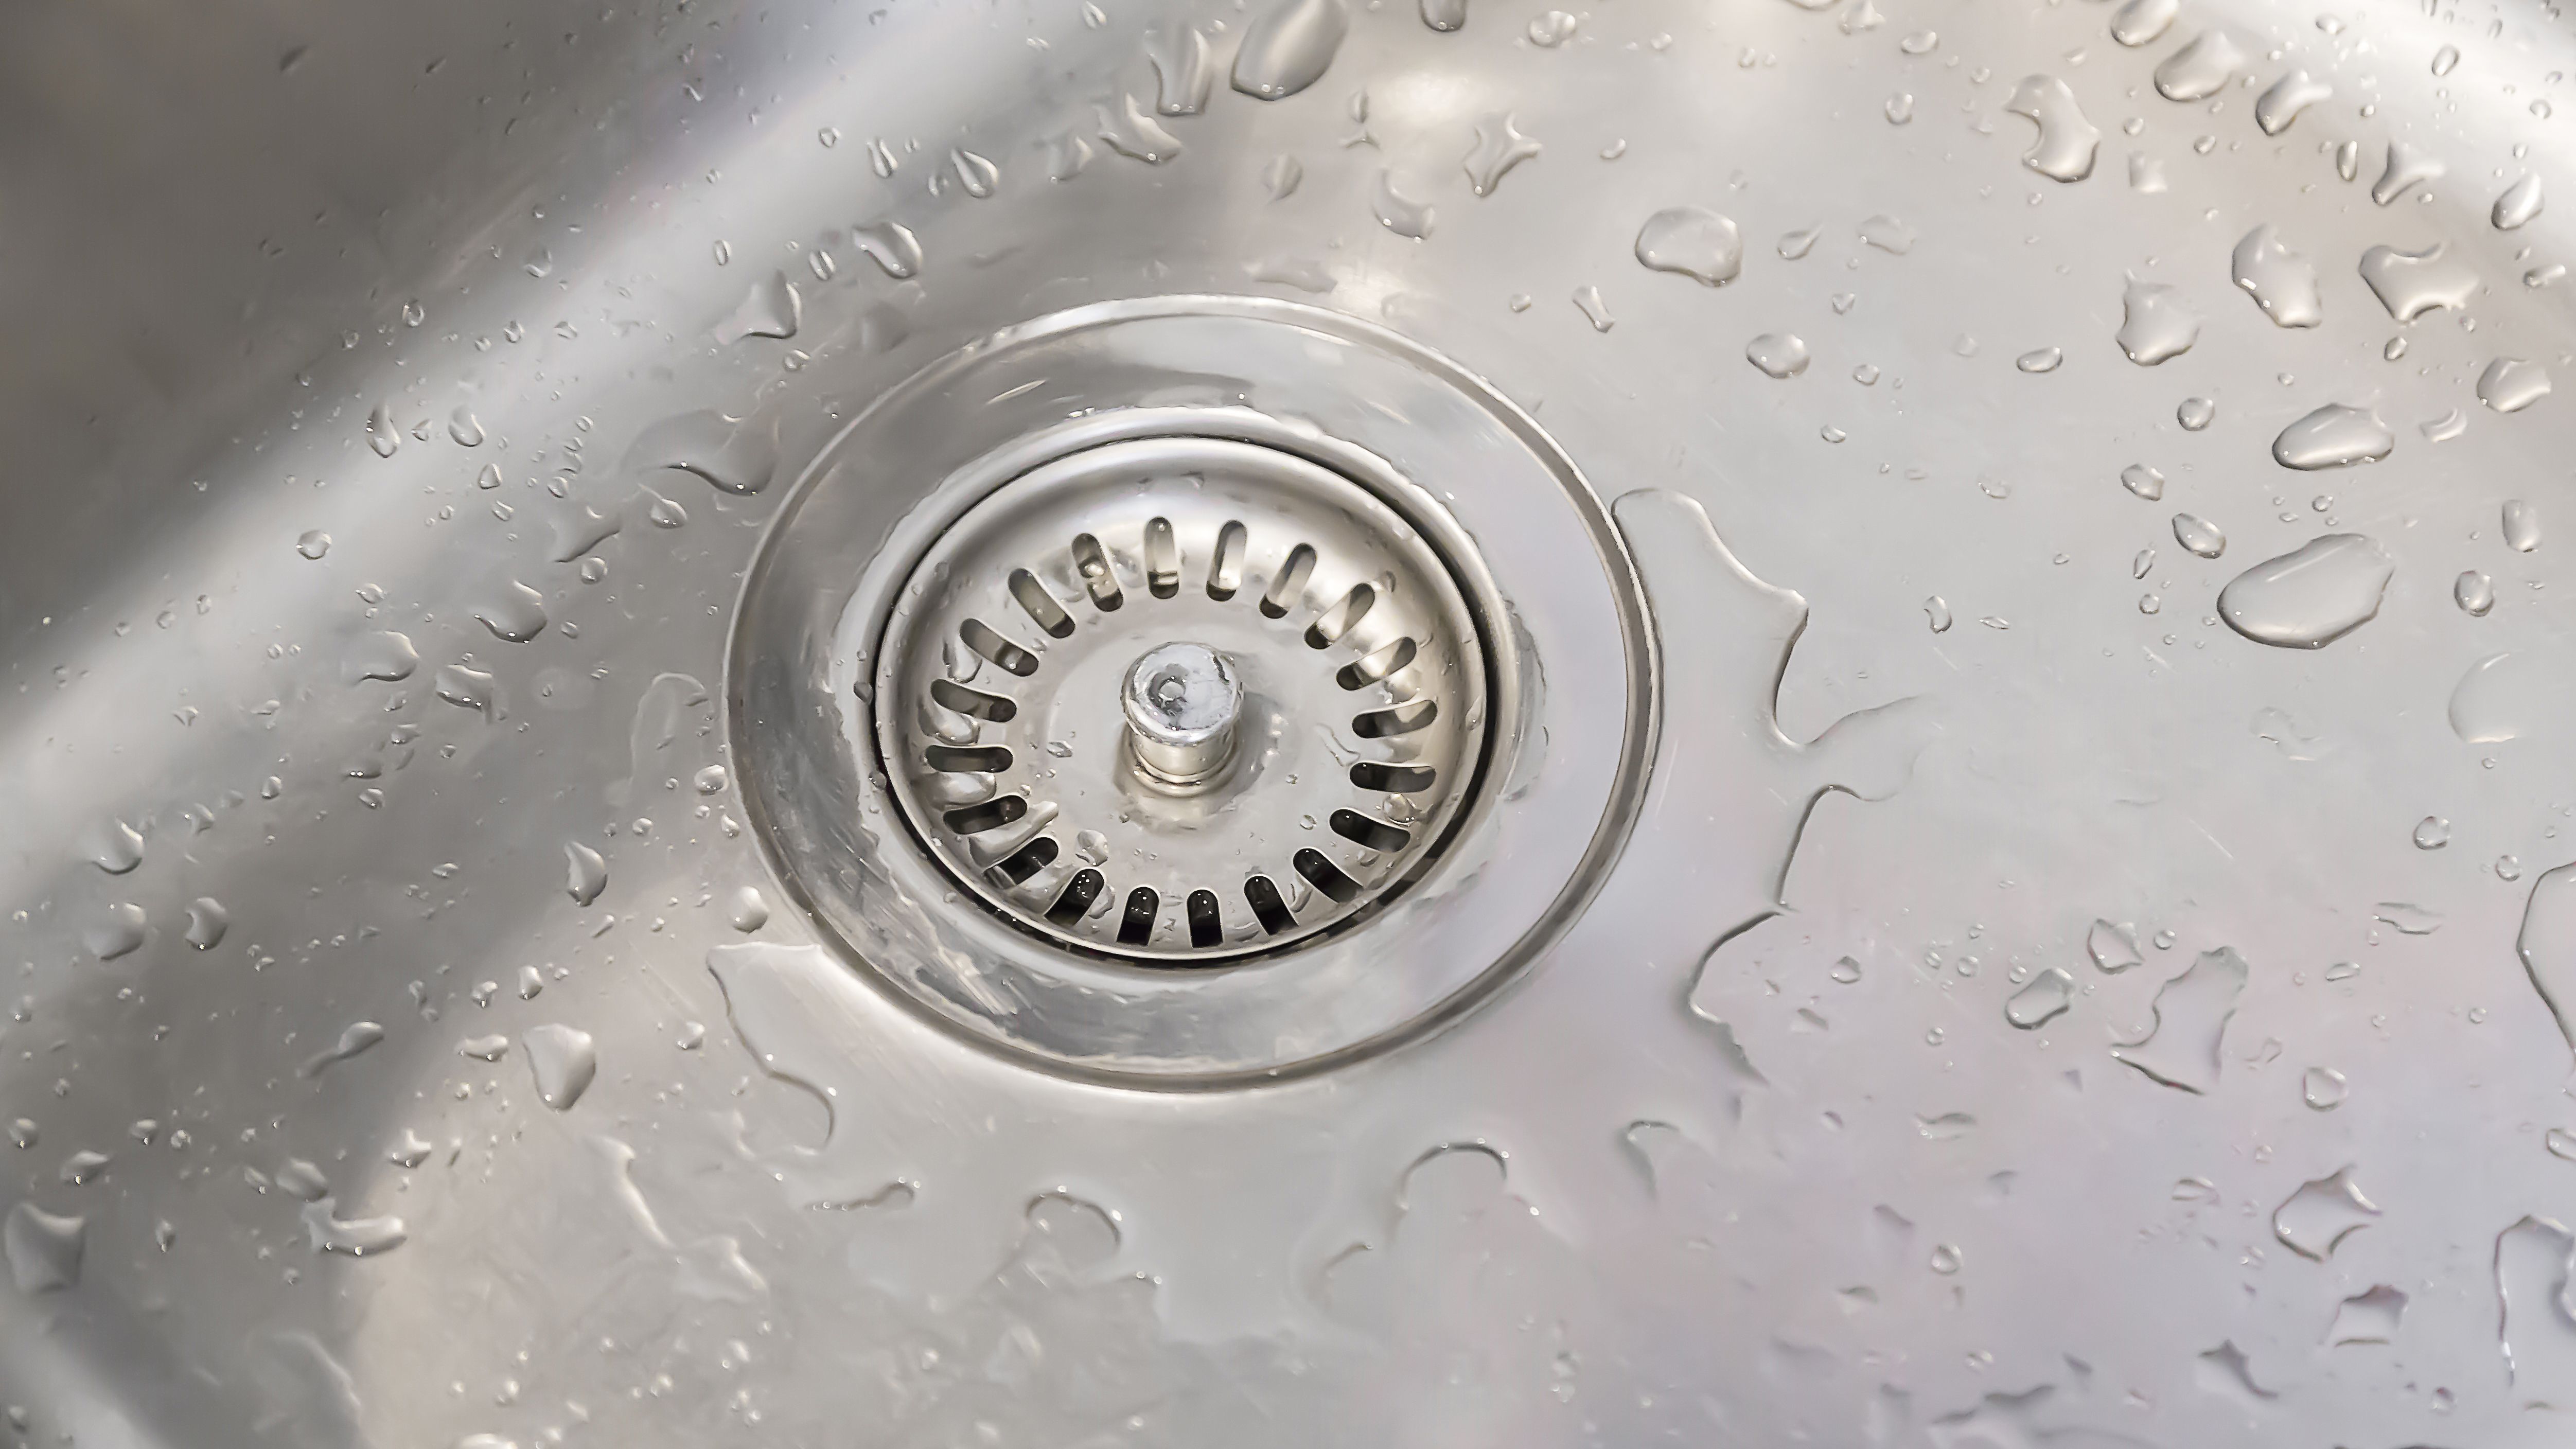
How to Install a Kitchen Sink Drain
A kitchen sink drain is an essential component of a kitchen sink waste kit. It allows water and food particles to drain out of the sink while keeping larger debris from clogging the pipes. Installing a kitchen sink drain is a crucial step in the overall installation process of a waste kit. Let's take a closer look at how to install a kitchen sink drain.


How to Install a Kitchen Sink Drain

/how-to-install-a-sink-drain-2718789-hero-b5b99f72b5a24bb2ae8364e60539cece.jpg)
:max_bytes(150000):strip_icc()/how-to-install-a-sink-drain-2718789-hero-24e898006ed94c9593a2a268b57989a3.jpg)

Step-by-Step Guide for Installing a Kitchen Sink Waste Kit
Before you begin the installation process, make sure you have all the necessary tools and materials, including a sink waste kit, a wrench, plumber's putty, and a screwdriver. Follow these simple steps to install a kitchen sink waste kit:
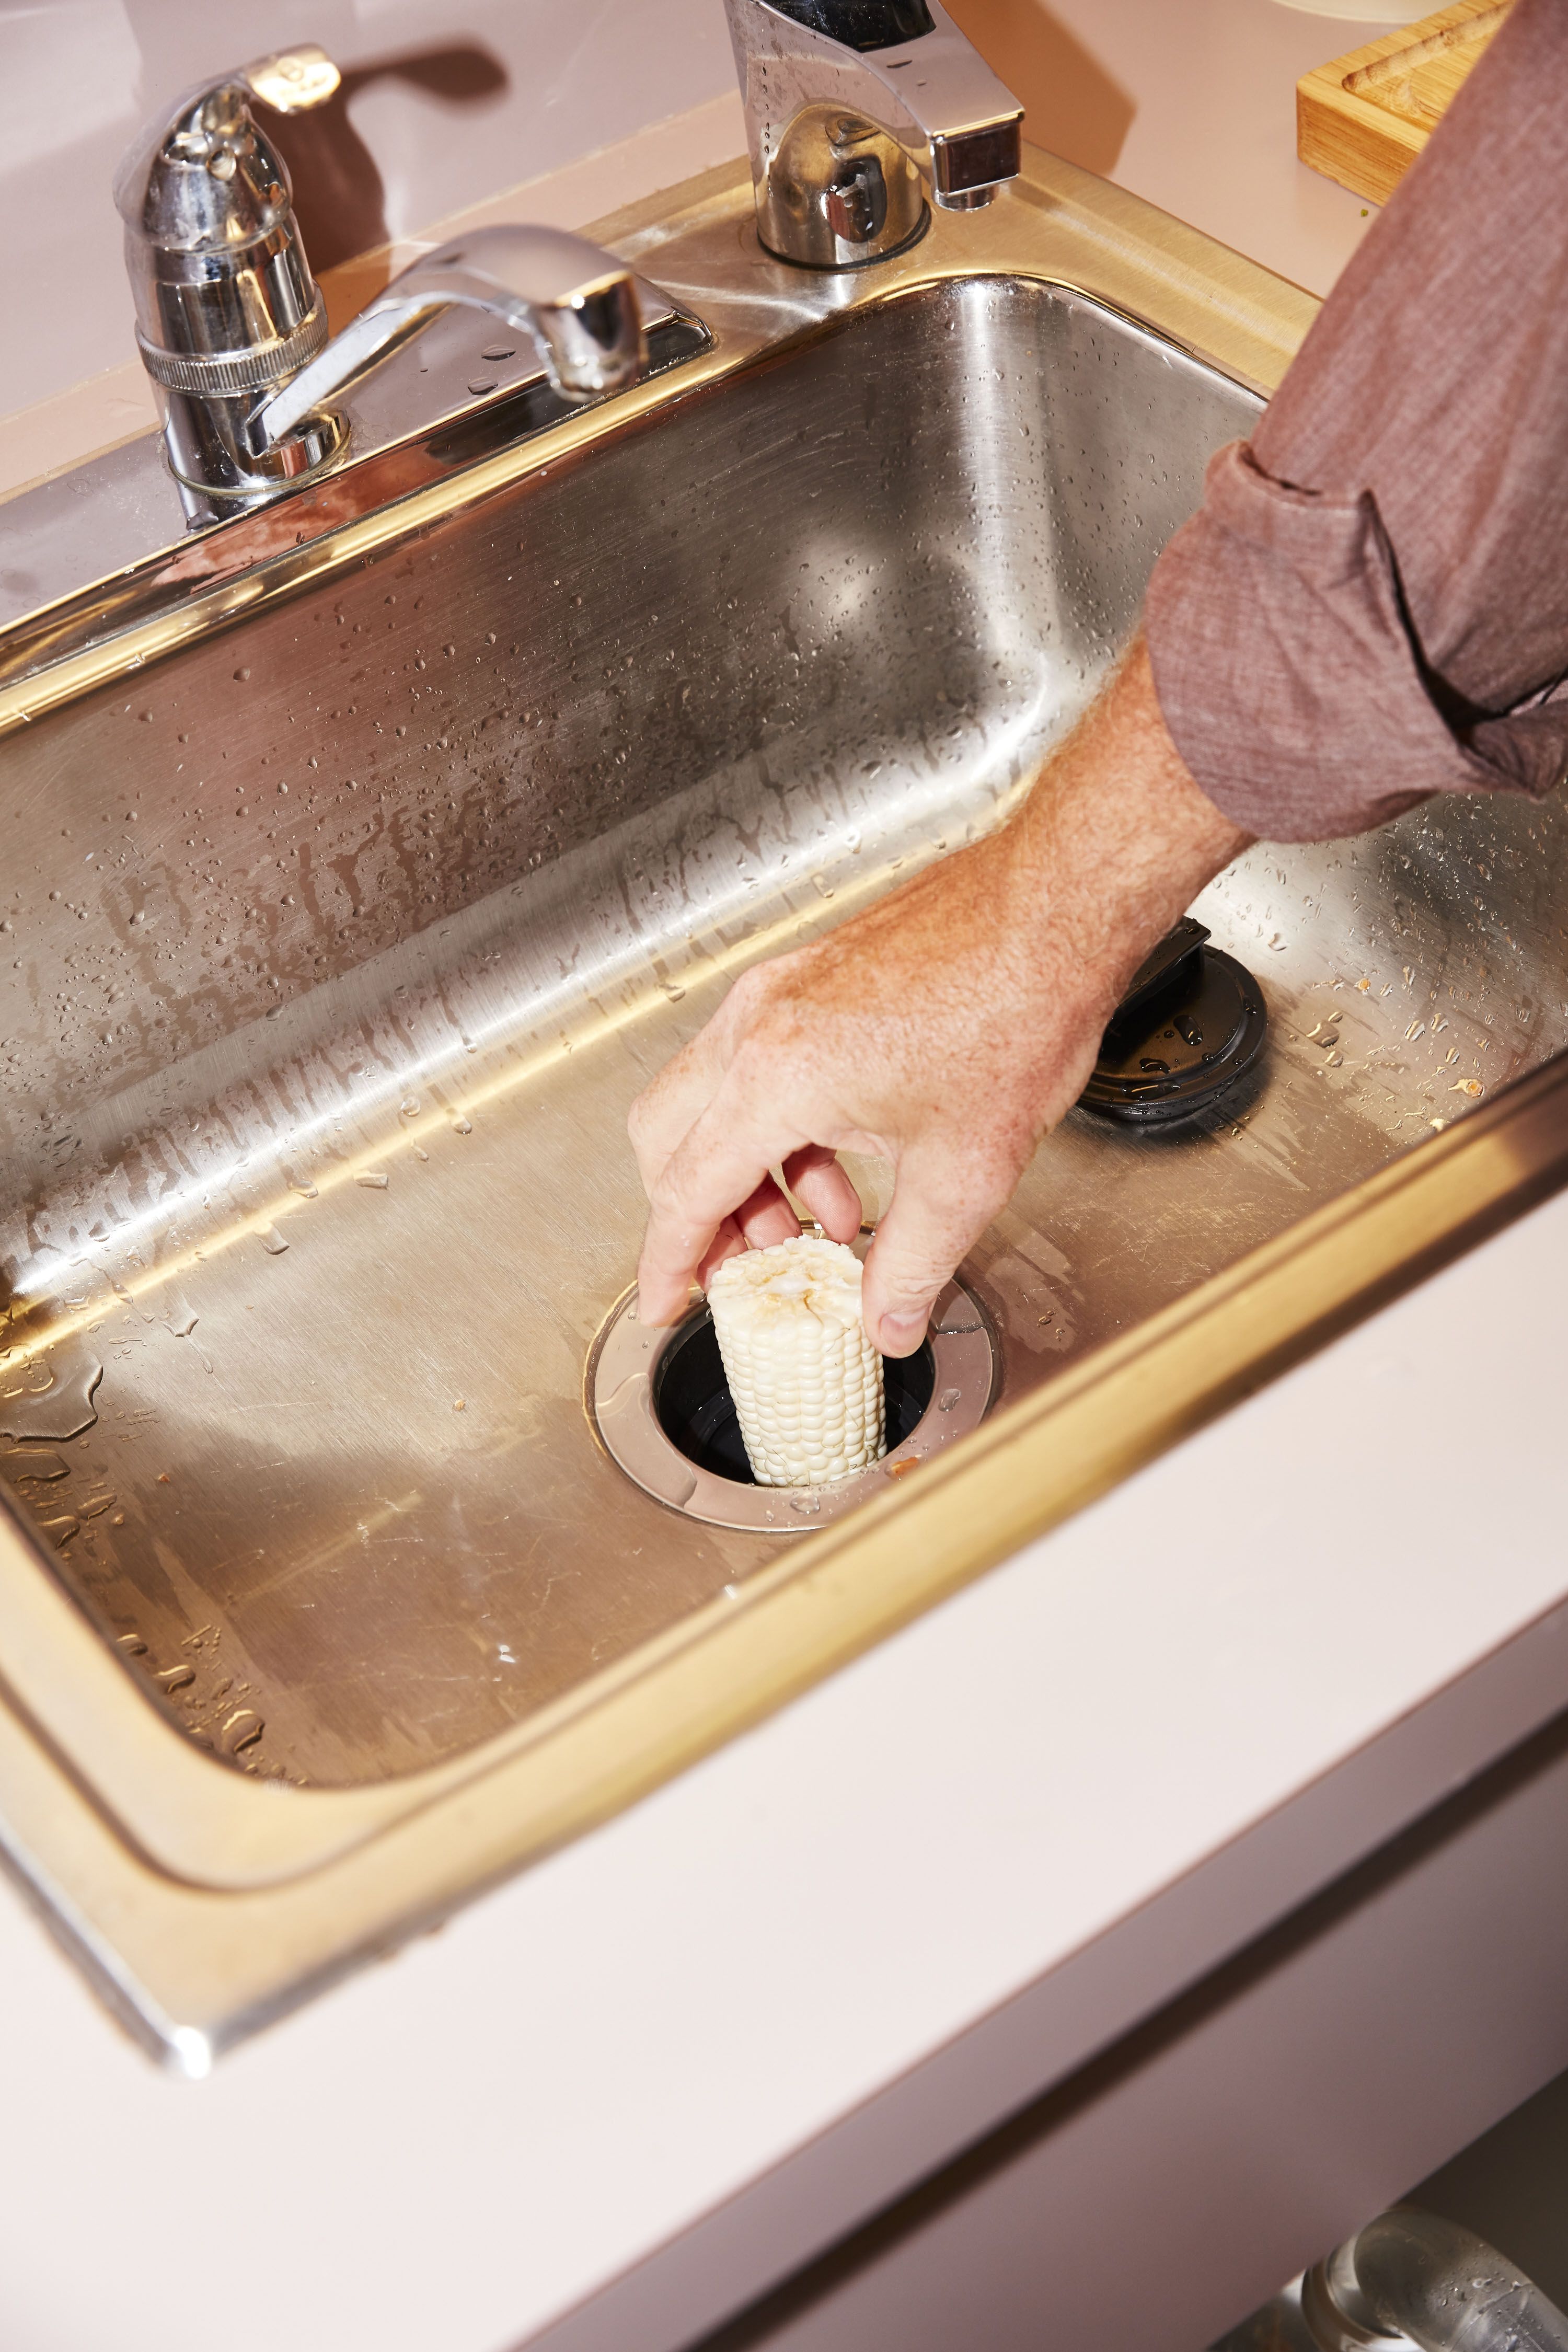
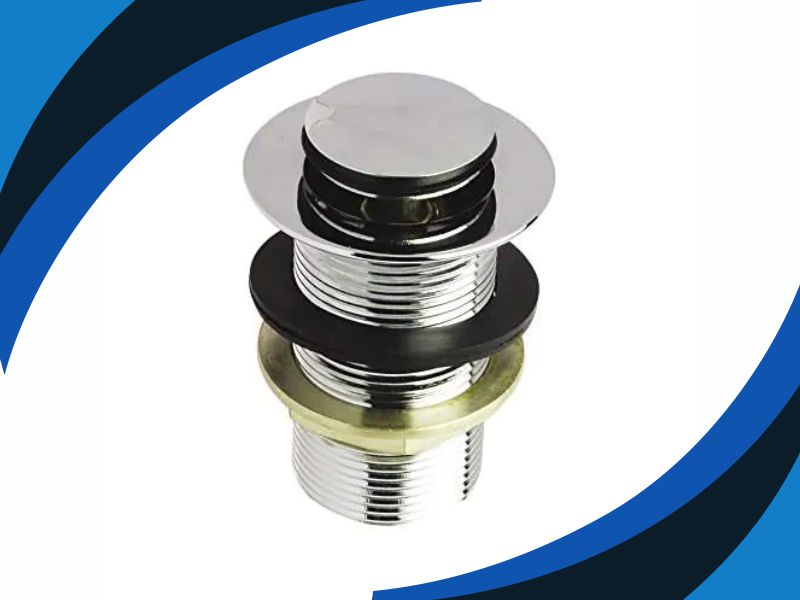
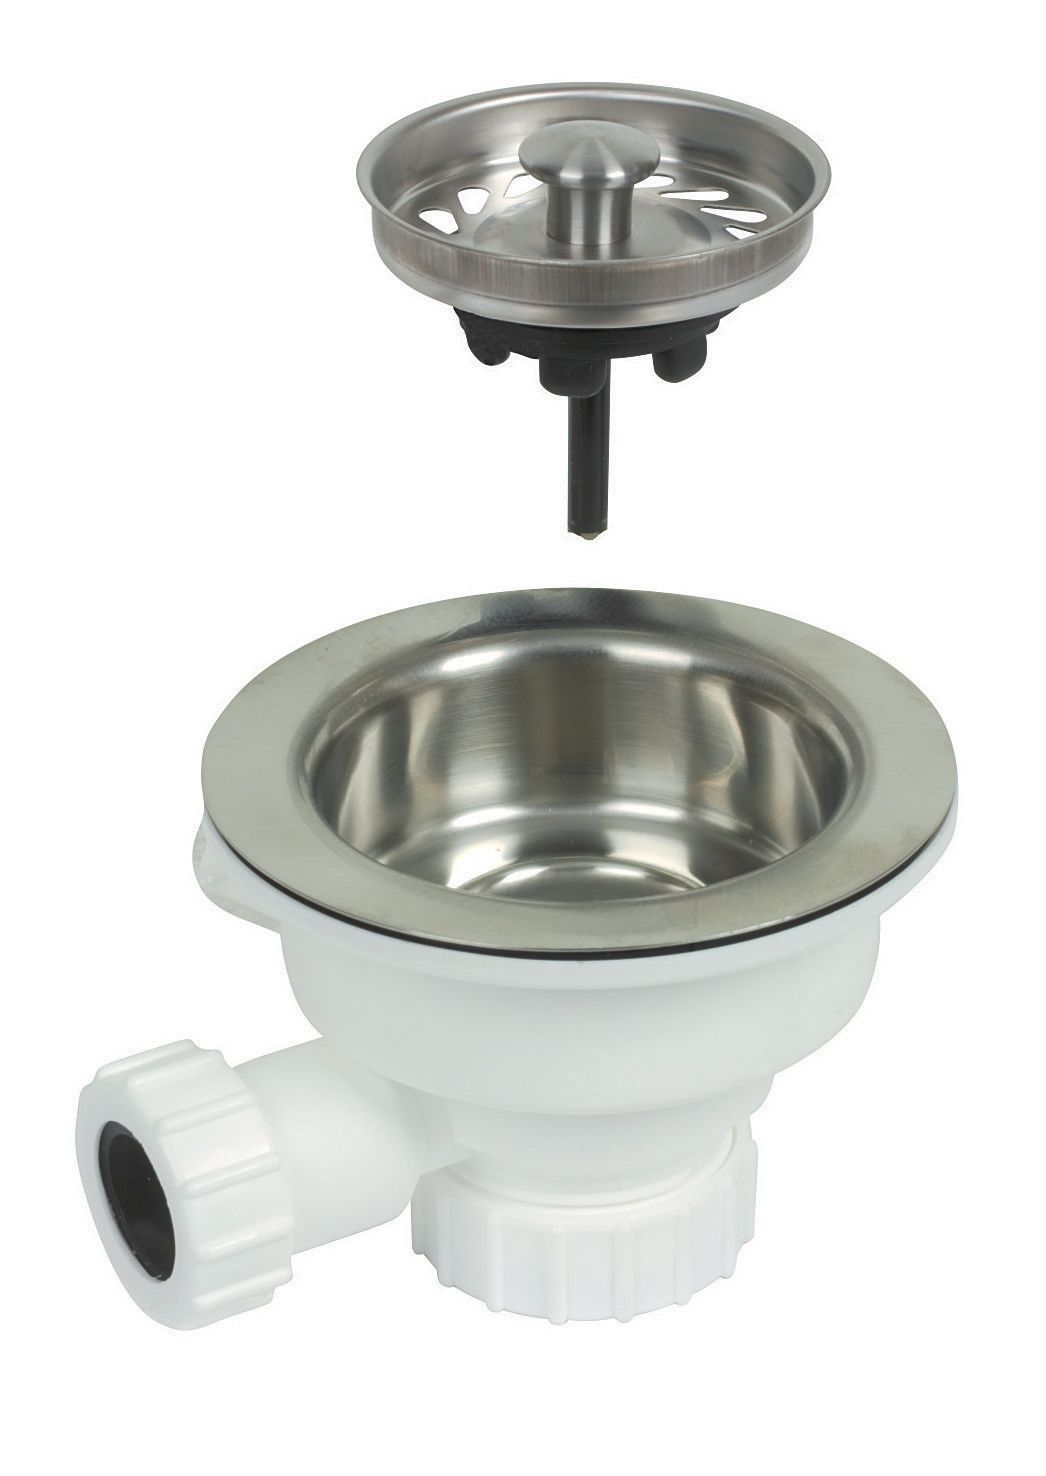
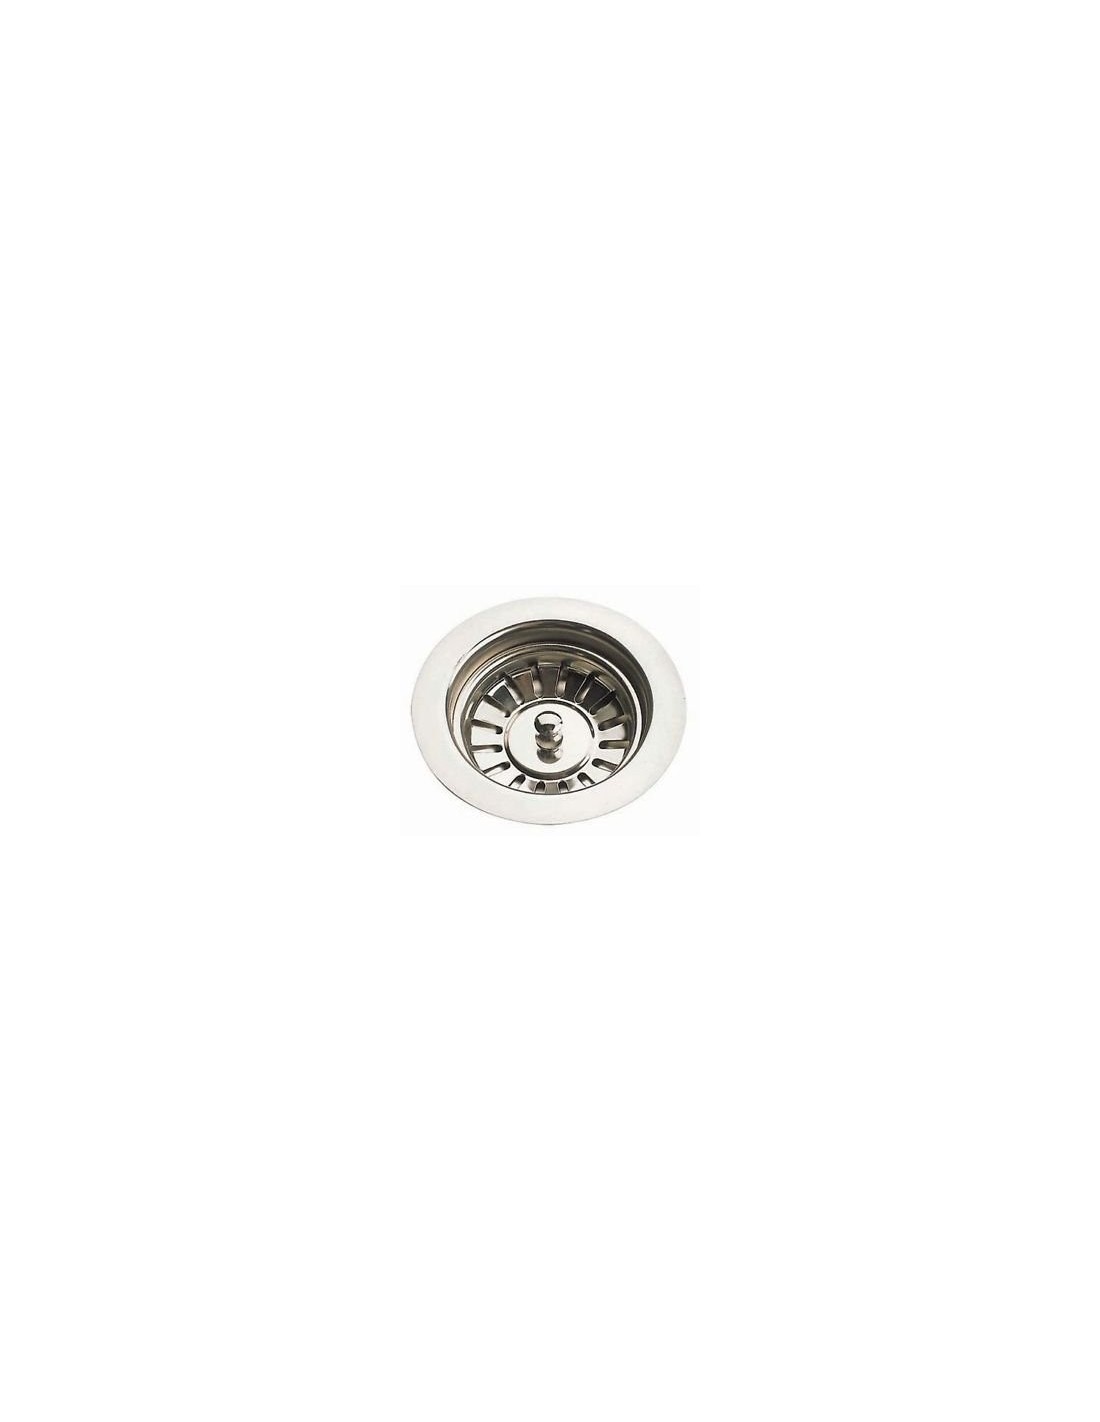
Step 1: Start by loosening the nuts on the sink strainer and removing it from the sink. Use a wrench to loosen the nuts and a screwdriver to remove the strainer.
Step 2: Clean the area around the drain hole and apply a thin layer of plumber's putty around the hole. This will help create a watertight seal.
Step 3: Place the sink strainer back into the hole and tighten the nuts from underneath the sink. Make sure the strainer is centered and level before tightening the nuts completely.
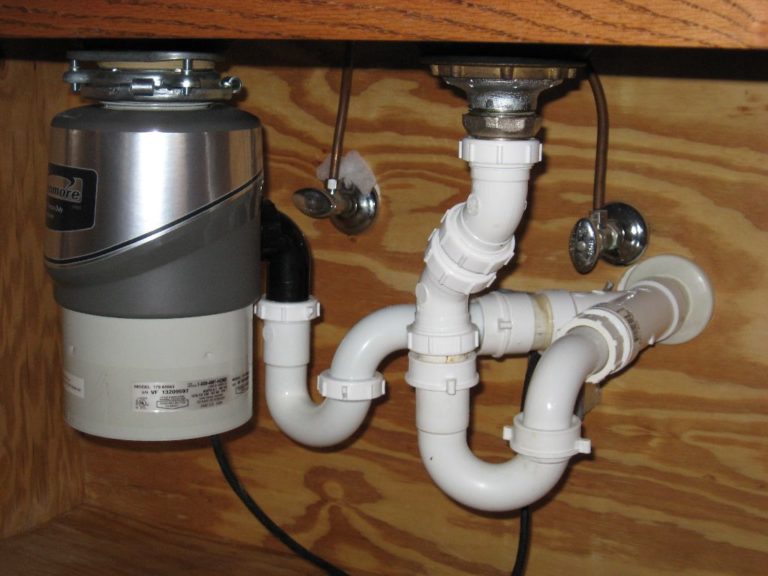
Step 4: Attach the tailpiece to the sink strainer and secure it with a nut and washer. Use a wrench to tighten the nut.
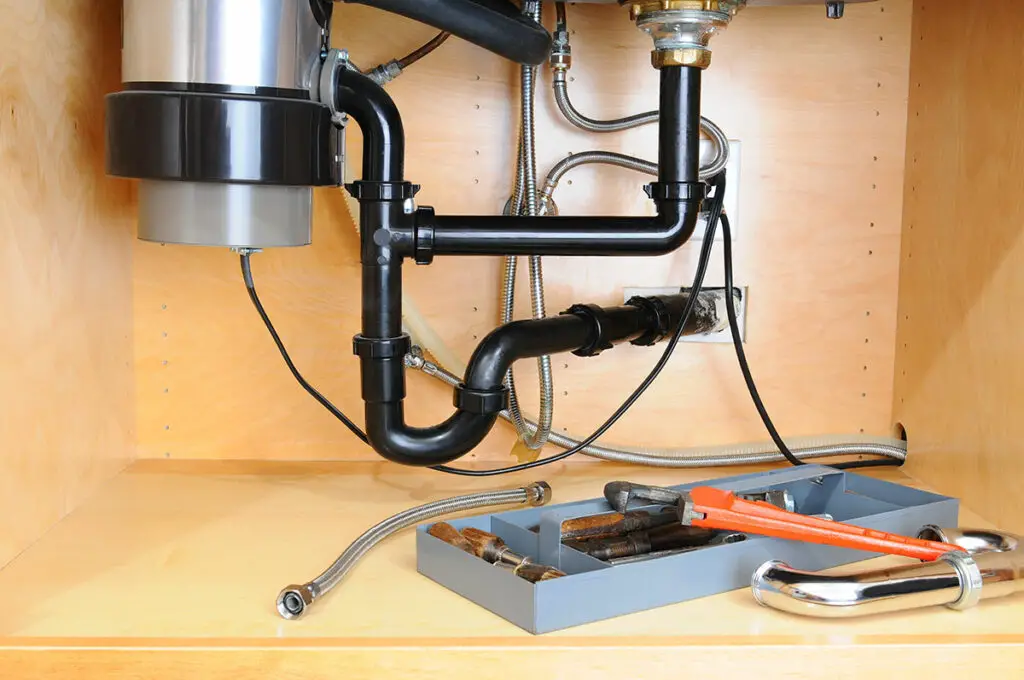
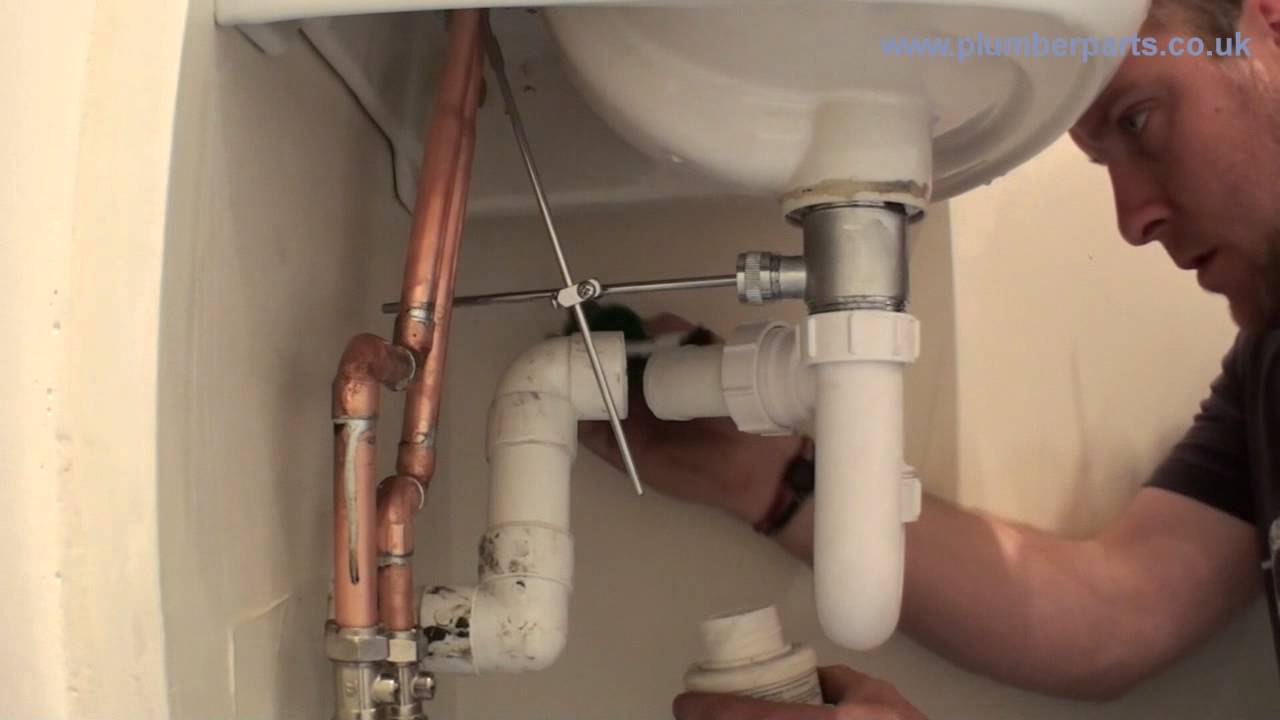
Step 5: Connect the other end of the tailpiece to the P-trap using a slip nut and washer. The P-trap is a curved pipe that prevents sewer gases from coming up through the drain.
Step 6: Install the drain pipe by connecting it to the P-trap and the wall drain. Use slip nuts and washers to secure the connections.
Step 7: Test the sink by running water through it and checking for any leaks. If there are any leaks, tighten the connections further or add more plumber's putty as needed.


Step-by-Step Guide for Installing a Kitchen Sink Waste Kit


DIY Kitchen Sink Waste Kit Installation Instructions
If you're a DIY enthusiast, installing a kitchen sink waste kit can be a satisfying project to take on. With the right tools and instructions, you can successfully install a waste kit in your kitchen sink and save money on hiring a professional plumber. Here are some tips for a successful DIY kitchen sink waste kit installation:
Tip 1: Always read the manufacturer's instructions before starting the installation process. Each waste kit may have slightly different installation methods.
Tip 2: Make sure you have all the necessary tools and materials before beginning the installation process.
Tip 3: Take your time and follow the steps carefully to ensure a proper and secure installation.
Tip 4: If you encounter any difficulties, don't hesitate to seek help from a professional plumber.


DIY Kitchen Sink Waste Kit Installation Instructions
/how-to-install-a-sink-drain-2718789-hero-24e898006ed94c9593a2a268b57989a3.jpg)

Easy Kitchen Sink Waste Kit Installation Tutorial
Installing a kitchen sink waste kit may seem intimidating, but with this easy tutorial, you'll have it done in no time. Follow these simple steps for a hassle-free installation process:
Step 1: Gather all the necessary tools and materials, as mentioned earlier.
Step 2: Follow the step-by-step guide for installing a kitchen sink waste kit, mentioned earlier in this article.
Step 3: Take your time and make sure each connection is secure before moving on to the next step.
Step 4: Test the sink for any leaks and make any necessary adjustments.
Step 5: Enjoy your newly installed kitchen sink waste kit and a fully functional sink.

Easy Kitchen Sink Waste Kit Installation Tutorial


Installing a Kitchen Sink Waste Kit: A Beginner's Guide
If you're new to DIY projects, installing a kitchen sink waste kit may seem overwhelming. But don't worry, this beginner's guide will break down the installation process into easy-to-follow steps. Here's what you need to know:
Step 1: Familiarize yourself with the different parts of a kitchen sink waste kit, such as the sink strainer, tailpiece, P-trap, and drain pipe.
Step 2: Follow the step-by-step guide mentioned earlier in this article, paying close attention to each step.
Step 3: Don't be afraid to ask for help or seek professional assistance if needed.
Step 4: With practice, you'll become more confident in DIY projects, and installing a kitchen sink waste kit will become second nature.


Installing a Kitchen Sink Waste Kit: A Beginner's Guide


:no_upscale()/cdn.vox-cdn.com/uploads/chorus_asset/file/19495086/drain_0.jpg)
Kitchen Sink Waste Kit Installation Made Simple
Installing a kitchen sink waste kit may seem complicated, but with the right knowledge and instructions, it can be a simple and straightforward process. Remember to take your time, follow the steps carefully, and seek help if needed. With these tips and tricks, you'll have a fully functional kitchen sink in no time.

Kitchen Sink Waste Kit Installation Made Simple

Quick and Easy Kitchen Sink Waste Kit Installation Steps
If you're short on time but need to install a kitchen sink waste kit, follow these quick and easy steps for a speedy installation process:
Step 1: Gather all the necessary tools and materials.
Step 2: Read the manufacturer's instructions and follow the step-by-step guide mentioned earlier in this article.
Step 3: Make sure each connection is secure before moving on to the next step.
Step 4: Test the sink for any leaks and make any necessary adjustments.
Step 5: Enjoy your newly installed kitchen sink waste kit and a fully functional sink.
Quick and Easy Kitchen Sink Waste Kit Installation Steps


How to Assemble and Install a Kitchen Sink Waste Kit
Before you can install a kitchen sink waste kit, you need to assemble the different parts. Here's a simple guide on how to assemble and install a kitchen sink waste kit:
Step 1: Lay out all the parts and familiarize yourself with them.
Step 2: Follow the manufacturer's instructions for assembling the different parts, such as the sink strainer and P-trap.
Step 3: Once assembled, follow the steps mentioned earlier in this article for installing a kitchen sink waste kit.
Step 4: Take your time and make sure each connection is secure before moving on to the next step.
Step 5: Test the sink for any leaks and make any necessary adjustments.

How to Assemble and Install a Kitchen Sink Waste Kit


Complete Guide to Installing a Kitchen Sink Waste Kit
By now, you should have a good understanding of how to install a kitchen sink waste kit. To recap, here's a complete guide to help you with the installation process:
Step 1: Gather all the necessary tools and materials.
Step 2: Read the manufacturer's instructions and familiarize yourself with the different parts of the waste kit.
Step 3: Follow the step-by-step guide mentioned earlier in this article.
Step 4: Take your time and make sure each connection is secure before moving on to the next step.
Step 5: Test the sink for any leaks and make any necessary adjustments.

Complete Guide to Installing a Kitchen Sink Waste Kit

Why a Proper Kitchen Sink Waste Kit is Essential for Every Home
The Importance of a Kitchen Sink Waste Kit
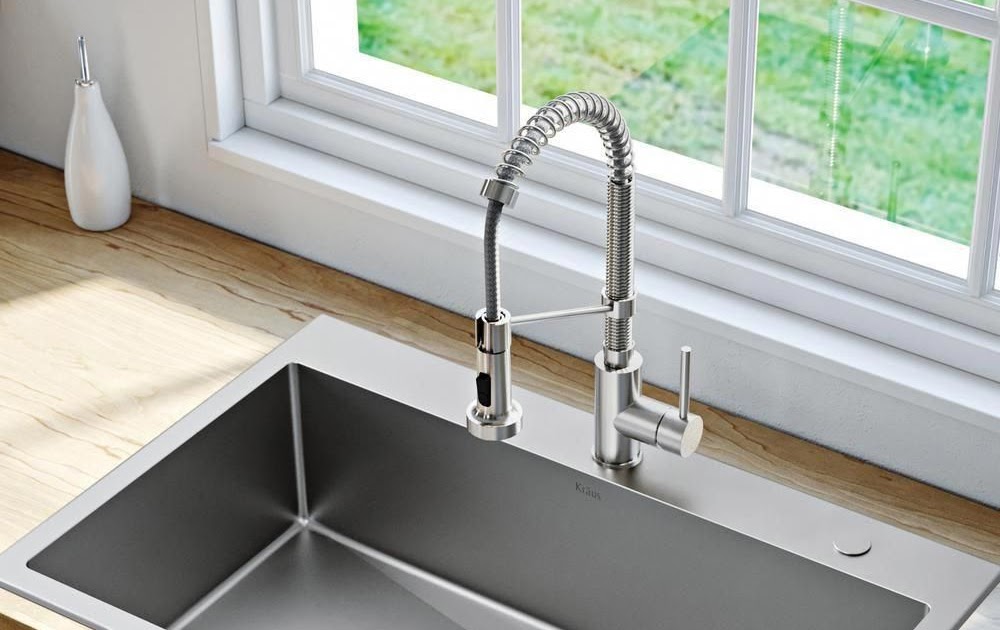
 Kitchen sinks
are an essential part of any
house design
, providing a space for us to clean dishes, prepare food, and wash our hands. But what happens to the waste and debris that goes down the drain? Without a proper
waste kit
, it could end up clogging your pipes and causing costly plumbing issues. That's why it's essential to have a good understanding of
kitchen sink waste kit instructions
to ensure your sink stays in top working condition.
Kitchen sinks
are an essential part of any
house design
, providing a space for us to clean dishes, prepare food, and wash our hands. But what happens to the waste and debris that goes down the drain? Without a proper
waste kit
, it could end up clogging your pipes and causing costly plumbing issues. That's why it's essential to have a good understanding of
kitchen sink waste kit instructions
to ensure your sink stays in top working condition.
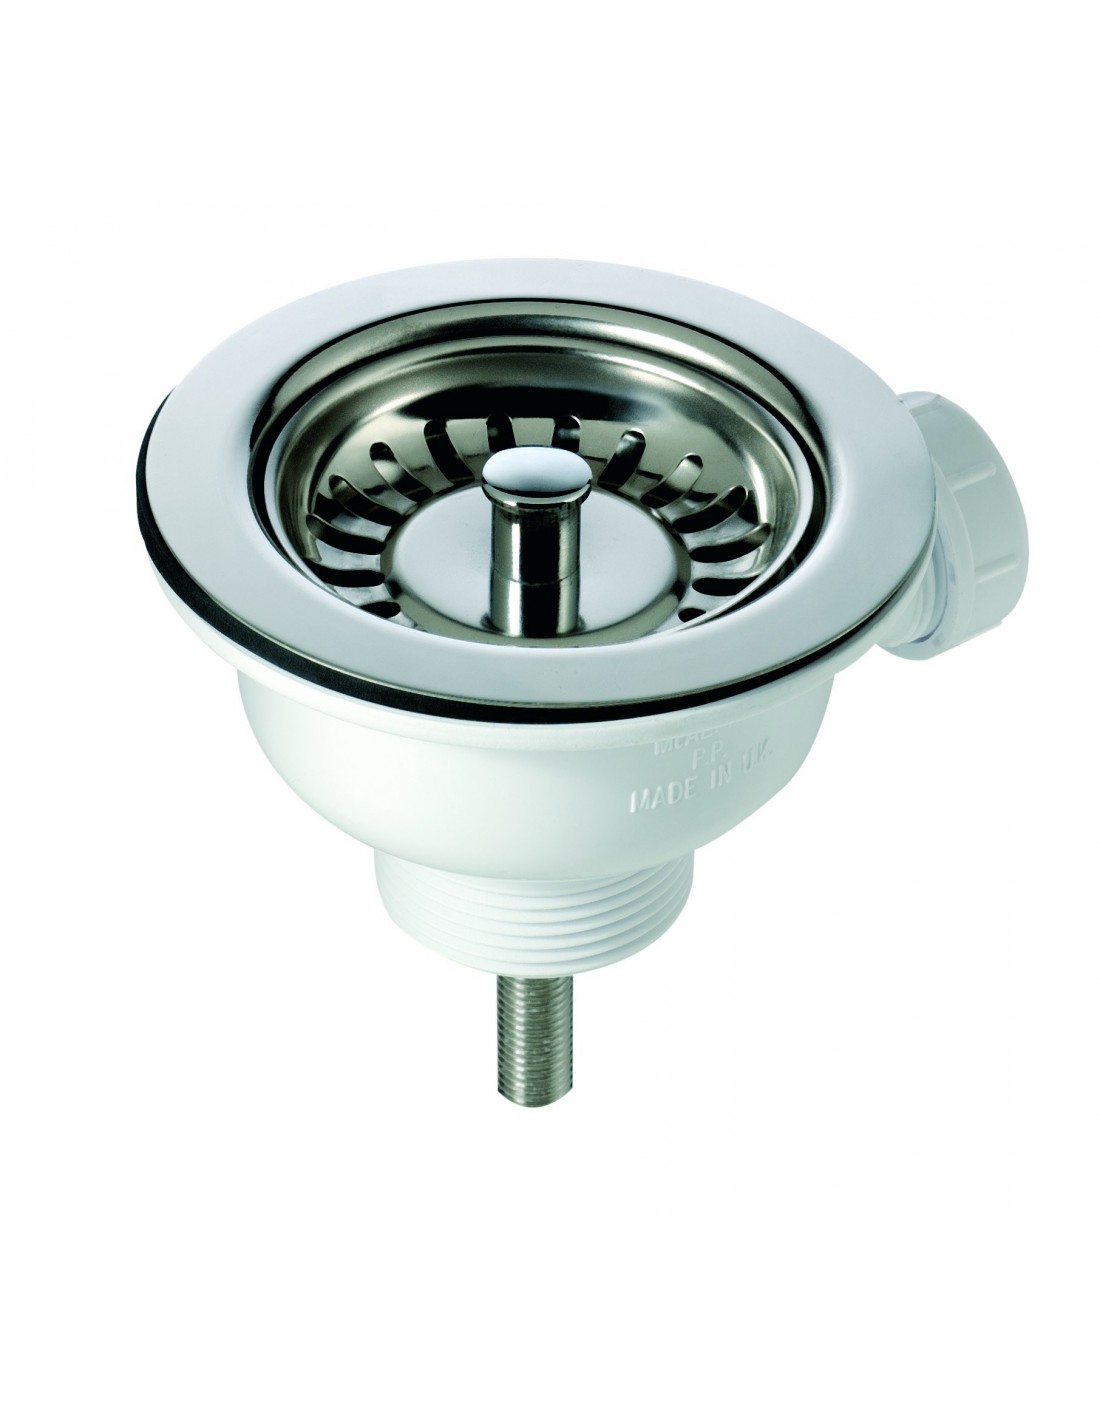
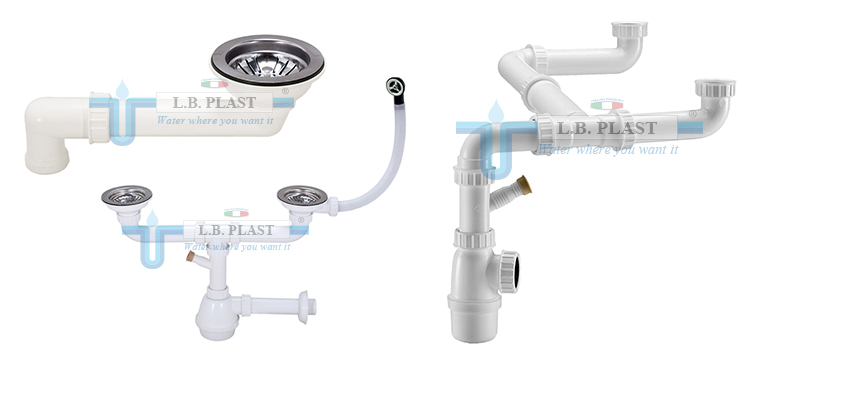
Components of a Kitchen Sink Waste Kit
 A
kitchen sink waste kit
typically consists of several components that work together to keep your sink draining properly. These include a
strainer
,
tailpiece
,
washer
, and
trap
. The strainer sits inside the sink drain and catches larger debris, preventing it from clogging the pipes. The tailpiece connects the strainer to the trap, which is a curved pipe that holds water to prevent sewer gases from entering your home. Lastly, the washer acts as a seal between the tailpiece and the trap, ensuring a tight fit.
A
kitchen sink waste kit
typically consists of several components that work together to keep your sink draining properly. These include a
strainer
,
tailpiece
,
washer
, and
trap
. The strainer sits inside the sink drain and catches larger debris, preventing it from clogging the pipes. The tailpiece connects the strainer to the trap, which is a curved pipe that holds water to prevent sewer gases from entering your home. Lastly, the washer acts as a seal between the tailpiece and the trap, ensuring a tight fit.
Proper Installation and Maintenance
 To ensure your kitchen sink waste kit functions properly, it's crucial to follow the correct installation instructions. First, make sure all components are the correct size for your sink. Then, carefully assemble the kit, making sure all connections are tight and secure. Regularly clean the strainer to prevent buildup and check for any leaks in the trap. If you notice any issues, it's important to address them promptly to avoid more significant problems down the road.
Choosing the Right Waste Kit for Your Kitchen Sink
 Not all kitchen sinks are created equal, and neither are their waste kits. When selecting a waste kit, consider the size and type of your sink, as well as your daily usage. For example, if you have a double sink, you may need a waste kit with a dual trap to accommodate both drains. Additionally, if you have a garbage disposal, you may need a specialized waste kit that can accommodate it.
Final Thoughts
 A functioning kitchen sink is essential for any home, and a proper waste kit is a crucial component of that. By following the
kitchen sink waste kit instructions
and choosing the right kit for your sink, you can ensure your kitchen stays clean and functional. Regular maintenance and prompt attention to any issues can save you from expensive plumbing repairs in the future. So next time you're renovating your kitchen or replacing your sink, don't forget to give some thought to your waste kit. Your pipes will thank you.
A functioning kitchen sink is essential for any home, and a proper waste kit is a crucial component of that. By following the
kitchen sink waste kit instructions
and choosing the right kit for your sink, you can ensure your kitchen stays clean and functional. Regular maintenance and prompt attention to any issues can save you from expensive plumbing repairs in the future. So next time you're renovating your kitchen or replacing your sink, don't forget to give some thought to your waste kit. Your pipes will thank you.