Kitchen Sink Strainer Lock Nut: Why It Matters
When it comes to our kitchen sinks, we often don't give much thought to the small, seemingly insignificant parts that make up the whole. But one part that shouldn't be overlooked is the kitchen sink strainer lock nut. This small but mighty piece plays an important role in keeping our sinks functioning properly and can save us from potential headaches down the road. So let's dive into the top 10 reasons why the kitchen sink strainer lock nut matters.


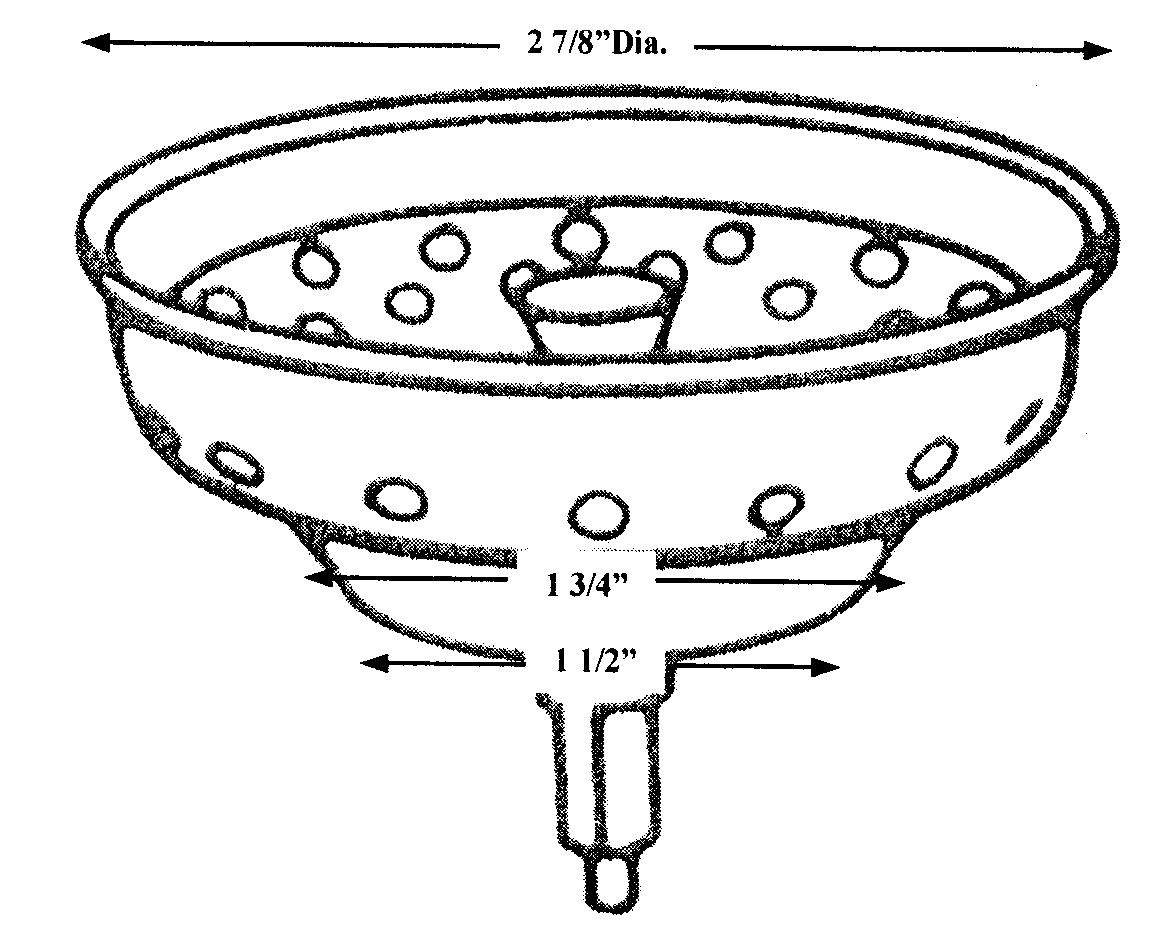
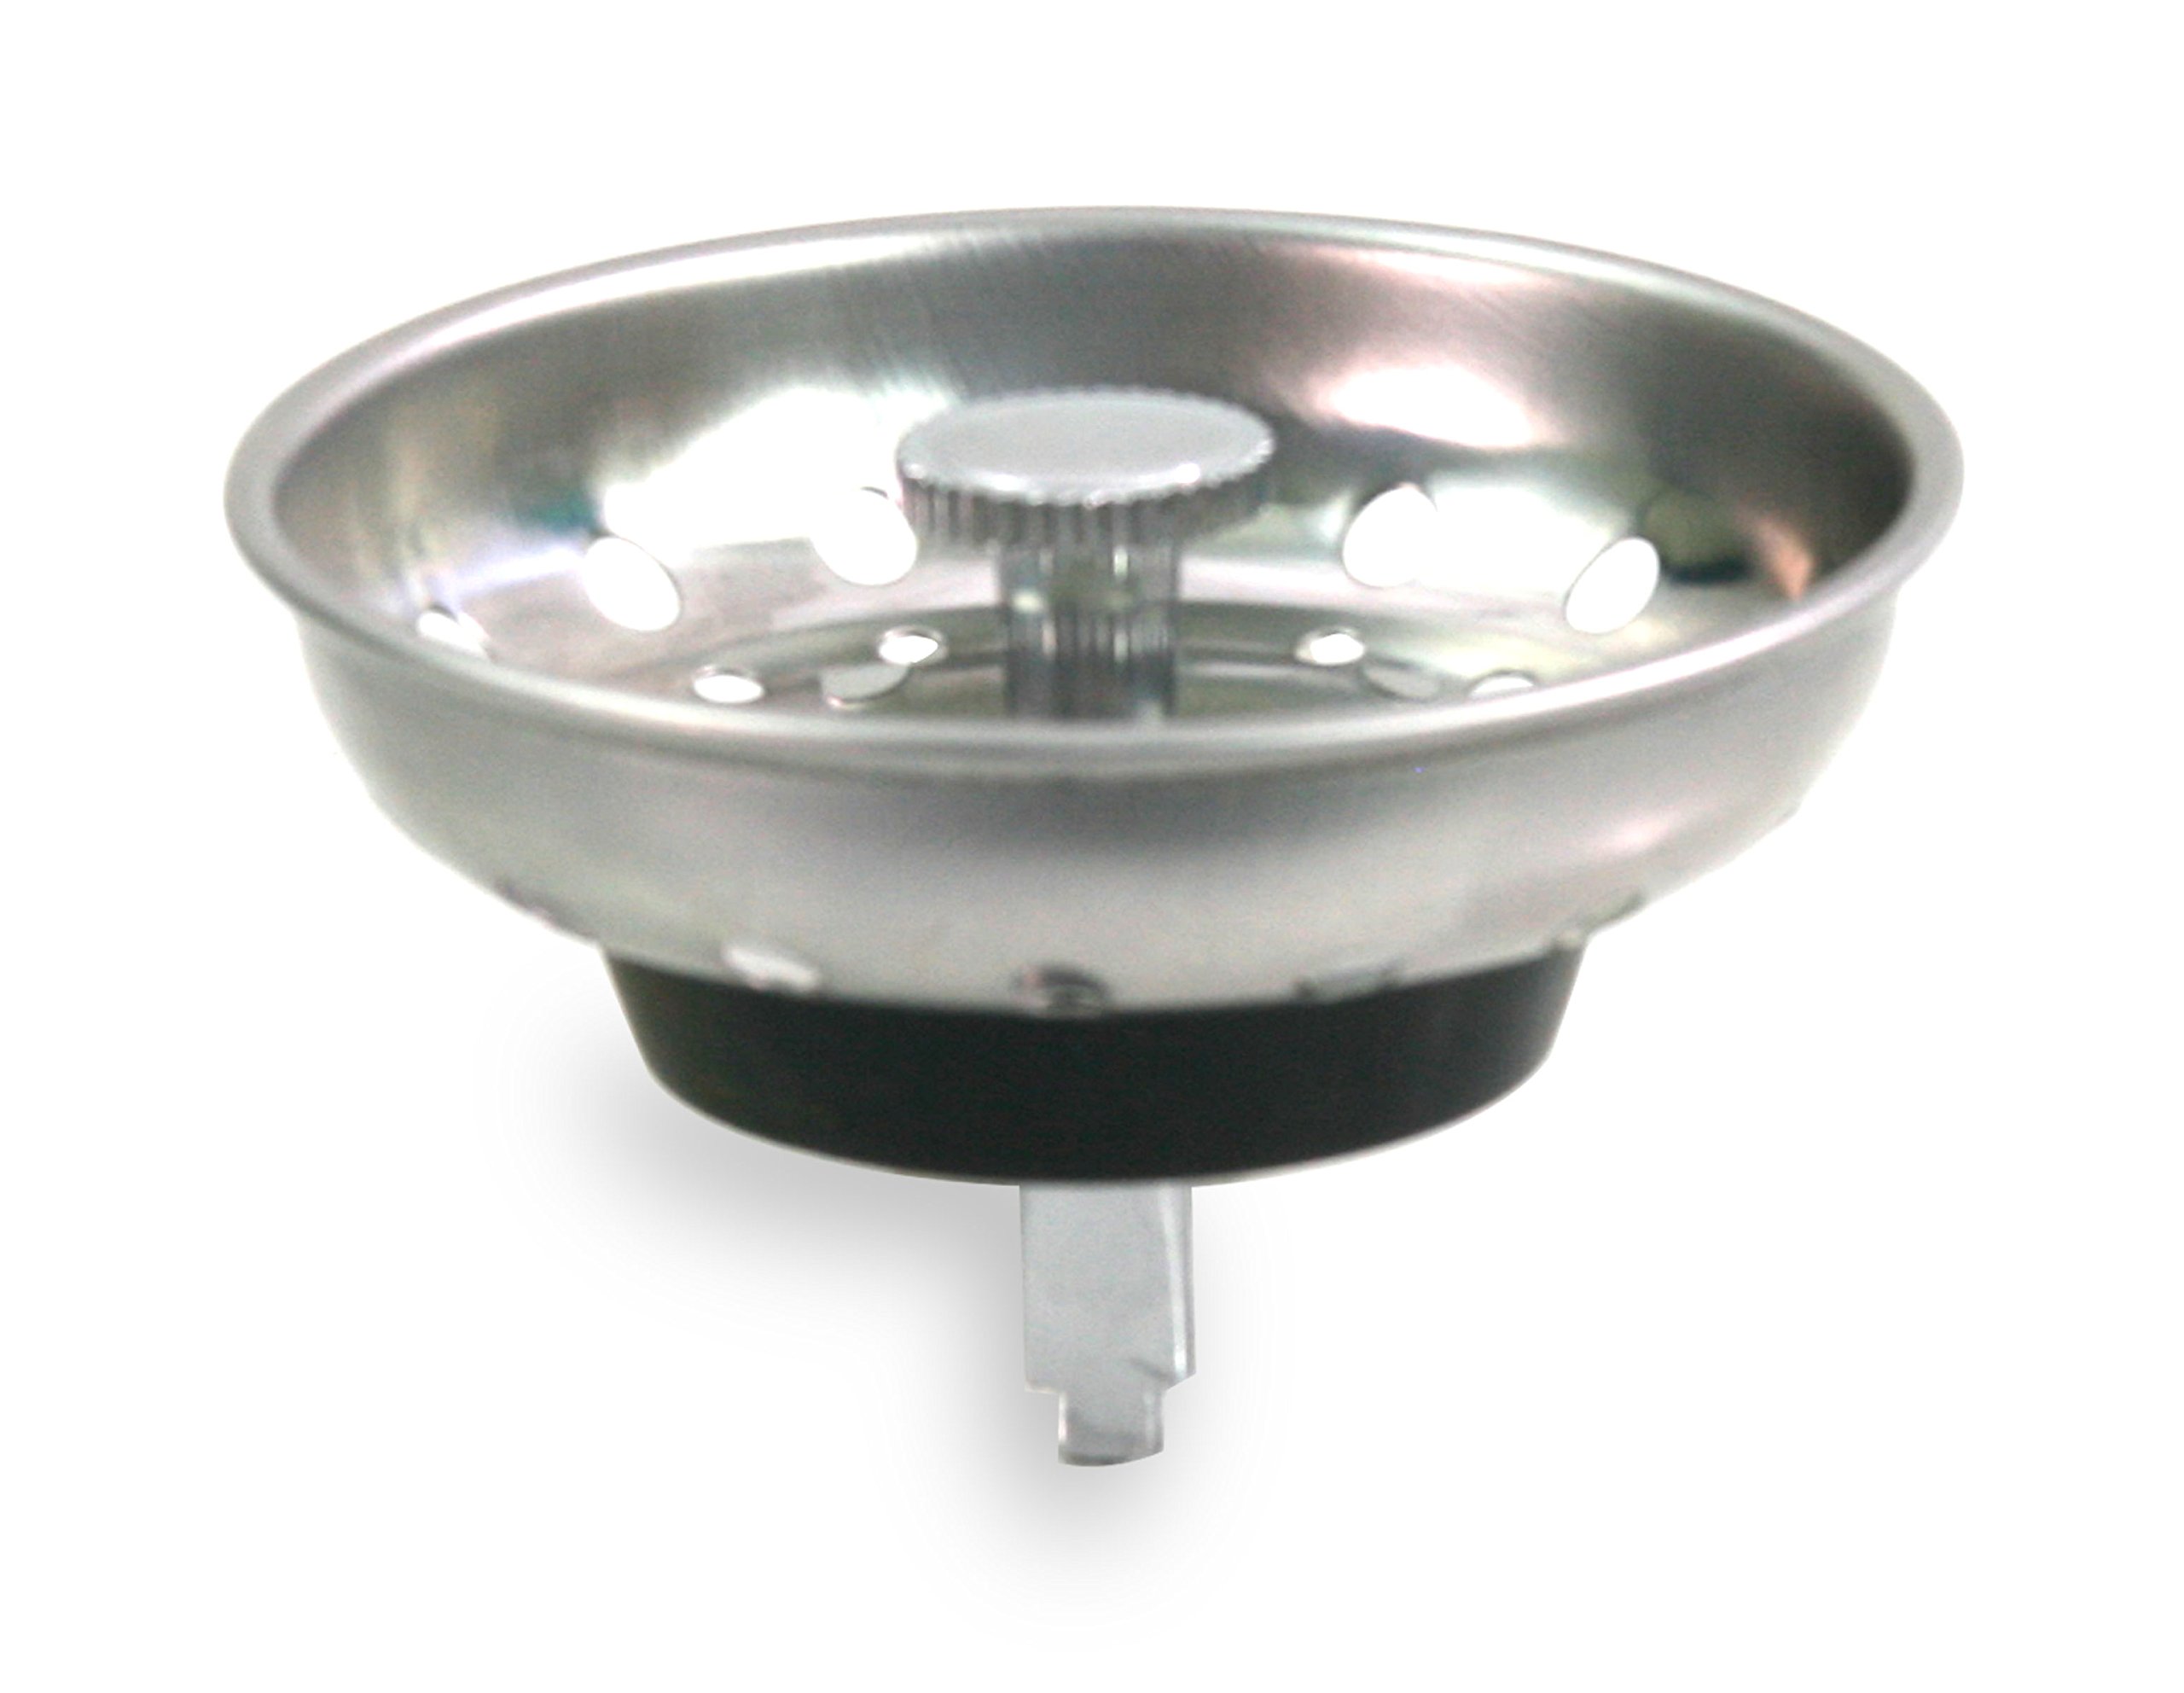
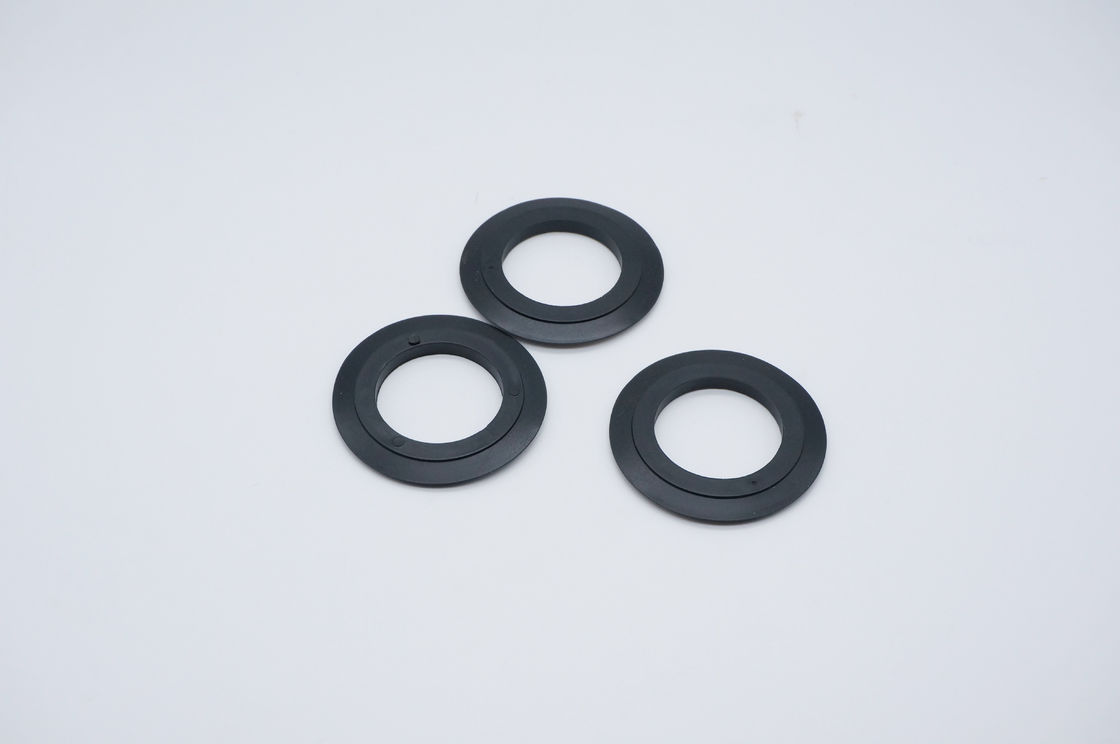
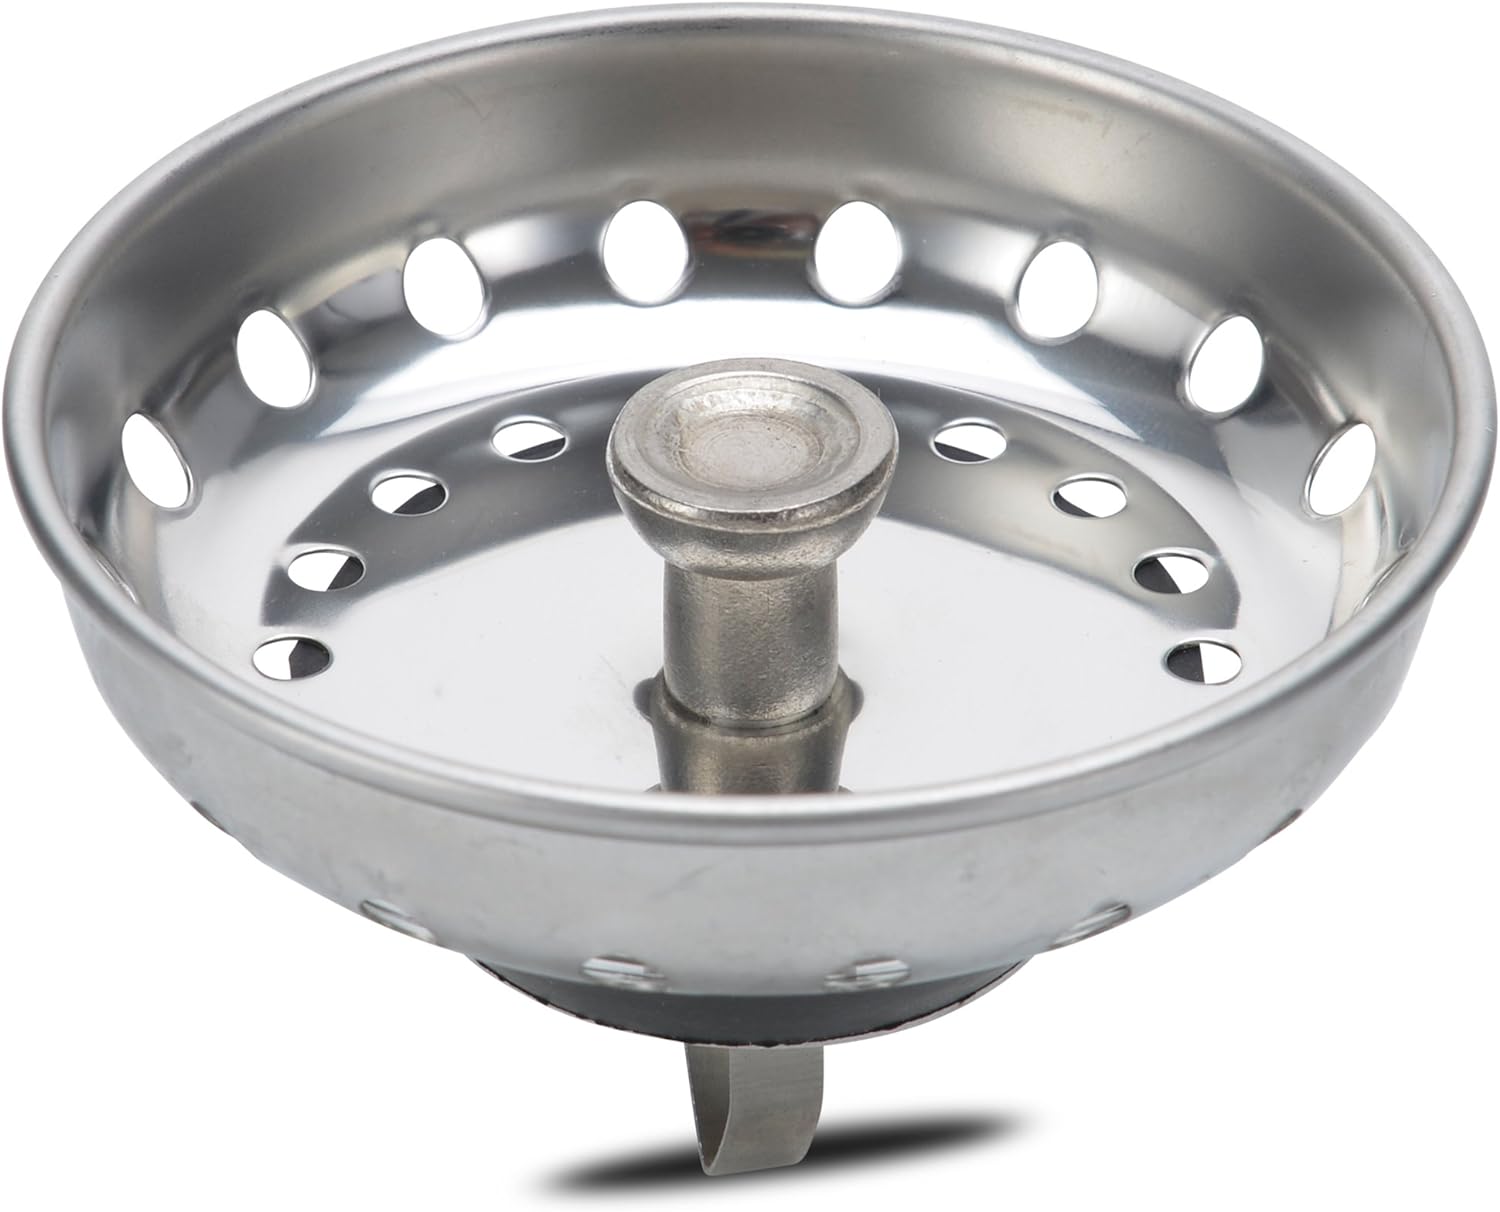
Kitchen Sink Strainer Lock Nut


Kitchen Sink Strainer Lock Nut Replacement: When and How
Over time, the lock nut on our kitchen sink strainer may become worn out or damaged, leading to leaks and other issues. When this happens, it's important to know when and how to replace it. Typically, a lock nut should be replaced every 3-5 years to ensure proper functionality. To replace it, you'll need a kitchen sink strainer lock nut wrench or tool, which can easily be found at most hardware stores. Simply remove the old lock nut and replace it with the new one, making sure it is tightened securely.


Kitchen Sink Strainer Lock Nut Replacement

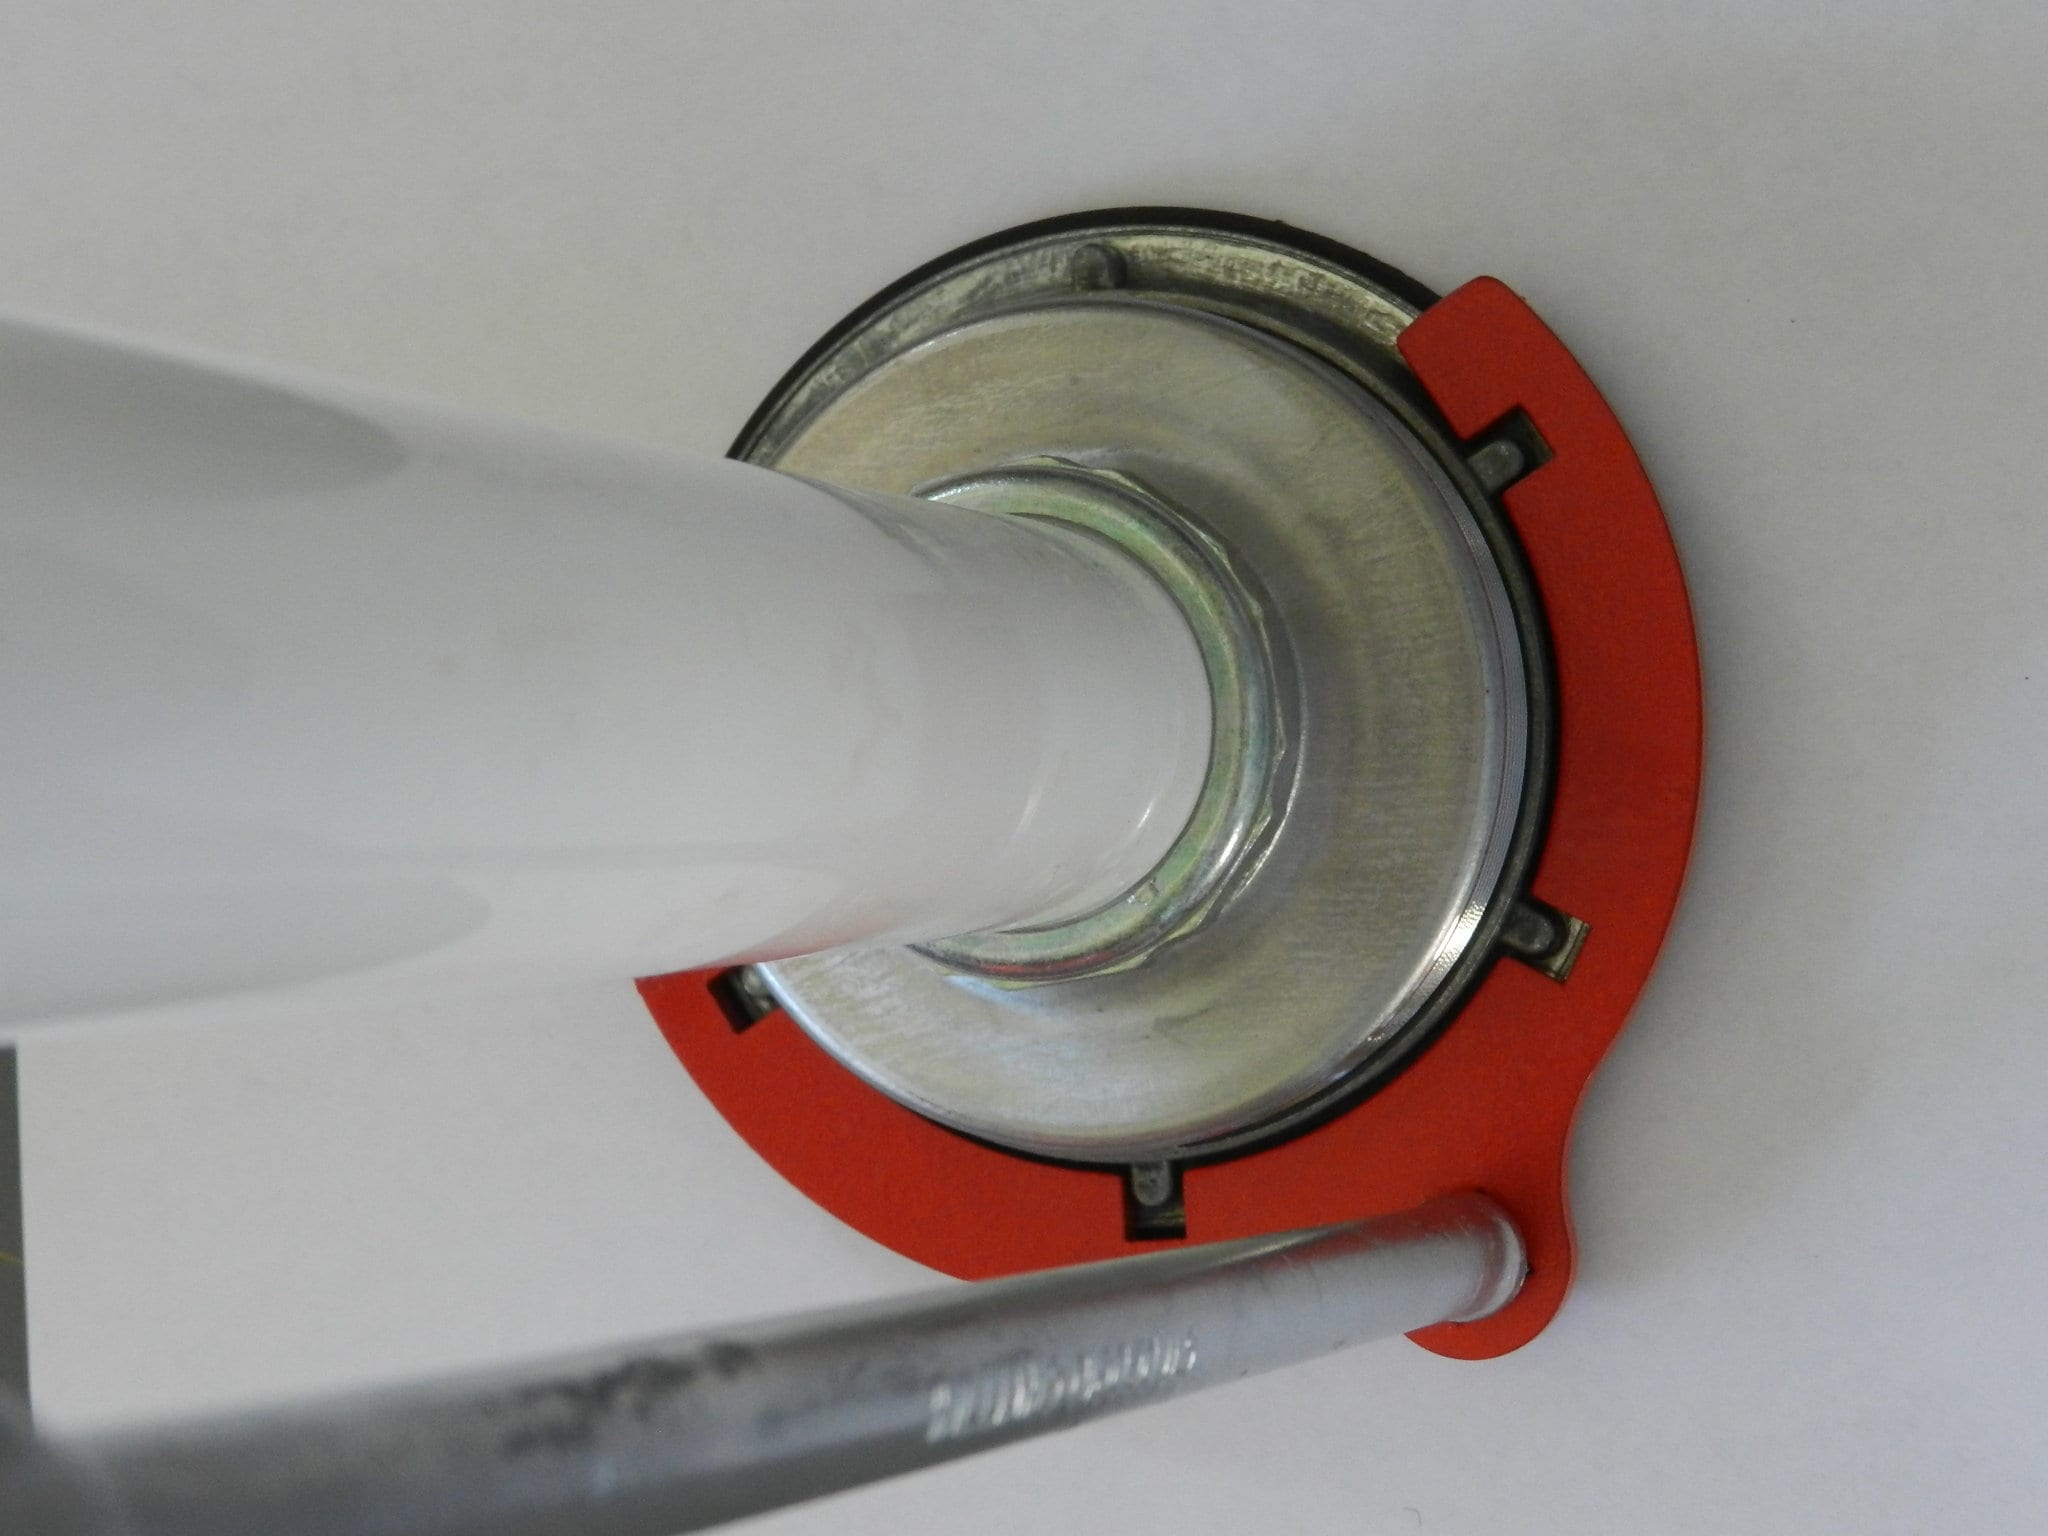
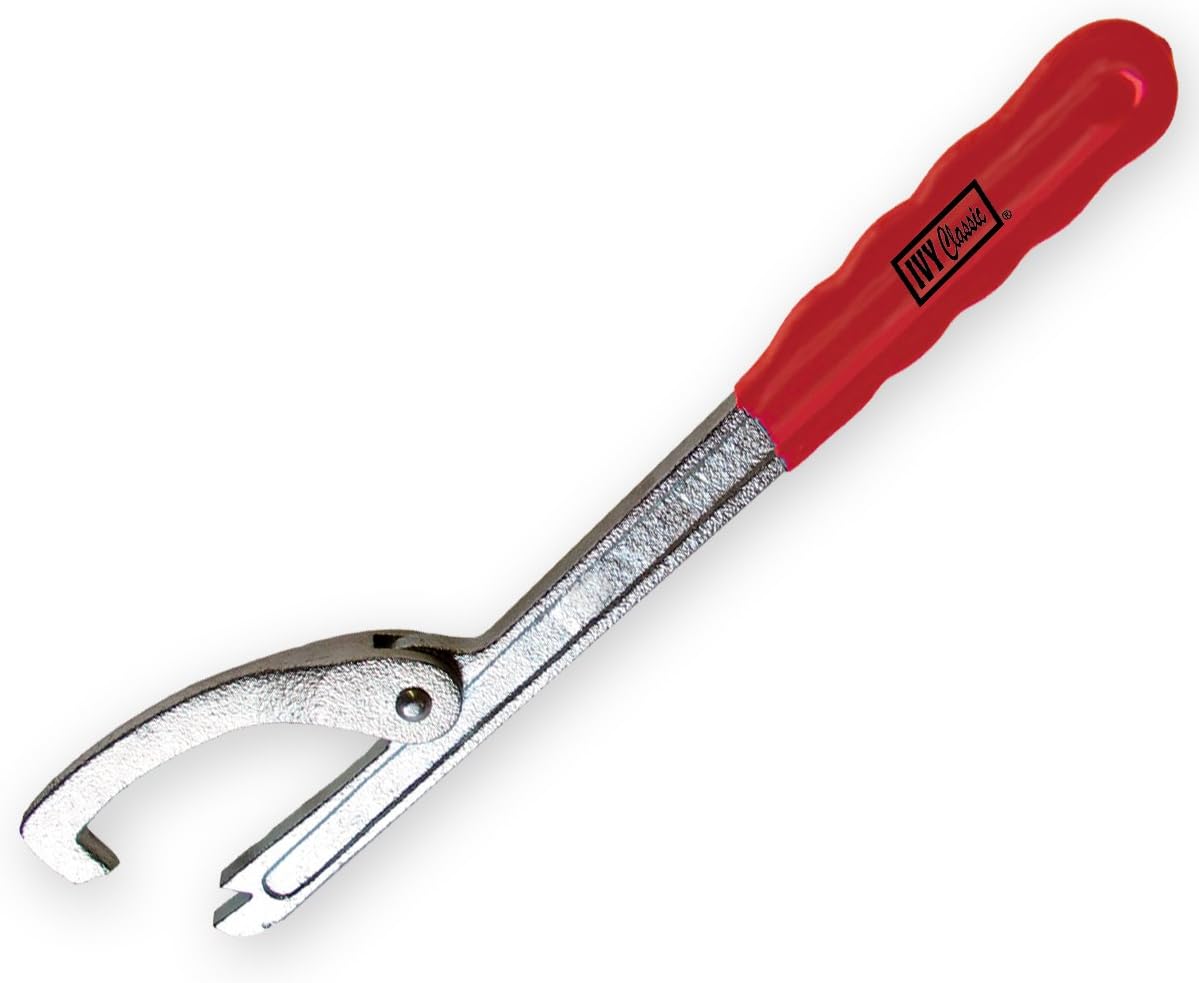
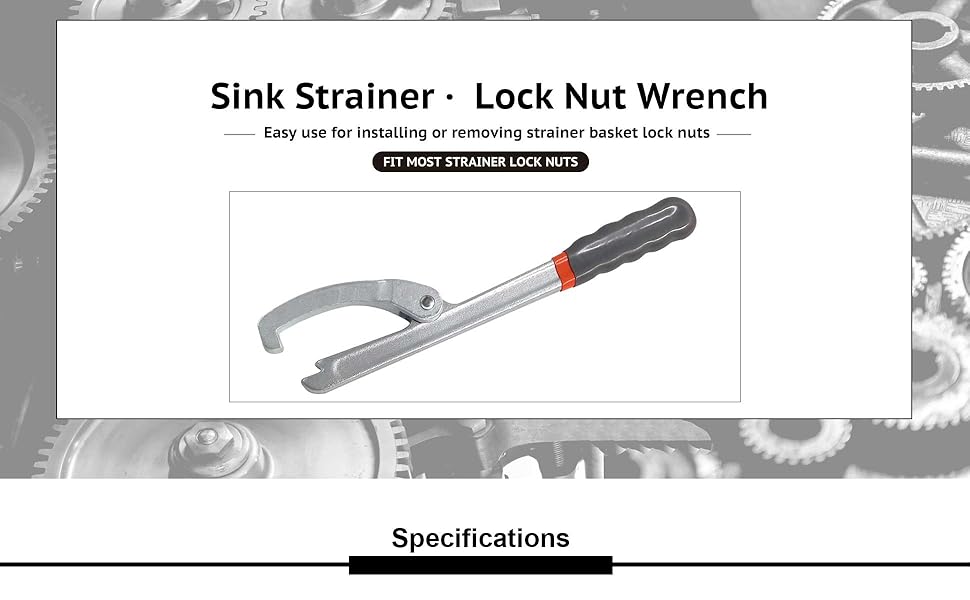
Kitchen Sink Strainer Lock Nut Wrench: The Perfect Tool
As mentioned, a kitchen sink strainer lock nut wrench or tool is essential for replacing the lock nut. But it's also useful for other tasks, such as tightening the lock nut periodically to prevent leaks. It's important to have the right tool for the job, and this wrench is specifically designed to fit the lock nut perfectly, making the task much easier. Plus, it's a small investment that can save you from having to call a plumber for a simple fix.


Kitchen Sink Strainer Lock Nut Wrench


Kitchen Sink Strainer Lock Nut Tool: A Must-Have for Every Home
Even if you're not experiencing any issues with your kitchen sink strainer lock nut, it's still a good idea to have a kitchen sink strainer lock nut tool on hand. You never know when you may need to tighten or replace the lock nut, and having the tool readily available will save you time and hassle. It's also a good idea to have a spare lock nut on hand in case of emergencies.
Kitchen Sink Strainer Lock Nut Tool


Kitchen Sink Strainer Lock Nut Removal: A Simple Process
If you need to remove your kitchen sink strainer lock nut for any reason, don't fret. It's actually a simple process. First, use your wrench or tool to loosen the lock nut by turning it counterclockwise. Once it's loose, you can easily remove it by hand. If the lock nut is stuck, you may need to use some penetrating oil to help loosen it.

Kitchen Sink Strainer Lock Nut Removal


Kitchen Sink Strainer Lock Nut Repair: Don't Ignore Leaks
If you notice a leak coming from your kitchen sink strainer, it's important not to ignore it. Oftentimes, the issue can be solved by simply tightening or replacing the lock nut. But if the leak continues, it may be a sign of a larger issue, such as a cracked or damaged sink strainer. In this case, it's best to call a professional to assess the situation.


Kitchen Sink Strainer Lock Nut Repair

Kitchen Sink Strainer Lock Nut Installation: A DIY Project
While some plumbing tasks should be left to the professionals, installing a kitchen sink strainer lock nut is a simple DIY project. With the right tools and some basic knowledge, you can easily replace or install a lock nut on your own. Just make sure to follow proper safety precautions and turn off the water supply before starting.

Kitchen Sink Strainer Lock Nut Installation


Kitchen Sink Strainer Lock Nut Tightening: Preventing Leaks
As mentioned, periodically tightening the kitchen sink strainer lock nut can help prevent leaks and other issues. This should be done every few months to ensure everything is secure. It's a quick and easy task that can save you from potential water damage and costly repairs.


Kitchen Sink Strainer Lock Nut Tightening

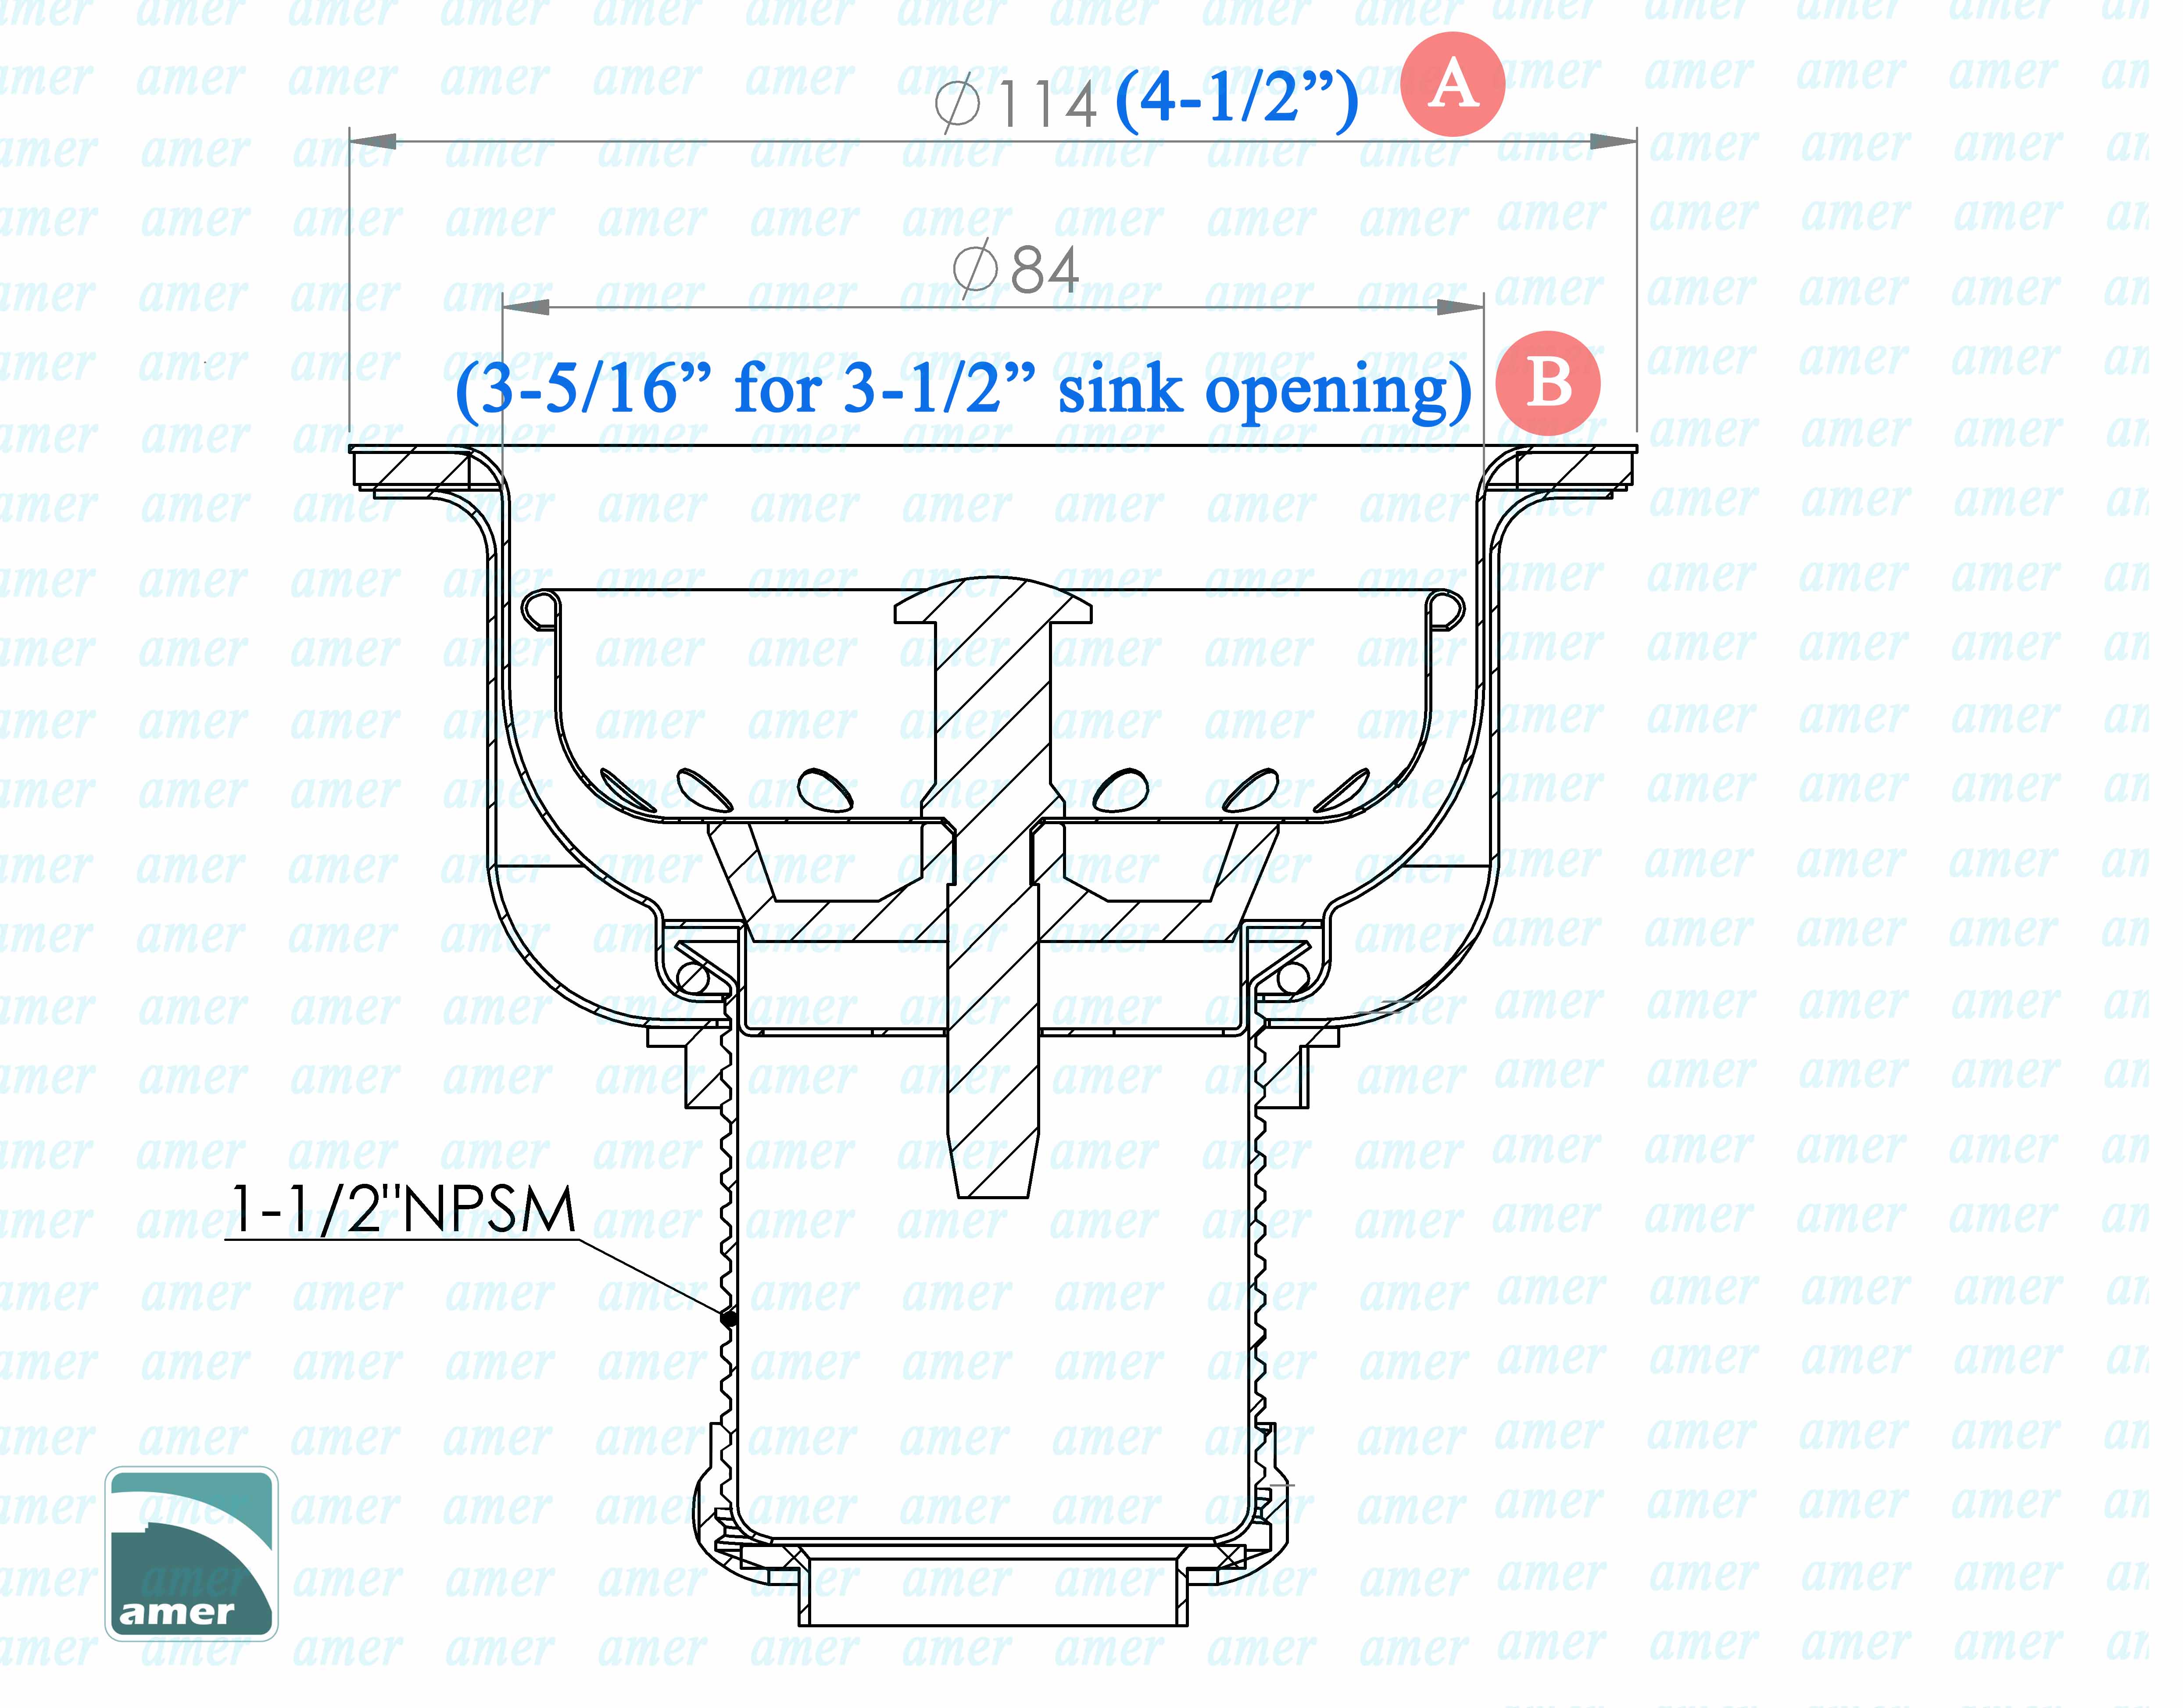
Kitchen Sink Strainer Lock Nut Size: One Size Does Not Fit All
When it comes to the size of your kitchen sink strainer lock nut, there is no one-size-fits-all option. Different sinks and strainers may require different sized lock nuts, so it's important to find the right fit for your specific sink. This is where having a spare lock nut can come in handy, as you can easily compare sizes and find the perfect match.
Kitchen Sink Strainer Lock Nut Size

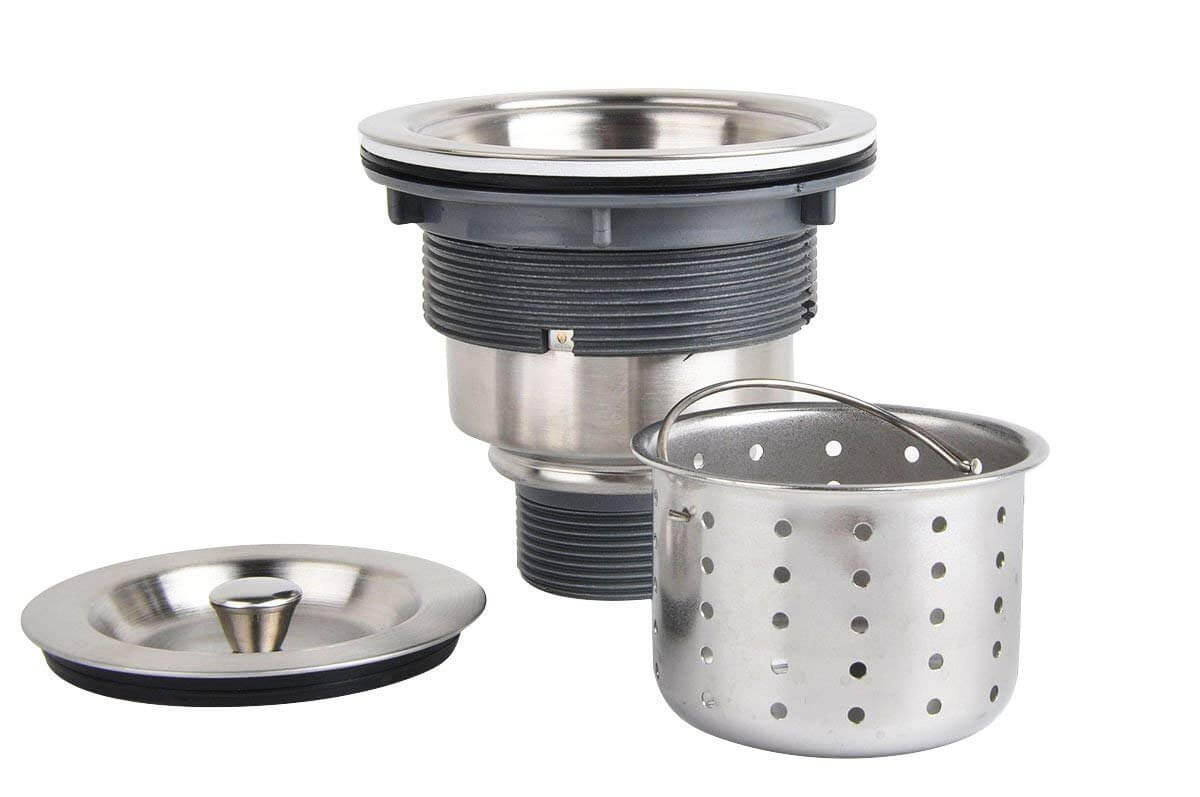
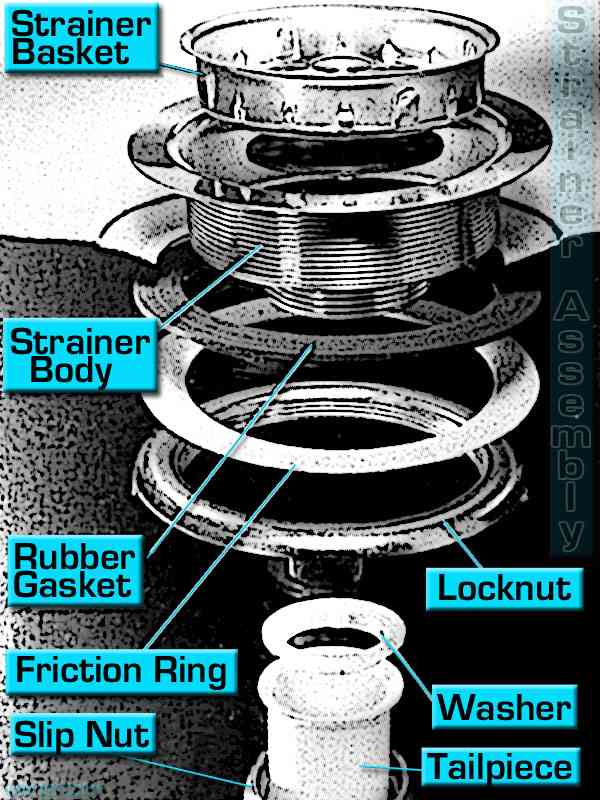
Kitchen Sink Strainer Lock Nut Assembly: The Final Step
Once you've replaced or tightened your kitchen sink strainer lock nut, it's important to properly assemble everything back together. Make sure the lock nut is securely tightened and that all other parts are in place. Turn the water supply back on and test for any leaks. If everything looks good, you're all set! Your kitchen sink strainer lock nut is now functioning properly and you can have peace of mind knowing your sink is in tip-top shape.


Kitchen Sink Strainer Lock Nut Assembly

The Importance of a Kitchen Sink Strainer Lock Nut in House Design

Ensuring a Functional and Secure Kitchen Sink
 When designing a house, every little detail counts. From the color of the walls to the type of flooring used, each decision has an impact on the overall aesthetic and functionality of the space. One often overlooked aspect of house design is the kitchen sink strainer lock nut. This small but essential component plays a crucial role in ensuring a functional and secure kitchen sink.
Kitchen sink strainer lock nut
is a simple yet ingenious invention that helps keep your kitchen sink drain securely in place. It is a small circular metal piece with grooves on the outer rim. This nut is placed on the underside of the sink, securing the strainer to the sink's drain hole. Without it, the strainer would be loose and prone to shifting, causing leaks and potential damage to your sink and cabinets.
When designing a house, every little detail counts. From the color of the walls to the type of flooring used, each decision has an impact on the overall aesthetic and functionality of the space. One often overlooked aspect of house design is the kitchen sink strainer lock nut. This small but essential component plays a crucial role in ensuring a functional and secure kitchen sink.
Kitchen sink strainer lock nut
is a simple yet ingenious invention that helps keep your kitchen sink drain securely in place. It is a small circular metal piece with grooves on the outer rim. This nut is placed on the underside of the sink, securing the strainer to the sink's drain hole. Without it, the strainer would be loose and prone to shifting, causing leaks and potential damage to your sink and cabinets.
Preventing Clogs and Blockages
 Not only does the kitchen sink strainer lock nut keep your sink drain securely in place, but it also helps prevent clogs and blockages. As we use our kitchen sinks daily, food scraps, grease, and other debris can easily make their way down the drain, leading to potential clogs. The
strainer
on the sink helps catch these particles, but without the lock nut, it can easily shift out of place, allowing debris to pass through. The lock nut ensures that the strainer stays in place, effectively catching any potential clogs and preventing them from reaching your pipes.
Not only does the kitchen sink strainer lock nut keep your sink drain securely in place, but it also helps prevent clogs and blockages. As we use our kitchen sinks daily, food scraps, grease, and other debris can easily make their way down the drain, leading to potential clogs. The
strainer
on the sink helps catch these particles, but without the lock nut, it can easily shift out of place, allowing debris to pass through. The lock nut ensures that the strainer stays in place, effectively catching any potential clogs and preventing them from reaching your pipes.
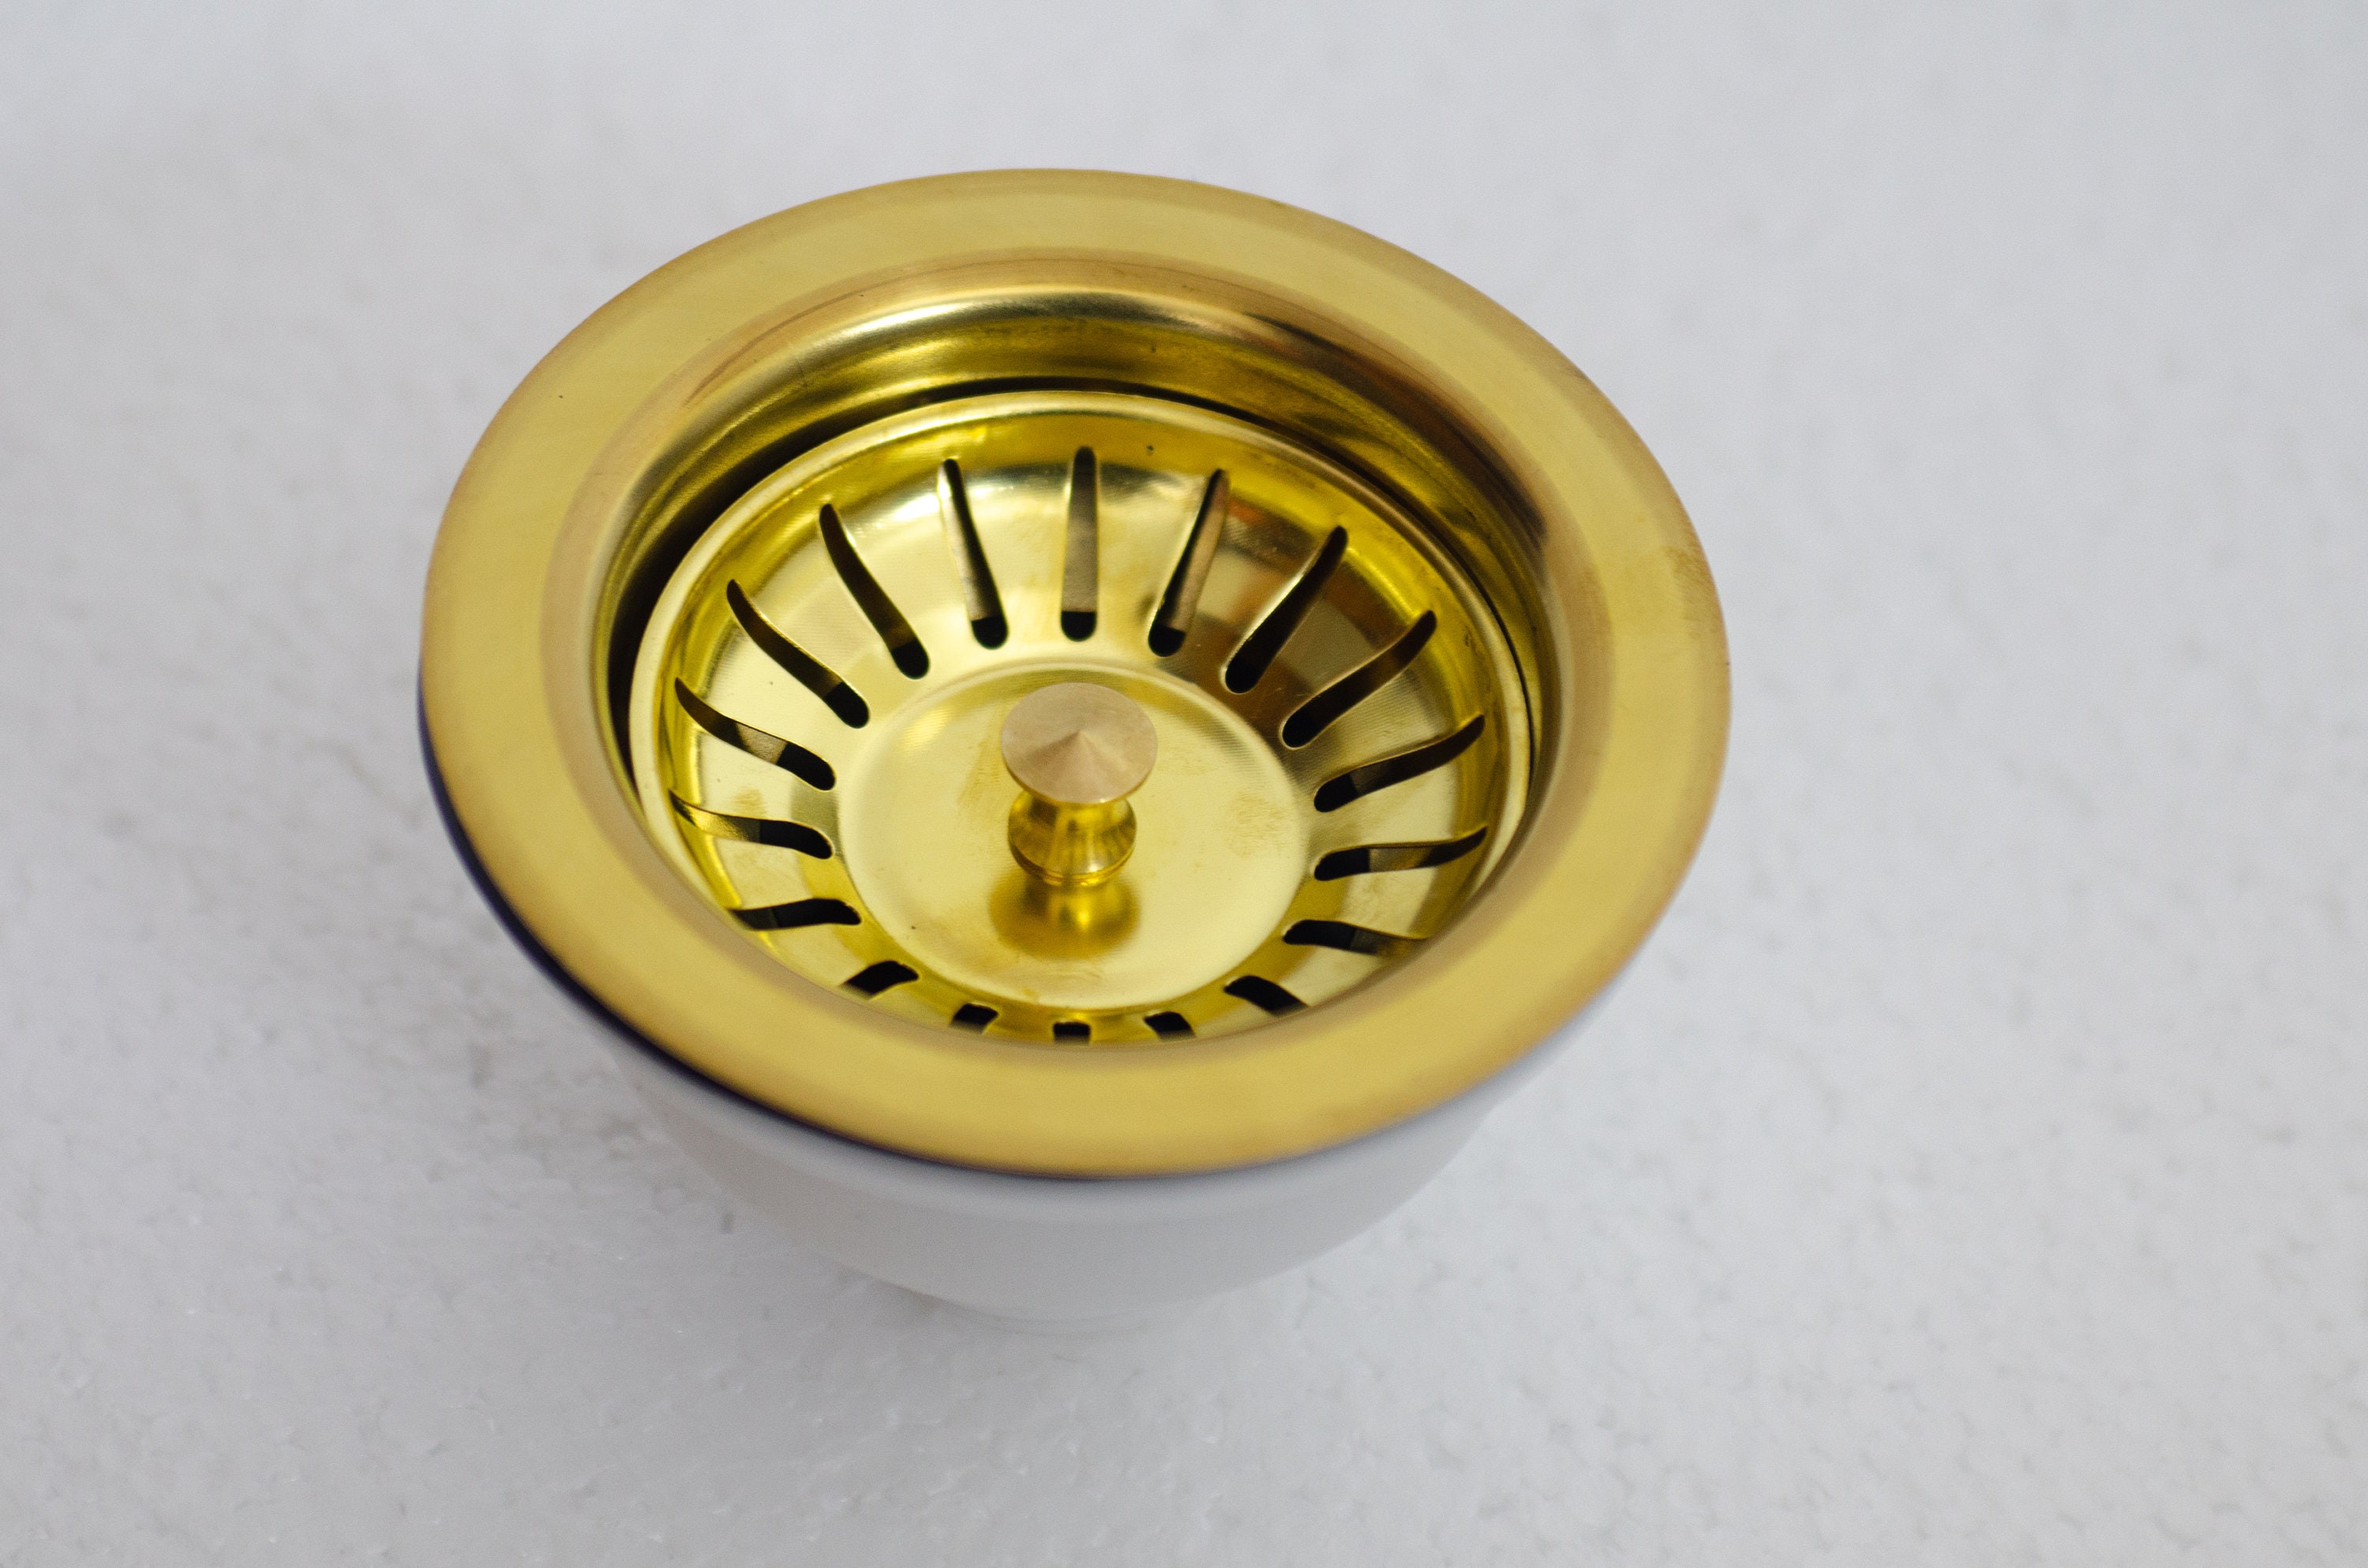
Enhancing the Aesthetic of Your Kitchen
 Aside from its functional benefits, the kitchen sink strainer lock nut also adds to the overall aesthetic of your kitchen. It is available in a variety of finishes, from stainless steel to chrome, to match your sink and faucet. This small detail may seem insignificant, but it can make a big difference in tying together the design of your kitchen.
In conclusion, the kitchen sink strainer lock nut may be a small and often overlooked component in house design, but it plays a crucial role in ensuring a functional, secure, and aesthetically pleasing kitchen sink. So, the next time you are designing or renovating your kitchen, don't forget to consider the importance of this simple yet essential piece.
Aside from its functional benefits, the kitchen sink strainer lock nut also adds to the overall aesthetic of your kitchen. It is available in a variety of finishes, from stainless steel to chrome, to match your sink and faucet. This small detail may seem insignificant, but it can make a big difference in tying together the design of your kitchen.
In conclusion, the kitchen sink strainer lock nut may be a small and often overlooked component in house design, but it plays a crucial role in ensuring a functional, secure, and aesthetically pleasing kitchen sink. So, the next time you are designing or renovating your kitchen, don't forget to consider the importance of this simple yet essential piece.