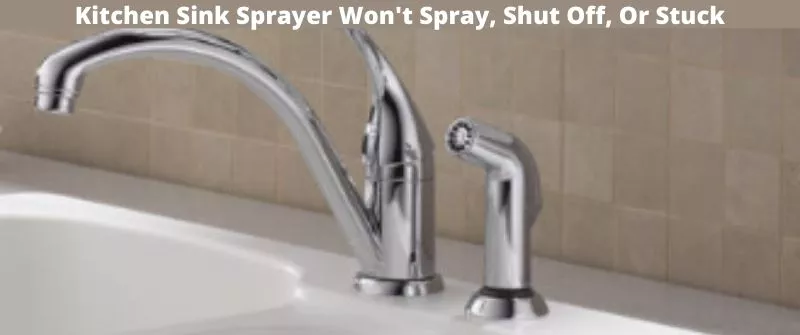
If your kitchen sink sprayer won't shut off, it can be a frustrating and messy problem to deal with. But don't worry, it's a common issue that can be easily fixed. Here are the steps to take to get your kitchen sink sprayer working properly again. Featured keywords: kitchen sink sprayer, fix, shut off 1. First, check the water supply line to make sure it is fully open. If it's partially closed, it can cause the sprayer to continuously leak or spray water. Main keywords: water supply line, open, leak, spray 2. Next, check the sprayer head for any clogs. Over time, mineral deposits and debris can build up and block the water flow. To clean the sprayer head, soak it in a solution of equal parts water and vinegar for about an hour, then scrub it with an old toothbrush. Main keywords: clogs, mineral deposits, debris, clean, solution, vinegar, scrub, toothbrush 3. If cleaning the sprayer head doesn't work, you may need to replace it. You can find replacement sprayer heads at most home improvement stores. Simply unscrew the old head and screw on the new one in its place. Main keywords: replace, sprayer head, home improvement stores, unscrew, screwHow to Fix a Kitchen Sink Sprayer That Won't Shut Off


How to Fix a Kitchen Sink Sprayer That Won't Shut Off


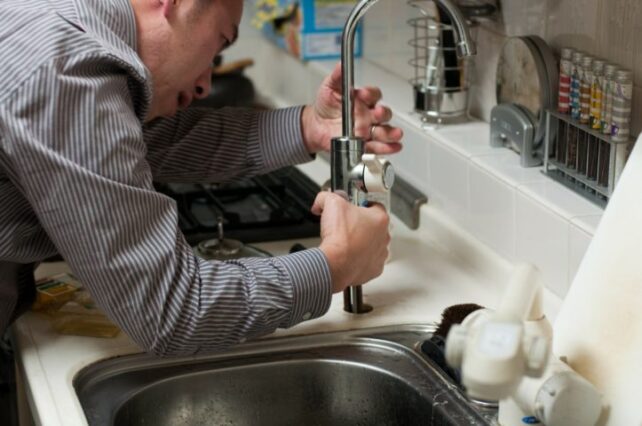


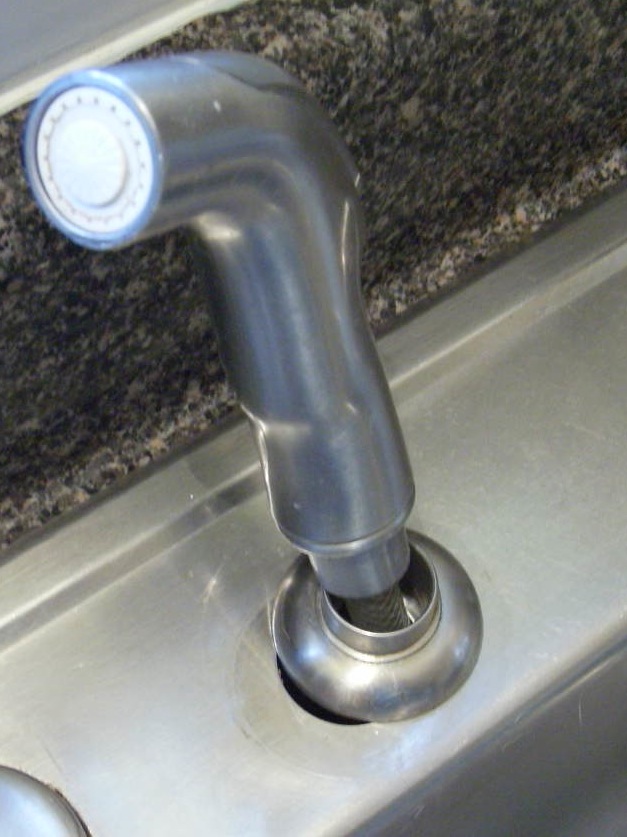
If your kitchen sink sprayer is not working at all, it may need to be repaired. Here are the steps to follow to repair a malfunctioning kitchen sink sprayer. Featured keywords: repair, kitchen sink sprayer, not working 1. Start by checking the sprayer hose for any kinks or bends that may be restricting water flow. If you find any, carefully straighten them out to remove the blockage. Main keywords: sprayer hose, kinks, bends, restricting, water flow, straighten, blockage 2. Next, check the sprayer handle for any cracks or damage. If it is damaged, you will need to replace the handle. You can find replacement handles at most home improvement stores. Main keywords: sprayer handle, cracks, damage, replace, home improvement stores 3. If the sprayer hose and handle are both in good condition, the problem may lie with the diverter valve. This valve controls the flow of water to the sprayer and can become clogged or worn over time. To fix this, you will need to replace the diverter valve. Main keywords: diverter valve, flow of water, clogged, worn, replaceHow to Repair a Kitchen Sink Sprayer


How to Repair a Kitchen Sink Sprayer


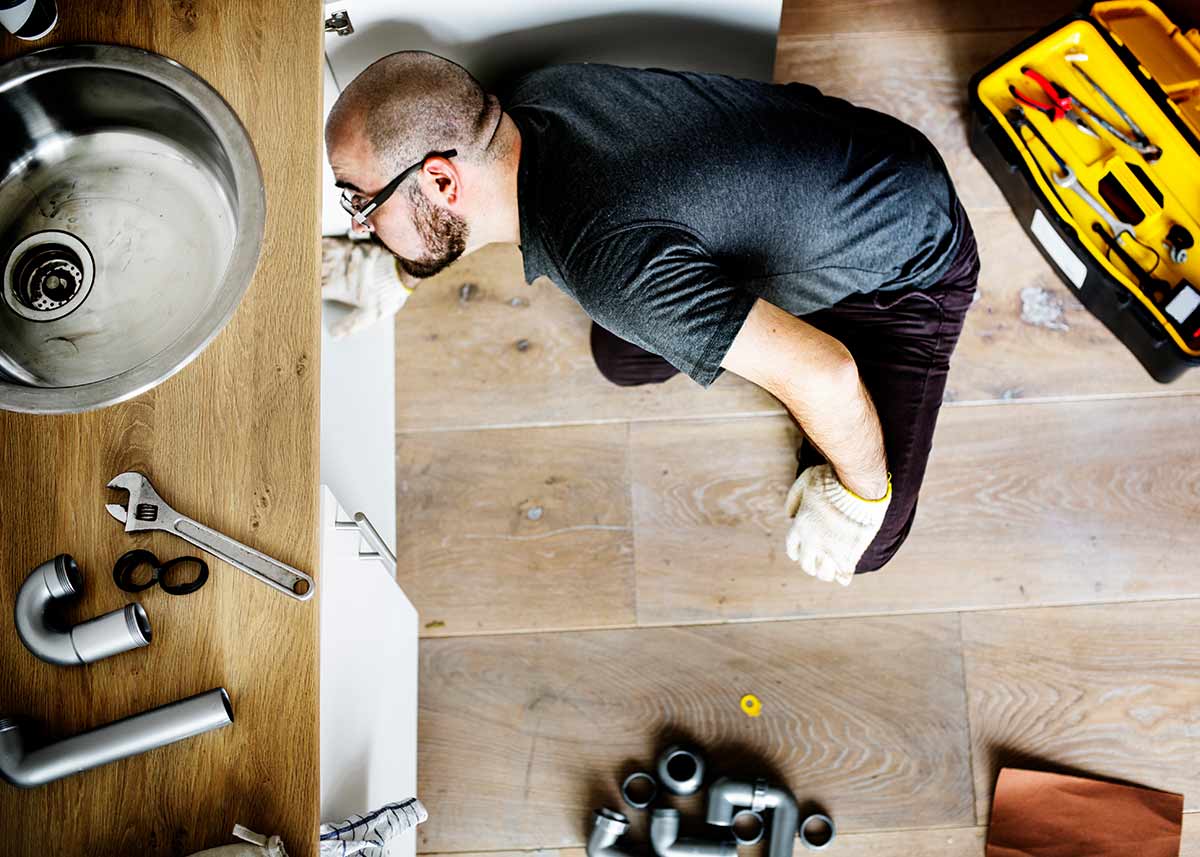
If your kitchen sink sprayer is beyond repair, you may need to replace it. Here's how to do it. Featured keywords: replace, kitchen sink sprayer, beyond repair 1. Start by turning off the water supply to the sink. This is usually located under the sink and can be turned off by twisting the valve clockwise. Main keywords: turn off, water supply, sink, valve, clockwise 2. Next, unscrew the sprayer hose from the bottom of the faucet using a pair of pliers. Then, unscrew the sprayer head from the hose and set it aside. Main keywords: unscrew, sprayer hose, faucet, pliers, sprayer head 3. Install the new sprayer hose by screwing it onto the faucet and then attaching the sprayer head to the other end. Use pliers to tighten the connections if needed. Main keywords: install, new sprayer hose, screw, faucet, attaching, pliers, tighten 4. Turn the water supply back on and test the sprayer to make sure it is functioning properly. Main keywords: turn on, water supply, test, functioning properlyHow to Replace a Kitchen Sink Sprayer
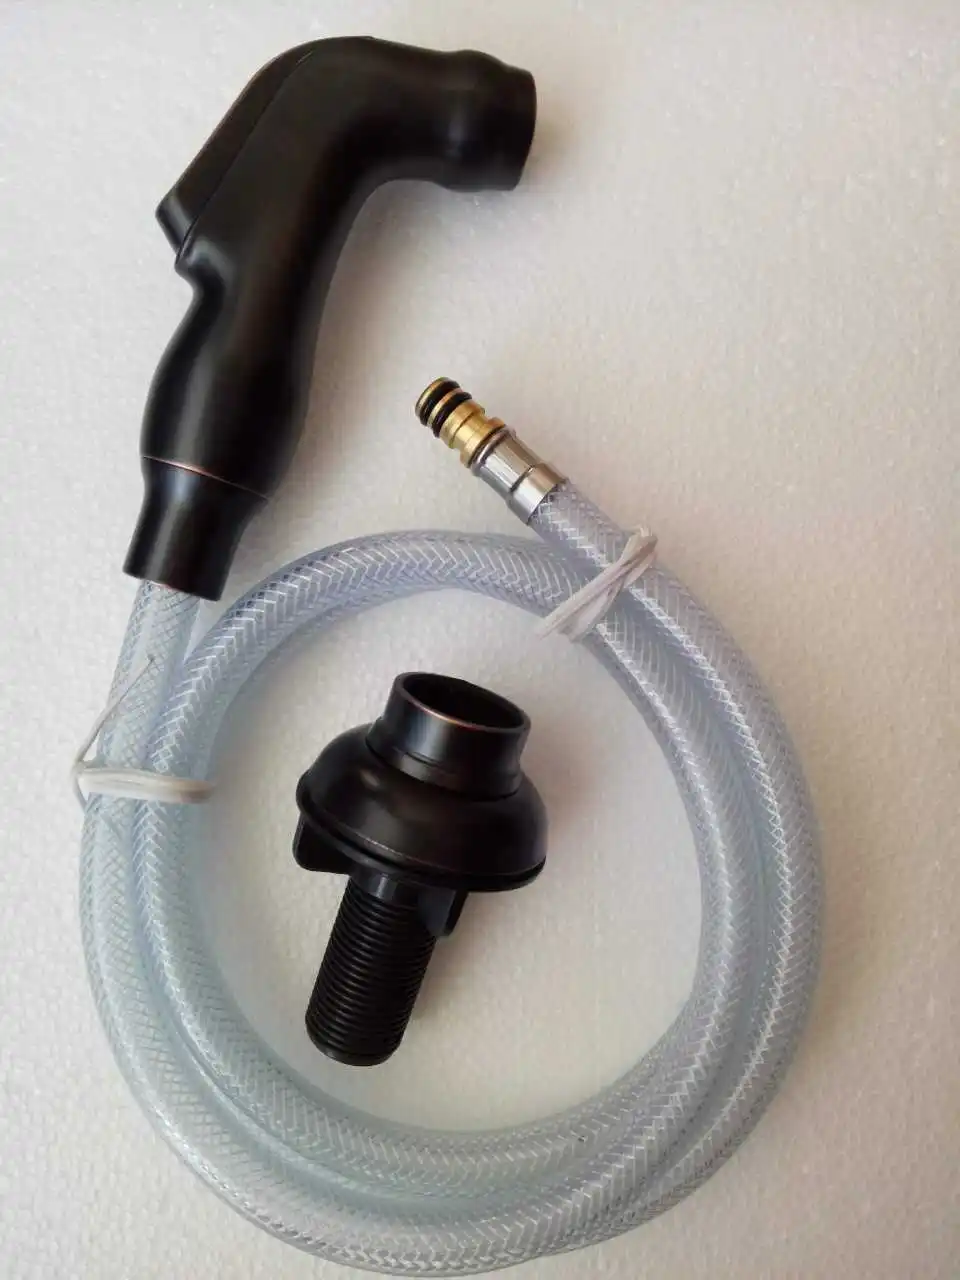

How to Replace a Kitchen Sink Sprayer


/25089301983_c5145fe85d_o-58418ef15f9b5851e5f392b5.jpg)

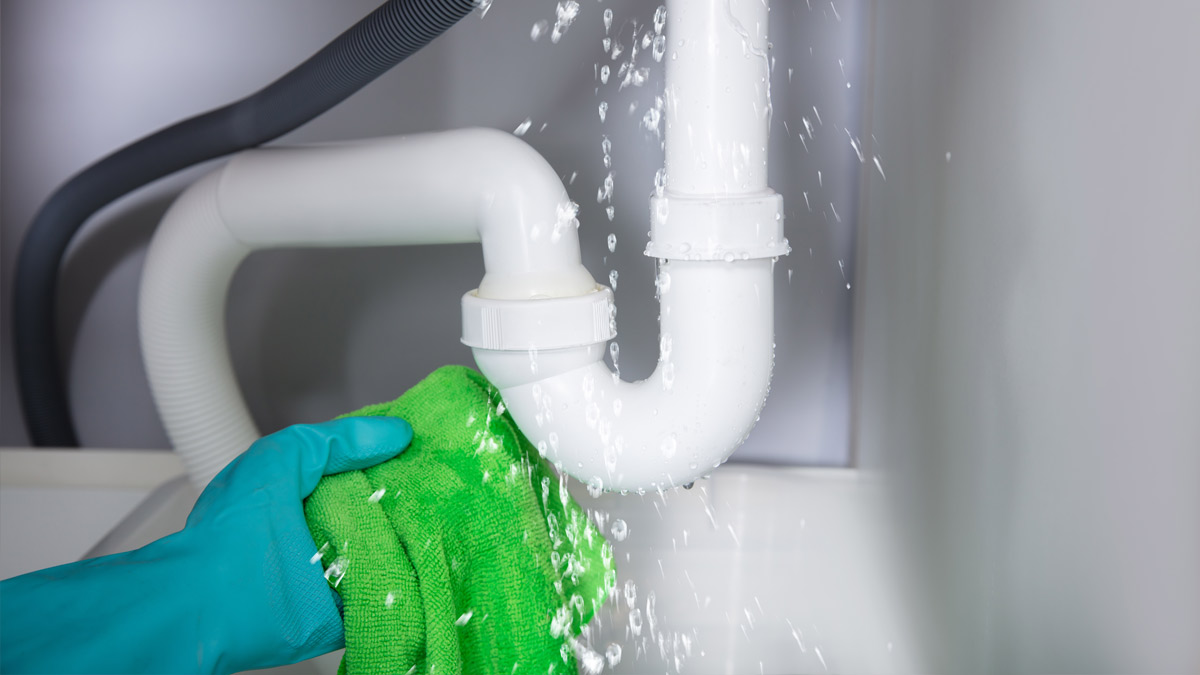
If your kitchen sink sprayer is leaking, it can be a nuisance and waste water. Here are some common causes of a leaking sprayer and how to fix them. Featured keywords: leaking, kitchen sink sprayer, nuisance, waste water 1. A loose connection between the sprayer head and hose can cause leaks. Make sure the connections are tight and use pliers to tighten them if needed. Main keywords: loose connection, sprayer head, hose, leaks, tight, pliers, tighten 2. The sprayer head itself may be damaged or worn, causing it to leak. In this case, you will need to replace the sprayer head. Main keywords: sprayer head, damaged, worn, leak, replace 3. Another possible cause of a leak is a cracked or damaged sprayer hose. If this is the case, you will need to replace the hose. Main keywords: cracked, damaged, sprayer hose, replaceCommon Causes of a Leaking Kitchen Sink Sprayer

Common Causes of a Leaking Kitchen Sink Sprayer


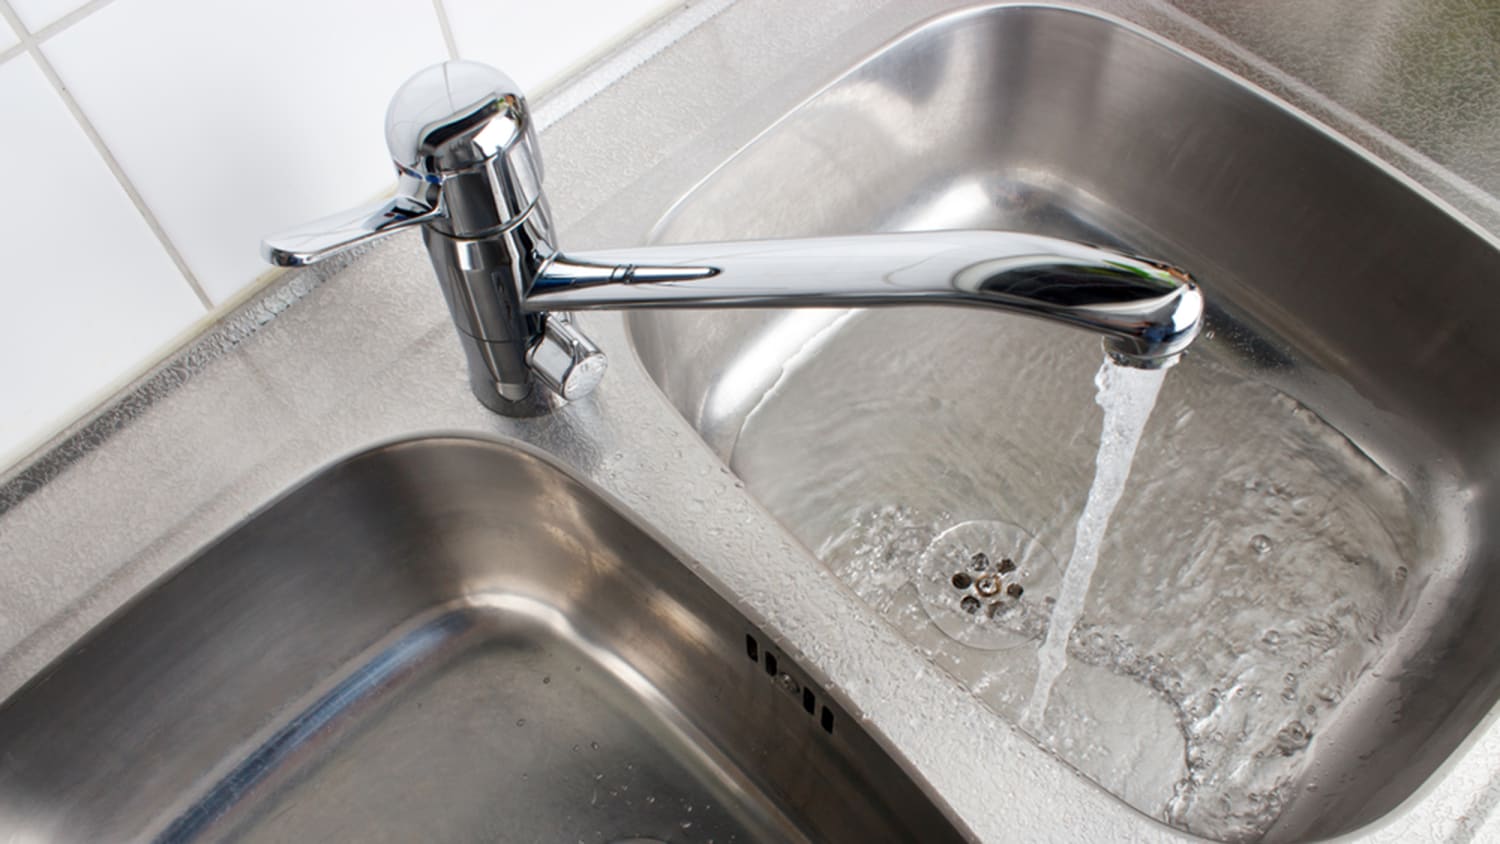
If your kitchen sink sprayer is not working properly, here are some troubleshooting tips to help you diagnose and fix the problem. Featured keywords: troubleshoot, kitchen sink sprayer, not working properly 1. Check the water supply line to make sure it is fully open. If it's partially closed, it can cause the sprayer to have low water pressure or not work at all. Main keywords: water supply line, open, partially closed, low water pressure, not work 2. If the sprayer is not spraying at all, check the sprayer head for any clogs and clean it if necessary. Main keywords: not spraying, sprayer head, clogs, clean 3. If the sprayer is leaking, check for loose connections and tighten them if needed. If the connections are tight, the sprayer head may need to be replaced. Main keywords: leaking, loose connections, tighten, sprayer head, replacedHow to Troubleshoot a Kitchen Sink Sprayer


How to Troubleshoot a Kitchen Sink Sprayer


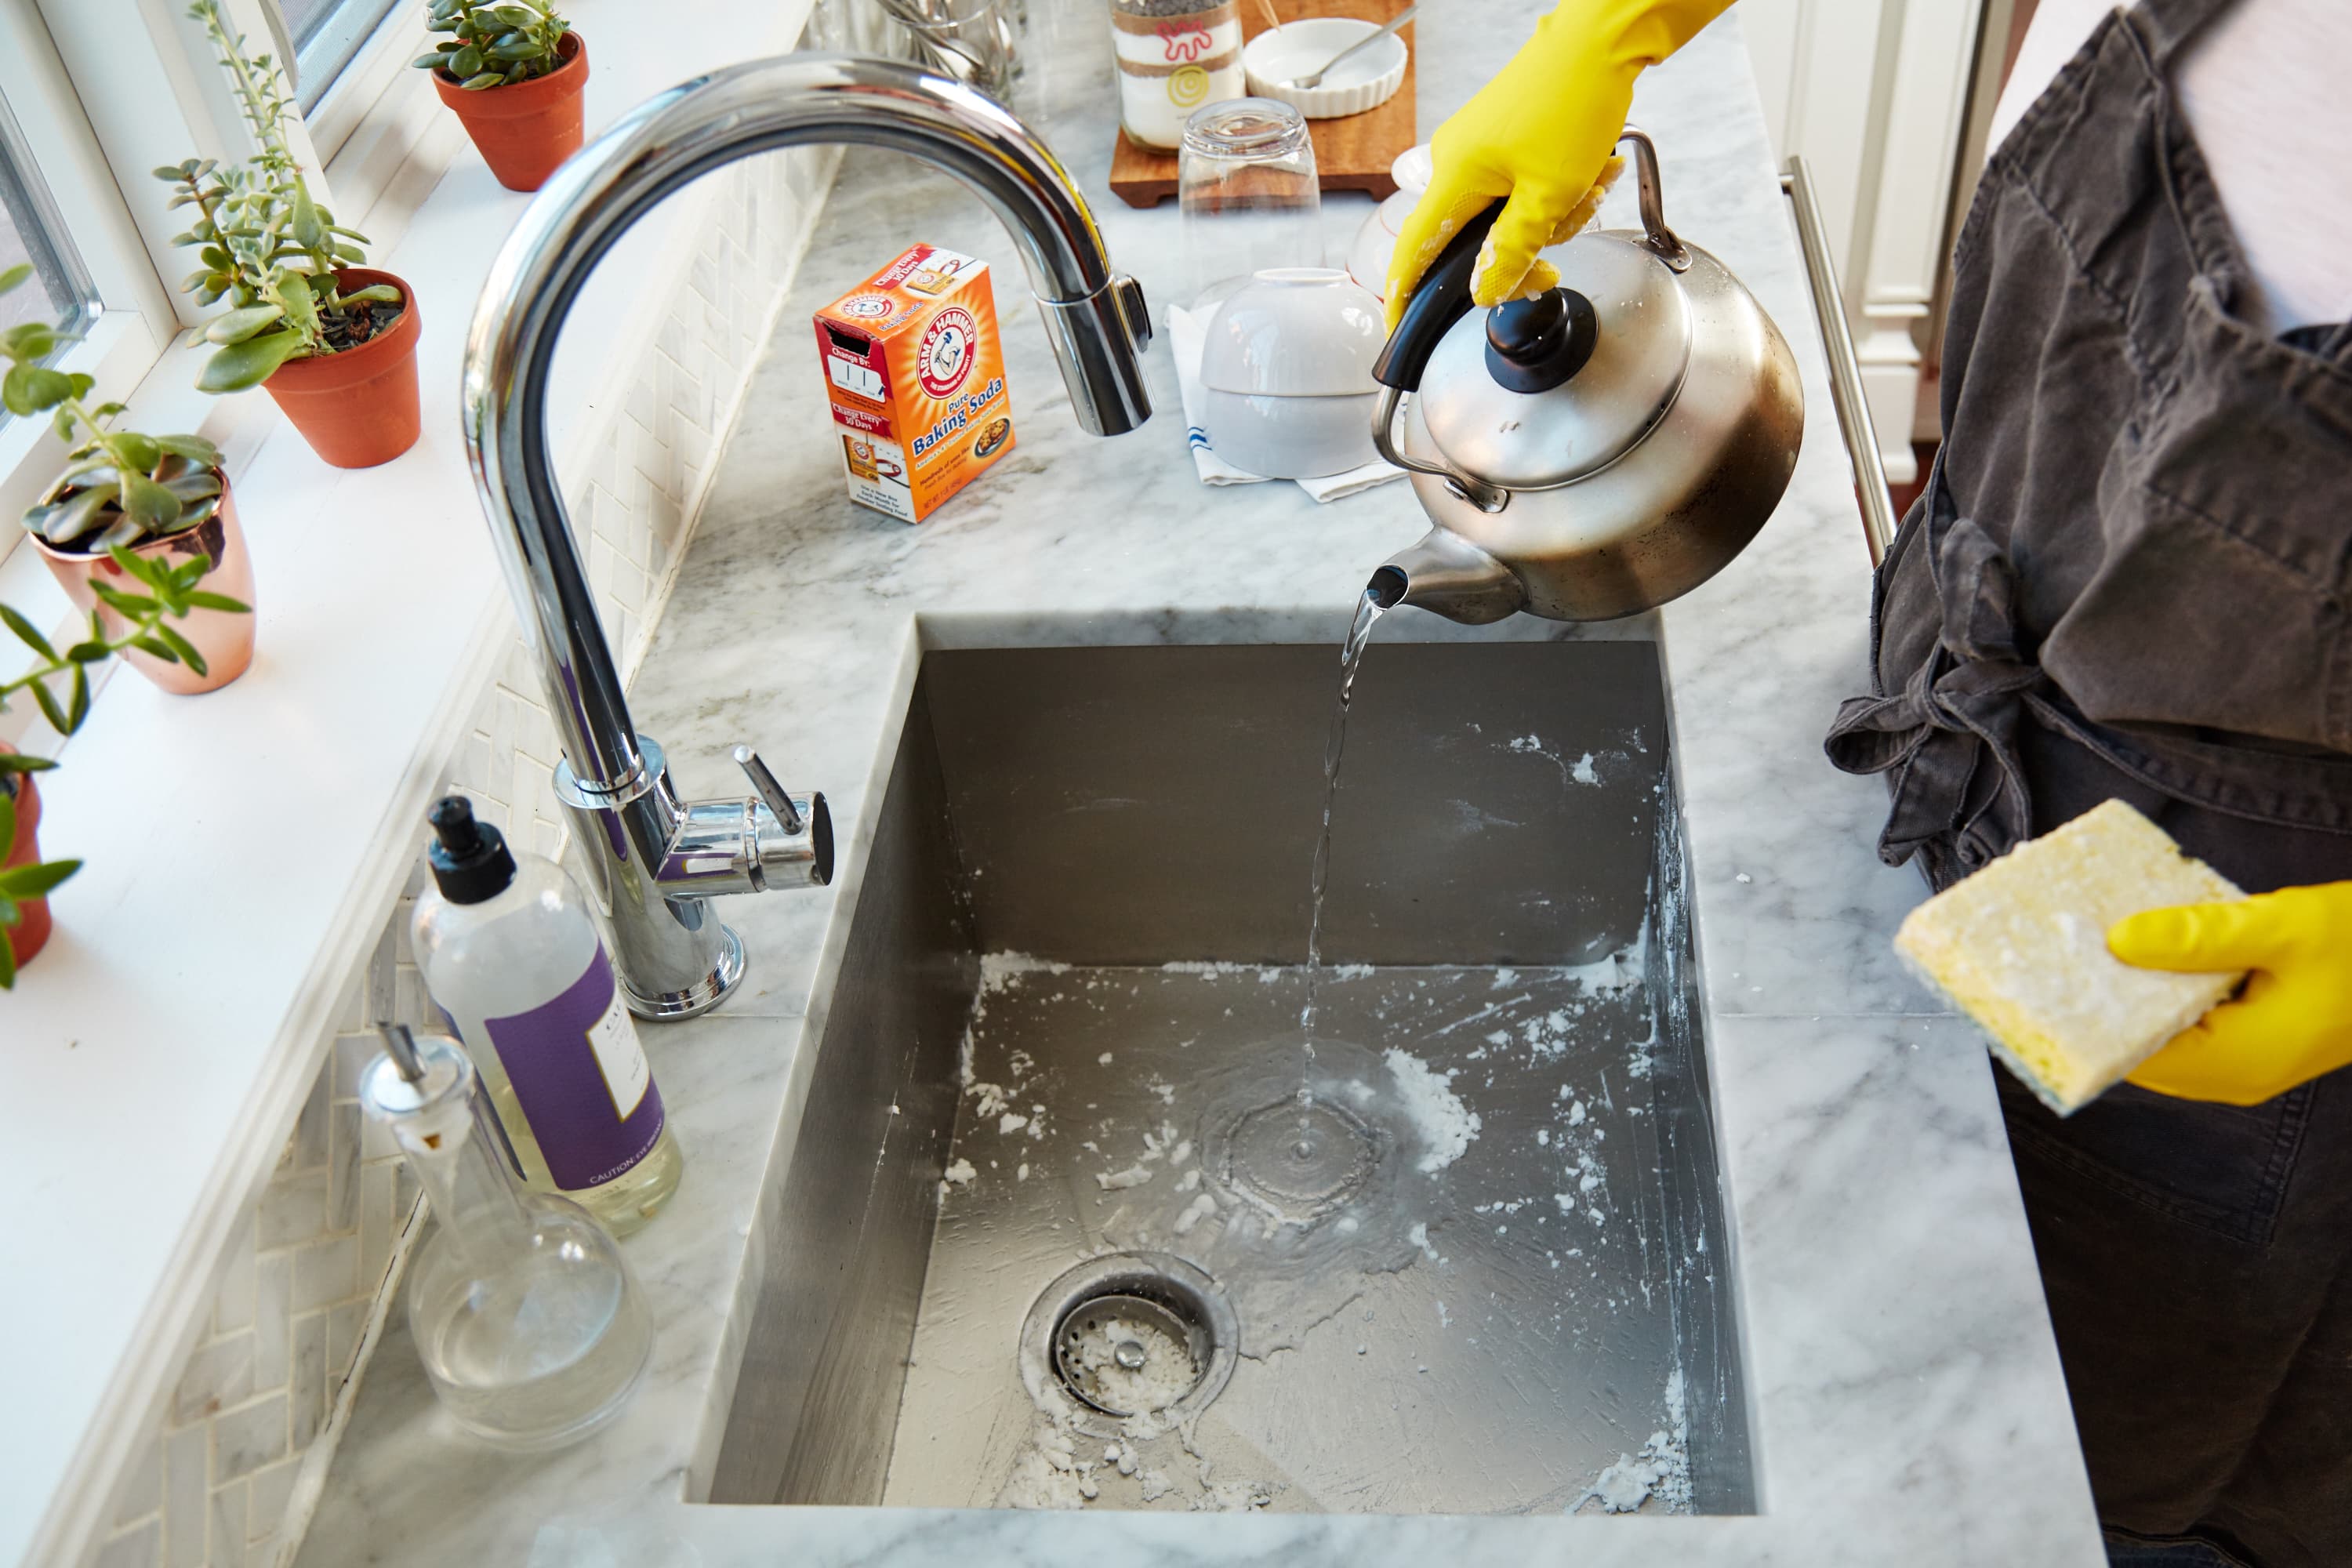
Over time, mineral deposits and debris can build up in the sprayer nozzle, causing it to become clogged and affecting water flow. Here's how to clean the sprayer nozzle and keep it in good working condition. Featured keywords: clean, kitchen sink sprayer nozzle, mineral deposits, debris, clogged, water flow 1. Soak the sprayer nozzle in a solution of equal parts water and vinegar for about an hour. This will help to dissolve any mineral deposits. Main keywords: soak, sprayer nozzle, solution, water, vinegar, mineral deposits, dissolve 2. Next, use a toothbrush or small brush to scrub the inside of the nozzle to remove any remaining debris. Main keywords: toothbrush, small brush, scrub, inside, nozzle, remove, debris 3. Rinse the nozzle with clean water and reattach it to the sprayer hose. Run water through the sprayer to make sure it is working properly. Main keywords: rinse, nozzle, clean water, reattach, sprayer hose, run water, working properlyHow to Clean a Kitchen Sink Sprayer Nozzle


How to Clean a Kitchen Sink Sprayer Nozzle


If your kitchen sink sprayer is experiencing low water pressure, you may need to adjust the water pressure. Here's how to do it. Featured keywords: adjust, water pressure, kitchen sink sprayer, low water pressure 1. Start by turning off the water supply to the sink. This is usually located under the sink and can be turned off by twisting the valve clockwise. Main keywords: turn off, water supply, sink, valve, clockwise 2. Remove the sprayer head from the hose and check for any debris or blockages. Clean the head if necessary. Main keywords: remove, sprayer head, hose, debris, blockages, clean 3. If the sprayer head is clean and there are no clogs, the water pressure may need to be adjusted at the water supply valve. Use a flathead screwdriver to turn the valve counterclockwise to increase the water pressure. Main keywords: clean, clogs, water pressure, adjusted, water supply valve, flathead screwdriver, turn, counterclockwise, increaseHow to Adjust the Water Pressure on a Kitchen Sink Sprayer


How to Adjust the Water Pressure on a Kitchen Sink Sprayer


If you don't currently have a kitchen sink sprayer, you may want to install one. Here's how to do it. Featured keywords: install, kitchen sink sprayer 1. Start by turning off the water supply to the sink. This is usually located under the sink and can be turned off by twisting the valve clockwise. Main keywords: turn off, water supply, sink, valve, clockwise 2. Use a basin wrench to unscrew the old faucet and remove it. Then, attach the new faucet to the sink and tighten the connections with the basin wrench. Main keywords: basin wrench, unscrew, old faucet, remove, attach, new faucet, tighten, connections 3. Next, attach the sprayer hose to the faucet and tighten the connection with pliers. Then, attach the sprayer head to the other end of the hose. Main keywords: attach, sprayer hose, faucet, tighten, connection, pliers, sprayer head 4. Turn the water supply back on and test the sprayer to make sure it is functioning properly. Main keywords: turn on, water supply, test, functioning properlyHow to Install a Kitchen Sink Sprayer

How to Install a Kitchen Sink Sprayer


/25089301983_c5145fe85d_o-58418ef15f9b5851e5f392b5.jpg)

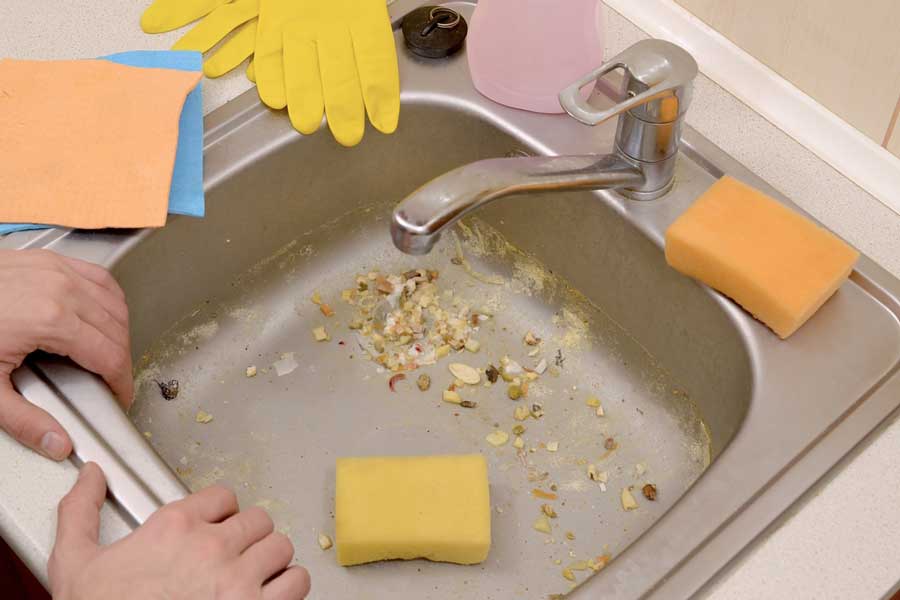
If your kitchen sink sprayer is clogged, it won't be able to spray water properly. Here's how to unclog it. Featured keywords: unclog, kitchen sink sprayer, clogged, spray water 1. Start by soaking the sprayer head in a solution of equal parts water and vinegar for about an hour to dissolve any mineral deposits. Main keywords: soak, sprayer head, solution, water, vinegar, dissolve, mineral deposits 2. Next, use a toothbrush or small brush to scrub the inside of the nozzle to remove any remaining debris. Main keywords: toothbrush, small brush, scrub, inside, nozzle, remove, debris 3. If the sprayer is still clogged, you may need to remove the sprayer head and soak it in a commercial declogger solution for a few hours. Main keywords: remove, sprayer head, soak, commercial declogger solution 4. Rinse the head with clean water and reattach it to the hose. Test the sprayer to make sure it is working properly. Main keywords: rinse, head, clean water, reattach, hose, test, working properlyHow to Unclog a Kitchen Sink Sprayer


How to Unclog a Kitchen Sink Sprayer


:max_bytes(150000):strip_icc()/how-to-unclog-a-kitchen-sink-2718799_sketch_FINAL-8c5caa805a69493ab22dfb537c72a1b7.png)

If your kitchen sink sprayer is not spraying at all, it can be a frustrating problem to deal with. Here's what you can do to fix it. Featured keywords: fix, kitchen sink sprayer, won't spray, frustrating 1. Check the water supply line to make sure it is fully open. If it's partially closed, it can cause the sprayer to not spray at all. Main keywords: water supply line, open, partially closed, not spray 2. Next, check the sprayer head for any clogs and clean it if necessary. Main keywords: sprayer head, clogs, clean 3. If the sprayer is still not spraying, you may need to replace the sprayer head. You can find replacement heads at most home improvement stores. Main keywords: replace, sprayer head, not spraying, home improvement stores 4. If the sprayer head is not the issue, the problem may lie with the diverter valve. This valve controls the flow of water to the sprayer and can become clogged or worn over time. You will need to replace the diverter valve to fix this problem. Main keywords: diverter valve, flow of water, clogged, worn, replaceHow to Fix a Kitchen Sink Sprayer That Won't Spray
How to Fix a Kitchen Sink Sprayer That Won't Spray

The Importance of Choosing the Right Kitchen Sink for Your Home
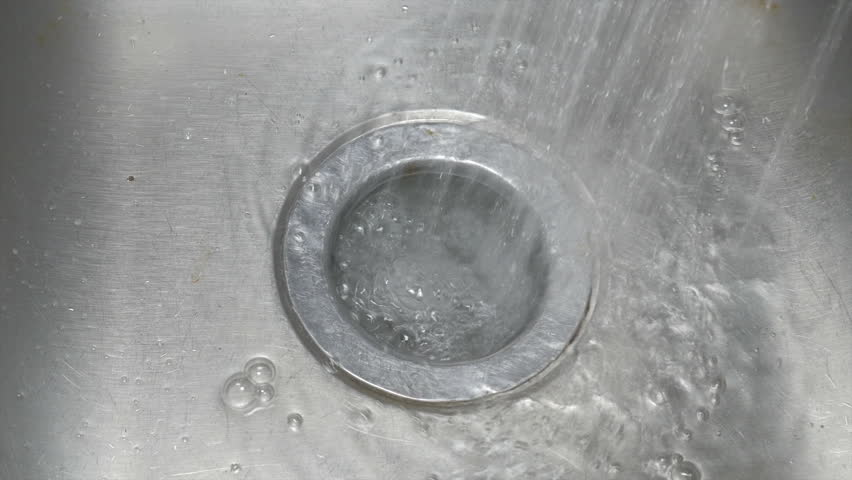
The Struggle of a Spraying Kitchen Sink
 When it comes to designing a functional and efficient kitchen, there are many factors to consider. One of the most important elements is the
kitchen sink
. It is the centerpiece of the kitchen, used for everything from washing dishes to preparing food. However, if your kitchen sink is constantly
spraying water
all over the place, it can quickly become a source of frustration.
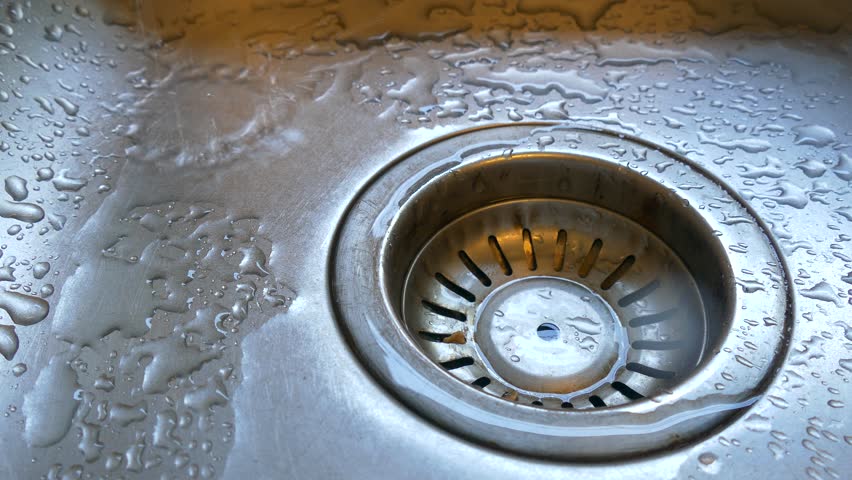
A
spraying kitchen sink
is not only annoying, but it can also cause damage to your kitchen and surrounding areas. The constant splashing of water can lead to water damage on your countertops, cabinets, and floors. It can also make doing dishes a messy and unpleasant experience. So, what causes a
kitchen sink to spray water
and how can you prevent it?
When it comes to designing a functional and efficient kitchen, there are many factors to consider. One of the most important elements is the
kitchen sink
. It is the centerpiece of the kitchen, used for everything from washing dishes to preparing food. However, if your kitchen sink is constantly
spraying water
all over the place, it can quickly become a source of frustration.
A
spraying kitchen sink
is not only annoying, but it can also cause damage to your kitchen and surrounding areas. The constant splashing of water can lead to water damage on your countertops, cabinets, and floors. It can also make doing dishes a messy and unpleasant experience. So, what causes a
kitchen sink to spray water
and how can you prevent it?
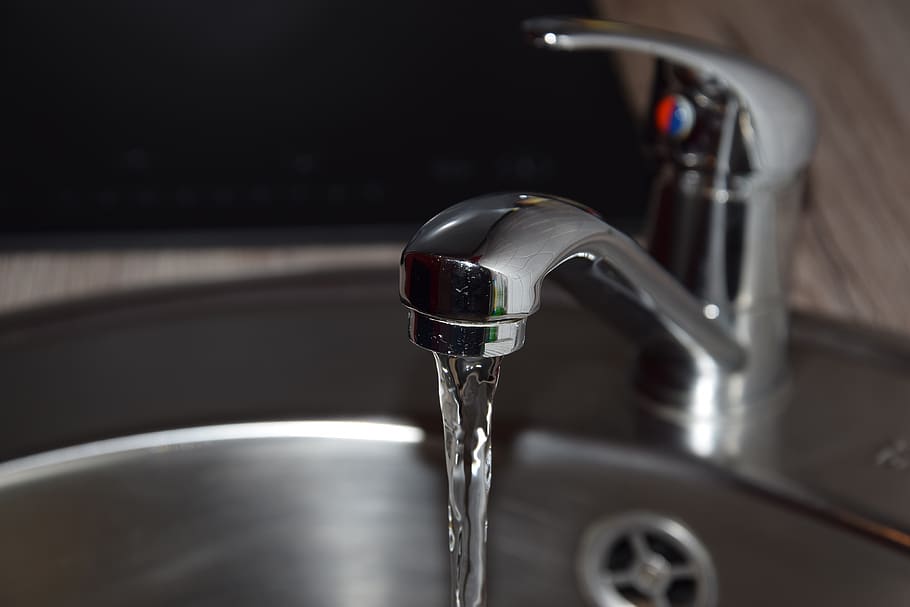
The Culprit: Poorly Designed Faucet
 One of the main reasons for a
spraying kitchen sink
is a poorly designed faucet. Many people opt for a low-cost or aesthetically pleasing faucet without considering its functionality. However, a faucet with a low arc or narrow spout can cause water to
spray
out in all directions, making it difficult to control the flow and direction of the water.
Another common issue is a malfunctioning faucet aerator. This small device at the end of the faucet helps to control the water flow and prevent it from
spraying
all over the place. Over time, aerators can become clogged with mineral deposits or debris, causing the water to
spray
in unpredictable directions.
One of the main reasons for a
spraying kitchen sink
is a poorly designed faucet. Many people opt for a low-cost or aesthetically pleasing faucet without considering its functionality. However, a faucet with a low arc or narrow spout can cause water to
spray
out in all directions, making it difficult to control the flow and direction of the water.
Another common issue is a malfunctioning faucet aerator. This small device at the end of the faucet helps to control the water flow and prevent it from
spraying
all over the place. Over time, aerators can become clogged with mineral deposits or debris, causing the water to
spray
in unpredictable directions.
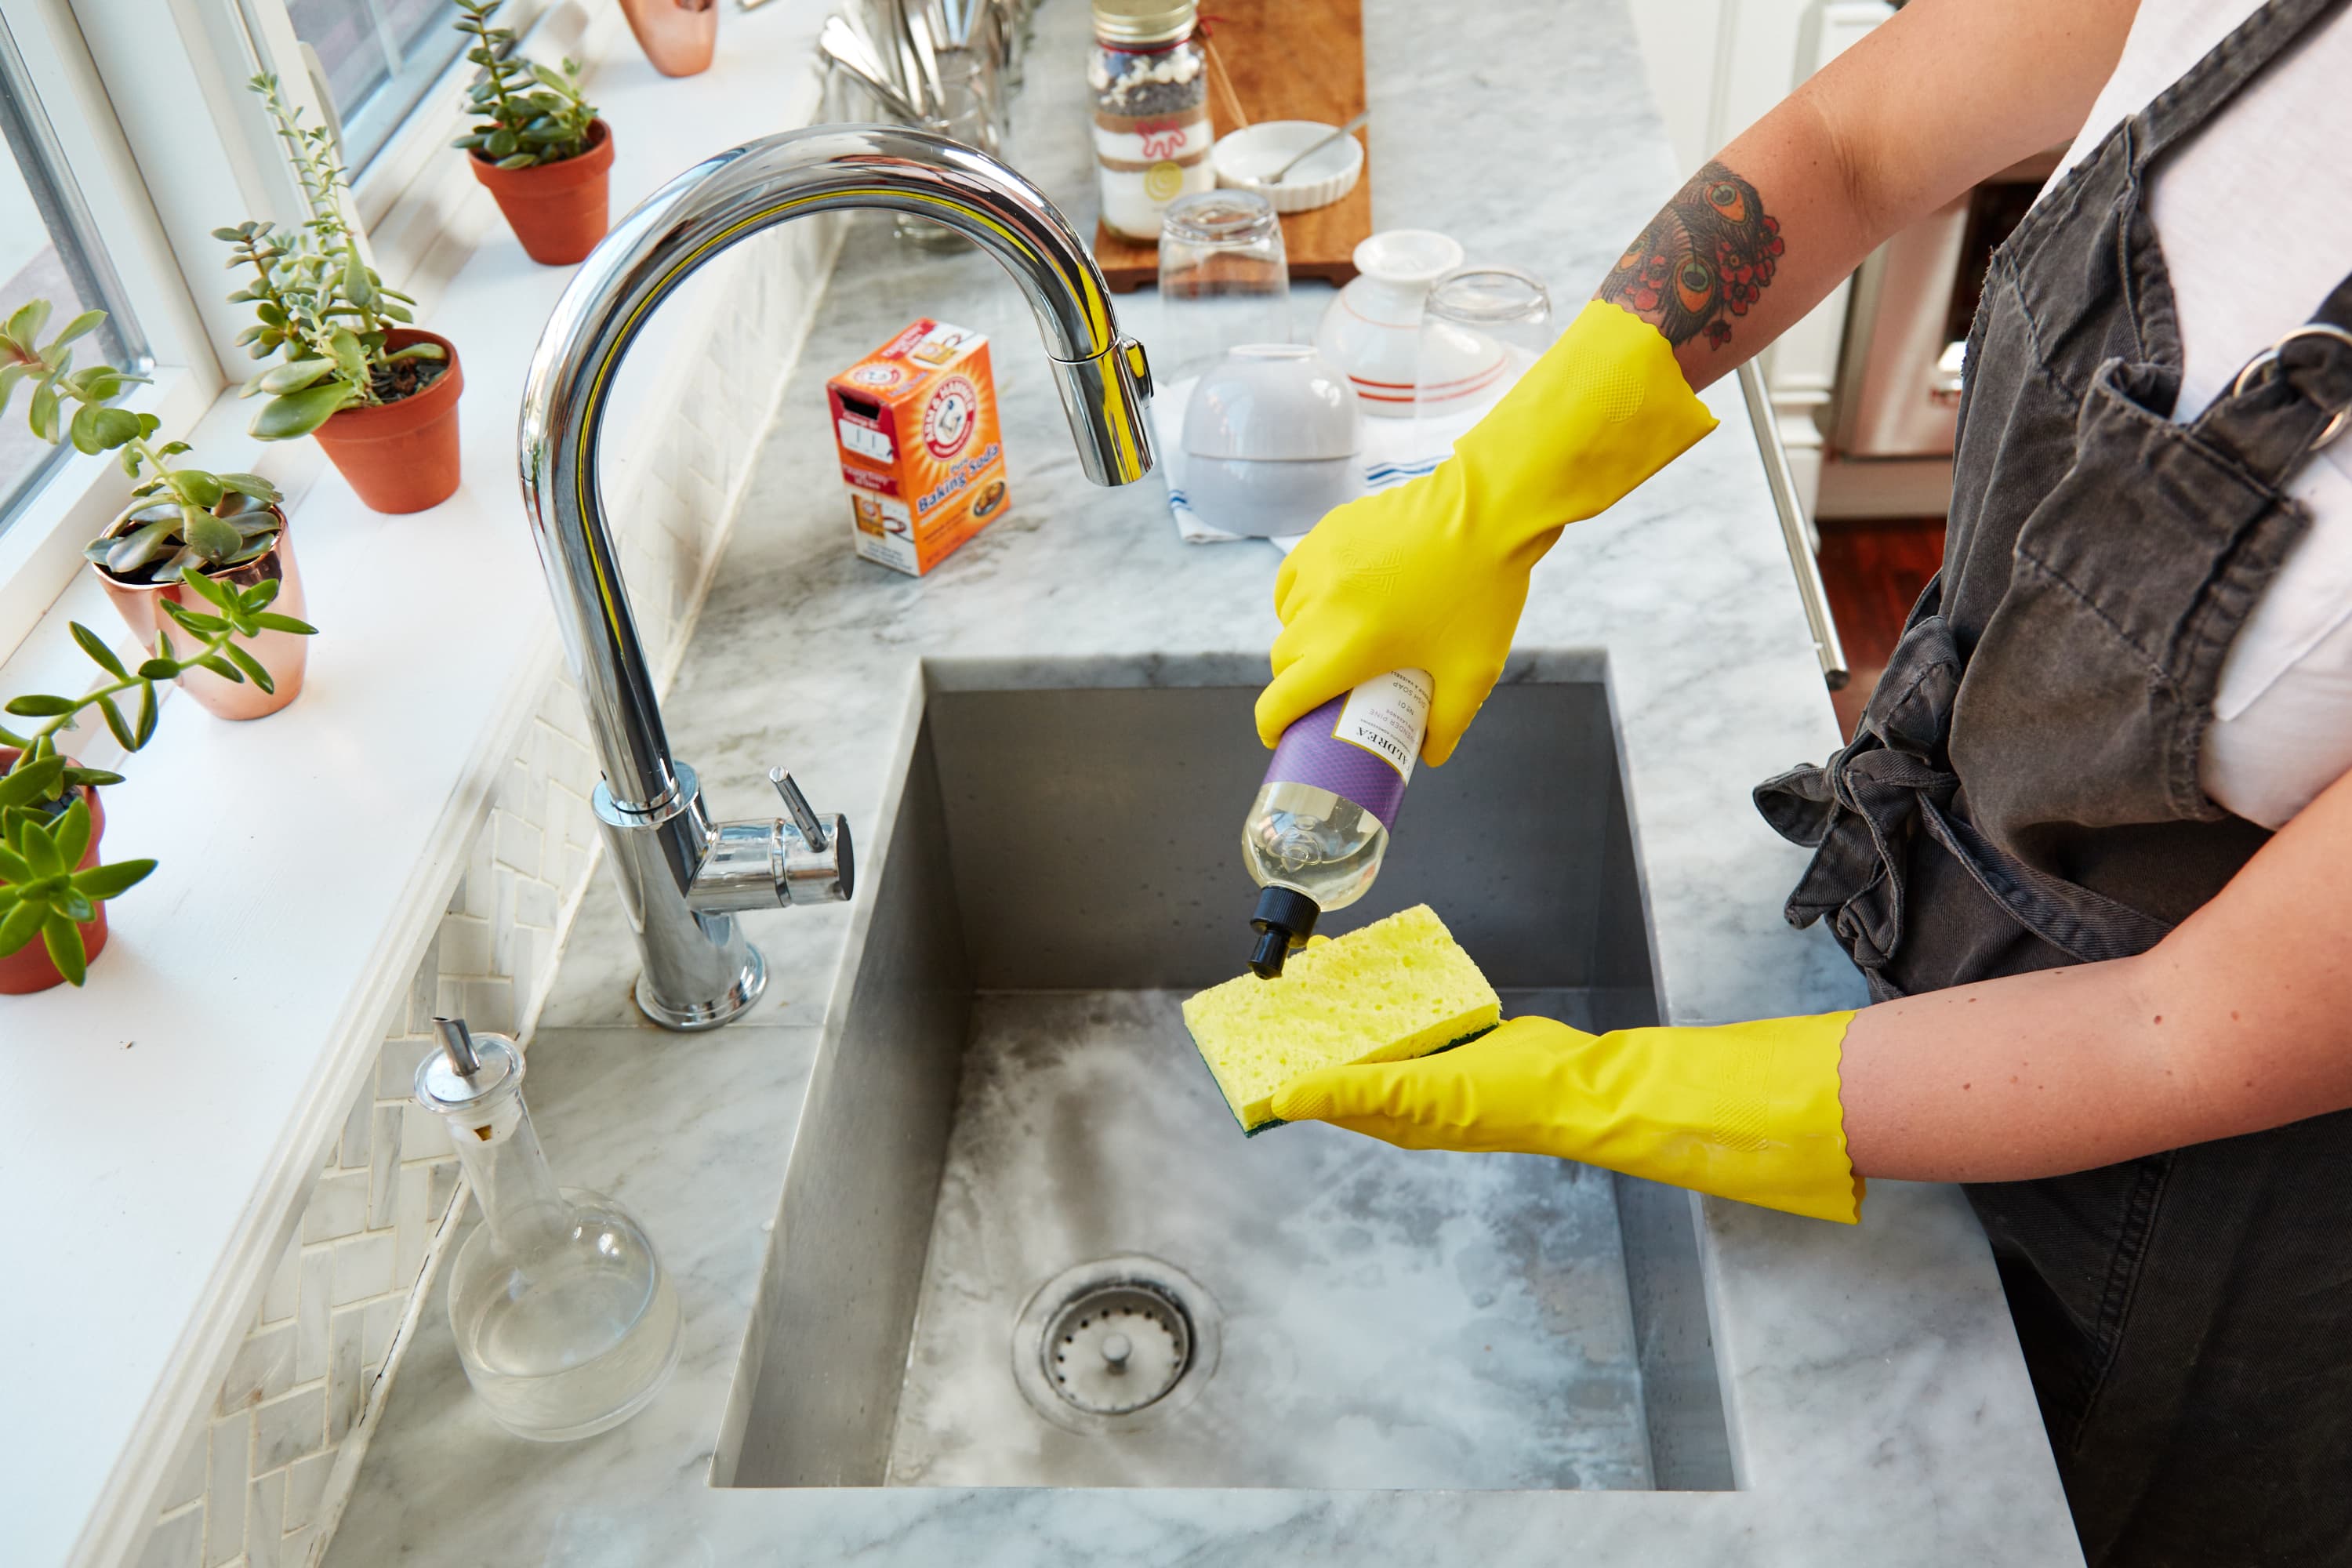
Preventing a Spraying Kitchen Sink
 To prevent a
spraying kitchen sink
, it is important to choose a faucet with a high arc and wide spout. This will allow for better control of the water flow and minimize splashing. It is also important to regularly clean and maintain your faucet aerator to prevent any clogs.
If you already have a
spraying kitchen sink
, there are some quick fixes you can try before investing in a new faucet. You can try adjusting the water pressure, cleaning the aerator, or replacing it with a high-flow aerator. If these solutions do not work, it may be time to consider upgrading to a more functional faucet.
In conclusion, choosing the right kitchen sink and faucet is crucial for a well-designed and functional kitchen. A
spraying kitchen sink
can be a major inconvenience and cause damage to your home. By investing in a high-quality faucet and properly maintaining it, you can prevent this issue and enjoy a smooth and efficient kitchen experience.
To prevent a
spraying kitchen sink
, it is important to choose a faucet with a high arc and wide spout. This will allow for better control of the water flow and minimize splashing. It is also important to regularly clean and maintain your faucet aerator to prevent any clogs.
If you already have a
spraying kitchen sink
, there are some quick fixes you can try before investing in a new faucet. You can try adjusting the water pressure, cleaning the aerator, or replacing it with a high-flow aerator. If these solutions do not work, it may be time to consider upgrading to a more functional faucet.
In conclusion, choosing the right kitchen sink and faucet is crucial for a well-designed and functional kitchen. A
spraying kitchen sink
can be a major inconvenience and cause damage to your home. By investing in a high-quality faucet and properly maintaining it, you can prevent this issue and enjoy a smooth and efficient kitchen experience.