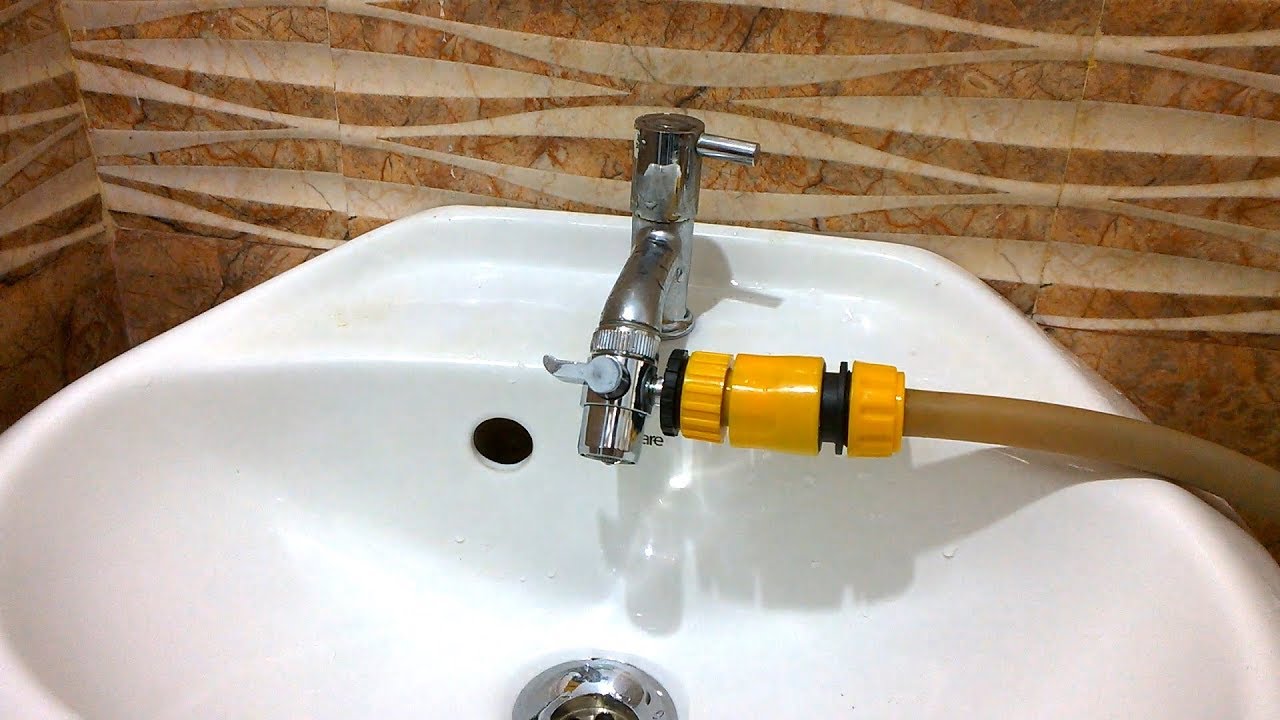
If you're tired of constantly reaching for a separate sprayer every time you need to rinse off dishes or fill up a pot, installing a sink sprayer on your kitchen faucet is a game changer. Not only does it make cleanup easier, but it also adds a modern touch to your kitchen. But how exactly do you connect a sink sprayer to a kitchen faucet? Keep reading to find out! The first step is to make sure you have all the necessary tools and materials. You'll need a sink sprayer kit, which typically includes a sprayer head, hose, and mounting hardware. You'll also need a wrench, pliers, and Teflon tape. Once you have everything, follow these simple steps to connect your sink sprayer. Step 1: Start by turning off the water supply to your kitchen faucet. This can usually be done by turning off the water valves underneath the sink. Step 2: Remove the old faucet head by unscrewing it counterclockwise. Use pliers if necessary to loosen it. Step 3: Wrap the threads of the faucet spout with Teflon tape. This will create a tight seal and prevent any leaks. Step 4: Attach the hose and sprayer head to the faucet spout. Make sure they are securely in place and use pliers to tighten if needed. Step 5: Install the mounting hardware for the sprayer head. This usually involves attaching a mounting plate to the sink and then screwing the sprayer head onto it. Step 6: Turn the water supply back on and test out your new sink sprayer. Make sure there are no leaks and that the sprayer is functioning properly.1. How to Connect a Sink Sprayer to a Kitchen Faucet


1. How to Connect a Sink Sprayer to a Kitchen Faucet


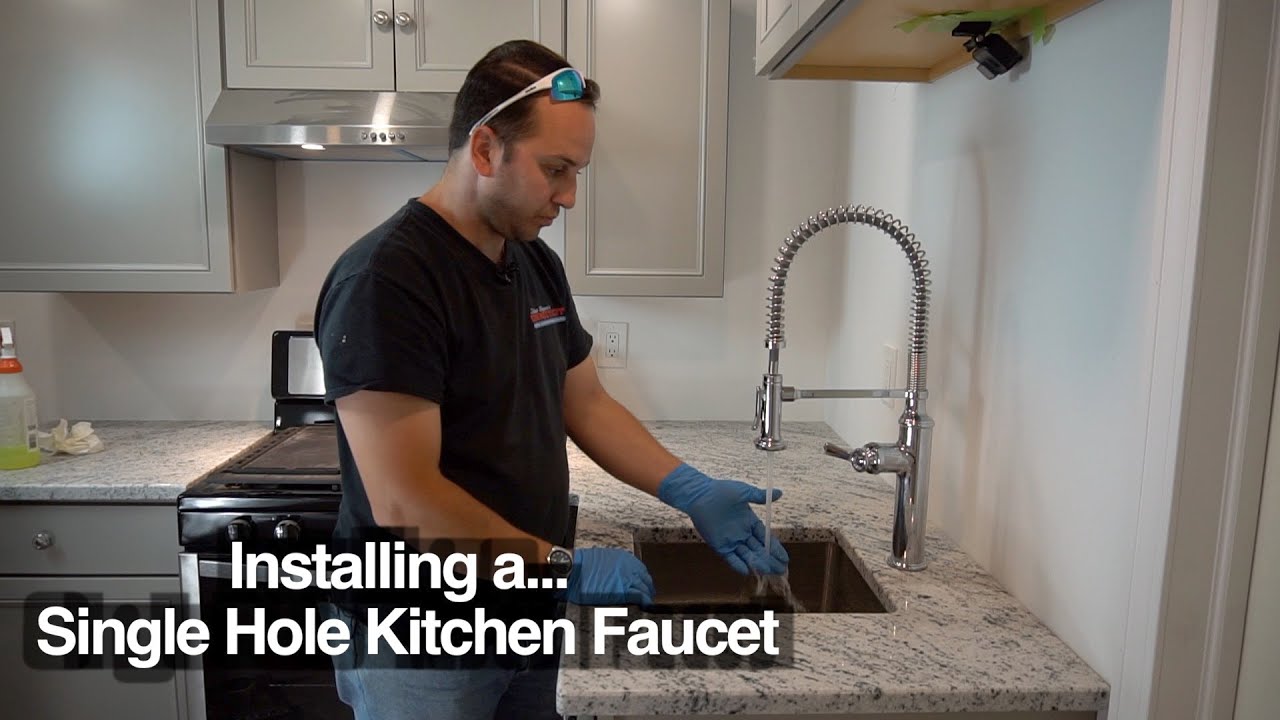
Now that you know how to connect a sink sprayer to a kitchen faucet, let's dive into the actual installation process. It may seem daunting at first, but with the right tools and steps, you'll have your new sink sprayer up and running in no time. Step 1: Gather all necessary tools and materials, including a sink sprayer kit, wrench, pliers, and Teflon tape. Step 2: Turn off the water supply to your kitchen faucet. This can typically be done by turning off the water valves underneath the sink. Step 3: Remove the old faucet head by unscrewing it counterclockwise. Use pliers if needed to loosen it. Step 4: Wrap the threads of the faucet spout with Teflon tape to create a tight seal. Step 5: Attach the hose and sprayer head to the faucet spout, making sure they are securely in place. Use pliers to tighten if necessary. Step 6: Install the mounting hardware for the sprayer head, following the instructions provided in your sink sprayer kit. Step 7: Turn the water supply back on and test out your new sink sprayer. Check for any leaks and make sure the sprayer is functioning properly. With these steps, you can easily install a sink sprayer on your kitchen faucet and enjoy the convenience it brings to your daily kitchen tasks.2. Installing a Sink Sprayer on a Kitchen Faucet


2. Installing a Sink Sprayer on a Kitchen Faucet


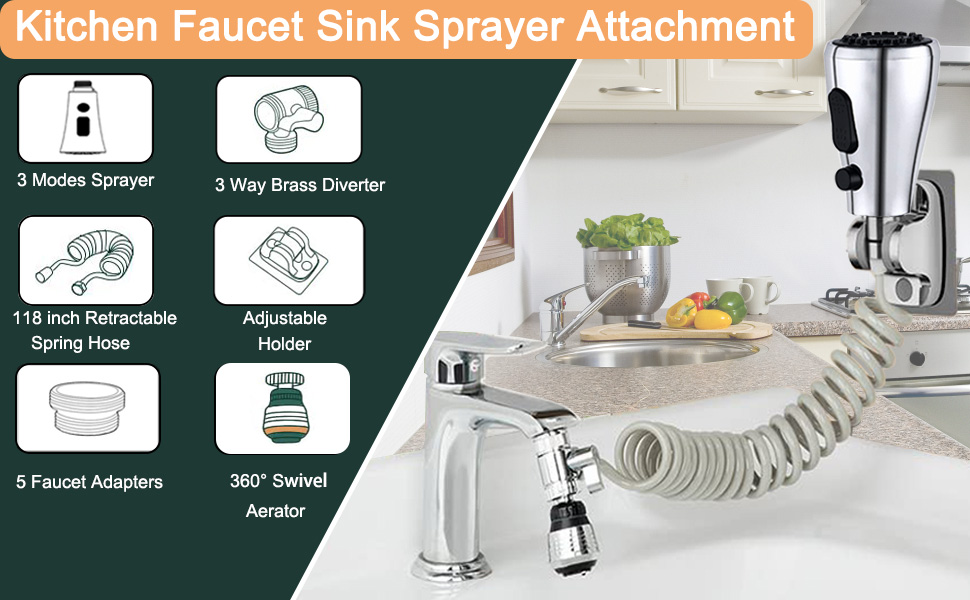
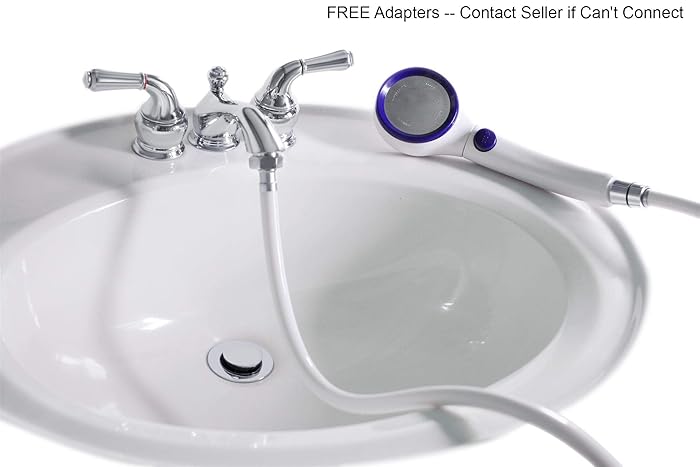
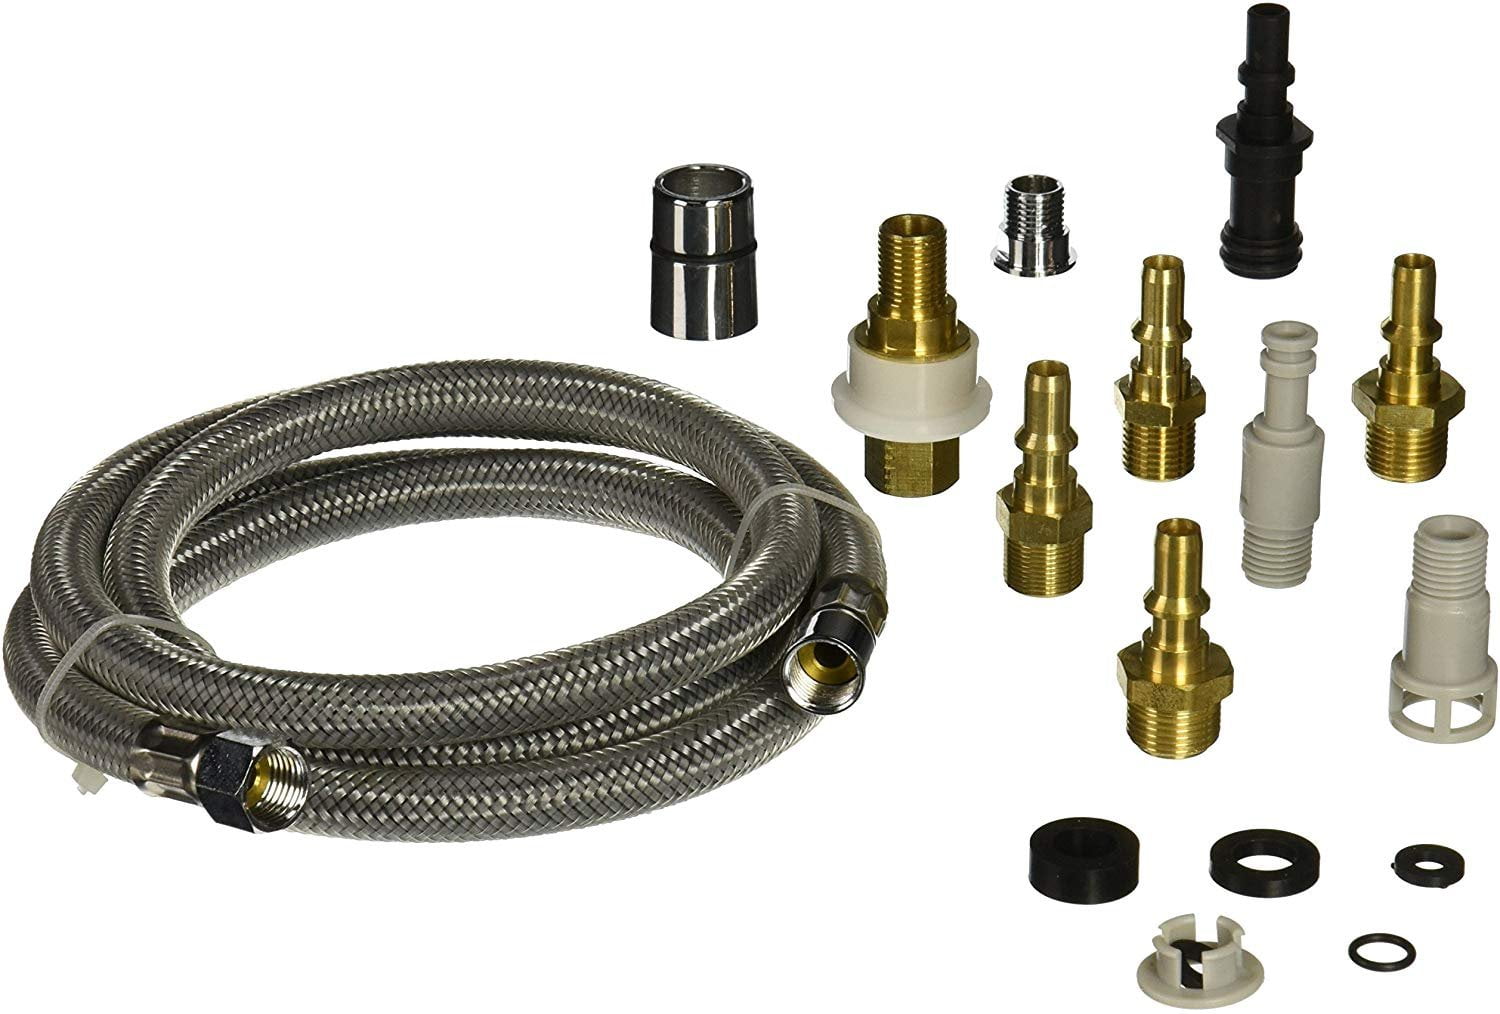
If you already have a kitchen faucet with a sprayer, you may be wondering if it's possible to upgrade to a better sprayer head or attach an additional sprayer. The good news is, it is possible! With a kitchen sink sprayer attachment, you can easily add a sprayer to your existing faucet without having to replace the entire unit. There are various types of kitchen sink sprayer attachments available on the market, so you can choose one that best fits your needs and preferences. Some come with a separate handle for the sprayer, while others have a pull-down or pull-out feature integrated into the faucet itself. You can also choose between different finishes and styles to match your kitchen decor. To attach a kitchen sink sprayer, simply follow the instructions provided in the attachment kit. Typically, it involves removing the old faucet head and attaching the new sprayer head to the faucet spout. Make sure to use Teflon tape to create a tight seal and test for any leaks before using the sprayer.3. Kitchen Sink Sprayer Attachment


3. Kitchen Sink Sprayer Attachment


Installing a kitchen sink sprayer is a fairly simple process that can be done in a few easy steps. Whether you're adding a new sprayer or replacing an old one, here's how to do it: Step 1: Prepare all necessary tools and materials, including a sink sprayer kit, wrench, pliers, and Teflon tape. Step 2: Turn off the water supply to your kitchen faucet. Step 3: Remove the old sprayer head by unscrewing it counterclockwise. If there is a hose attached to the sprayer, disconnect it from the faucet spout. Step 4: Wrap the threads of the faucet spout with Teflon tape. Step 5: Attach the new sprayer head to the faucet spout, making sure it is securely in place. Use pliers to tighten if needed. Step 6: Turn the water supply back on and test the new sprayer for any leaks or malfunctions. With these steps, you can easily install a new kitchen sink sprayer and enjoy its convenience in your daily kitchen tasks.4. How to Install a Kitchen Sink Sprayer


4. How to Install a Kitchen Sink Sprayer


If you're adding a new sink sprayer to your kitchen faucet or replacing an old one, the process of connecting it to the faucet is the same. Here's how to do it: Step 1: Gather all necessary tools and materials, including a sink sprayer kit, wrench, pliers, and Teflon tape. Step 2: Turn off the water supply to your kitchen faucet. Step 3: Remove the old sprayer head by unscrewing it counterclockwise. If there is a hose attached to the sprayer, disconnect it from the faucet spout. Step 4: Wrap the threads of the faucet spout with Teflon tape. Step 5: Attach the new sprayer head to the faucet spout, making sure it is securely in place. Use pliers to tighten if needed. Step 6: Turn the water supply back on and test the new sprayer for any leaks or malfunctions. Connecting a sink sprayer to a faucet is a simple process that can be done in a matter of minutes, making your kitchen tasks much more convenient.5. Connecting a Sink Sprayer to a Faucet

5. Connecting a Sink Sprayer to a Faucet


If your kitchen sink sprayer is old, damaged, or no longer functioning properly, it may be time for a replacement. Here's how to replace a kitchen sink sprayer in a few easy steps: Step 1: Gather all necessary tools and materials, including a sink sprayer kit, wrench, pliers, and Teflon tape. Step 2: Turn off the water supply to your kitchen faucet. Step 3: Remove the old sprayer head by unscrewing it counterclockwise. If there is a hose attached to the sprayer, disconnect it from the faucet spout. Step 4: Wrap the threads of the faucet spout with Teflon tape. Step 5: Attach the new sprayer head to the faucet spout, making sure it is securely in place. Use pliers to tighten if needed. Step 6: Turn the water supply back on and test the new sprayer for any leaks or malfunctions. Replacing a kitchen sink sprayer is a quick and easy process that can improve the functionality and appearance of your kitchen faucet.6. Kitchen Sink Sprayer Replacement


6. Kitchen Sink Sprayer Replacement


If you have a kitchen faucet without a sprayer, you may be wondering if it's possible to add one. The answer is yes! Here's how to add a sprayer to a kitchen sink: Step 1: Gather all necessary tools and materials, including a sink sprayer kit, wrench, pliers, and Teflon tape. Step 2: Turn off the water supply to your kitchen faucet. Step 3: Remove the current faucet head by unscrewing it counterclockwise. If there is a hose attached to the faucet, disconnect it from the faucet spout. Step 4: Wrap the threads of the faucet spout with Teflon tape. Step 5: Attach the new sprayer head to the faucet spout, making sure it is securely in place. Use pliers to tighten if needed. Step 6: Turn the water supply back on and test the new sprayer for any leaks or malfunctions. Adding a sprayer to a kitchen sink is a simple process that can make a big difference in your daily kitchen tasks.7. How to Add a Sprayer to a Kitchen Sink


7. How to Add a Sprayer to a Kitchen Sink


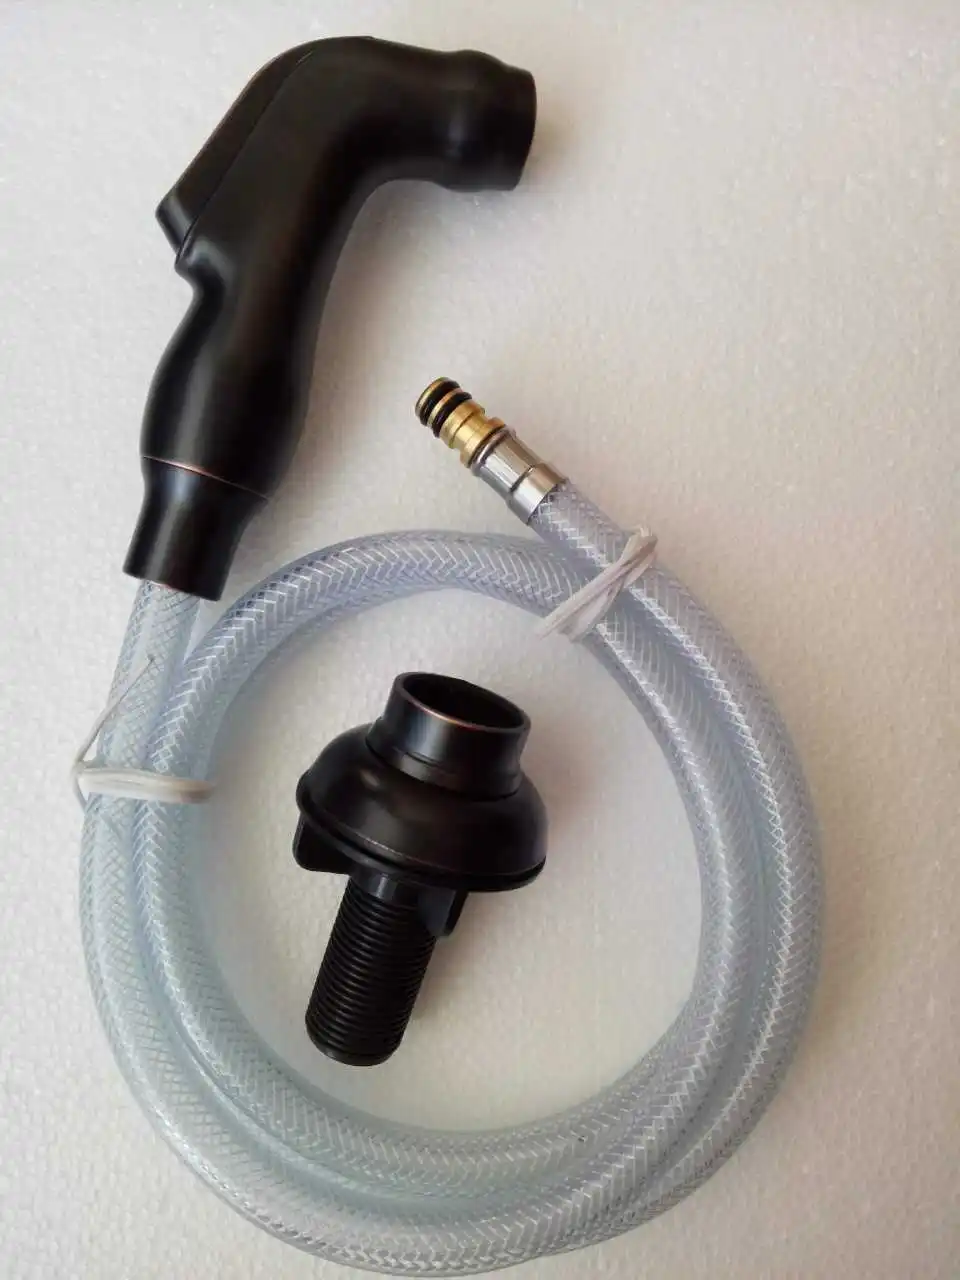
The hose of a kitchen sink sprayer can sometimes get damaged or worn out, requiring replacement. Here's how to replace a kitchen sink sprayer hose: Step 1: Turn off the water supply to your kitchen faucet. Step 2: Disconnect the hose from the faucet spout using pliers. Step 3: Remove the sprayer head from the hose by unscrewing it counterclockwise. Step 4: Attach the new hose to the faucet spout and sprayer head, making sure they are securely in place. Step 5: Turn the water supply back on and test the new hose for any leaks or malfunctions. If your kitchen sink sprayer hose is damaged, replacing it is a simple and cost-effective solution.8. Kitchen Sink Sprayer Hose Replacement

8. Kitchen Sink Sprayer Hose Replacement


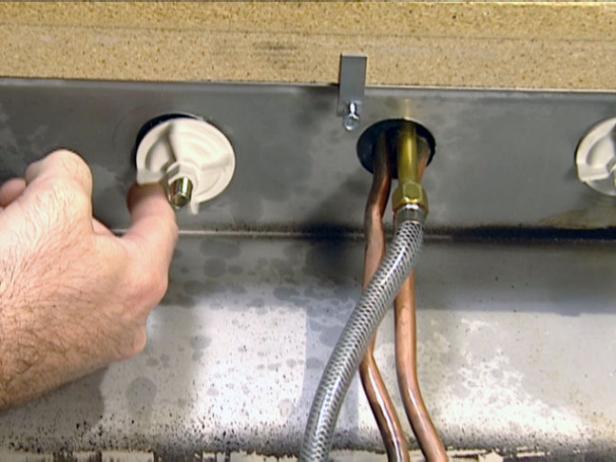
Connecting a sink sprayer hose to your kitchen faucet is an important step in the installation process. Here's how to do it: Step 1: Turn off the water supply to your kitchen faucet. Step 2: Remove the old faucet head by unscrewing it counterclockwise. Step 3: Wrap the threads of the faucet spout with Teflon tape. Step 4: Attach the hose to the faucet spout by screwing it on clockwise. Use pliers to tighten if needed. Step 5: Connect the other end of the hose to the sprayer head, making sure it is securely in place. Step 6: Turn the water supply back on and test the new sprayer for any leaks or malfunctions. Connecting a sink sprayer hose is a simple process that is essential to the functionality of your kitchen faucet.9. How to Connect a Sink Sprayer Hose

9. How to Connect a Sink Sprayer Hose


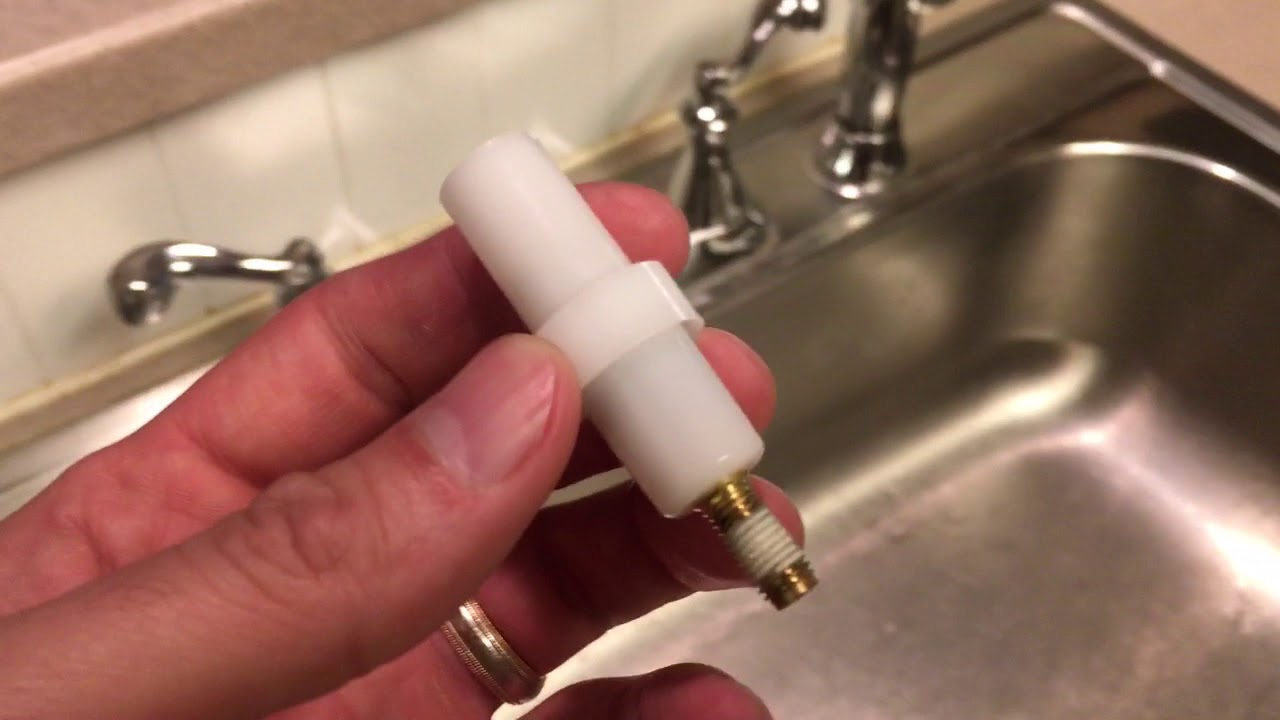
The diverter valve is an important component of a kitchen sink sprayer. It controls the flow of water between the faucet and the sprayer. If your sprayer is not functioning properly, the diverter valve may be the culprit. Here's how to replace it: Step 1: Turn off the water supply to your kitchen faucet. Step 2: Remove the old sprayer head by unscrewing it counterclockwise. Step 3: Using pliers, remove the retaining nut and washer from the diverter valve. Step 4: Replace the old diverter valve with a new one and reattach the retaining nut and washer. Step 5: Attach the sprayer head to the diverter valve and turn the water supply back on. If your kitchen sink sprayer is not functioning properly, a faulty diverter valve may be the cause. Replacing it is a simple and effective solution.10. Kitchen Sink Sprayer Diverter Valve


10. Kitchen Sink Sprayer Diverter Valve


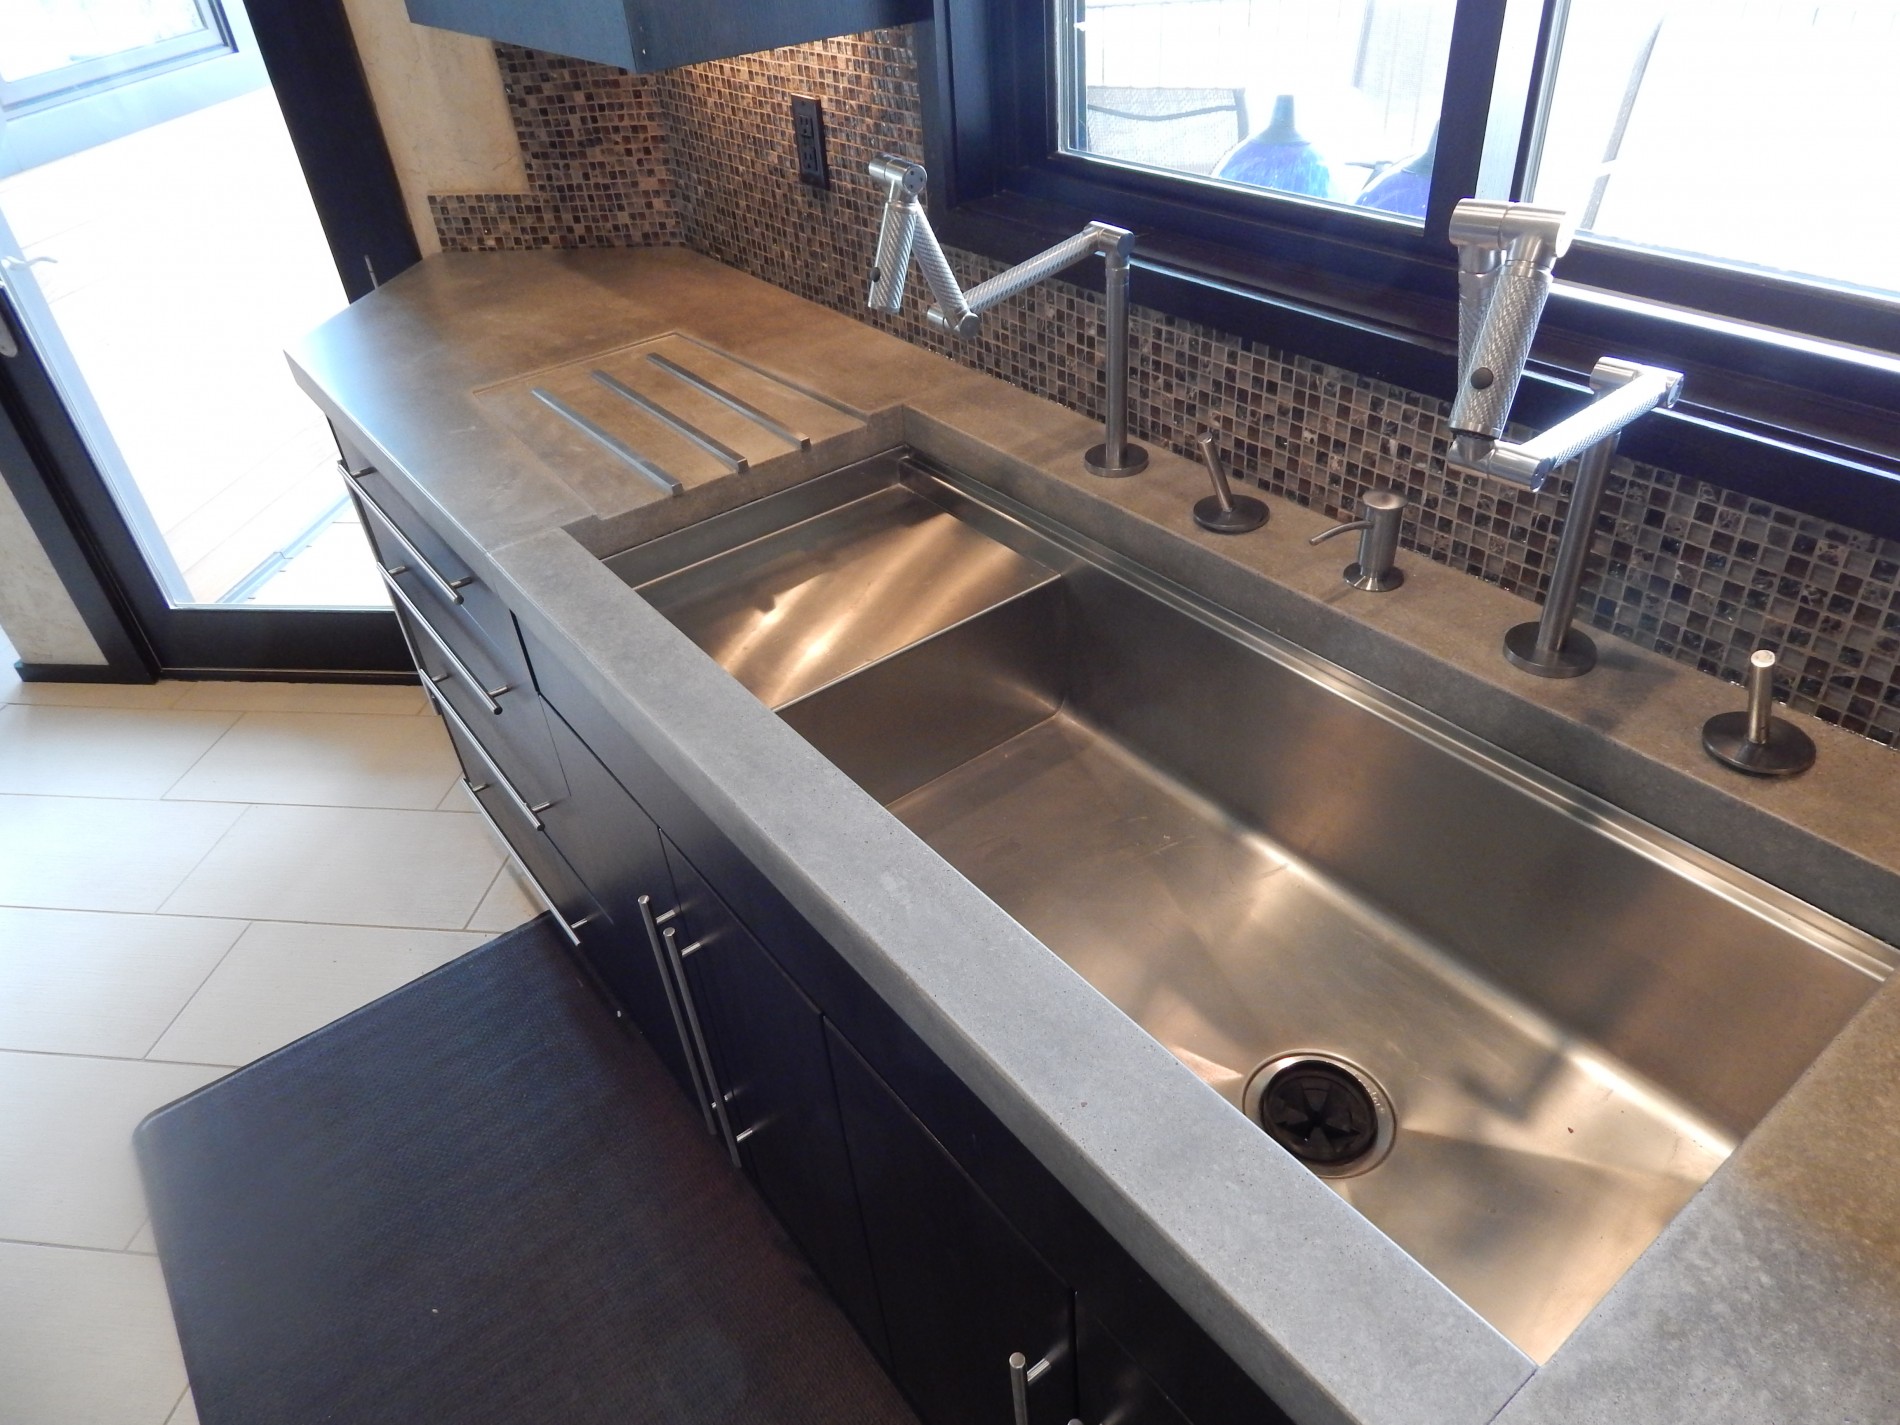
The Benefits of Having a Kitchen Sink Sorsyer Connected to Your Faucet

Streamline Your Kitchen Design
 Are you tired of cluttered countertops and tangled cords from various kitchen appliances? A kitchen sink sorsyer may be the solution you've been looking for. This innovative device connects directly to your faucet, allowing you to easily wash and dry dishes without the need for a separate drying rack. Not only does this save valuable counter space, but it also creates a more organized and streamlined kitchen design.
Efficient Water Usage
 In today's world, it's important to be mindful of our water usage. With a kitchen sink sorsyer, you can do your part in conserving water. The device uses a fraction of the water that a traditional dishwasher would, making it an eco-friendly choice for your home. Additionally, the sorsyer only uses the amount of water needed for each load, rather than filling up an entire dishwasher.
Time-Saving Convenience
 Let's face it, no one enjoys doing dishes. But with a kitchen sink sorsyer, the task becomes much less daunting. With its quick and efficient washing and drying process, you can save valuable time in your daily routine. Plus, you won't have to wait for a full load to run a cycle like you would with a traditional dishwasher, making it perfect for smaller households.
Related Keywords:
kitchen design, kitchen appliances, cluttered countertops, drying rack, efficient water usage, eco-friendly, time-saving, daily routine, smaller households.
Let's face it, no one enjoys doing dishes. But with a kitchen sink sorsyer, the task becomes much less daunting. With its quick and efficient washing and drying process, you can save valuable time in your daily routine. Plus, you won't have to wait for a full load to run a cycle like you would with a traditional dishwasher, making it perfect for smaller households.
Related Keywords:
kitchen design, kitchen appliances, cluttered countertops, drying rack, efficient water usage, eco-friendly, time-saving, daily routine, smaller households.
Easy Installation
 You may be thinking that a device like this must be complicated and expensive to install. However, that is not the case with a kitchen sink sorsyer. This compact and lightweight device can easily be attached to your faucet without the need for any special tools or expertise. It's a simple and hassle-free addition to your kitchen.
Cost-Effective Solution
 Not only is the kitchen sink sorsyer affordable to install, but it also saves you money in the long run. With its efficient water usage and quick washing and drying process, you'll see a decrease in your water and energy bills. Plus, the device itself is durable and long-lasting, reducing the need for costly replacements.
Related Keywords:
easy installation, compact, lightweight, cost-effective, efficient water usage, quick washing and drying process, decrease in bills, durable, long-lasting.
Not only is the kitchen sink sorsyer affordable to install, but it also saves you money in the long run. With its efficient water usage and quick washing and drying process, you'll see a decrease in your water and energy bills. Plus, the device itself is durable and long-lasting, reducing the need for costly replacements.
Related Keywords:
easy installation, compact, lightweight, cost-effective, efficient water usage, quick washing and drying process, decrease in bills, durable, long-lasting.
Final Thoughts
 In today's fast-paced world, convenience and efficiency are key factors in designing a functional and modern kitchen. With a kitchen sink sorsyer connected to your faucet, you can achieve just that. Not only does it save space and time, but it also saves money and promotes eco-friendly habits. Consider adding this innovative device to your kitchen design and see the benefits for yourself.
Featured Keyword:
Kitchen sink sorsyer.
In today's fast-paced world, convenience and efficiency are key factors in designing a functional and modern kitchen. With a kitchen sink sorsyer connected to your faucet, you can achieve just that. Not only does it save space and time, but it also saves money and promotes eco-friendly habits. Consider adding this innovative device to your kitchen design and see the benefits for yourself.
Featured Keyword:
Kitchen sink sorsyer.