Replacing Your Soap Dispenser Pump: A Step-by-Step Guide
When it comes to your kitchen sink soap dispenser, one of the most common issues you may encounter is a broken or malfunctioning pump. This can be frustrating, as it can disrupt your daily routine and leave your soap dispenser unusable. But fear not, because replacing your soap dispenser pump is a quick and easy fix. Follow these simple steps to get your soap dispenser back up and running in no time.
Step 1: Gather Your Supplies
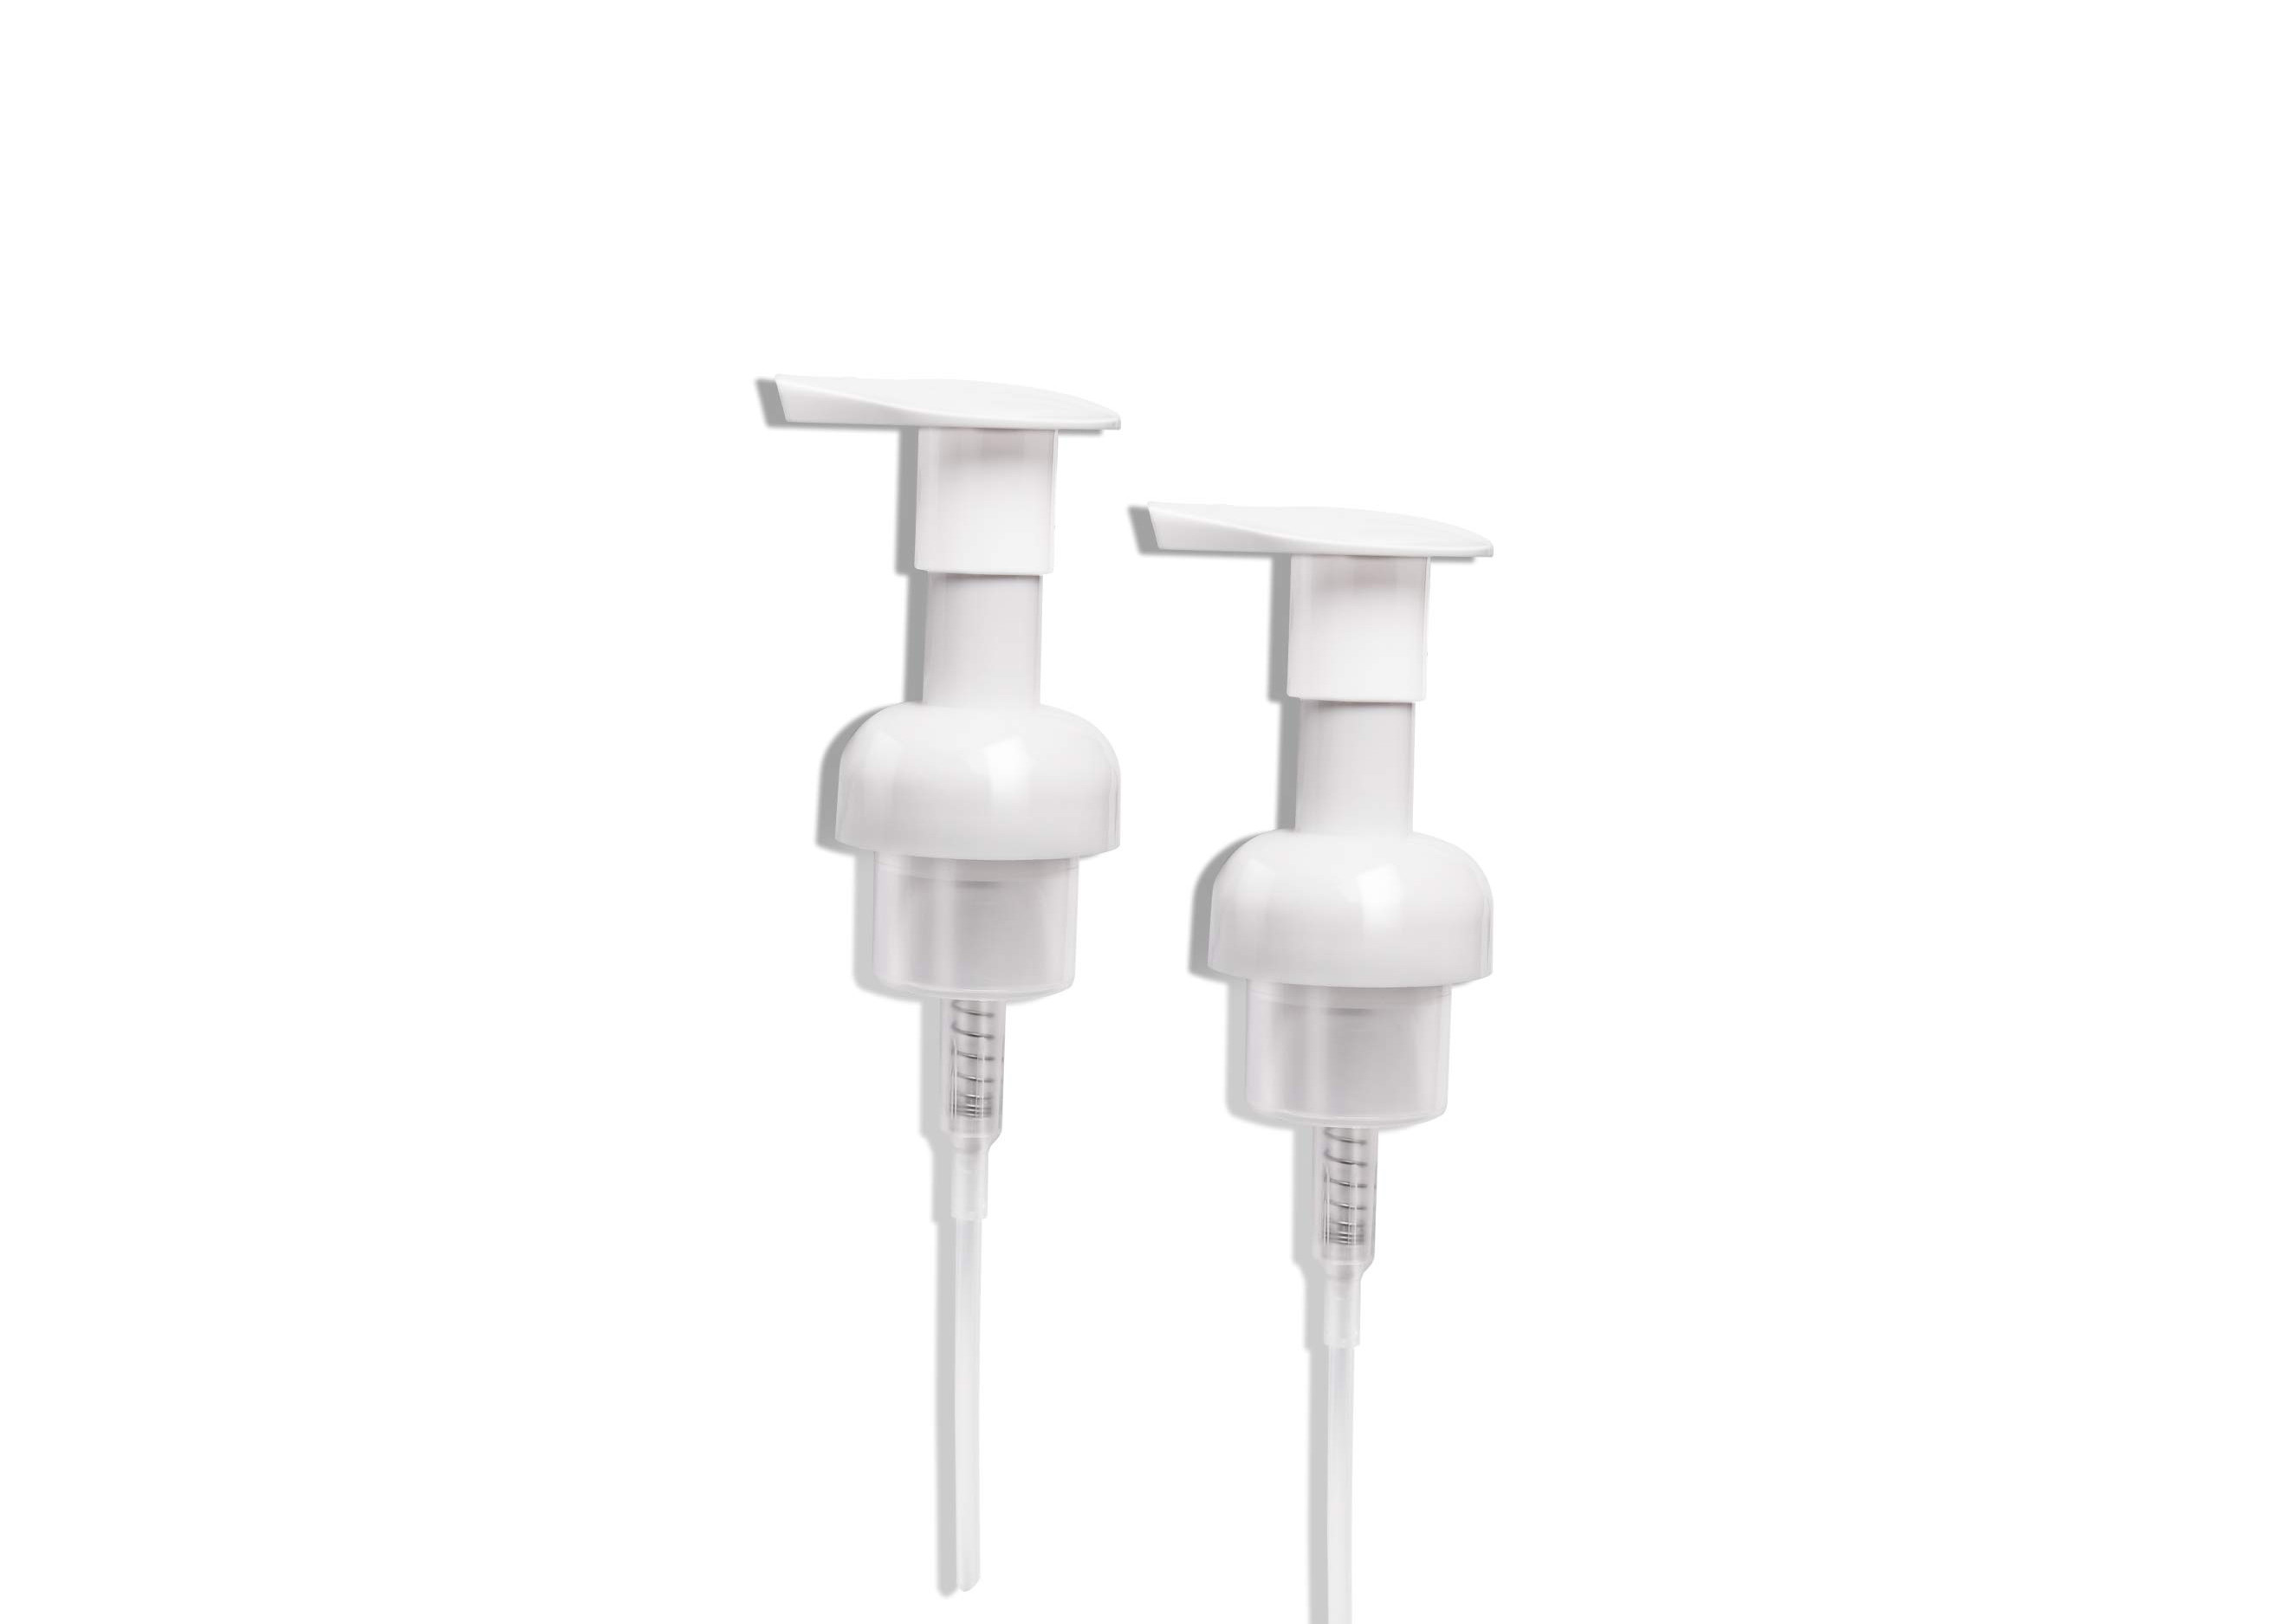
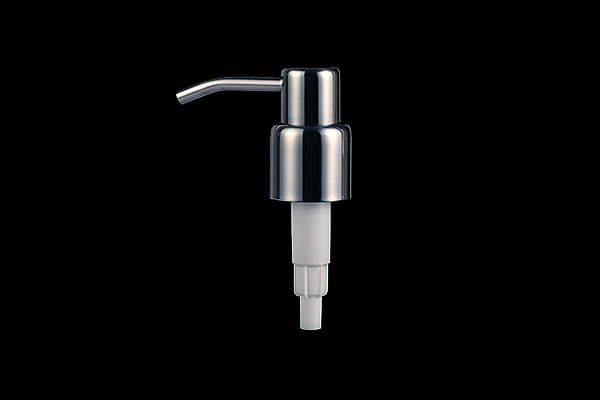
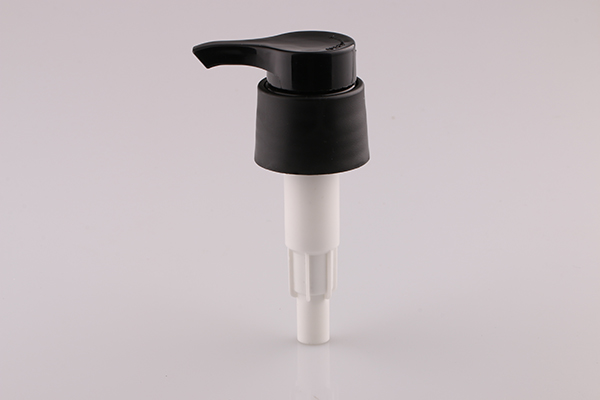
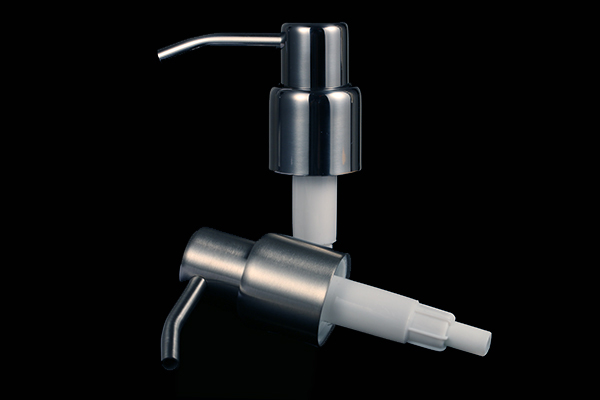
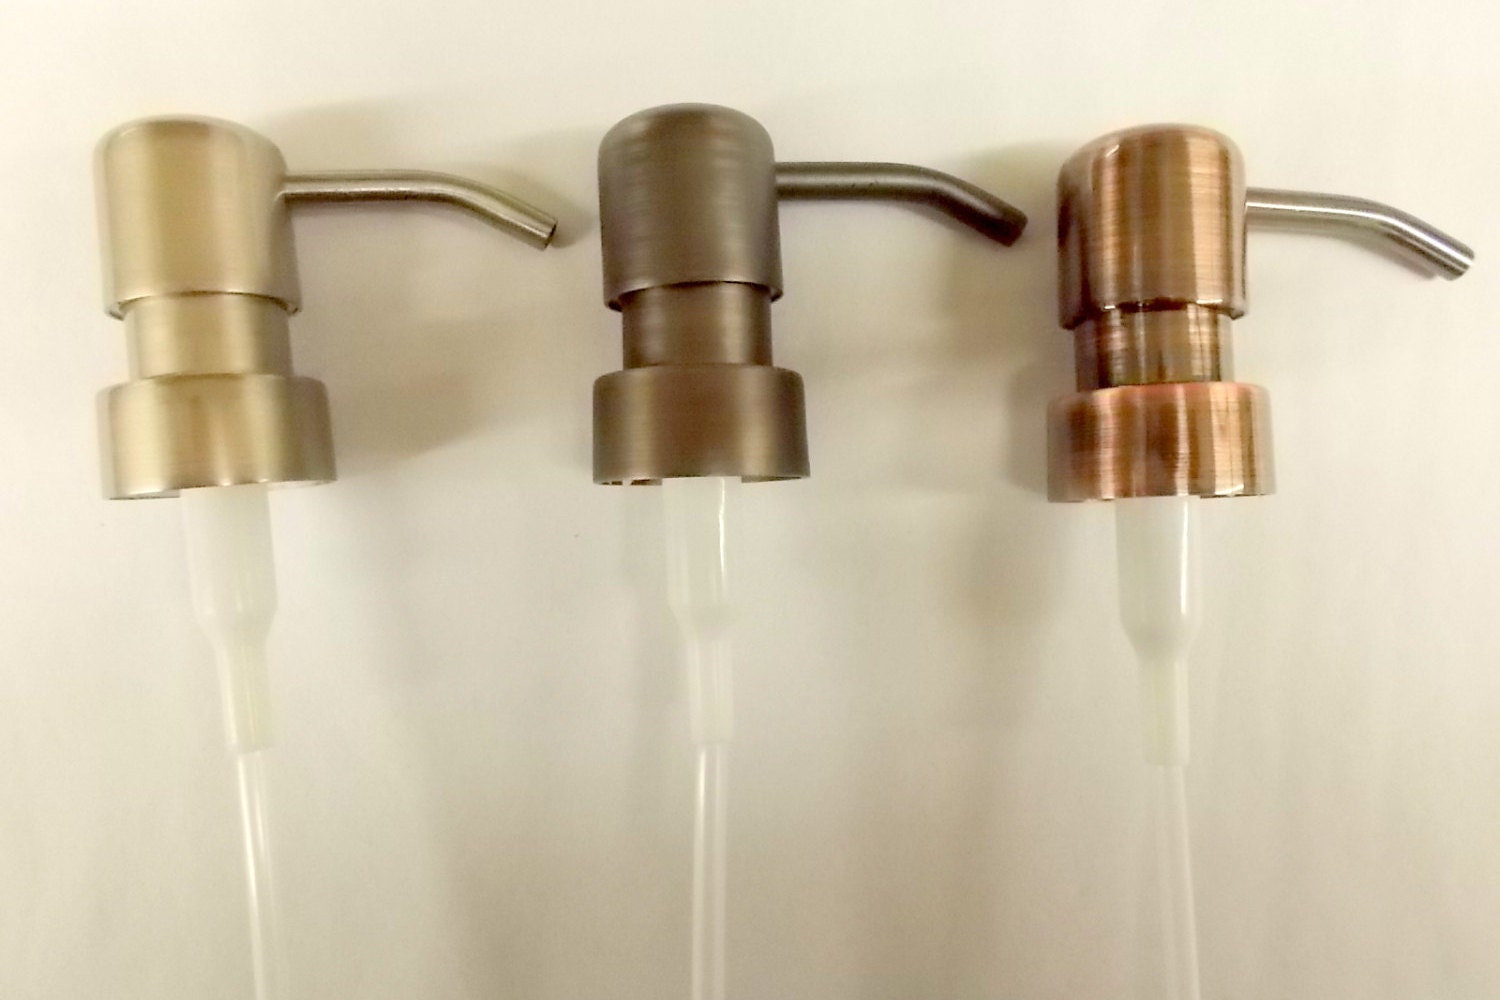
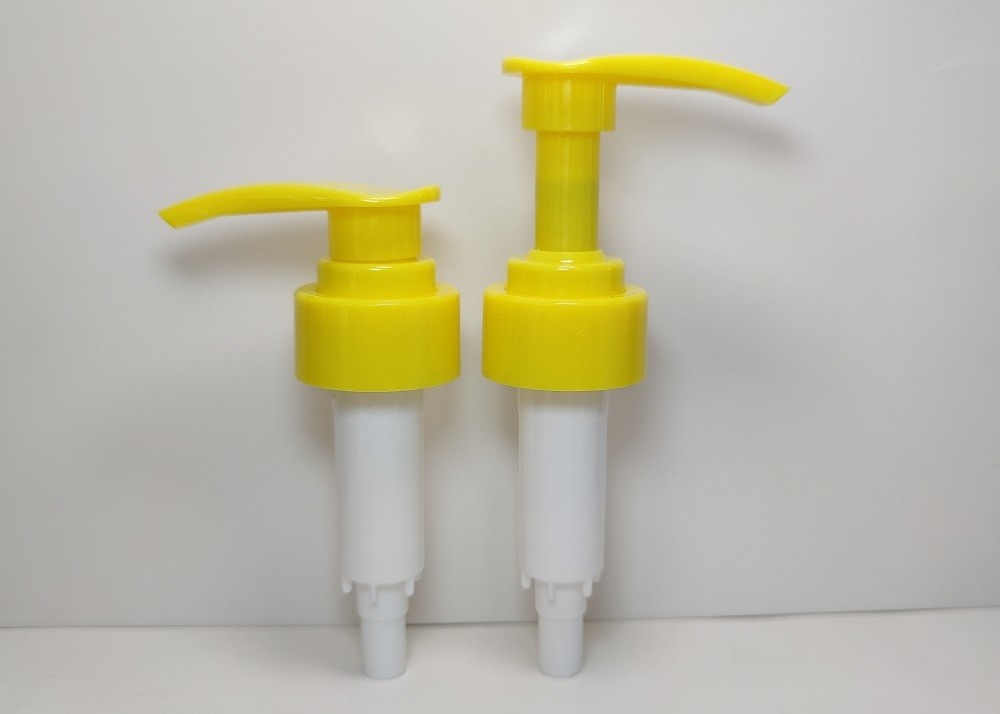
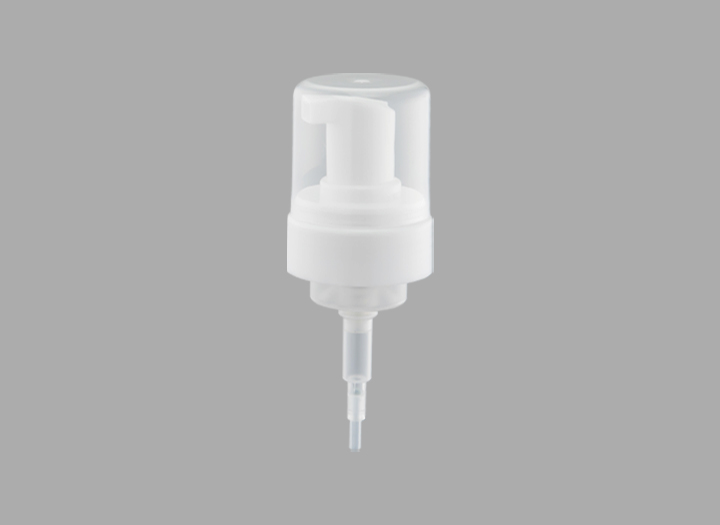
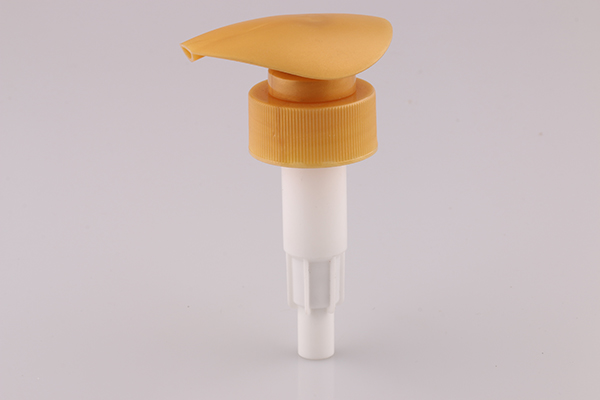
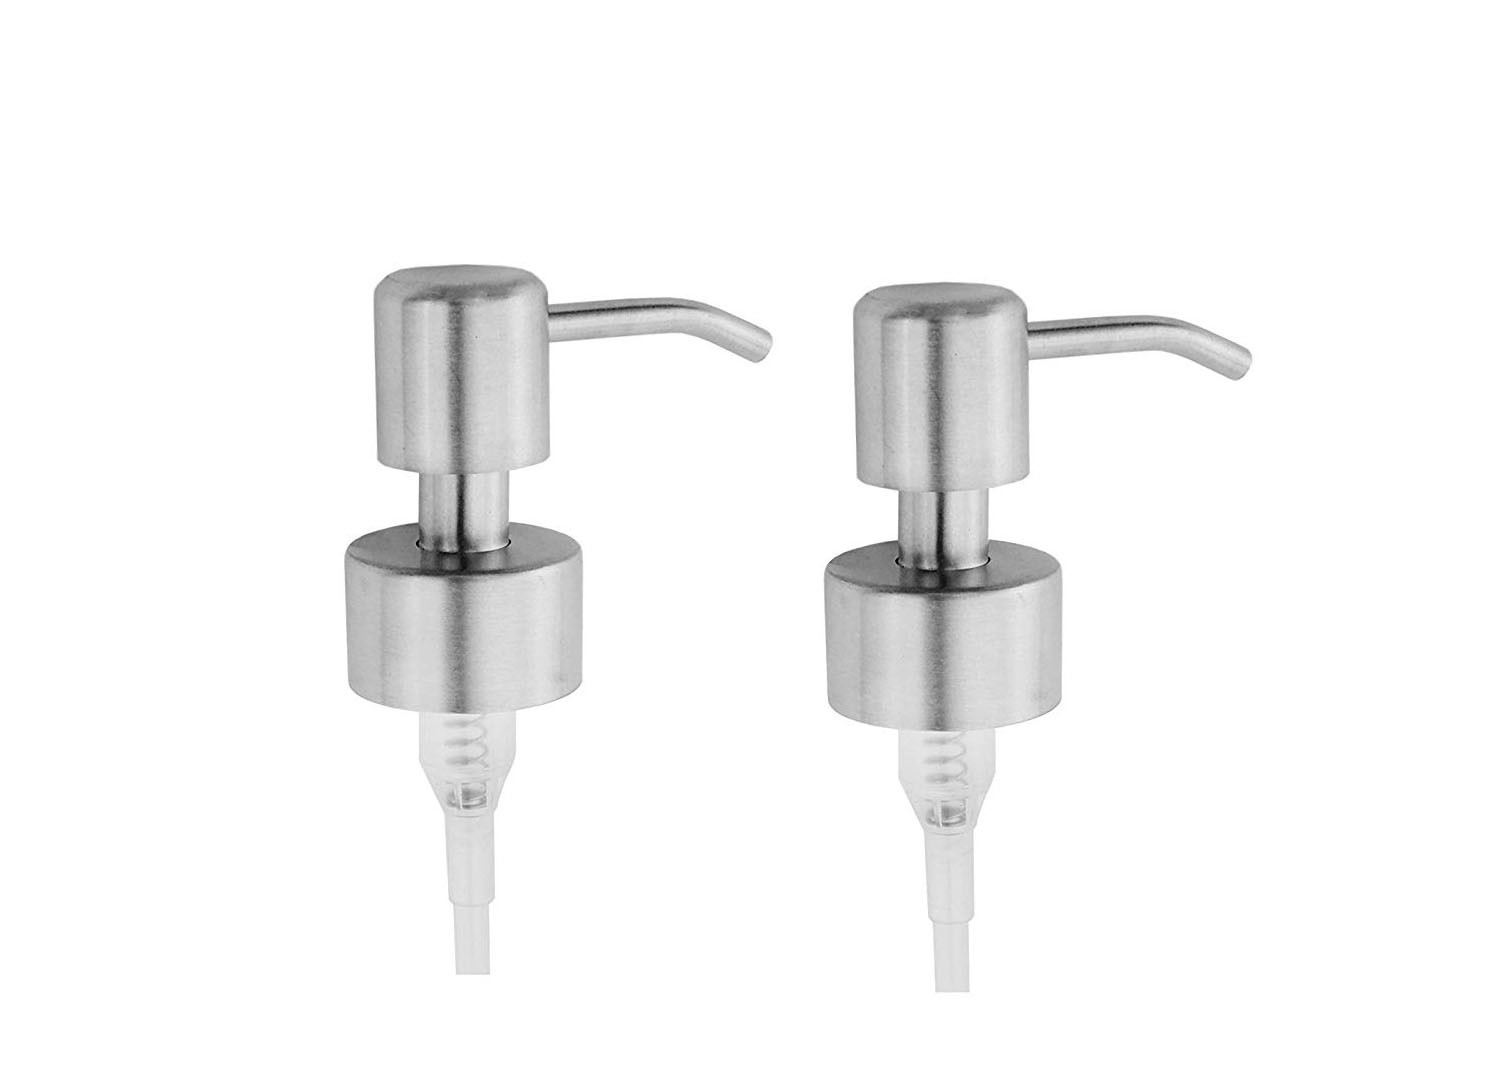
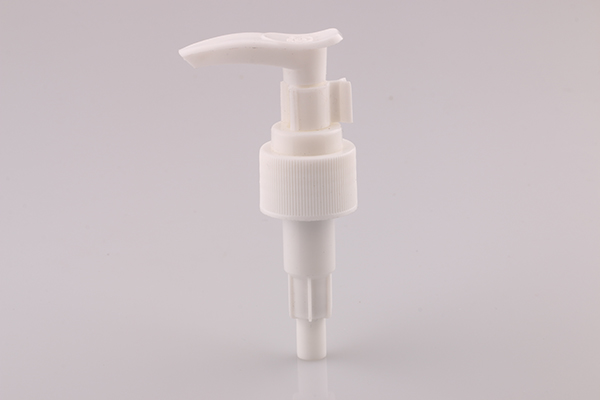
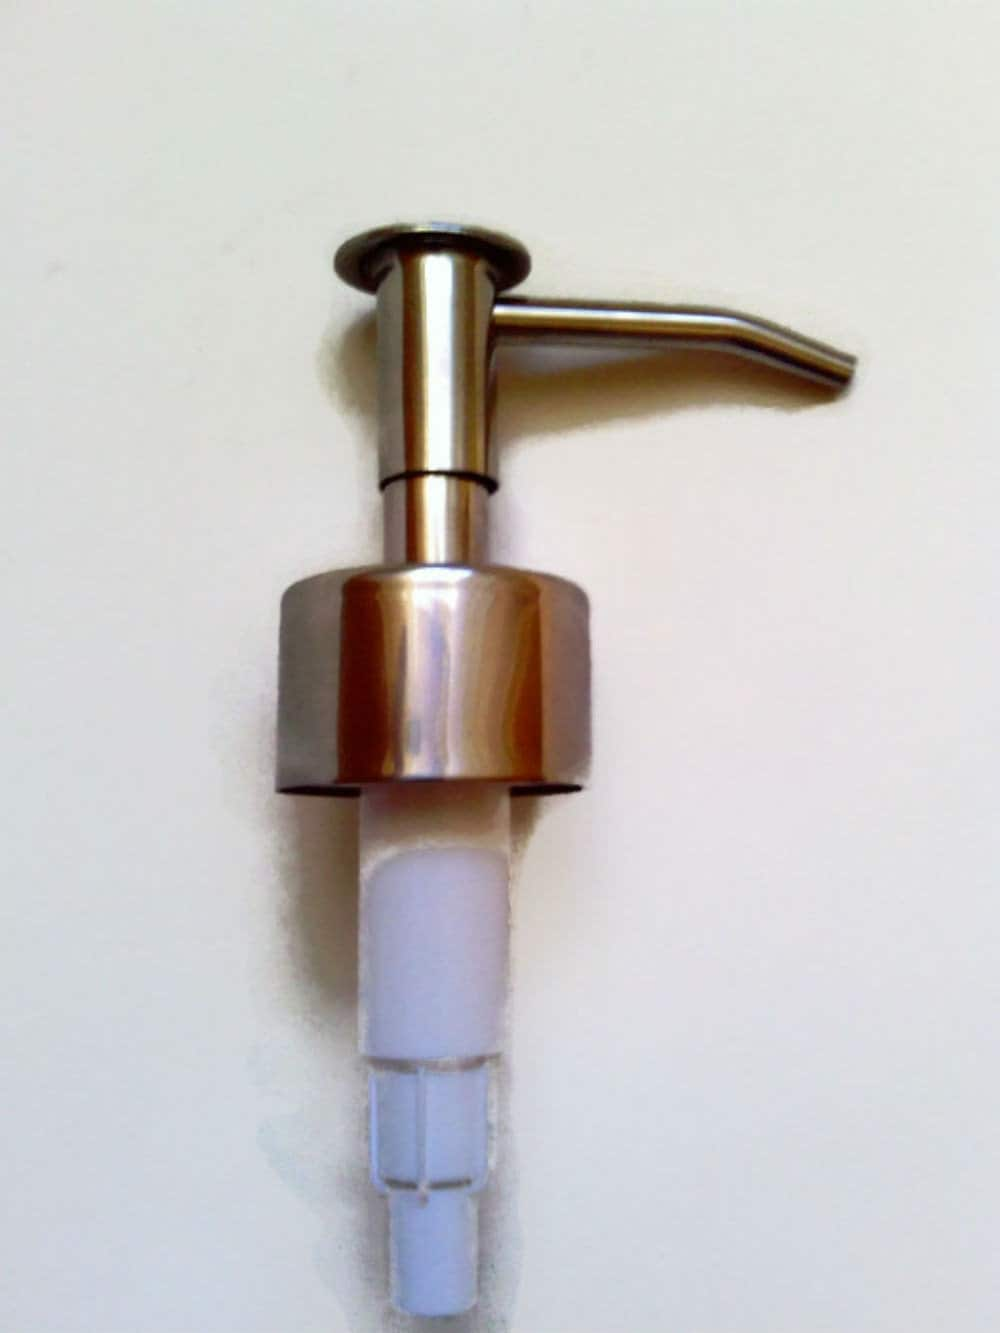
The first step in replacing your soap dispenser pump is to gather all the necessary supplies. You will need a new soap dispenser pump, a pair of pliers, a flathead screwdriver, and a replacement soap dispenser cap. Make sure to purchase a pump that is compatible with your soap dispenser and the right size for your soap bottle.
Step 2: Remove the Old Pump
Using the pliers, carefully grip the base of the old pump and twist it counterclockwise to loosen it. Once it is loose, pull the pump straight up to remove it from the soap dispenser. If the pump is stuck, you may need to use the screwdriver to help pry it out. Set the old pump aside.
Step 3: Clean the Soap Dispenser
Now that the old pump is removed, take the opportunity to clean out the soap dispenser. Use warm water and soap to clean the inside of the dispenser and remove any residue or buildup. This will ensure that your new pump works efficiently.
Step 4: Install the New Pump
Take your new pump and insert it into the opening of the soap dispenser. Twist it clockwise to secure it in place. Make sure it is tight enough so that it won't come loose, but not too tight that it damages the pump. Use the screwdriver to help tighten the pump if needed.
Step 5: Test the Pump
Before attaching the new soap dispenser cap, test the pump to make sure it is working properly. Press down on the pump and see if soap comes out. If it does, then you're good to go. If not, double-check the installation and make sure the pump is securely in place.
Step 6: Attach the New Cap
Once the pump is working, it's time to attach the new soap dispenser cap. Simply place it on top of the pump and twist it clockwise to secure it in place. Make sure it is tight enough so that it won't come loose, but not too tight that it damages the cap.
Step 7: Refill Your Soap Dispenser
Now that your new pump and cap are installed, it's time to refill your soap dispenser. Use your favorite liquid soap and fill the bottle about three-quarters of the way full. This will leave enough room for the pump to function properly without overflowing.
Step 8: Enjoy Your Working Soap Dispenser
Congratulations, you have successfully replaced your soap dispenser pump! Give it a few pumps to get the soap flowing and then enjoy having a fully functional soap dispenser at your kitchen sink.
Keep Your Soap Dispenser Pump Working Properly
To ensure that your soap dispenser pump continues to work properly, it's important to clean it regularly. This will prevent buildup and clogs that can affect the pump's performance. Simply remove the pump and clean it with warm water and soap every few weeks to keep it in top condition.
The Benefits of a Kitchen Sink Soap Dispenser Cap

Efficiency and Convenience
 One of the most frustrating things about using a kitchen sink soap dispenser is dealing with a messy and unhygienic cap. Not only does it require constant cleaning, but it can also be difficult to open and close, leading to spills and wasted soap. This is where a kitchen sink soap dispenser cap comes in.
Designed specifically for use with soap dispensers, these caps provide a more efficient and convenient way to dispense soap.
With a simple push or twist, the soap is dispensed without any mess or fuss. This not only saves time and effort, but it also helps to keep your sink area clean and tidy.
Improved Hygiene
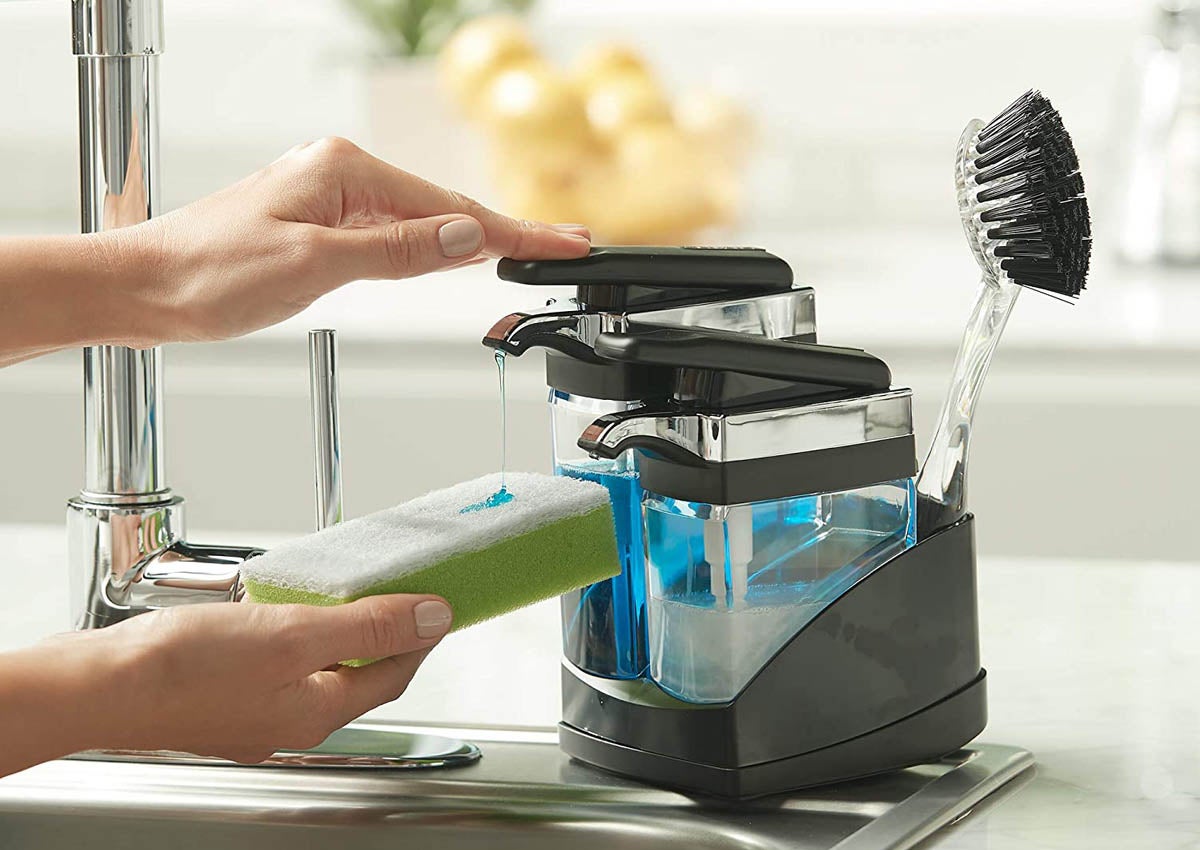 A kitchen sink is one of the most commonly used areas in a house, and it is important to keep it clean and hygienic. However, with a traditional soap dispenser cap, there is a risk of transferring germs and bacteria from your hands onto the cap, which can then spread to other surfaces.
A kitchen sink soap dispenser cap eliminates this issue by providing a touch-free way to dispense soap.
This reduces the risk of cross-contamination and helps to maintain a cleaner and more hygienic kitchen environment.
Aesthetic Appeal
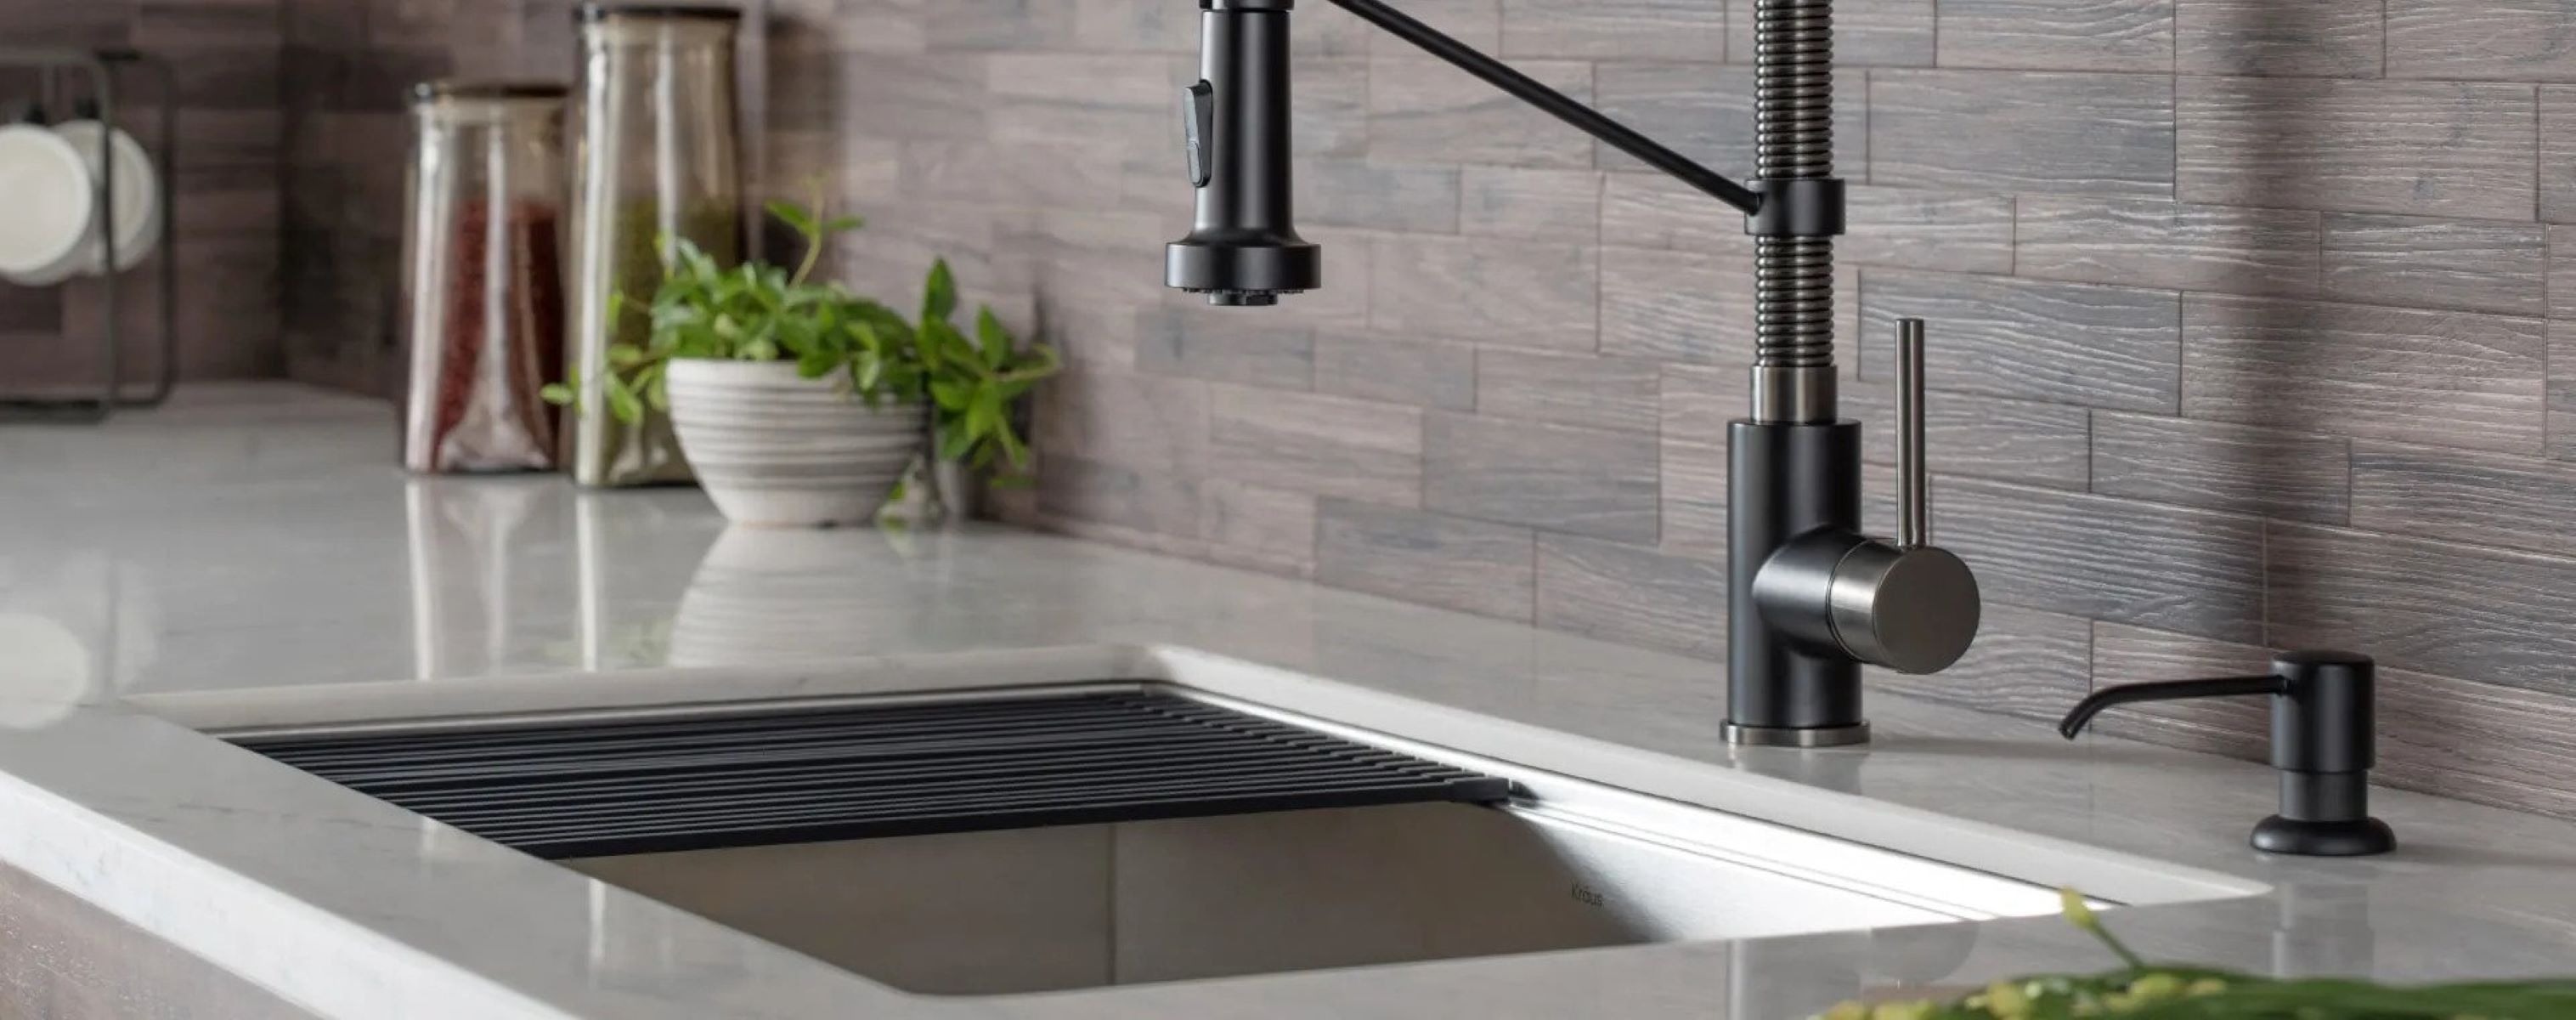
 In addition to being functional, a kitchen sink soap dispenser cap can also add to the overall aesthetic appeal of your kitchen. With a variety of designs and finishes available, you can choose a cap that complements your kitchen's style and décor.
Some caps even come with customizable options, allowing you to add a personal touch to your sink area.
This not only adds to the visual appeal of your kitchen but also makes it a more inviting and welcoming space.
Cost-Effective
 Investing in a kitchen sink soap dispenser cap may seem like an unnecessary expense, but it can actually save you money in the long run. Traditional soap dispenser caps often get lost or damaged, requiring frequent replacements.
With a kitchen sink soap dispenser cap, you only need to make a one-time purchase, and it will last for a long time.
This makes it a cost-effective choice in the long run, as you won't have to constantly buy new caps.
In conclusion, a kitchen sink soap dispenser cap offers numerous benefits, including efficiency, improved hygiene, aesthetic appeal, and cost-effectiveness. Whether you are redesigning your kitchen or simply looking for a better way to dispense soap, consider investing in a kitchen sink soap dispenser cap for a more convenient and hygienic experience.


