Installing a kitchen sink stopper is a simple and essential task that any homeowner can do. Whether you are looking to replace an old stopper or install a new one, this step-by-step guide will walk you through the process. With just a few tools and materials, you can have a functioning stopper in no time.How to Install a Kitchen Sink Stopper


How to Install a Kitchen Sink Stopper
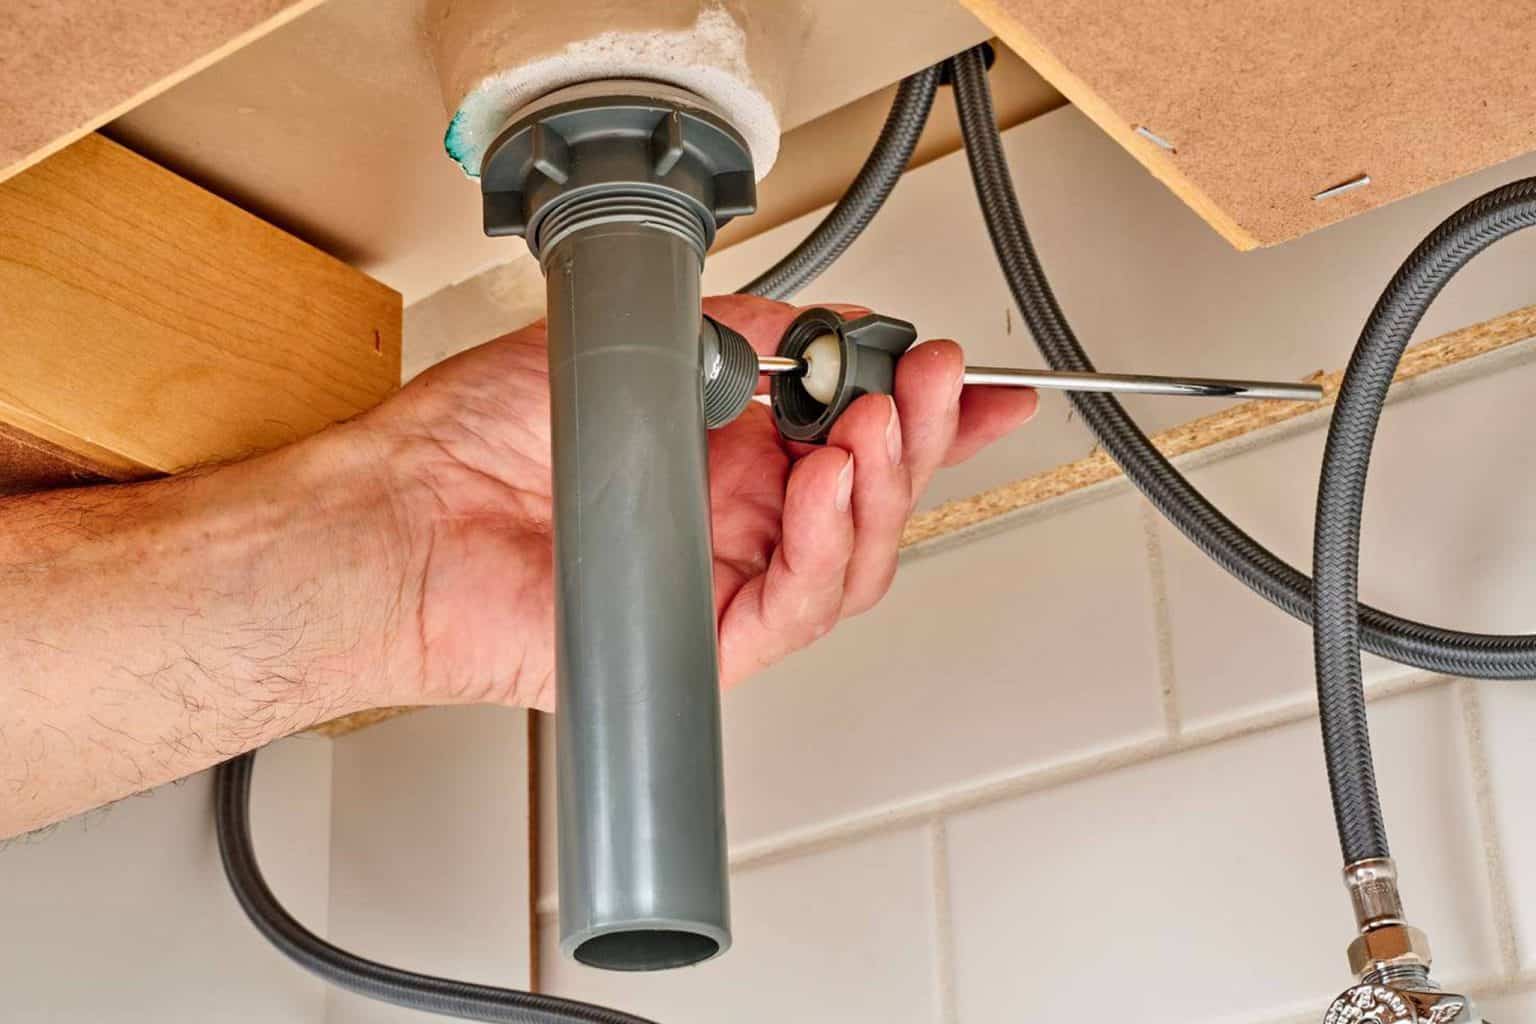


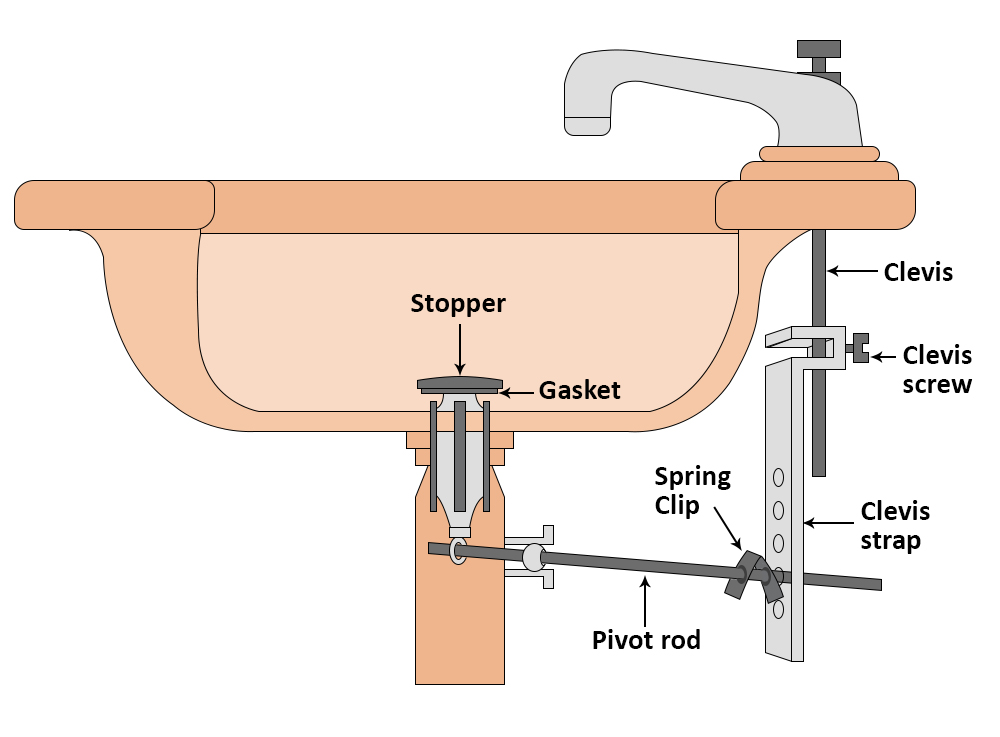
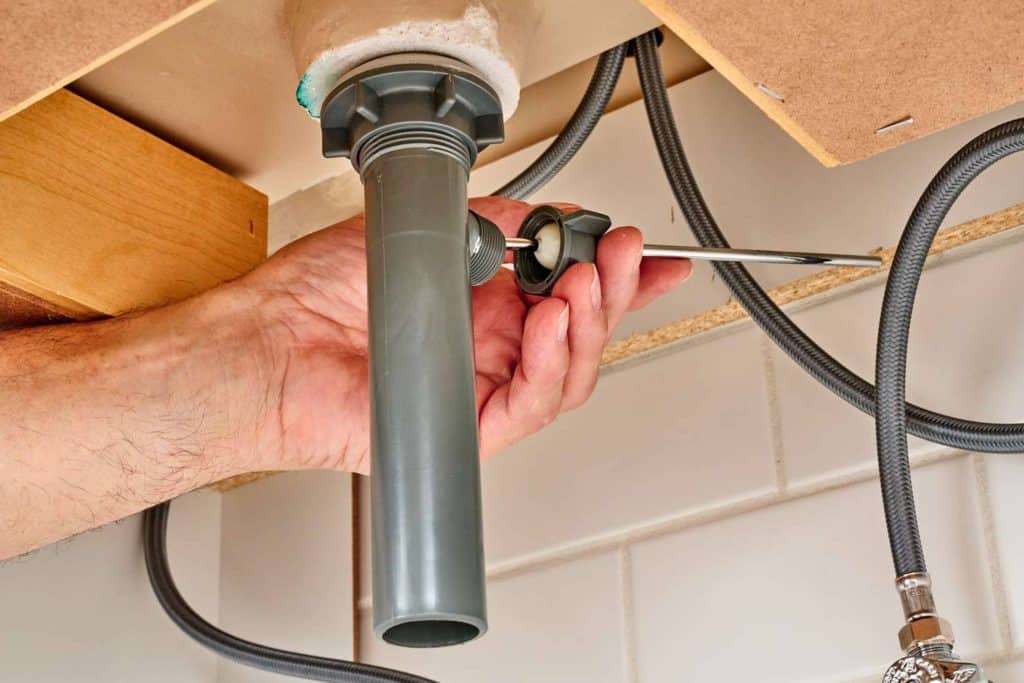
If your current kitchen sink stopper is broken or no longer working properly, it may be time for a replacement. Removing and replacing a stopper can be done in a few easy steps. First, locate the pivot rod under the sink and remove it from the drain. Then, unscrew the old stopper from the pivot rod and replace it with the new one. Finally, reattach the pivot rod and test the new stopper to ensure it is working correctly.How to Replace a Kitchen Sink Stopper


How to Replace a Kitchen Sink Stopper


Installing a kitchen sink stopper yourself is a great way to save money and learn a new skill. With the right tools and materials, this project is suitable for even the most novice DIYers. Just be sure to follow the instructions carefully and take your time to ensure a proper installation.DIY Kitchen Sink Stopper Installation


DIY Kitchen Sink Stopper Installation


Follow these steps for a successful kitchen sink stopper installation: Step 1: Gather all necessary tools and materials, including a new stopper, pliers, and a wrench. Step 2: Remove the old stopper by unscrewing it from the pivot rod under the sink. Step 3: Attach the new stopper to the pivot rod by screwing it on tightly. Step 4: Reattach the pivot rod to the drain and secure it with the nut and washer. Step 5: Test the new stopper to ensure it is working correctly.Step-by-Step Guide for Installing a Kitchen Sink Stopper


Step-by-Step Guide for Installing a Kitchen Sink Stopper


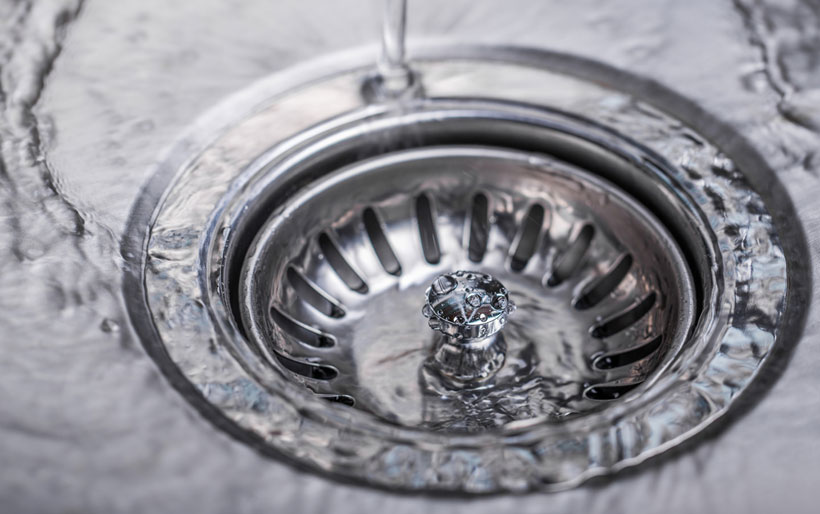
:no_upscale()/cdn.vox-cdn.com/uploads/chorus_asset/file/19495086/drain_0.jpg)


If you are short on time or just want a quick and easy installation, there are a few tips you can follow. First, make sure to purchase a quality stopper that is compatible with your sink and drain. Then, follow the steps above carefully and do not rush the process. With a little patience, you can have a new stopper installed in minutes.Quick and Easy Kitchen Sink Stopper Installation


Quick and Easy Kitchen Sink Stopper Installation


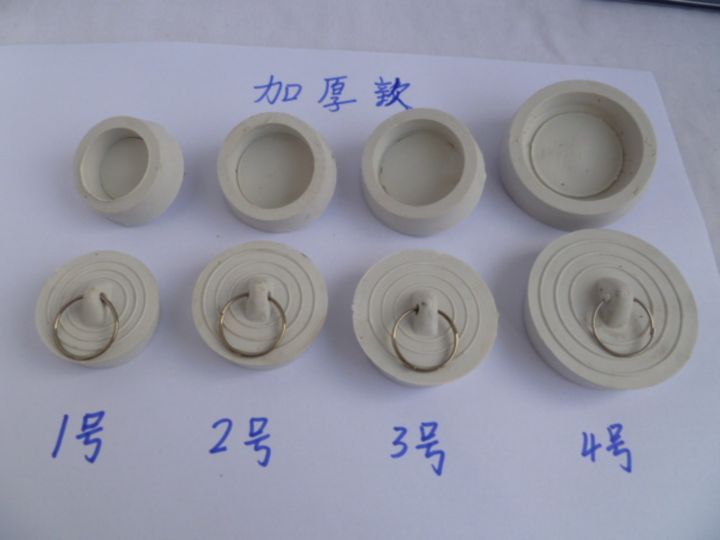
A rubber stopper is a popular choice for kitchen sinks due to its durability and tight seal. Follow the steps above for a smooth installation, and be sure to choose a rubber stopper that fits your sink and drain correctly. Many rubber stoppers come with adjustable screw attachments, making them a versatile option for various sink sizes.Installing a Rubber Stopper for Your Kitchen Sink


Installing a Rubber Stopper for Your Kitchen Sink


To install a kitchen sink stopper, you will need the following tools and materials: Tools: Pliers, wrench, screwdriver Materials: New stopper, pivot rod, nut, washerTools and Materials Needed for Installing a Kitchen Sink Stopper


Tools and Materials Needed for Installing a Kitchen Sink Stopper


While installing a kitchen sink stopper may seem like a straightforward task, there are a few common mistakes to avoid to ensure a successful installation. These include using the wrong size stopper, not attaching the pivot rod properly, and rushing the process. Be sure to carefully follow the steps and double-check your work to avoid any issues.Common Mistakes to Avoid When Installing a Kitchen Sink Stopper


Common Mistakes to Avoid When Installing a Kitchen Sink Stopper


If you encounter any issues during the installation process, there are a few troubleshooting tips you can try. First, make sure the stopper is the correct size for your sink and drain. If it is too small or too big, it may not function properly. You can also try adjusting the pivot rod length to ensure a tight seal. If all else fails, consult a professional for assistance.Troubleshooting Tips for Kitchen Sink Stopper Installation


Troubleshooting Tips for Kitchen Sink Stopper Installation


Deciding between hiring a professional or doing a DIY installation is a personal choice. While a professional may have more experience and tools, a DIY installation can save you money. If you are confident in your abilities and have the necessary tools and materials, a DIY installation can be a great option. However, if you are unsure or do not have the time or tools, hiring a professional may be a better choice for a seamless and stress-free installation.Professional vs. DIY Kitchen Sink Stopper Installation: Which is Better?


Professional vs. DIY Kitchen Sink Stopper Installation: Which is Better?


The Importance of a Kitchen Sink Rubber Stopper Installation in House Design
Ensuring Functionality and Efficiency
 When it comes to designing a house, every little detail matters. This includes the installation of a
kitchen sink rubber stopper
. While it may seem like a small and insignificant component, the
rubber stopper
plays a crucial role in ensuring the functionality and efficiency of your kitchen sink.
When it comes to designing a house, every little detail matters. This includes the installation of a
kitchen sink rubber stopper
. While it may seem like a small and insignificant component, the
rubber stopper
plays a crucial role in ensuring the functionality and efficiency of your kitchen sink.
Preventing Clogs and Blockages
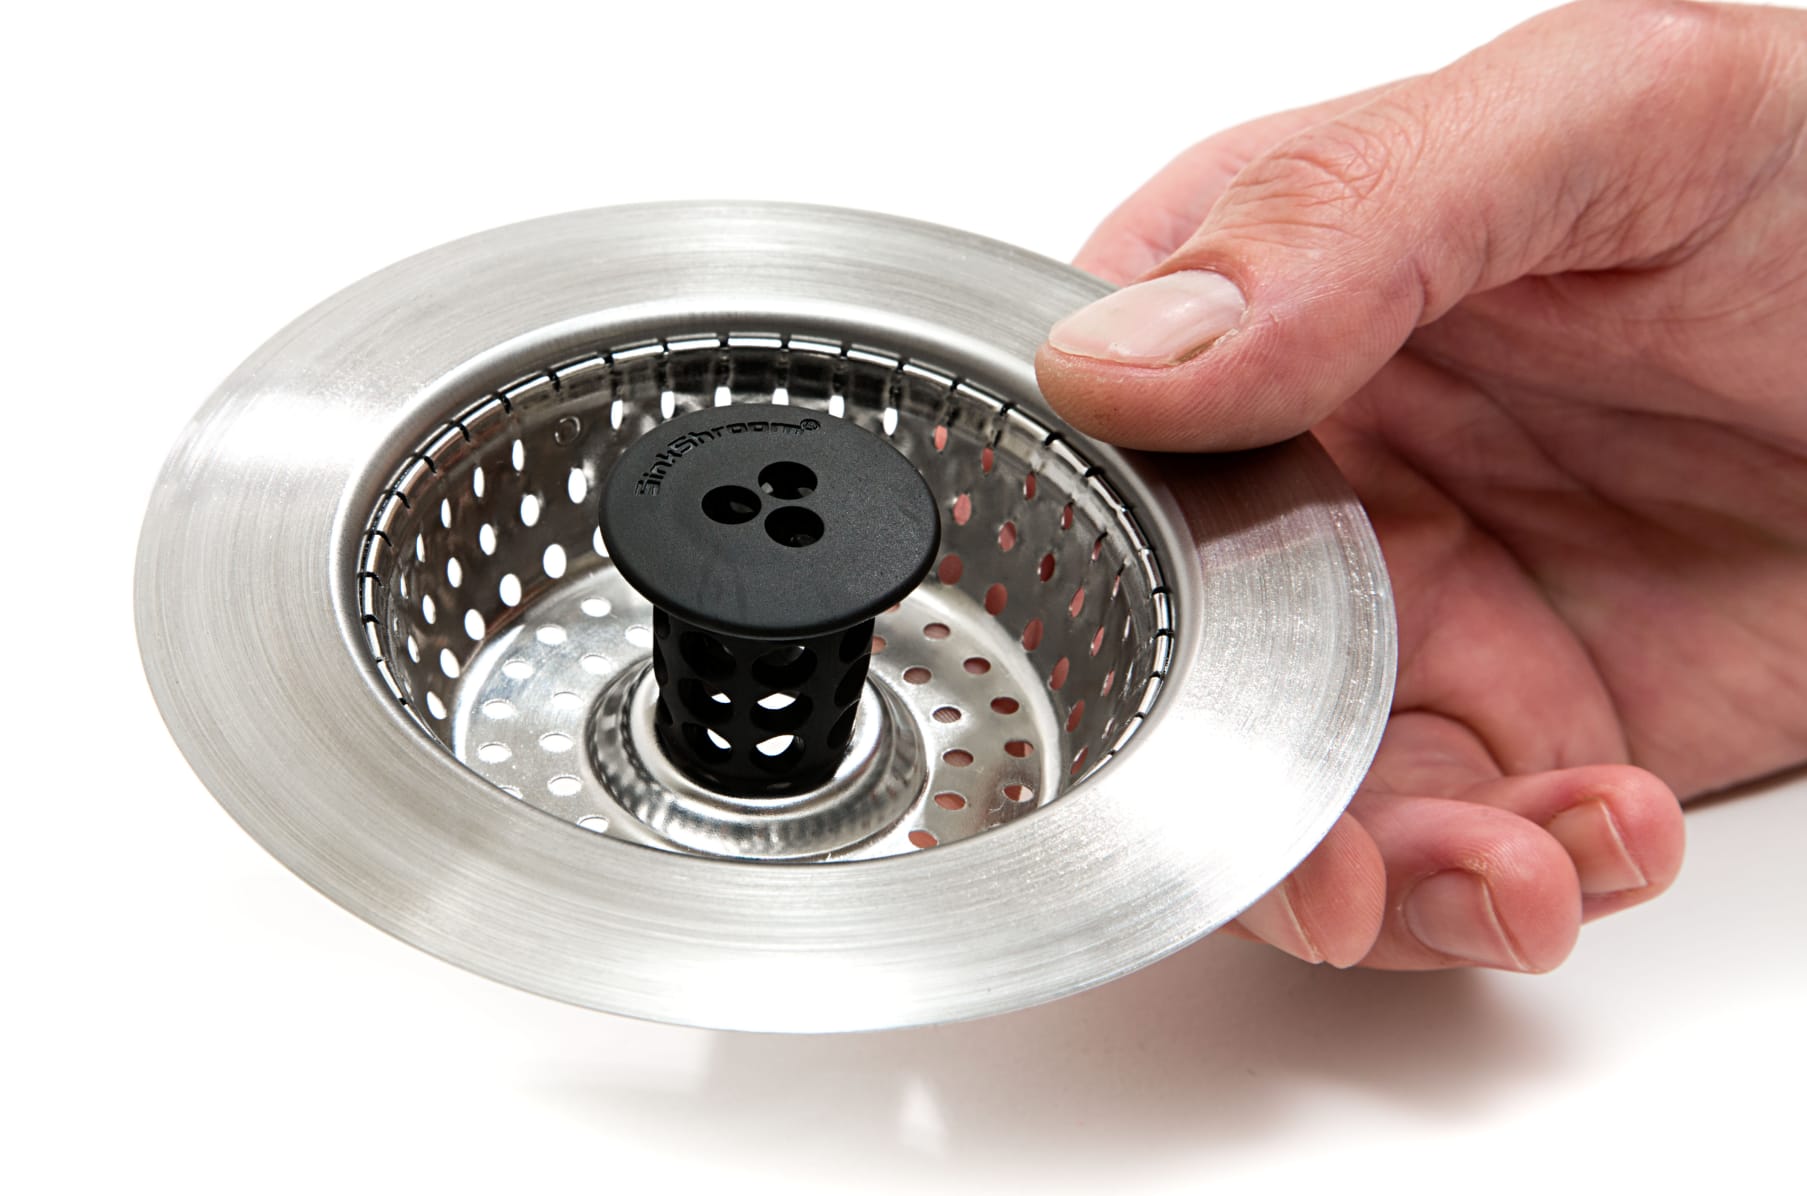 The main purpose of a
kitchen sink rubber stopper
is to prevent clogs and blockages in your drain. Without it, food scraps, debris, and other particles can easily go down the drain and cause blockages over time. This can lead to unpleasant odors, slow draining, and even more serious plumbing issues. By installing a
rubber stopper
, you can avoid these problems and maintain a clean and functional kitchen sink.
The main purpose of a
kitchen sink rubber stopper
is to prevent clogs and blockages in your drain. Without it, food scraps, debris, and other particles can easily go down the drain and cause blockages over time. This can lead to unpleasant odors, slow draining, and even more serious plumbing issues. By installing a
rubber stopper
, you can avoid these problems and maintain a clean and functional kitchen sink.
Protecting Your Pipes
 In addition to preventing clogs, a
kitchen sink rubber stopper
also helps to protect your pipes. Without a stopper, larger items such as utensils or small toys can accidentally fall into the drain and cause damage to your pipes. This can result in costly repairs and disruptions to your daily routine. By using a
rubber stopper
, you can avoid these accidents and keep your pipes in good condition.
In addition to preventing clogs, a
kitchen sink rubber stopper
also helps to protect your pipes. Without a stopper, larger items such as utensils or small toys can accidentally fall into the drain and cause damage to your pipes. This can result in costly repairs and disruptions to your daily routine. By using a
rubber stopper
, you can avoid these accidents and keep your pipes in good condition.
Enhancing the Aesthetics of Your Kitchen Sink
 Aside from its functional benefits, a
kitchen sink rubber stopper
can also enhance the aesthetics of your kitchen sink. With various designs and colors available, you can choose a
rubber stopper
that complements the overall design of your kitchen and adds a touch of style to your sink area.
Aside from its functional benefits, a
kitchen sink rubber stopper
can also enhance the aesthetics of your kitchen sink. With various designs and colors available, you can choose a
rubber stopper
that complements the overall design of your kitchen and adds a touch of style to your sink area.
Easy Installation and Maintenance
 Installing a
kitchen sink rubber stopper
is a simple task that can be done by anyone. It does not require any special tools or skills, making it a cost-effective option for house design. In terms of maintenance, all you need to do is regularly clean the
rubber stopper
to prevent buildup of dirt and debris.
In conclusion, a
kitchen sink rubber stopper
may seem like a small and insignificant component in house design, but it plays a crucial role in ensuring the functionality, efficiency, and aesthetics of your kitchen sink. So don't overlook this simple yet important piece and make sure to include it in your kitchen sink installation.
Installing a
kitchen sink rubber stopper
is a simple task that can be done by anyone. It does not require any special tools or skills, making it a cost-effective option for house design. In terms of maintenance, all you need to do is regularly clean the
rubber stopper
to prevent buildup of dirt and debris.
In conclusion, a
kitchen sink rubber stopper
may seem like a small and insignificant component in house design, but it plays a crucial role in ensuring the functionality, efficiency, and aesthetics of your kitchen sink. So don't overlook this simple yet important piece and make sure to include it in your kitchen sink installation.