Installing a new kitchen sink faucet may seem like a daunting task, but with the right tools and instructions, it can be a simple and rewarding DIY project. Follow these step-by-step instructions to successfully install a kitchen sink faucet in your home.How to Install a Kitchen Sink Faucet


How to Install a Kitchen Sink Faucet


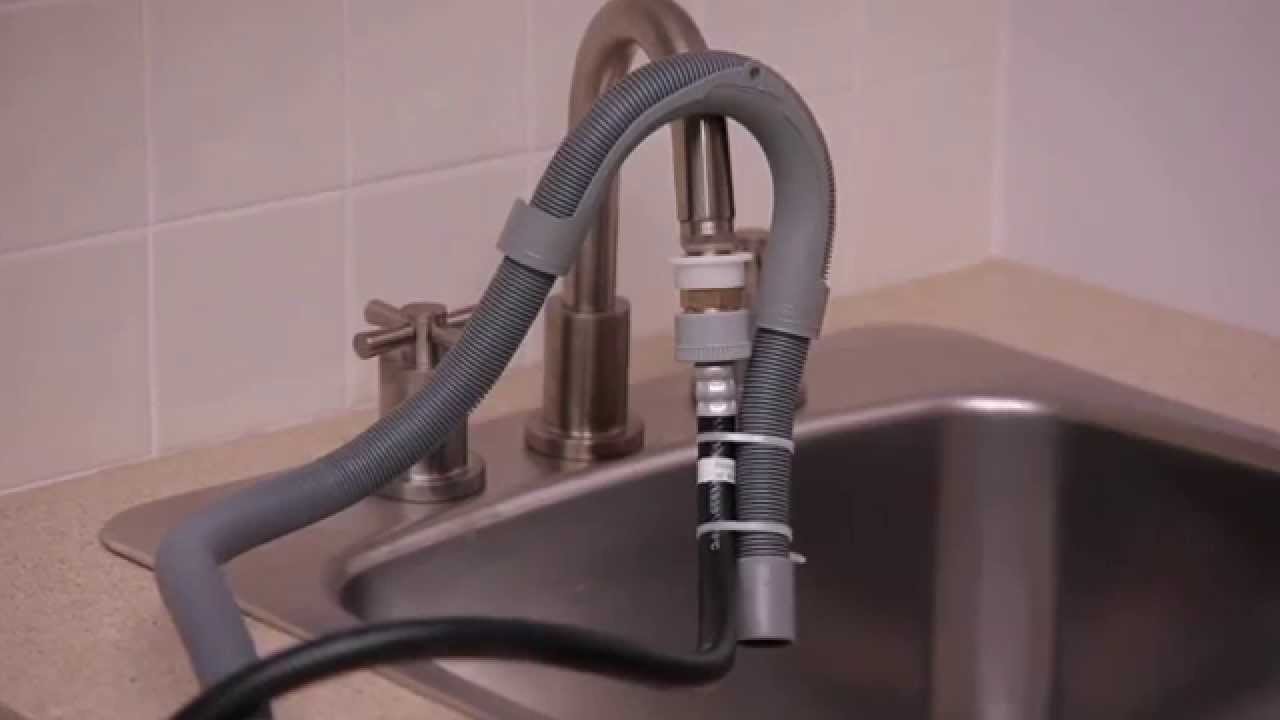
Hooking up a kitchen sink faucet involves connecting the water supply lines and securing the faucet to the sink. It's important to follow the manufacturer's instructions and use the correct tools for a secure and leak-free installation. Here's how to hook up a kitchen sink faucet:How to Hook Up a Kitchen Sink Faucet

How to Hook Up a Kitchen Sink Faucet


/Haire-washing-machine-hook-up-via-smallspaces.about.com-571e52dc3df78c5640523d54.jpg)


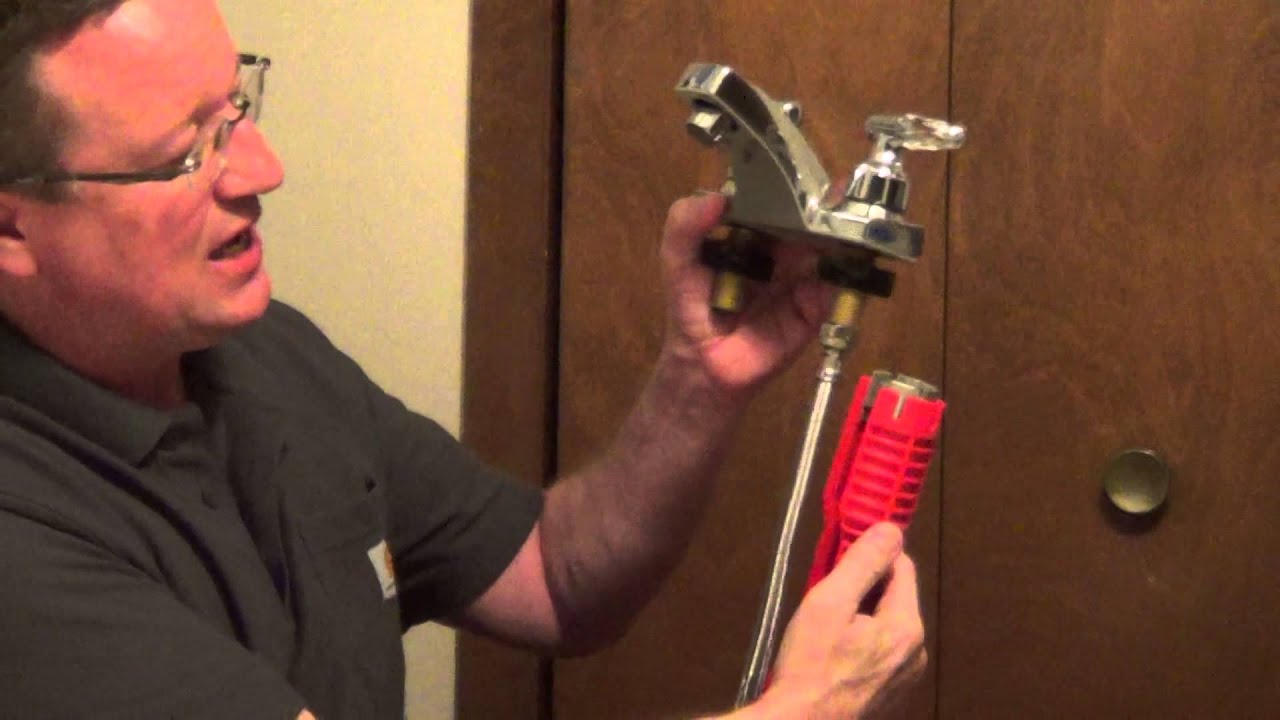
Before starting the installation process, gather all the necessary tools and materials. This may include a basin wrench, adjustable wrench, plumber's putty, and Teflon tape. Follow these steps for a successful kitchen sink faucet installation: Step 1: Turn off the water supply to the sink by shutting off the valves under the sink. Step 2: Remove the old faucet by loosening the mounting nuts underneath the sink with a basin wrench. Step 3: Clean the area around the faucet holes on the sink and remove any old putty or debris. Step 4: Apply a thin layer of plumber's putty to the bottom of the new faucet. Step 5: Insert the faucet into the holes on the sink, making sure it is straight and centered. Step 6: From underneath the sink, secure the faucet with the mounting nuts and washers provided. Step 7: Connect the water supply lines to the corresponding hot and cold water valves using an adjustable wrench. Step 8: Turn on the water supply and check for any leaks. If there are leaks, tighten the connections or add Teflon tape to create a tighter seal. Step 9: Once the faucet is securely connected and leak-free, turn on the faucet and test the water flow and temperature. Step 10: Clean up any excess putty or debris from the installation and enjoy your new kitchen sink faucet.Step-by-Step Guide for Installing a Kitchen Sink Faucet


Step-by-Step Guide for Installing a Kitchen Sink Faucet


Installing a kitchen sink faucet yourself not only saves you money, but it also gives you the satisfaction of completing a DIY project. Follow the above steps and refer to the manufacturer's instructions for a successful DIY kitchen sink faucet installation.DIY Kitchen Sink Faucet Installation

DIY Kitchen Sink Faucet Installation


Hooking up a kitchen sink faucet can be an easy process if you have the right tools and follow the proper instructions. Make sure to shut off the water supply and take your time to ensure a secure and leak-free connection. If you encounter any issues, refer to the troubleshooting tips below.Easy Kitchen Sink Faucet Hook Up Instructions
/header-16x19-image-640w-853h.jpg)
Easy Kitchen Sink Faucet Hook Up Instructions


Before starting the installation process, it's important to choose the right faucet for your sink and make sure you have all the necessary tools and materials. Here are some additional tips and tricks for a successful kitchen sink faucet installation: Tip 1: Choose a faucet that matches your sink and kitchen style. Tip 2: Read the manufacturer's instructions carefully before starting the installation. Tip 3: Use Teflon tape on the water supply connections to prevent leaks. Tip 4: Use a basin wrench to easily access and tighten the mounting nuts under the sink. Tip 5: Use plumber's putty to create a tight seal between the faucet and sink.Installing a New Kitchen Sink Faucet: Tips and Tricks


Installing a New Kitchen Sink Faucet: Tips and Tricks


If you're short on time or don't have all the necessary tools, there is a quick and simple method for hooking up a kitchen sink faucet. Instead of using plumber's putty, you can use a faucet gasket or rubber seal provided by the manufacturer. This eliminates the need for putty and can save you time and effort.Quick and Simple Kitchen Sink Faucet Hook Up Method


Quick and Simple Kitchen Sink Faucet Hook Up Method


To successfully install a kitchen sink faucet, you will need the following tools and materials: Tools: Basin wrench, adjustable wrench, screwdriver. Materials: Plumber's putty, Teflon tape, faucet gasket or rubber seal, water supply lines.Tools and Materials Needed for Kitchen Sink Faucet Installation

Tools and Materials Needed for Kitchen Sink Faucet Installation


While installing a kitchen sink faucet may seem simple, there are some common mistakes that can lead to leaks or other issues. Here are some mistakes to avoid when hooking up a kitchen sink faucet: Mistake 1: Not turning off the water supply before starting the installation. Mistake 2: Forgetting to use Teflon tape on the water supply connections. Mistake 3: Using too much plumber's putty, which can cause excess to squeeze out and create a messy installation. Mistake 4: Not tightening the mounting nuts and connections enough, resulting in leaks.Common Mistakes to Avoid When Hooking Up a Kitchen Sink Faucet


Common Mistakes to Avoid When Hooking Up a Kitchen Sink Faucet


If you encounter any issues during the installation or after hooking up your new kitchen sink faucet, here are some troubleshooting tips: Issue 1: Leaks at the water supply connections - tighten the connections or add Teflon tape to create a tighter seal. Issue 2: Low water pressure - check for blockages in the faucet or water supply lines and clean or replace as needed. Issue 3: Dripping faucet - check for a loose or worn-out washer and replace if necessary. Now that you know how to install and hook up a kitchen sink faucet, you can confidently take on this DIY project and upgrade your kitchen with a new, stylish faucet. Remember to take your time and follow the instructions carefully for a successful and leak-free installation. Happy DIY-ing!Troubleshooting Tips for Kitchen Sink Faucet Hook Up Issues


Troubleshooting Tips for Kitchen Sink Faucet Hook Up Issues


How to Properly Hook Up a Kitchen Sink Faucet

Efficient and Stylish Design for Your Home
 When it comes to designing your home, every detail matters. From the color of the walls to the type of furniture, every aspect contributes to the overall look and feel of your living space. One important area that often gets overlooked is the kitchen sink faucet hook up.
Properly hooking up your kitchen sink faucet is essential not only for functionality but also for the aesthetic appeal of your kitchen.
In this article, we will guide you on how to
efficiently and stylishly
hook up your kitchen sink faucet.
When it comes to designing your home, every detail matters. From the color of the walls to the type of furniture, every aspect contributes to the overall look and feel of your living space. One important area that often gets overlooked is the kitchen sink faucet hook up.
Properly hooking up your kitchen sink faucet is essential not only for functionality but also for the aesthetic appeal of your kitchen.
In this article, we will guide you on how to
efficiently and stylishly
hook up your kitchen sink faucet.
Step 1: Gather your Supplies
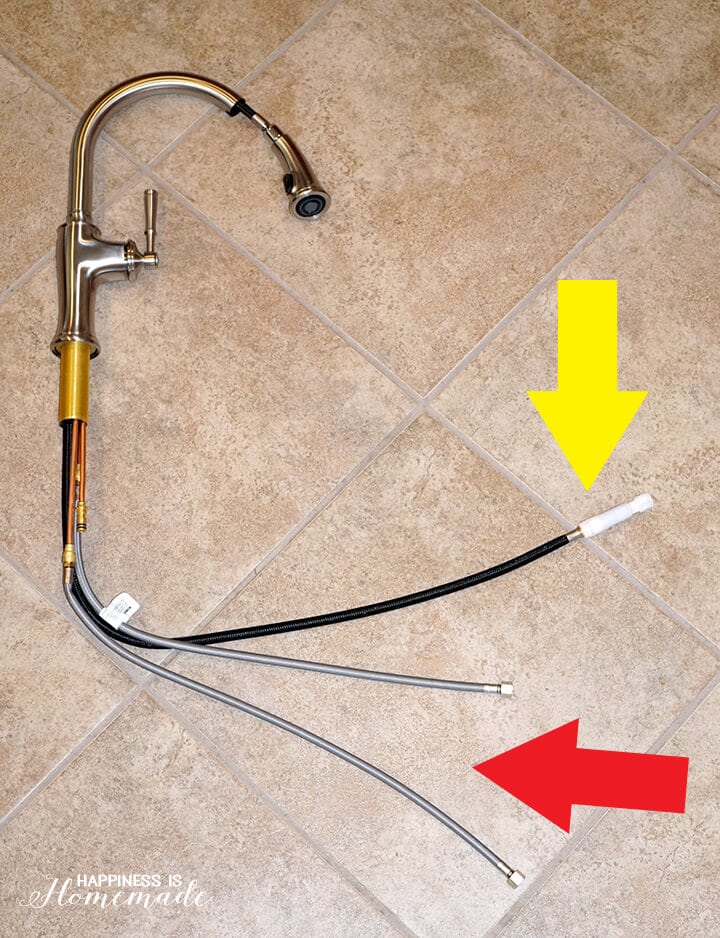
 Before starting the hook-up process, make sure you have all the necessary tools and supplies. These include a new faucet, plumber's putty, adjustable wrench, PTFE tape, and a bucket.
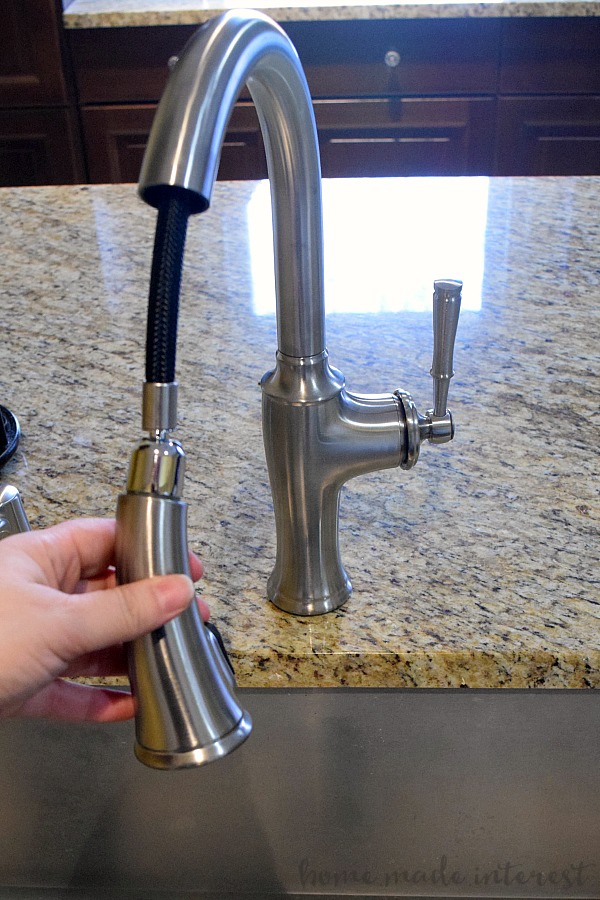
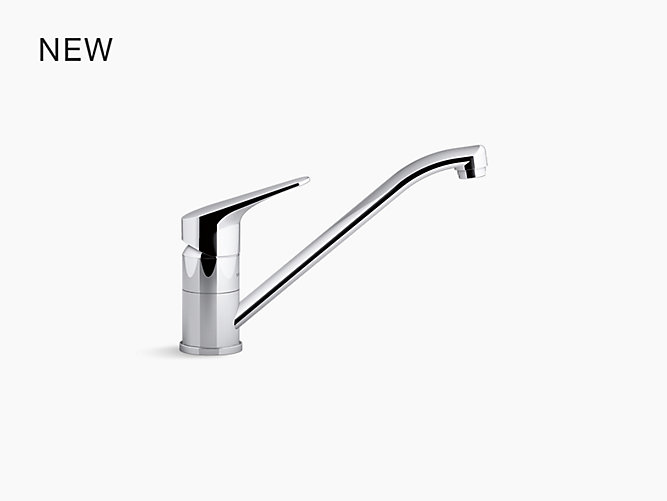
It is important to choose a faucet that complements your kitchen design and fits your sink.
Whether you prefer a sleek and modern design or a more traditional look, there are countless options available in the market.
Before starting the hook-up process, make sure you have all the necessary tools and supplies. These include a new faucet, plumber's putty, adjustable wrench, PTFE tape, and a bucket.
It is important to choose a faucet that complements your kitchen design and fits your sink.
Whether you prefer a sleek and modern design or a more traditional look, there are countless options available in the market.
Step 2: Prepare the Sink
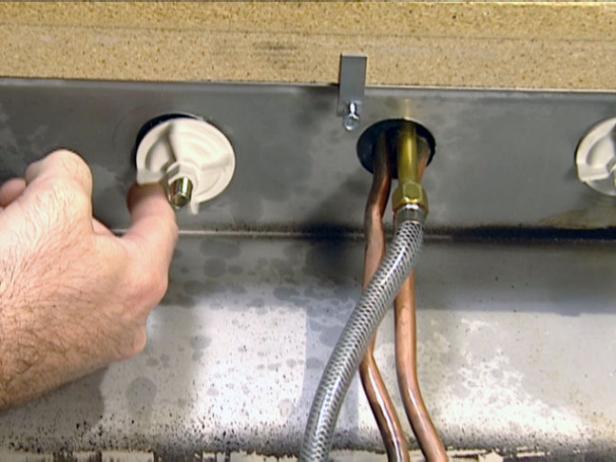
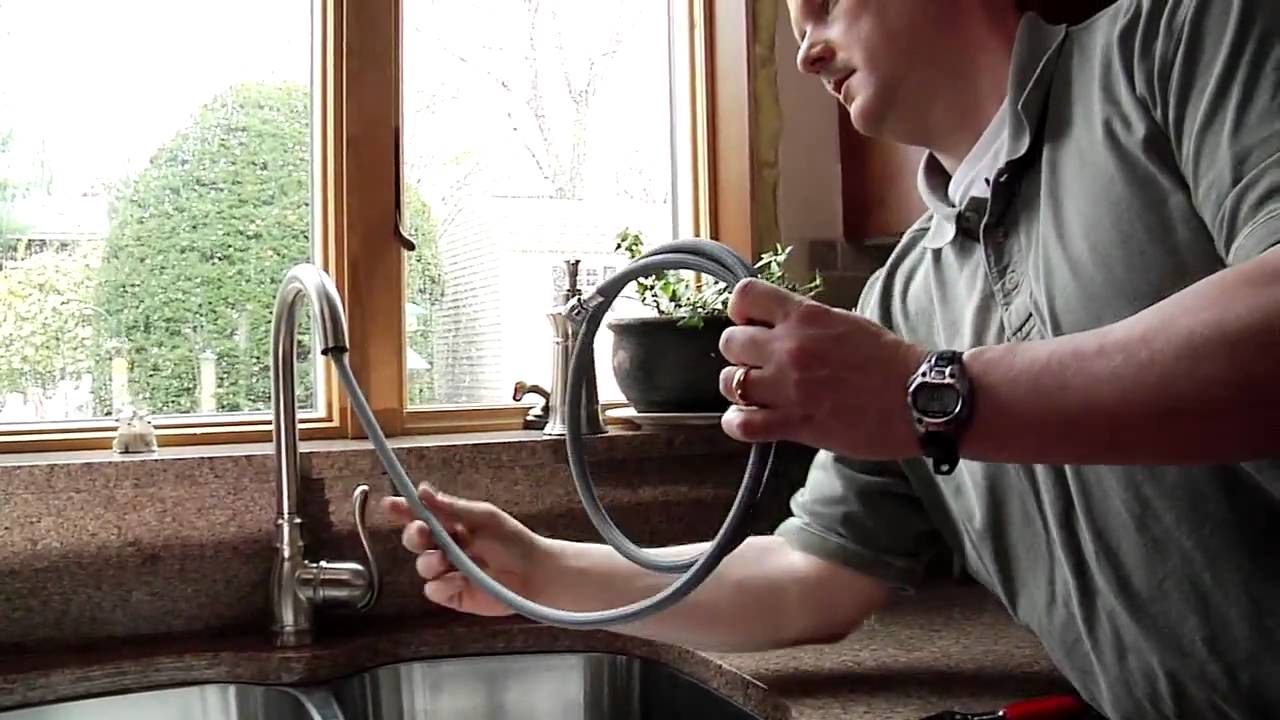
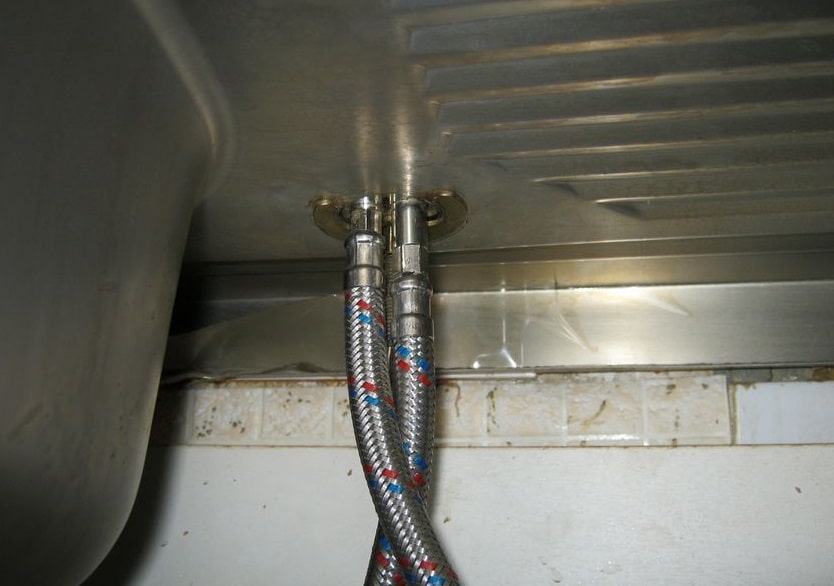
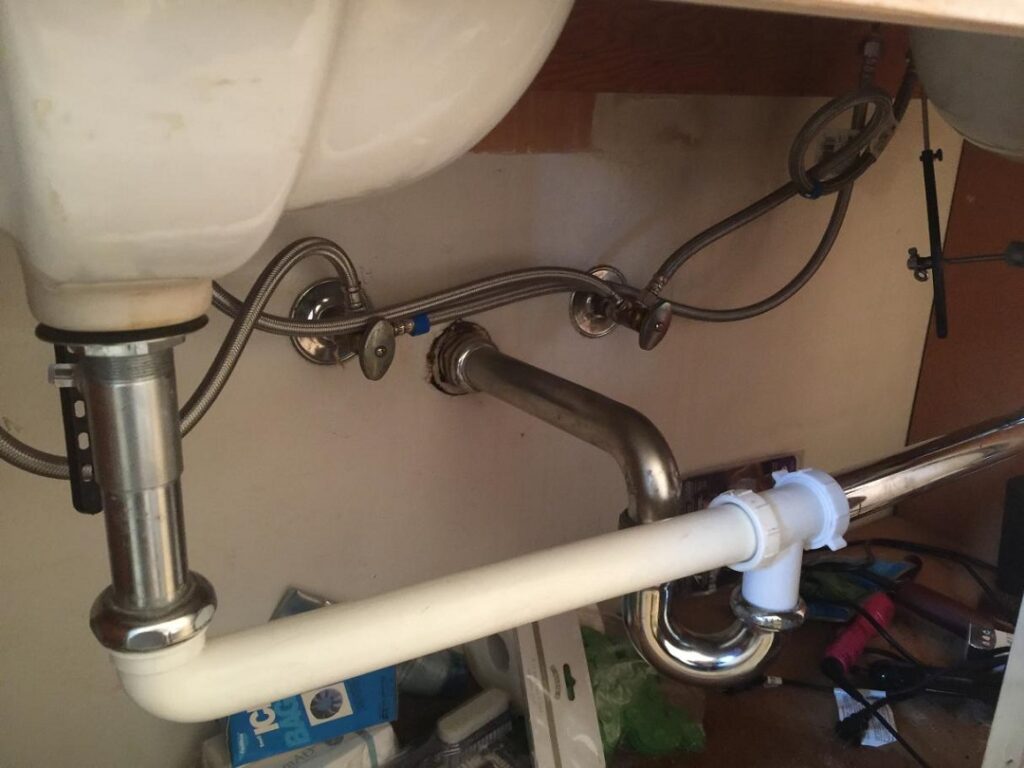
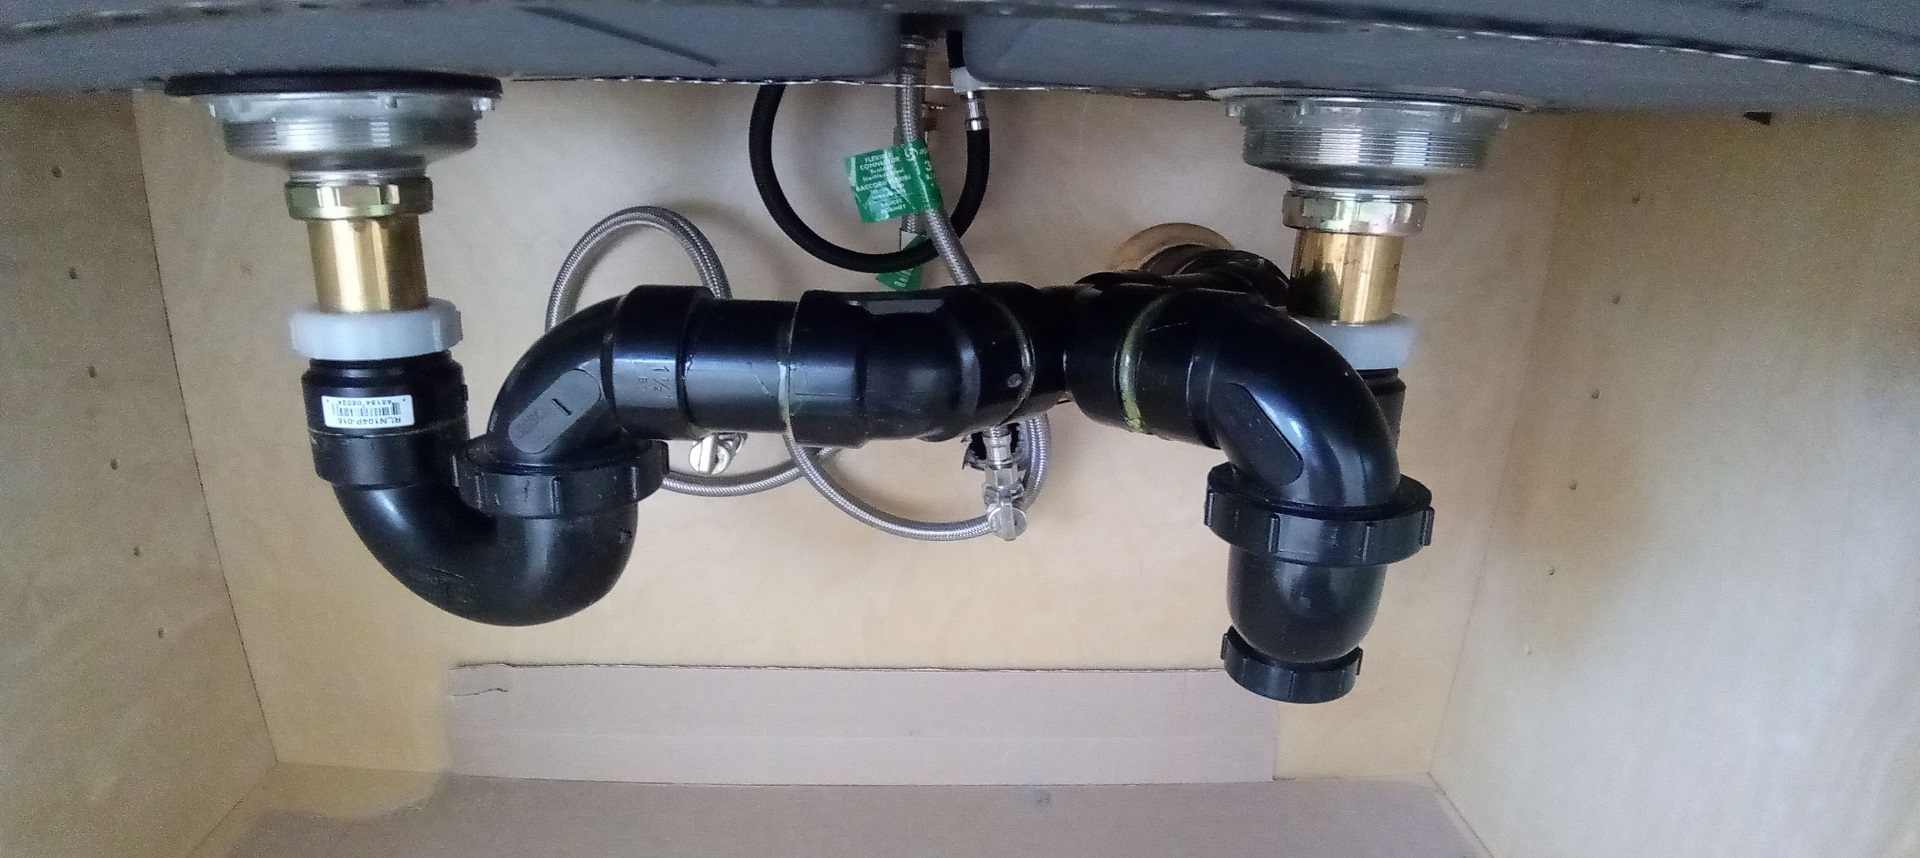
 Start by turning off the water supply to your sink. Then, remove the old faucet by loosening the nuts and disconnecting the water supply lines.
Make sure to place a bucket under the sink to catch any excess water.
Once the old faucet is removed, clean the sink thoroughly and remove any old putty or debris.
Start by turning off the water supply to your sink. Then, remove the old faucet by loosening the nuts and disconnecting the water supply lines.
Make sure to place a bucket under the sink to catch any excess water.
Once the old faucet is removed, clean the sink thoroughly and remove any old putty or debris.
Step 3: Apply Plumber's Putty
 Apply a thin layer of plumber's putty around the base of the new faucet. This will help create a watertight seal between the faucet and the sink.
Make sure to evenly spread the putty to avoid any leaks.
Apply a thin layer of plumber's putty around the base of the new faucet. This will help create a watertight seal between the faucet and the sink.
Make sure to evenly spread the putty to avoid any leaks.
Step 4: Install the Faucet
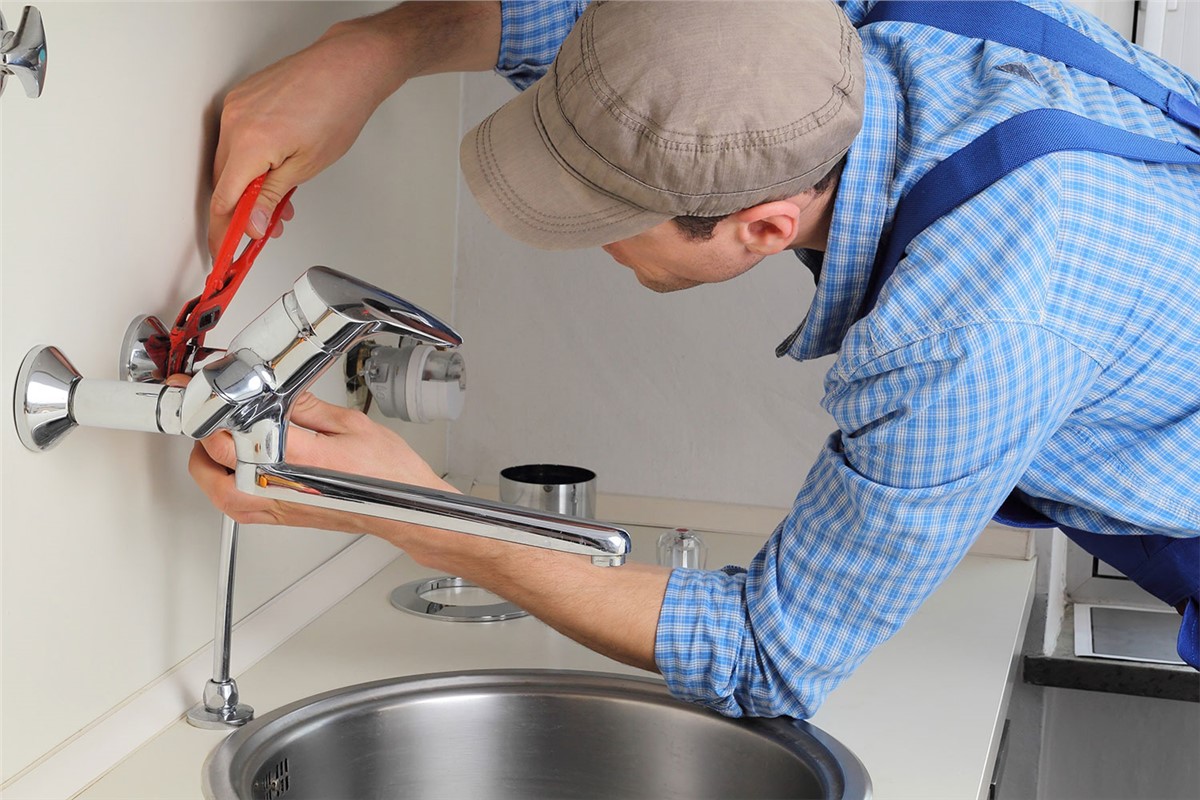
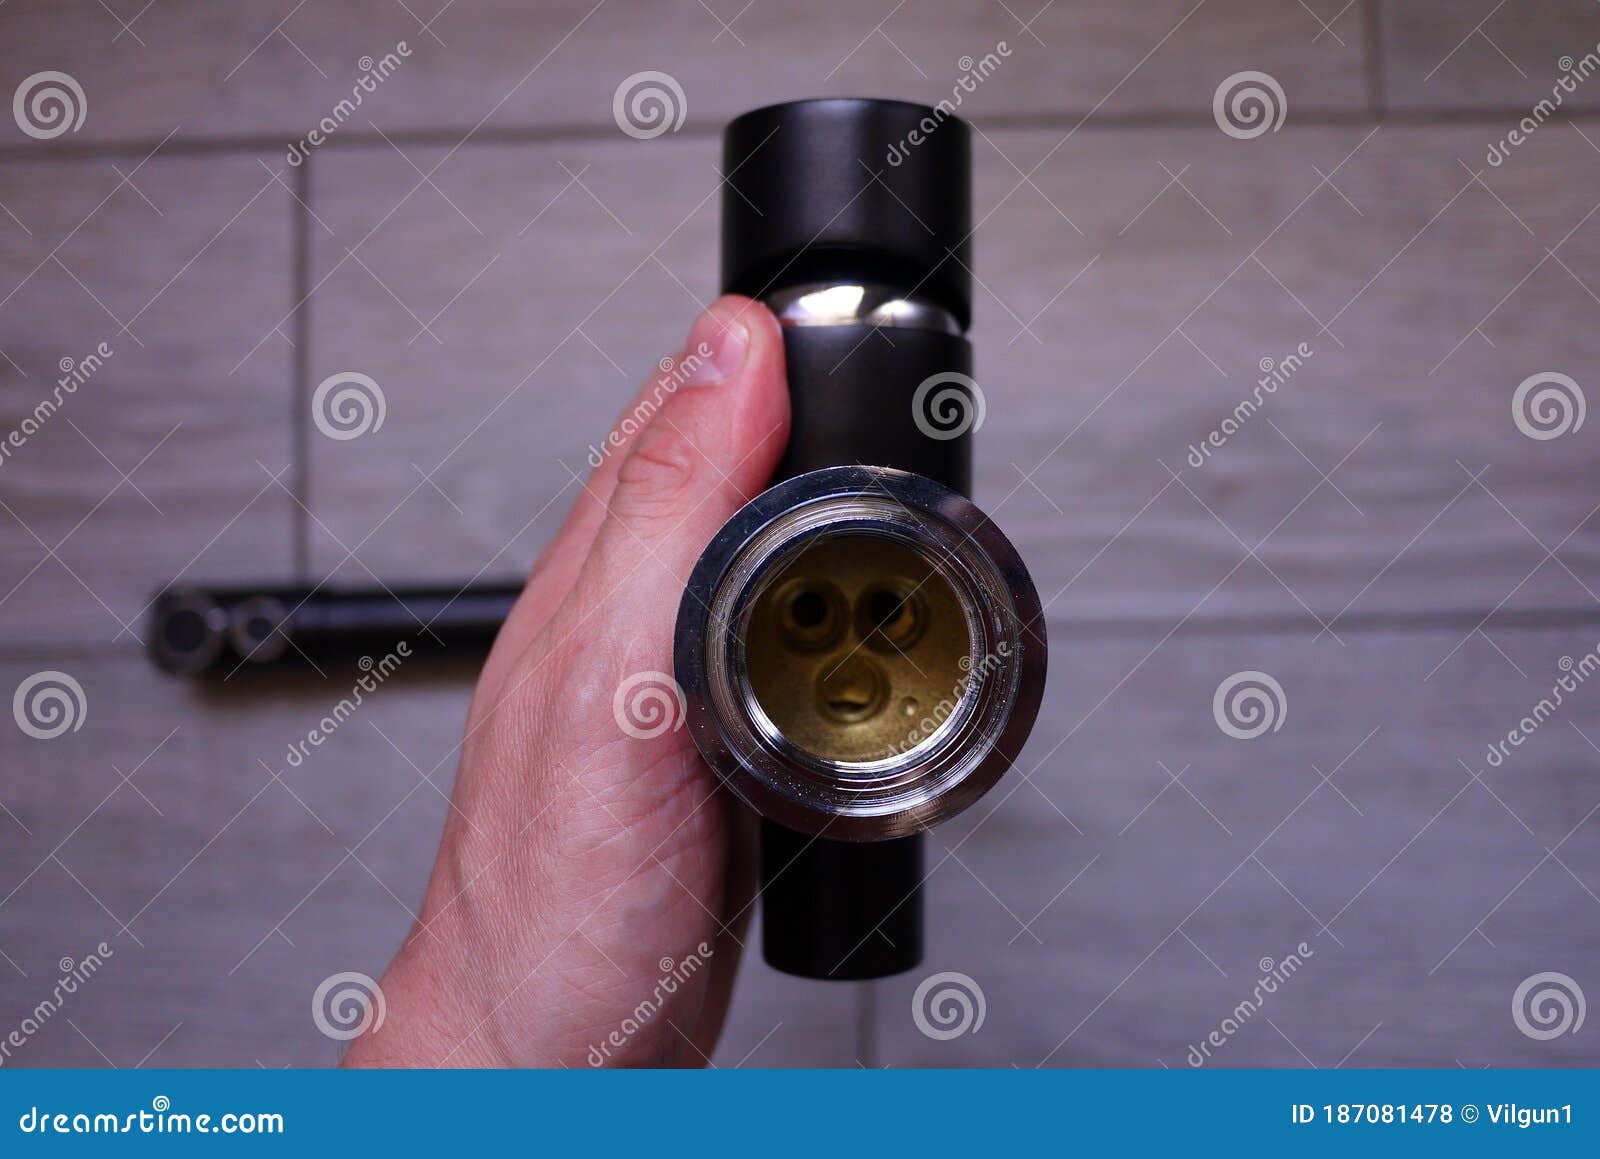
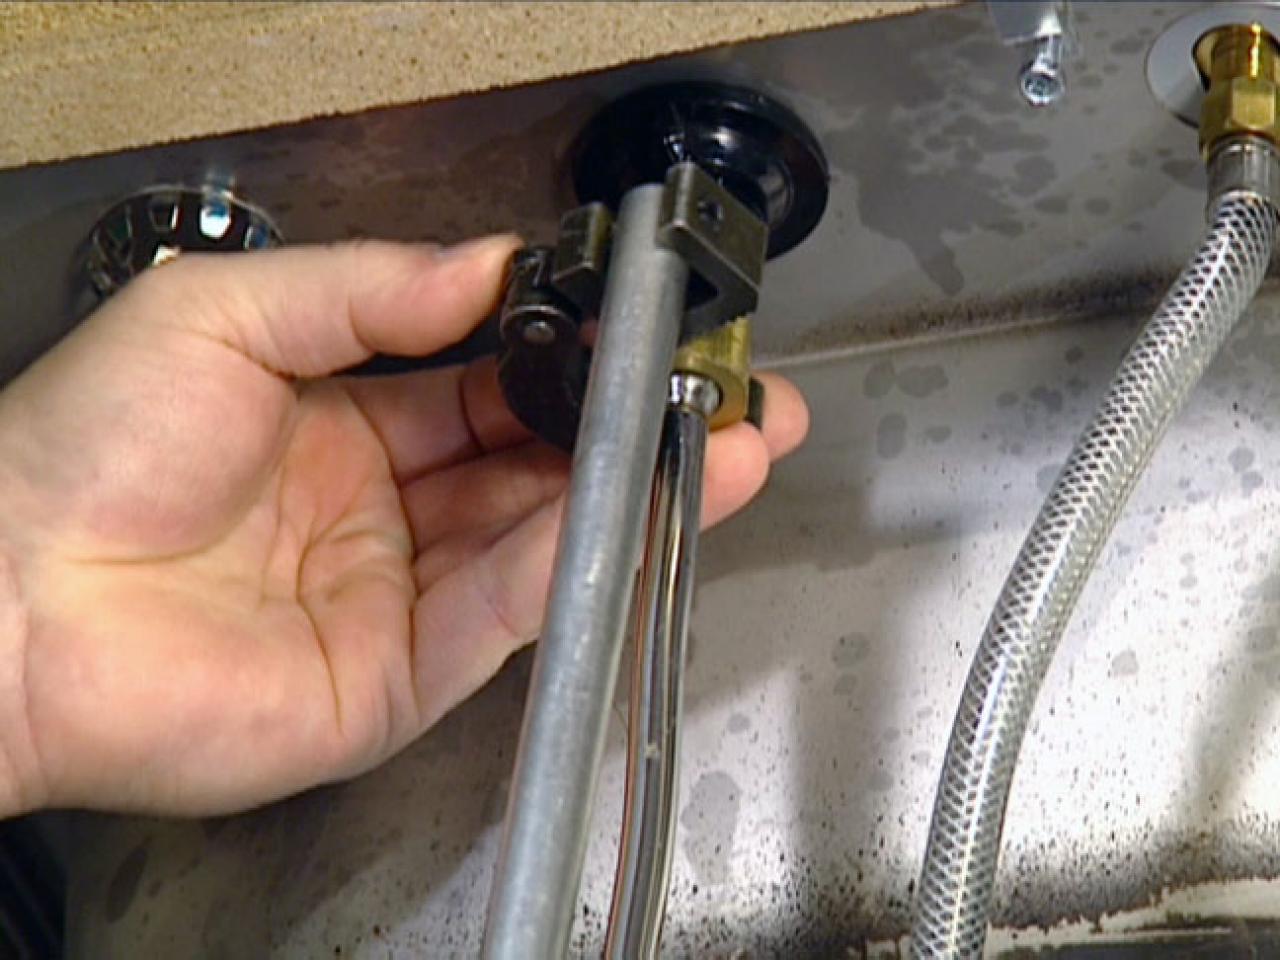
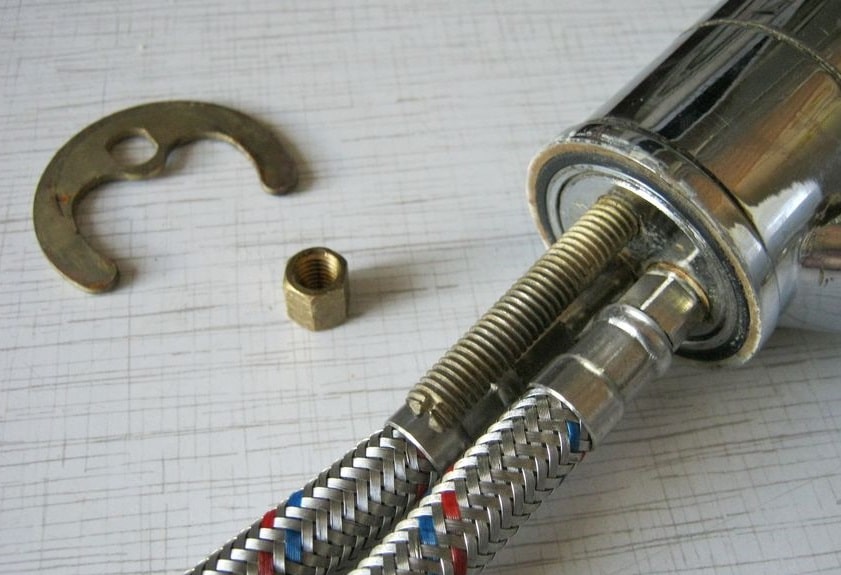
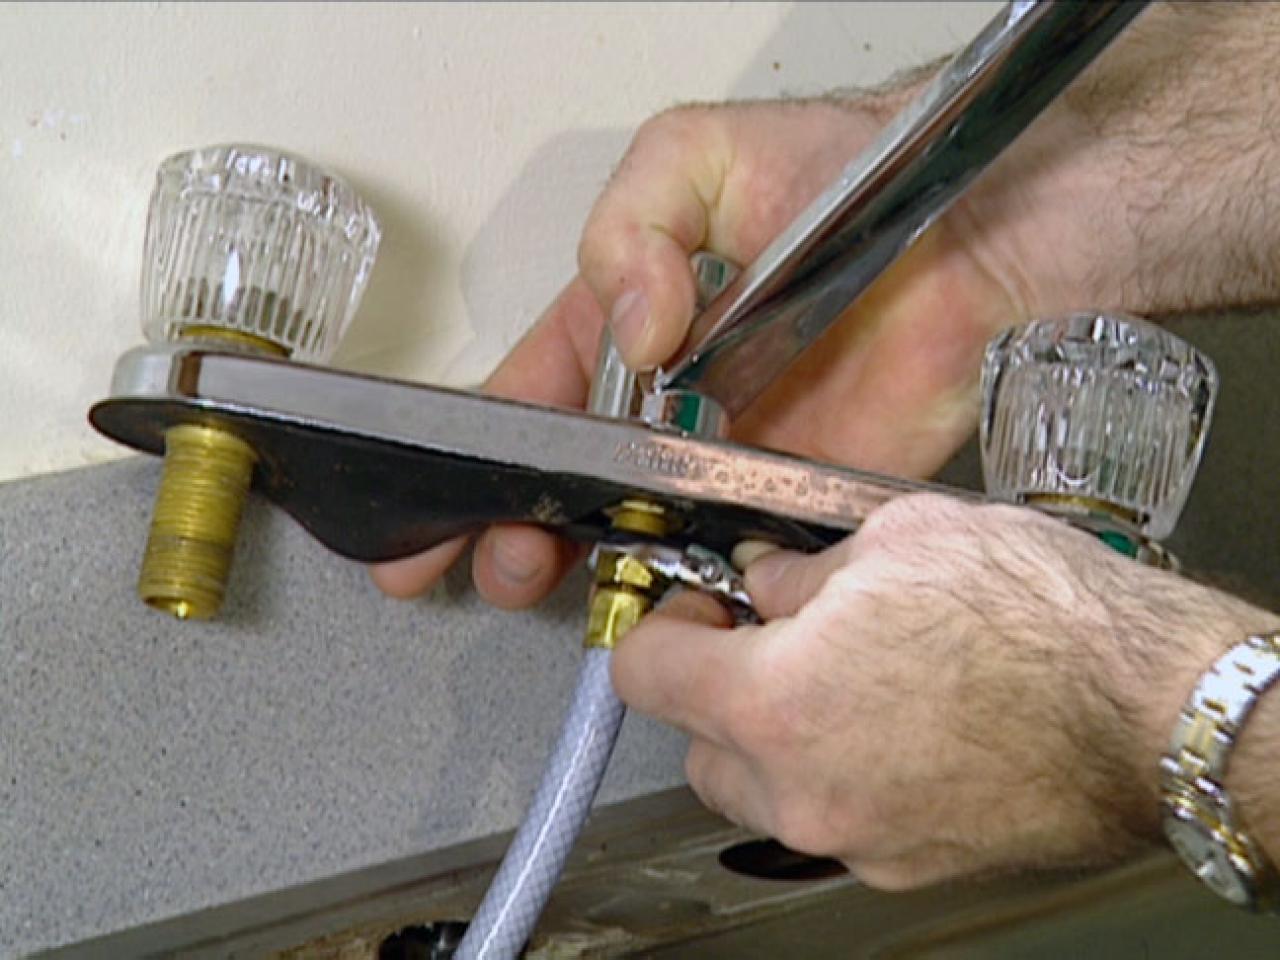 Place the faucet into the mounting holes on the sink and secure it from underneath using the mounting nuts.
Make sure the faucet is straight and properly aligned before tightening the nuts.
Then, connect the water supply lines to the faucet using PTFE tape to ensure a secure connection.
Place the faucet into the mounting holes on the sink and secure it from underneath using the mounting nuts.
Make sure the faucet is straight and properly aligned before tightening the nuts.
Then, connect the water supply lines to the faucet using PTFE tape to ensure a secure connection.
Step 5: Test the Faucet
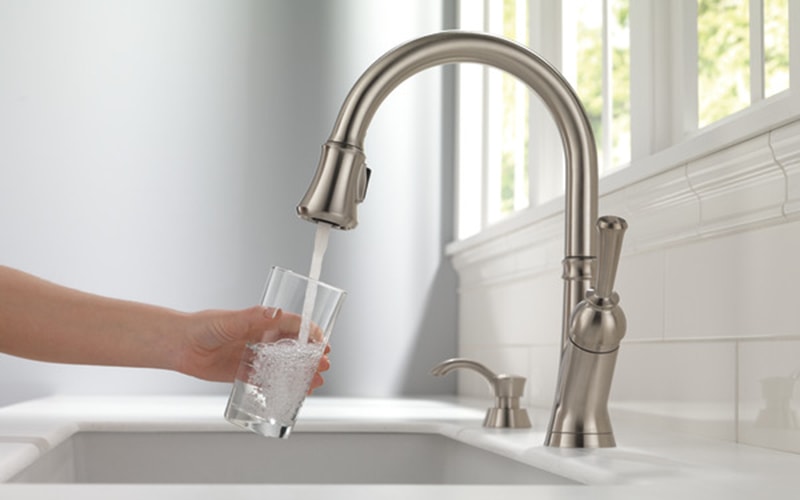
 Turn on the water supply and test the faucet for any leaks. If there are no leaks, you have successfully hooked up your kitchen sink faucet.
Take this opportunity to check if the water pressure and temperature are to your liking.
Turn on the water supply and test the faucet for any leaks. If there are no leaks, you have successfully hooked up your kitchen sink faucet.
Take this opportunity to check if the water pressure and temperature are to your liking.
Step 6: Finishing Touches
 Once everything is in place, clean up any excess putty or debris and give your sink a final wipe down.
You can also add some finishing touches such as a soap dispenser or a sprayer to enhance the functionality and style of your kitchen sink faucet.
With these simple steps, you can efficiently and stylishly hook up your kitchen sink faucet.
Remember to regularly maintain and clean your faucet to ensure its longevity and keep your kitchen looking beautiful.
Now go ahead and enjoy your newly installed faucet while admiring the overall design of your kitchen.
Once everything is in place, clean up any excess putty or debris and give your sink a final wipe down.
You can also add some finishing touches such as a soap dispenser or a sprayer to enhance the functionality and style of your kitchen sink faucet.
With these simple steps, you can efficiently and stylishly hook up your kitchen sink faucet.
Remember to regularly maintain and clean your faucet to ensure its longevity and keep your kitchen looking beautiful.
Now go ahead and enjoy your newly installed faucet while admiring the overall design of your kitchen.