If you're tired of dealing with clogged kitchen sinks, then it's time to install a new drain strainer basket. This small but essential kitchen accessory helps prevent food scraps and debris from clogging your pipes and causing unpleasant odors. Don't worry, installing a kitchen sink drain strainer basket is an easy DIY task that can be completed in just a few simple steps. Step 1: Gather your tools and materials. You will need a new kitchen sink drain strainer basket, a plunger, plumber's putty, a wrench, and a bucket or towel to catch any water that may spill out during the installation process. Step 2: Remove the old strainer basket. Start by placing a plunger over the drain to create a vacuum seal. Then, using a wrench, loosen and remove the old strainer basket. If it's stuck, you may need to use a bit of force or apply some lubricant to help loosen it. Step 3: Clean the sink and drain. Once the old strainer basket is removed, take the opportunity to clean the sink and drain thoroughly. Use a mild detergent and a scrub brush to remove any grime or buildup. Step 4: Apply plumber's putty. Roll a small amount of plumber's putty into a long, thin string and place it around the edge of the drain hole. This will help create a watertight seal when the new strainer basket is installed. Step 5: Install the new strainer basket. Place the new strainer basket over the drain hole, making sure the plumber's putty creates a seal between the basket and the sink. Then, using your wrench, tighten the locknut underneath the sink to secure the basket in place. Step 6: Clean up and test. Wipe away any excess plumber's putty and turn on the water to make sure there are no leaks. If everything looks good, you're all set!How to Install a Kitchen Sink Drain Strainer Basket


How to Install a Kitchen Sink Drain Strainer Basket

/how-to-install-a-sink-drain-2718789-hero-b5b99f72b5a24bb2ae8364e60539cece.jpg)


Over time, kitchen sink drain strainer baskets can become worn out or damaged, causing them to leak or not work properly. If this is the case, it's important to replace the old basket with a new one to prevent further issues. Here's how to do it: Step 1: Gather your tools and materials. You will need a new kitchen sink drain strainer basket, a plunger, plumber's putty, a wrench, and a bucket or towel to catch any water that may spill out during the replacement process. Step 2: Remove the old strainer basket. Follow the same steps as mentioned in the installation process to remove the old strainer basket from the sink. Step 3: Clean the sink and drain. Use a mild detergent and a scrub brush to clean the sink and drain, removing any buildup or residue left behind from the old basket. Step 4: Apply plumber's putty. Just like in the installation process, apply a thin layer of plumber's putty around the edge of the drain hole. Step 5: Install the new strainer basket. Place the new strainer basket over the drain hole, making sure to create a tight seal with the plumber's putty. Then, tighten the locknut underneath the sink to secure the basket in place. Step 6: Test for leaks. Turn on the water and check for any leaks. If everything looks good, you've successfully replaced your kitchen sink drain strainer basket.How to Replace a Kitchen Sink Drain Strainer Basket


How to Replace a Kitchen Sink Drain Strainer Basket


Regularly cleaning your kitchen sink drain strainer basket is essential to keep it functioning properly and to prevent any unpleasant odors from developing. Here's how to do it: Step 1: Remove the strainer basket. Unscrew the locknut underneath the sink and remove the strainer basket from the drain. Step 2: Soak in hot water. Fill a bucket or sink with hot water and add a small amount of dish soap. Place the strainer basket in the water and let it soak for about 15 minutes to help loosen any buildup or debris. Step 3: Scrub. Use a scrub brush or toothbrush to clean the strainer basket, making sure to remove any trapped food or grime. Step 4: Rinse and dry. Rinse the strainer basket with hot water and dry it thoroughly with a towel. Step 5: Reinstall. Once the strainer basket is clean and dry, reinstall it in the sink and tighten the locknut underneath.How to Clean a Kitchen Sink Drain Strainer Basket

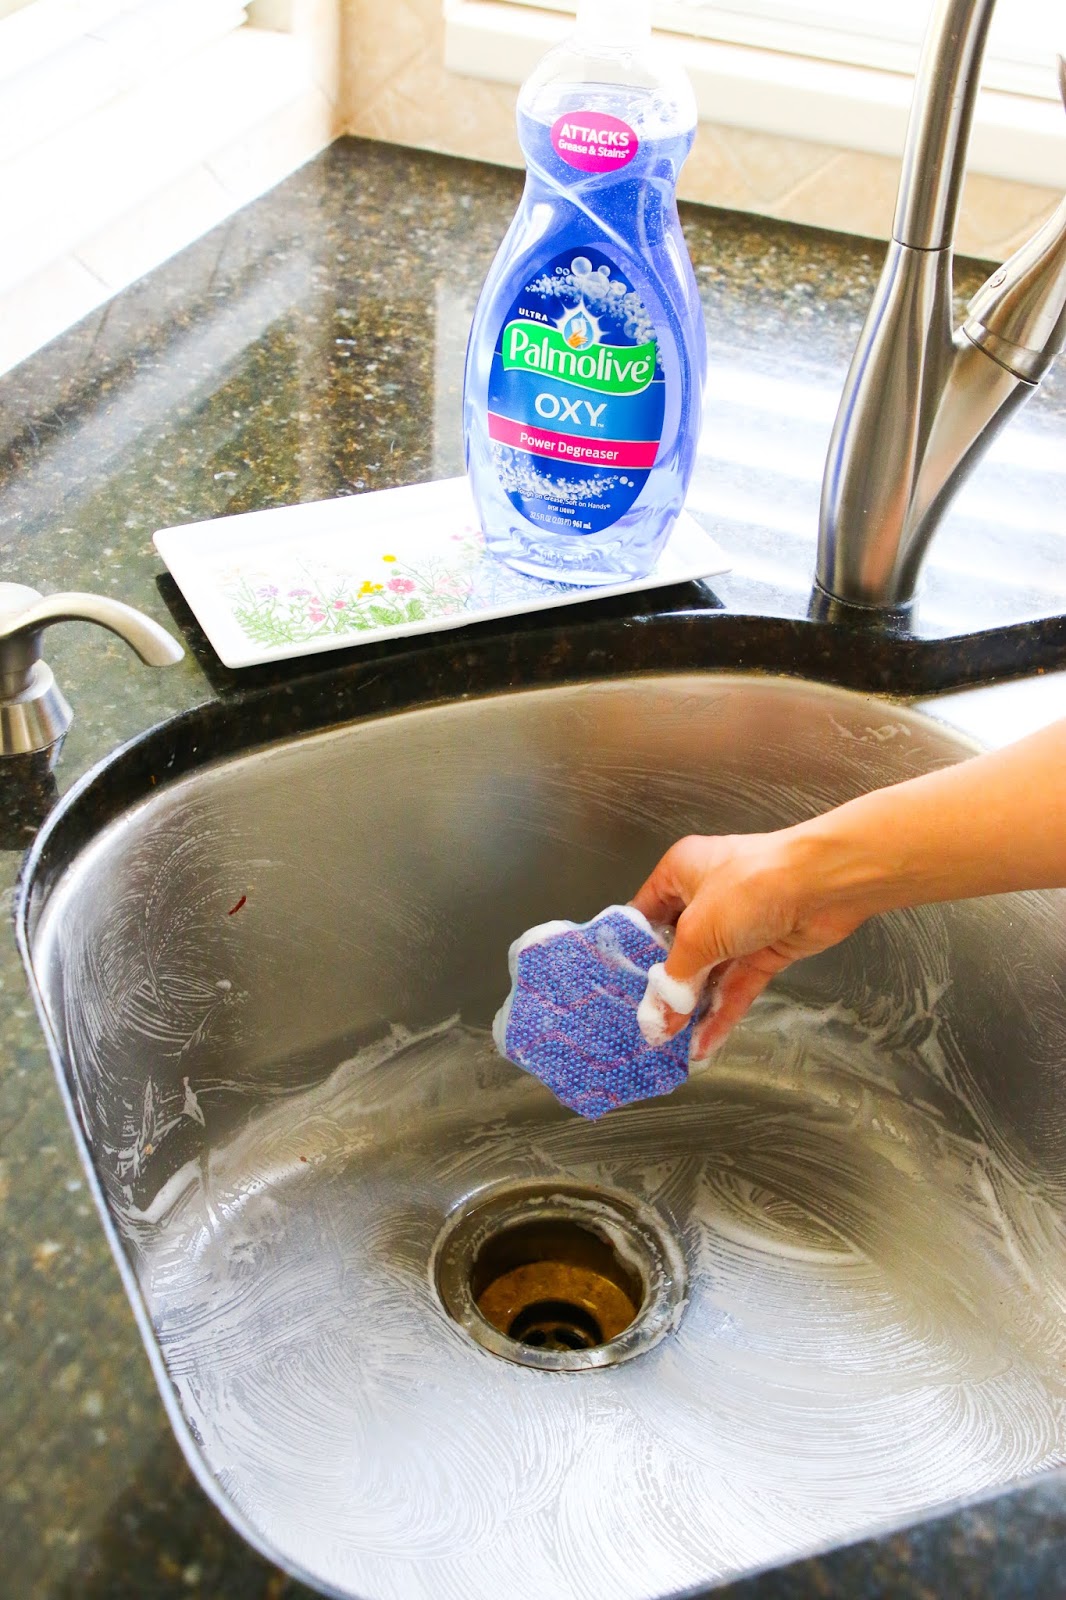
How to Clean a Kitchen Sink Drain Strainer Basket


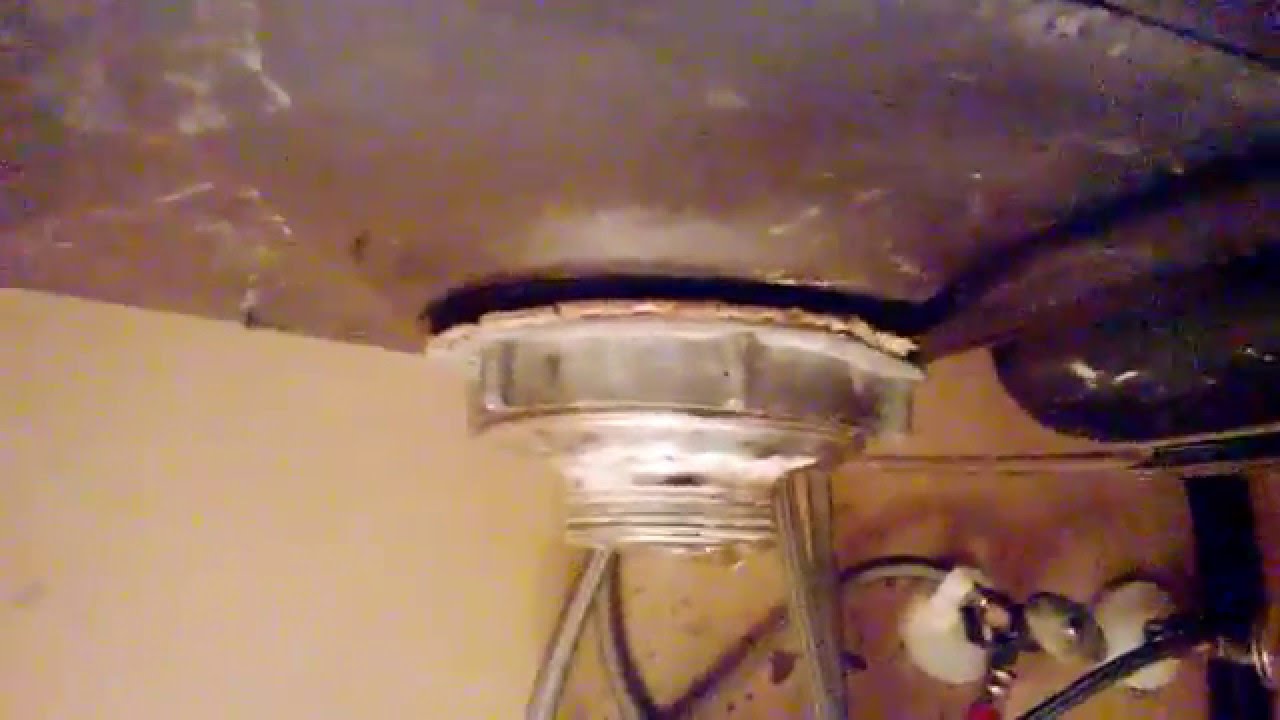
If you need to remove your kitchen sink drain strainer basket for any reason, such as to clean it or fix a clog, here's how to do it: Step 1: Gather your tools and materials. You will need a plunger, a wrench, and a bucket or towel to catch any water that may spill out during the removal process. Step 2: Plunge the drain. Place a plunger over the drain and create a vacuum seal. Then, plunge the drain a few times to help loosen any clogs or buildup. Step 3: Remove the strainer basket. Using a wrench, loosen and remove the locknut underneath the sink. This will release the strainer basket from the drain. Step 4: Clean and reinstall. Clean the strainer basket and the drain before reinstalling the basket and tightening the locknut again.How to Remove a Kitchen Sink Drain Strainer Basket

How to Remove a Kitchen Sink Drain Strainer Basket


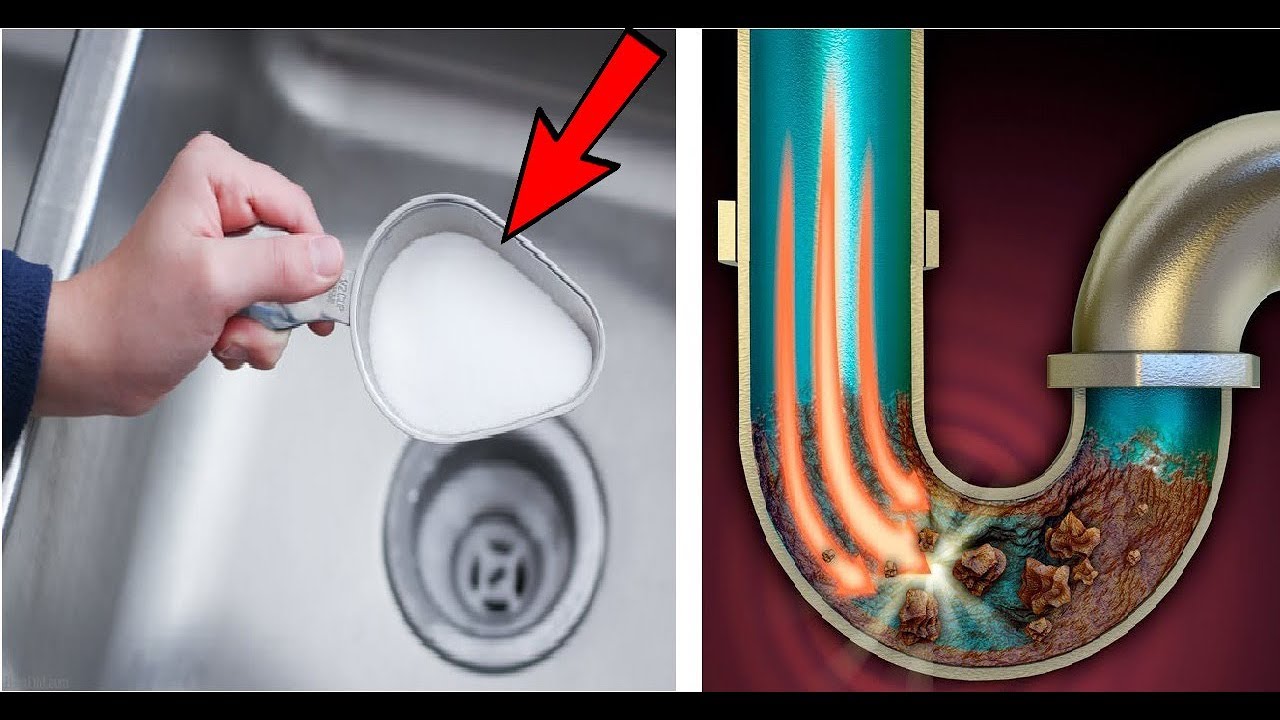
If your kitchen sink drain strainer basket is clogged, it can cause water to drain slowly or not at all. Here's how to fix the issue: Step 1: Gather your tools and materials. You will need a plunger, a plumber's snake, and a bucket or towel to catch any water that may spill out during the unclogging process. Step 2: Plunge the drain. Start by using a plunger to try and loosen the clog. Make sure to create a tight seal over the drain before plunging. Step 3: Use a plumber's snake. If plunging doesn't work, you can try using a plumber's snake to manually remove the clog. Insert the snake into the drain and rotate it until you feel the clog break up. Step 4: Clean and test. Once the clog is cleared, clean the strainer basket and the drain before testing to make sure the water drains properly.How to Unclog a Kitchen Sink Drain Strainer Basket


How to Unclog a Kitchen Sink Drain Strainer Basket


A leaky kitchen sink drain strainer basket can cause water to drip under your sink, leading to potential water damage and mold growth. Here's how to fix it: Step 1: Gather your tools and materials. You will need a wrench, plumber's putty, and a new strainer basket gasket. Step 2: Remove the basket. Using a wrench, loosen and remove the locknut underneath the sink to release the basket from the drain. Step 3: Replace the gasket. Remove the old gasket and replace it with a new one. Make sure it is properly aligned with the strainer basket. Step 4: Apply plumber's putty. Roll plumber's putty into a long, thin string and place it around the edge of the drain hole. Step 5: Reinstall. Place the strainer basket back over the drain hole, making sure the gasket and plumber's putty create a tight seal. Then, tighten the locknut underneath the sink to secure the basket in place. Step 6: Test for leaks. Turn on the water and check for any leaks. If everything looks good, you've successfully fixed the leak.How to Fix a Leaky Kitchen Sink Drain Strainer Basket


How to Fix a Leaky Kitchen Sink Drain Strainer Basket


If your kitchen sink drain strainer basket is not sitting correctly in the sink or is causing water to drain slowly, it may need to be adjusted. Here's how to do it: Step 1: Gather your tools and materials. You will need a wrench and a bucket or towel to catch any water that may spill out during the adjustment process. Step 2: Remove the basket. Using a wrench, loosen and remove the locknut underneath the sink to release the basket from the drain. Step 3: Adjust the position. Move the basket to the desired position and make sure it is sitting evenly in the sink. Step 4: Reinstall. Place the basket back over the drain hole and tighten the locknut underneath the sink to secure it in place. Step 5: Test. Turn on the water and check for any leaks or drainage issues. If everything looks good, you've successfully adjusted the strainer basket.How to Adjust a Kitchen Sink Drain Strainer Basket


How to Adjust a Kitchen Sink Drain Strainer Basket


If your kitchen sink drain strainer basket seems loose or is causing water to leak, it may need to be tightened. Here's how to do it: Step 1: Gather your tools and materials. You will need a wrench and a bucket or towel to catch any water that may spill out during the tightening process. Step 2: Remove the basket. Using a wrench, loosen and remove the locknut underneath the sink to release the basket from the drain. Step 3: Tighten the locknut. Use a wrench to tighten the locknut underneath the sink, making sure it is secure. Step 4: Reinstall. Place the basket back over the drain hole and tighten the locknut again to secure it in place. Step 5: Test. Turn on the water and check for any leaks. If everything looks good, you've successfully tightened the strainer basket.How to Tighten a Kitchen Sink Drain Strainer Basket


How to Tighten a Kitchen Sink Drain Strainer Basket


Rust is not only unsightly, but it can also cause your kitchen sink drain strainer basket to deteriorate over time. Here's how to remove rust and keep your strainer basket looking like new: Step 1: Gather your tools and materials. You will need a rust remover product, a scrub brush or toothbrush, and a towel. Step 2: Apply the rust remover. Follow the instructions on the product to apply the rust remover to the affected area. Step 3: Scrub. Use a scrub brush or toothbrush to scrub away the rust and any other buildup on the strainer basket. Step 4: Rinse and dry. Rinse the strainer basket with water and dry it thoroughly with a towel. Step 5: Reinstall. Once the strainer basket is clean and dry, reinstall it in the sink and tighten the locknut underneath.How to Remove Rust from a Kitchen Sink Drain Strainer Basket

How to Remove Rust from a Kitchen Sink Drain Strainer Basket


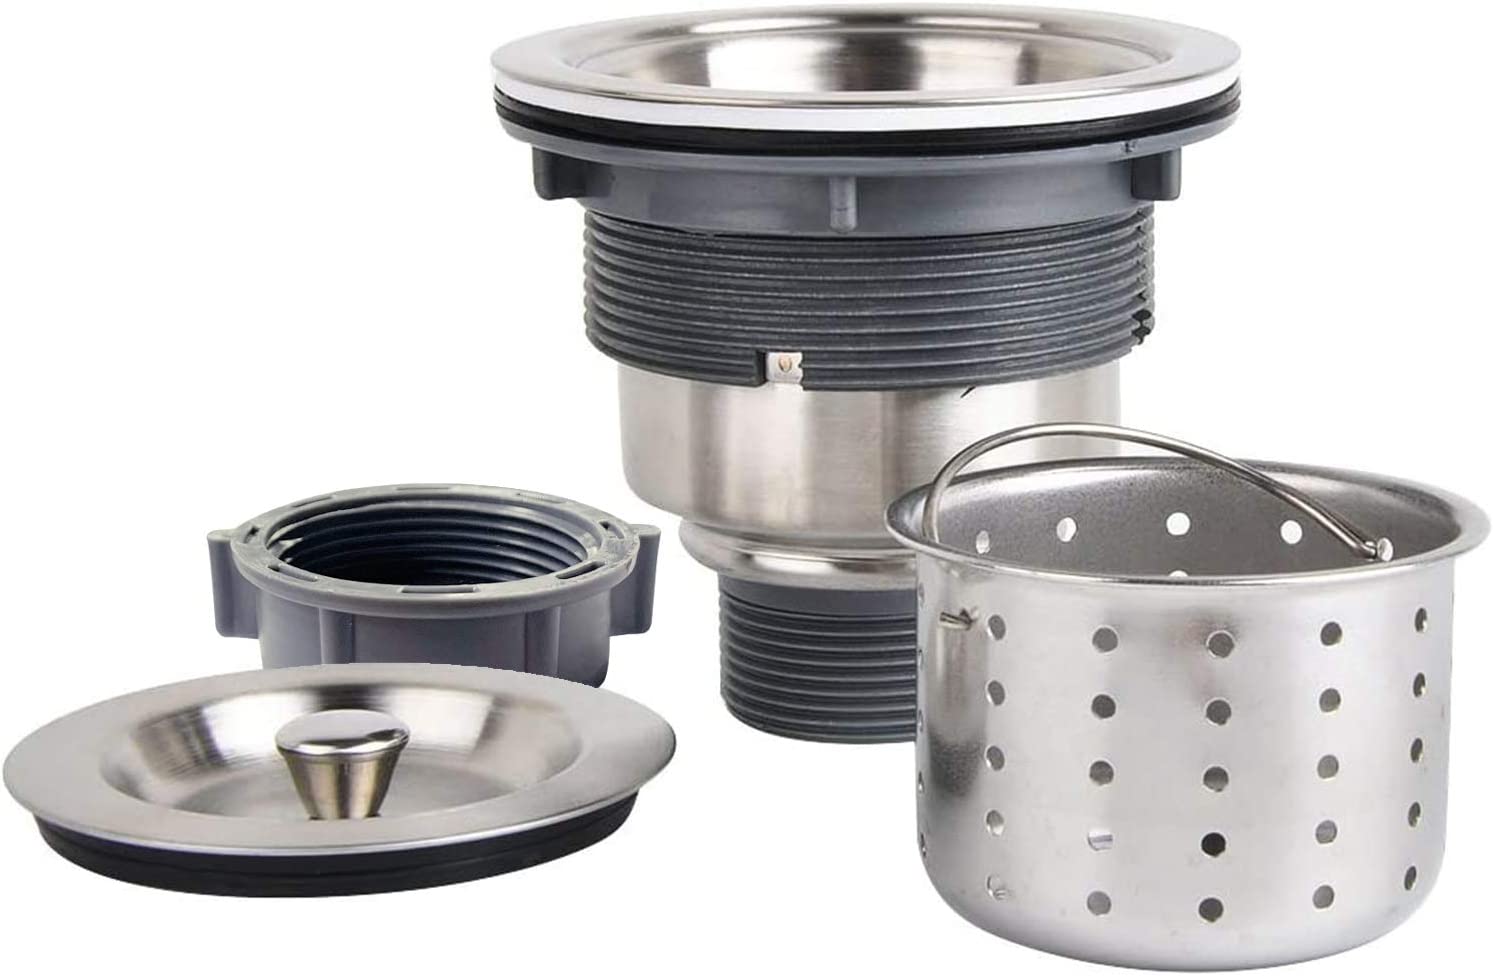
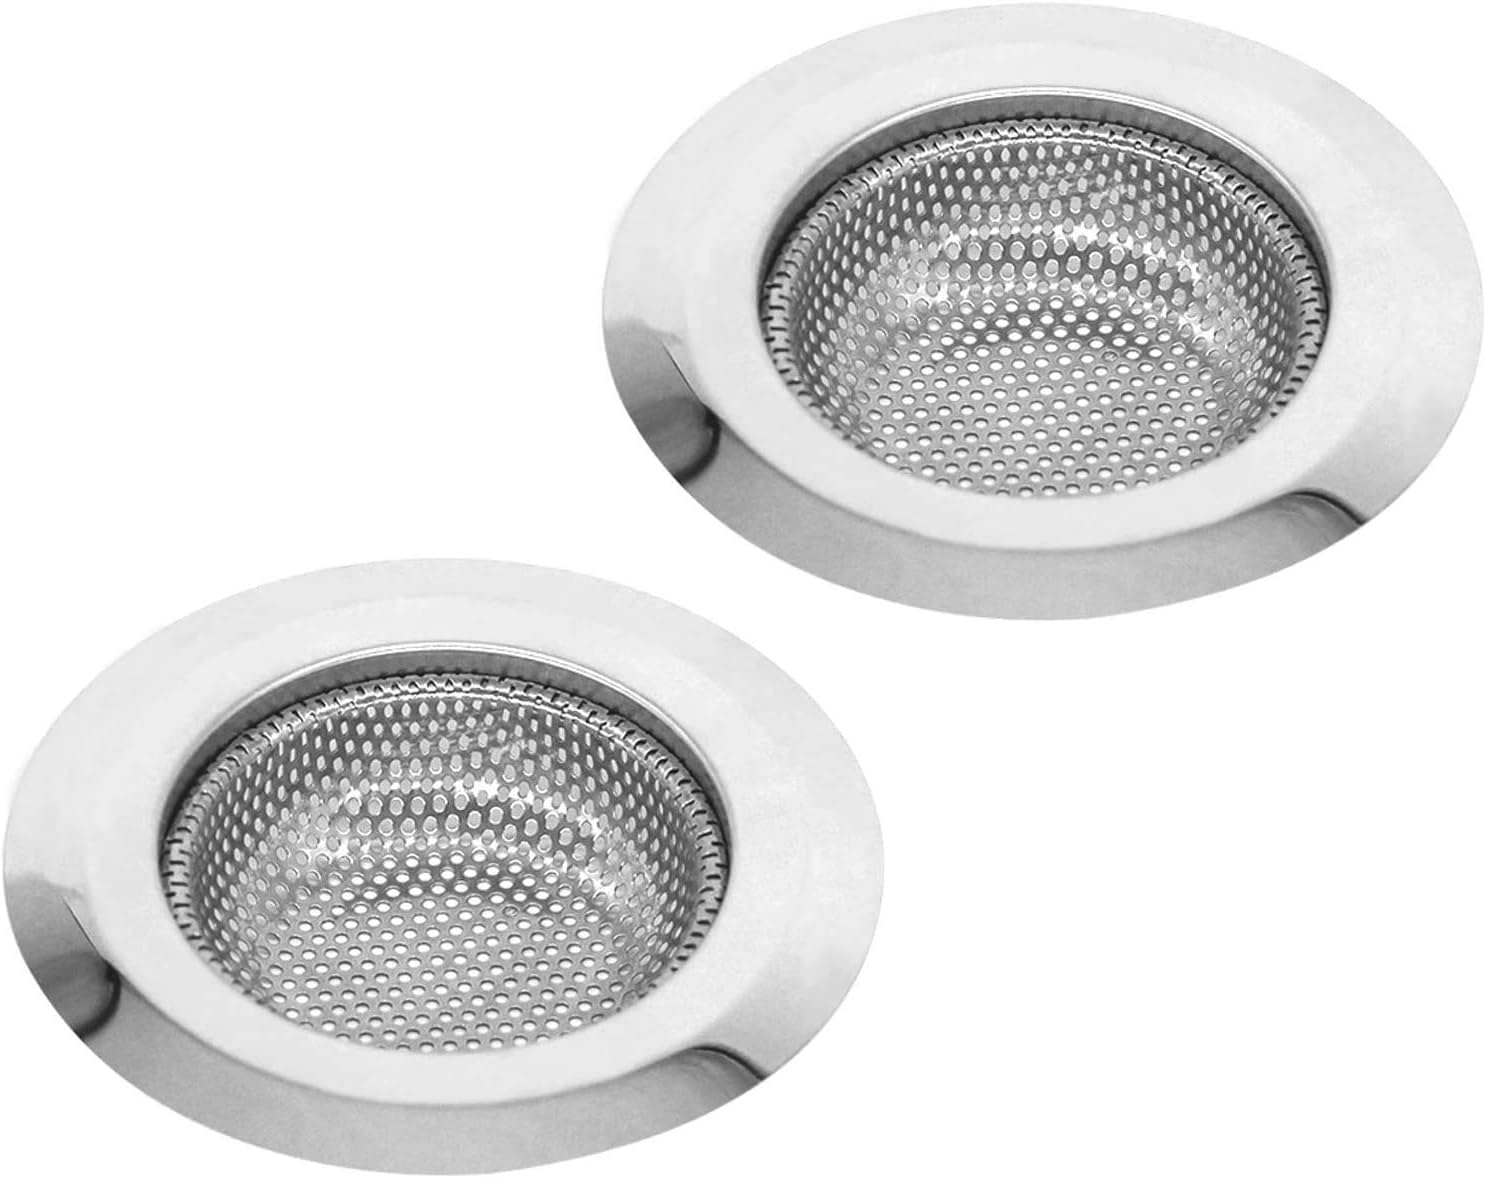
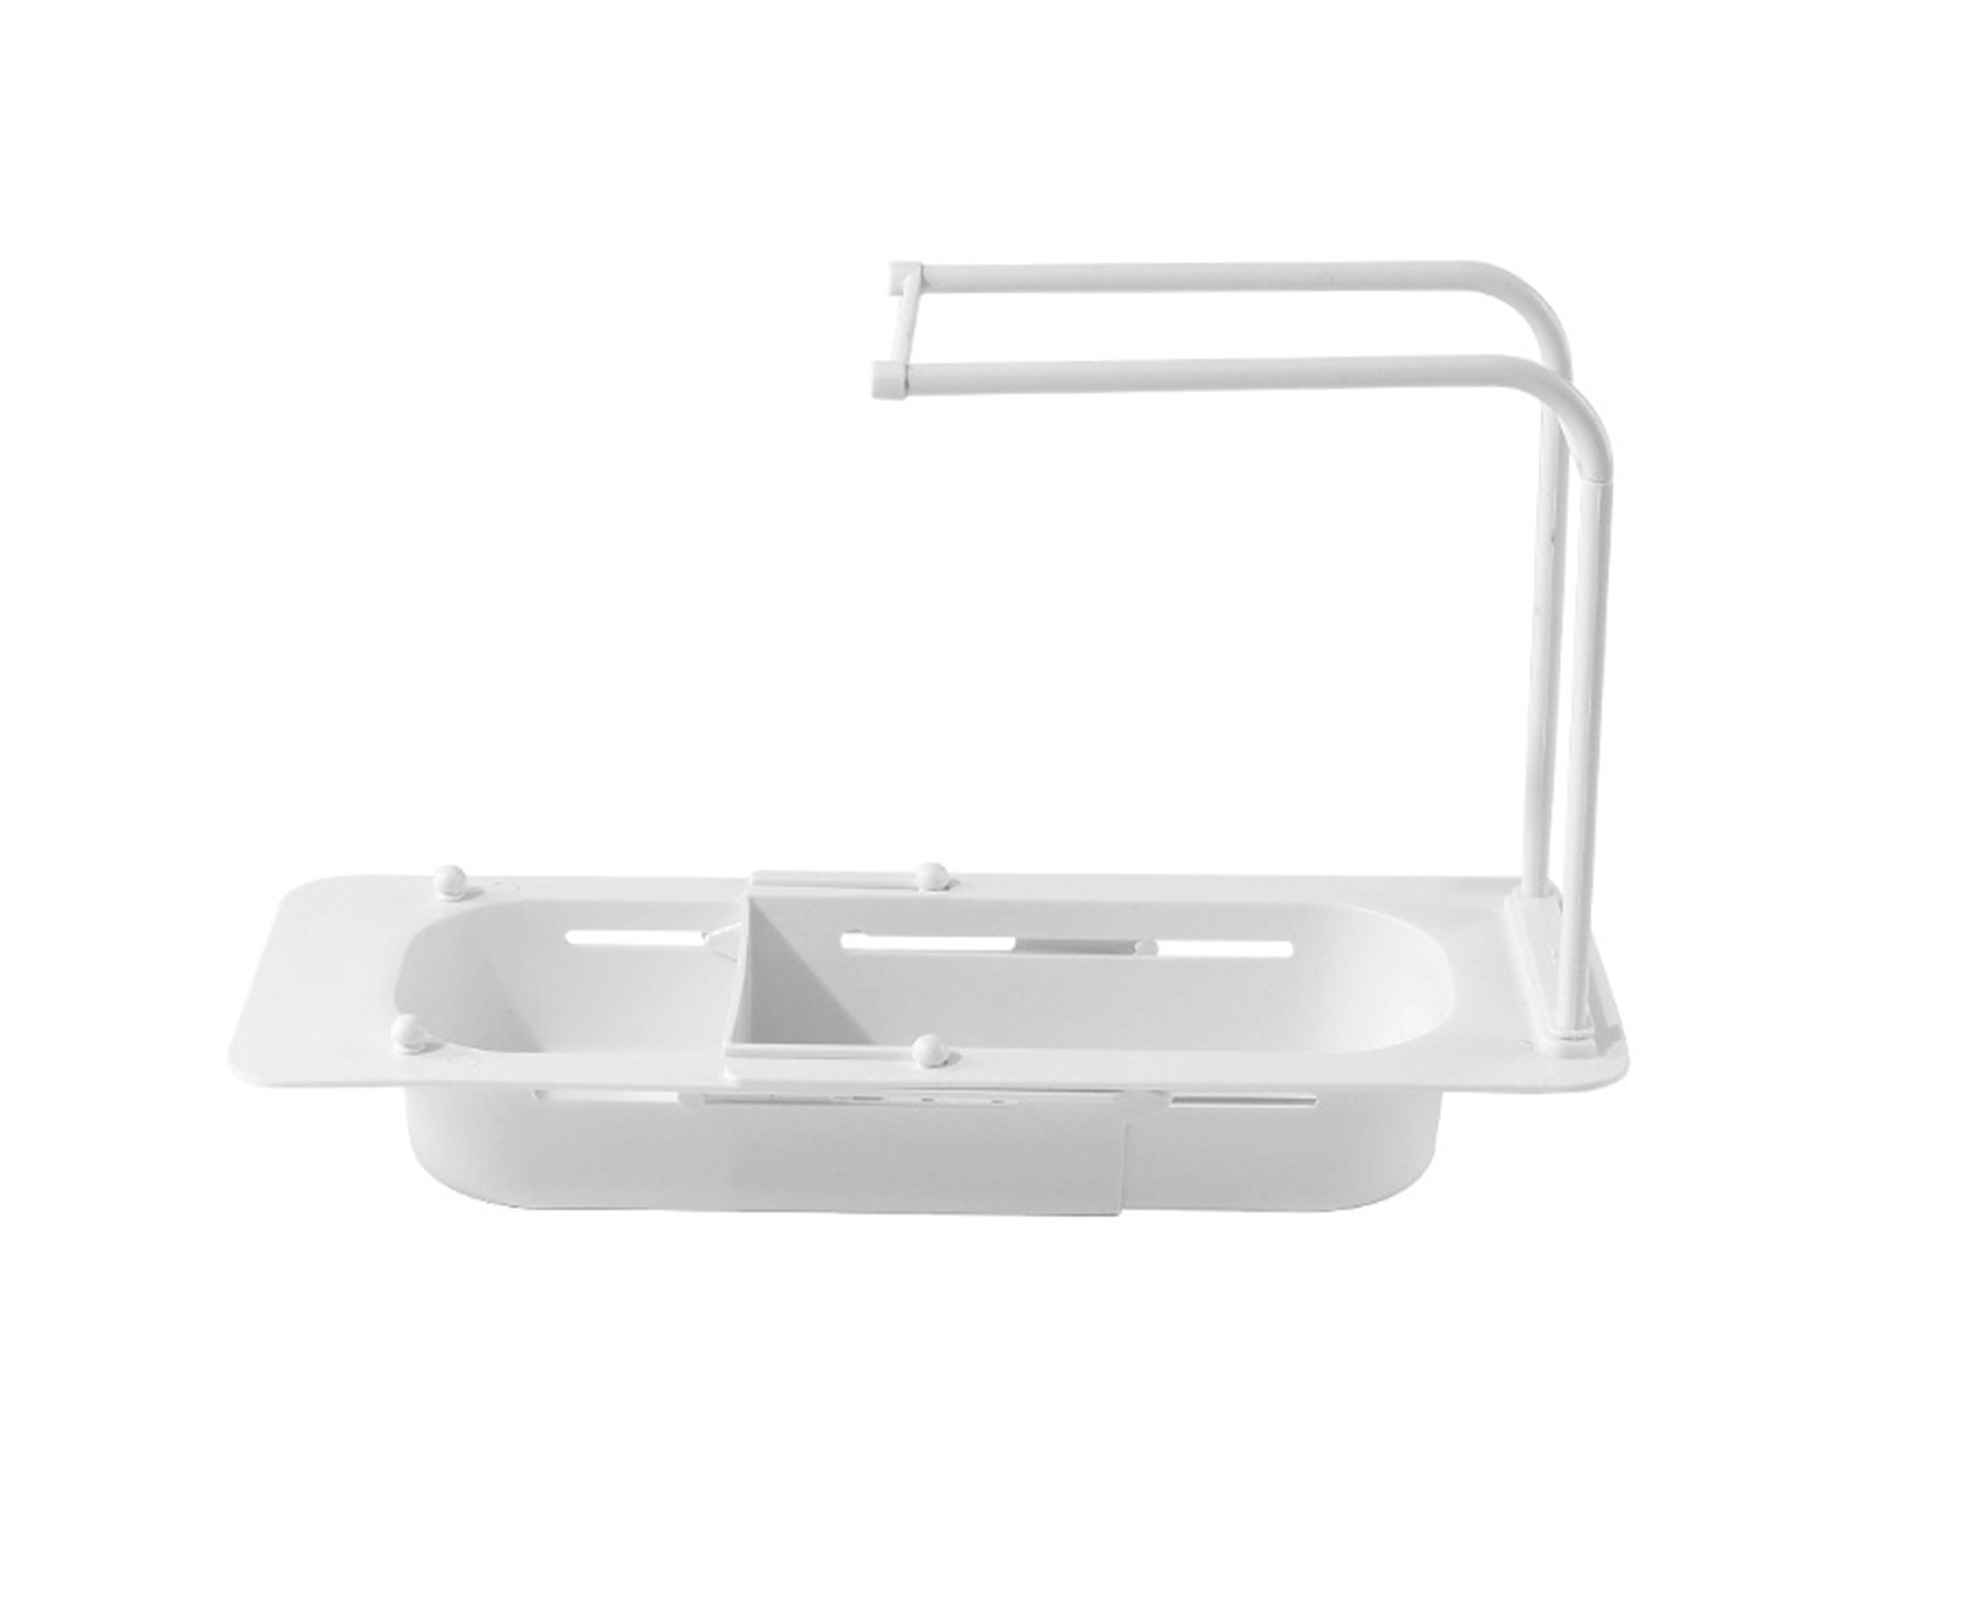
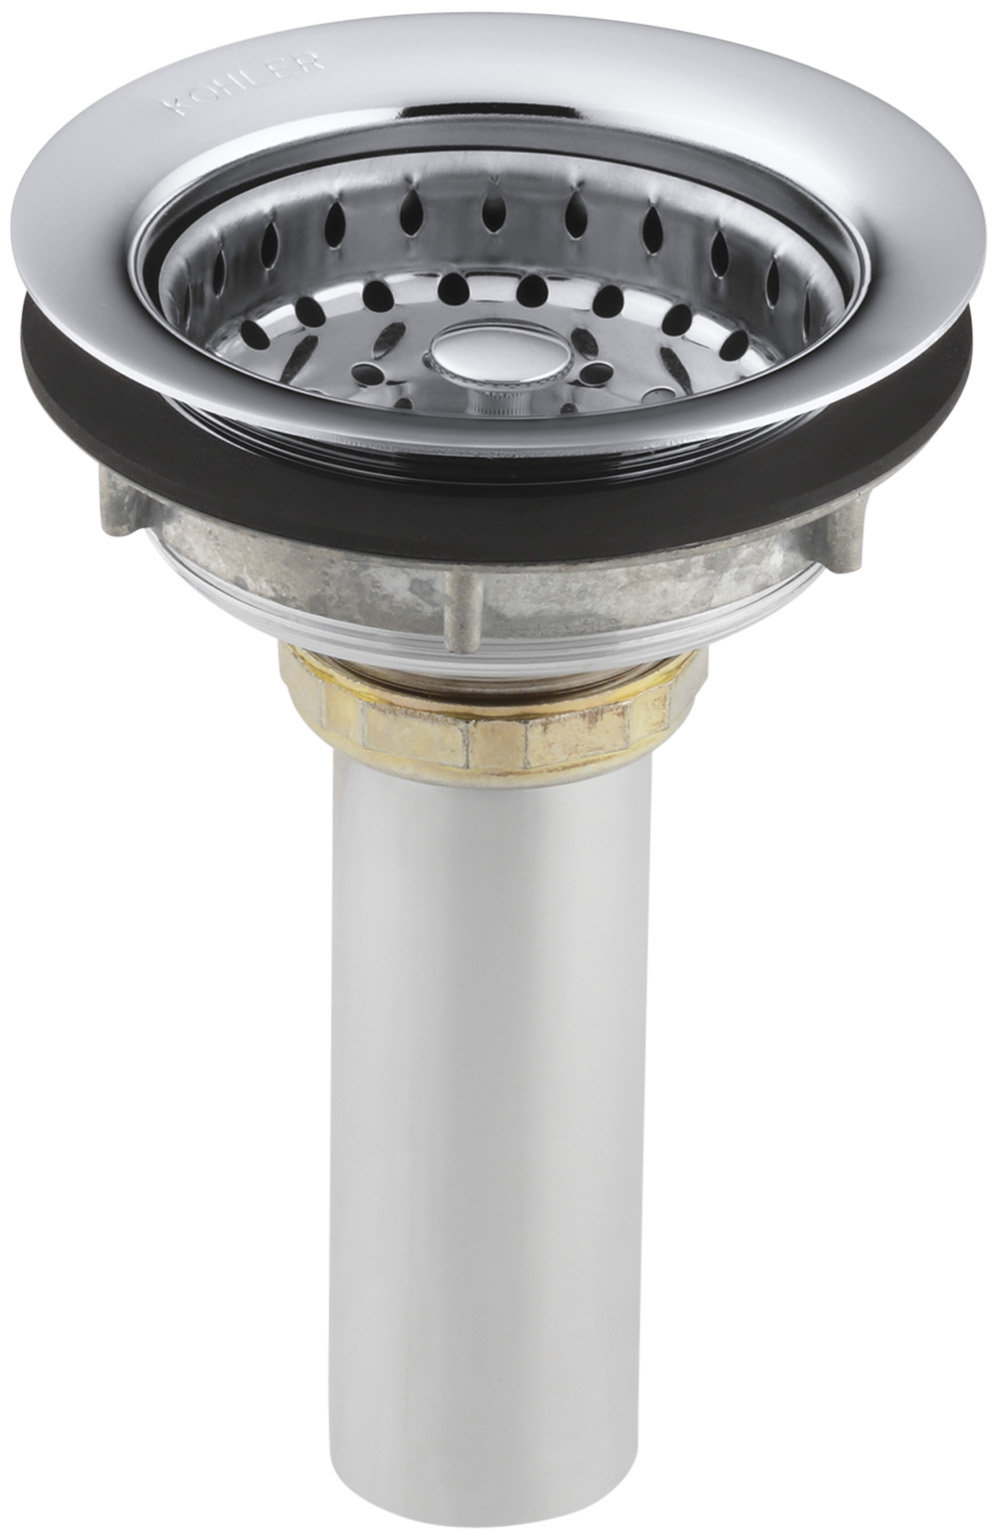
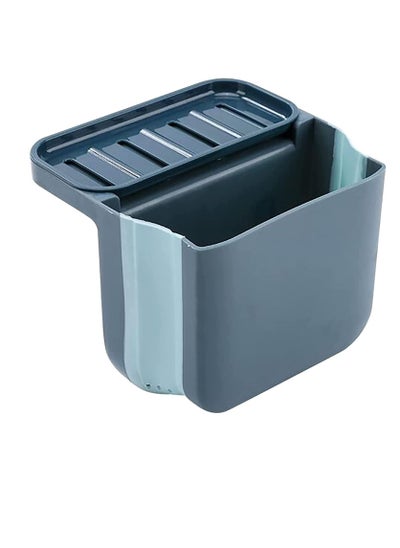
When it comes to choosing the right kitchen sink drain strainer basket, there are a few key factors to consider: Material: Strainer baskets are typically made of stainless steel, plastic, or silicone. Stainless steel is the most durable and long-lasting option, while plastic and silicone may be more affordable. Size: Make sure to choose a strainer basket that fits your sink properly. Measure the drain hole before purchasing to ensure a proper fit. Style: Strainer baskets come in a variety of styles, including standard baskets, deep baskets, and flat baskets. Choose the style that best fits your needs and preferences. Features: Some strainer baskets come with additional features, such as a built-in stopper or a removable basket for easy cleaning. Consider which features are important to you when making your decision. By considering these factors, you can choose the right kitchen sink drain strainer basket that will meet your needs and last for years to come.How to Choose the Right Kitchen Sink Drain Strainer Basket
How to Choose the Right Kitchen Sink Drain Strainer Basket
Why a Kitchen Sink Drain Strainer Basket is Essential for Every Home

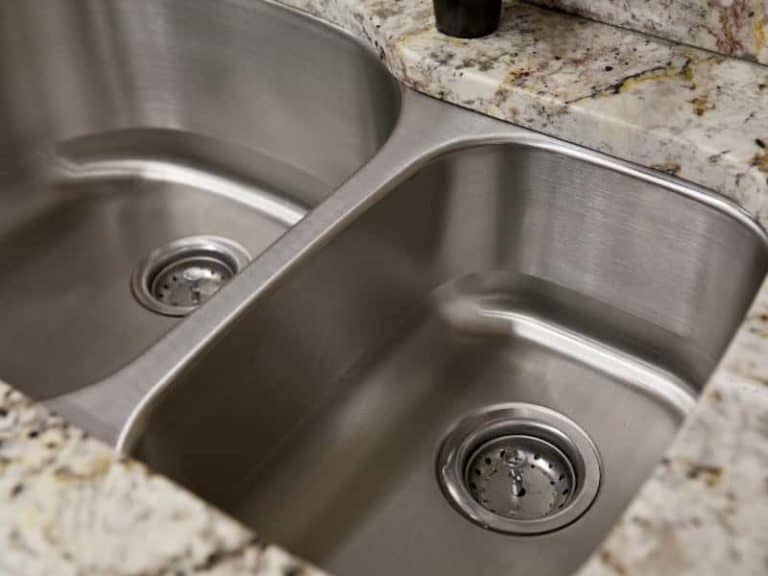
Efficient Drainage System
 When it comes to house design, every detail counts. The kitchen, being the heart of the home, is often the busiest and messiest area. One of the most important components of a well-functioning kitchen is an efficient drainage system. This is where a
kitchen sink drain strainer basket
comes in. This simple yet essential tool prevents food particles and debris from clogging your drains, ensuring smooth and hassle-free water flow.
When it comes to house design, every detail counts. The kitchen, being the heart of the home, is often the busiest and messiest area. One of the most important components of a well-functioning kitchen is an efficient drainage system. This is where a
kitchen sink drain strainer basket
comes in. This simple yet essential tool prevents food particles and debris from clogging your drains, ensuring smooth and hassle-free water flow.
Cost-effective Solution
 While unclogging sink drains can be a common household problem, it can also be a costly one. Calling a plumber to fix a clogged drain can be expensive, especially if it happens frequently. By using a
drain strainer basket
, you can save yourself from the hassle and expense of dealing with clogged drains. It is a small investment that can save you money in the long run.
While unclogging sink drains can be a common household problem, it can also be a costly one. Calling a plumber to fix a clogged drain can be expensive, especially if it happens frequently. By using a
drain strainer basket
, you can save yourself from the hassle and expense of dealing with clogged drains. It is a small investment that can save you money in the long run.
Keeps Your Pipes Clean
 Aside from preventing clogs, using a
kitchen sink drain strainer basket
also helps keep your pipes clean. Without a strainer, food particles and grease can easily build up in your pipes, causing unpleasant odors and even damaging your plumbing system. By regularly using a strainer, you can easily dispose of the collected debris and avoid potential plumbing issues.
Aside from preventing clogs, using a
kitchen sink drain strainer basket
also helps keep your pipes clean. Without a strainer, food particles and grease can easily build up in your pipes, causing unpleasant odors and even damaging your plumbing system. By regularly using a strainer, you can easily dispose of the collected debris and avoid potential plumbing issues.
Easy to Use and Maintain
 One of the best things about a
drain strainer basket
is its simplicity. It is easy to use and maintain, making it a practical choice for every home. To use, simply place it over the drain and let it catch any food particles or debris. After use, remove the strainer and empty the collected debris into the trash. Regularly cleaning the strainer will ensure its effectiveness and prolong its lifespan.
One of the best things about a
drain strainer basket
is its simplicity. It is easy to use and maintain, making it a practical choice for every home. To use, simply place it over the drain and let it catch any food particles or debris. After use, remove the strainer and empty the collected debris into the trash. Regularly cleaning the strainer will ensure its effectiveness and prolong its lifespan.
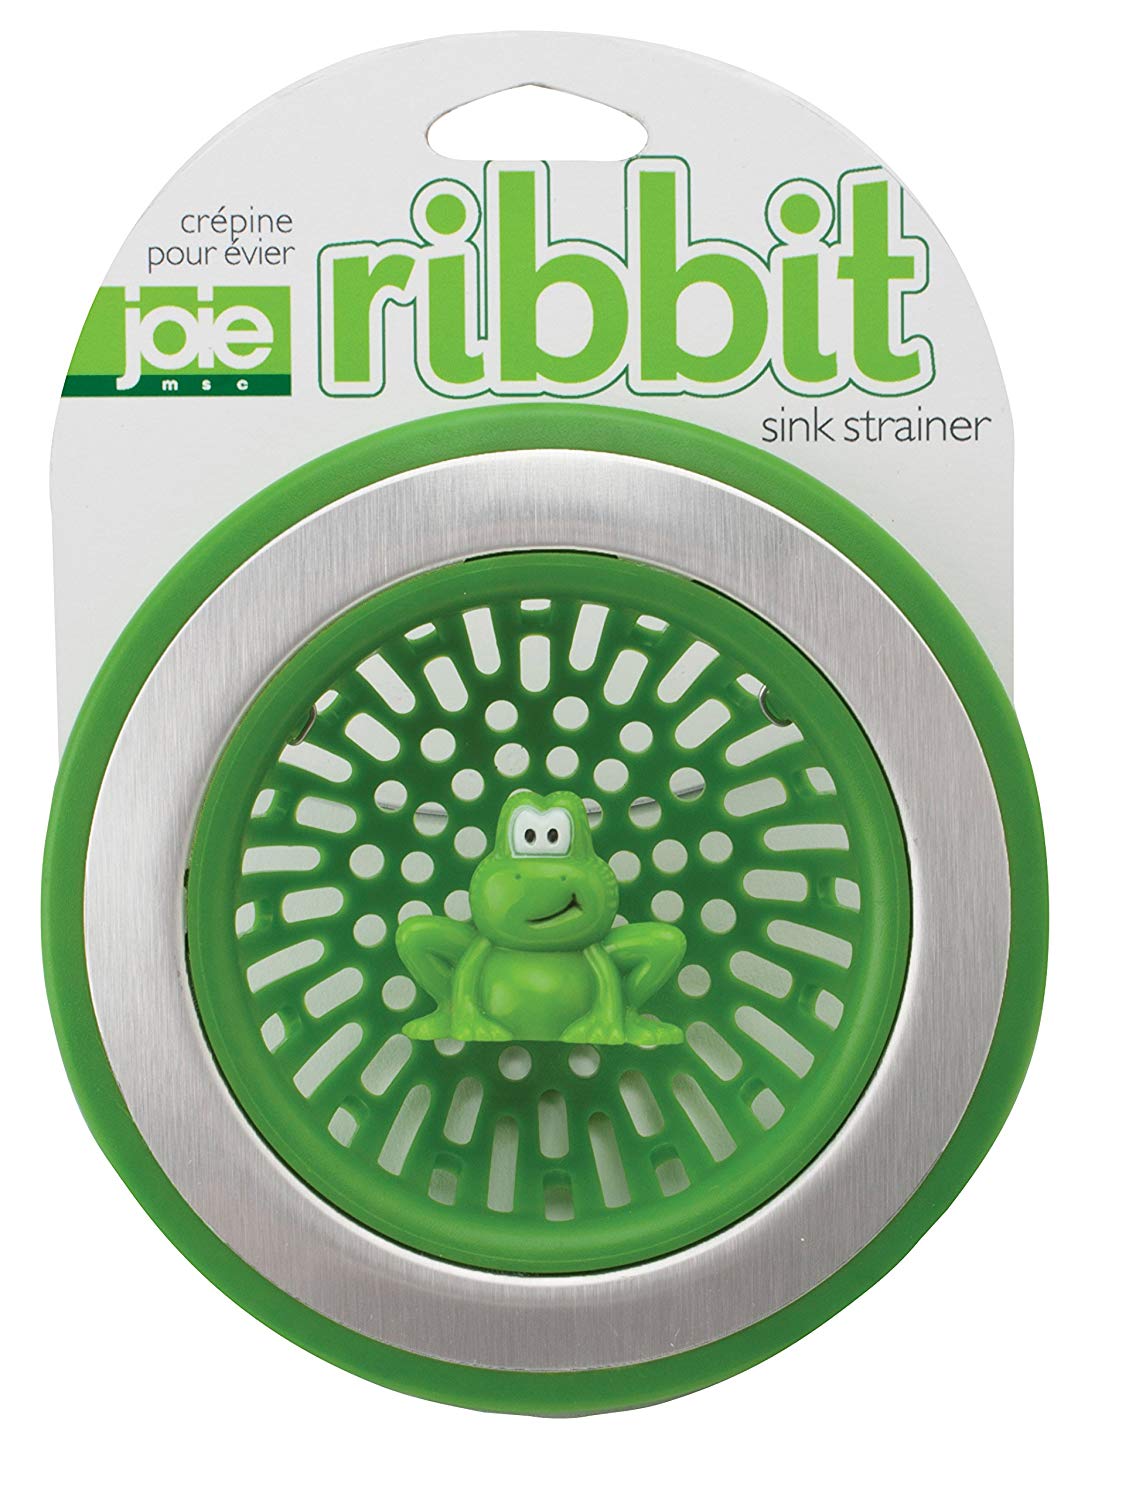
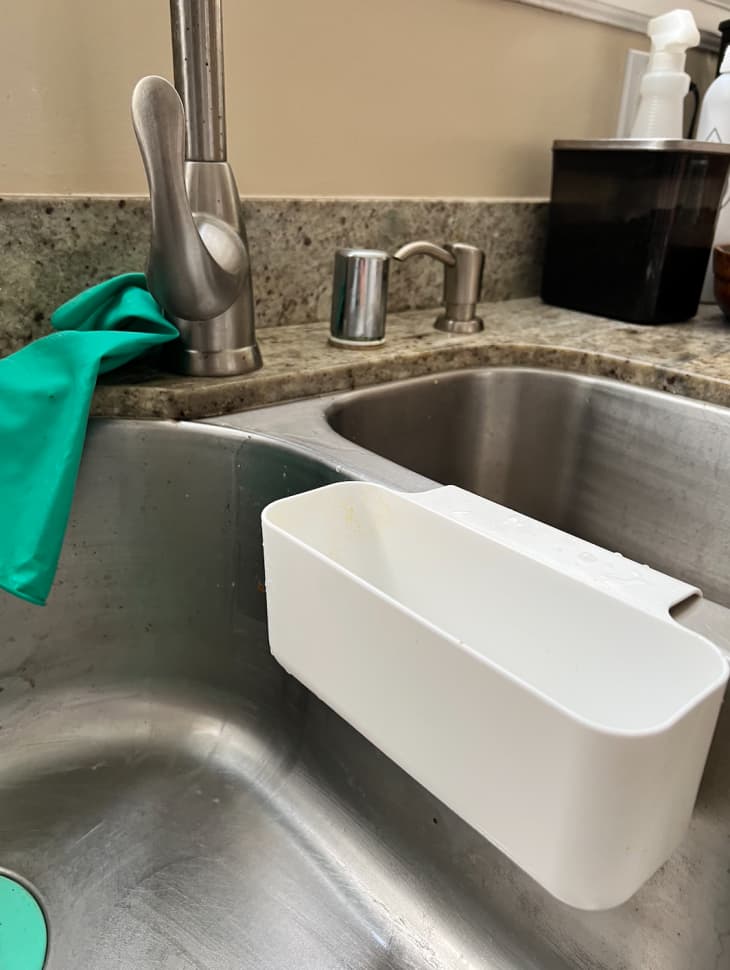
Aesthetic Appeal
 Aside from its functionality, a
kitchen sink drain strainer basket
can also add to the aesthetic appeal of your kitchen. With its sleek and modern design, it can blend seamlessly with any kitchen decor. Some strainers even come in different colors and styles, allowing you to choose one that suits your personal style.
In conclusion, a
kitchen sink drain strainer basket
is an essential tool for every home. It not only helps maintain a clean and efficient drainage system, but it also saves you money and adds to the aesthetic appeal of your kitchen. So, if you haven't already, invest in a drain strainer basket and enjoy a hassle-free kitchen experience.
Aside from its functionality, a
kitchen sink drain strainer basket
can also add to the aesthetic appeal of your kitchen. With its sleek and modern design, it can blend seamlessly with any kitchen decor. Some strainers even come in different colors and styles, allowing you to choose one that suits your personal style.
In conclusion, a
kitchen sink drain strainer basket
is an essential tool for every home. It not only helps maintain a clean and efficient drainage system, but it also saves you money and adds to the aesthetic appeal of your kitchen. So, if you haven't already, invest in a drain strainer basket and enjoy a hassle-free kitchen experience.